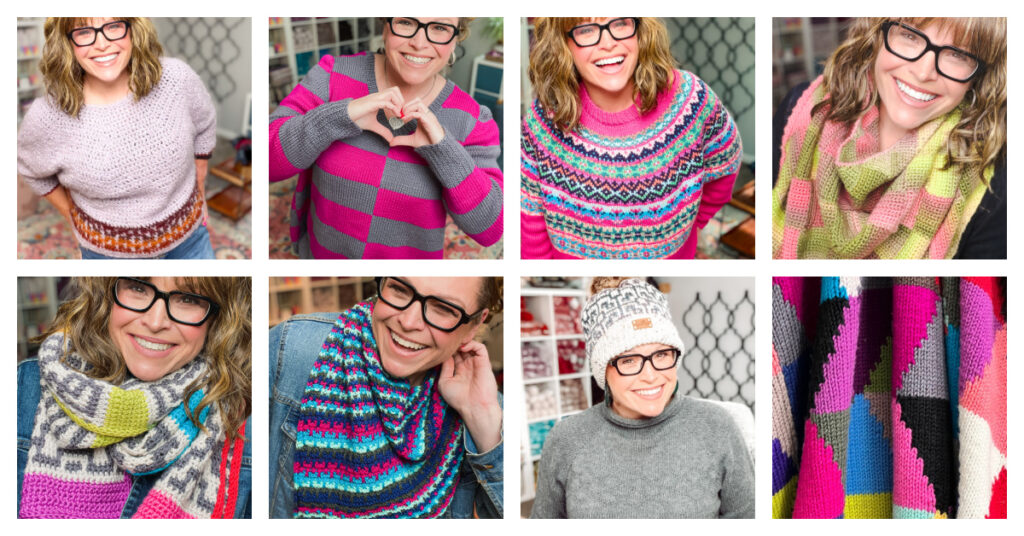
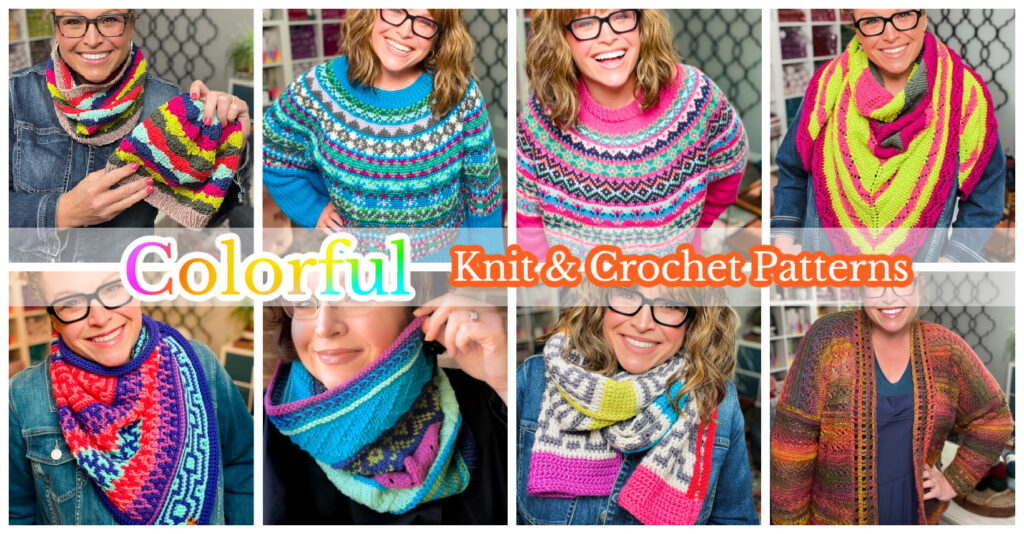
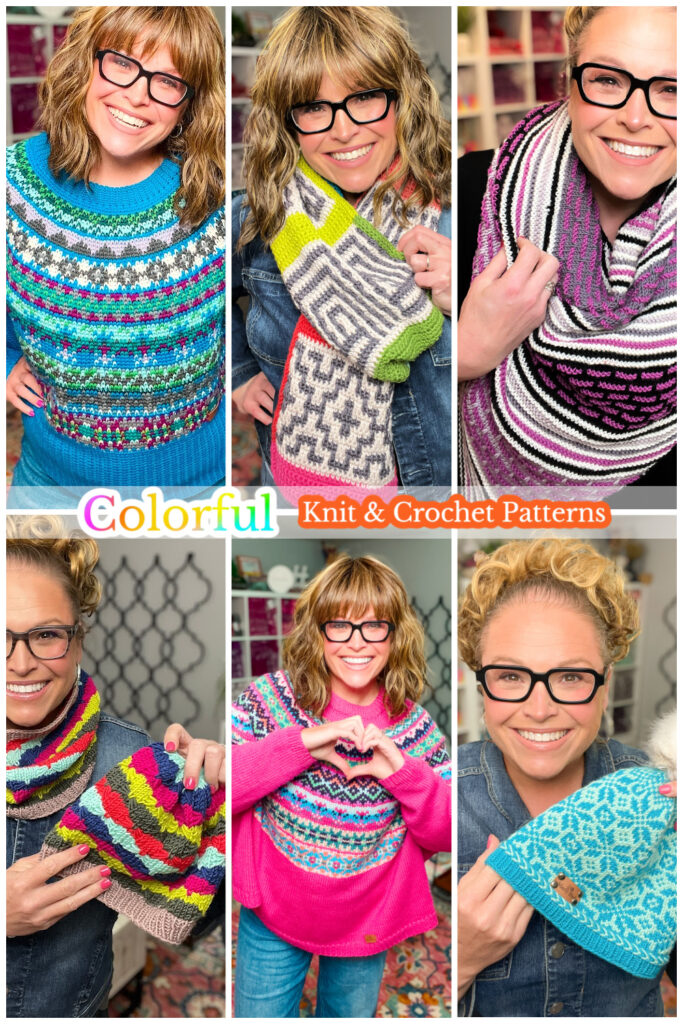
The era of tan, gray, and greige is officially over — and Marly Bird has been waiting 20 years for this moment. This BiCrafty roundup collects her most colorful free knit and crochet patterns organized by craft: knit garments and accessories, crochet garments and accessories. From mosaic sweaters ➡️ fire-colored shawls ➡️ gradient cardigans… color is back. Grab the yarn you've been saving.
⚡ Quick Answer:
Looking for free colorful crochet and knitting patterns? You're in the right place. This post rounds up Marly Bird's most color-forward BiCrafty designs — organized by craft, then by type (garments and accessories). Jump to the Knit section or the Crochet section, or read all the way through for Marly's full take on why color is officially back in 2026.
Hey, bestie 💛
I need to talk about something that's been bothering me for a while.
Scroll through Instagram right now. Then TikTok. Then Pinterest. Look at the sweaters. Look at the home decor. Look at the yarn flat lays. It is… beige. Tan. Warm white. Greige. Gray. Cream. More beige. A little oatmeal for variety. That's it. That's the whole palette the internet decided we were all allowed to use.
I've been designing colorful knit and crochet patterns since 2007 and watching color get slowly squeezed out of the craft space has been genuinely frustrating. Yarn companies discontinued their most interesting gradient yarns. Designers started defaulting to “oat” and “cloud.” Beginners got the message — whether it was said out loud or not — that neutral equals sophisticated. That wanting to make something in cobalt blue or deep plum was somehow… extra.
It wasn't. It isn't. And the tide is turning.
Fashion publications are calling 2026 a maximalism comeback year. Pinterest is predicting Plum Noir and rich burgundies. Fibre2Fashion reports that “fashion is prioritising fun and personality, a departure from the neutral, more subdued styles that have long dominated.”
Architectural Digest is writing about “color-drenched rooms.” Even the craft world is catching up — Hooks & Needles noted that we're “moving away from neutral palettes toward earthy, saturated hues.”
I want to be clear: neutrals are beautiful. There is nothing wrong with a cream cardigan or an oatmeal shawl. But if you have been feeling like your color instincts were somehow wrong… they weren't.
The internet was going through a phase. That phase is ending. And I have been here, designing in color, waiting for this moment. Consider this your permission slip.
Disclosure: This post contains affiliate links. If you make a purchase through them, I may earn a small commission at no additional cost to you. It helps keep the free patterns coming. Thank you for supporting my yarn-loving heart! 💖
Handmade Was Built for Color
Here's the thing about knitting and crochet that I think we sometimes forget when we're surrounded by the algorithm's curated palette of neutrals: handmade IS color. That is the point.
Nobody picked up their first skein of ecru and thought “this is going to change my life.” They picked up something that made their heart do a little flip. Something warm gold, or unexpected teal, or that specific shade of deep plum they'd never seen in a store. Color is how we express ourselves through making. A beginner who reaches for the brightest yarn on the shelf isn't doing it wrong… they're doing it exactly right.
And color is also, practically speaking, the point of entire categories of technique.
- You cannot do mosaic crochet in one neutral.
- You cannot do stranded colorwork in a single color.
- You cannot do intarsia without separate color blocks.
Mosaic, stranded colorwork, intarsia, entrelac — these entire technique categories exist because of color. They ARE color. When we strip color out of the handmade world, we don't just lose aesthetics. We lose entire categories of creativity.
I've been designing with color for both knitting and crochet since 2007. These patterns below are my love letter to it. Make them in the colors that make you feel something.
Colorful Knit Patterns 🧶
Knitters — color is your playground. These patterns are built for bold choices, and each one proves that “sophisticated” and “neutral” are not the same thing.
Knit Garments
A knit sweater or vest in a real color is a statement. These are the ones worth making.
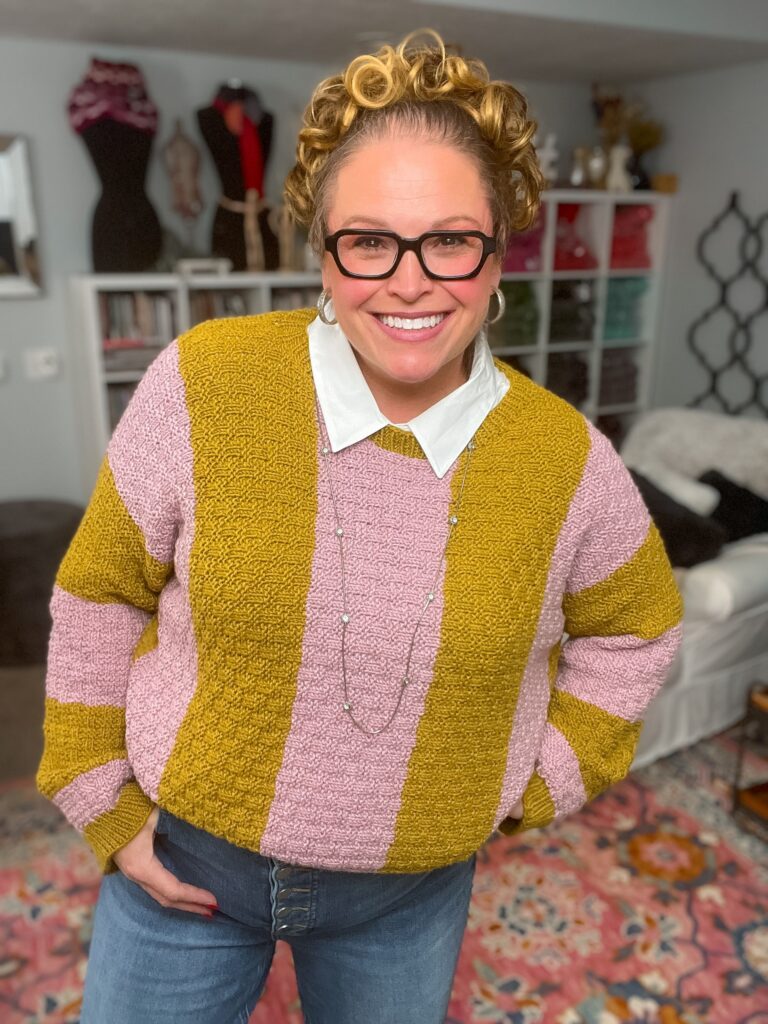
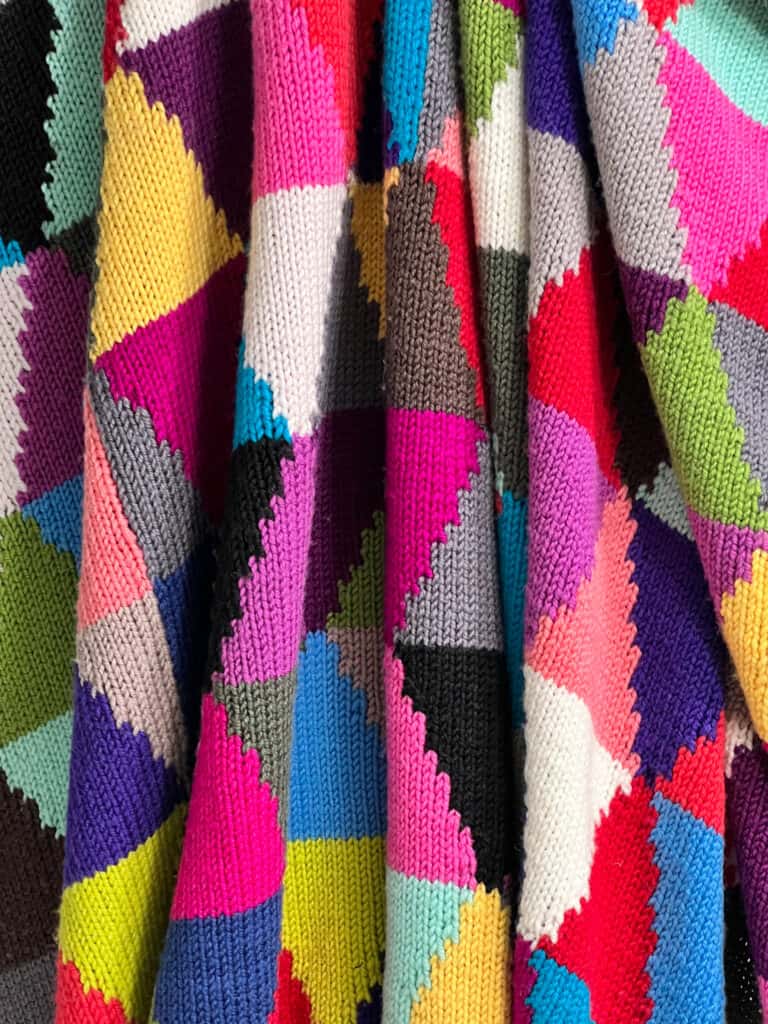
💕 My Favorite Sweater — An intarsia colorwork sweater that does exactly what the name says. Bold color blocking, clean lines, and the kind of geometric drama that a single saturated color makes pop. This is the sweater people photograph you in at parties and ask about for years… make it in the color you've been saving for something important.
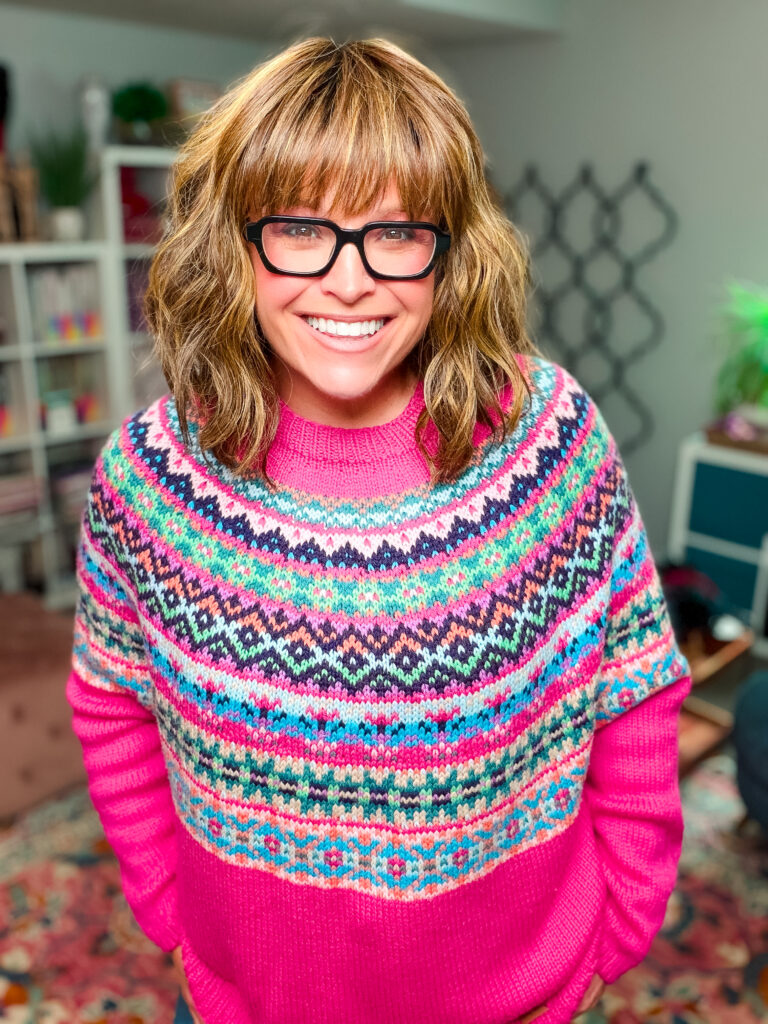
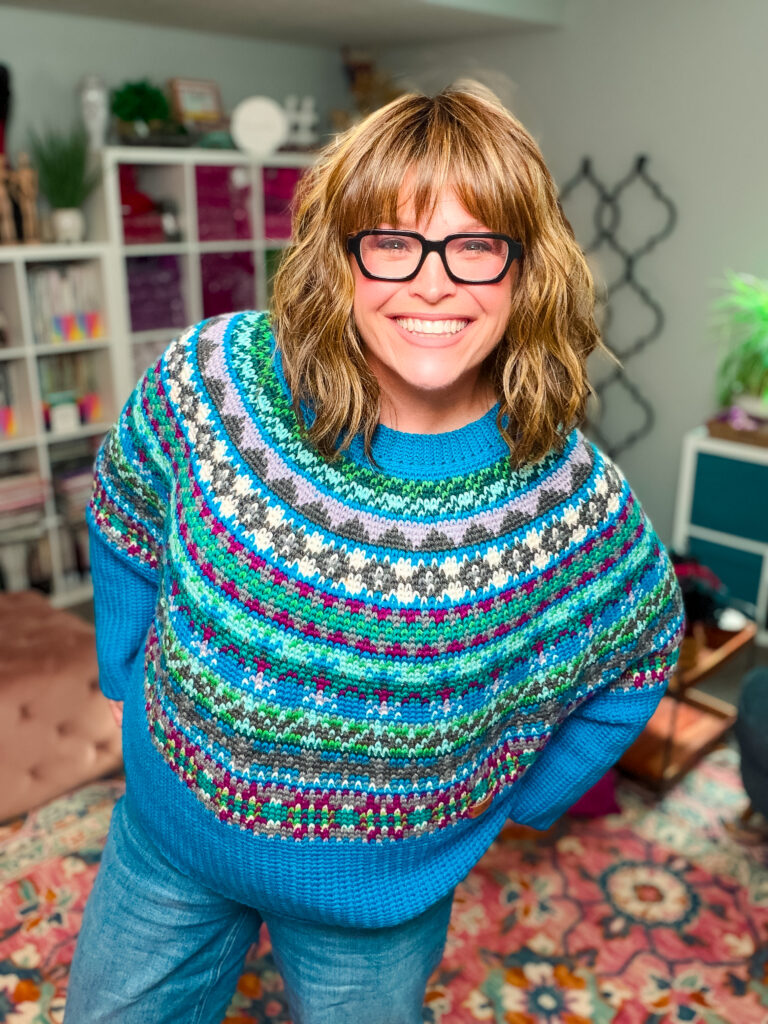
🏔️ Wellington Stranded Colorwork Knit Sweater — This is stranded colorwork in full garment form: two colors worked simultaneously in the same round, charted motifs wrapping seamlessly around the body and sleeves. Raglan construction with German short rows. The Wellington is proof that colorwork sweaters don't have to be intimidating — the construction actually makes the colorwork easier by letting you work in the round the whole time. Make it in the boldest two-color combination you can imagine and watch the motifs come alive.
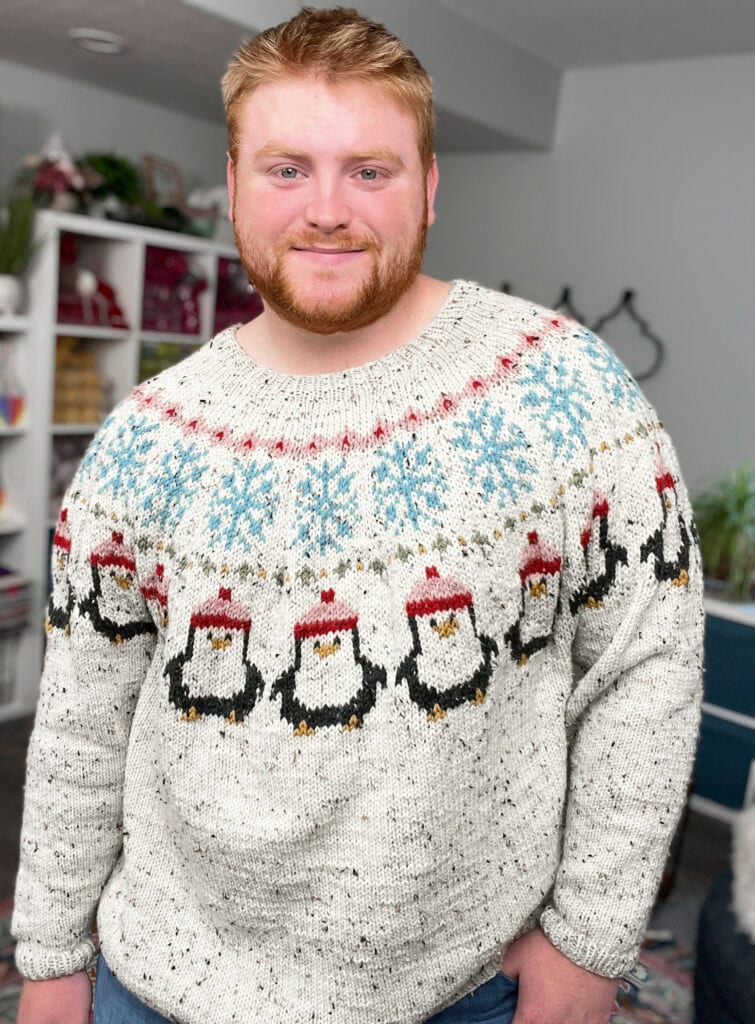
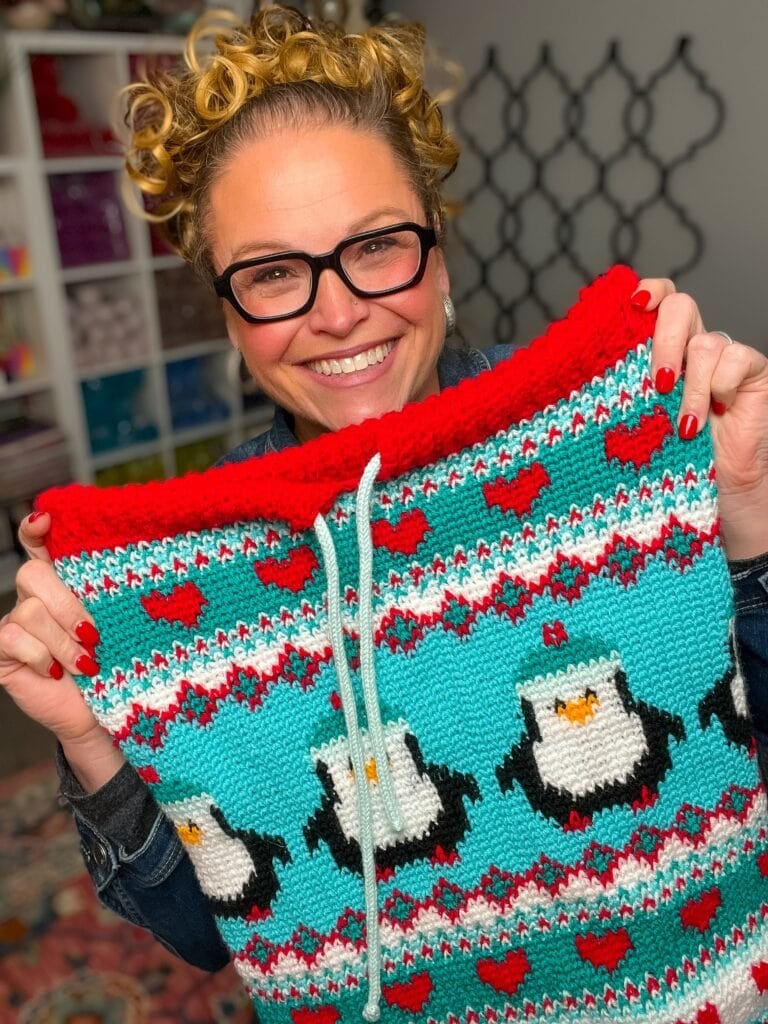
🐧 Penguin Knit Sweater — The yoke tells the whole story: penguins in winter hats, marching in cheerful stranded colorwork around the body of a free top-down sweater. This is the one that makes grown adults squeal at the yarn store. Cozy, cheerful, and an absolutely valid reason to start a new sweater immediately.
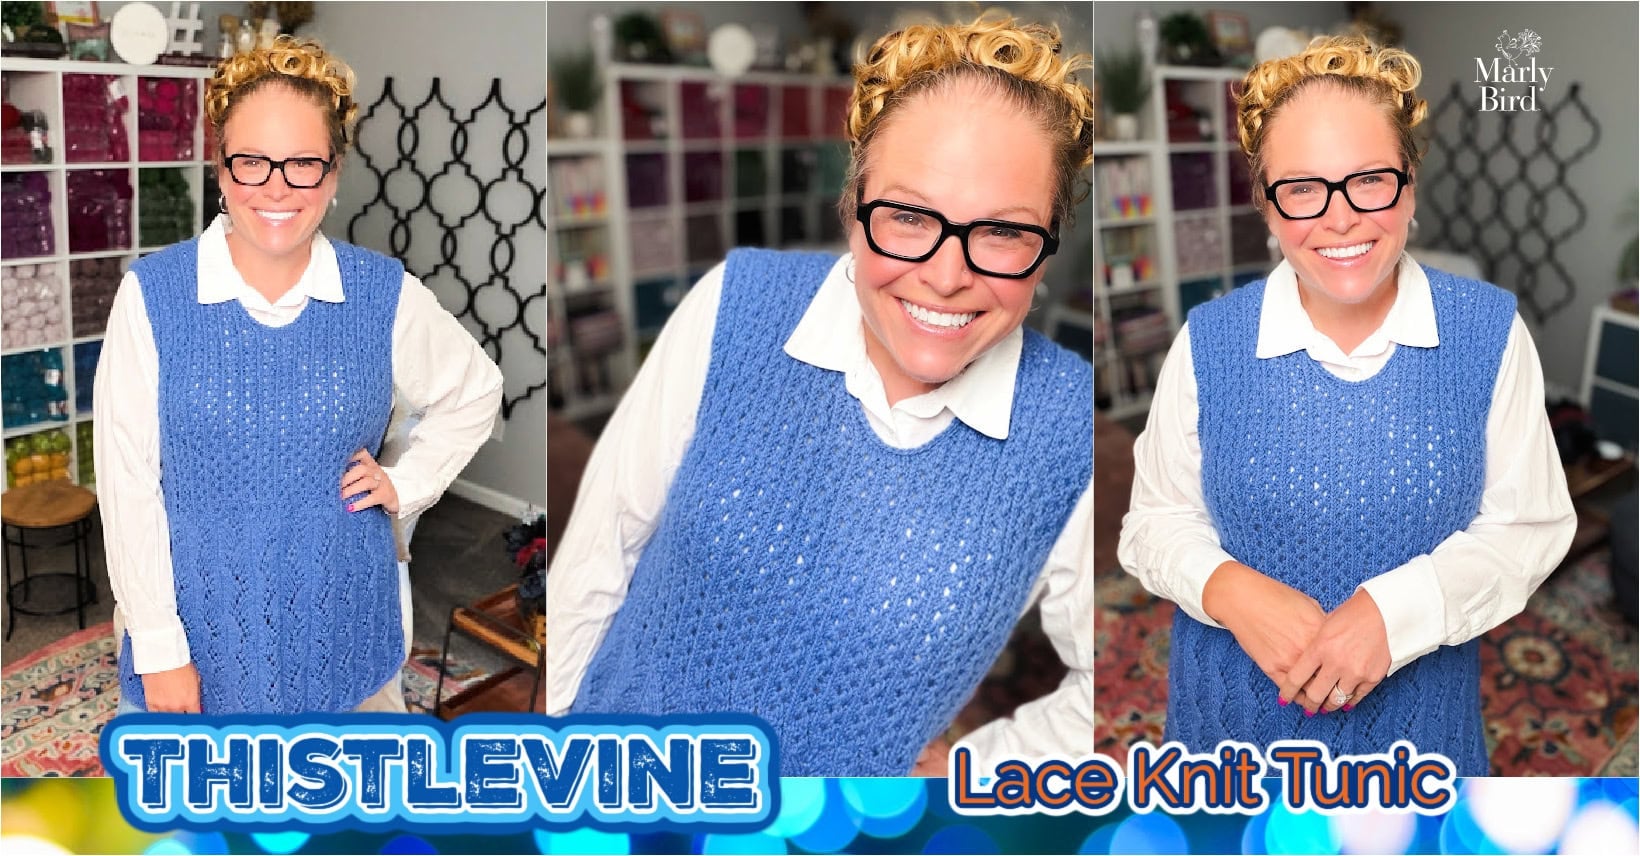
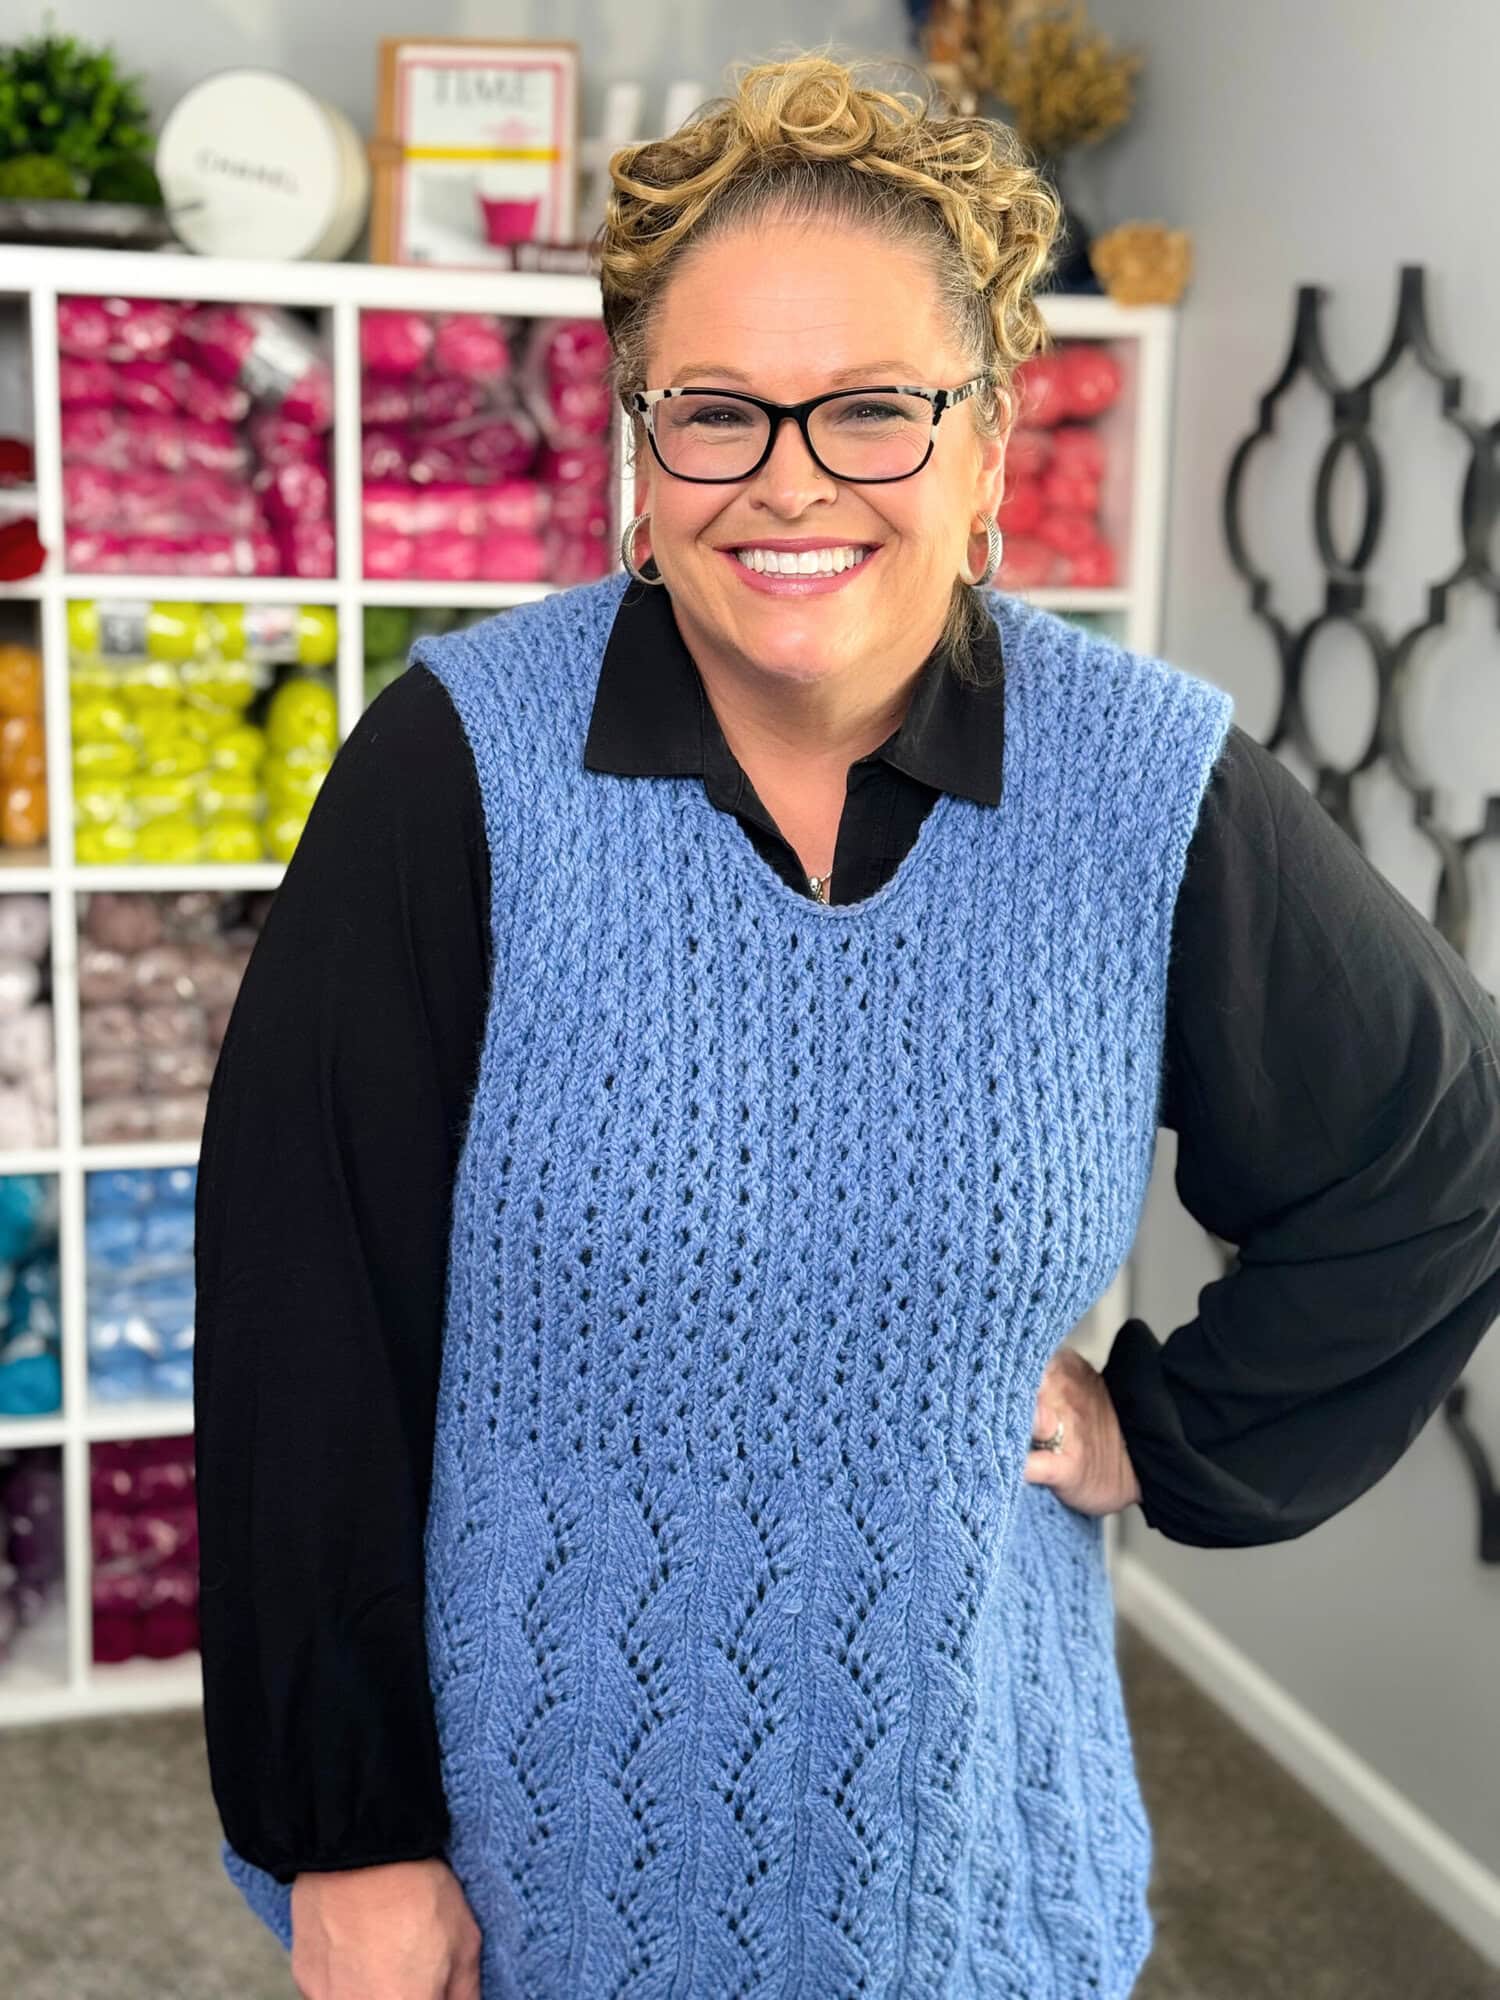
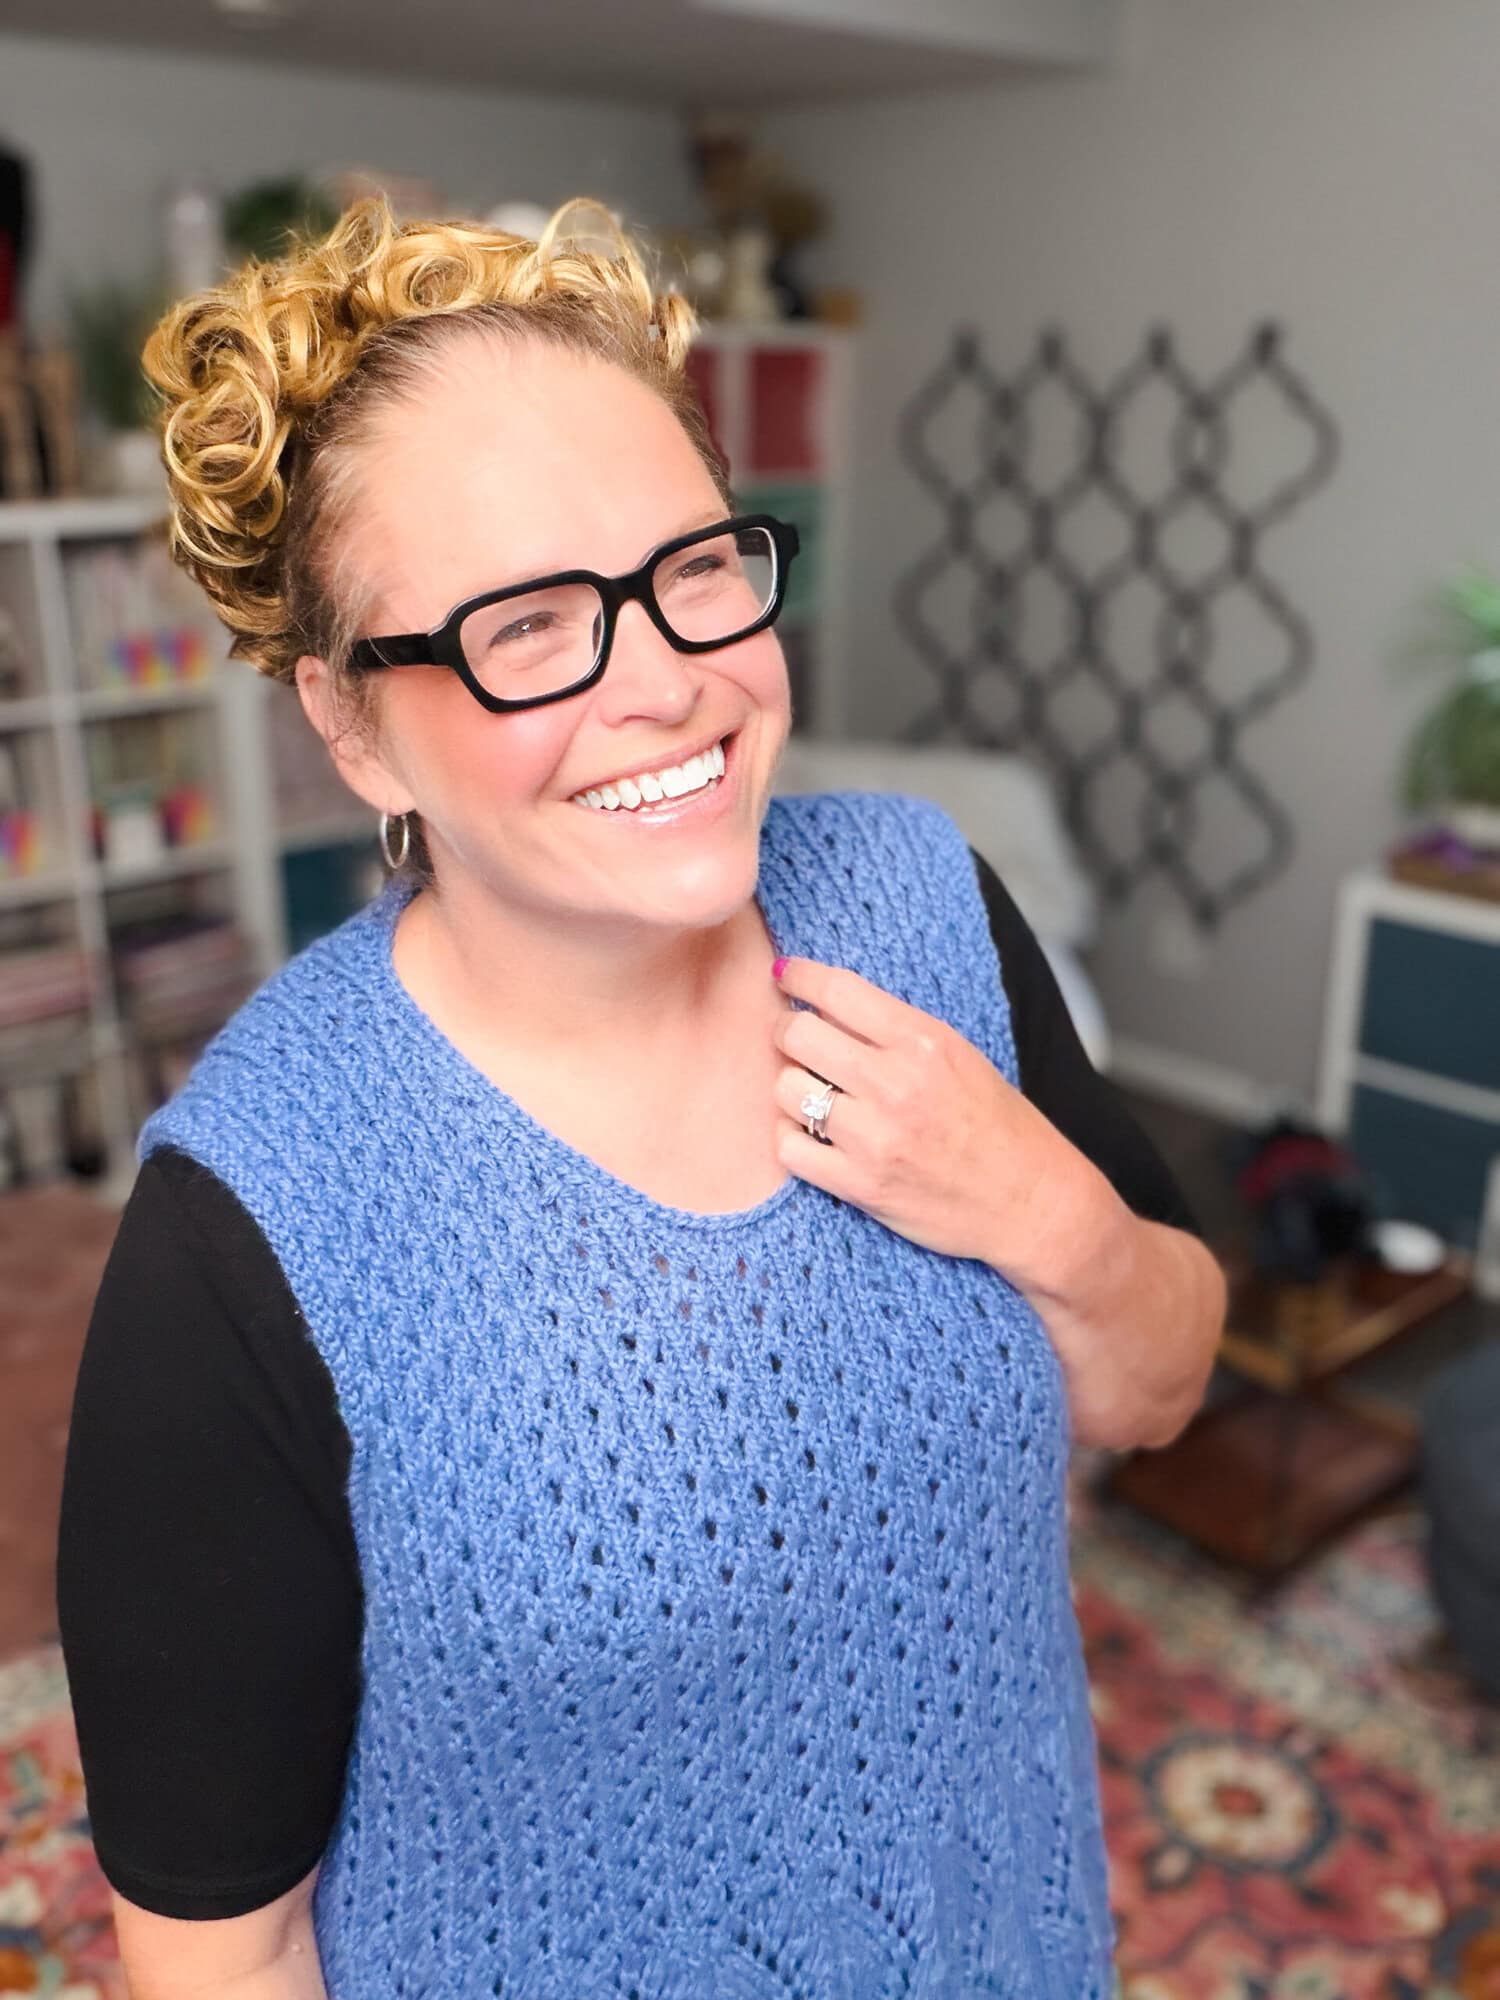
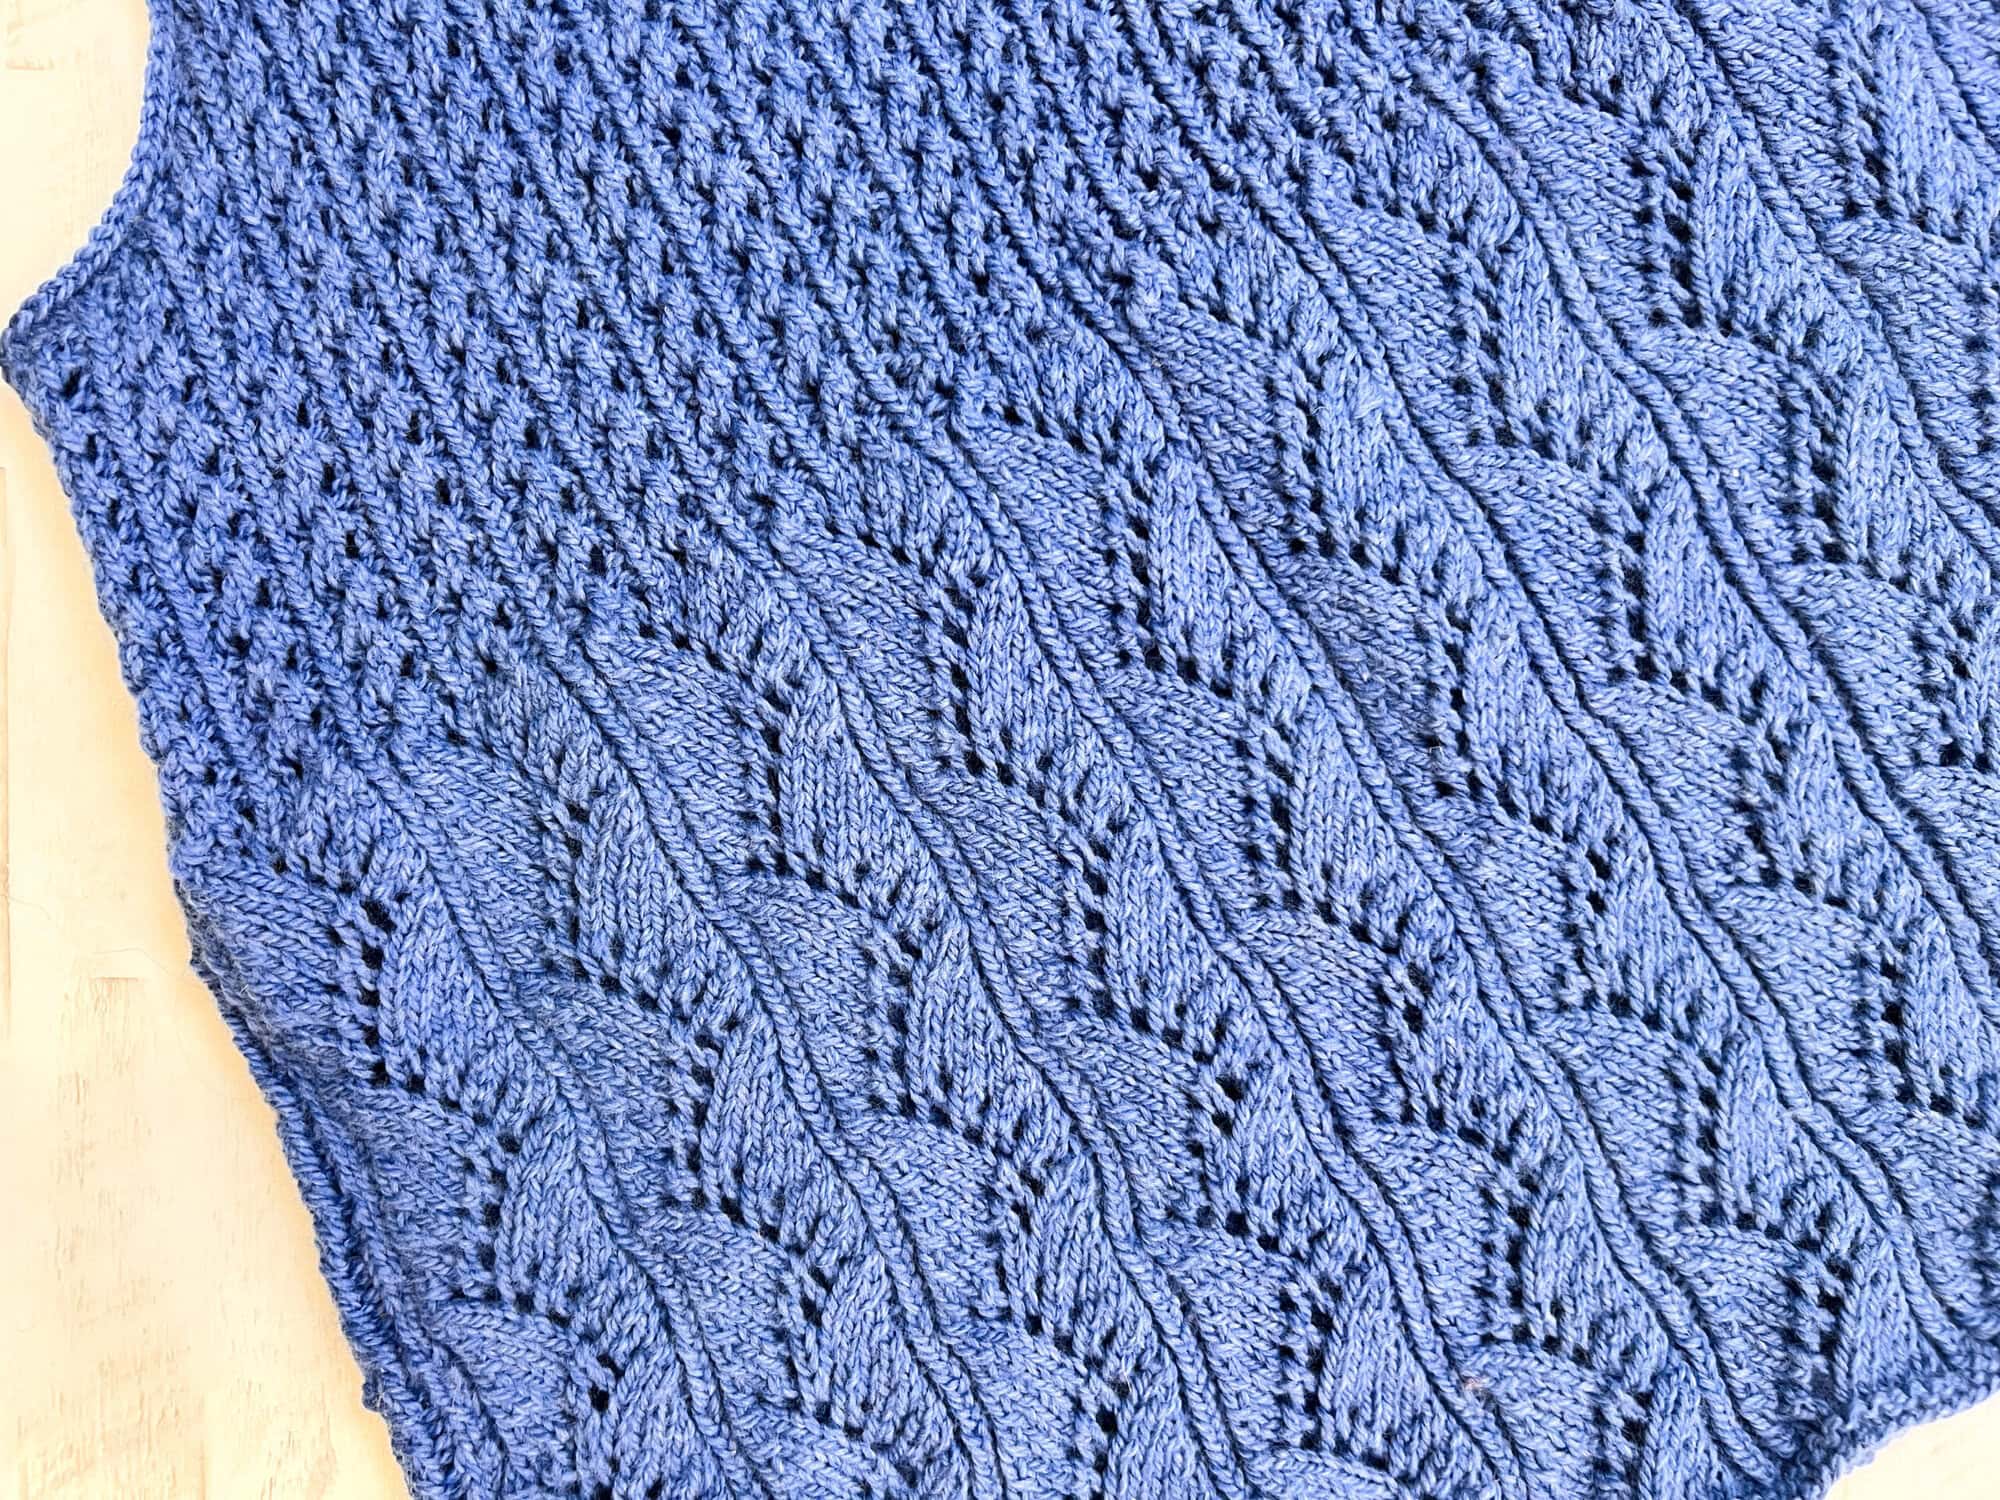
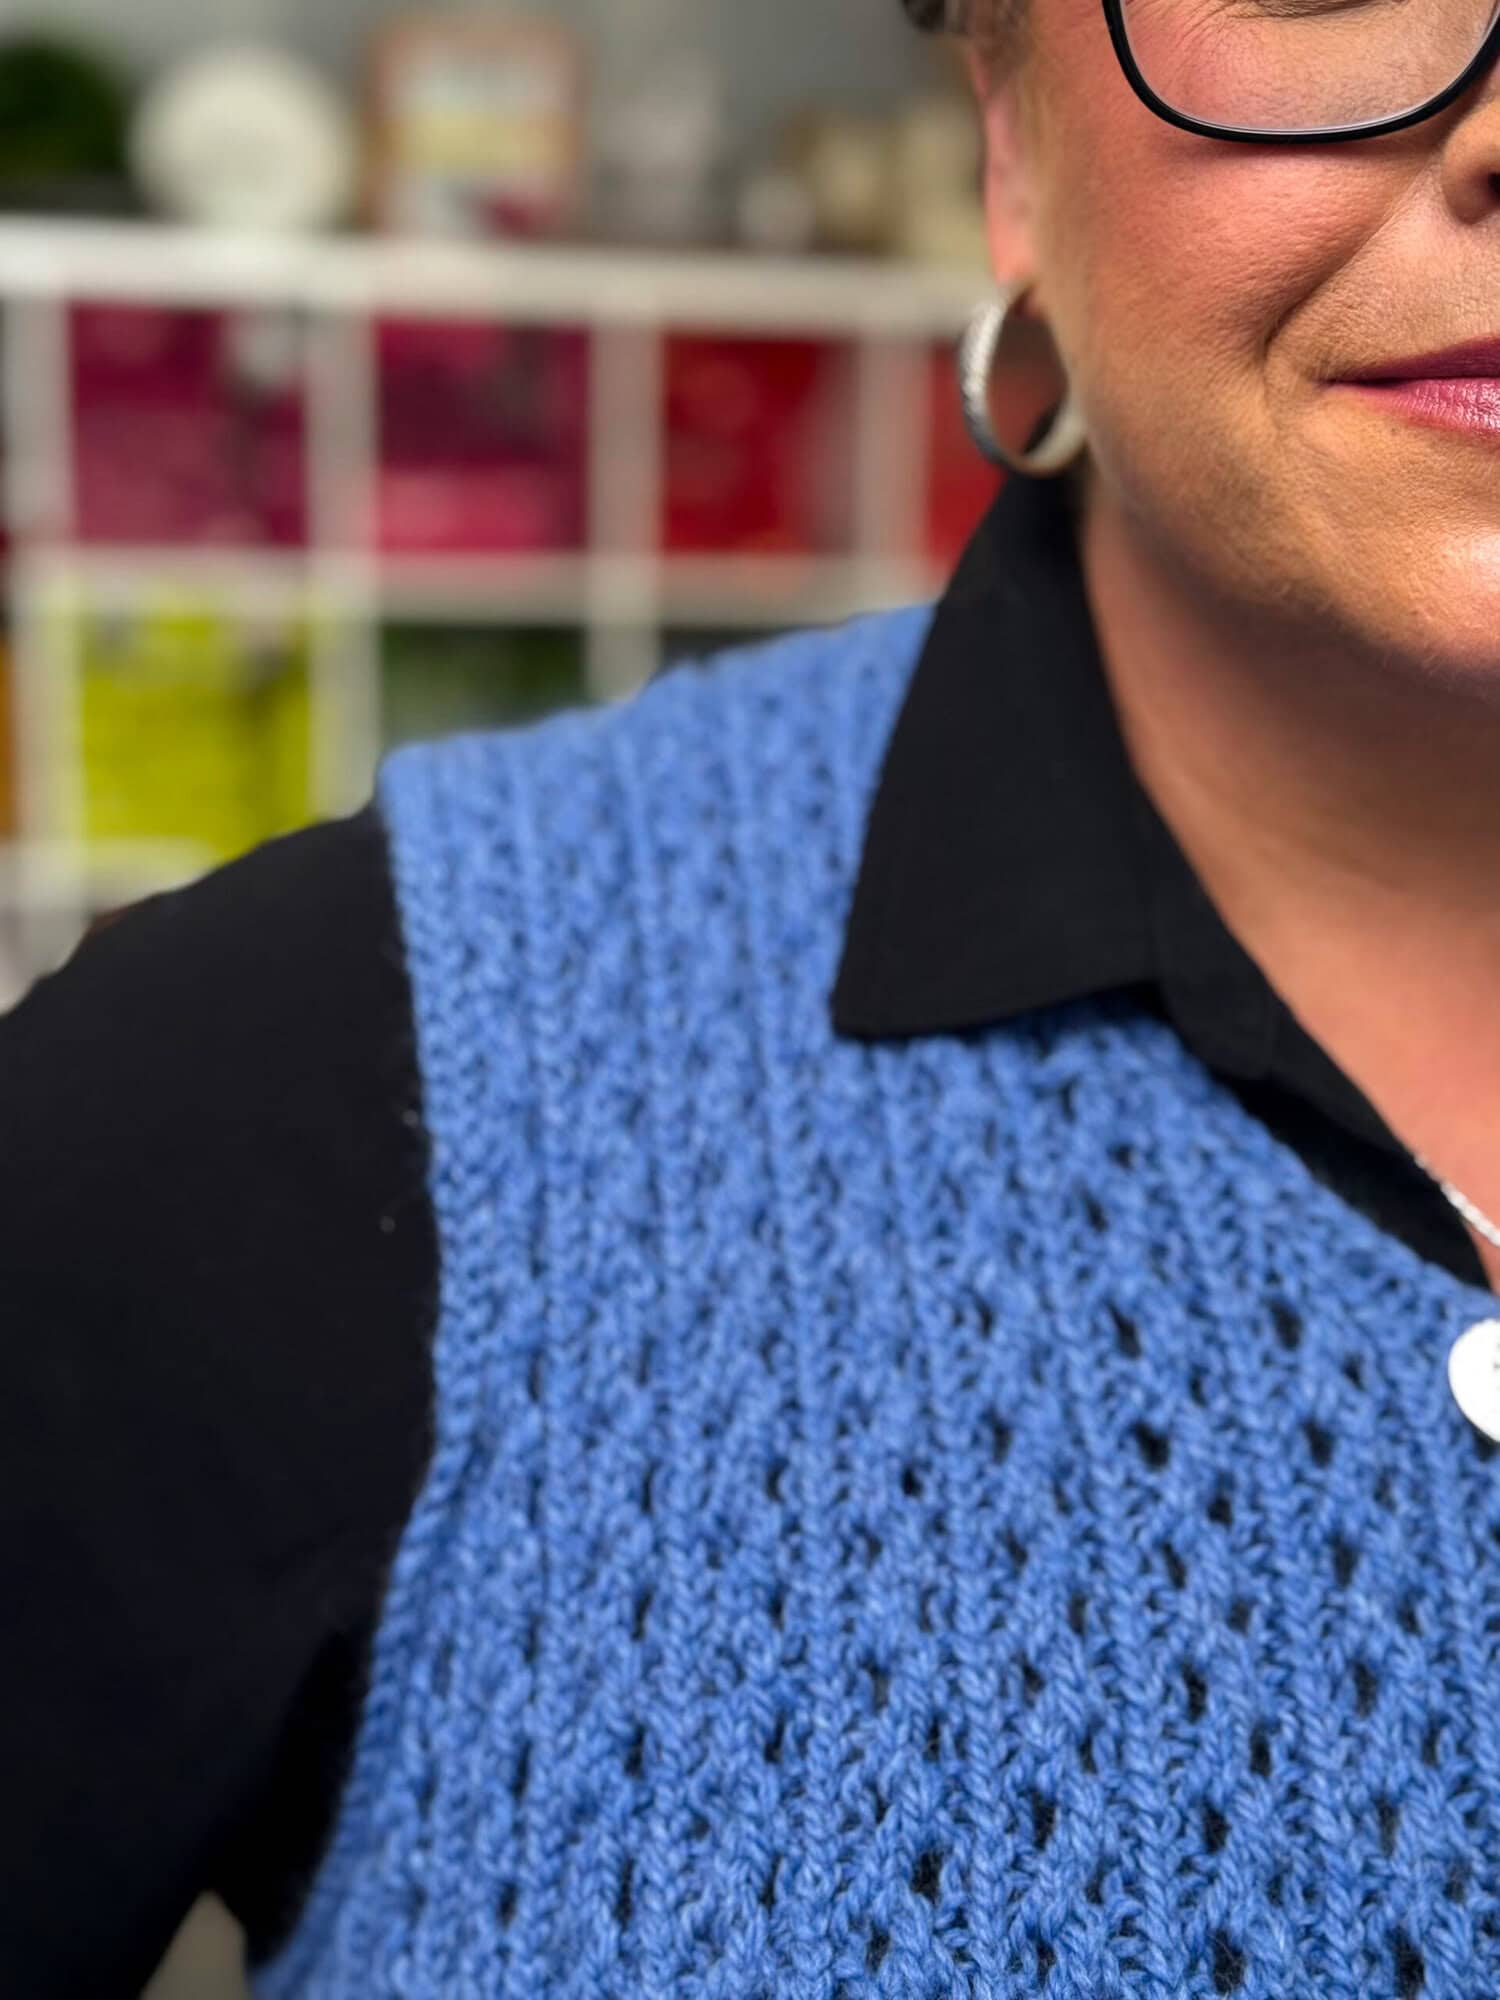
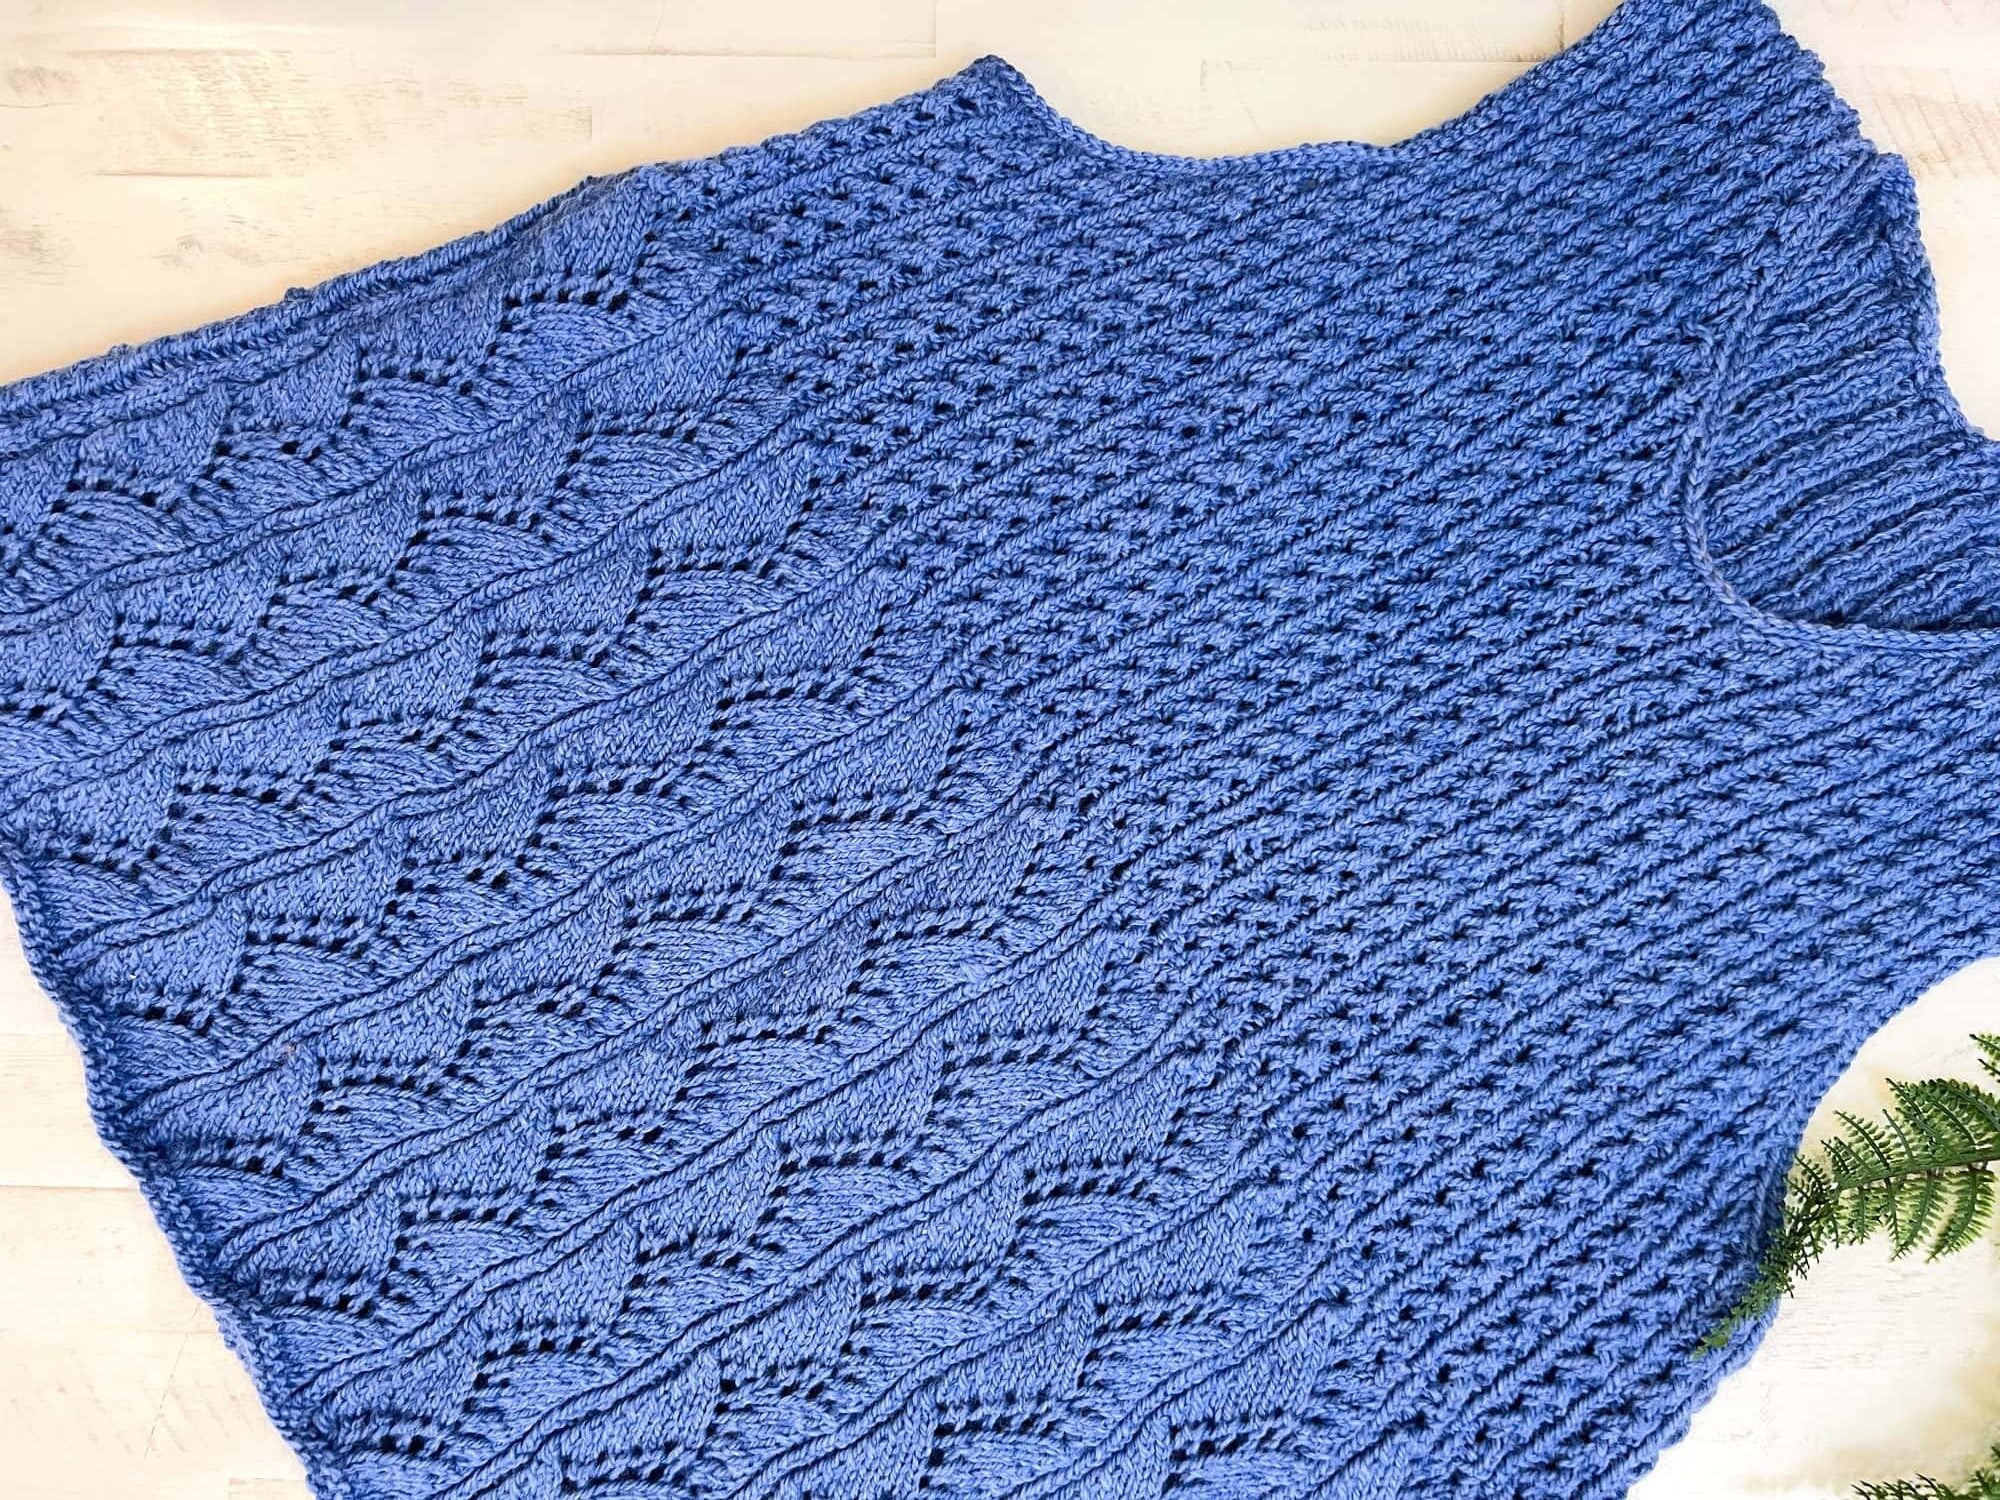
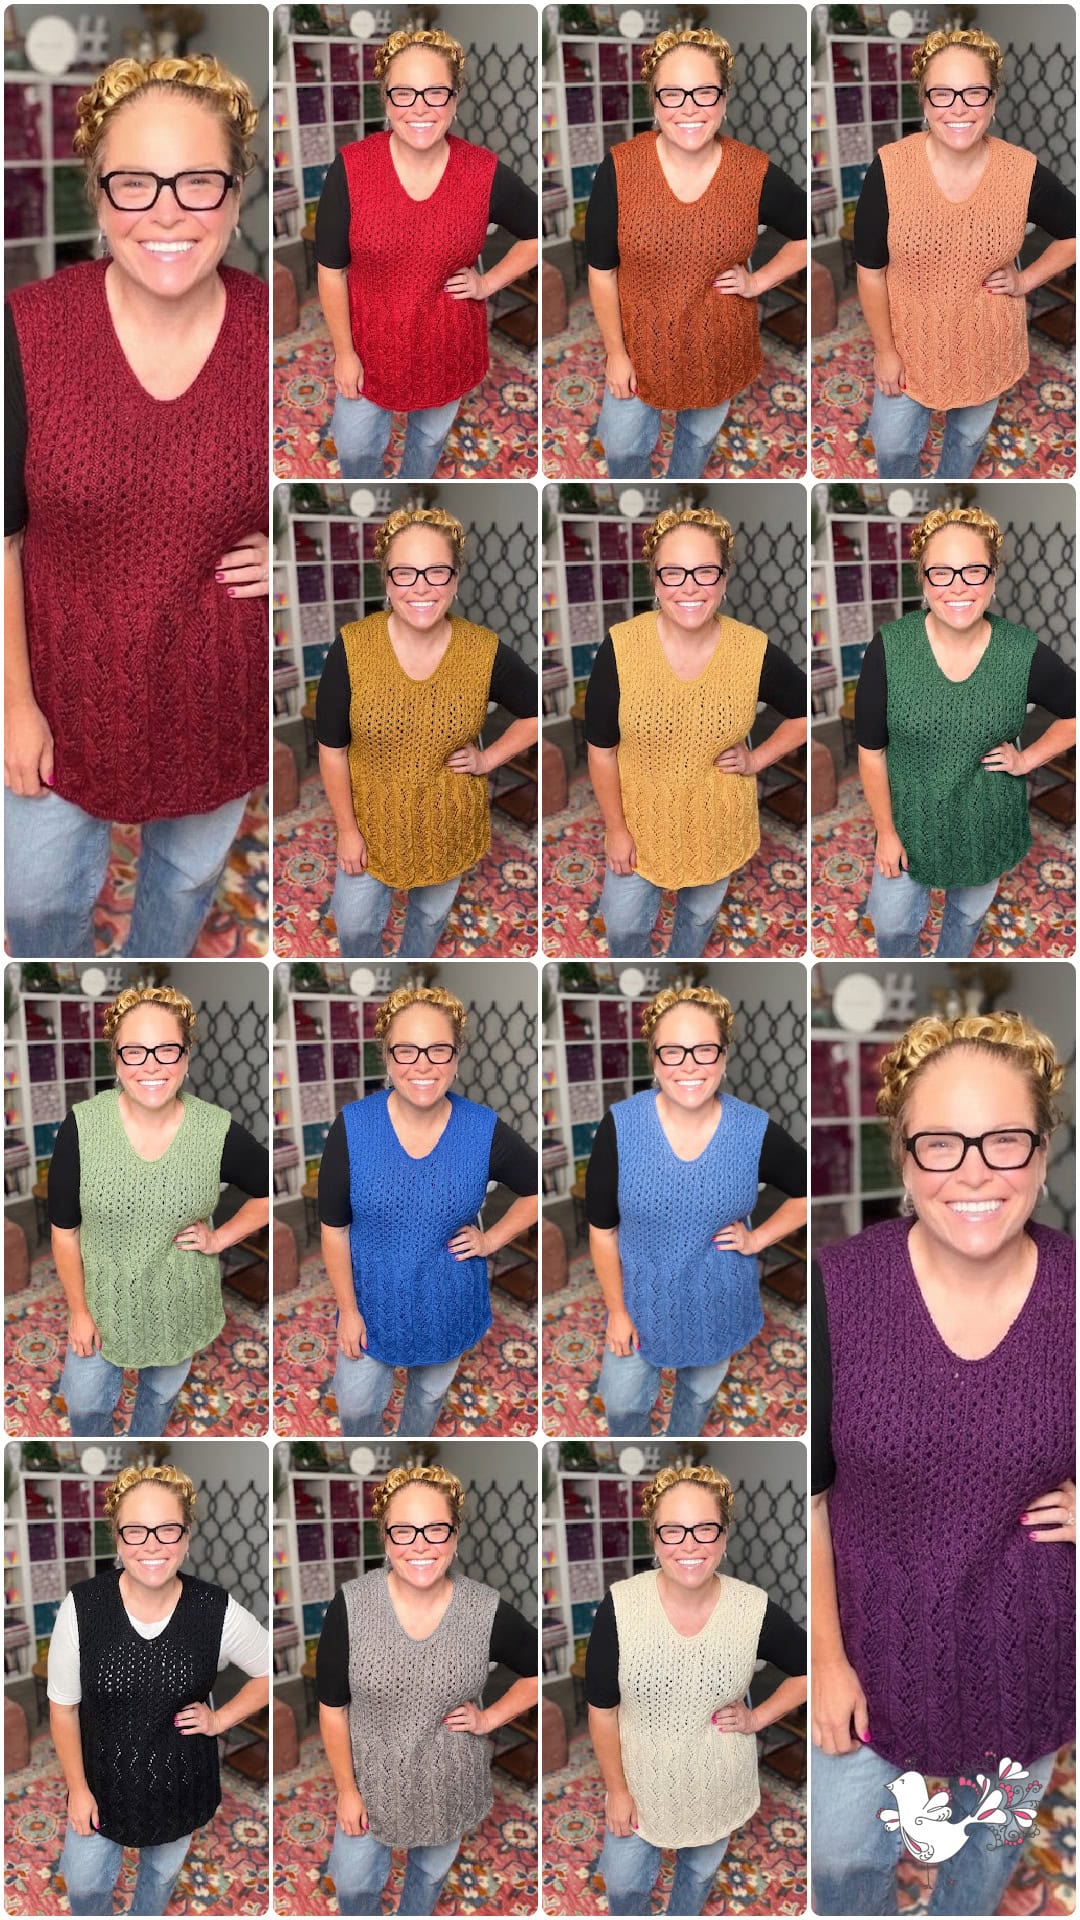
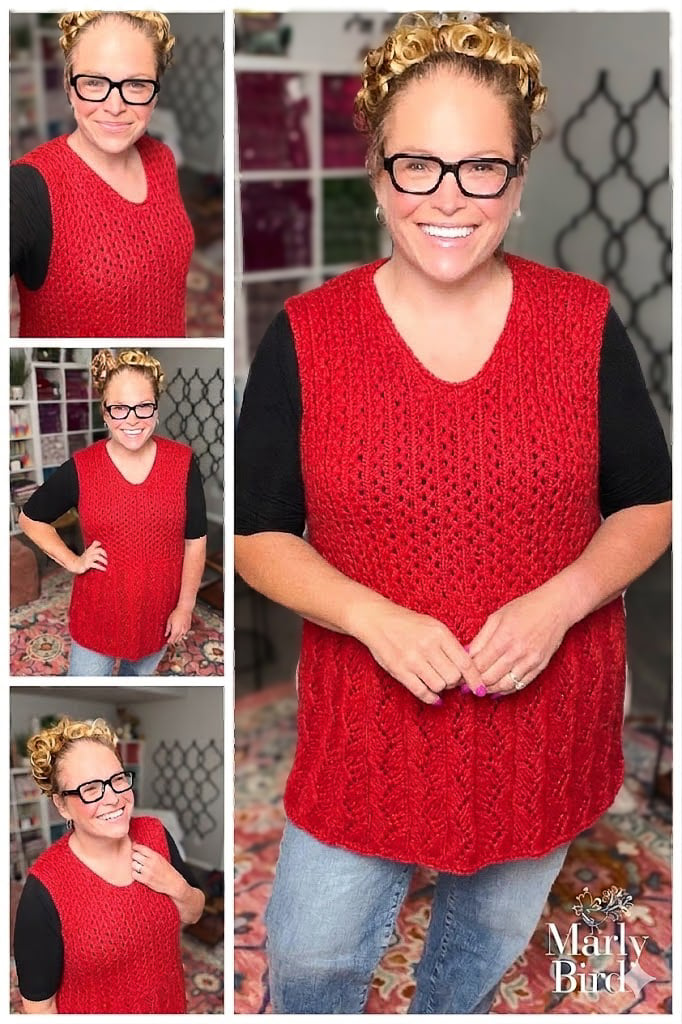
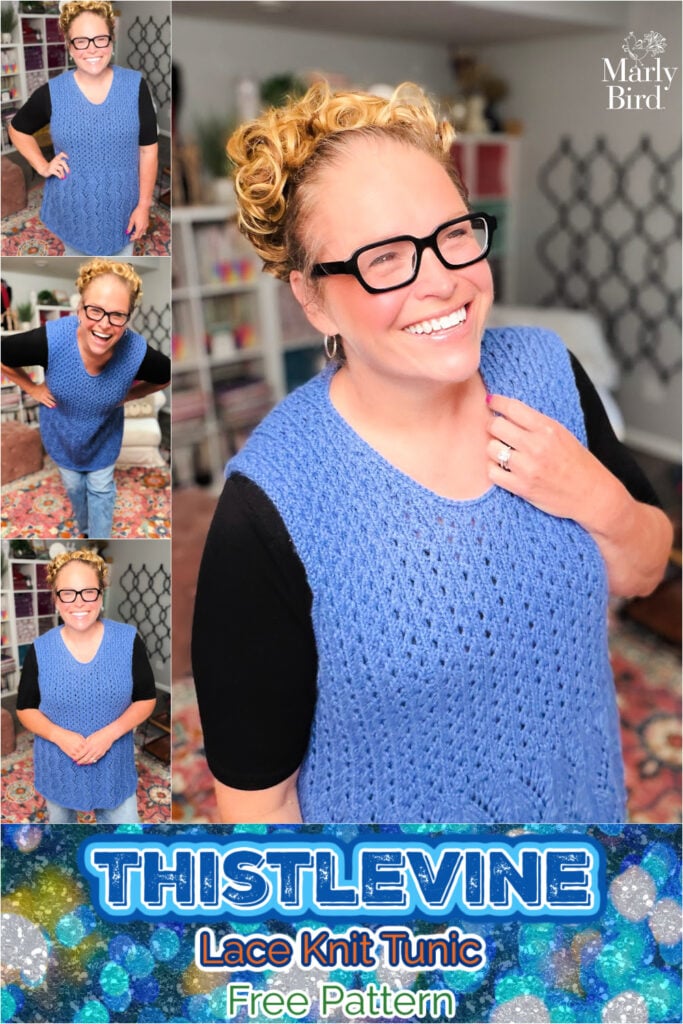
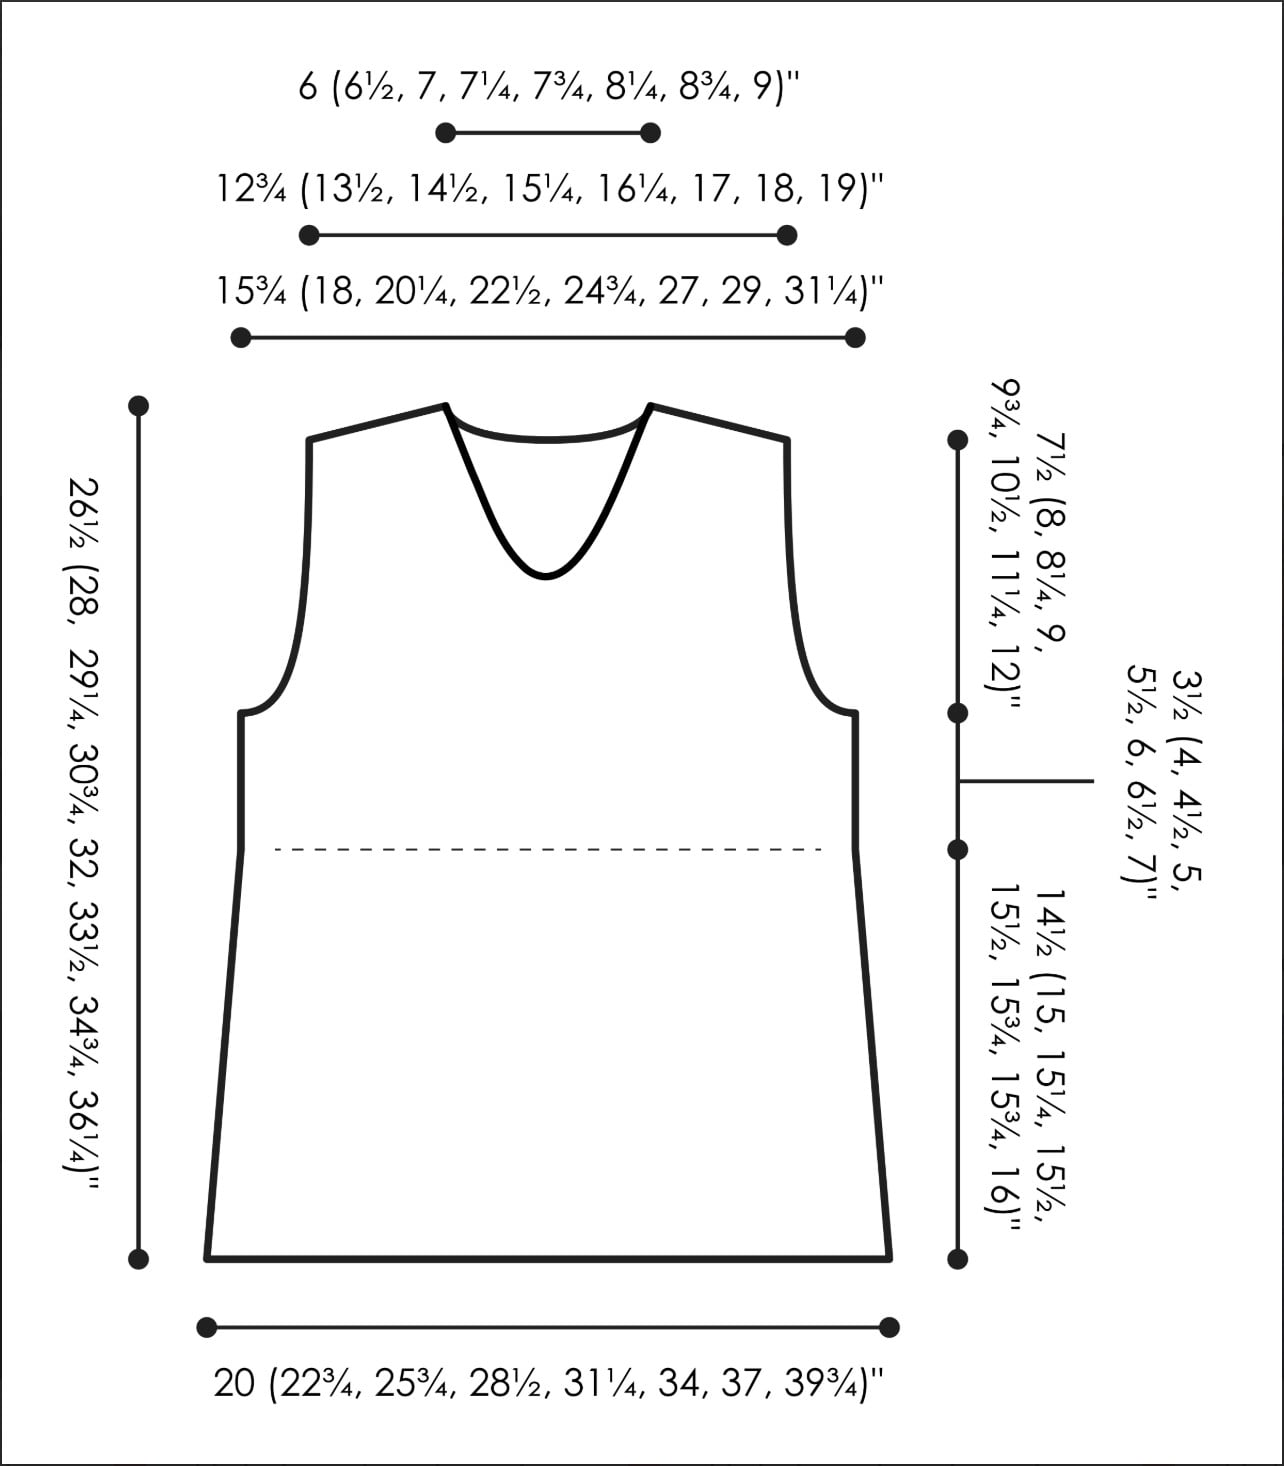
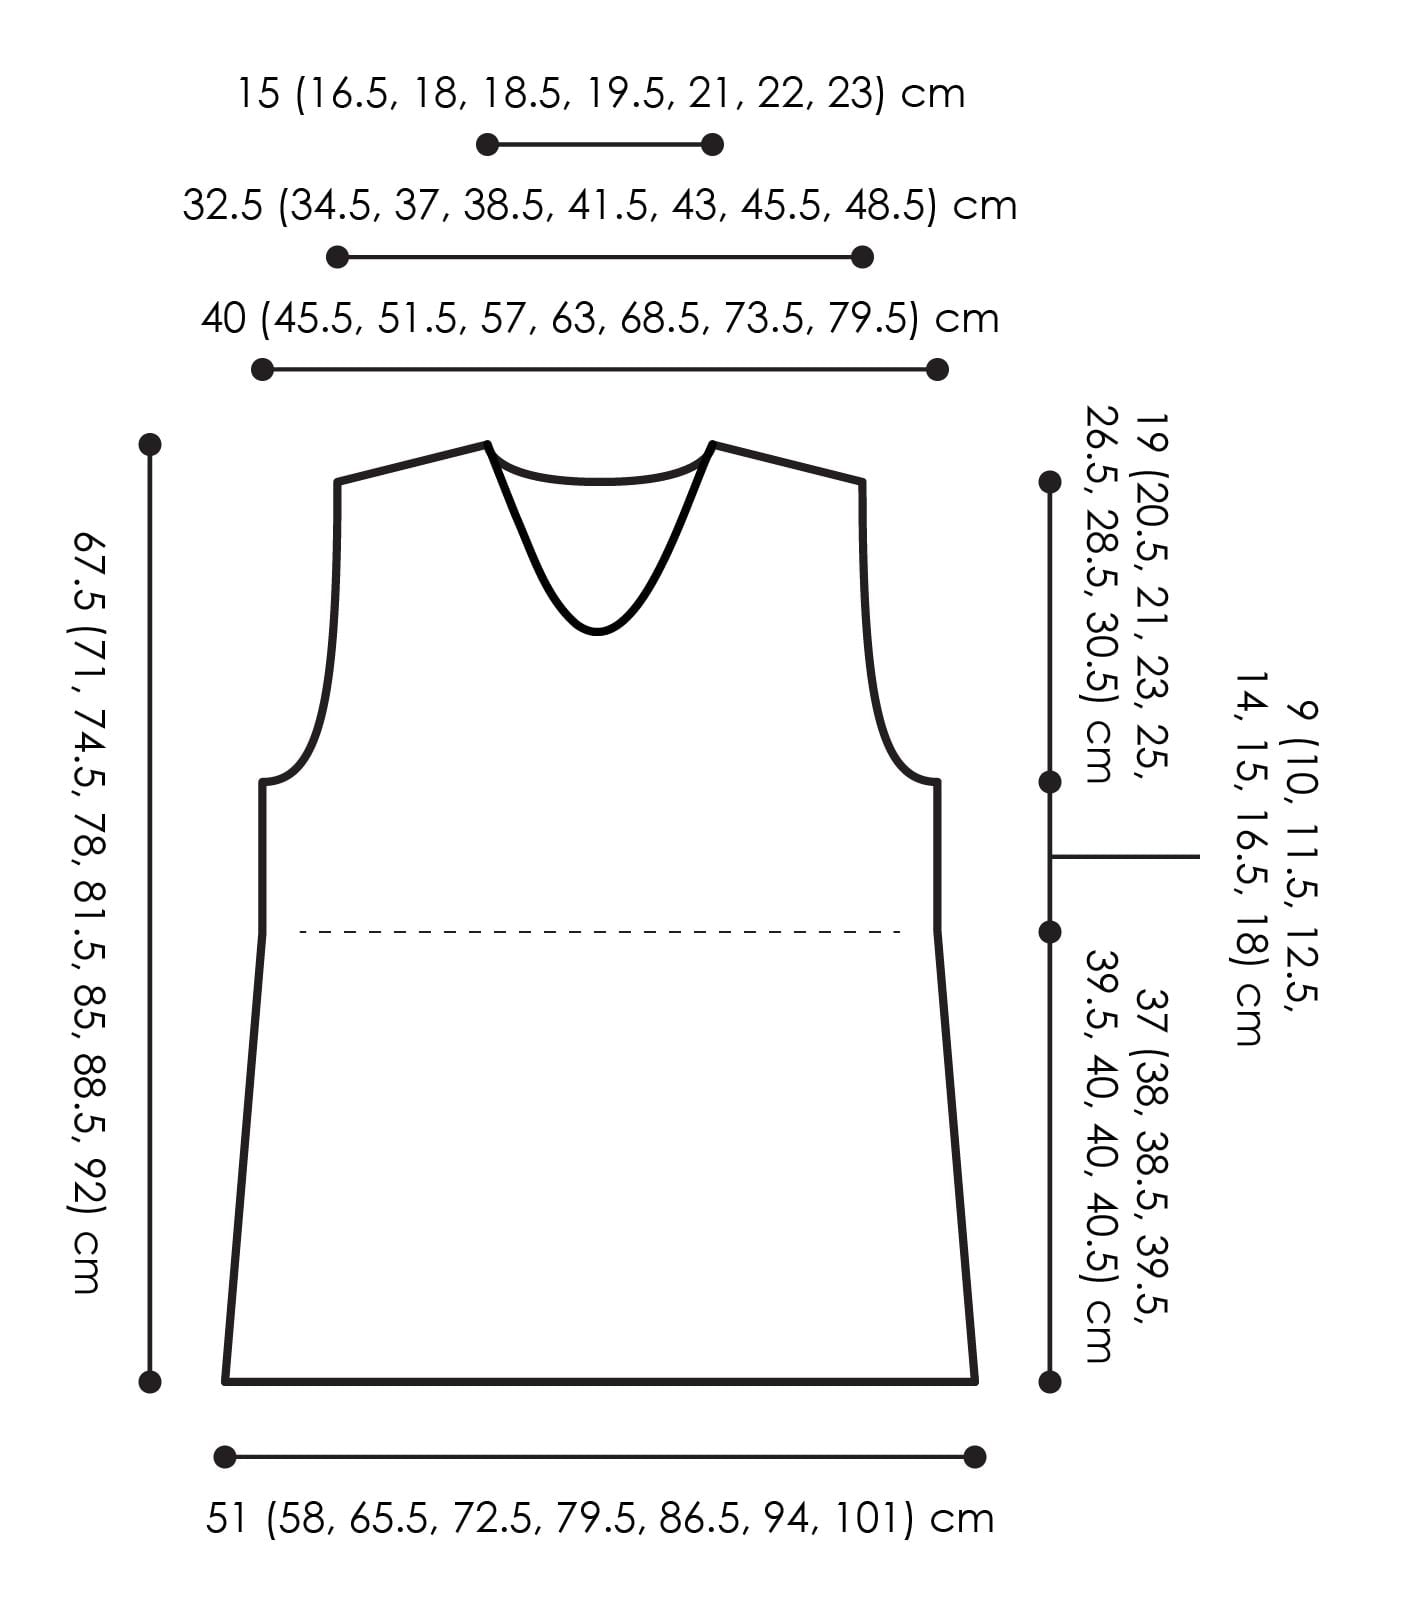
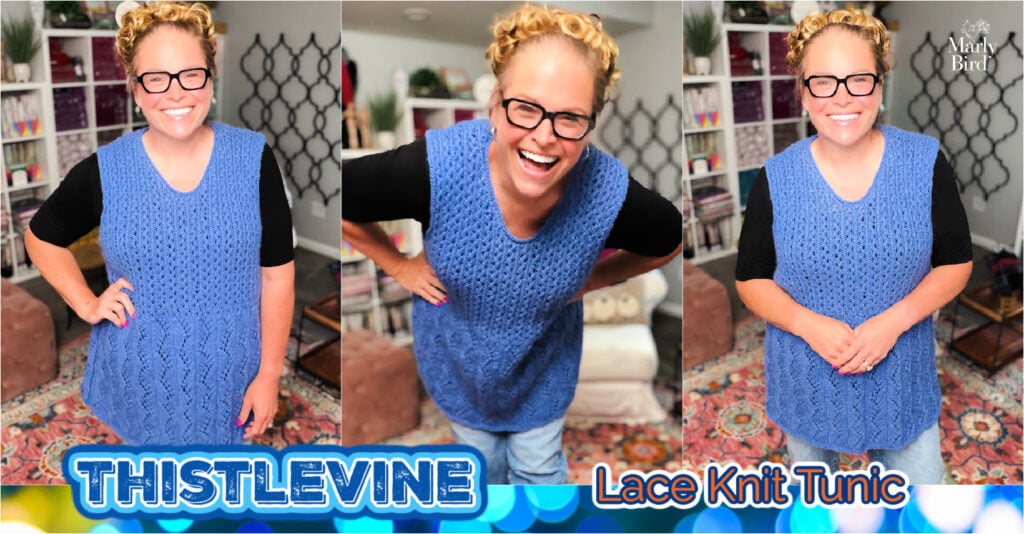
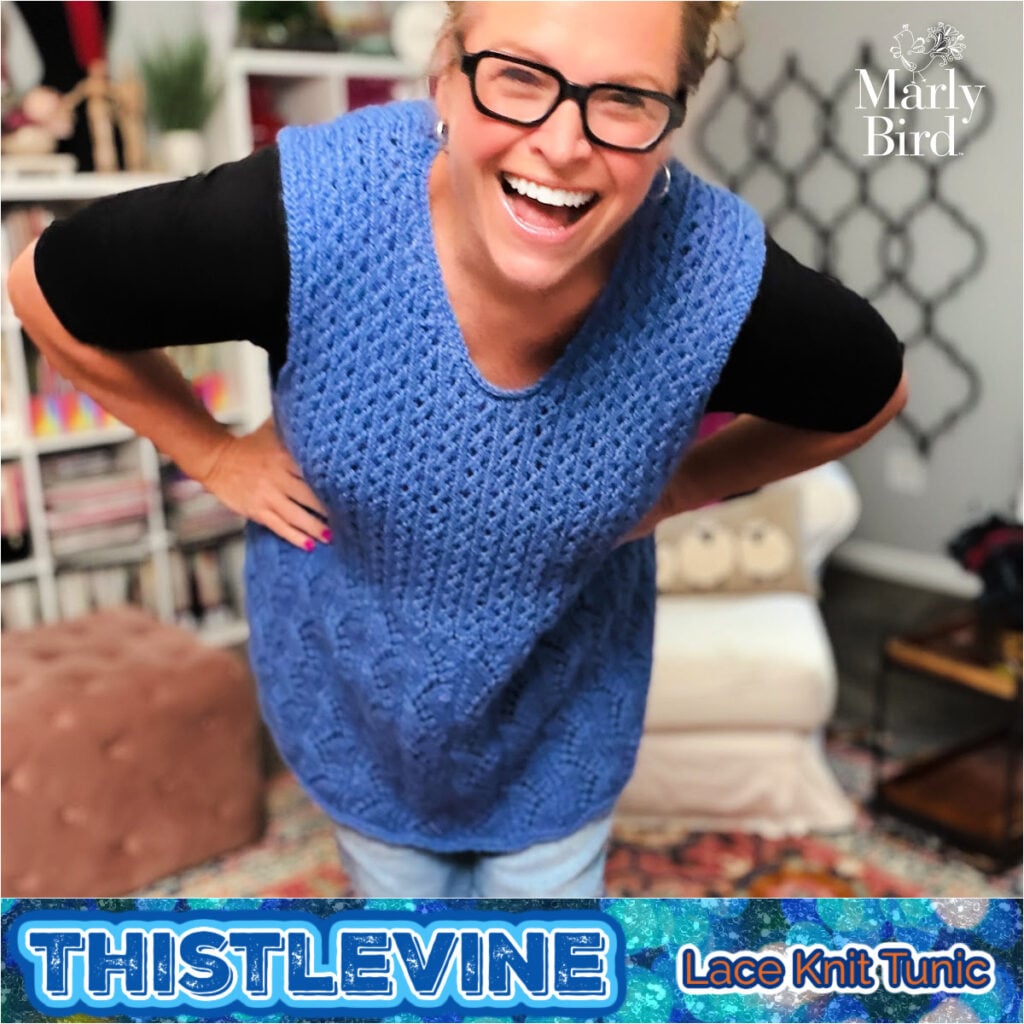
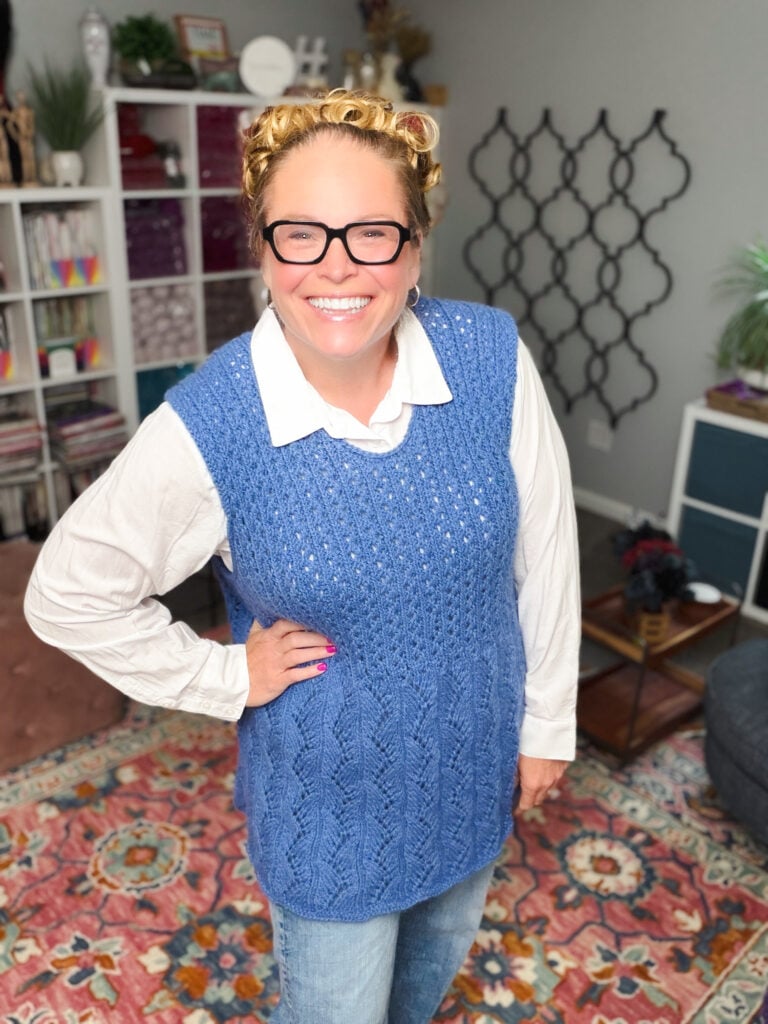
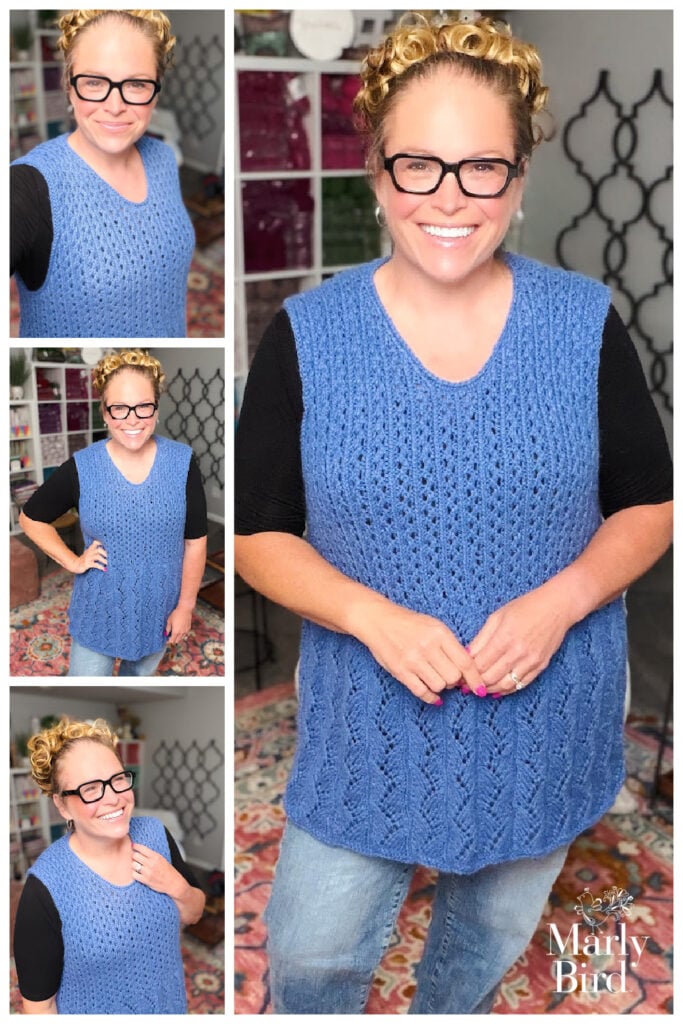
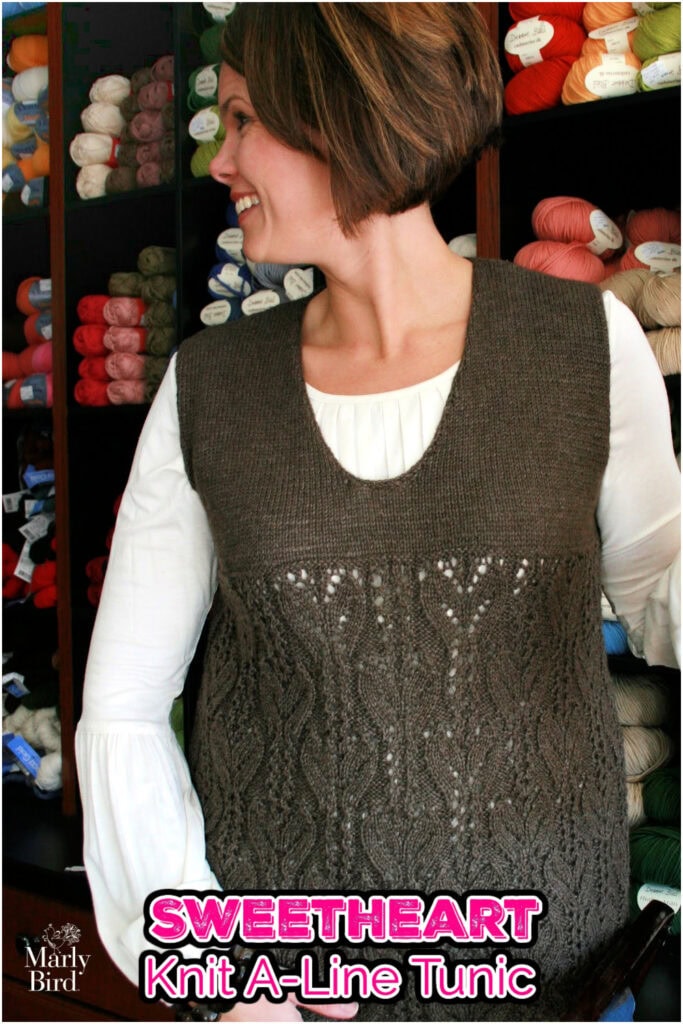
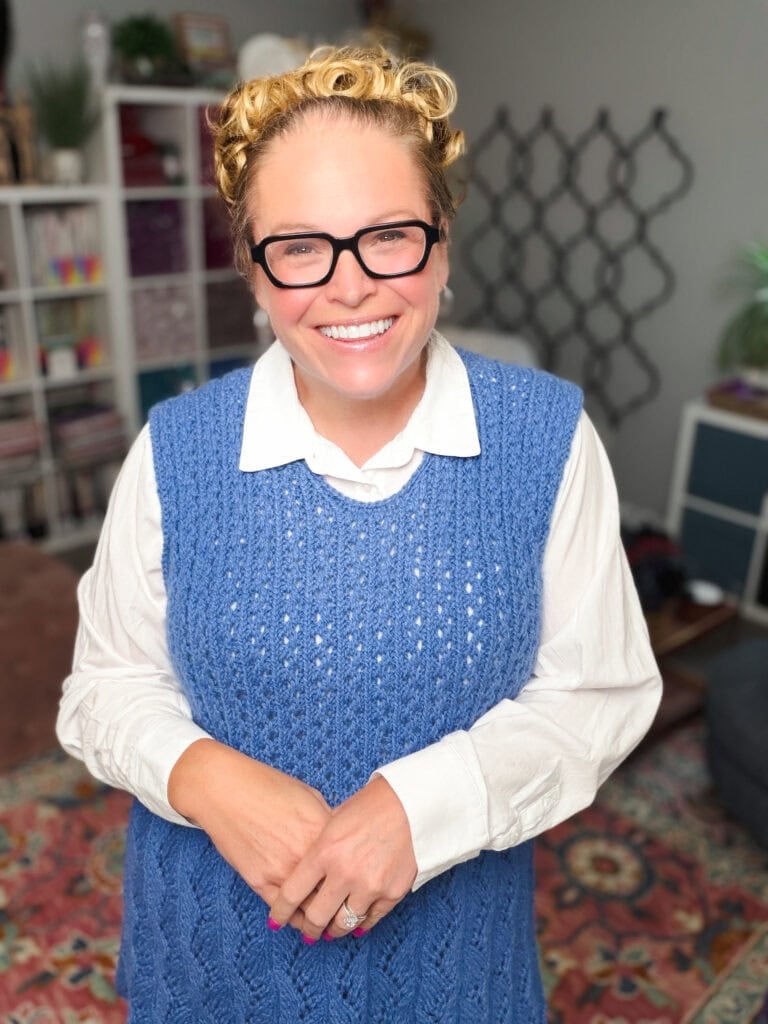
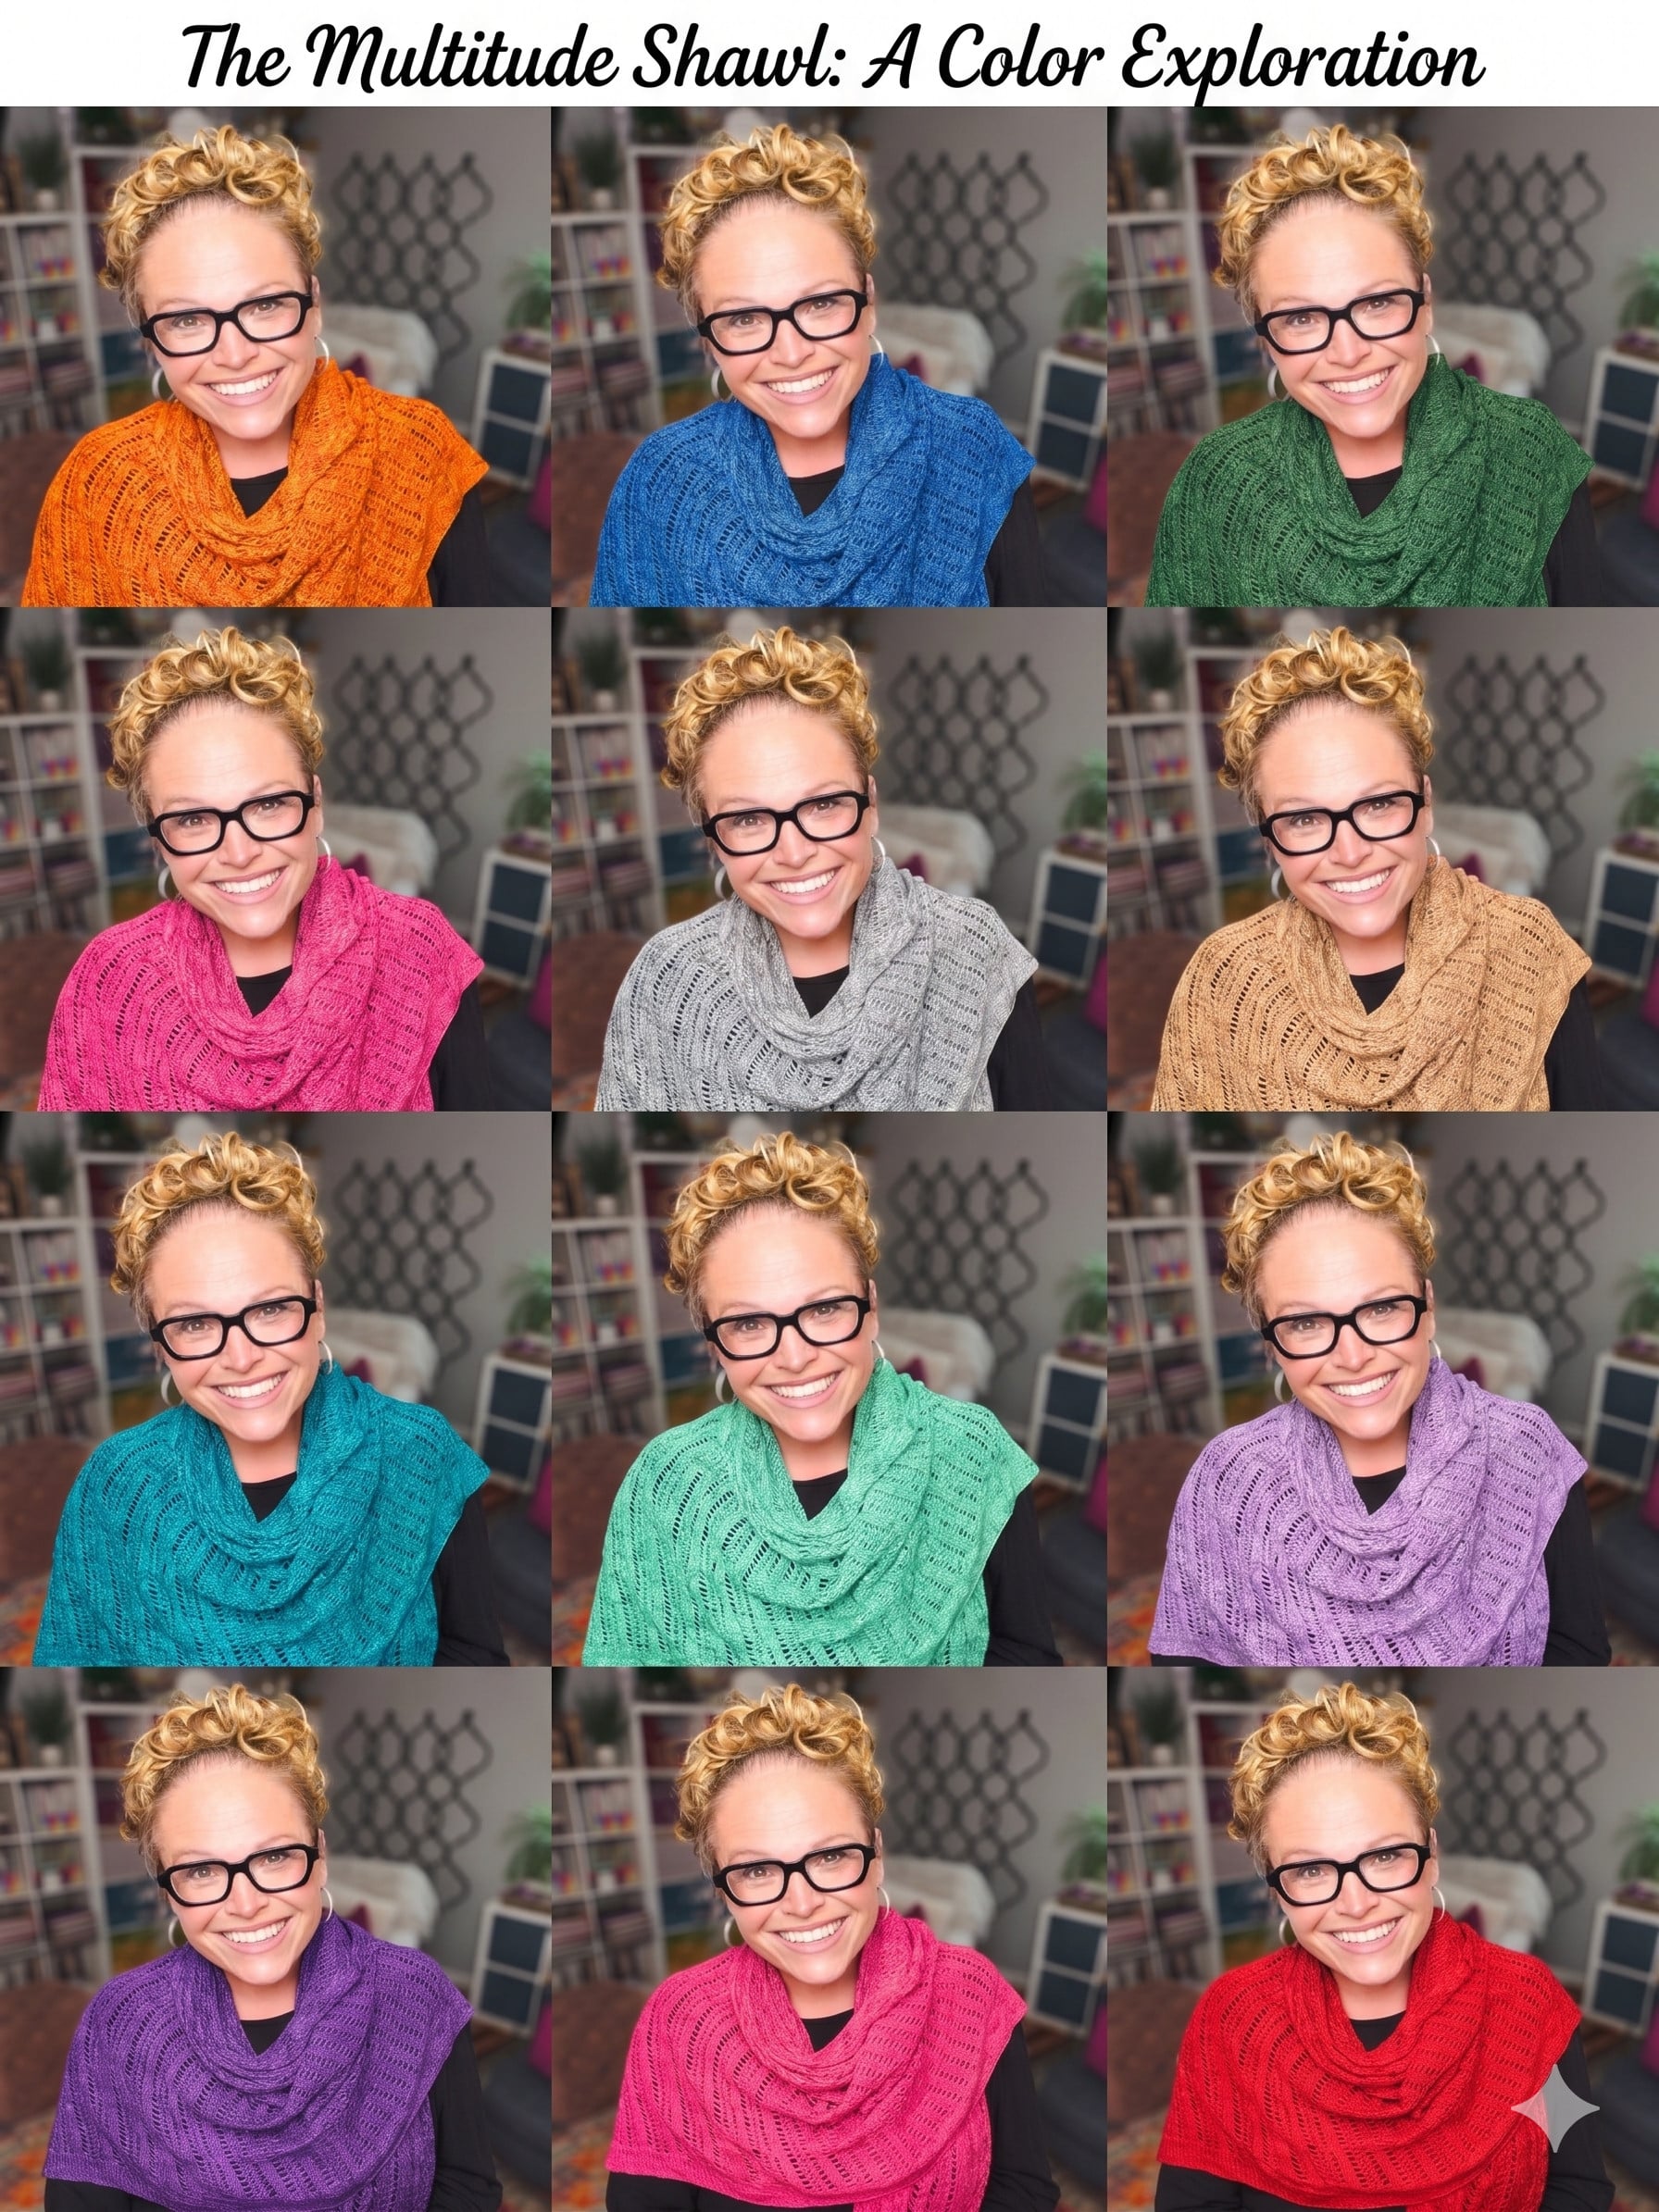
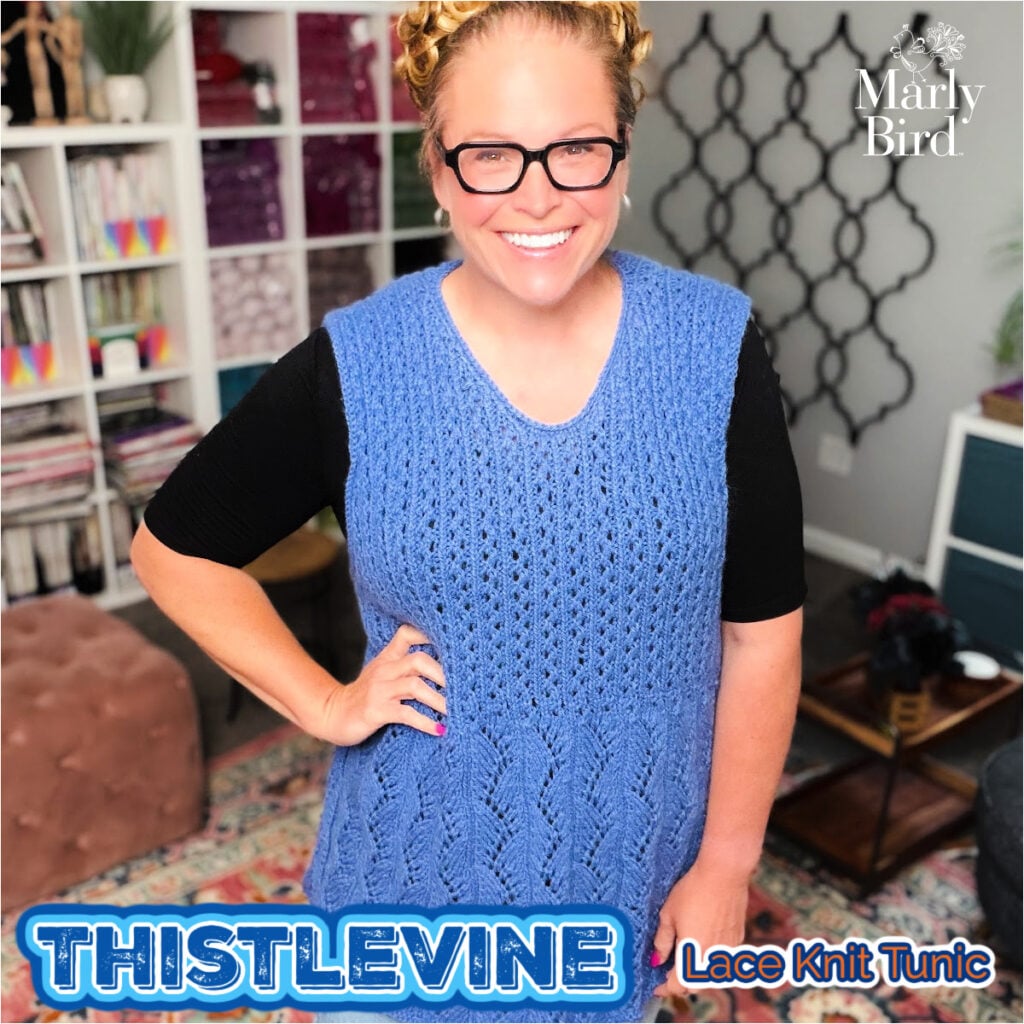
🌿 Thistlevine Knit Tunic Vest — Lace columns, zig-zag peplum, 8 sizes XS through 5X. This sleeveless shell is a canvas for color — the stitch texture catches light differently in different hues, and the post even has a dedicated 14-color section to help you choose. Make it in whatever color you've been saving for something special.
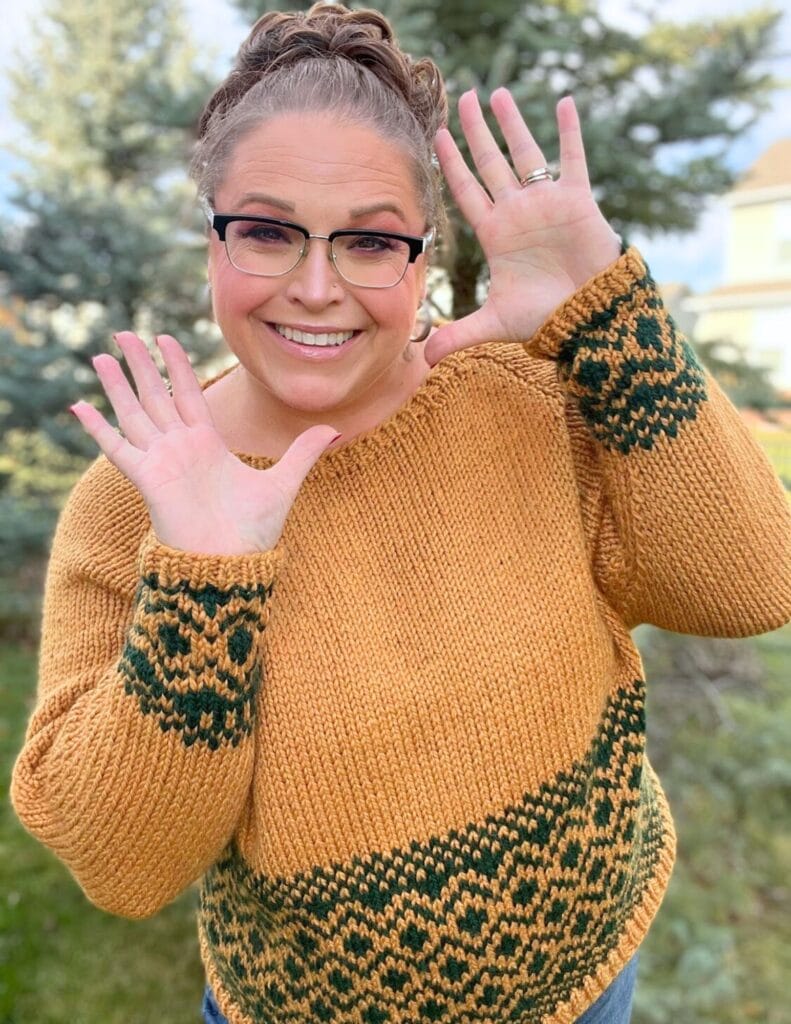
🙋♀️ Hello Again Knit Sweater — Simple bottom-up construction with stranded colorwork bands where it counts — enough pattern to be interesting, simple enough for your first colorwork garment. Pick two colors with real contrast and let the stranded section do all the talking. The construction is accessible; the result looks like you've been doing it for years.
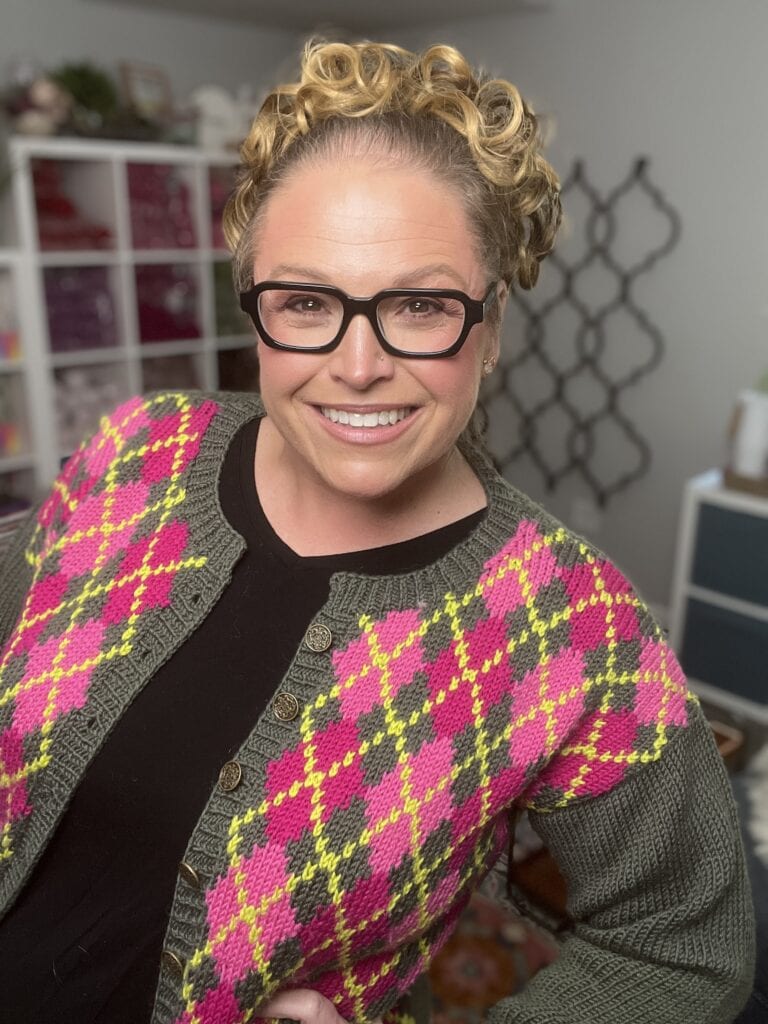
❤️ Chic Highland Intarsia Cardigan — An intarsia argyle cardigan that proves colorwork and classic tailoring aren't mutually exclusive. The argyle geometry is crisp, intentional, and unmistakably bold… the kind of statement piece that looks like it came from a boutique, not your own needles. Make it in the color combination you've been imagining — traditional navy and cream, unexpected burgundy and gold, or whatever argyle story feels most like you.

🎄 Looking for colorful holiday colorwork patterns? The Sleigh the Holiday Make-Along 2025 is packed with colorwork patterns — including the Dancer's Delight Cowl below. All the holiday patterns in one place.
Knit Accessories
Want to ease into color? Start here. Fast to make, zero risk, maximum satisfaction — and you'll have something colorful to wear by the weekend.
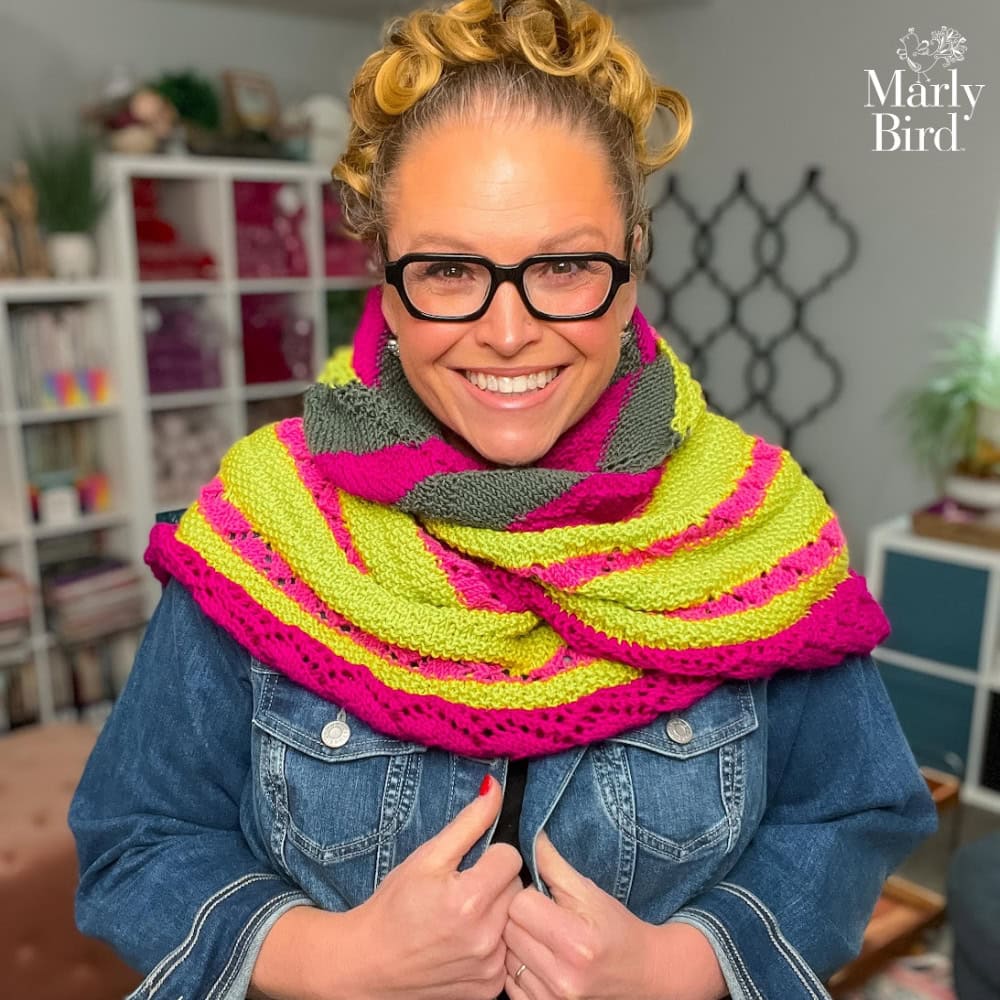
✨ Mariposa Chic Knit Shawl — Named for butterflies — and designed with the same intention. Stripe construction in multiple colors that reads as more complex than it actually is… because great color choices do most of the design work for you. Pick three to five colors that feel electric together and let the stripe structure turn them into something you'd wear every single day.
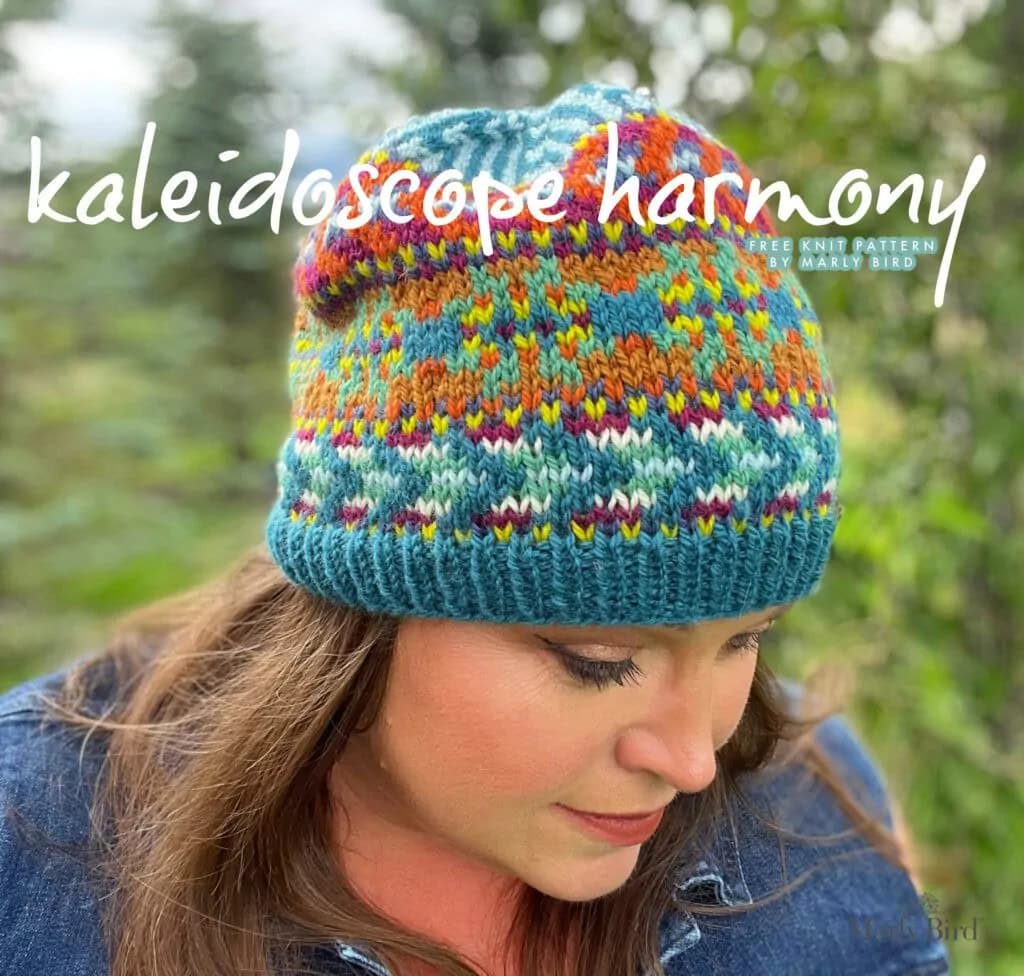
🎨 Kaleidoscope Harmony Colorwork Knit Hat — Stranded colorwork in hat form: the perfect entry point for the technique before committing to a full sweater. Simple charts, a mesmerizing multi-color kaleidoscope pattern, and the kind of finished object that makes people say “you MADE that?” This is also the pattern to make when you've got a collection of small skeins and scraps in colors you love but never quite knew what to do with. Knit those colors into something stunning.
🎮 Pixel Pop Knit Hat — Stranded colorwork in bold geometric pixel form. Two colors, one hat, and a graphic pattern that earns its name the moment it comes off the needles. A great complement to the Kaleidoscope Hat if you want to compare two styles of stranded technique — and Want a guided intro to stranded colorwork? The BiCrafty Bootcamp hat pattern walks you through the technique step by step →
🌙 Twilight Trails Knit Mosaic Slippers — Mosaic colorwork in slipper form, and a reminder that mosaic isn't just a crochet technique. Two colors worked one at a time create a graphic pattern across the foot. If you want to practice knit mosaic before tackling a sweater, this is the project — fast, useful, and the most colorful thing you could put on your feet.
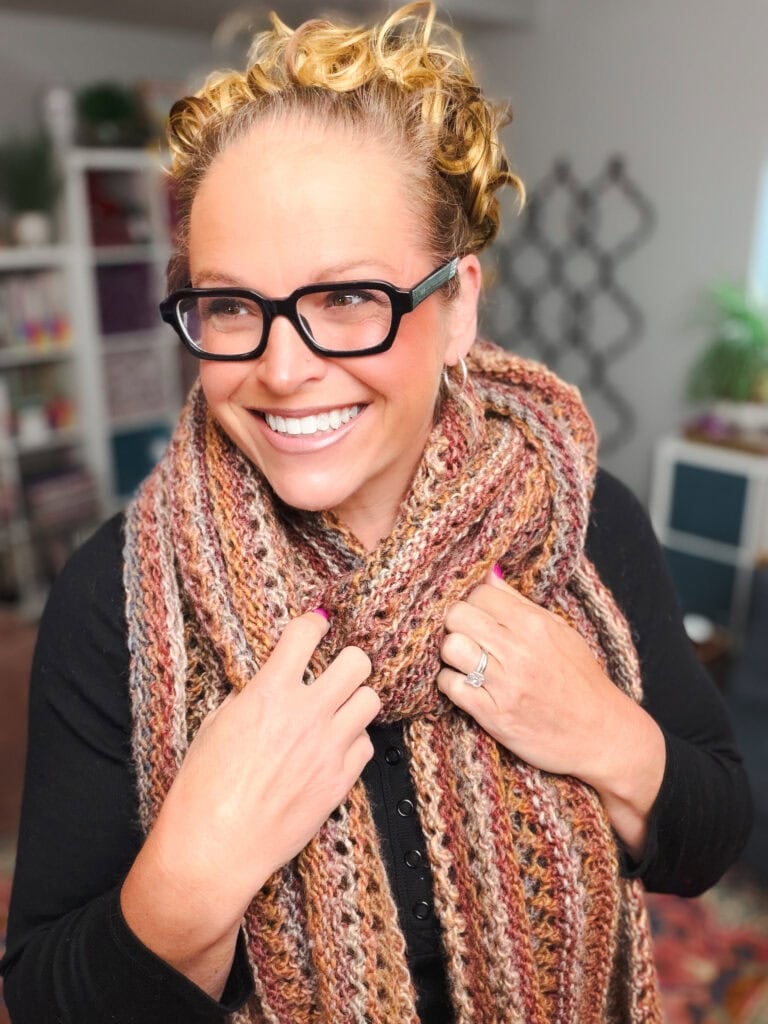
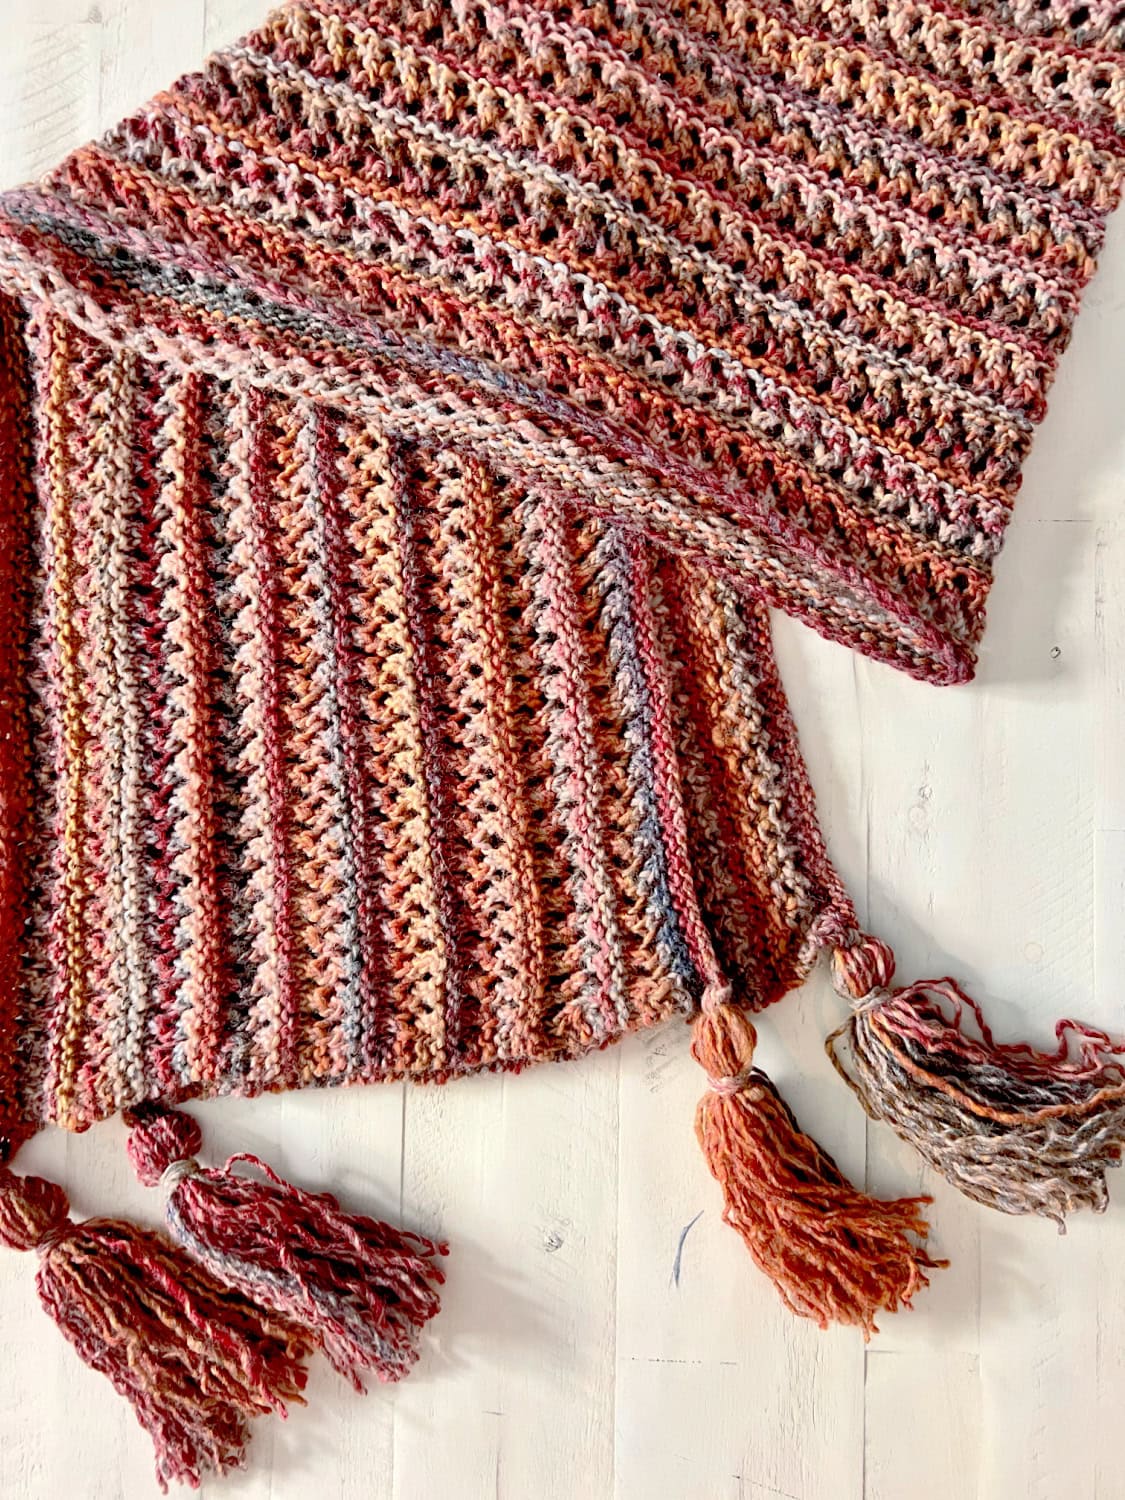
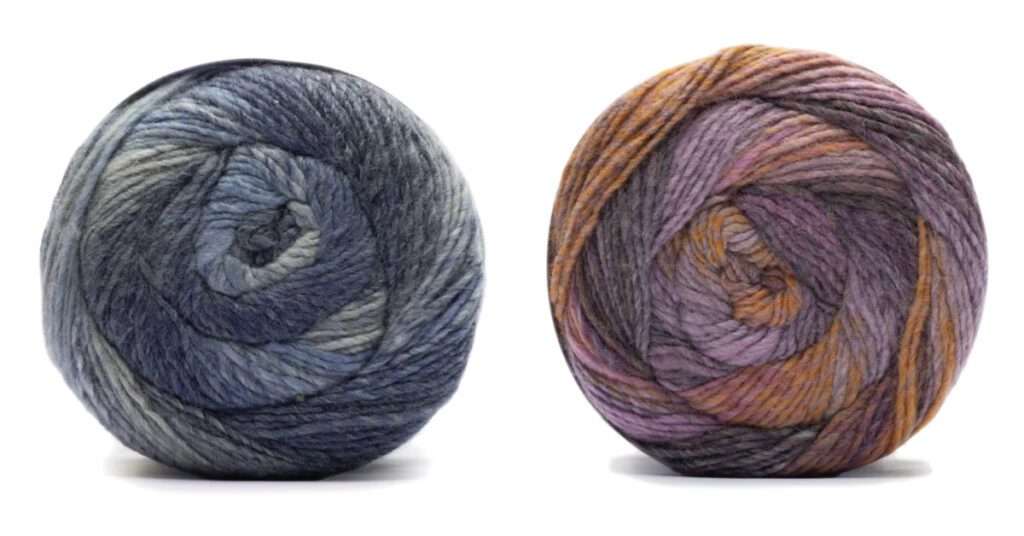
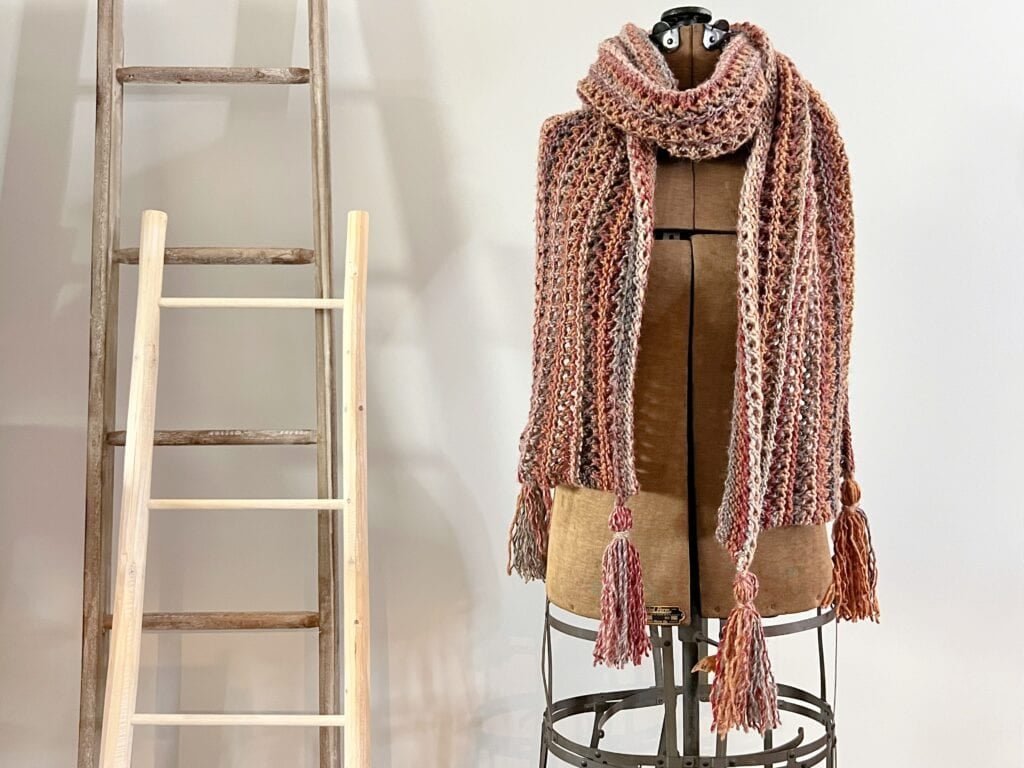
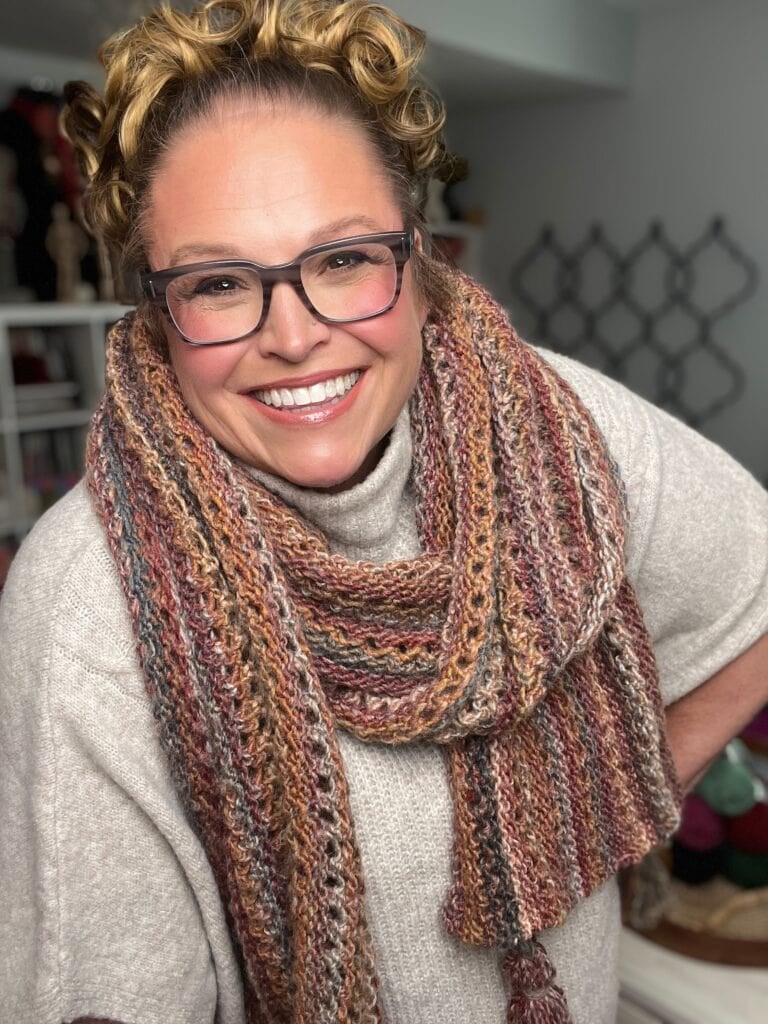
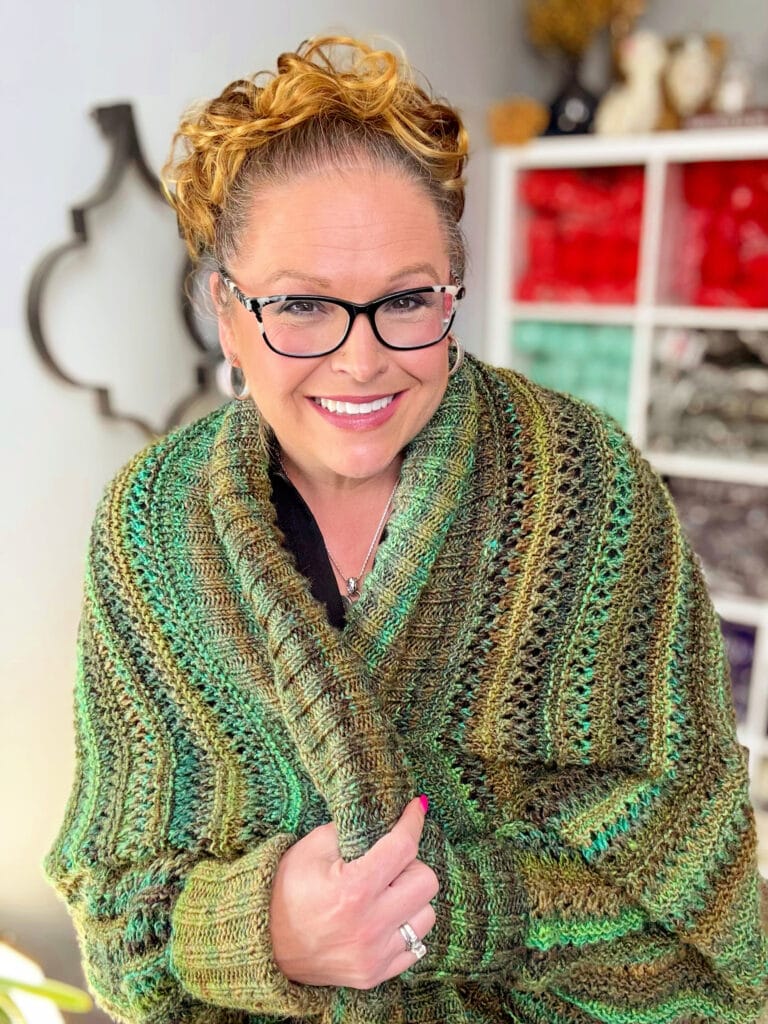
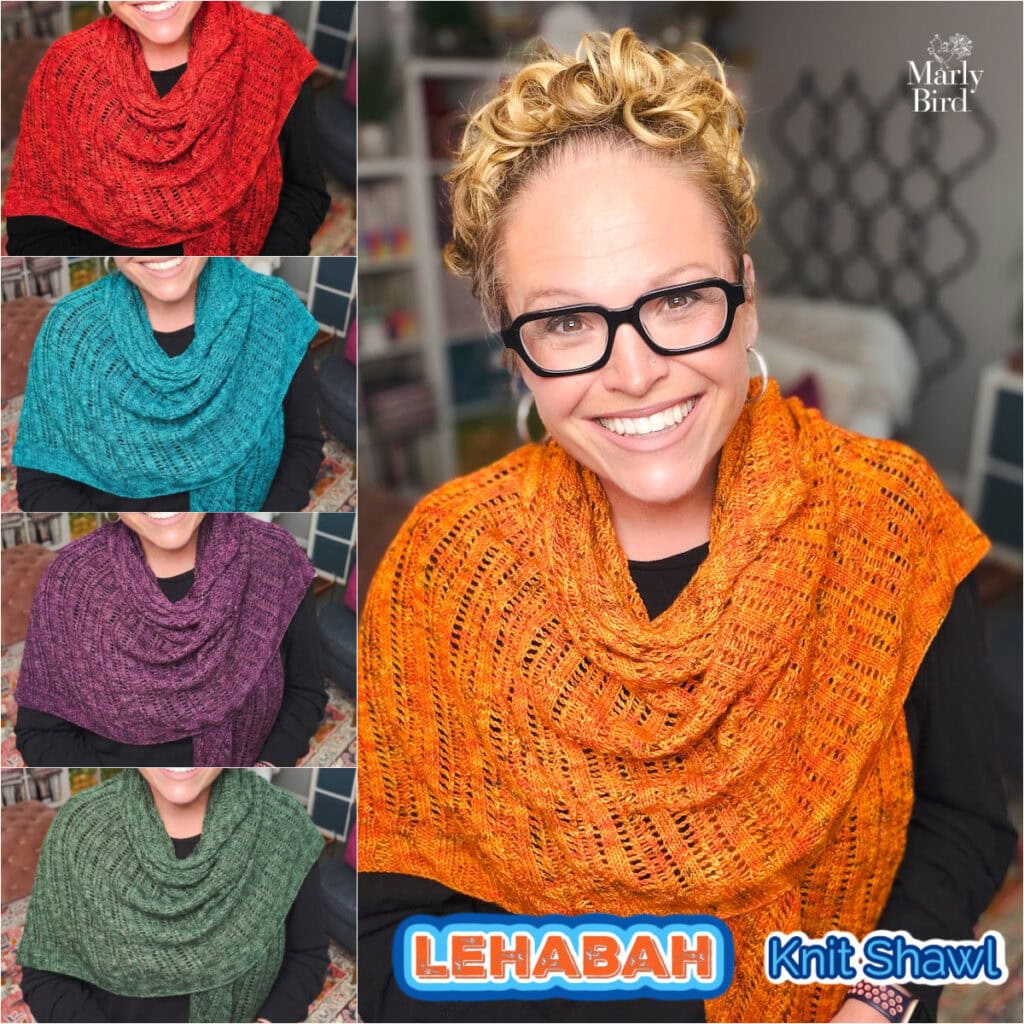
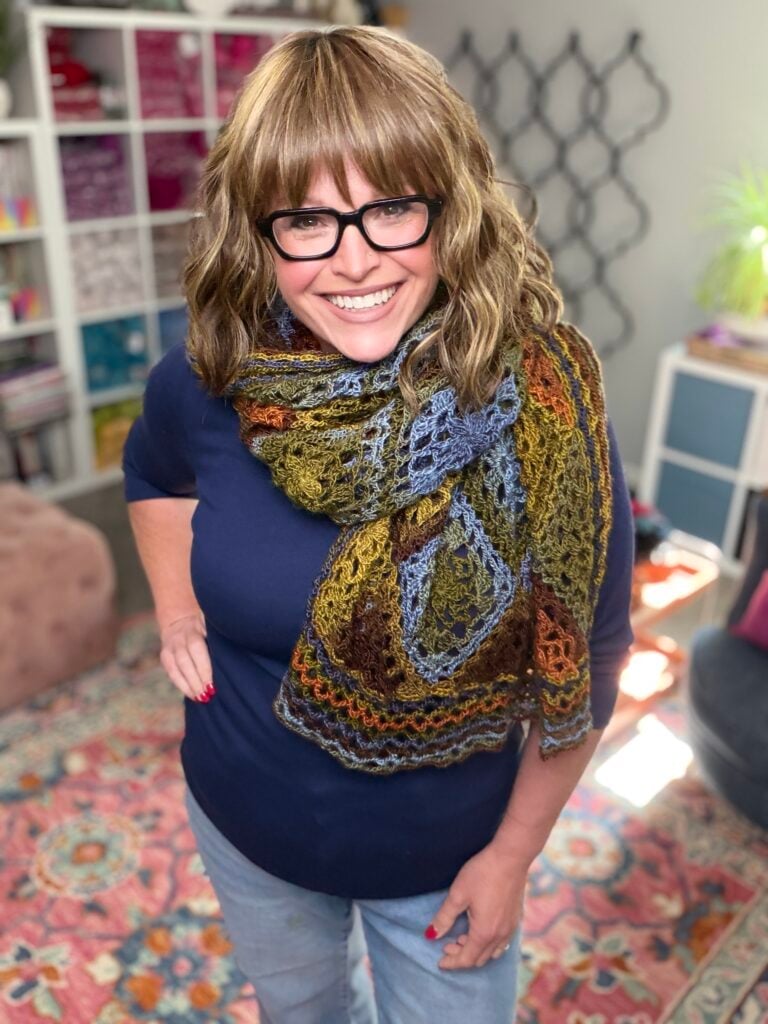
🔥 Lehabah Fire Sprite Knit Shawl — Inspired by fire: oranges, golds, ambers — the full warm spectrum at its most saturated. This is the direct antithesis of beige and it knows it. If you've been staring at a gradient skein in warm tones and wondering what to make with it, this is the answer.
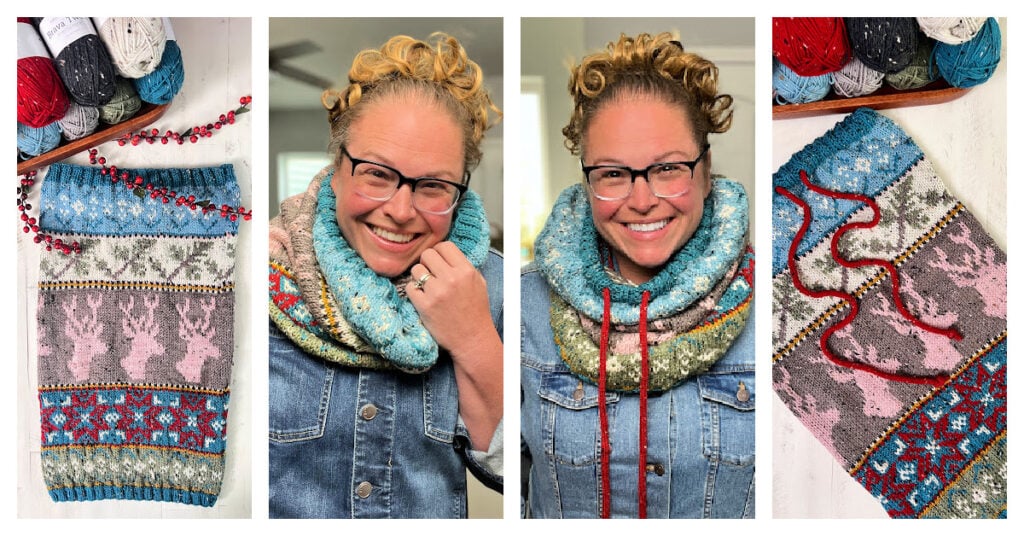
⭐️ Dancer's Delight Knit Cowl/Snood — From the Sleigh the Holiday Make-Along 2025… a cozy double-layer cowl worked in stranded colorwork with reindeer and snowflakes that prove holiday knitting doesn't have to mean beige and “classic.” Bold colors, a charted pattern that moves quickly, and a finished object you'll reach for every winter. See all the Sleigh the Holiday Make-Along patterns →
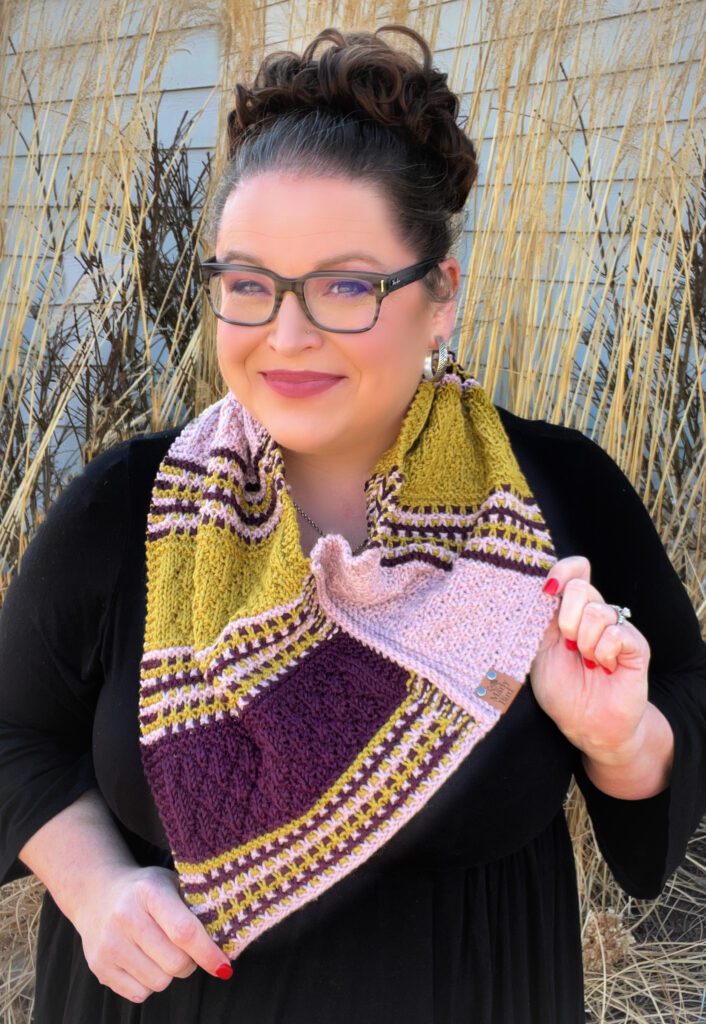
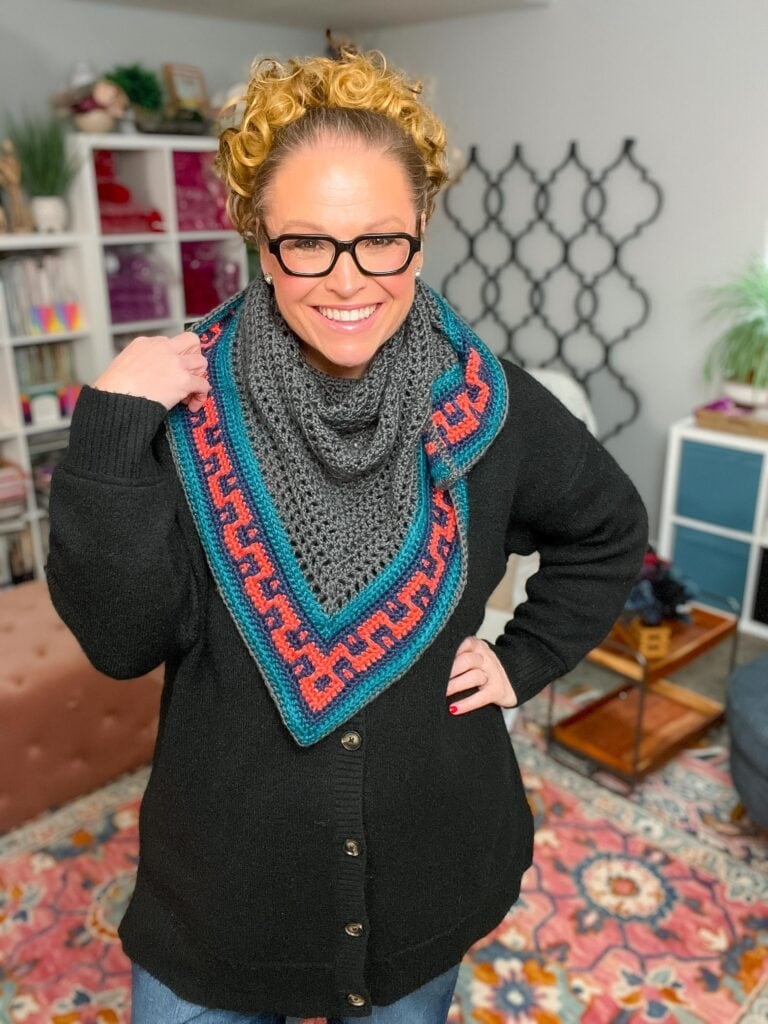
🌸 Bamburg Bandana Cowl — An easy-wear bandana-style cowl with texture and colorwork detail that looks way more sophisticated than the skill level requires. Step-by-step video tutorials make it genuinely accessible even if you've never done this construction before… great project for learning how colorwork transforms a simple shape.
❄️ Chill Out Knit Hat — A cozy, colorful winter hat with that instantly-wearable quality that makes hats the perfect colorwork entry point. If you've been wanting to try knit colorwork but weren't ready to commit to a sweater, start here — same techniques, a fraction of the time investment, and something warm on your head by the weekend.
🎨 Free Knit Intarsia Patterns — Roundup — If you want to go all the way in on color as a knitter, intarsia is your technique. Geometric shapes, bold colorblocking, picture knitting — this roundup covers the full range. Intarsia is color by definition. You literally cannot do it in neutrals.

Knit Home Decor
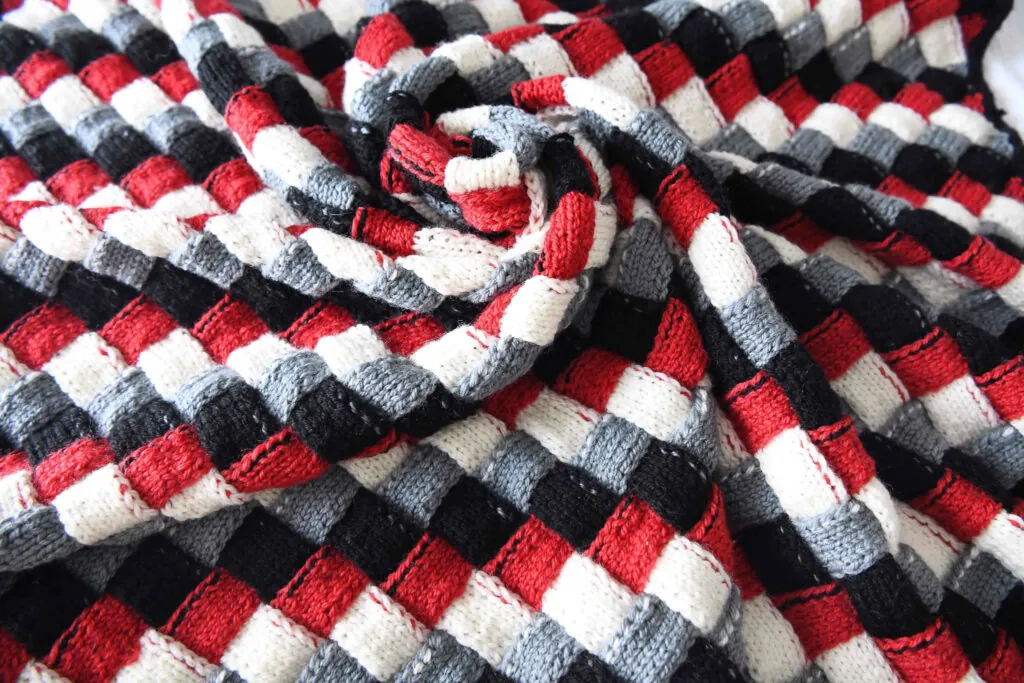
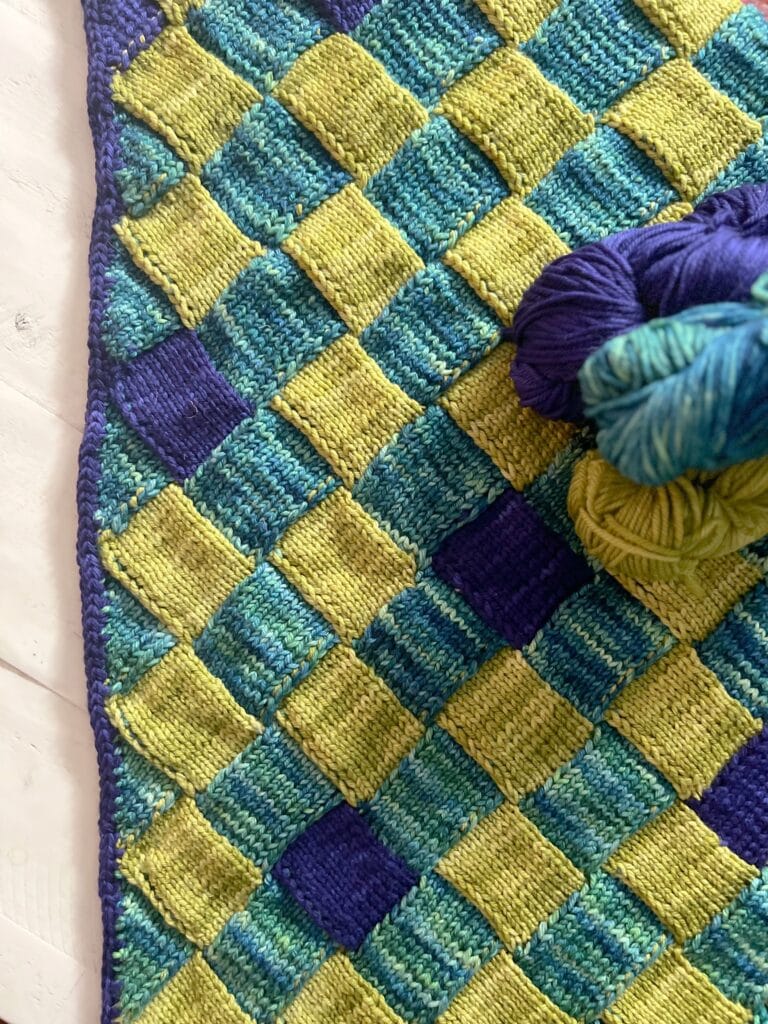
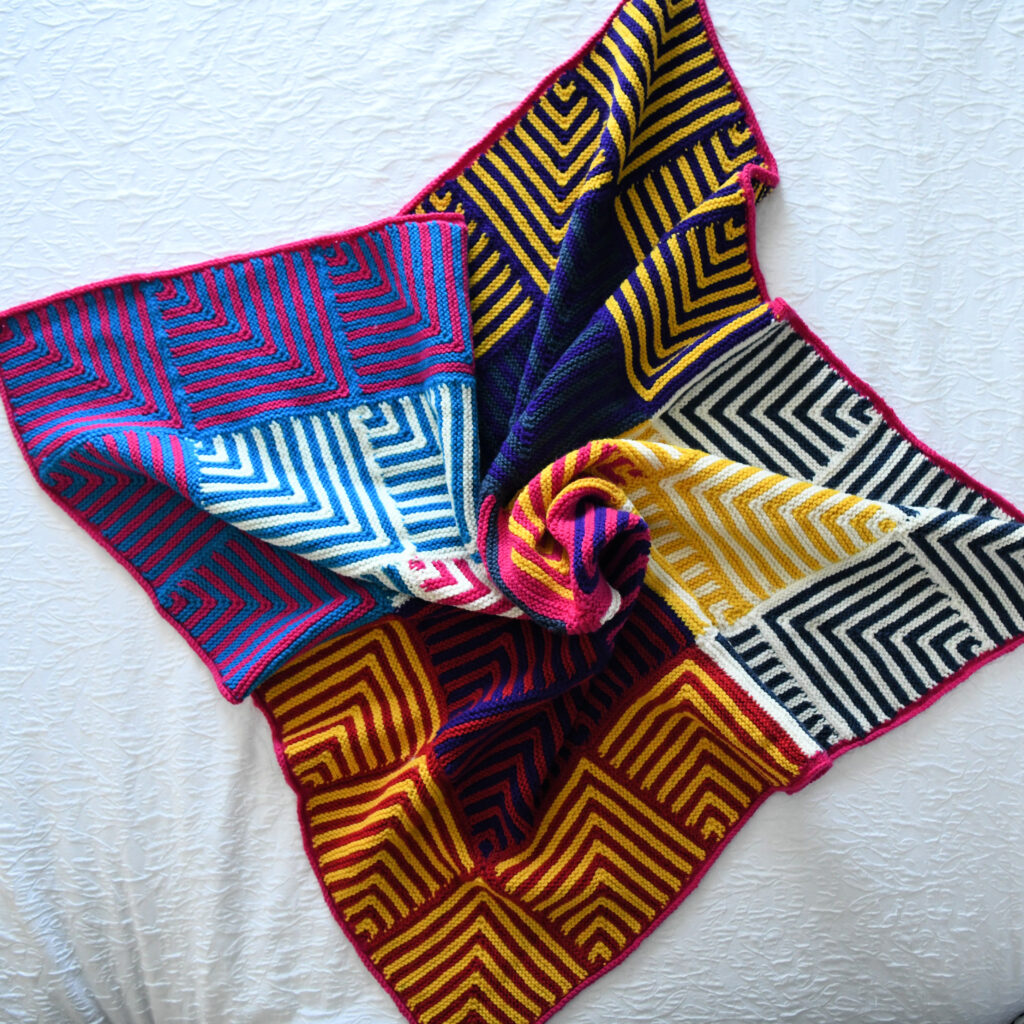
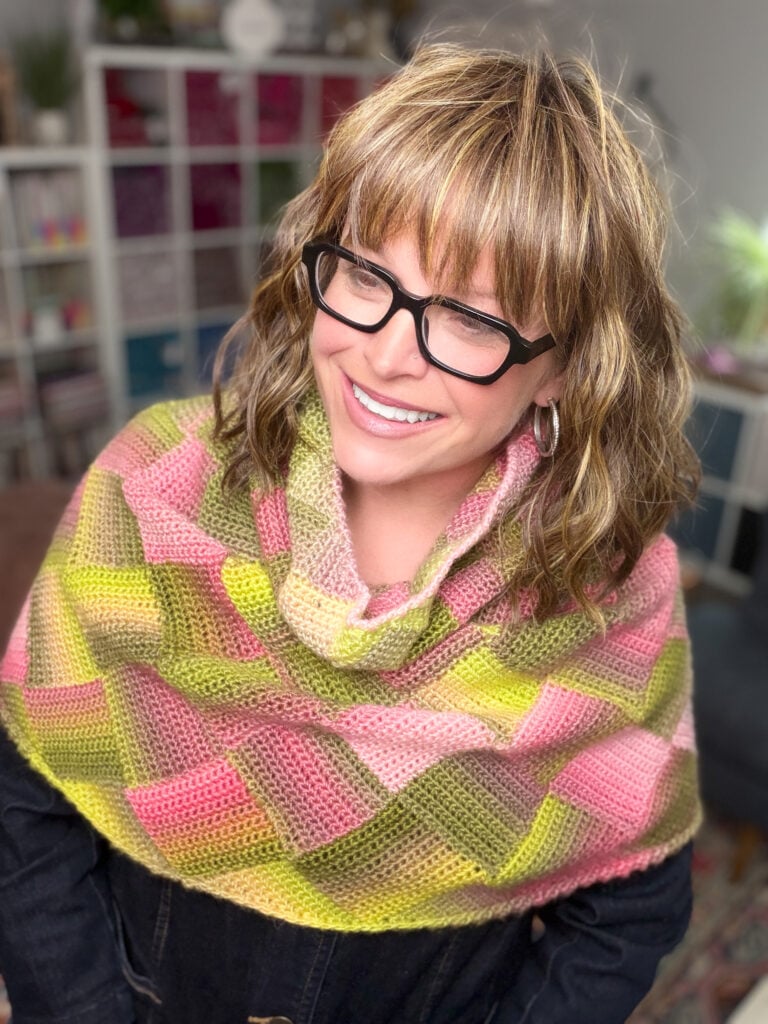
🏎️ Racecar Entrelac Knit Blanket — Entrelac construction with a bold color concept built right into the name. The geometric grid of entrelac makes color look architectural — each square frame is its own stage for a different hue. Make it in your team's colors, your kid's favorite palette, or the boldest combination you own.
🐲 Dragonscale Enrelac Knit Blanket — All the geometric drama of entrelac in a pattern that earns every syllable of its name. Rich, saturated jewel tones — deep teal, emerald, burgundy, gold — turn this into something that reads like armor made soft. The kind of blanket that lives on the couch and invites questions from every person who sees it.
🌈 Chic Sheep Dream Blanket — Intarsia sheep on a geometric background — graphic, playful, and proof that intarsia isn't just for adult sweaters. A bold background color makes the sheep pop… and the motif is cheerful enough that you'll want to keep making it well past a reasonable bedtime.
🎉 Steve Miter Knit Blanket — Miter square construction means every square is its own color decision, and the final blanket is every choice stacked into something magnificent. This is stash-busting at its most geometric… the more colors you use, the more interesting the result. A perfect project for every bright single skein you bought without a plan.
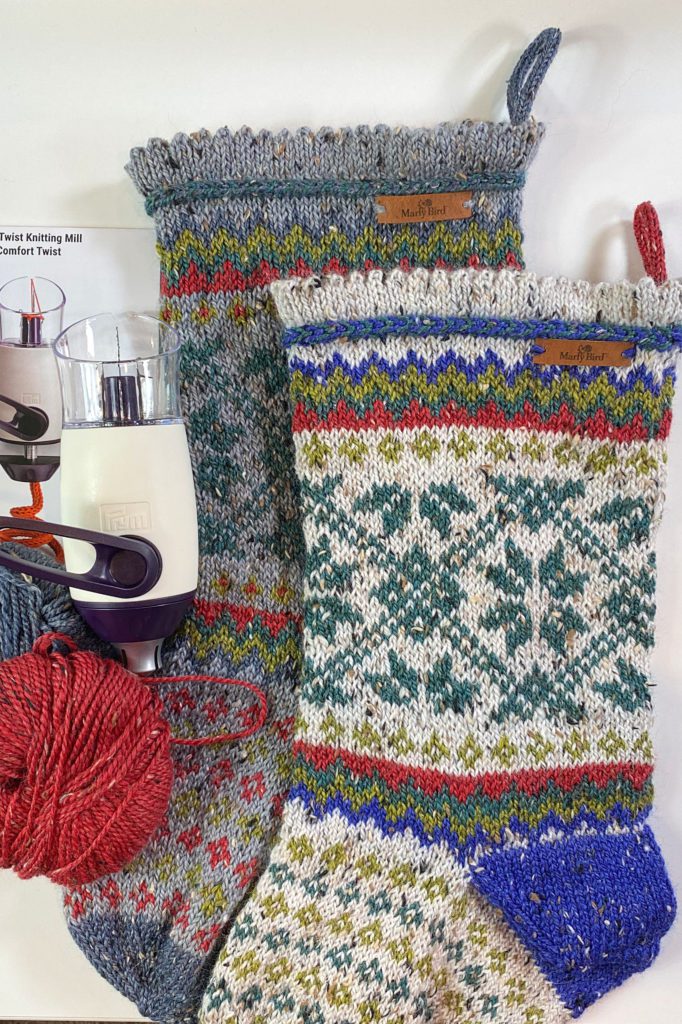
🎄 Christmas Stockings — The holiday pattern collection where bold color isn't just allowed — it's the whole point. Red and white, green and gold, navy and cream… whatever your Christmas palette, the stocking shape is the perfect canvas for it. These are the ones that hang on the mantle for years and become part of the tradition.
🎉 Christmas Ornaments — Knit holiday ornaments in whatever color combination makes your tree feel like YOU designed it. Small enough to finish in a sitting… bold enough to be the ornament everyone asks about. Perfect project for those small leftover skeins in brilliant holiday colors.
🧶 Want even more colorful knitting patterns?
There's a whole collection waiting for you: Marly Bird's Most Colorful Knit Patterns → This post is just the beginning.
Join our Newsletter
Get Free Crochet & Knitting
Pattern Links & Coupons!

Colorful Crochet Patterns 🪡
Crochet and color have always been soulmates. Here's the proof.
Crochet Garments
Yes, you can crochet a sweater in color. Yes, it will be the best thing in your closet. The neutrals era convinced a lot of people that garments had to play it safe. They don't.
🌈 Spectrum Stitch Crochet Swoncho — The name says it all. This swoncho (sweater + poncho, with actual sleeves so it stays put) was designed for the Prism Make-Along 2025 and uses mosaic colorwork to create a garment that looks like it was crocheted from a color spectrum. DK weight, top-down, beginner-friendly with 10-part video tutorials if you want to follow along step by step. This is the crochet garment that earns the most comments from strangers… and it earns them entirely because of color.
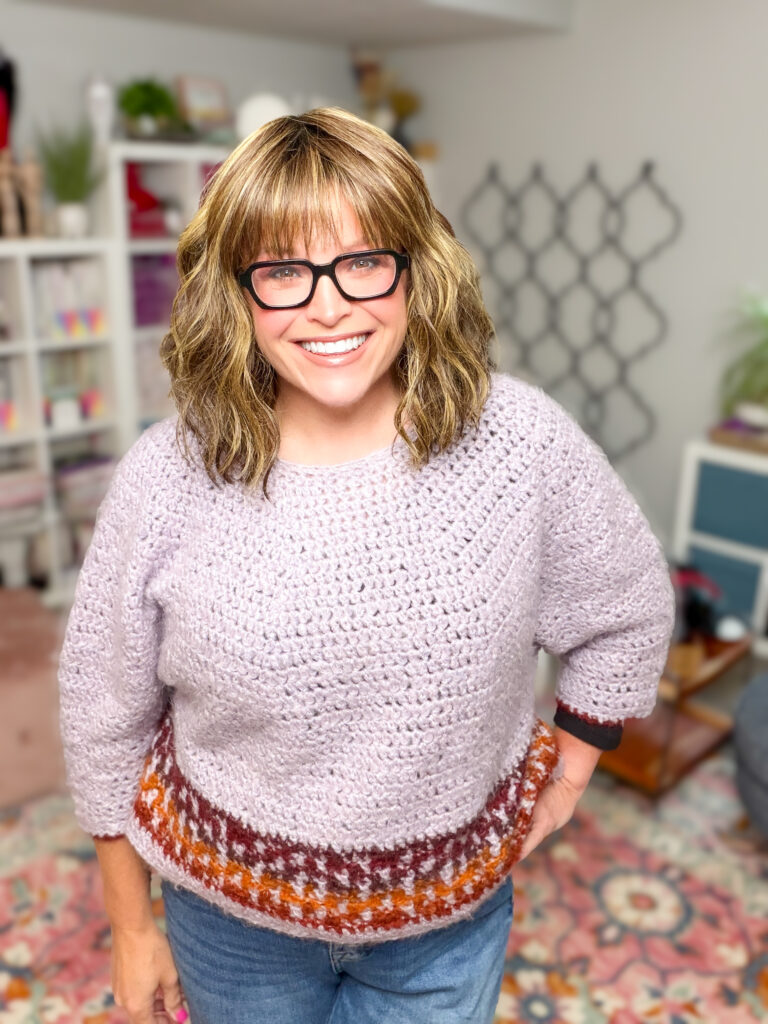
🟠 Pumpkin Spice Cropped Crochet Sweater — Mosaic — Two colors. That's it. The mosaic technique takes two colors and makes them look like twenty — the colors blur and layer into something that looks impressionist up close and graphic from across the room. Great first garment AND great first colorwork project. The pattern just got a full rewrite with fresh photos and five yarn alternatives for the discontinued Bernat Plentiful. Now's the time.
🌿 Northwoods Crochet Cardigan — Robyn Chachula's quick weekend cardigan, and one of the best canvases for color in the whole catalog. The Northwoods post literally has an entire section called “Make It Your Own — The Northwoods in Every Color” — because this simple construction looks incredible in any bold, saturated hue. Forest green, deep teal, terracotta, burnt orange. Pick the color that's been waiting in your stash and make your weekend project count.
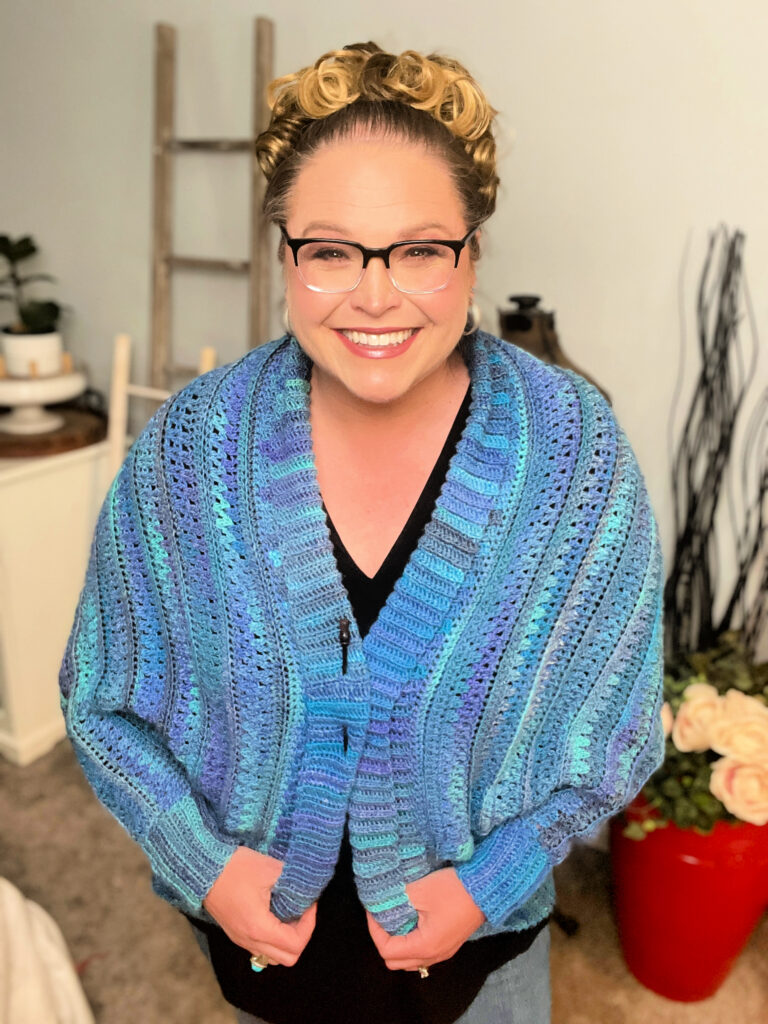
🌊 Sookie Crochet Cardigan — Worked in Red Heart Roll With It Mélange, a self-striping gradient yarn that builds the color into the fabric for you. This is the secret move for crocheters who want a colorful garment without doing traditional colorwork… the yarn handles the whole thing automatically. You just crochet. The color shows up on its own.
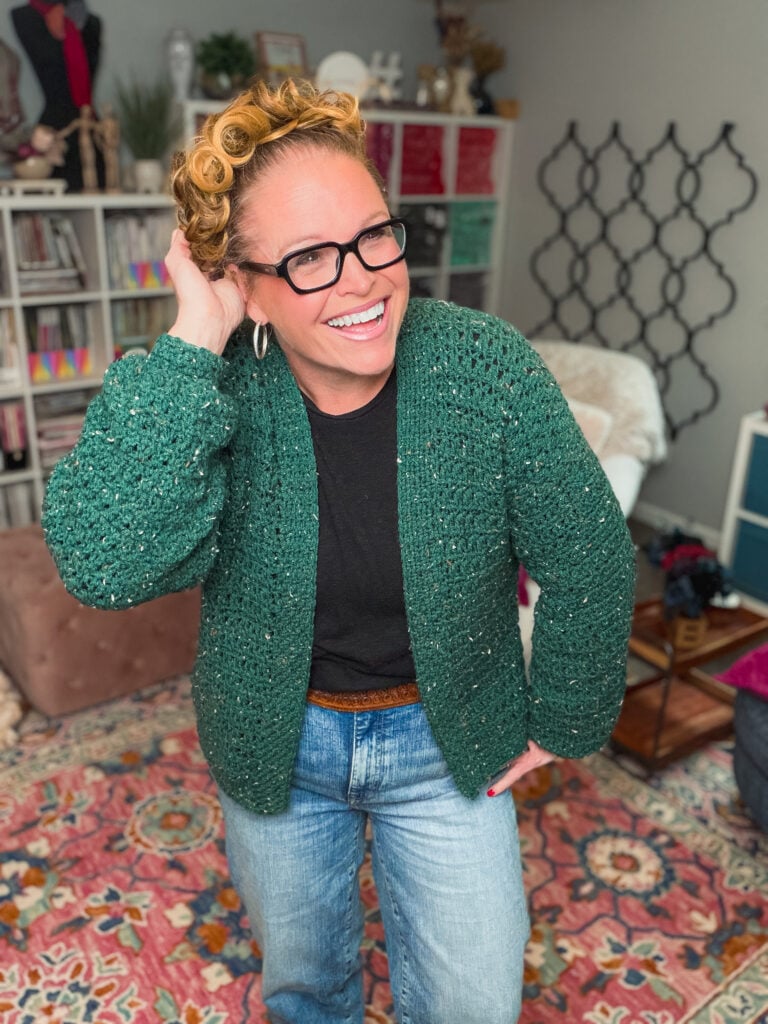
🌸 You Are Valued — A cozy, enveloping cocoon cardigan worked in one continuous piece — and in a bold, saturated color, it transforms into something that makes you feel genuinely held. The drape of a cocoon construction is showcased beautifully by a single standout hue. Make it in the color that makes you feel most like yourself.
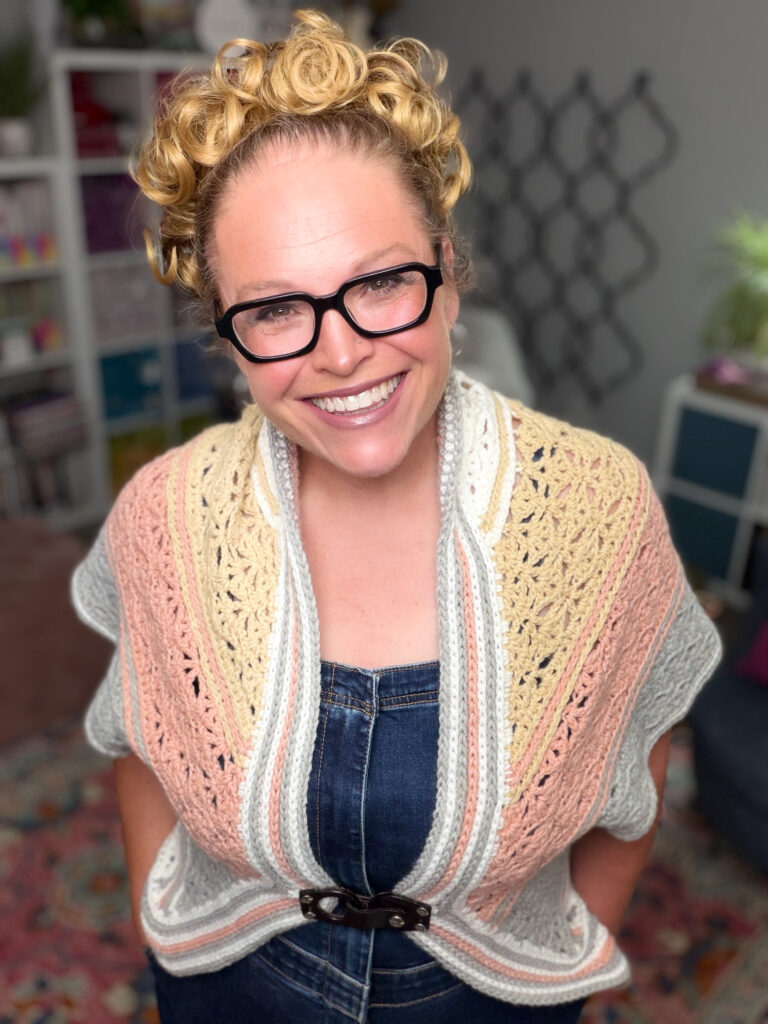
💕 Amaya — A free crochet shrug in a simple, wearable silhouette — and in a bold, saturated color, it becomes the piece that upgrades every neutral outfit without replacing any of it. Start with the color that feels like the upgrade your wardrobe has been waiting for.
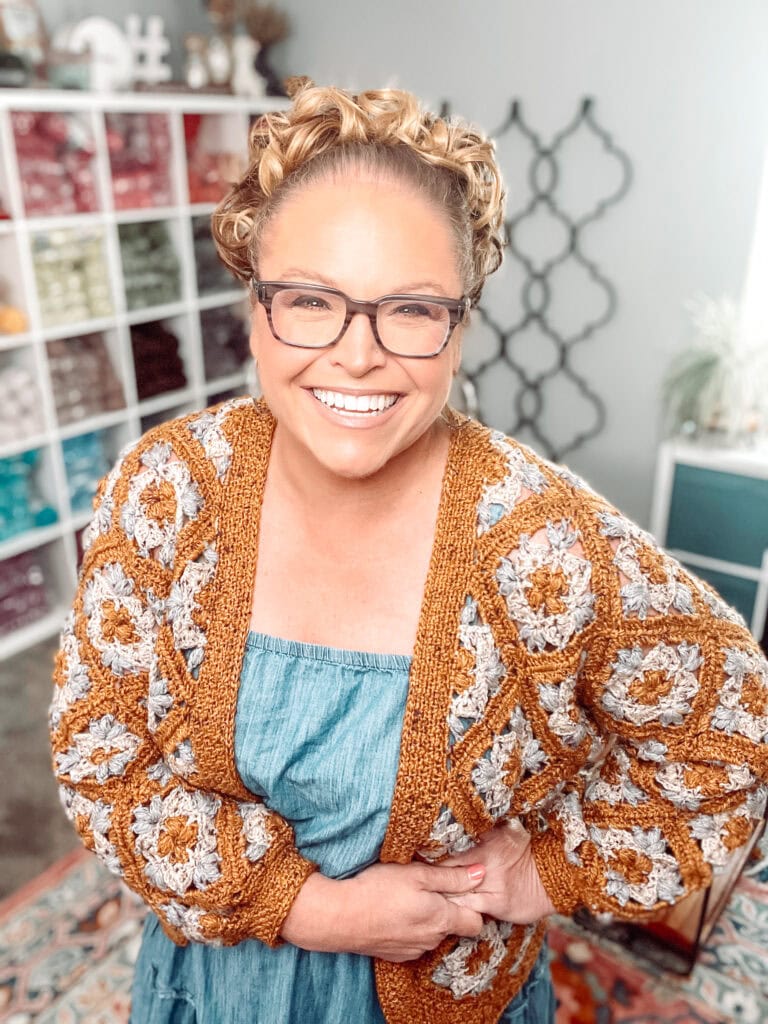
🌼 Marigold Crochet Motif Cardigan — Available exclusively inside the Fireside Fable crochet collection… and worth every bit of it. Crochet motifs in warm golden marigold tones that build into a full, wearable cardigan. This is what happens when floral motif construction meets garment design — the color is everything here, and that specific warm golden yellow earns its name with every stitch.

Crochet Accessories
Cowls, shawls, bags, hats — this is where color experiments live. Pick one, pick a bold color, and go. These are fast enough that if a color combination surprises you, you haven't lost weeks of work.
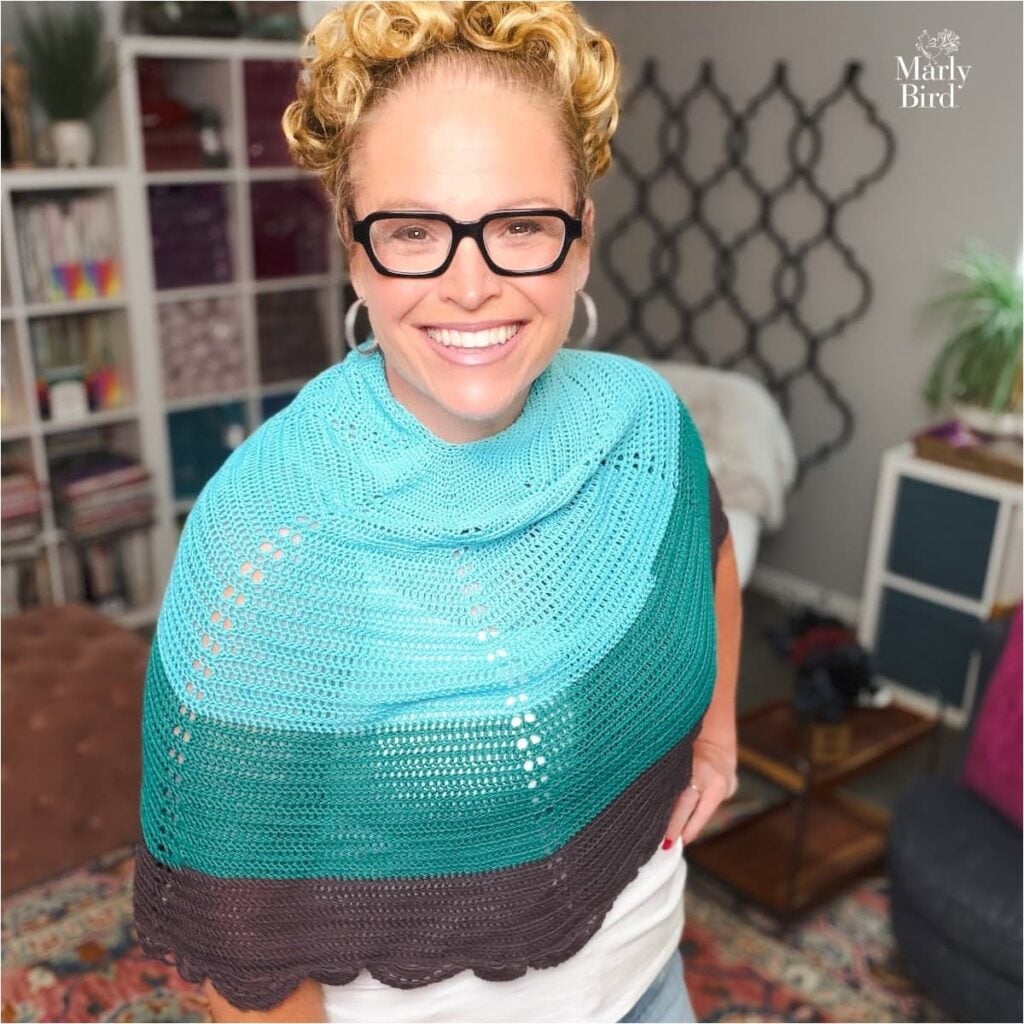
🪸 Coral Ridge Crochet Shawl — A colorblock triangle in warm, saturated tones. Simple construction, maximum color impact. This is the project to make when you want to go bold but still want the actual crocheting to be relaxing and meditative.
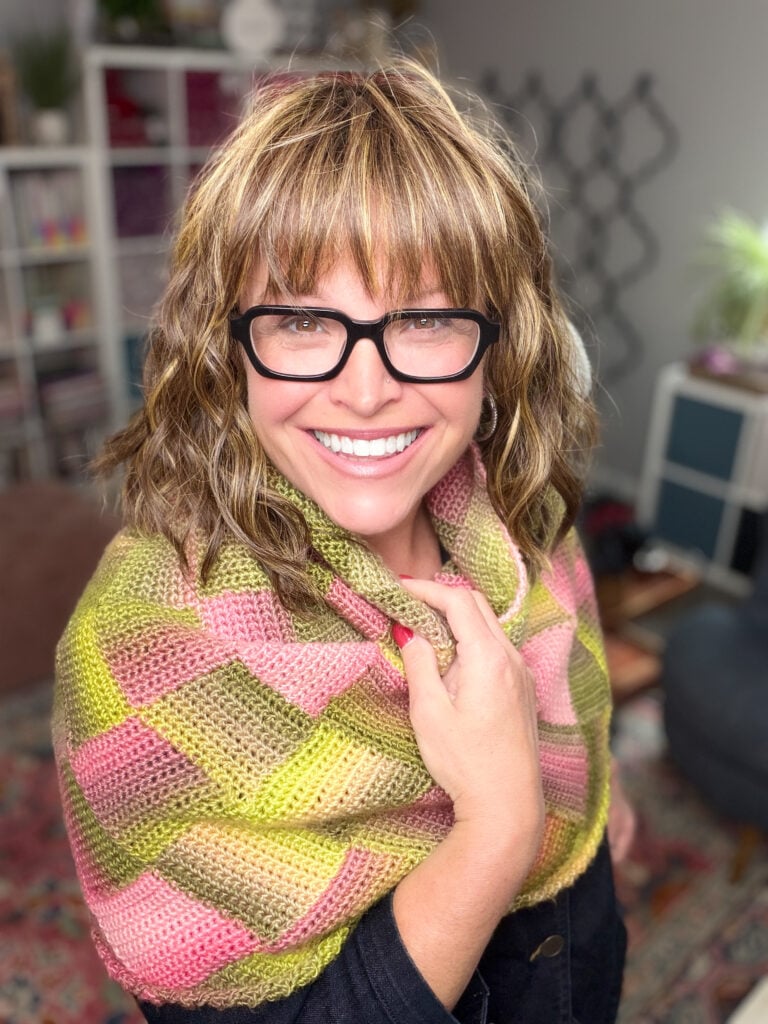
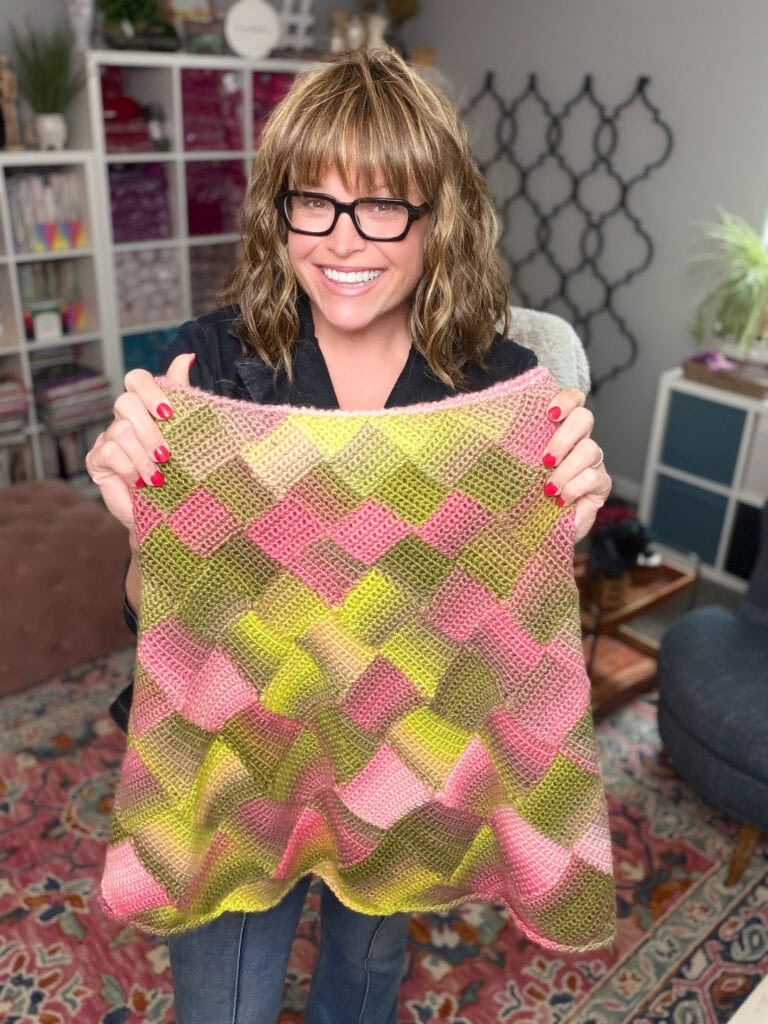
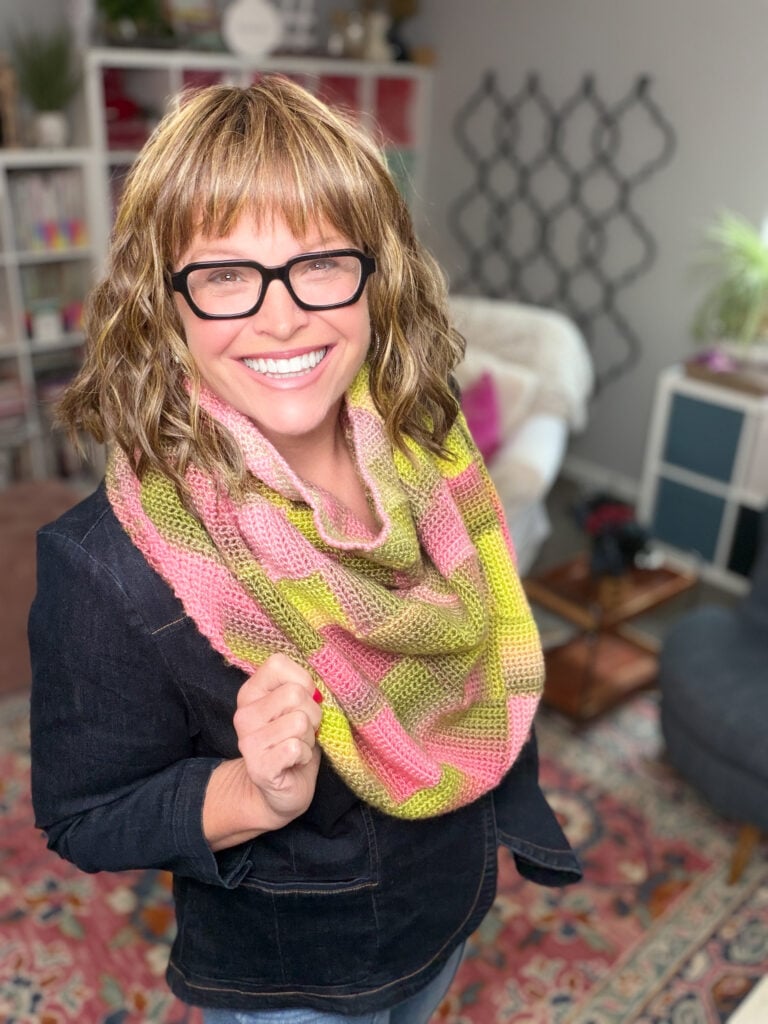
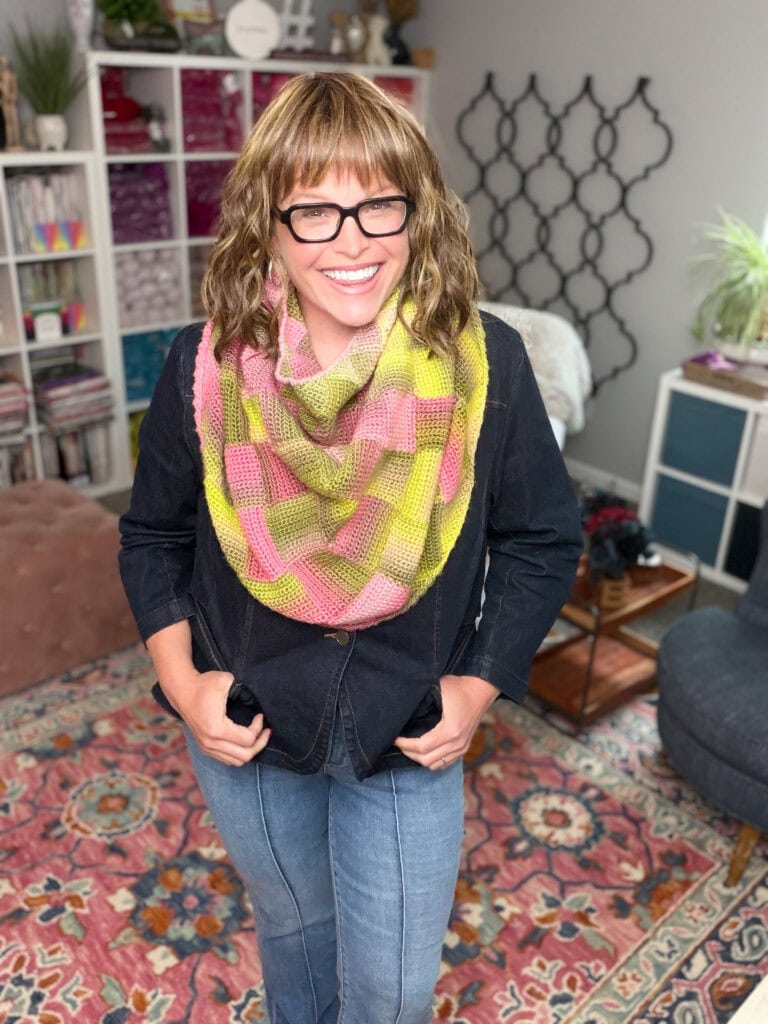
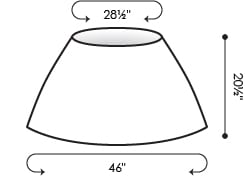
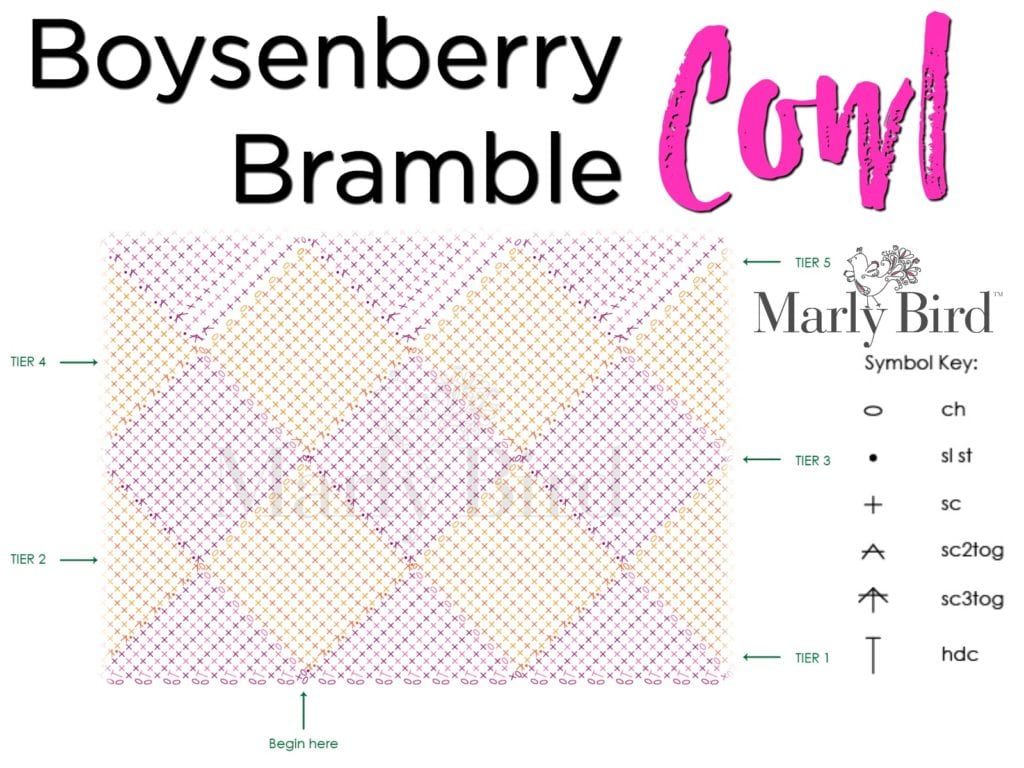
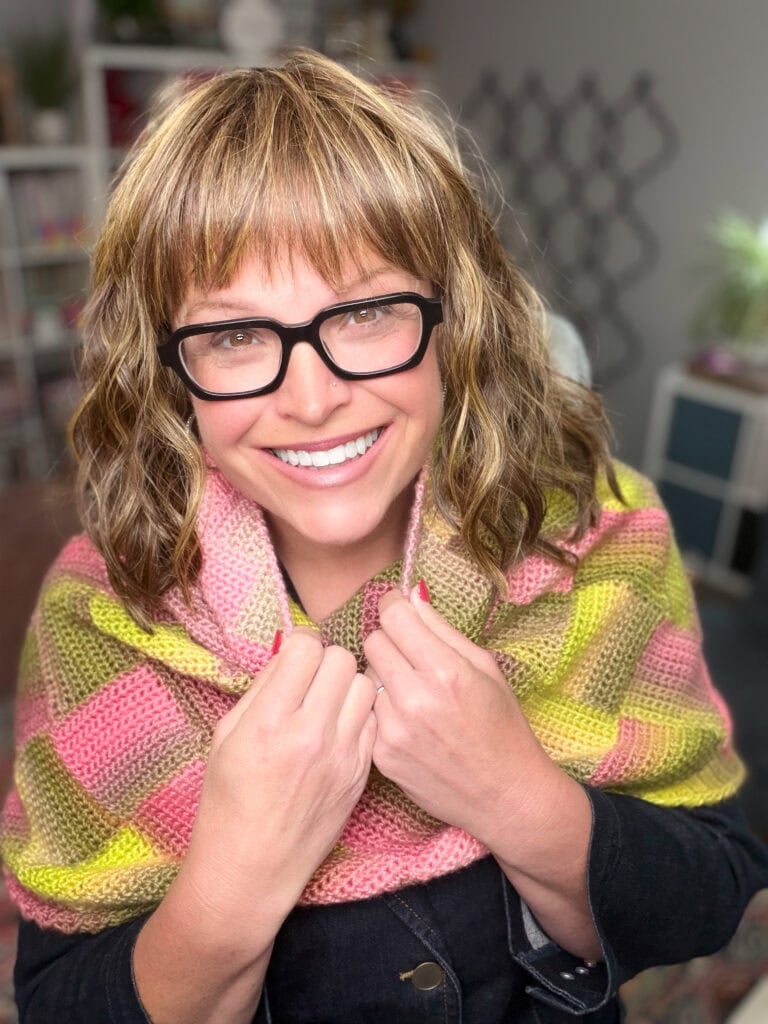
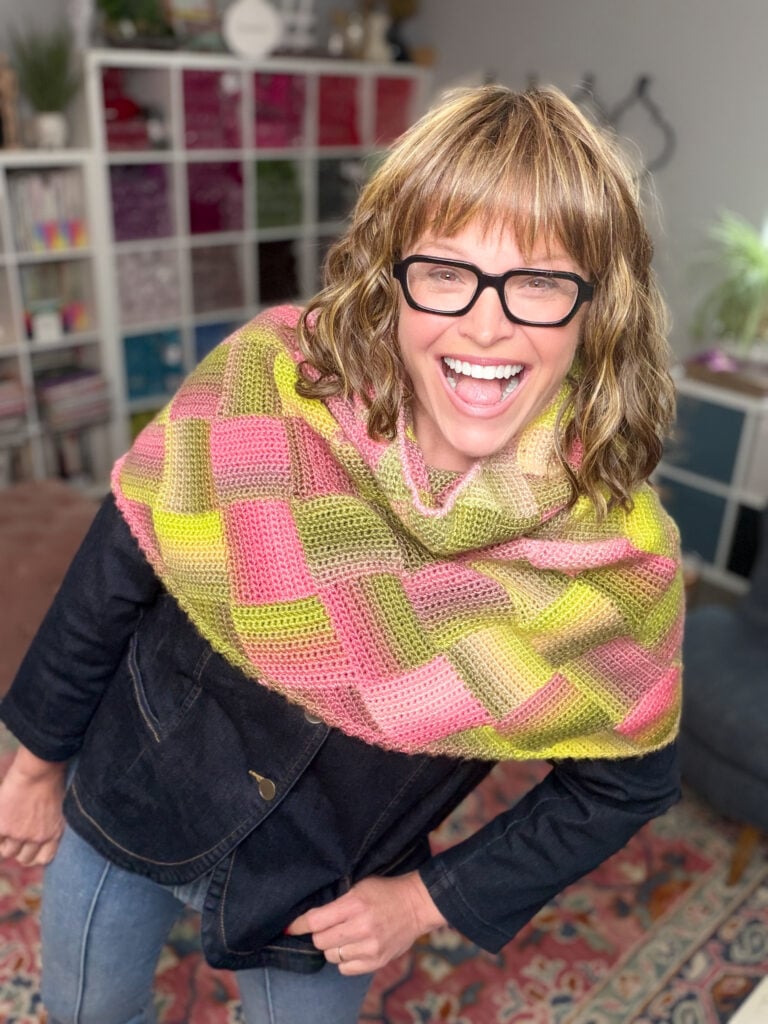
🟣 Boysenberry Bramble Single Crochet Entrelac Cowl — Deep, rich berry tones in a single crochet entrelac construction. The color IS the design here… the geometric grid of the entrelac lets bold colors dance against each other in a way that no neutral ever could. Make it in the richest purple and burgundy you own.
🌈 Enchanted Crochet Motif Shawl — Colorful motifs worked into a rectangular shawl. This is the project to make when you have a collection of partially-used skeins in great colors and want to use them all at once. Every motif is a burst of color. The more colors you use, the better it gets.
💙 Bluebonnet Crochet Lace Shawl — Named after Texas wildflowers. Made for blue — not navy, not slate, not dusty cornflower. Actual bright, living, unabashed blue. This is the shawl for everyone who ever put down a bold blue skein because they thought they should choose something “more versatile.”
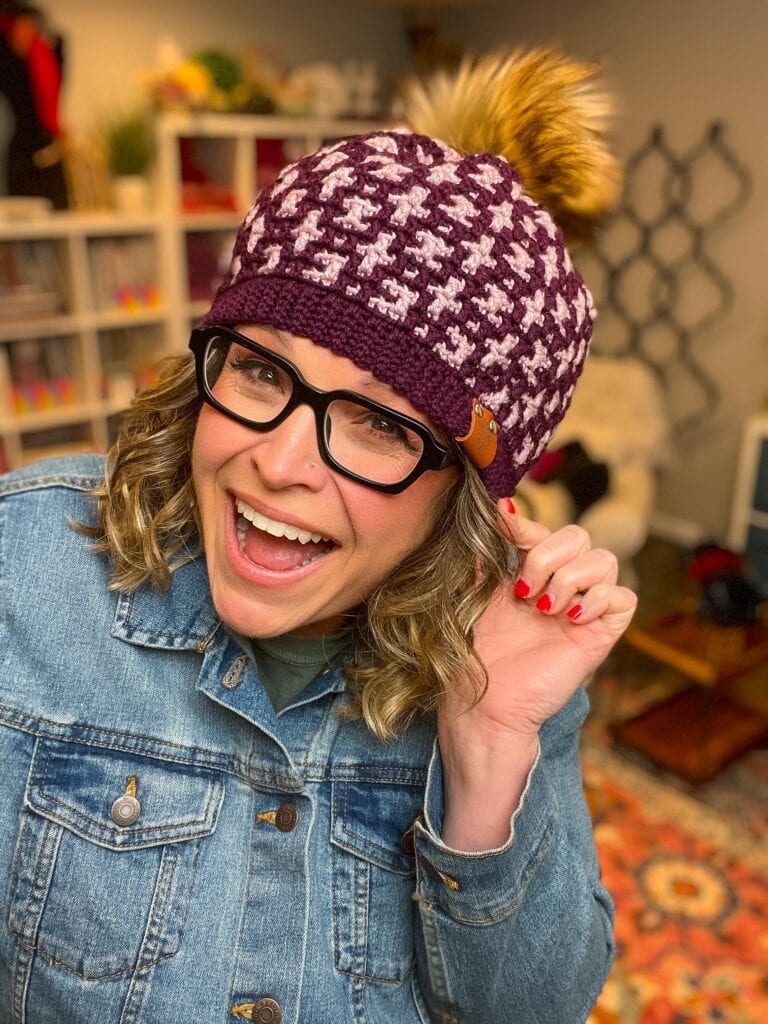
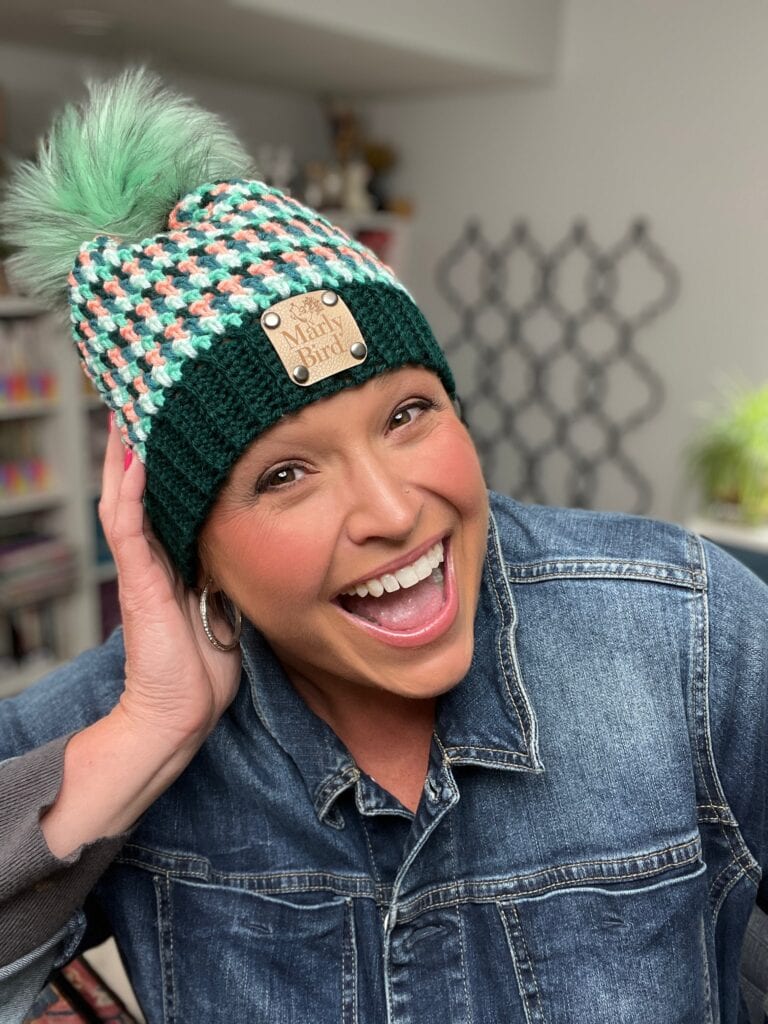
🎩 Mallow Crochet Mosaic Hat — Two colors, one hat, one satisfying mosaic pattern that looks like you spent way more time on it than you did. The perfect practice run for mosaic colorwork before you tackle a sweater… and a great reason to try that color contrast combination you've been afraid to commit to.
⚡ Flicker and Flash Crochet Hat — The name is the brief. Bold, bright, energetic — a crochet colorwork hat that earns every syllable of its name. If you want to practice color without committing to a garment, hats are the fastest path to a finished wearable object. Make this one in the most electric color combination in your stash.
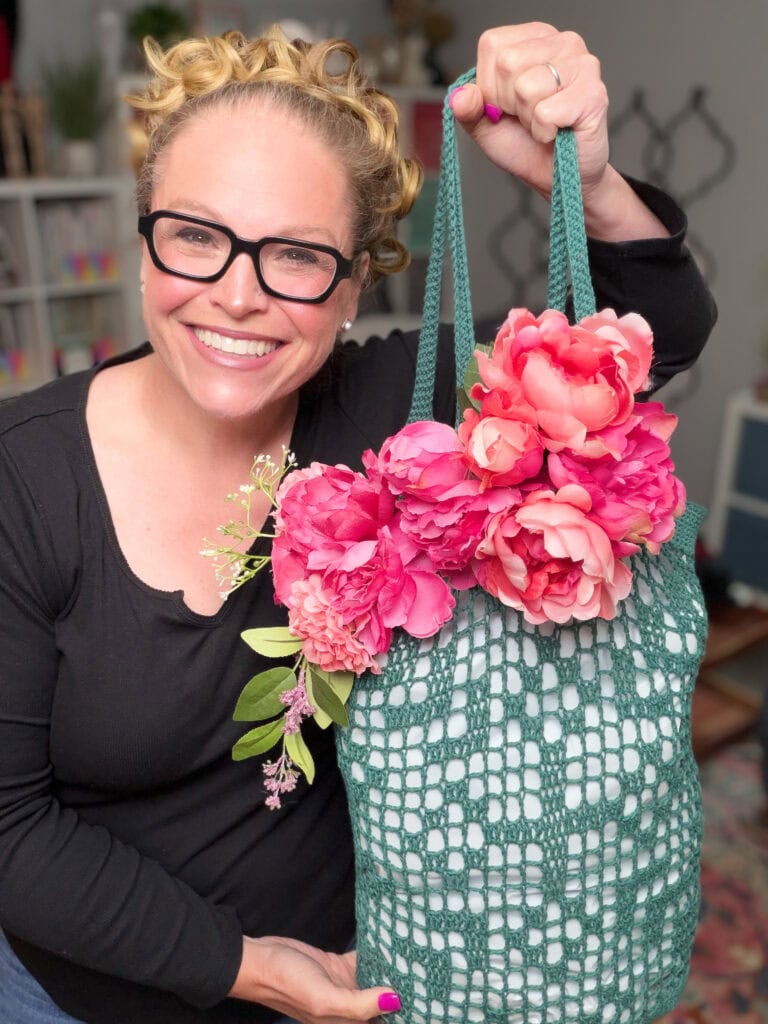
🛒 Farmer's Market Filet Crochet Bag — A bag is the commitment-free way to go bold. Make it in the color you'd never make a sweater in (yet). Bright coral. Electric blue. Deep plum. Nobody's going to ask you to justify a bag color. Go for it.
🐧 Snuggle Slide Snood & Cowl — A cozy, double-function cowl that wears two ways: loose as a cowl, slid up as a snood. Simple construction that lets a great bold color do all the design work… and a quick enough project that you'll have it finished before you can second-guess your color choice.
Crochet Home Decor
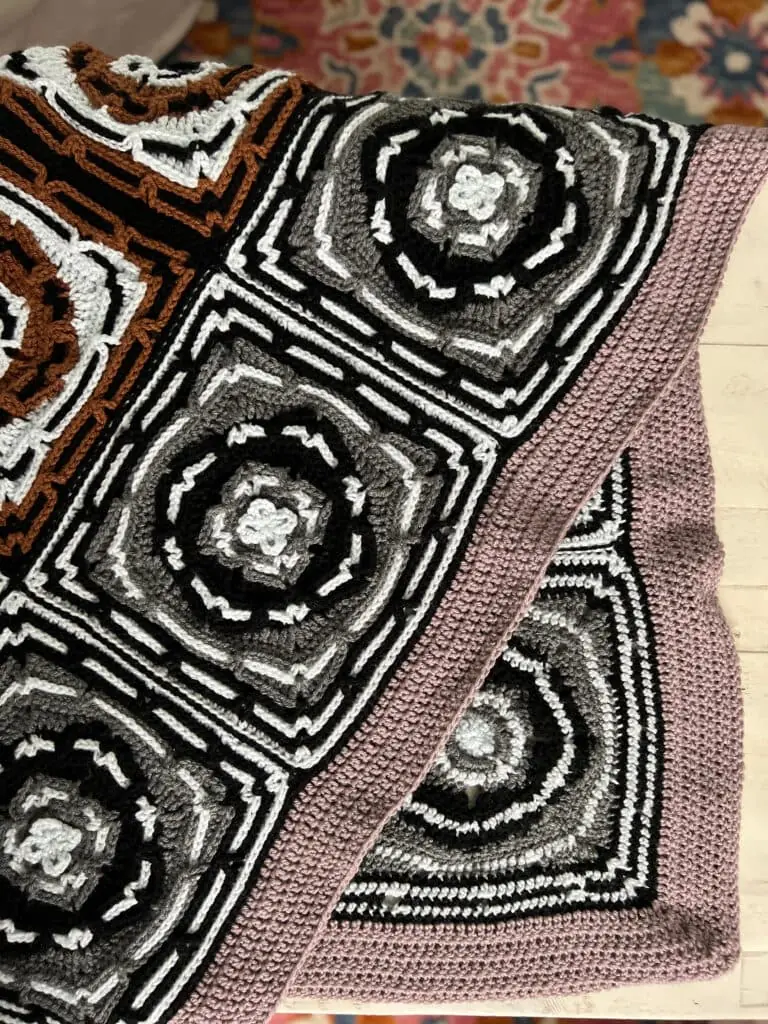
🏠 Mosaic Tile Crochet Blanket — Mosaic crochet applied to home decor. Two colors, repeating geometric tile pattern, same technique as the Spectrum Swoncho but in a format that lives on your couch. If you want to practice mosaic colorwork before making a garment, this gives you the same skill-building with real home-decor payoff.
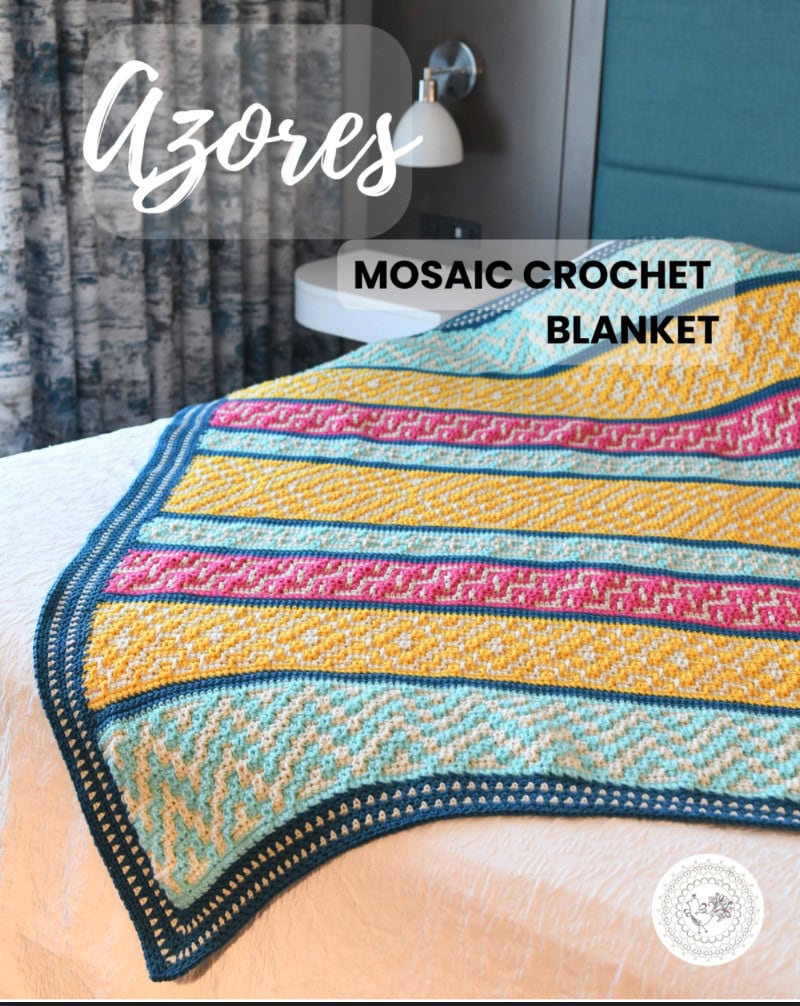
🌟 Azores Mosaic Crochet Blanket — Named for the Portuguese archipelago — all that ocean blue and volcanic contrast. Mosaic colorwork in blanket form, with a two-color geometric pattern that references Atlantic landscape and delivers serious drama from every angle. Make it in the deepest ocean blue you can find.
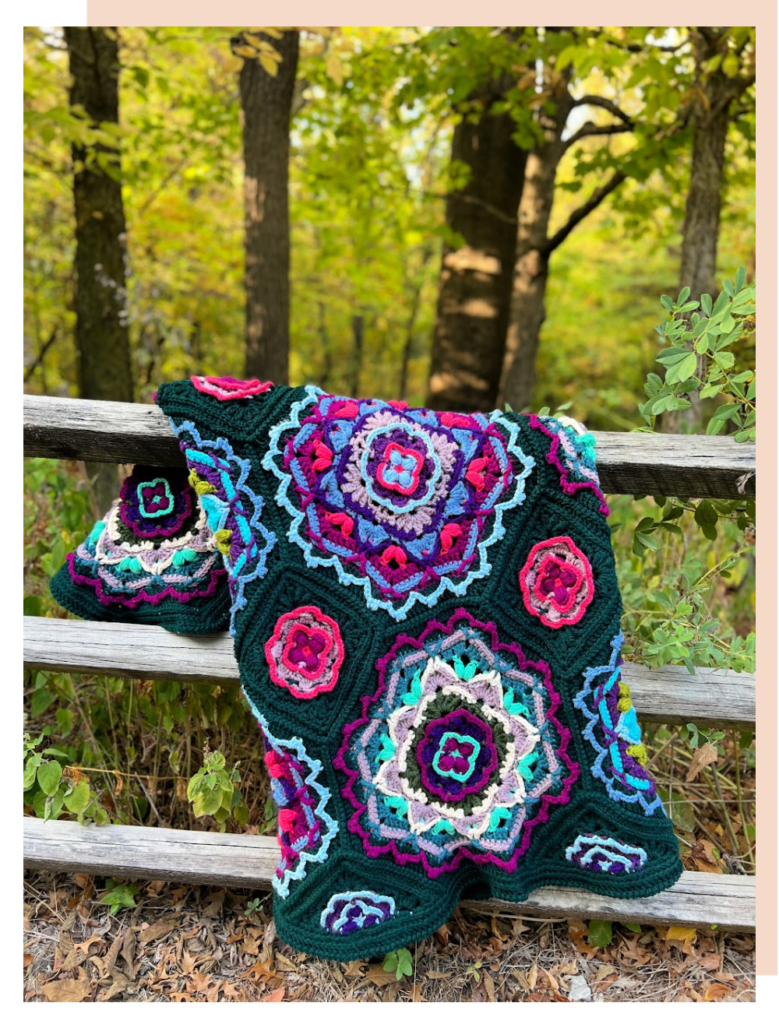
🎉 Monet Crochet Blanket — A masterclass in color blending — worked in multiple colors that shift across the blanket like paint on a canvas. Named for a reason… this is the project for when you want to understand color at the advanced level: not just “which two colors contrast” but “how do five colors move together across a surface.” Deep and rewarding.
💕 Sweetcorn Crochet Motif Pillow — Granny-style motif construction for a cheerful, color-forward home decor piece — and a quick enough project to function as a color experiment before you commit to a larger colorwork project. Make it in colors that feel like summer, even in February.
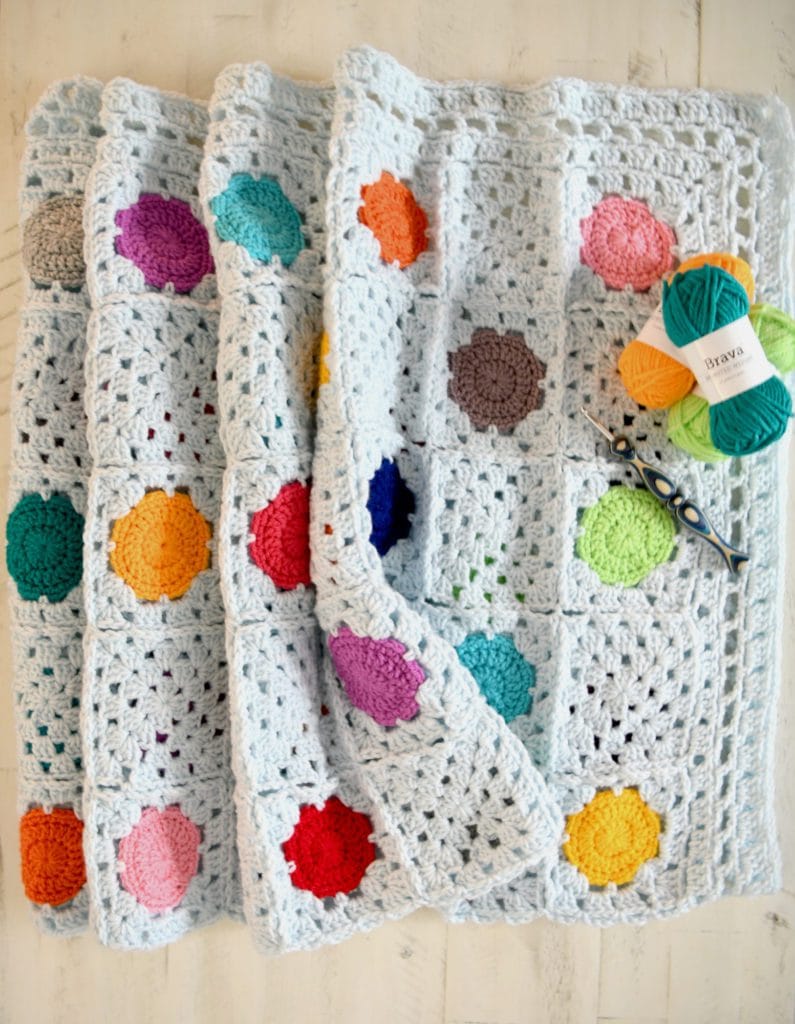
🔵 Confetti Dots Crochet Motif Blanket — Confetti in blanket form. Granny dot motifs scattered across a background — the most literal interpretation of “colorful” in this entire collection. More colors means more confetti means more fun… and this is a genuine stash-buster that makes every leftover scrap feel intentional and beautiful.
🎄 Stockbridge Cable Crochet Christmas Stocking — A beautifully cabled crochet stocking where the color is the tradition — the specific Christmas palette you grew up with, or the one you're ready to start. The cable detail makes this feel like heirloom quality; the color makes it feel personal. A stocking worth hanging for generations.
🧦 Rattle the Stars Christmas Stocking — From the Christmas Stocking Make-Along — a color-forward holiday stocking built for the boldest palette you can imagine. Deep emerald and gold, rich burgundy and cream, electric blue and silver… this is the stocking that brings the drama. Make it in the colors that feel like YOUR Christmas.

How to Bring Color Into Any Pattern
Here's something I want you to hold onto: any pattern can be made in color. The stitch count doesn't change. The construction doesn't change. The hook or needle size doesn't change. The only thing that changes is which yarn you pull out of your bag.
If full color still feels like a big leap, start with one bold + one neutral. A cobalt blue sweater with a cream collar. A burnt orange shawl with a cream border. You're not locked into all-or-nothing. The one bold color will do all the work… the neutral gives it somewhere to land.
Use your stash. You have a gorgeous coral skein in there that you bought and never used because it felt “too much.” A terracotta that seemed excessive. That electric teal you picked up on vacation. This is their moment. Stash yarn bought for color deserves to become something, not live in a bin forever because the algorithm made you feel like it was wrong.
When you don't know where to start, try this: walk into a yarn store, go to the wall, and pick up the skein that makes you feel something. Don't think about whether it's “practical” or whether you have a project in mind. Just pick up the one that makes your heart do a little flip. That's the yarn to buy. Your gut is a better color advisor than any trend report — including this one.
A quick note on color in fiber: warm tones — oranges, reds, golds, yellows — feel energizing and bold. Cool tones — blues, greens, purples — feel calming and saturated without being loud. Use the emotional quality of color to match the energy of your project. A cozy winter sweater in deep teal. An energizing summer tee in warm coral. A statement shawl in the specific red that makes you feel invincible.
🧶 Going deep on knit colorwork?
I've put together an entire hub just for knit colorwork — all my techniques, tutorials, and colorwork knitting patterns in one place. Explore Knit Colorwork at MarlyBird.com →

Choosing Colors for Colorwork — Where to Start 🎨
The single question I get most often about colorwork is not “how do I do the technique?” It's “how do I pick the colors?” And honestly… that's the right question to be asking. The technique is learnable. Color intuition takes practice, but it's also very teachable.
Here's the rule I come back to every single time: contrast is more important than harmony. Two colors that are close in value (dark vs. light) — even if they feel like they “shouldn't” go together — will read clearly and beautifully in colorwork. Two colors that feel like a safe, harmonious pair but are similar in value will look muddy once you've worked several rounds. Test your colors in grayscale before you commit. If you can barely tell them apart in a black-and-white photo, they'll blur in the colorwork.
For a deep dive on color selection — including how I chose the colors for the Prism Make-Along and a video walkthrough of the whole process — check out these posts:
- 🌈 How to Choose Colors for a Colorwork Project — Prism Make-Along — my full framework for making color decisions that actually work
- 🎨 Crafting Your Color Kaleidoscope — How to Choose Colors for the Poncho of Your Dreams — a great starting point if you're working with a multi-color project
- ✨ The Prism Make-Along — Colorwork Adventure for Knitters and Crocheters — step-by-step colorwork tutorials with video support, including a full color-selection walkthrough
Stitch Fiddle — The Free Tool That Makes Colorwork So Much Easier 🛠️
Before you cast on any colorwork project, I want to tell you about a free tool I use constantly at MarlyBird.com: Stitch Fiddle. If you've never used it, stop what you're doing and go to stitchfiddle.com right now… because this is the thing that removes the guesswork from colorwork.
Stitch Fiddle lets you take a colorwork chart and customize the colors to YOUR yarn palette. Drop in your actual hex codes or just paint with a color picker, and you can see exactly how your chosen colorway will look before you ever pick up a hook or needles. Want to see what the Spectrum Swoncho looks like in dusty teal and mustard instead of the original colors? You can try that in two minutes before committing to buying yarn.
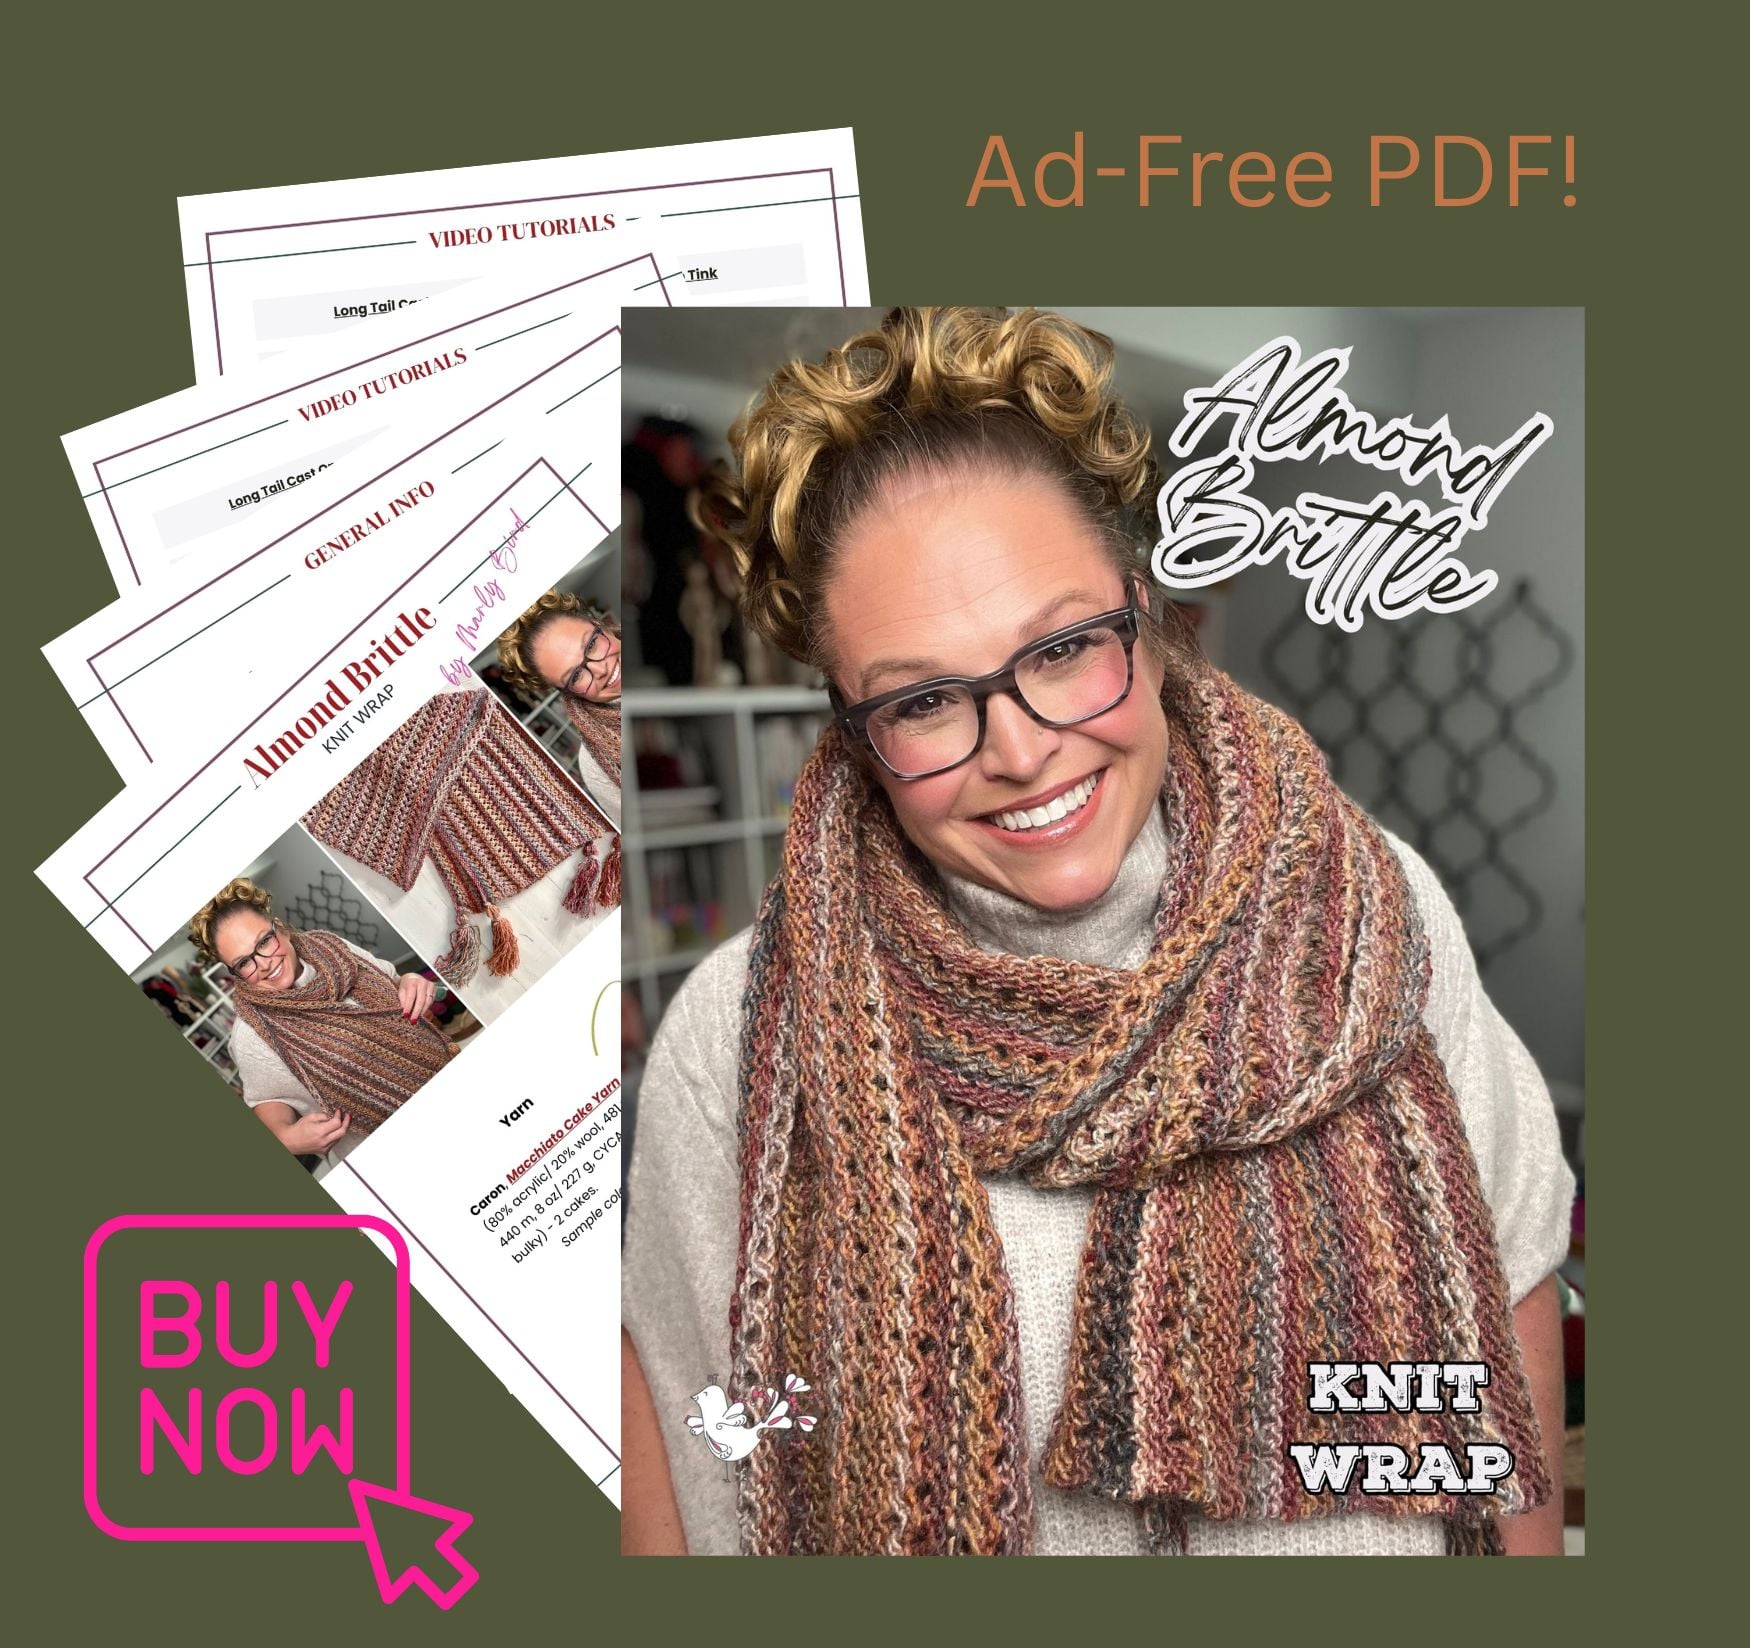
Here at MarlyBird.com, many of our colorwork patterns include Stitch Fiddle charts — and the customizable chart versions are typically exclusive to the ad-free PDF. That's where you get the full interactive file you can modify with your own colors. If you're working from the free blog version, you'll have the static chart image… but the ad-free PDF is where the real Stitch Fiddle magic lives.
Want to see how I use Stitch Fiddle to plan colorwork color selections in real time? Watch the video walkthrough I did for the Prism Make-Along: Prism Make-Along with Marly Bird — Color Selection Video Tutorial →
Temperature Blankets — Track Your Year in Color 🌡️
If you want an ongoing colorwork project that's both practical and genuinely meaningful — one where the color choices aren't arbitrary, they tell the actual story of your year — a temperature blanket might be your favorite thing you've ever made.
The concept: assign a color to each temperature range. Every day, you add a row (or a motif, or a stripe) in the color that corresponds to that day's temperature. By December 31st, you have a blanket that is literally a visual record of your year. The warmest summer days in blazing orange. The deep-freeze January in navy or violet. Every season's transition mapped in yarn.
It's also one of the best “no decision paralysis” projects… because the color is already decided. You just look at the temperature and grab the right yarn. Easy, meditative, and the result is genuinely unique to your location and your year.
Want to get started? Here's everything you need to know: Temperature Blankets — Which Stitch Pattern to Use →
And if you want proof that I practice what I preach… one scroll through my Instagram @marlybird will tell you everything you need to know about where I stand on neutral palettes. Fair warning: it's a lot of color. I designed this way in 2007. I design this way now. I'm not planning to stop.
Final Thoughts
Color is not a trend. It's an expression. It was always valid. The algorithm convinced a lot of makers otherwise for a few years… but look at where fashion, interior design, and the broader visual culture are moving right now. The door is wide open.
I have been designing in color for both knitting and crochet since 2007. I have the knit patterns. I have the crochet patterns. You have the needles and the hook. Go find the yarn that's been waiting in your stash and make something that makes people stop and ask about it.
That's what handmade is for.
❤️ Your BiCrafty Bestie,
Marly Bird

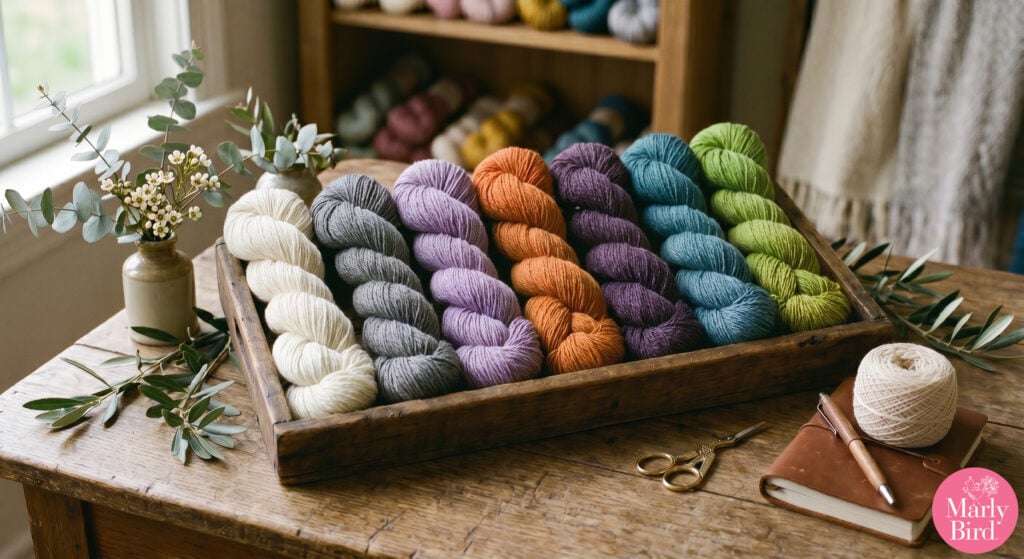
Yarns We Love for Colorwork 🧶
Not all yarn is created equal for colorwork… and choosing the right base makes the difference between a finished object you love and one you're perpetually frustrated by. Here's what I reach for, and why.
Why Fiber Matters for Colorwork
For most colorwork techniques — stranded, intarsia, mosaic — wool or a wool blend is my first recommendation. Here's why: wool has memory. It springs back. In stranded colorwork especially, you're carrying a float across the back of your work, and that float needs to have enough stretch to keep the fabric from puckering.
Wool's natural elasticity accommodates that. A yarn that has some give in the float is the difference between smooth, professional-looking colorwork and tight, puckered colorwork that won't lie flat no matter how carefully you manage your tension.
A note on superwash vs. non-superwash: superwash wool has been treated so the fibers won't felt when washed. It's more convenient… but the superwash treatment also changes the fiber's memory somewhat.
Superwash yarns can have slightly more drape and less spring than untreated wool. For most colorwork, superwash works beautifully — but if you want the crispest possible stranded colorwork and you're willing to hand wash, non-superwash is worth trying. Read more about superwash vs. non-superwash and blocking →
A note on acrylic and cotton yarns: these can absolutely be used in colorwork, and I'm not here to tell you not to use them — your budget and care preferences matter, and there are beautiful colorwork projects made in acrylic. But here's what you should know going in: acrylic doesn't have the same elasticity as wool, which means your floats may pucker more easily.
The fix? Steam blocking. A careful steam block (hovering the iron over the finished fabric without pressing down) can relax puckered floats significantly… but you do have to be careful not to “kill” the acrylic by applying too much heat.
Cotton is even less forgiving — it has no elasticity at all, and floats in stranded cotton colorwork need very careful tension management. Both can work. Just go in with the right expectations and know that your swatch will tell you a lot about how your floats are behaving before you've committed to a full sweater.

Our Go-To Colorwork Yarns
Note: Some links below are affiliate links — I earn a small commission if you buy, at no extra cost to you. I only recommend yarns I genuinely use and love.
🐑 Knit Picks Wool of the Andes — A workhorse 100% Peruvian Highland Wool in worsted weight. Affordable, huge color range, excellent stitch definition, and that beautiful woolly spring that makes stranded colorwork behave. One of the best value-for-money colorwork yarns available. This is the yarn I reach for when I want to keep costs down without sacrificing that classic wool feel in colorwork.
✨ Knit Picks Swish Worsted — Superwash merino with an incredibly soft hand and a lovely, bouncy feel. Great for colorwork projects you want to wear close to the skin (think colorwork hats, cowls, and lighter sweaters). The superwash treatment makes it easy care… and the softness means you'll reach for your finished colorwork piece every single day.
🏙️ Knit Picks City Tweed — A wool/alpaca/nylon blend with a subtle heathered texture. The tweed flecks give colorwork a slightly softer, more painterly quality than a solid wool… interesting choice when you want your stranded pattern to feel textured rather than graphic. Great for colorwork with an earthy, sophisticated palette.
🌾 Herrschners Worsted 8 Heathers — A heathered worsted weight acrylic with a satisfying range of tones. Accessible, affordable, and available in a range of heathered shades that give colorwork a slightly vintage, textured quality. Remember the acrylic note above about blocking — but if you want a colorwork project that goes in the washing machine, this is a solid option.
🧶 Patons Classic Wool Worsted — A classic for a reason. 100% wool, great stitch definition, and widely available at craft stores. Not the most luxurious hand… but for a first colorwork project where you want to keep costs low and still have a proper wool base, Patons Classic is reliable and forgiving.
🌊 Cascade 220— The industry standard for a reason. 100% Peruvian Highland Wool in a 220-yard worsted skein, with one of the most extensive color ranges in yarn. Beautiful stitch definition, excellent structure, and the kind of crisp colorwork that photographs like a dream. If you're new to colorwork and want a yarn that will make the technique look its absolute best, start here.
🌟 Universal Deluxe Worsted — A superwash wool worsted that balances softness and structure beautifully. The superwash treatment makes it easy-care without losing that important wool bounce. Great all-rounder for colorwork projects you want to be both beautiful and practical.
🦙 Berroco Ultra Alpaca — A wool/alpaca blend with incredible softness and depth of color. One note of caution: alpaca has more drape and less memory than pure wool, and it can be prone to stretching over time. If you use Ultra Alpaca for colorwork — especially stranded work — please, please swatch first. The finished fabric may grow with wear, and your float tension needs to accommodate that. But when it works… the alpaca halo gives colorwork an almost watercolor quality that is absolutely stunning.
❄️ Lopi Léttlopi — Icelandic unspun light worsted, the traditional choice for Fair Isle and Nordic colorwork. No superwash treatment, which means the fibers will bloom together beautifully in wet blocking — creating that distinctive halo that makes traditional Scandinavian colorwork look so distinctive. Not machine washable, but absolutely worth the hand wash for the result. If you want to try the authentic stranded colorwork experience, Léttlopi is it.
🍇 Berroco Vintage — A wool/nylon/acrylic blend that hits an interesting sweet spot: it has the bounce and structure of wool, the durability of nylon, and the easier care of acrylic. For colorwork specifically, the wool content gives you the float management you want… and the nylon adds durability to areas that get wear, like sweater cuffs and hat brims. One of my favorite recommendations for someone who loves the feel of wool but needs the practicality of easy care.
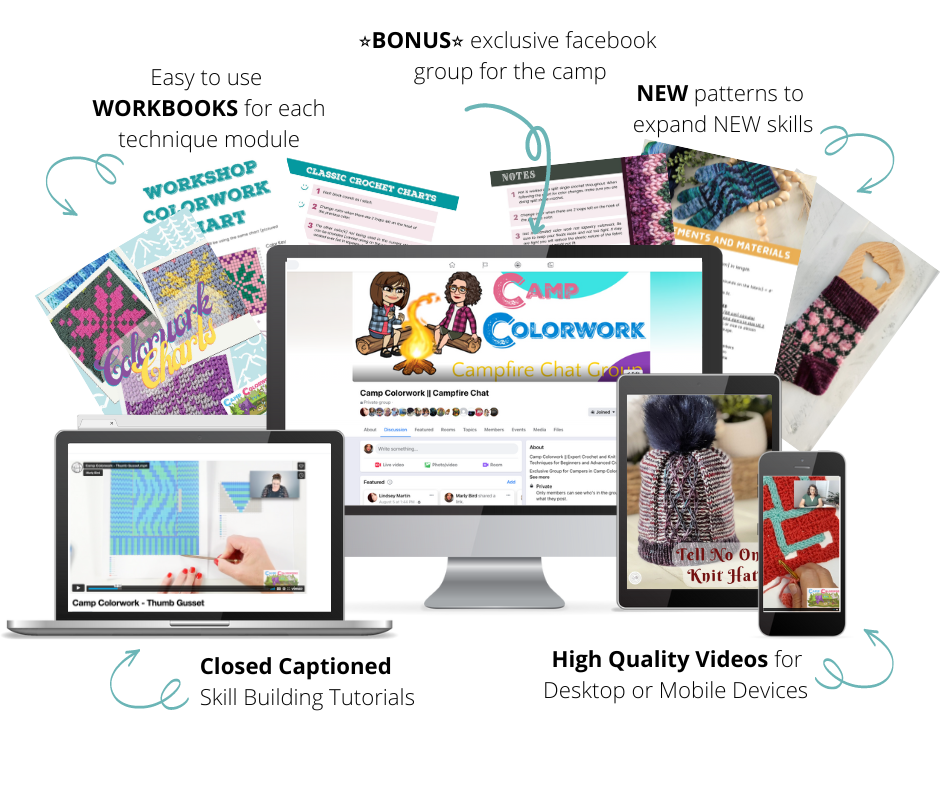
Ready to Go Deep? Welcome to Camp Colorwork 🏕️
🌈 Camp Colorwork — The Ultimate Colorwork Course for Knitters AND Crocheters
Taught by Marly Bird and Robyn Chachula. Available now at Marly Bird House.
If you've worked through this post and thought “I want MORE of this” — I have something for you. Camp Colorwork is the course that Robyn Chachula and I built because we couldn't find anything else like it: a truly comprehensive, BiCrafty colorwork course that takes you from absolute beginner to genuine expert in both knit and crochet colorwork techniques.
Here's what makes Camp Colorwork different from anything else out there:
🎬 More than 60 video tutorials — carefully detailed, well-lit, shot at angles that actually show you what's happening. No squinting at a phone video. No tutorials that stop before they answer your actual question. Every technique gets the full treatment: what it is, why we do it this way, alternatives where they exist, and repeat demonstrations where the complexity warrants it.
🧶 Beginner through advanced — in BOTH crafts. That's what makes this BiCrafty course genuinely unique. Most colorwork courses cover one craft, maybe two techniques, and call it comprehensive. Camp Colorwork covers the full spectrum: stranded colorwork, intarsia, mosaic, entrelac, colorblocking, and more — for both knitters AND crocheters, from introduction to mastery.
📐 A deep dive into reading color charts — in both knit and crochet. Charts are one of the most intimidating parts of colorwork for new-to-technique crafters, and Robyn and I realized when we were building this course that there's more to teach here than most people realize. Reading a chart, modifying a chart, creating your own chart — it's all in there.
🎨 14 patterns included — 6 brand new patterns plus 8 bonus patterns from our combined archives, covering both knit and crochet colorwork across garments, accessories, and home decor. You'll have projects to practice every technique as you learn it.
The knowledge in this course represents 20 years of combined colorwork experience from two designers who teach at both the beginner and advanced levels. If you want to truly understand colorwork — not just follow a pattern, but understand it well enough to make confident choices in any project — Camp Colorwork is the place to go.
Explore Camp Colorwork and see if it's right for you →
Frequently Asked Questions
Why has everyone been using so many neutral colors for yarn projects lately?
The neutral trend built over about a decade as minimalism went mainstream and social media aesthetics pushed toward clean, coordinated palettes. In the yarn world it showed up as cream, oat, and gray patterns dominating even the most colorful designers' feeds. The good news: trend forecasters, fashion publications, and Pinterest are all signaling a clear shift. Maximalism is making a genuine comeback in 2026 and the craft world is following. You are not late to this.
What's the easiest colorwork technique for beginners — knitting or crochet?
For crochet: mosaic is the friendliest entry point by far. You only ever use one color per round — no carrying yarn, no juggling multiple strands. Work Color A across, set it down, pick up Color B and work back. The Mallow Mosaic Hat is the perfect first project. For knitting: stripes are the true beginner's move — one color per row, no complexity at all. After stripes, intarsia (working separate blocks of color) opens up the whole world of colorwork without requiring you to carry yarn across the back of your work.
What are the color trends for yarn in 2026?
Deep, saturated, moody colors are being predicted across the board: Plum Noir, rich burgundies, burnt oranges, warm golds, terracotta, electric blues, rich forest greens, deep purples. Pinterest's 2026 color report emphasizes tones with depth and personality. Fibre2Fashion has noted a “vibrant throwback to 1980s maximalism.” In practical yarn terms: look for colors with real saturation… not just “earthy neutral” but actually saturated, intentional versions of earthy tones. Think rust, not tan. Teal, not gray-blue.
Can I make any of these patterns in a different color than shown?
Yes, absolutely. Every pattern in this roundup can be made in any color combination you love. The Northwoods Cardigan has an entire section dedicated to making it in every color imaginable. The Pumpkin Spice Mosaic Sweater just needs two colors with good contrast — the specific hues are entirely up to you. The construction doesn't know what color your yarn is. It just does its job. The color is always, always your choice.
Where can I find more colorful free knit and crochet patterns from Marly Bird?
Right here on marlybird.com! I've been designing BiCrafty — both knit AND crochet — since 2007 with color as a core part of every collection. The best way to stay current on new colorful patterns is my newsletter… I share new free patterns and color inspiration regularly with my community. Sign up below. And if you want to go deeper on colorwork technique specifically, the mosaic crochet guide and intarsia knitting roundup are both great starting points.
And if you want proof that I practice what I preach… one scroll through my Instagram @marlybird will tell you everything you need to know about where I stand on neutral palettes. Fair warning: it's a lot of color. I designed this way in 2007. I design this way now. I'm not planning to stop.
Final Thoughts
Color is not a trend. It's an expression. It was always valid. The algorithm convinced a lot of makers otherwise for a few years… but look at where fashion, interior design, and the broader visual culture are moving right now. The door is wide open.
I have been designing in color for both knitting and crochet since 2007. I have the knit patterns. I have the crochet patterns. You have the needles and the hook. Go find the yarn that's been waiting in your stash and make something that makes people stop and ask about it.
That's what handmade is for.
❤️ Your BiCrafty Bestie,
Marly Bird