Updated May 2026: This post has been refreshed with expanded content, a new yarn alternatives section, video tutorials, and an expanded FAQ.
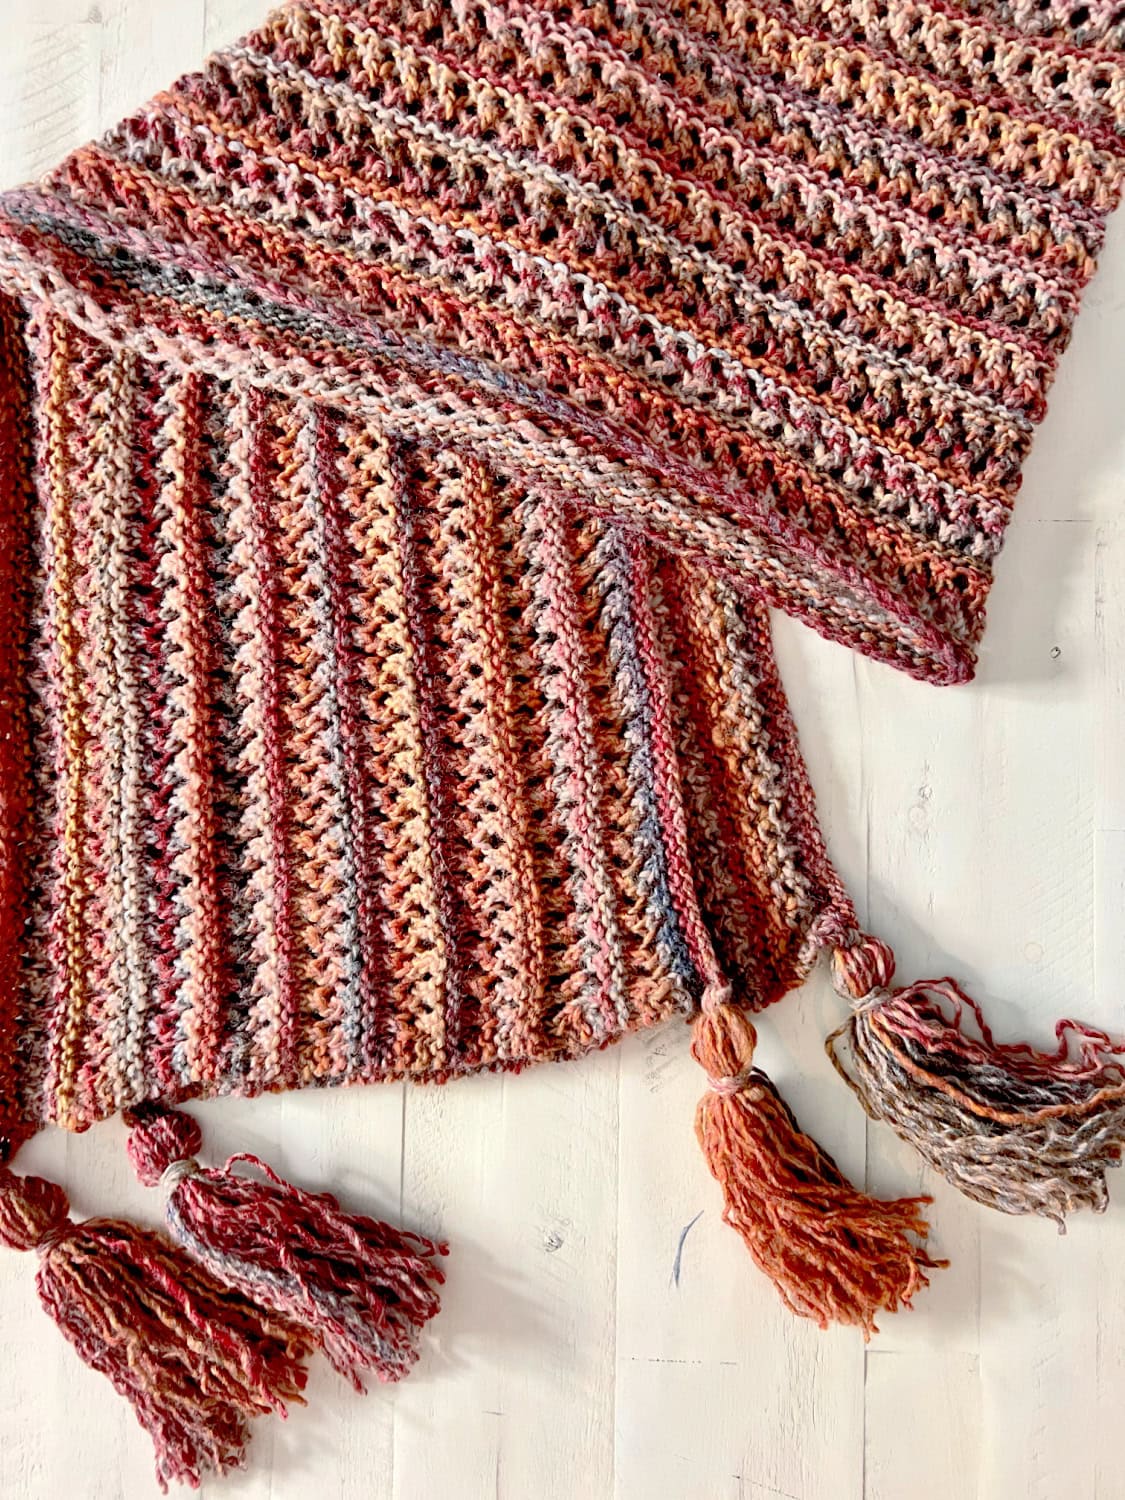
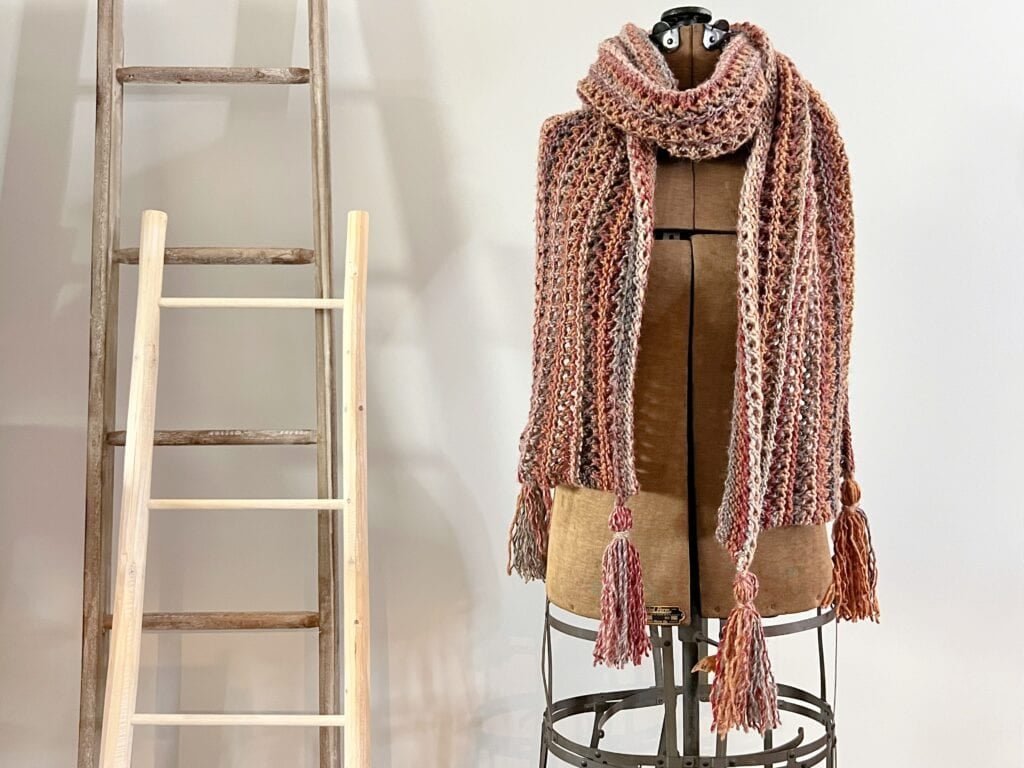
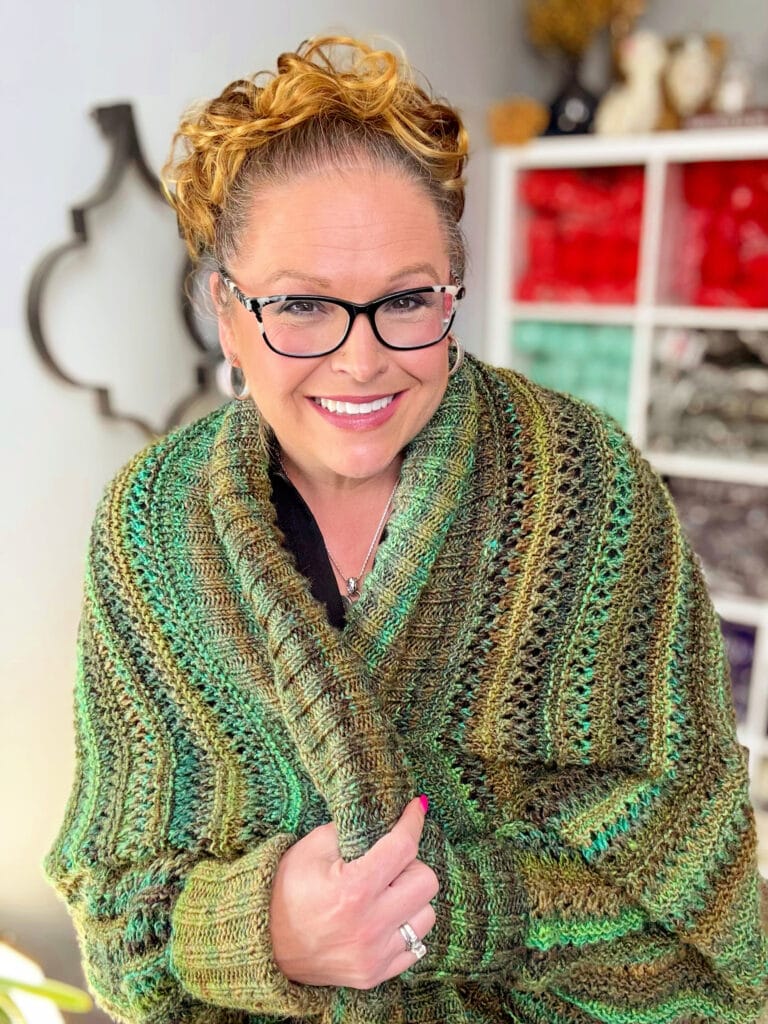
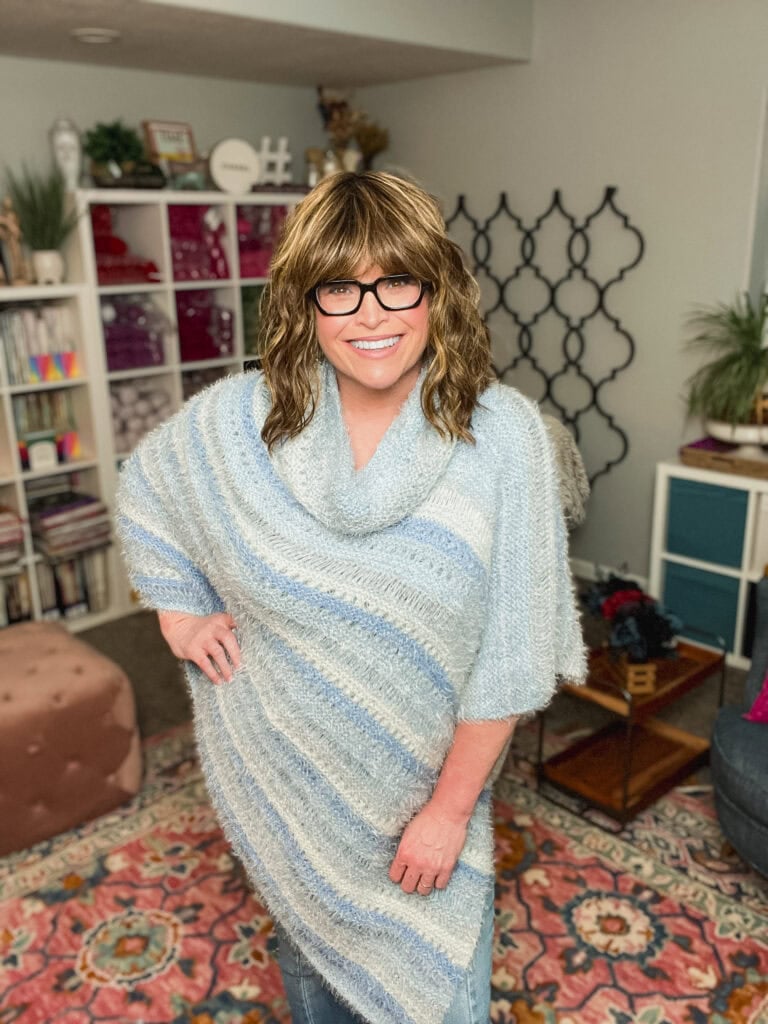
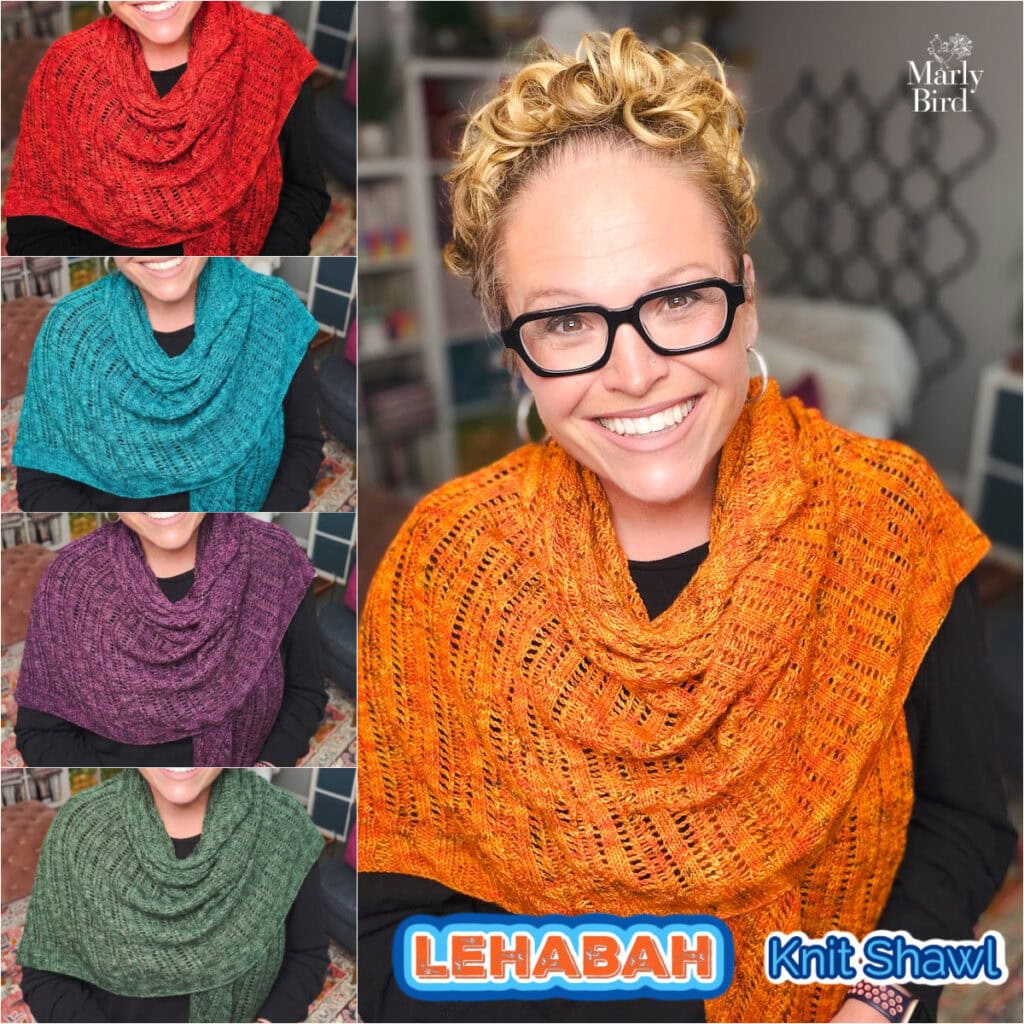
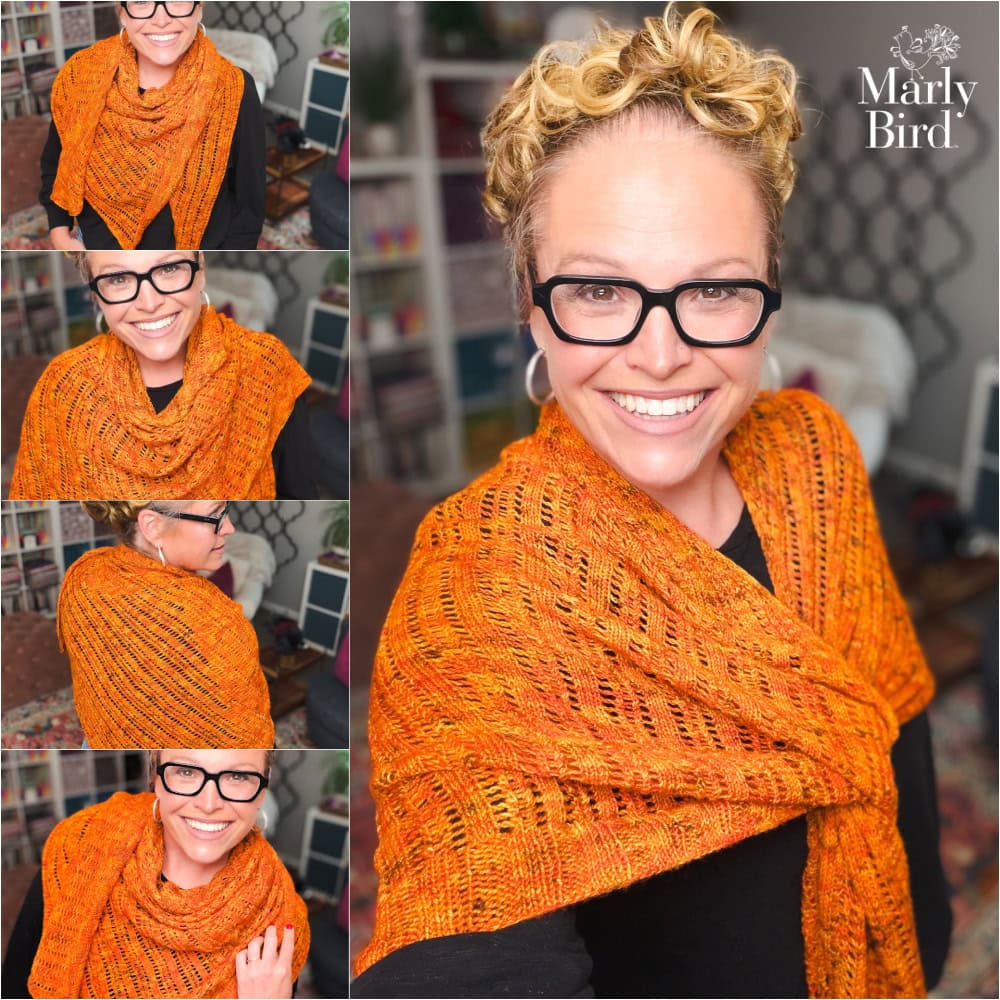
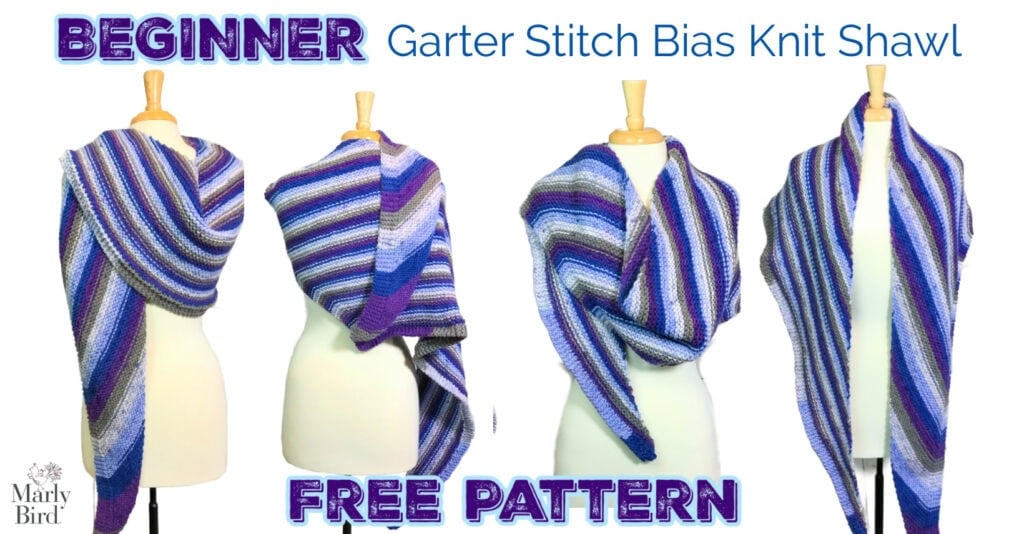
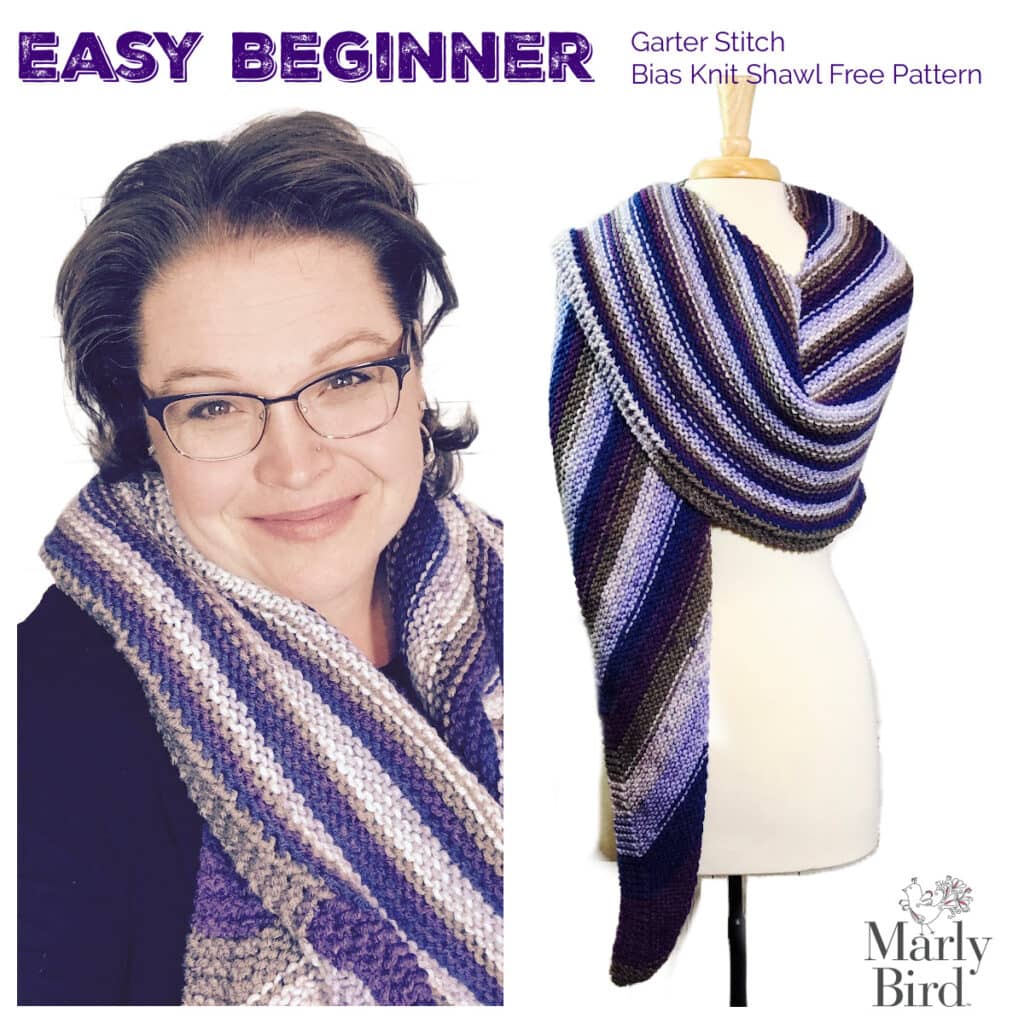
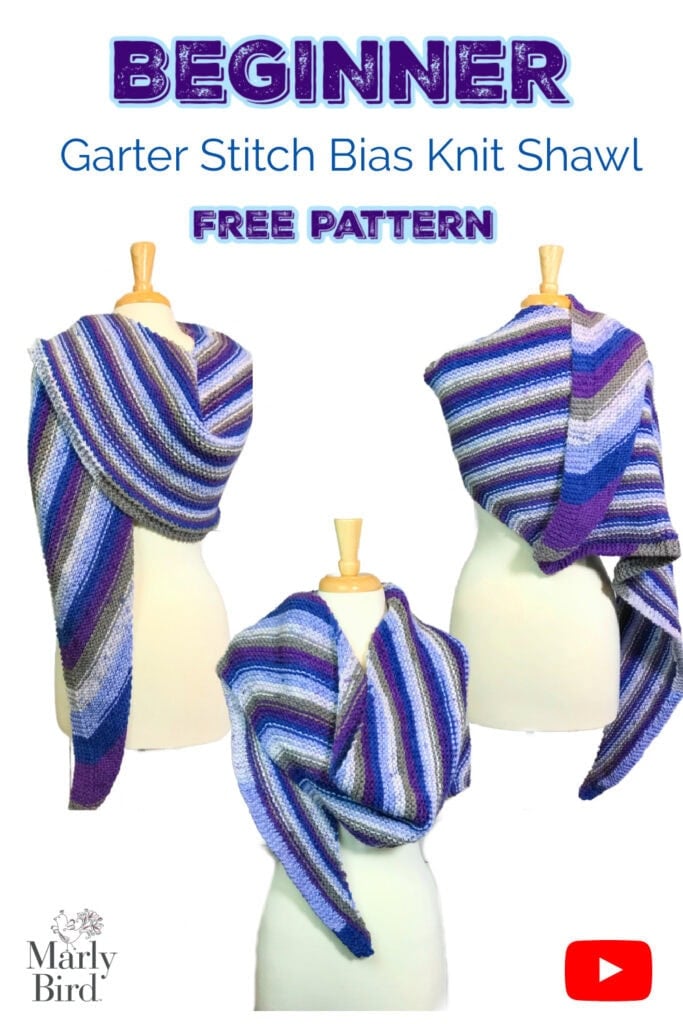
The Easy Beginner Garter Stitch Bias Knit Shawl is a free knit shawl pattern by Marly Bird worked from a single corner outward in pure garter stitch. No purling, no charts, no complicated shaping… just a simple 2-row repeat that builds a beautiful diagonal drape all on its own. Any worsted or aran weight yarn works… and gauge does not matter. Keep going until your shawl is the size you love, then finish with the included garter edge bind-off.
If you have ever wondered how a shawl gets that gorgeous diagonal drape without any complicated shaping rows, this is it. This pattern uses a simple right-angle construction that starts from one corner and builds outward… the triangular shape creates itself as you go, and the result has that same beautiful diagonal look most knitters associate with bias knitting.
The only stitch you need is a knit stitch.
No purling.
No reading charts.
No counting complex repeats.
Just a satisfying 2-row pattern you will have memorized within the first few rows, worked in a self-striping or multi-color yarn that handles ALL the color changes for you. If you are a brand new knitter, this is one of the best first shawl patterns you will ever find. And if you are an experienced knitter looking for the perfect travel project… I see you, and this is it.
Hey, bestie 💛
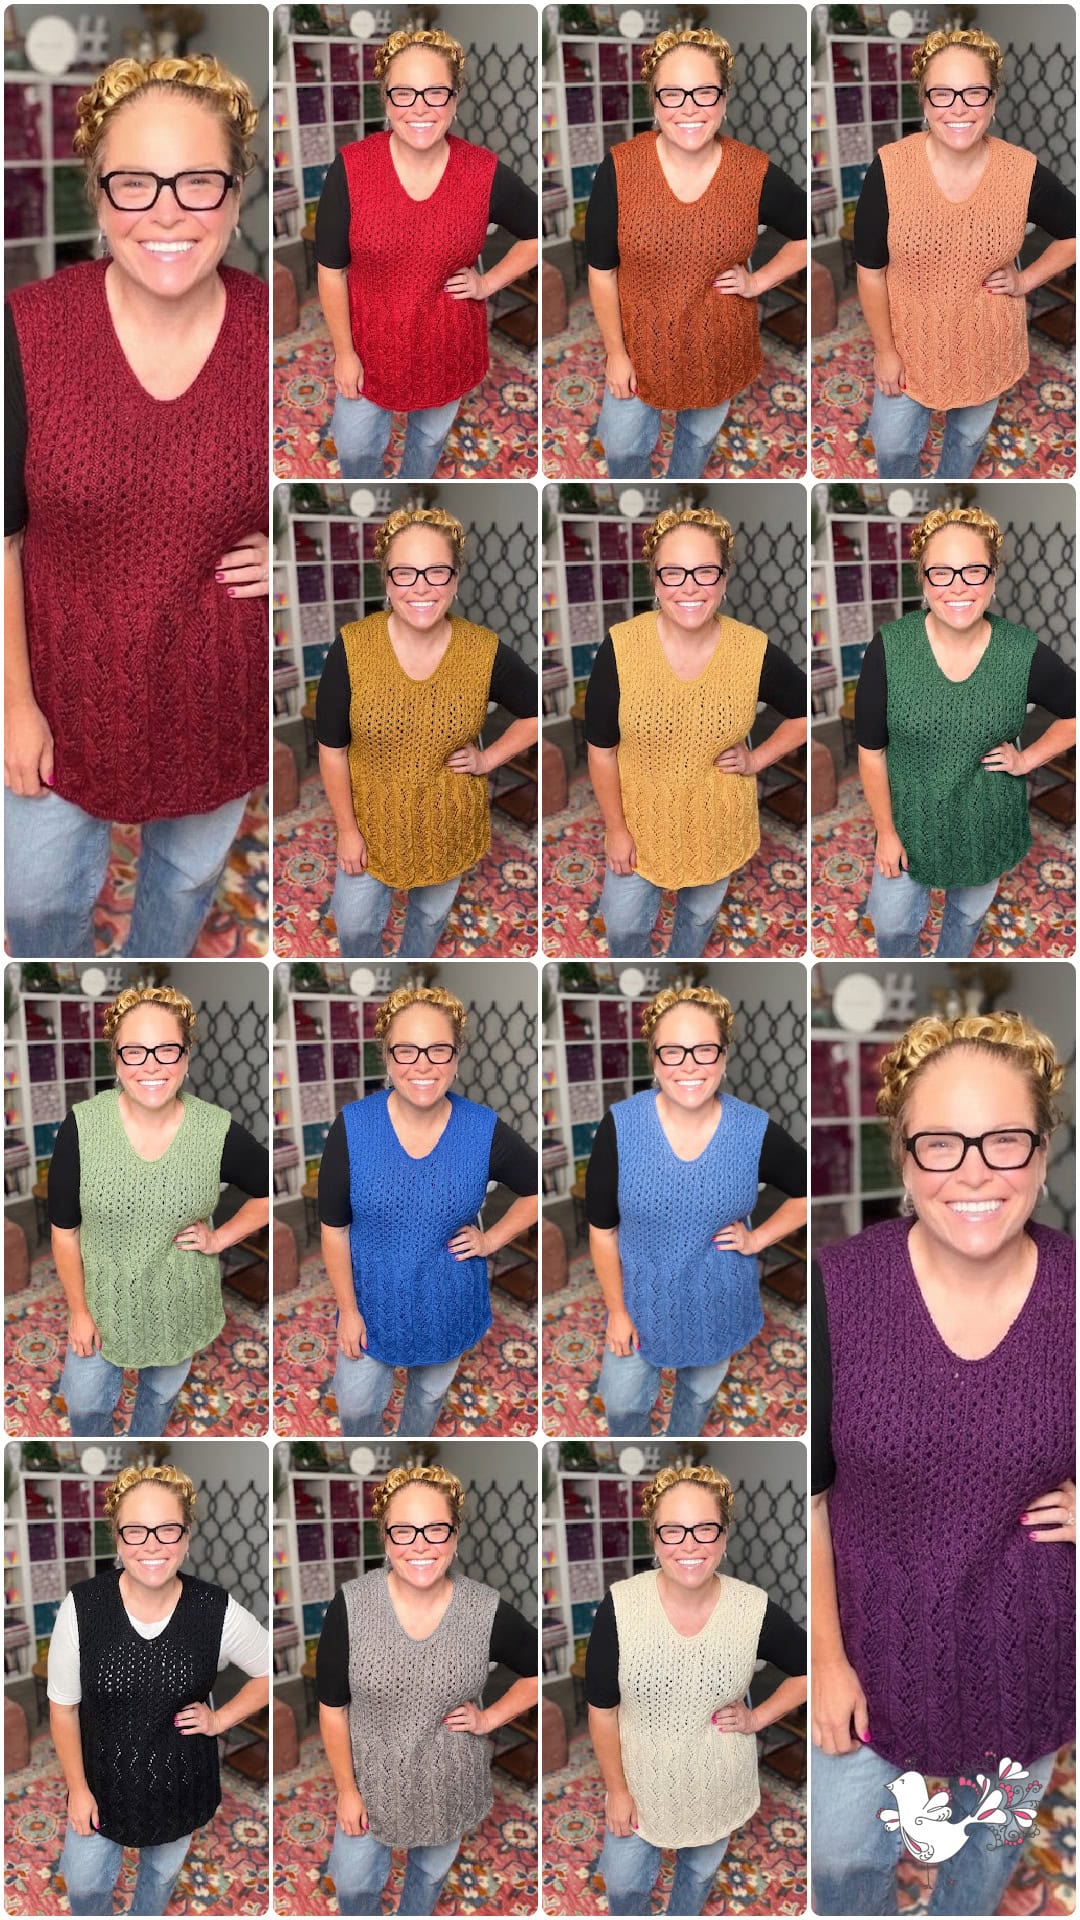
I designed this shawl a while back using Red Heart With Love Stripes… and it instantly became one of my most-recommended beginner knitting projects. The original yarn has since been discontinued, but here is the thing… this shawl is so forgiving that it works with practically ANY worsted or aran weight yarn you love. Multi-color, self-striping, ombré, cakes… all of it is fair game. And because gauge genuinely does not matter here, you can cast on with whatever yarn calls to you from your stash, keep knitting until the shawl feels big enough, and then work the garter edge bind-off. Done. It is that simple.
I have pulled together a whole list of stripy, colorful yarn options below… including some new favorites that are really affordable. Let's get into it.
What You Will Love About This Beginner Knit Shawl 💖
🧶 It is 100% garter stitch. The entire shawl… body AND the garter edge bind-off… is knit stitch only. No purling. Ever. If you can knit, you can make this shawl.
📐 Gauge does not matter. This is genuinely rare in knitting patterns, and it is a huge deal for beginners. Grab your worsted or aran weight yarn, grab your US 10 needles (or whatever size is recommended on the label), and start knitting. Keep going until the shawl is the size you want it to be. The stitch count really does not matter… you just work until it feels right, then do the bind-off.
✈️ This is the ultimate travel project. The 2-row repeat is so simple you will have it memorized after the first few rows. You can set it down mid-row, pick it up two weeks later on a plane, and never miss a beat. No charts to track. No complex stitch patterns to re-orient yourself to. Just knit.
🌈 Self-striping yarn does all the color work for you. No ends to weave in between color changes. The yarn does the design work… you just enjoy watching the stripes appear.
📄 It is free right here on the blog. The full pattern lives free ⬇️ below… thank you for supporting the site by reading through the ads!
🎓 Two video tutorials walk you through everything. Part 1 covers the cast-on, setup rows, and body. Part 2 covers the garter edge bind-off. You are never on your own with this one.
Quick Pattern Overview
🧶 Craft: Knitting
🎯 Skill Level: Easy Beginner
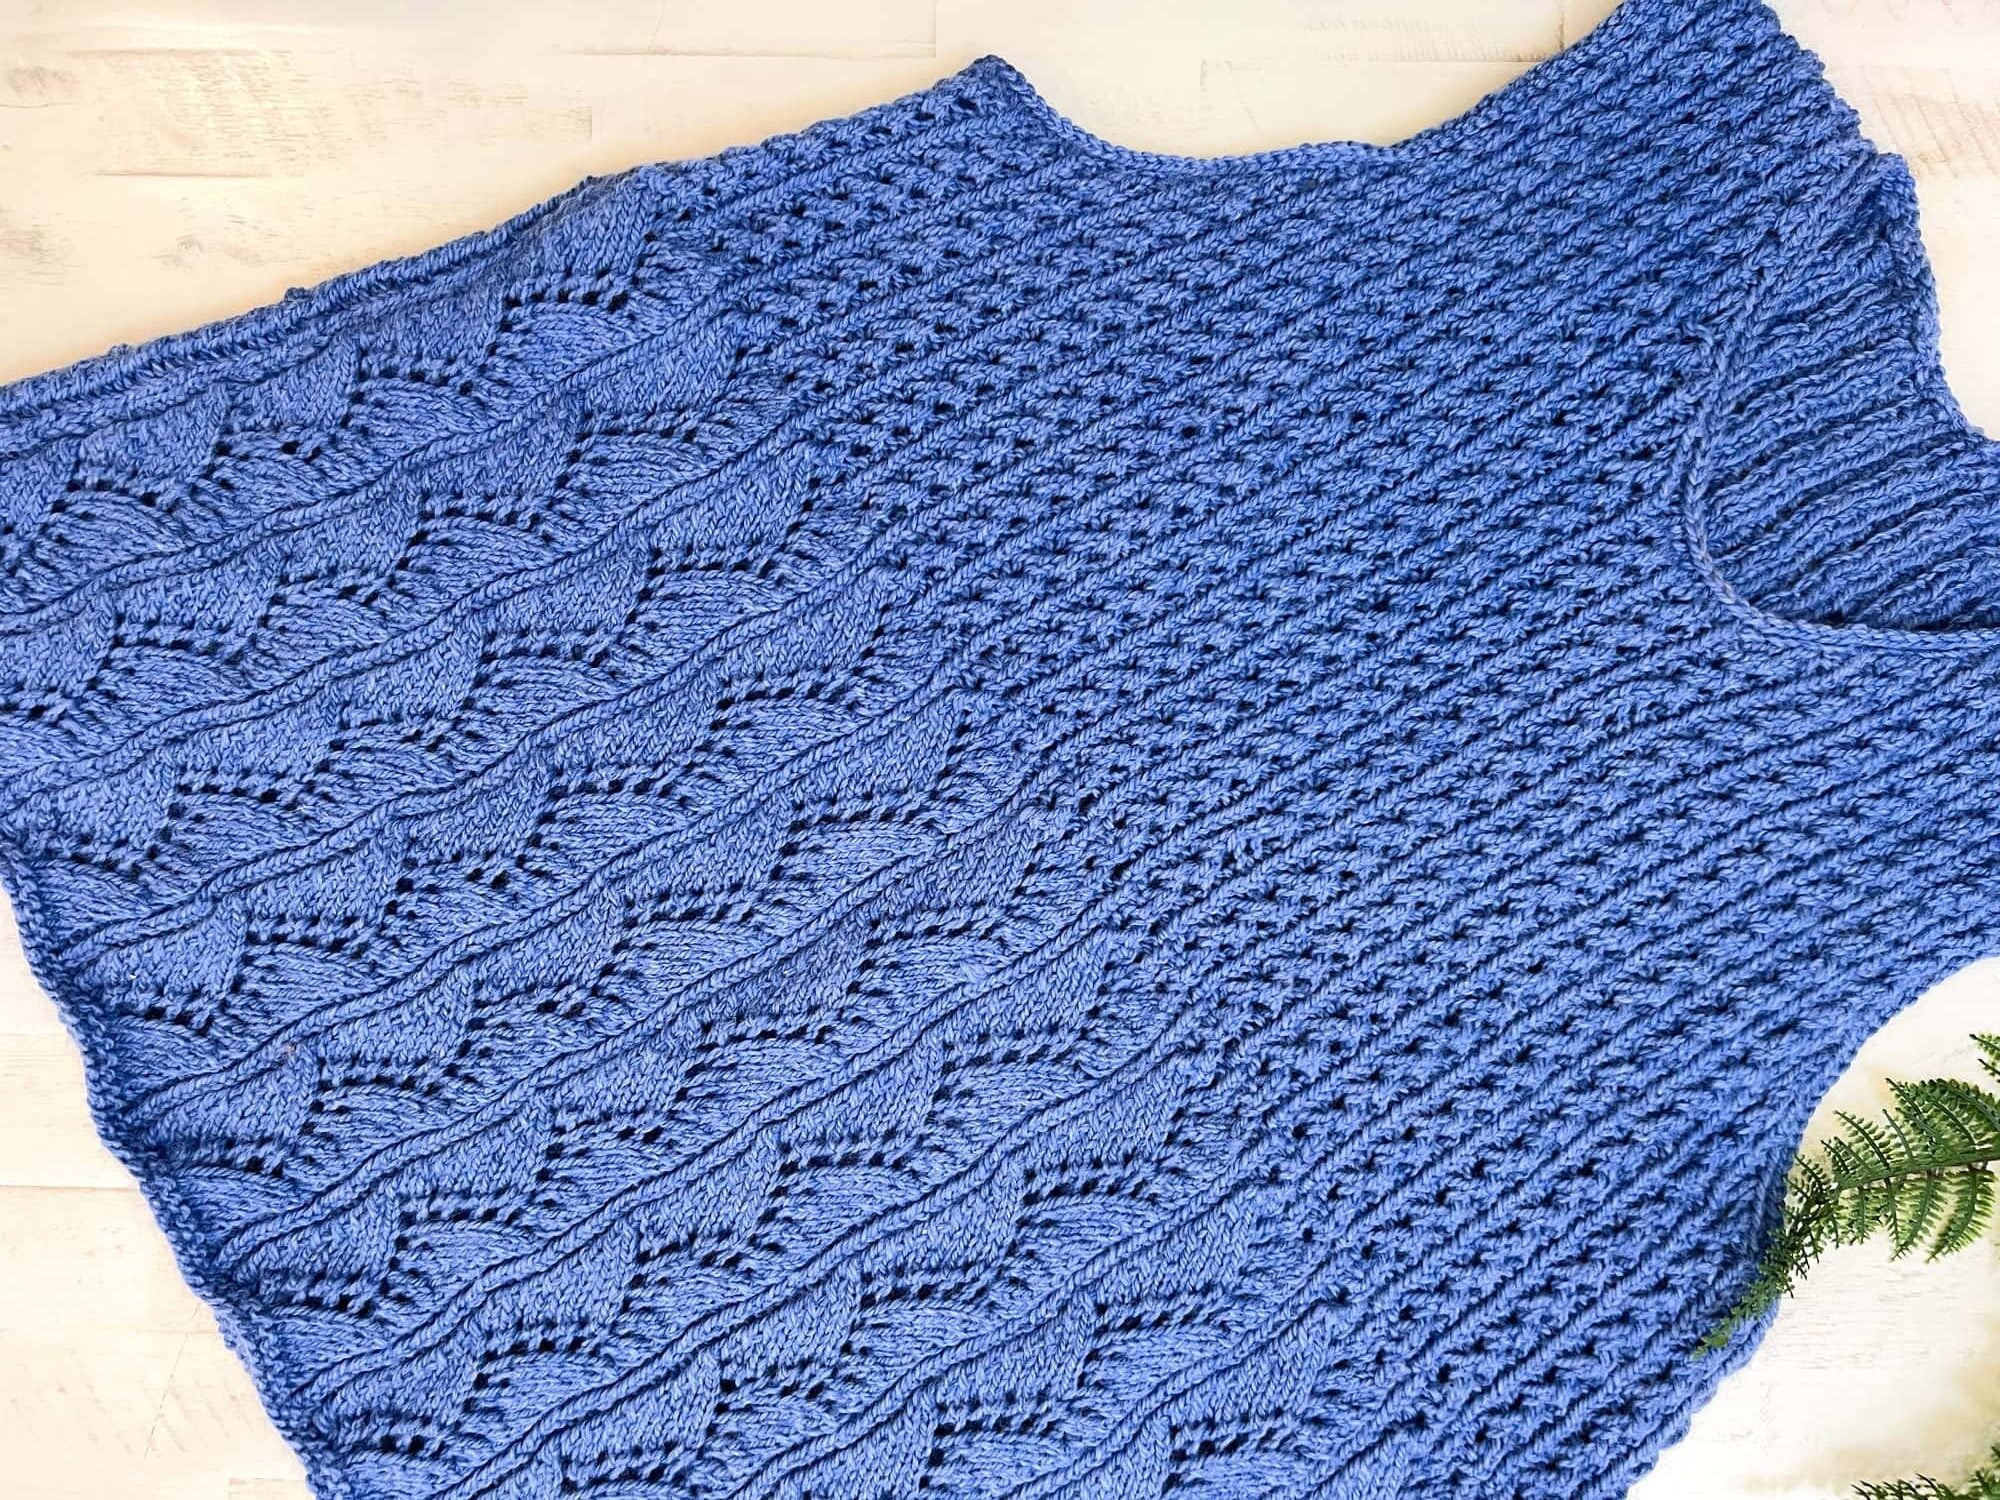
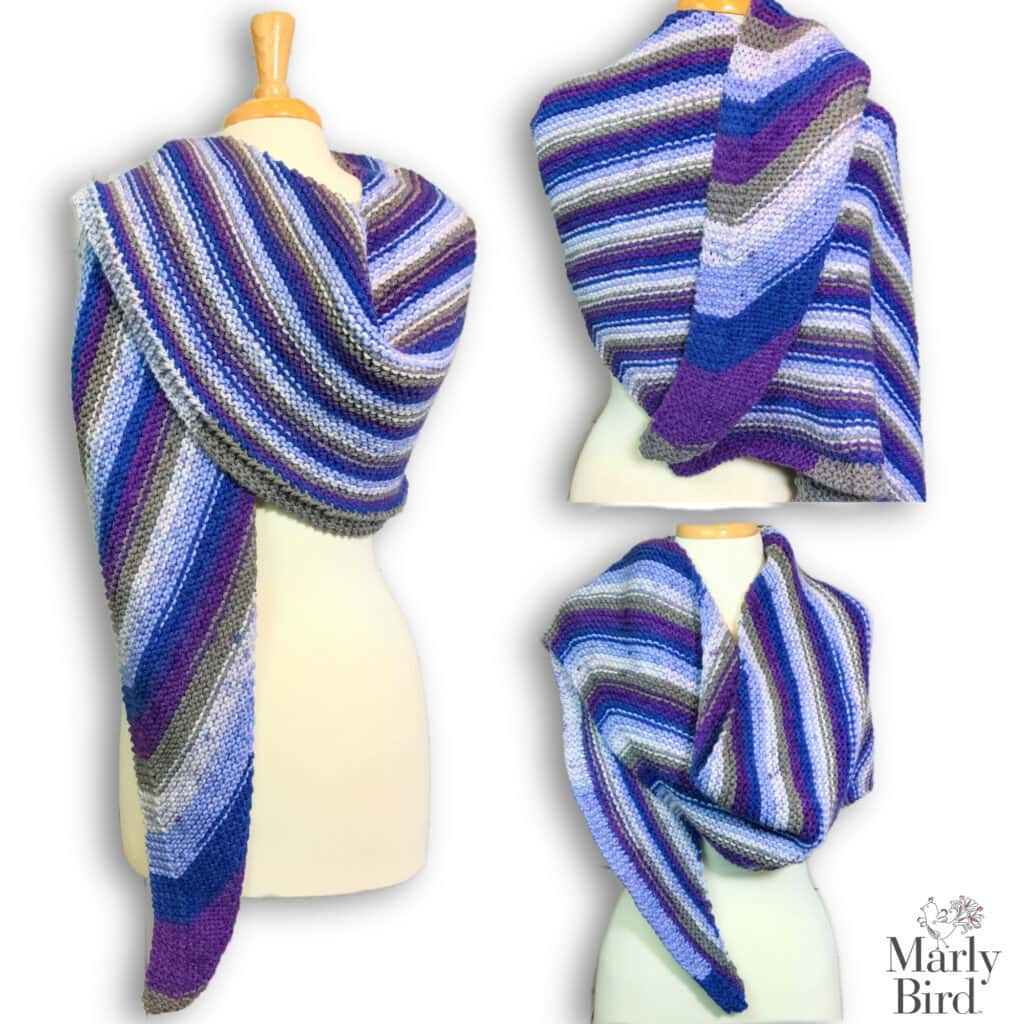
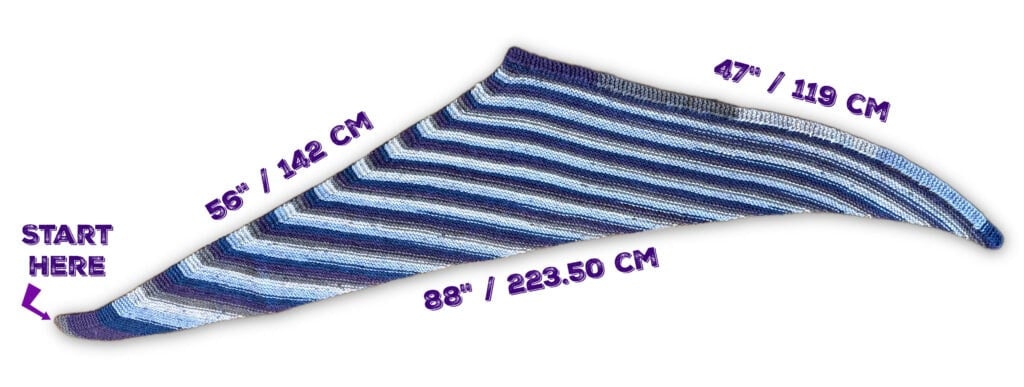
📏 Finished Size (sample, after blocking): 88″ (223.5 cm) wingspan along increase edge / 56″ (142 cm) along straight edge / 47″ (119.5 cm) along bind-off edge. Because gauge does not matter with this pattern, your finished size will depend on your yarn and how long you knit. Keep going until it feels right!
🪡 Needles: US Size 10 (6 mm) 36″ circular knitting needle. The shawl is worked flat… circular needles are just used to hold the growing number of stitches comfortably as the shawl grows.
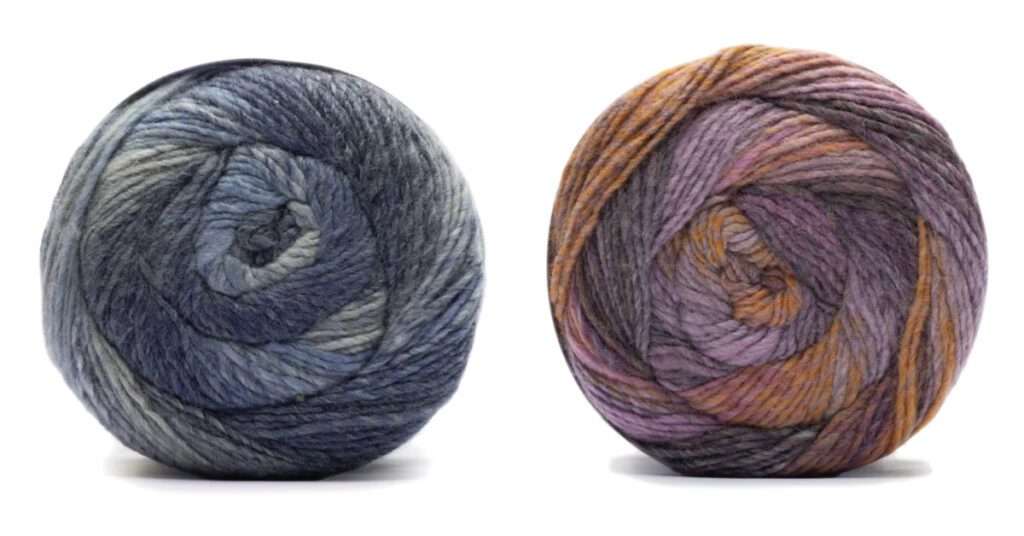
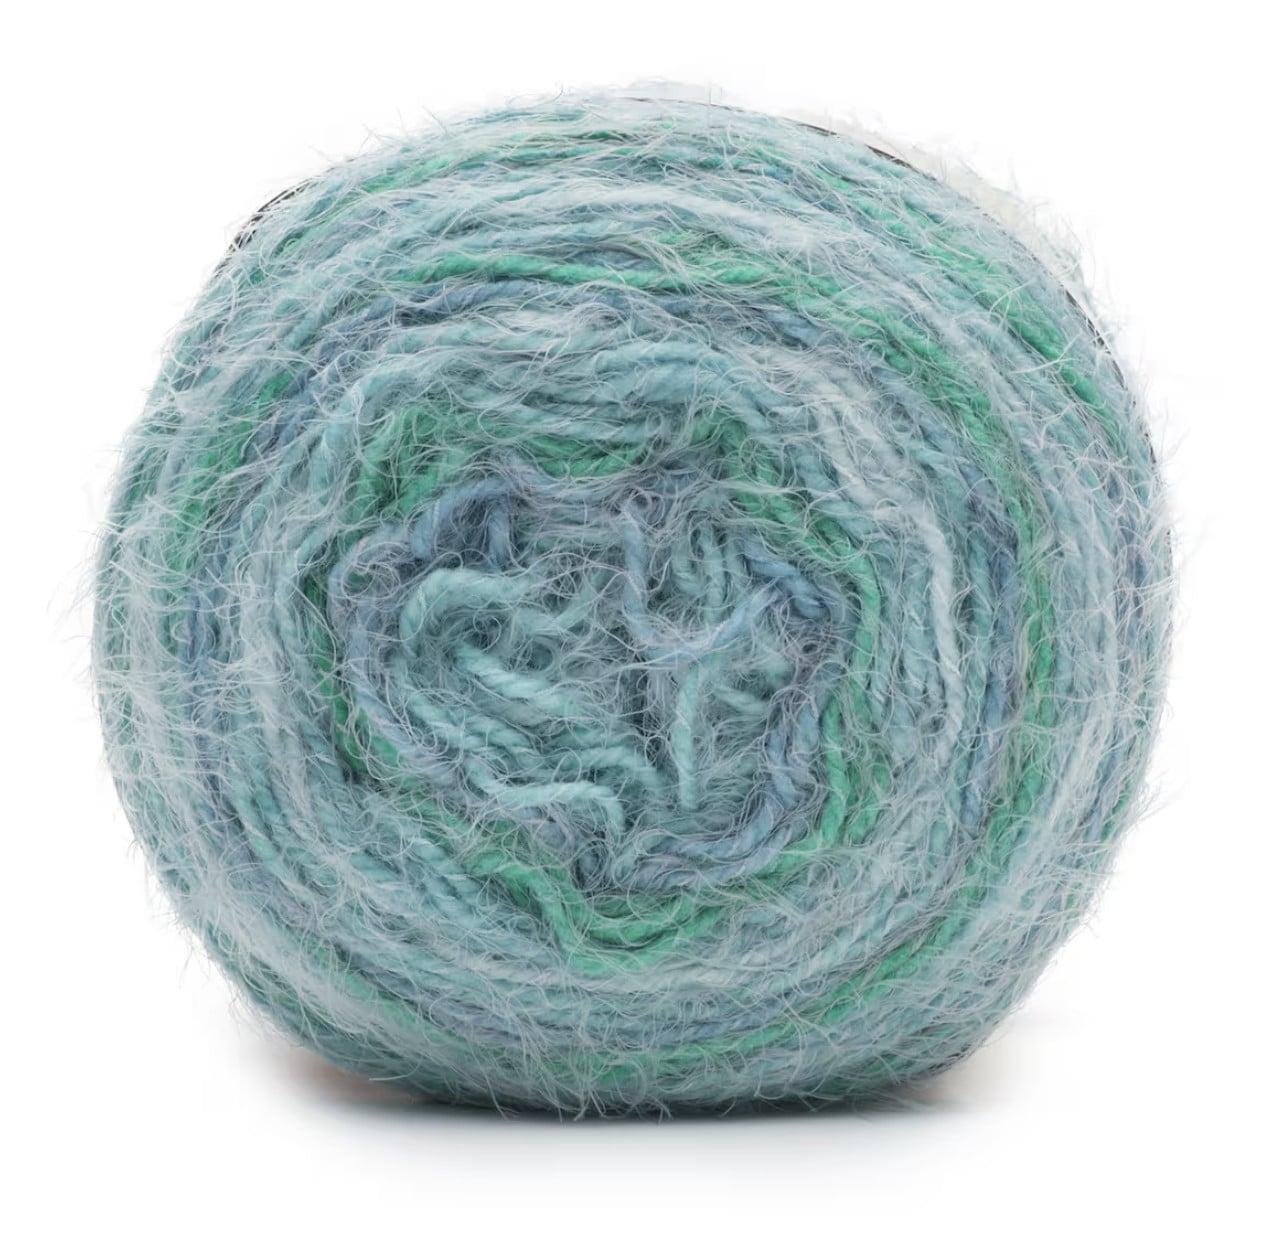
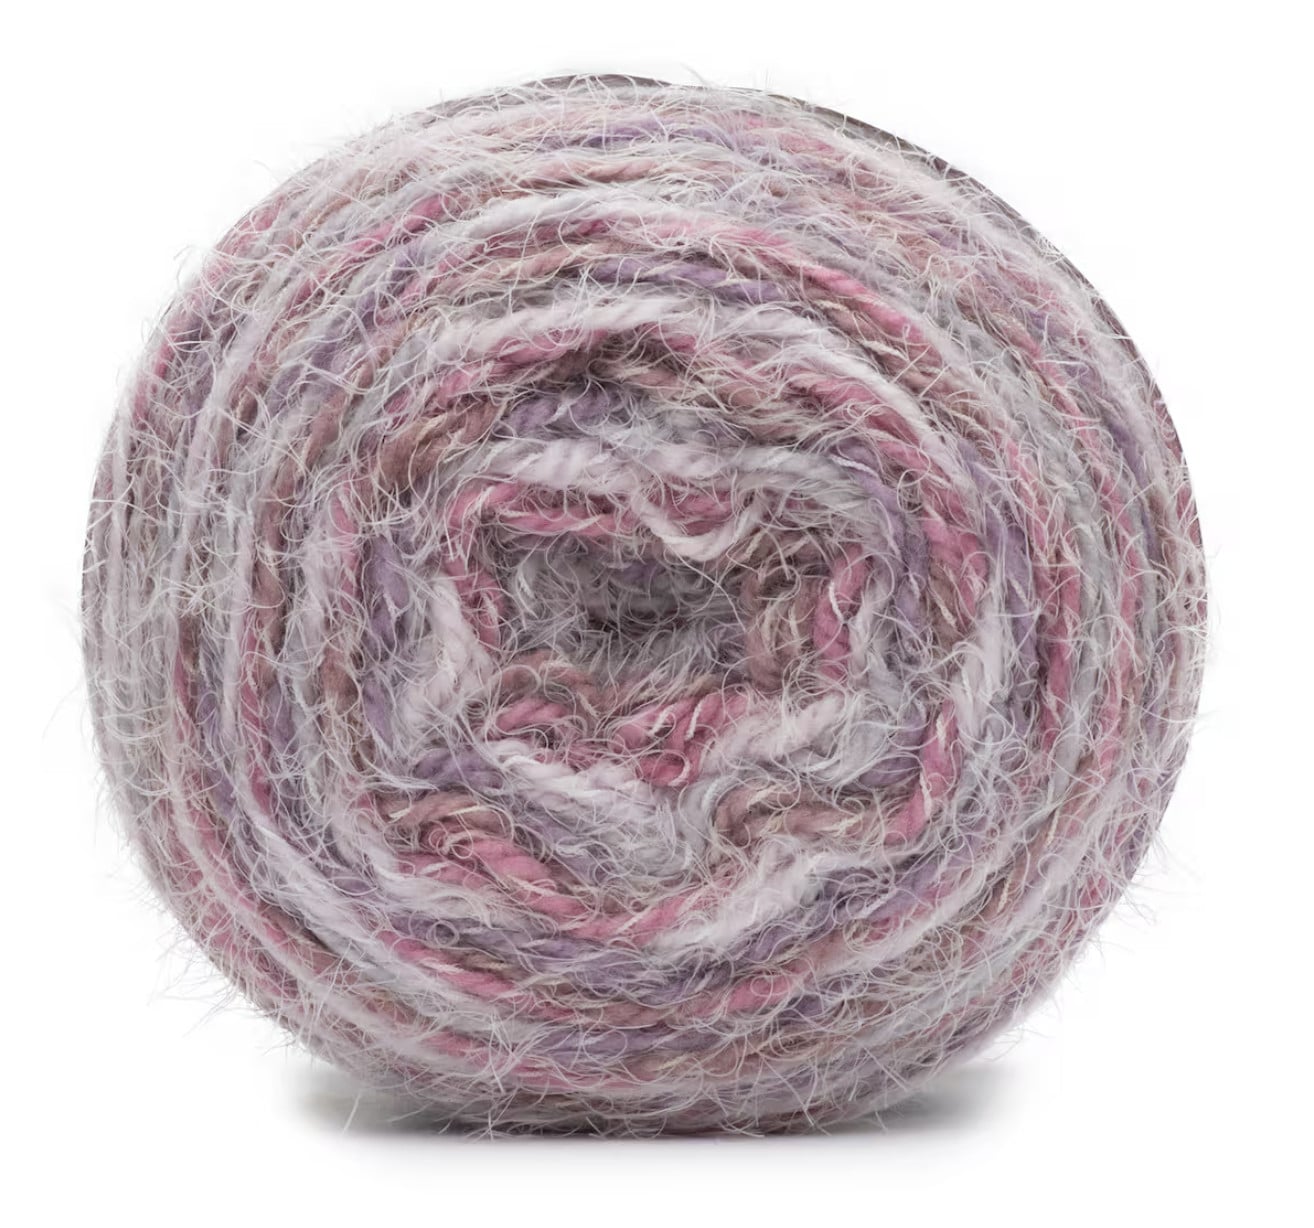
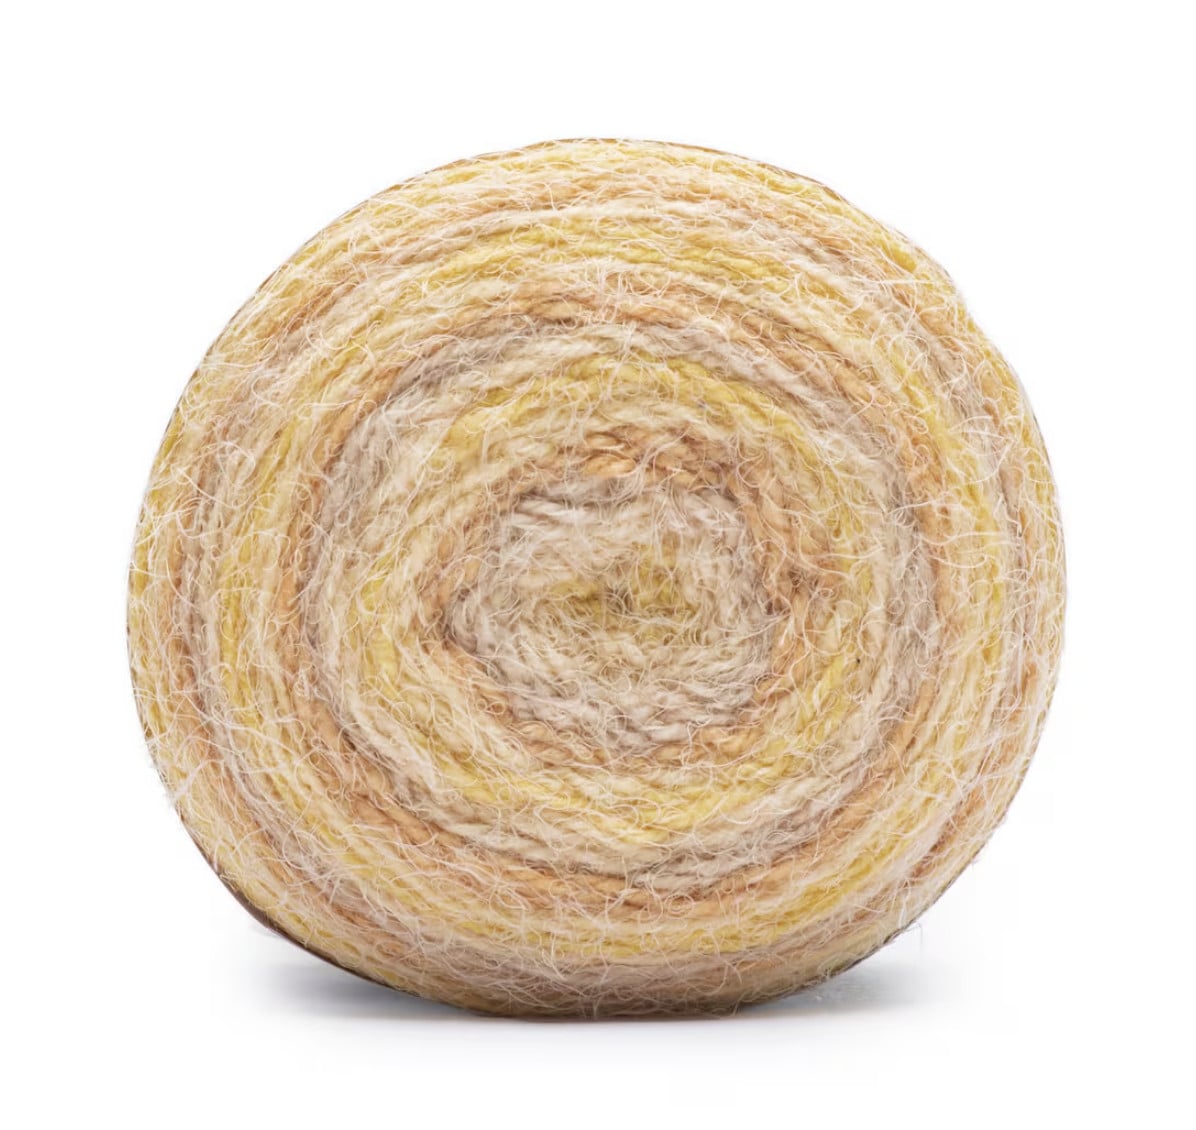
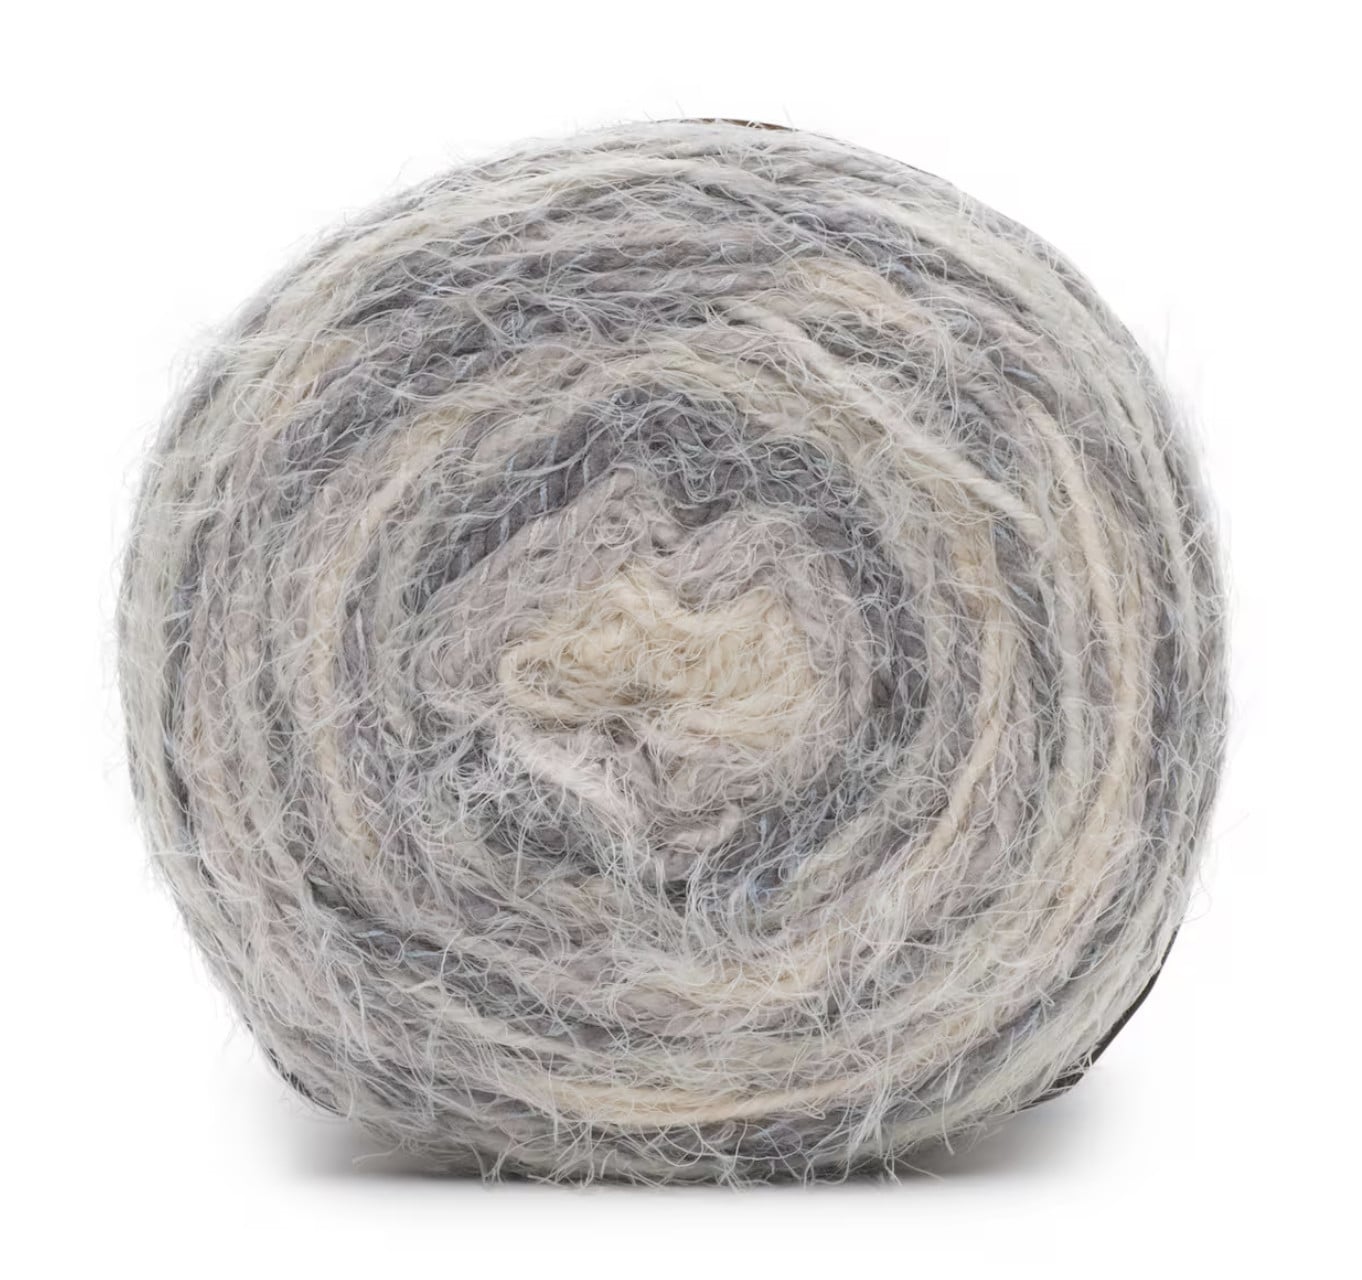
🧵 Yarn: Any worsted or aran weight yarn in a colorful, self-striping, ombré, or multi-color style. The original yarn (Red Heart With Love Stripes, Baroque Stripe) is discontinued. See the full yarn list below!
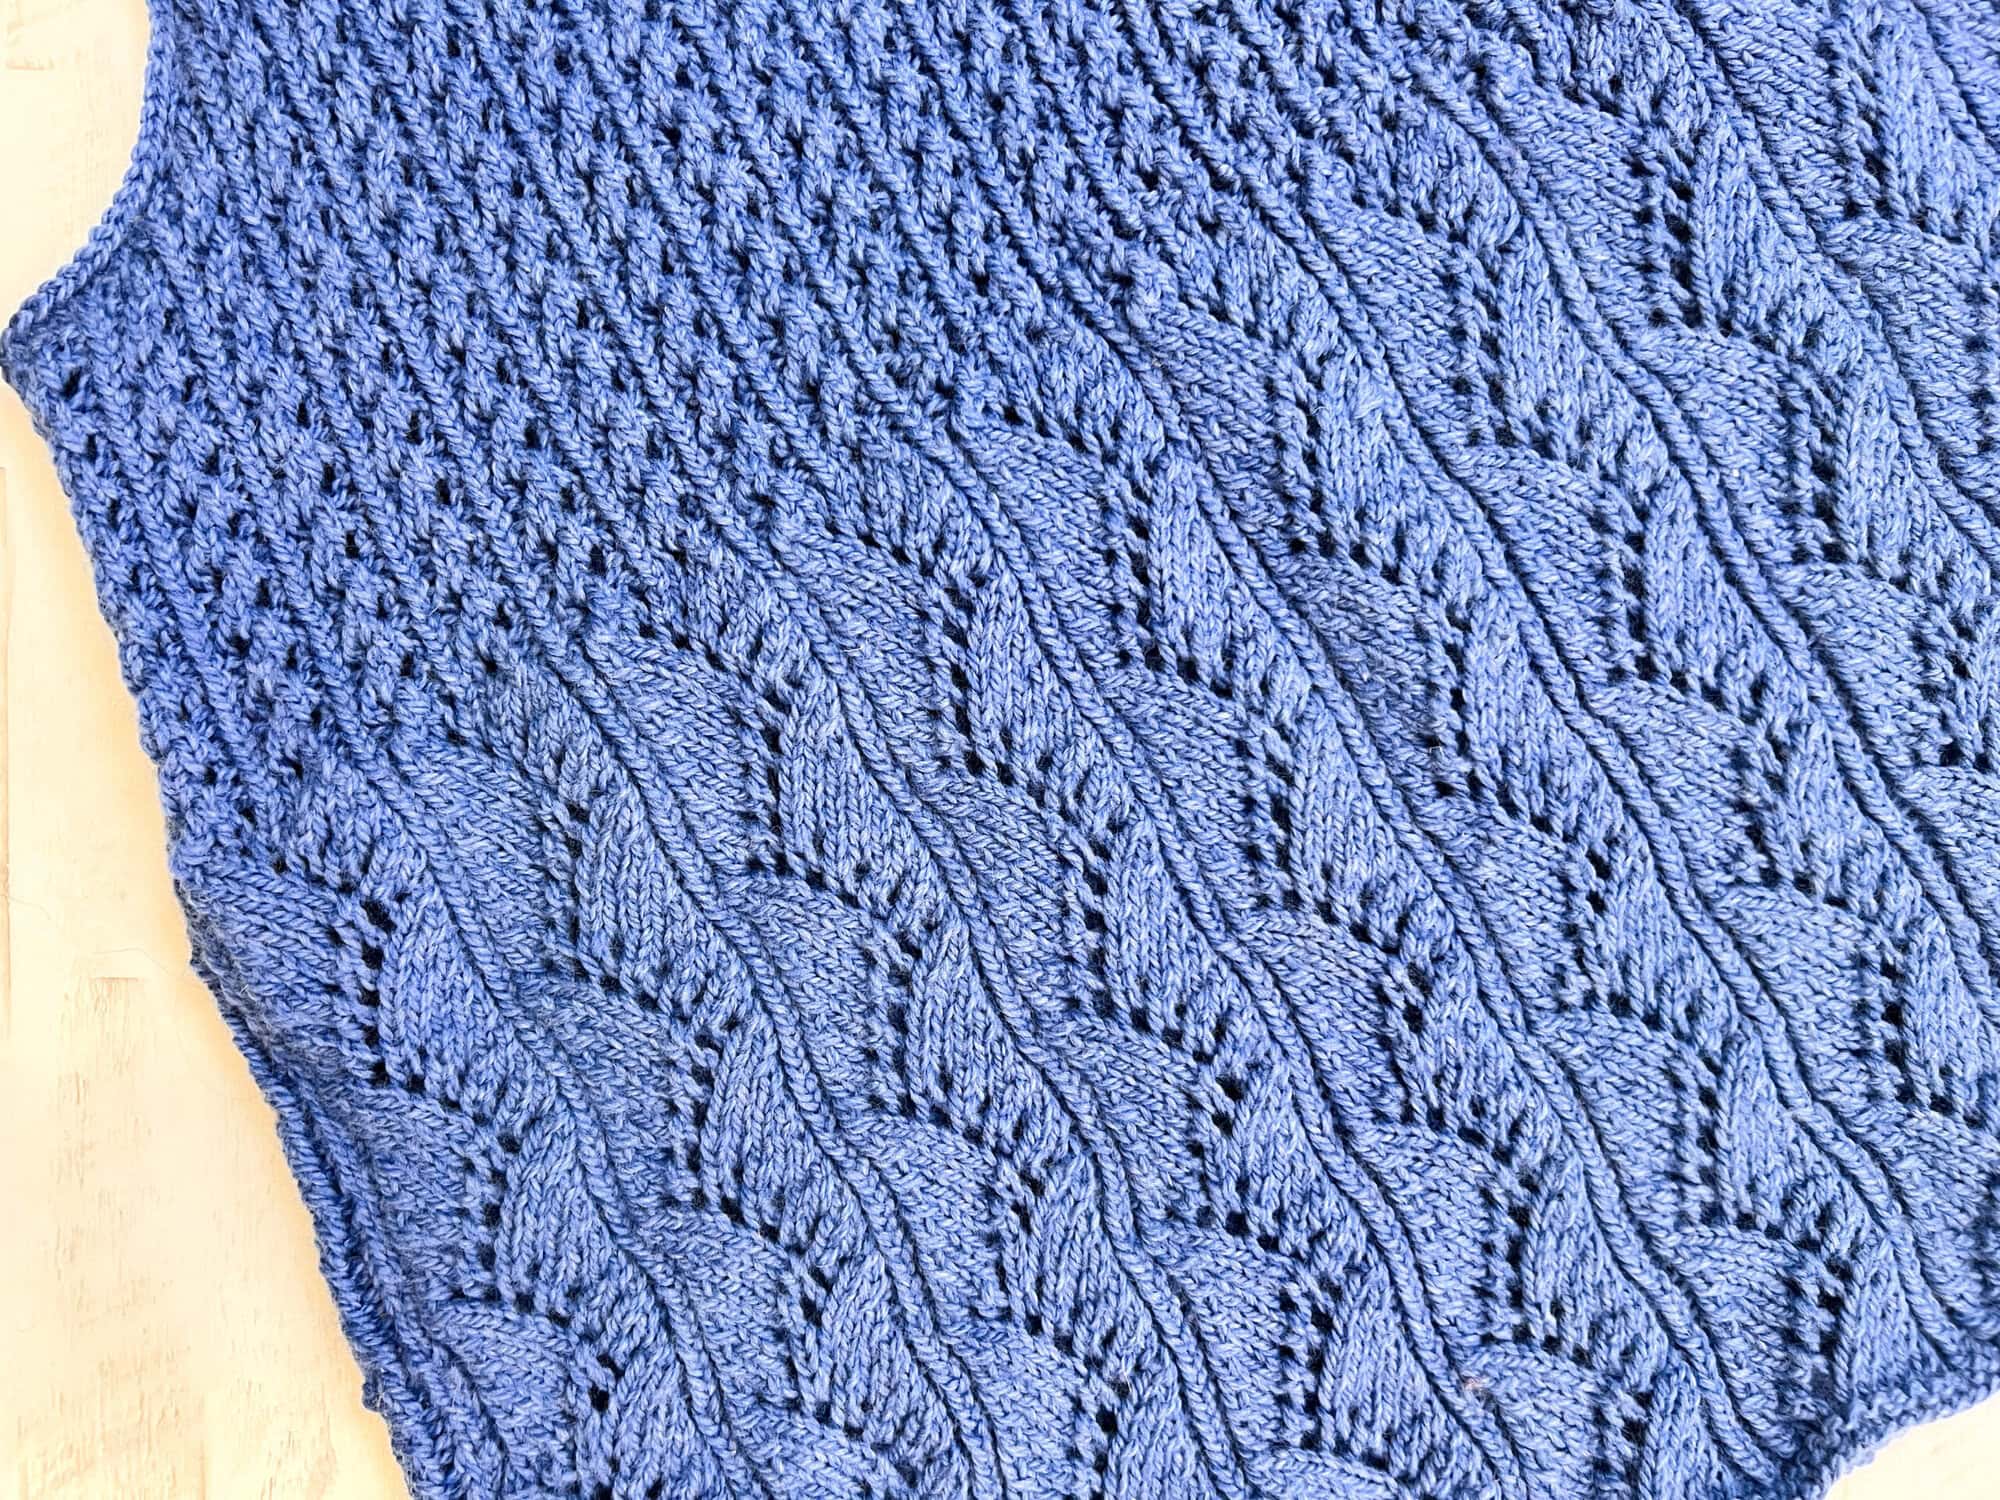
📐 Gauge: 14 sts and 28 rows = 4″ in Garter Stitch after blocking. But here is the beautiful thing about this pattern: gauge does not matter. Your shawl will just be a different finished size, and that is perfectly fine.
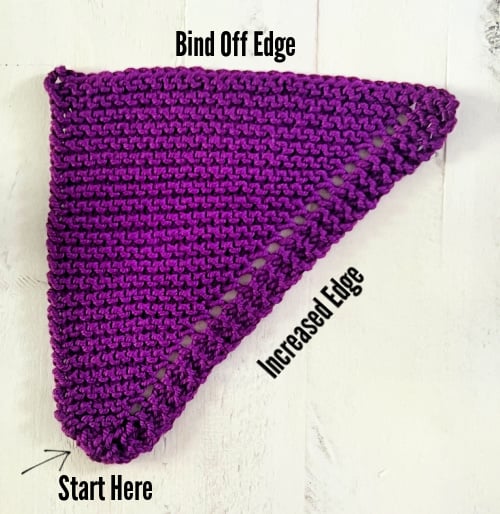
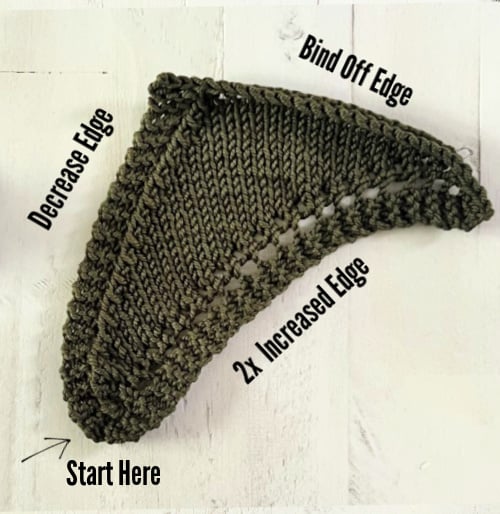
🏗️ Construction: Worked flat from one corner outward using right-angle construction. The shawl builds its triangle shape as you go, creating that gorgeous diagonal drape knitters love. Finished with a built-in garter edge bind-off that works directly onto the live stitches.
Is This Beginner Bias Knit Shawl Right for You?
This pattern is perfect for you if…
✅ You are a brand new knitter who has learned the knit stitch and wants a real project (not just a dishcloth)
✅ You want a shawl pattern where gauge does not matter and you cannot mess it up
✅ You love colorful, self-striping yarn and want a pattern that shows it off
✅ You need a portable travel project with a simple repeat you can memorize
✅ You want to learn bias knitting in the most beginner-friendly way possible
This pattern might not be for you if…
❌ You want a lace shawl with intricate stitch patterns (this is pure garter stitch)
❌ You prefer patterns with exact finished measurements (this one is flexible by design)
❌ You have never knitted before (learn the knit stitch first, then come back!)
Love Colorful Self-Striping Yarn? More Patterns to Try! 🌈
One of the best things about self-striping and gradient yarn is that it works beautifully for SO many project types beyond shawls. Here are a few of my favorite patterns that absolutely shine in a stripy, colorful yarn…
- 🧥 Know Your Worth Cocoon Cardigan … a gorgeous, easy-wear cocoon cardigan that shows off every stripe of a self-striping yarn beautifully
- 🧥 Amanda Woods Knit Cocoon Cardigan … another cocoon-style knit that drapes beautifully and makes self-striping yarn the star
- 🦺 Lorelai Knit Vest … a stylish layering vest that works up fast and looks stunning in a gradient or ombré yarn
- 🧥 Shoop, Shoop, Shoop Knit Cardigan … a fan-favorite VIP pattern from Turkey Trot 2023 that is absolutely dreamy in a stripy colorway

Bias Shawl vs. Right-Angle Construction — What's the Difference?
You will often hear this shawl called a “bias shawl,” and that name has stuck because of how it looks… that beautiful diagonal drape is exactly what most knitters picture when they hear the word bias. But technically, true bias knitting works differently: it uses increases on one side and decreases on the other simultaneously, which creates a fabric that runs on the diagonal from corner to corner.
This shawl is actually a right-angle construction… you start at one corner, increase on one sides to build out the triangle, and the result has that same gorgeous diagonal appearance without the complexity of true bias knitting. That is what makes it perfect for beginners.
So if you found this post searching for a bias shawl… you are in the right place. The look is the same, the technique is simpler, and the garter stitch does all the heavy lifting.

Your Perfect Travel Knitting Project
I hear from knitters all the time who are looking for the ideal travel project… something portable, easy to pick up and put down, and simple enough to work while watching TV or chatting with friends. This shawl checks every box.
✈️ Airport and airplane friendly. No charts to reference, no complex stitch patterns to track. Just knit.
🎒 Fits in any bag. One ball of yarn, one circular needle, one stitch marker. That is it. These are my favorite knitting bags for all projects!
🛋️ Perfect TV knitting. The 2-row repeat is so simple you can knit without looking down once you have it memorized. We call this a perfect Netflix and Chill knitting project 📺
⏸️ Easy to set down and pick up. No complicated pattern to re-orient yourself to. Just find your marker and keep going.
Join our Newsletter
Get Free Crochet & Knitting
Pattern Links & Coupons!

Build Your Skills with This Shawl
Even though this is an easy beginner pattern, you will learn real knitting skills that transfer to more advanced projects:
📚 Kfb (knit front and back)… a basic increase that adds one stitch. You will use this constantly in garment knitting.
📚 K2tog (knit two together)… a basic decrease that removes one stitch. Another essential skill for shaped garments.
📚 Reading your knitting… because you are watching the bias shape develop, you will learn to “read” your fabric and understand what is happening structurally.
📚 The garter edge bind-off… a technique that finishes and binds off at the same time. This skill transfers to other edgings and finishing techniques.
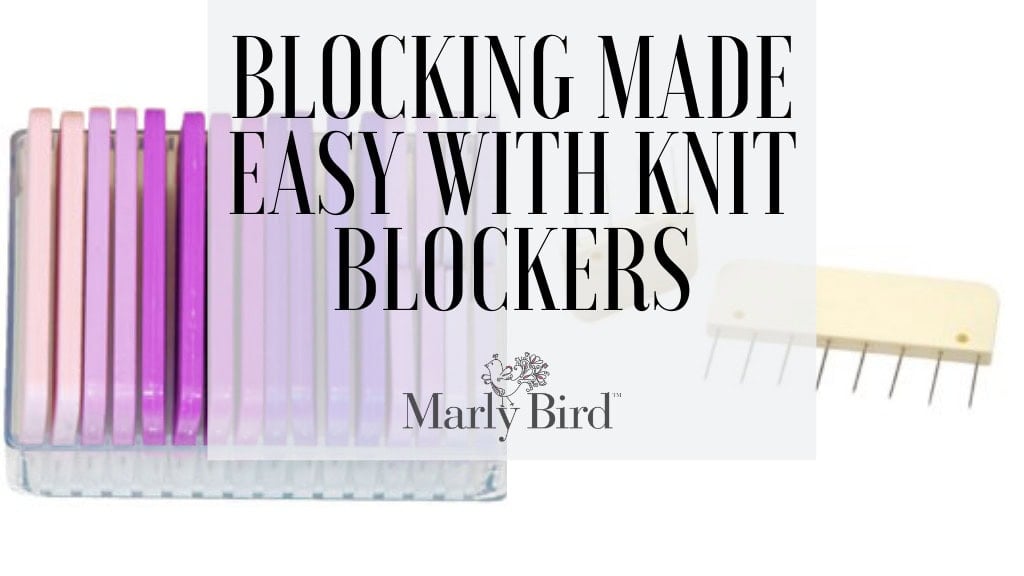
📚 Blocking… the finishing step that transforms your knitting. You will learn why blocking matters and how to do it properly.
Want to level up your knitting skills even more? Check out the BiCrafty Bootcamp at Marly Bird House for structured lessons that take you from beginner to confident knitter.
Yarn & Materials
Original Yarn (Discontinued)
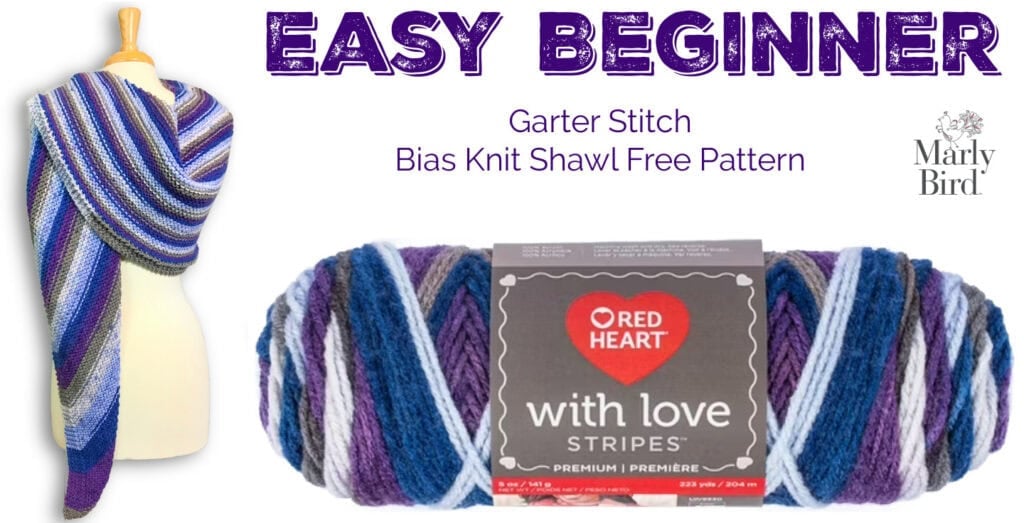
The original sample was knit in Red Heart With Love Stripes in the colorway Baroque Stripe (E400-1978). This yarn has been discontinued, but the good news is that this shawl works beautifully with ANY worsted or aran weight yarn. The pattern is so forgiving that you can substitute freely.
Substitute Yarns
Here are my favorite substitutes, organized by where to find them:
From Herrschners (affiliate links)
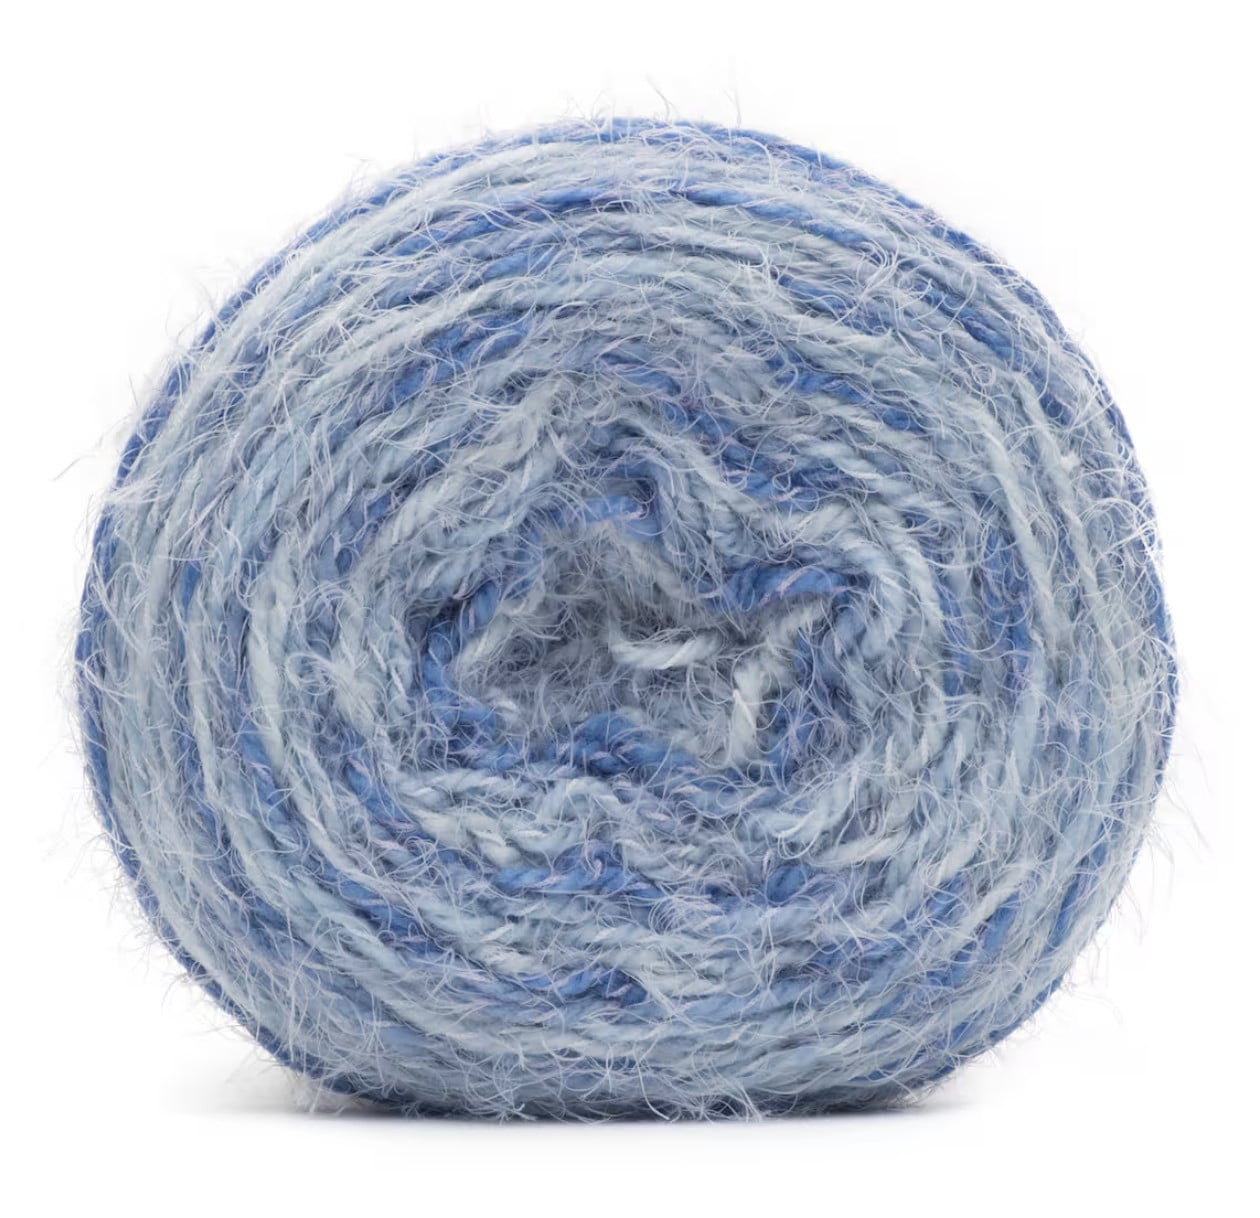
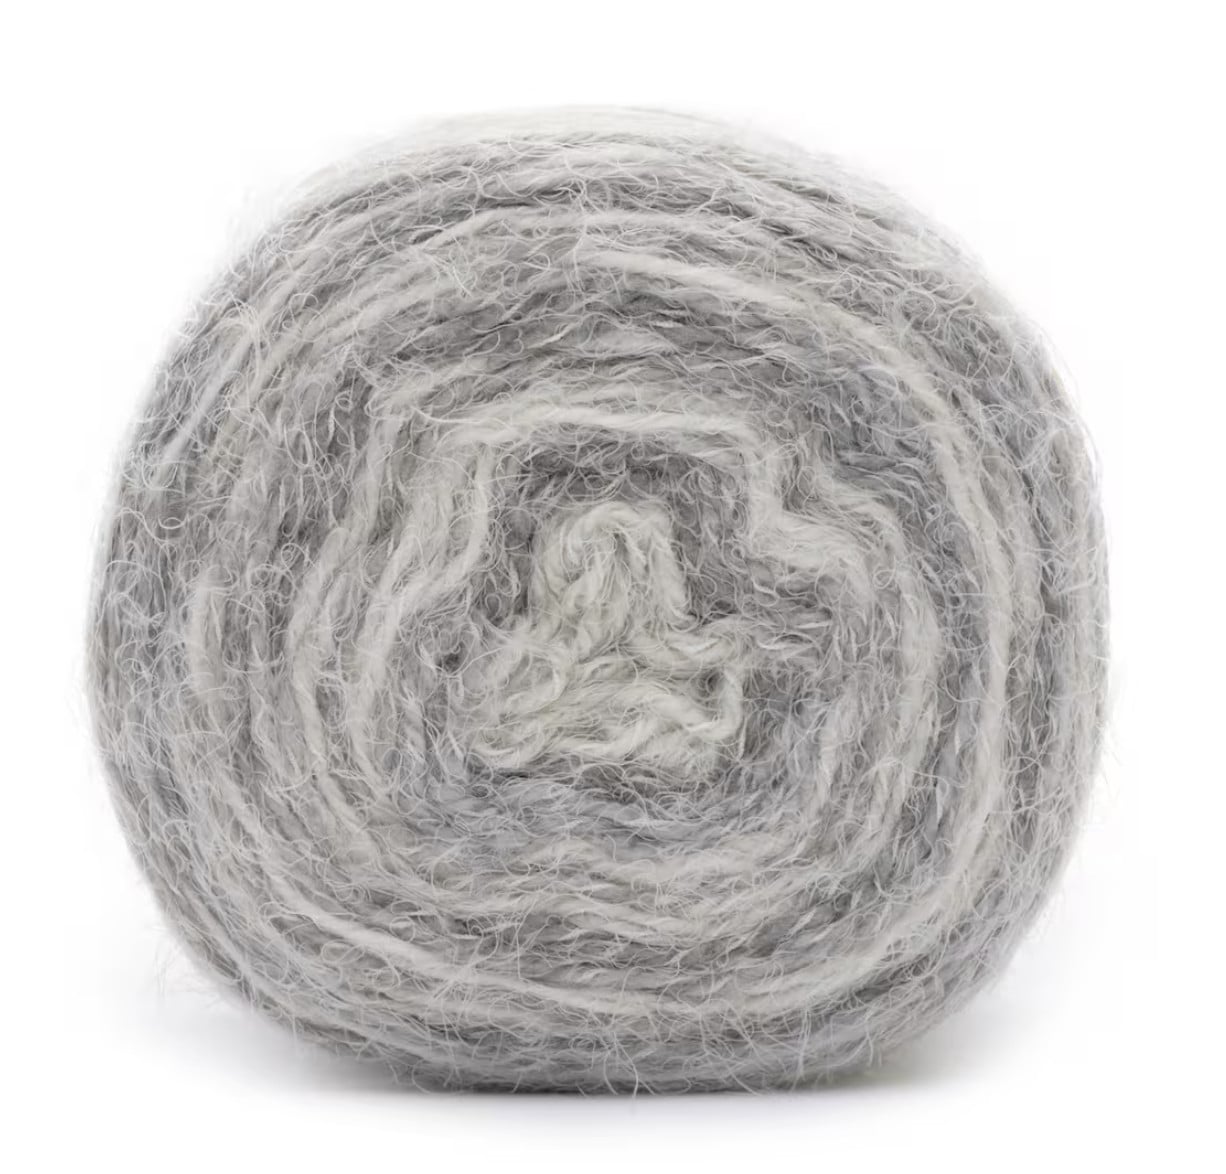
- 🧶 Lion Brand Ferris Wheel… beautiful long color changes, great drape
- 🧶 Lion Brand Mandala… classic gradient yarn with tons of colorways
- 🧶 Lion Brand Mandala Gradient… similar to Mandala with softer color transitions
- 🧶 Red Heart Super Saver Stripes… budget-friendly and widely available
- 🧶 Herrschners Be Stripey… new and affordable, lots of colorways
- 🧶 Red Heart Super Easy Stripes… great for a LARGER shawl
- 🧶 Premier Puzzle Yarn… fun color combinations
From Michaels
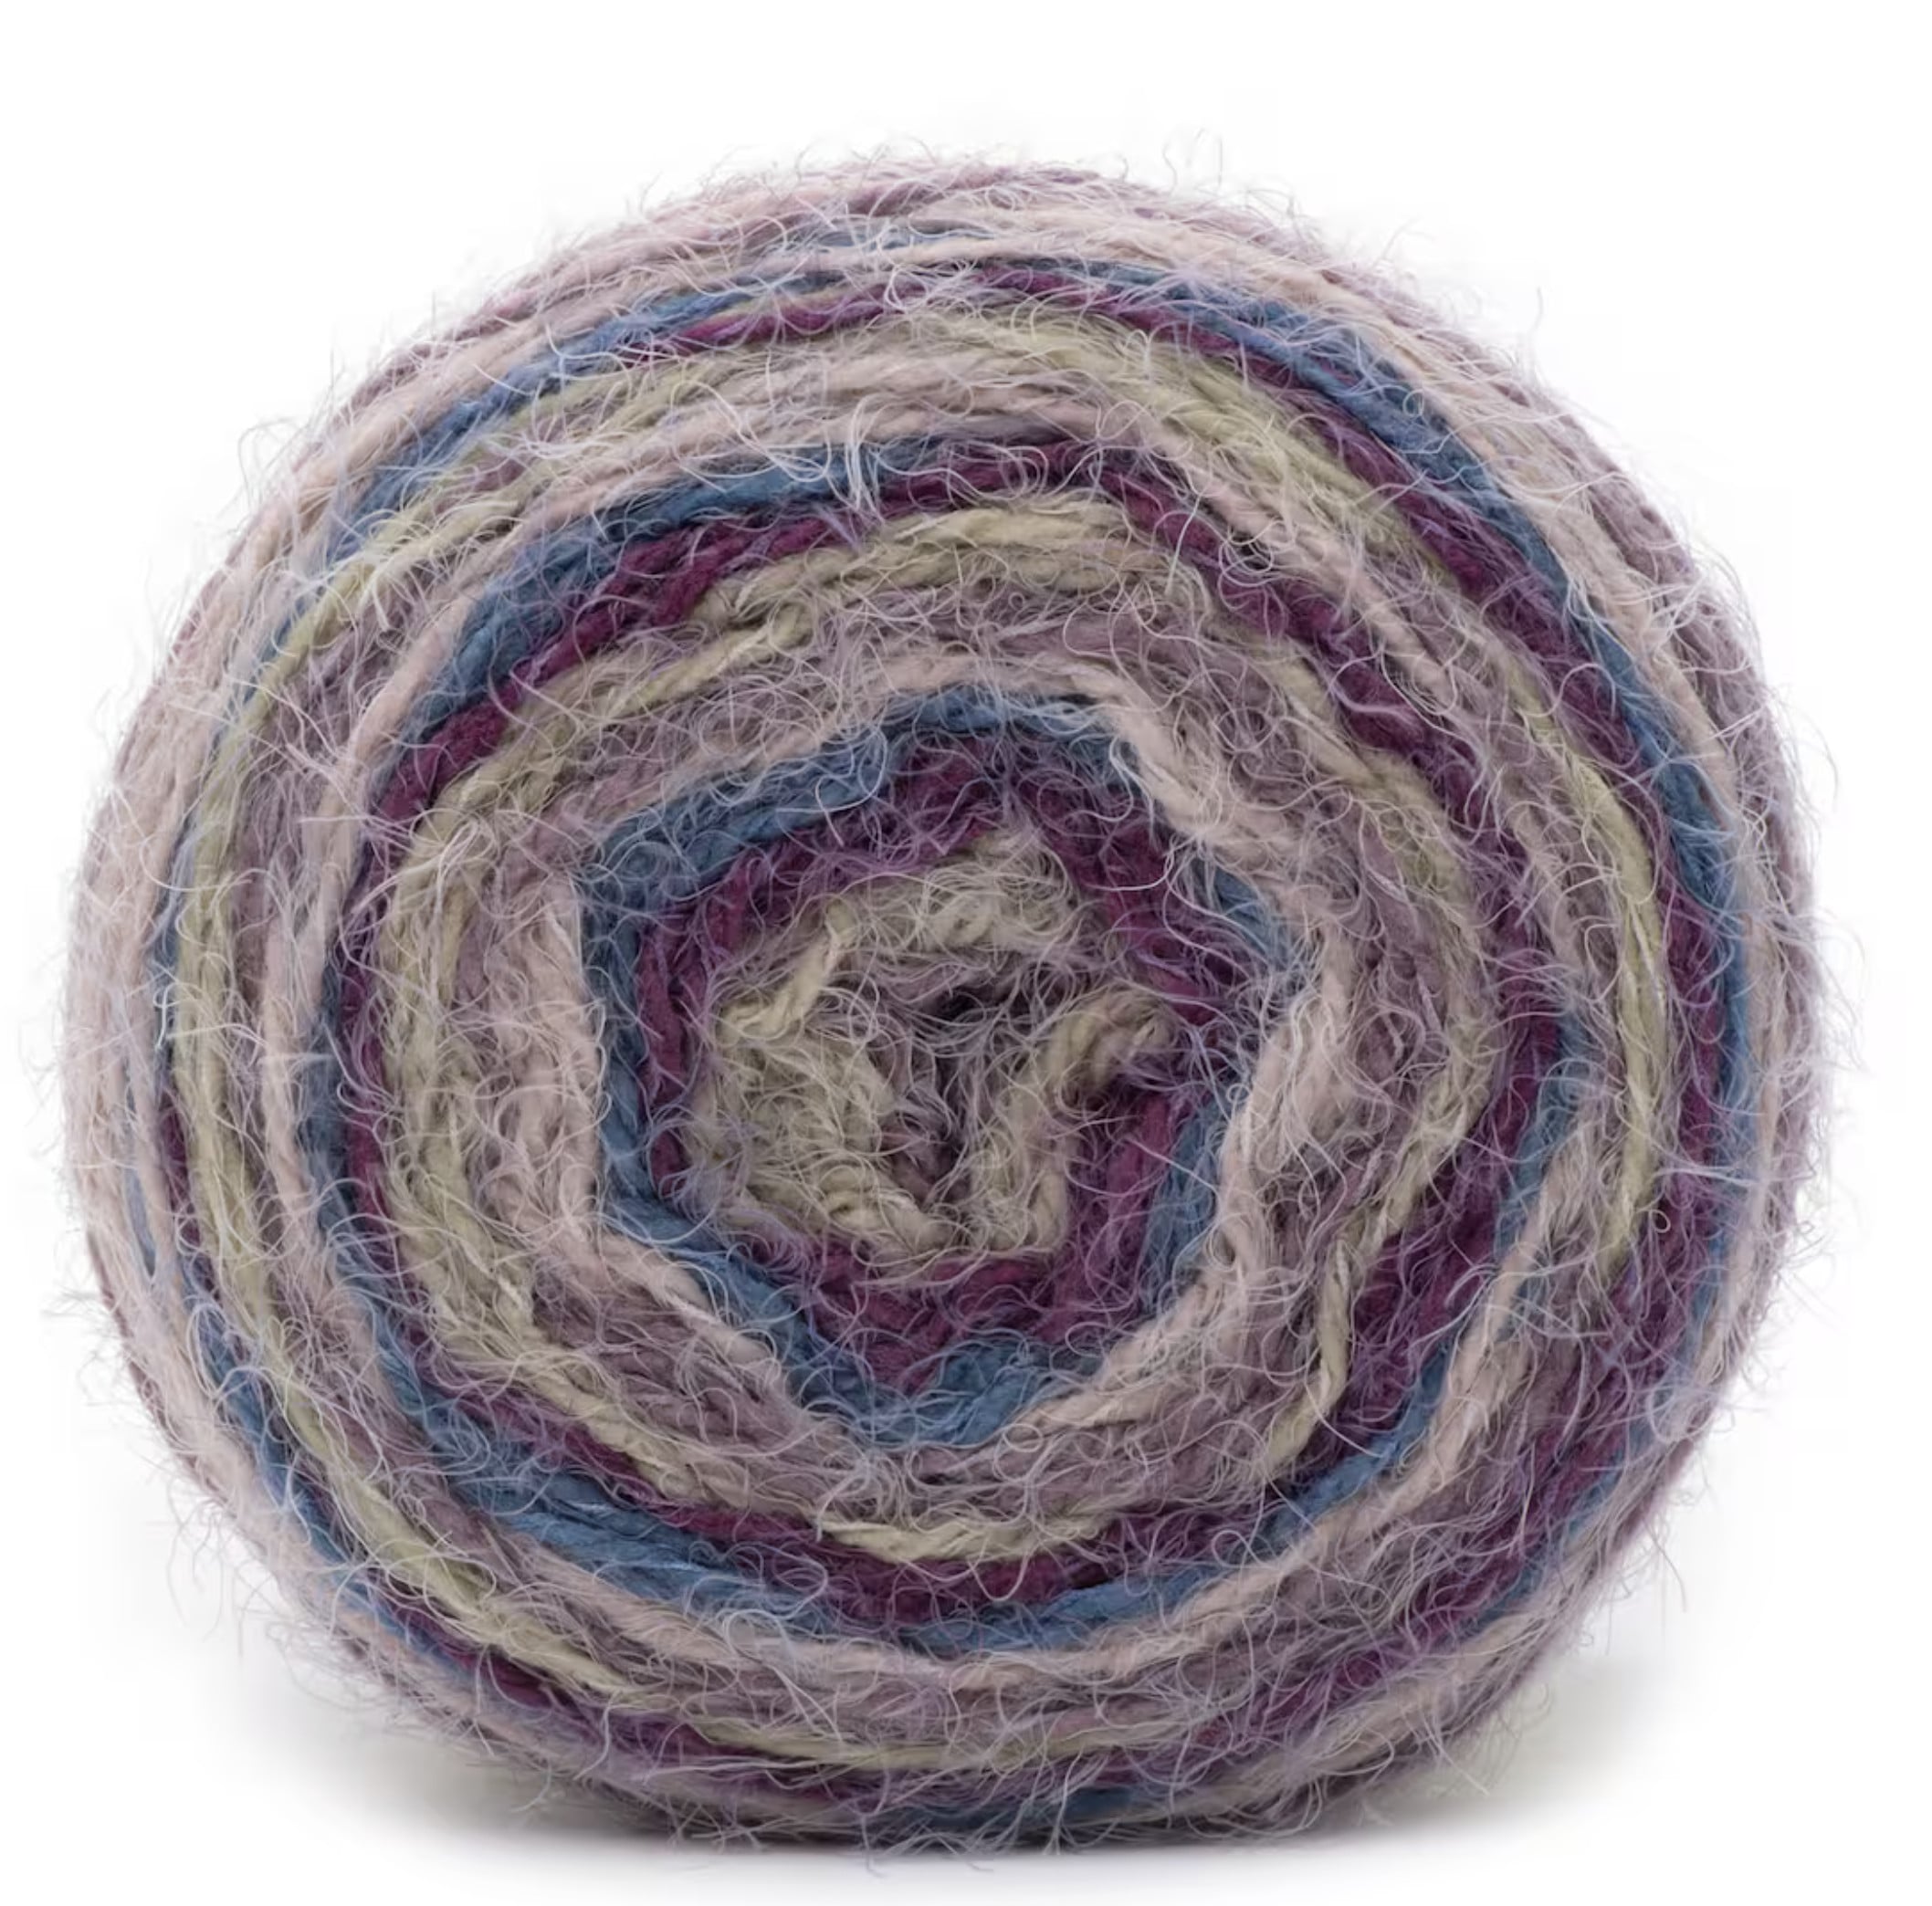
- 🧶 Loops & Threads Impeccable Stripes… affordable and easy to find
- 🧶 Caron Macchiato Cakes… beautiful warm neutrals
- 🧶 Caron Blossom Cakes… gorgeous floral-inspired colorways (see my Caron Blossom Cakes post)
- 🧶 Caron Upside Down Cakes… fun, unexpected color combinations
- 🧶 Loops & Threads Soft Classic Ombre… soft gradient transitions
- 🧶 Loops & Threads Carousel Twist… bright, cheerful stripes
Needles & Notions
- 🪡 US Size 10 (6 mm) 36″ circular knitting needle… circular needles hold the growing stitch count comfortably as the shawl gets bigger. The shawl is worked flat (back and forth), not in the round. Shop circular needles at Jimmy Beans Wool or Knit Picks.
- 🔵 Stitch markers (including at least one removable marker)
- ✂️ Scissors
- 📏 Tape measure
- 🪡 Tapestry needle (for weaving in ends)
- 👜 Notions bag for supplies
- 🏷️ Leather tags + rivets (optional… for a polished finishing touch)
Video Tutorials
I have two full-length video tutorials for this pattern, plus links to individual technique tutorials for every skill used in the pattern. Watch these before you cast on and you will feel completely prepared.
🎥 Part 1: Getting Started… covers the cast on, setup rows, placing your stitch marker, and the beginning of the bias shaping. Watch this before you cast on your first stitch.
🎥 Part 2: The Garter Edge Bind-Off… a complete walkthrough of the garter edge bind-off section, including how to set it up, how to join your live stitches, and how to finish the shawl beautifully.
🎥 Get Fix It Help… a complete walkthrough of the common mistake fixes for your knitting. This is a video you will want to save and come back to.
Individual technique tutorials:
Easy Beginner Garter Stitch Bias Knit Shawl — Pattern Details
Skill Level
Easy Beginner
Finished Measurements (Sample, After Blocking)
- 88″ (223.5 cm) wingspan along the increase edge
- 56″ (142 cm) along the straight edge
- 47″ (119.5 cm) along the bind-off edge
Note: Because gauge does not matter with this pattern, your finished measurements will depend on your yarn weight and needle size. Work until your shawl feels like the right size for you, then work the garter edge bind-off.
Gauge
14 sts and 28 rows = 4″ (10 cm) in Garter Stitch after blocking
Gauge note: Gauge is not critical for this pattern. Your shawl will simply be a different finished size depending on your yarn and needles. Cast on and enjoy the process!
Materials
Yarn: Any worsted or aran weight yarn in a colorful, self-striping, ombré, or gradient colorway. See full yarn list above.
Original sample yarn: Red Heart® With Love® Stripes, Baroque Stripe (E400-1978)… 2 skeins. Discontinued. Use any of the substitute yarns listed in the Yarn section above.
Needles: US Size 10 (6 mm) 36″ circular knitting needle. The shawl is worked flat. Circular needles are used simply to hold the growing number of stitches comfortably.
Notions: Stitch markers
Leather tags (optional)
Leather rivets (optional)
Abbreviations
- CO — cast on
- k — knit
- k2tog — knit 2 stitches together (right-leaning decrease)
- k2togtbl — knit 2 stitches together through the back loops
- kfb — knit into the front and back of the same stitch (increase)
- RS — right side
- SM — slip marker
- st(s) — stitch(es)
- WS — wrong side
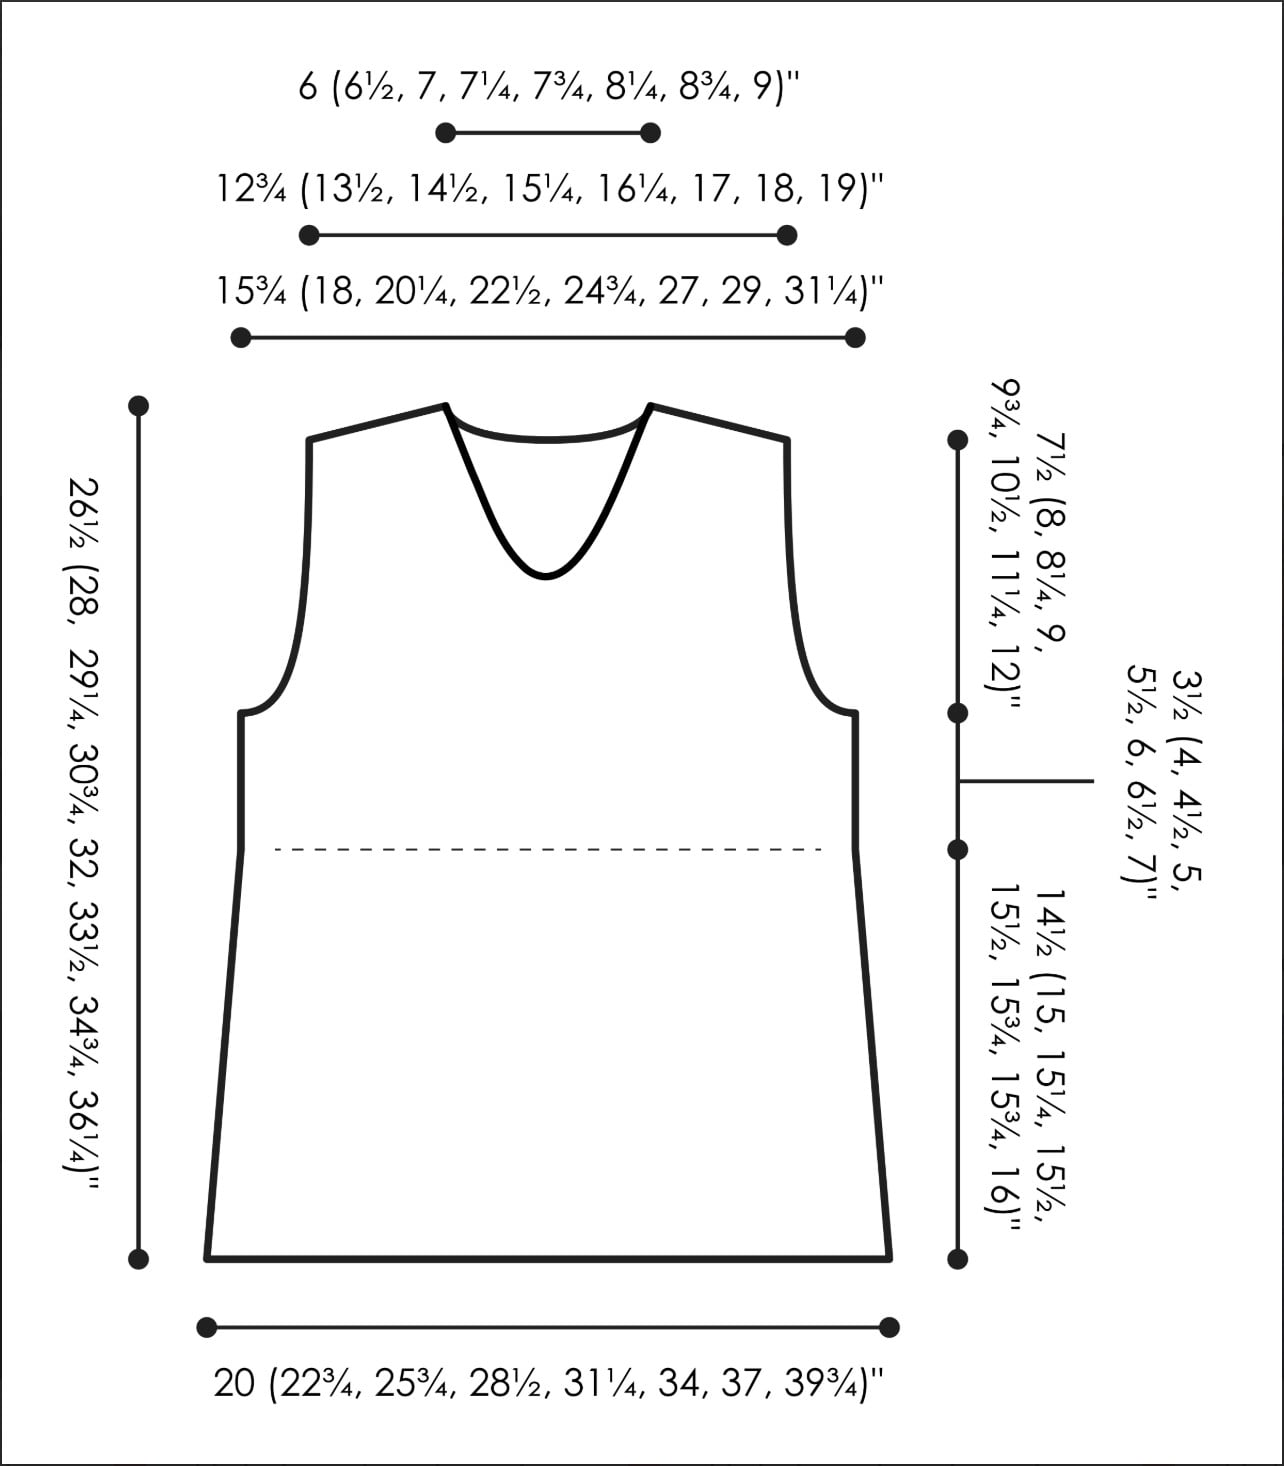
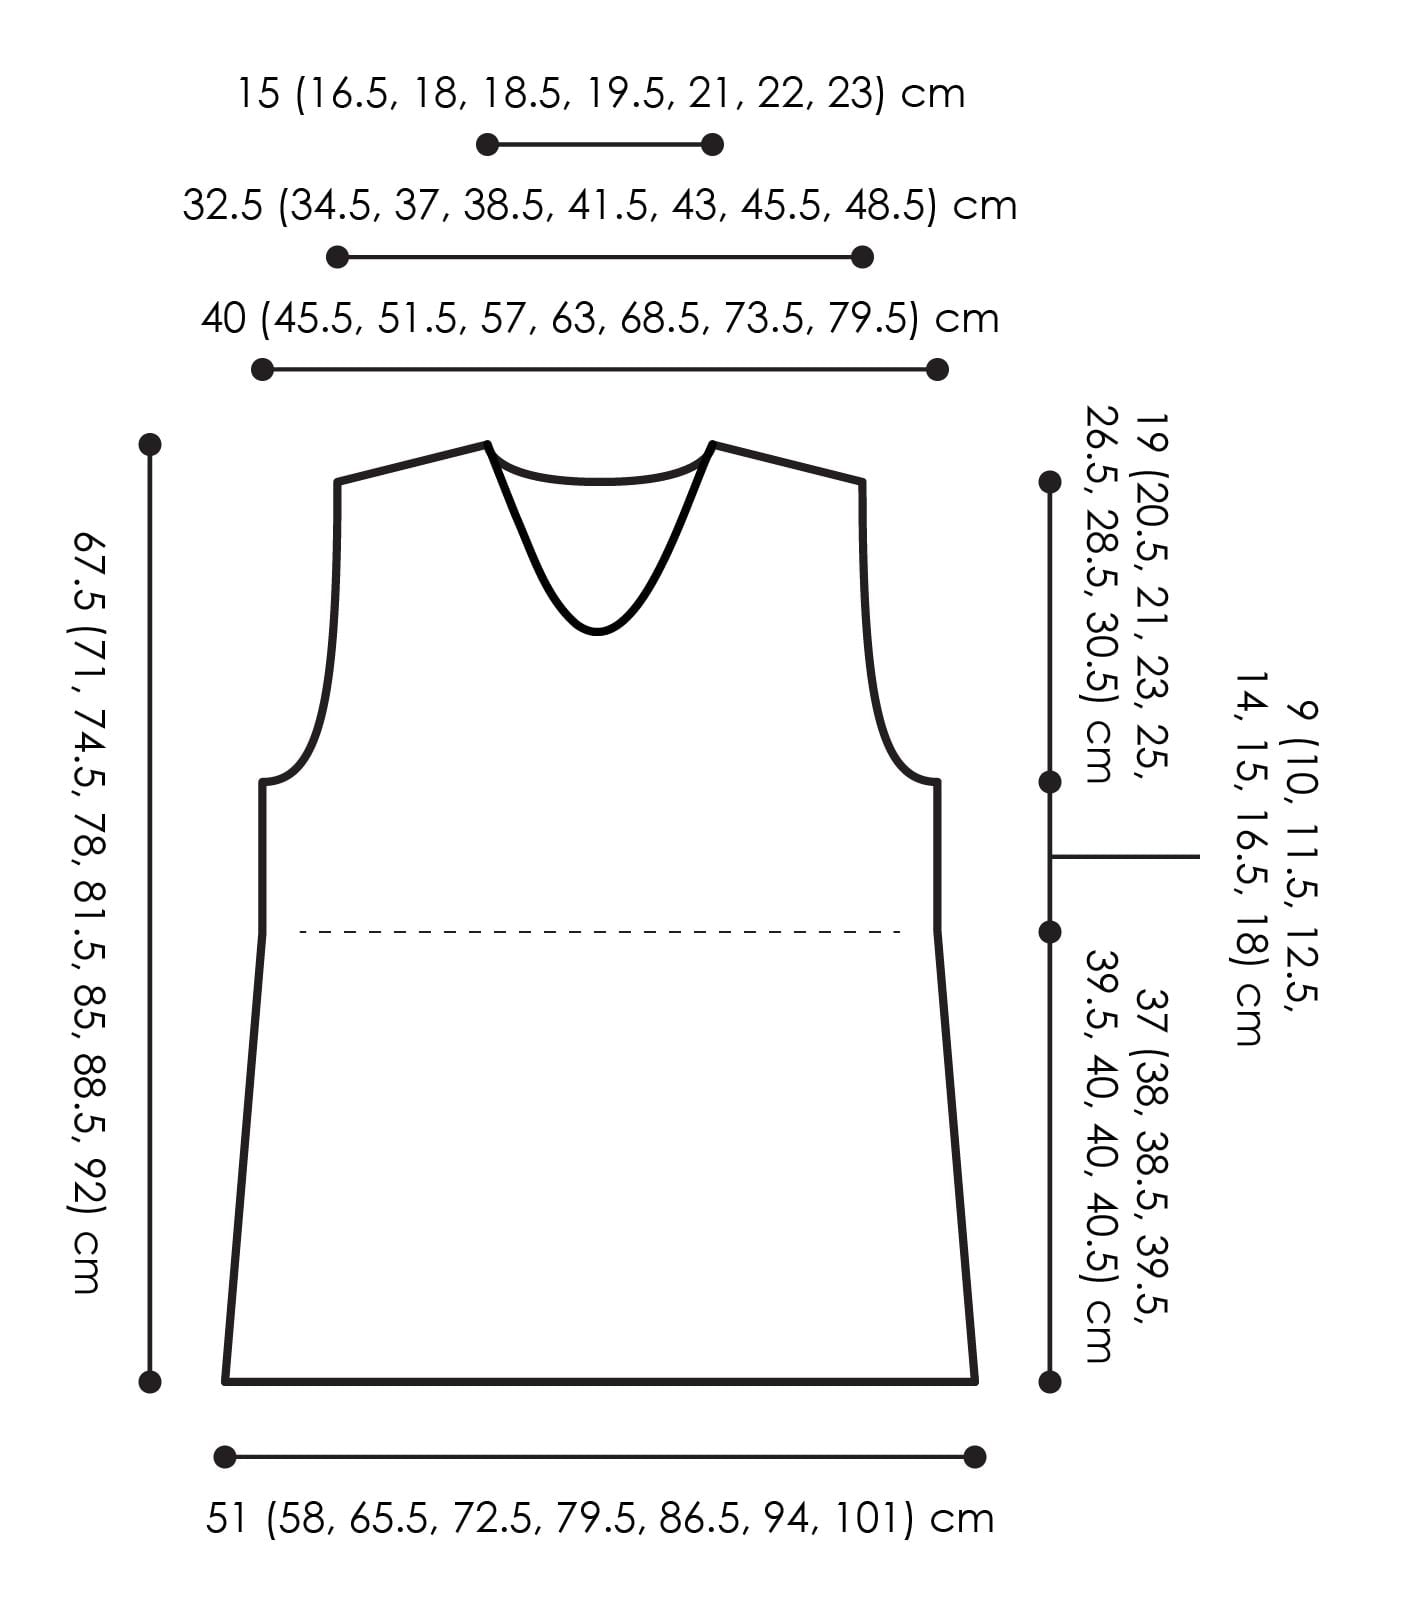
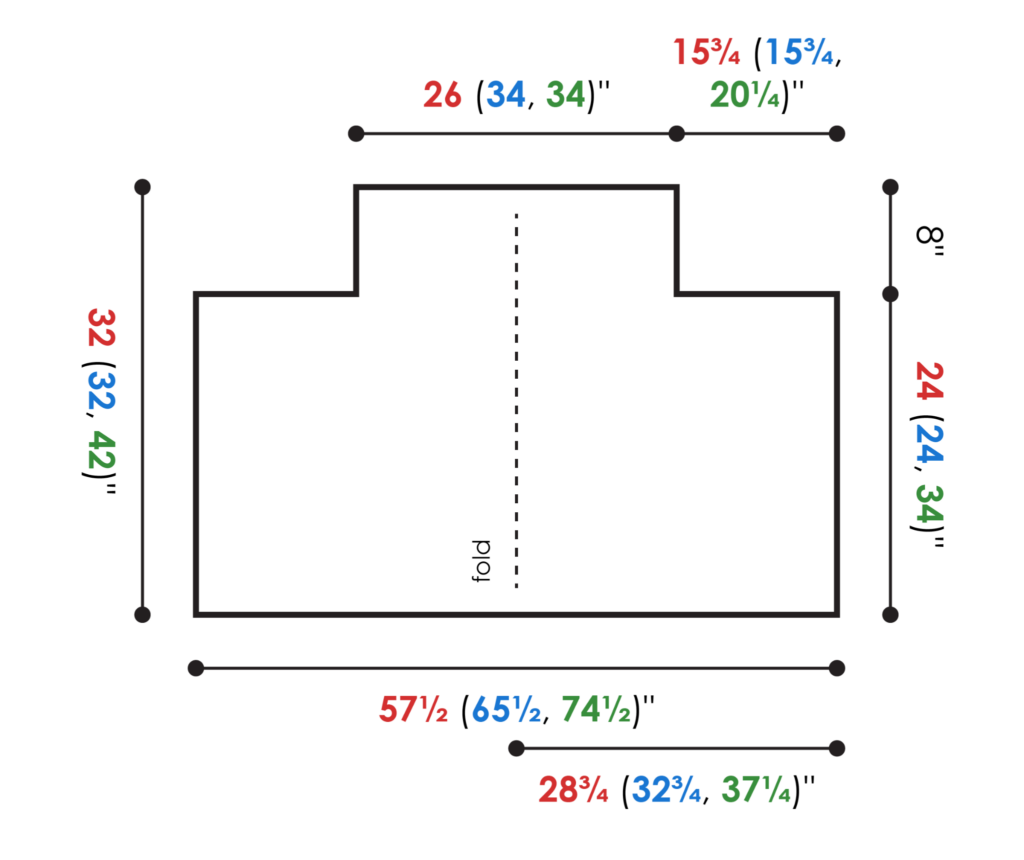
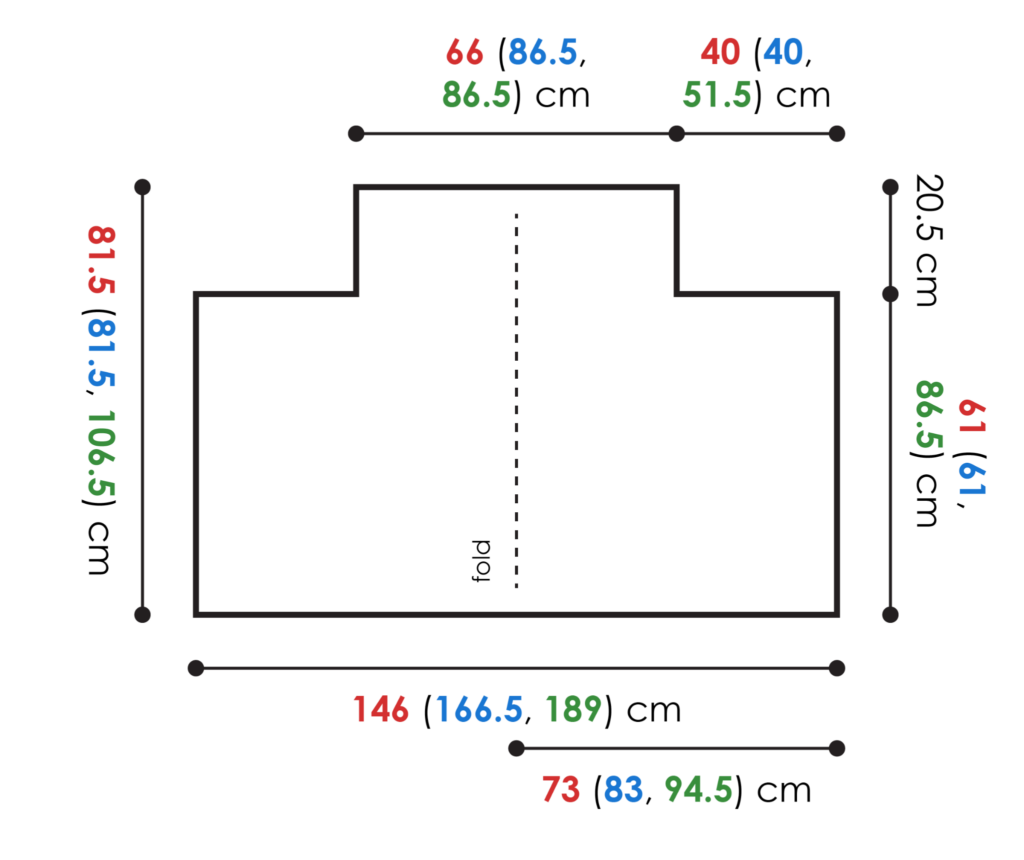
Schematic
Pattern Notes
Construction: This shawl is worked flat from one corner outward using garter stitch throughout. The shawl grows on the bias… meaning it grows diagonally instead of straight across like a traditional triangle shawl. Simple increases and decreases create the asymmetrical shape while keeping the knitting relaxing and easy to follow. After the desired size is reached, a decorative garter stitch bind-off is worked directly onto the live stitches. This edging finishes the shawl while binding off the remaining stitches at the same time.
Right Side and Wrong Side: Because the shawl is worked entirely in garter stitch, both sides look very similar. After completing the setup rows, place a removable marker on the Right Side of your work. This marker will help you keep track of which side is the front of the shawl as it grows.
Stitch Marker Placement: The stitch marker placed during the setup rows marks the shaping line of the shawl. Do not remove this marker. Whenever the pattern instructs you to “SM,” simply slip the marker from the left needle to the right needle without knitting it.
Joining a New Skein: To maintain the stripe sequence, begin the new skein at the same point in the color repeat whenever possible. Compare the colors at the end of the current skein to the beginning of the new skein and adjust as needed before joining.
Measuring Your Shawl: Measure the shawl periodically as you work. The sample shawl measures 88″ along the increase edge (wingspan) and 56″ along the straight edge. You may continue knitting beyond the sample measurements if you have sufficient yarn and would like a larger shawl. You can also stop earlier for a smaller shoulder shawl.
Understanding the Garter Edge Bind-Off: The garter edge bind-off is worked directly onto the live stitches of the shawl. During the bind-off process, one live shawl stitch is joined to the edging on every Wrong Side row. As you continue working, the number of live shawl stitches gradually decreases until all stitches have been incorporated into the edging. If it appears that your shawl stitches are disappearing… don't worry! That means you're doing it correctly.
Join our Newsletter
Get Free Crochet & Knitting
Pattern Links & Coupons!
GROW
To Unlock Exclusive Subscriber Content click the Box below and join for free by simply adding your email and creating a password! If you are having troubles, clear your cache or reset your password or login to the Grow Publisher Portal.
>> Learn More About Grow Here <<
I'm thrilled to share this amazing pattern with you, many patterns on my blog are absolutely free! I kindly request that you don't copy and paste or distribute this pattern. Prefer an ad-free experience? Buy a digital PDF pattern for a small fee from one of my online stores for a seamless crafting journey.
I appreciate your support and readership. You are the reason I can keep doing what I love and sharing it with others. So, thank you from the bottom of my yarn-loving heart! Disclosure: This post contains affiliate links, meaning I get a commission if you decide to make a purchase through my links at no cost to you.
Easy Beginner Garter Stitch Bias Knit Shawl — Pattern Instructions
Set-Up
Using the Long Tail Cast On, CO 2 sts.
Row 1 (WS): Kfb, k1. — 3 sts
Row 2 (RS): Kfb, k1, kfb. — 5 sts
Row 3 (WS): Kfb, place marker, knit to end. — 6 sts
Place a removable marker on the Right Side of the work at the increased edge.
💡 Need extra help? Watch the Part 1 video tutorial before continuing.
Body
Row 4 (RS): Knit to marker, SM, knit to last st, kfb in last st. — 1 st increased
Row 5 (WS): Kfb, knit to 2 sts before marker, k2tog, SM, knit to end. — stitch count remains unchanged
Repeat Rows 4 and 5: Continue repeating Rows 4 and 5 until the shawl measures approximately 88″ along the increase edge (wingspan) and 56″ along the straight edge… or your desired size, ending after completing a Right Side row.
Garter Edge Bind-Off
Ready to finish your shawl? Watch the Part 2 video tutorial for a complete walkthrough of this section.
Do not bind off the shawl body.
The garter edge bind-off is worked directly onto the live stitches and serves as both the decorative edging and the bind-off.
Setup Row (WS): CO 2 sts. Kfb, k2togtbl (working one cast-on stitch together with one live shawl stitch). — 3 sts remain on needle
Row 1 (RS): Kfb, k1, kfb. — 5 sts
Row 2 (WS): Knit 4, then k2togtbl using the final edging stitch and the next live shawl stitch.
Row 3 (RS): Knit 5.
Repeat Rows 2 and 3: Continue repeating Rows 2 and 3 until all remaining live shawl stitches have been incorporated into the edging. As you work, the edging stitch count remains the same while the number of live shawl stitches gradually decreases. When all shawl stitches have been joined to the edging, bind off all remaining stitches loosely.
Finishing
Weave in all ends. Wash the shawl according to the yarn label instructions. Lay the shawl flat on blocking mats or towels and gently shape it to your desired finished measurements. Allow the shawl to dry completely before removing pins.
Blocking helps smooth the garter stitch fabric, evens out the edges, and allows the shawl to reach its full size… it makes a noticeable difference, so don't skip it!
Blocking Tips
Blocking is the step that takes this shawl from “nice” to “wow.” Here is how to do it right:
🧼 Wash it first. Fill a basin with cool water and a small amount of wool wash (or mild dish soap for acrylic yarns). Submerge the shawl and let it soak for 10-15 minutes. Do not agitate… just let the water do its work.
💧 Remove gently. Lift the shawl out of the water (don't wring!) and press it gently against the sink to remove excess water. Roll it in a clean towel and press again. The shawl should feel damp but not dripping.
📐 Pin it out. Lay the shawl flat on blocking mats (or clean towels on a carpeted floor). Shape it to your desired measurements, gently stretching the edges. Pin the corners and along the edges to hold the shape while it dries.
⏳ Let it dry completely. This usually takes 12-24 hours depending on the fiber content and your environment. Resist the urge to unpin it early… the shawl needs to be fully dry to hold its blocked shape.


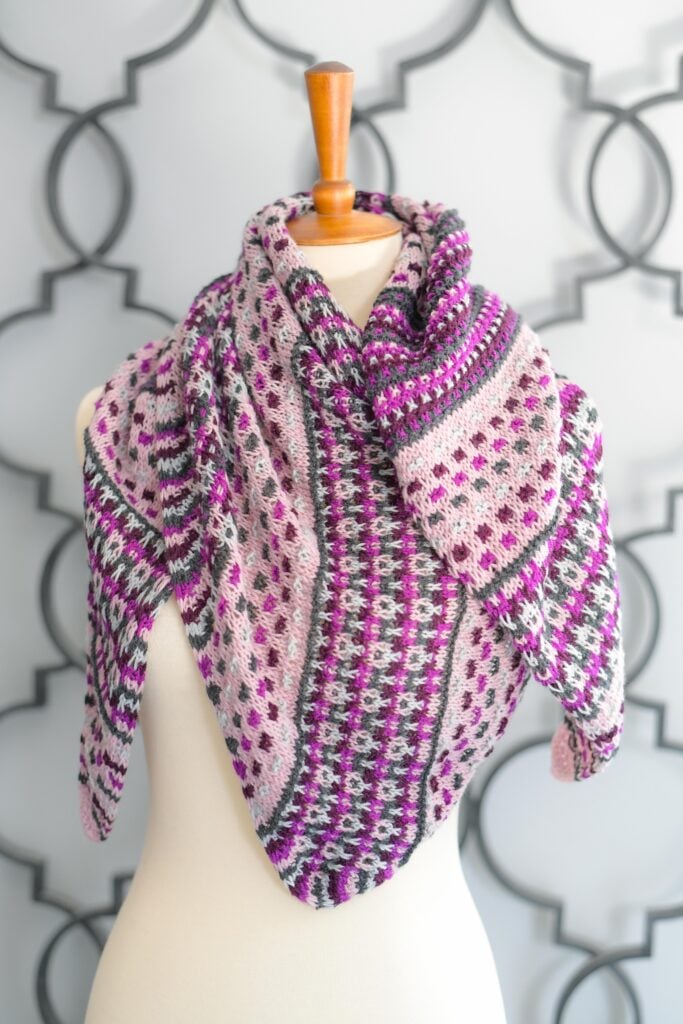
More Free Knit Shawl Patterns You'll Love
Ready for your next shawl project? Here are some of my favorites from the marlybird.com collection… every level from beginner through intermediate is covered:
- ✨ Almond Brittle Knit Wrap … beginner-friendly bulky lace, works up quickly
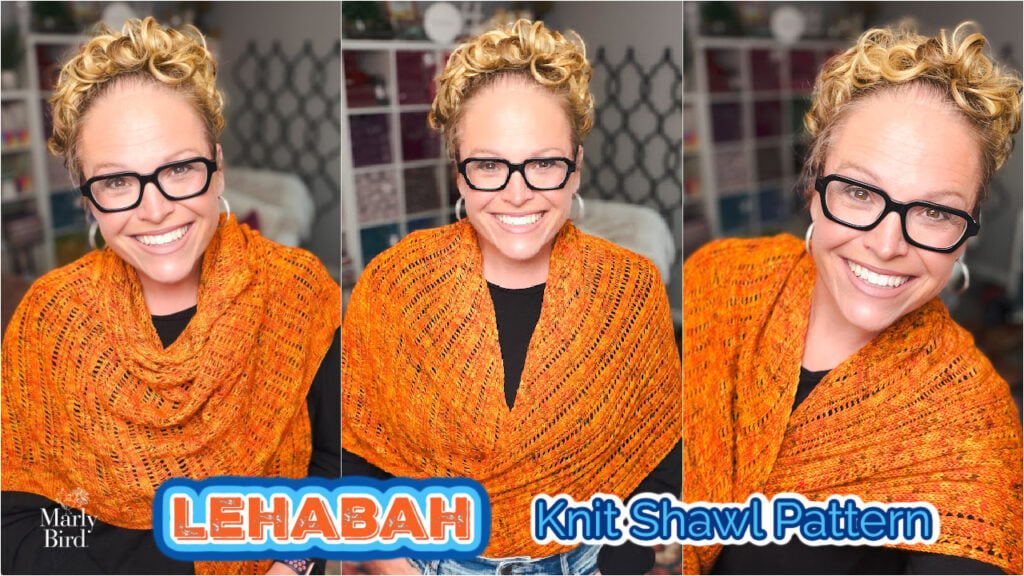
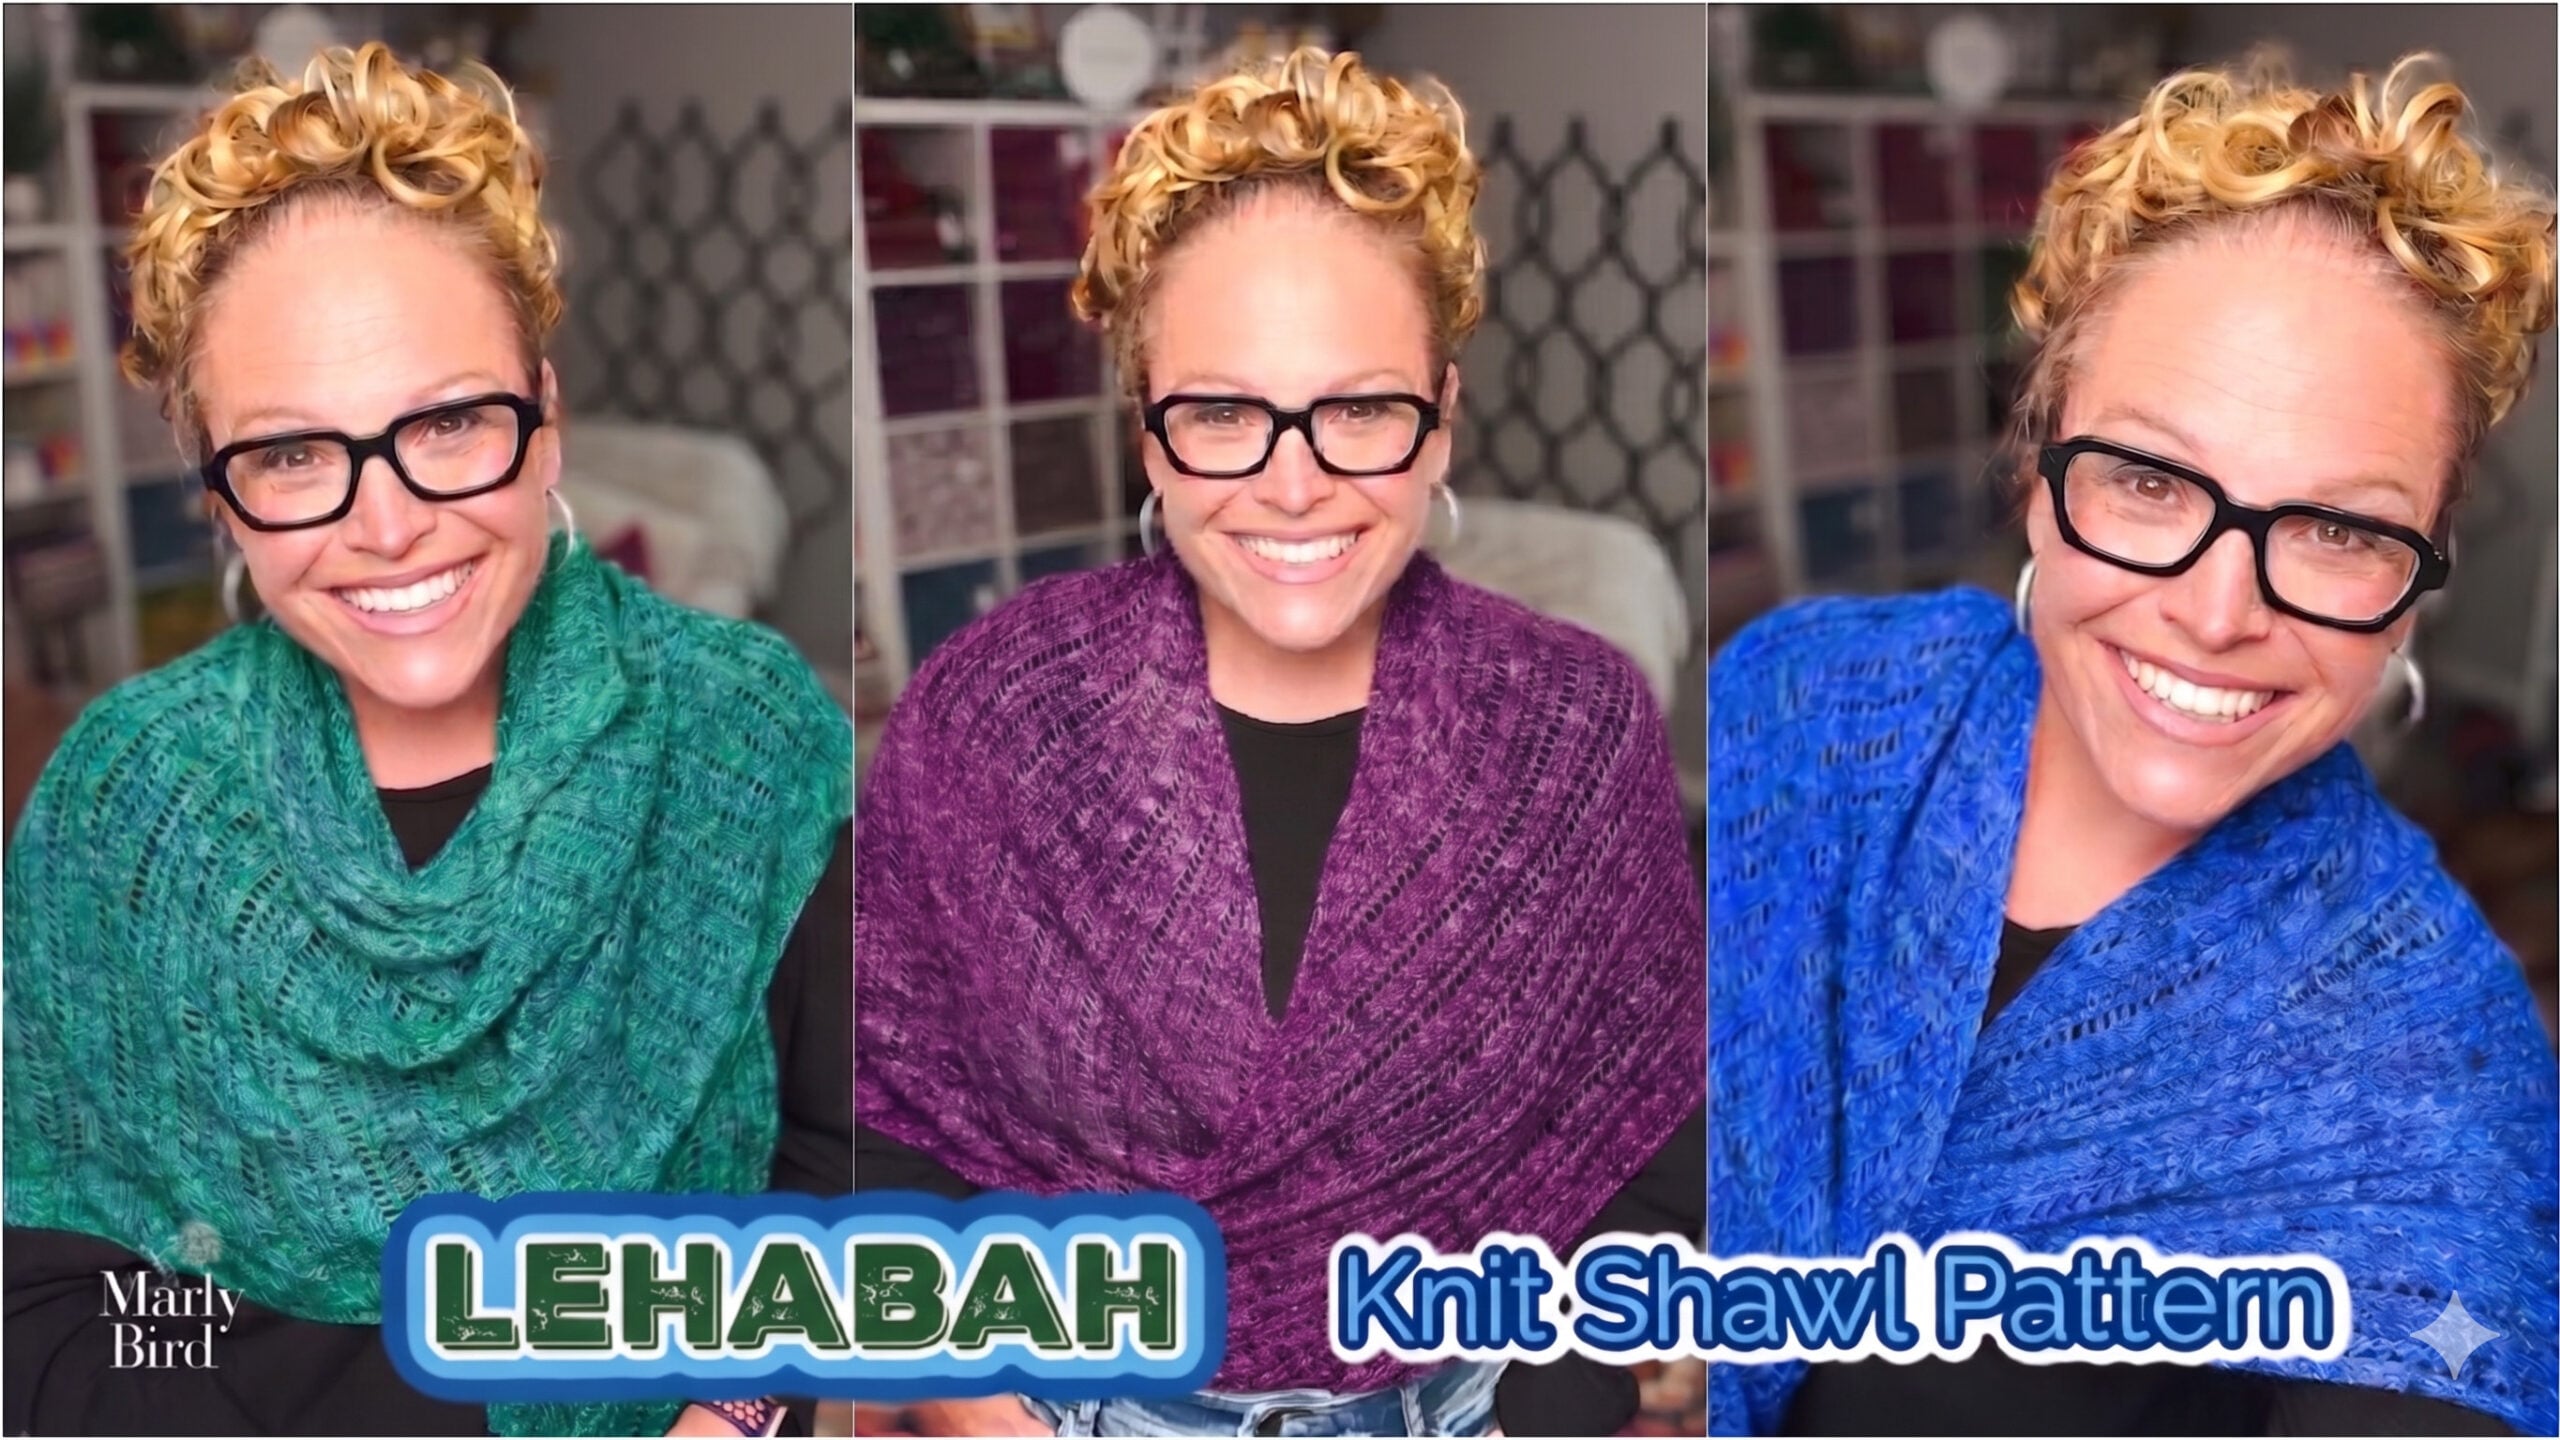
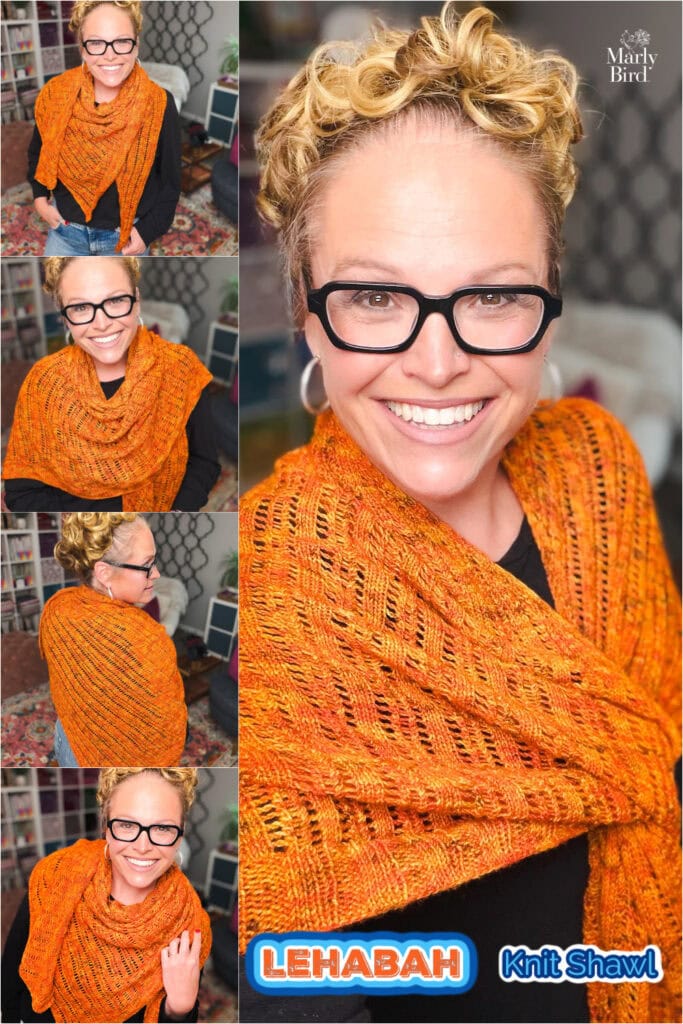
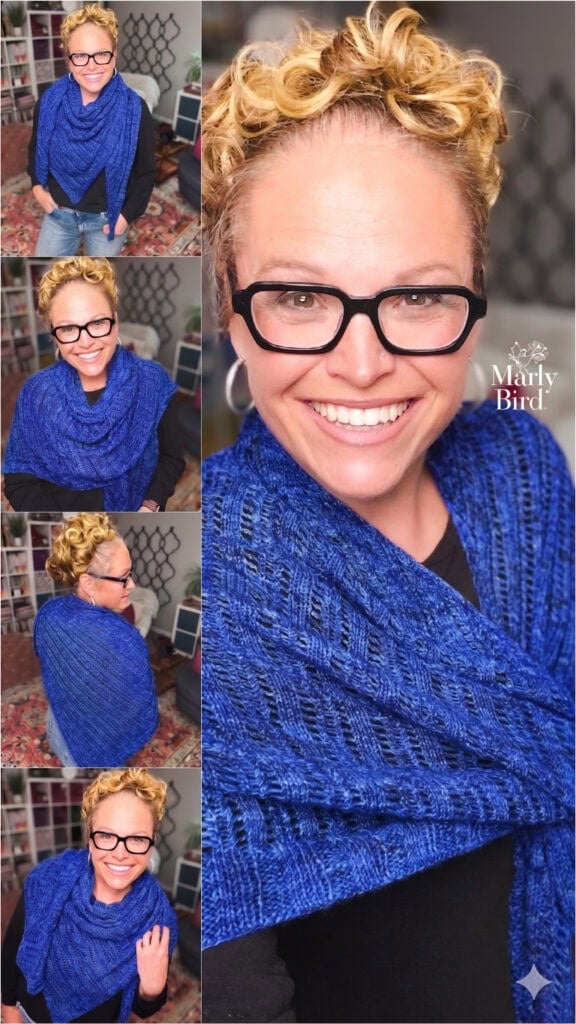
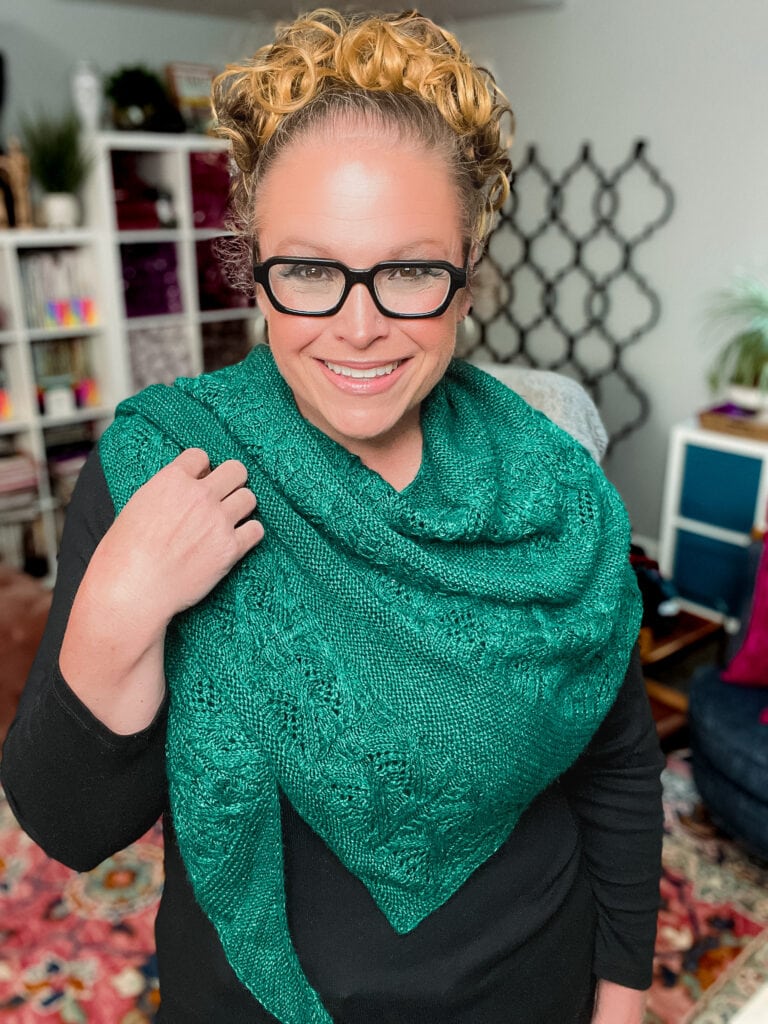
- 🔥 Lehabah Fire Sprite Right Triangle Shawl … advanced beginner lace shawl with gorgeous columns of lace stitch
- 🏔️ Eowyn Cable Knit Shawl … free cable knit shawl for when you are ready to tackle cables
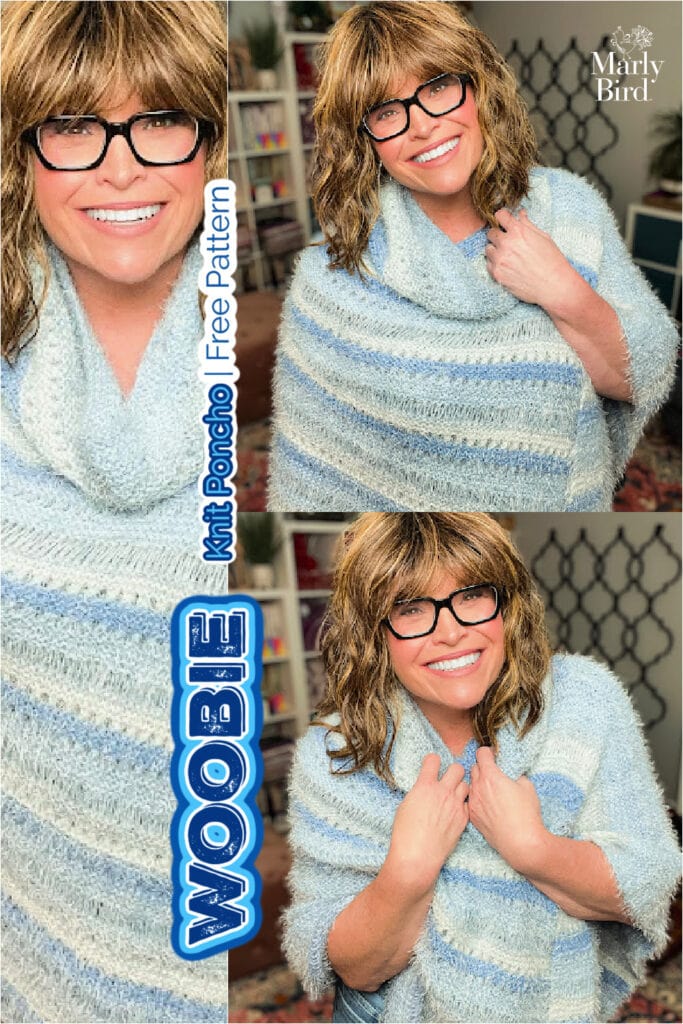
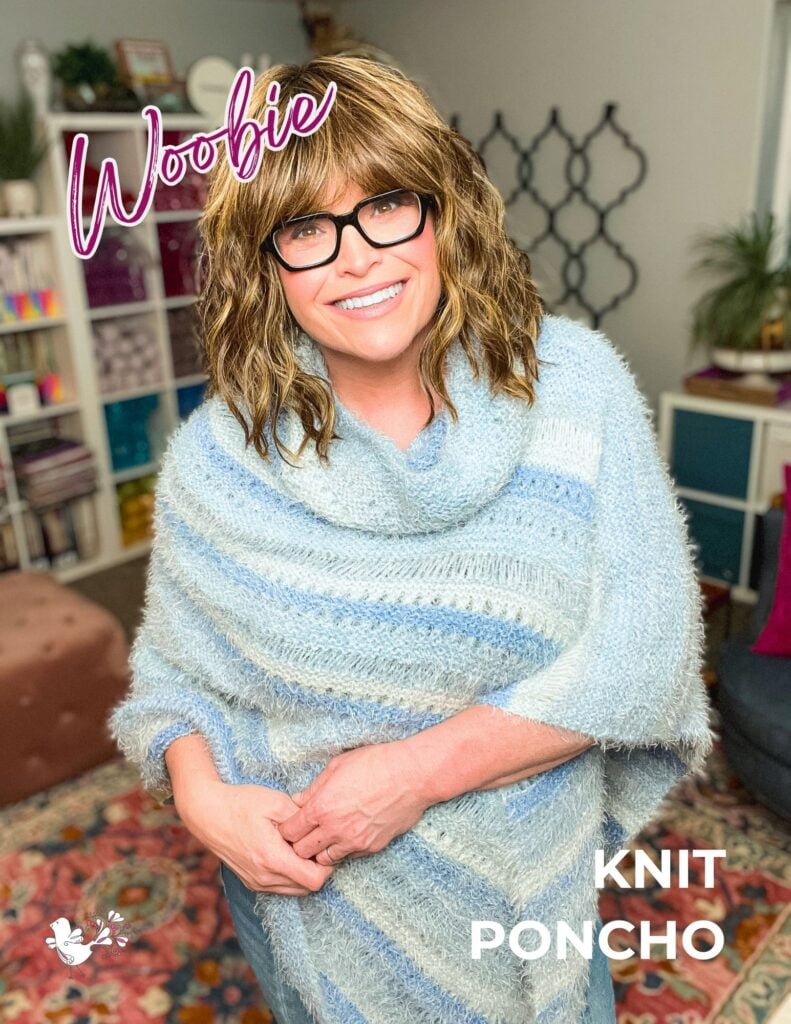
- 🧭 Woobie Travel Poncho … another perfect travel knitting project, bulky and fast
- 📚 Full Knit Shawl Patterns Collection … browse every free knit shawl on marlybird.com organized by shape, skill level, and season

Favorite & Queue on Ravelry
Love this pattern? Save it to your Ravelry queue so you don't forget, and favorite it to help other knitters find it!
Frequently Asked Questions
Is this really a bias shawl?
Great question! Most knitters call this a “bias shawl” because of the gorgeous diagonal drape… and if that is what you searched for, you are in the right place. Technically, true bias knitting uses simultaneous increases and decreases to create fabric that runs on the diagonal. This shawl uses right-angle construction instead… you start at one corner, increase to build the triangle, and get that same beautiful diagonal look with simpler shaping. Same drape, easier technique!
Why does gauge not matter for this pattern?
Because this shawl is designed to be worked until it reaches your desired size, exact gauge is not critical. If your gauge is different from the pattern, your shawl will simply be a different finished size… but it will still work up beautifully. This makes it perfect for beginners who are still learning to achieve consistent tension.
Can I use a different weight yarn?
Absolutely! This pattern works with any yarn weight from DK to bulky. Just use the needle size recommended on your yarn label. A lighter weight yarn (like DK) will give you a lacier, lighter shawl. A heavier weight (like bulky) will give you a thicker, cozier wrap. Adjust your stopping point based on how much yarn you have.
How much yarn do I need?
The original sample used approximately 2 skeins (about 700 yards total) of worsted weight yarn. However, because you control the finished size, you can make this shawl with more or less yarn. If you want a smaller shoulder shawl, one skein might be enough. For a larger wrap, you may need 3 skeins or more.
What is the garter edge bind-off?
The garter edge bind-off is a technique that creates a decorative edging while simultaneously binding off the live stitches of your shawl. You cast on a few stitches for the edging, then work them back and forth while joining one live shawl stitch on each wrong side row. The result is a neat, finished edge with a subtle garter ridge detail.
Can I make this shawl bigger or smaller?
Yes! That is one of the best things about this pattern. Simply continue the body repeat until your shawl reaches the size you want, then work the garter edge bind-off. For a smaller shoulder shawl, stop when the wingspan measures about 60″. For a larger blanket-style wrap, keep going until it is 100″ or more.
Do I need to know how to purl for this pattern?
No! This entire shawl… including the decorative bind-off… is worked using only the knit stitch. If you can knit, you can make this shawl. You will also learn kfb (knit front and back) and k2tog (knit two together), but both are simple variations of the basic knit stitch.
Final Thoughts
This beginner garter stitch bias knit shawl holds a special place in my heart because it is exactly the kind of project I wish I had when I was learning to knit. No complicated techniques. No scary charts. No anxiety about gauge. Just the simple pleasure of watching garter stitch grow into something beautiful… row by row, stitch by stitch.
If this is your first shawl, I am so excited for you. And if you are an experienced knitter looking for something relaxing and portable… I think you will love it just as much. The bias construction creates such a satisfying drape, and watching those self-striping colors develop is genuinely addictive.
Tag me when you finish yours… I would love to see it! 💛
❤️ Your BiCrafty Bestie,
Marly Bird