
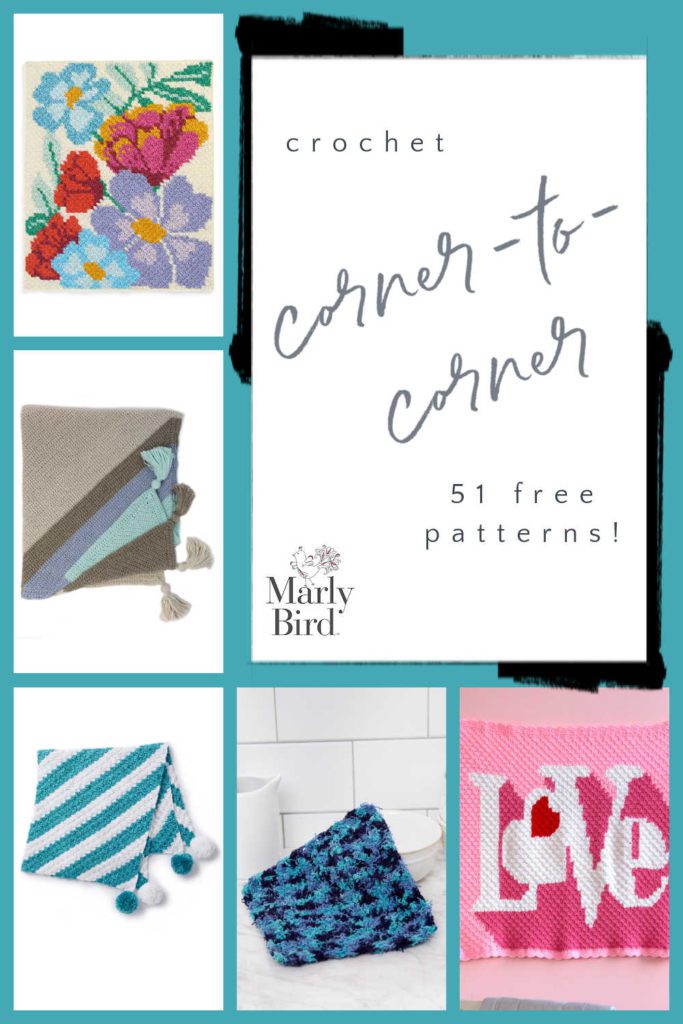
51 Free Crochet Corner-to-Corner Patterns
Most patterns are crocheted side to side, with horizontal rows. But some patterns are made on the diagonal! Two ways to make projects like this in crochet are corner-to-corner (C2C) blocks and regular rows crocheted on the bias.
A small block usually consists of 4 half-double or double crochet stitches in C2C blocks. (The pattern will tell you the details.) Turn the fabric and additional blocks are built on top of it. The finished fabric has lots of little squares and is ideal for making projects with words or pictures.

Crochet projects can also be crocheted on the bias, like knitting projects. In this project, regular single crochet, half double crochet, or double crochet stitches are used in back-and-forth rows, but there are consistent increases and decreases at the ends of rows that create a square, rectangle, or triangle shape.

Whichever method you use, crocheting from one corner to the opposite adds interest to your projects and teaches you a new skill!
Free Crochet C2C Patterns
Learn this crochet technique in this BiCrafty Bootcamp lesson!
C2C Crochet Blankets
- Corner to Corner Guest Throw
- Crochet Corner-to-Corner Throw
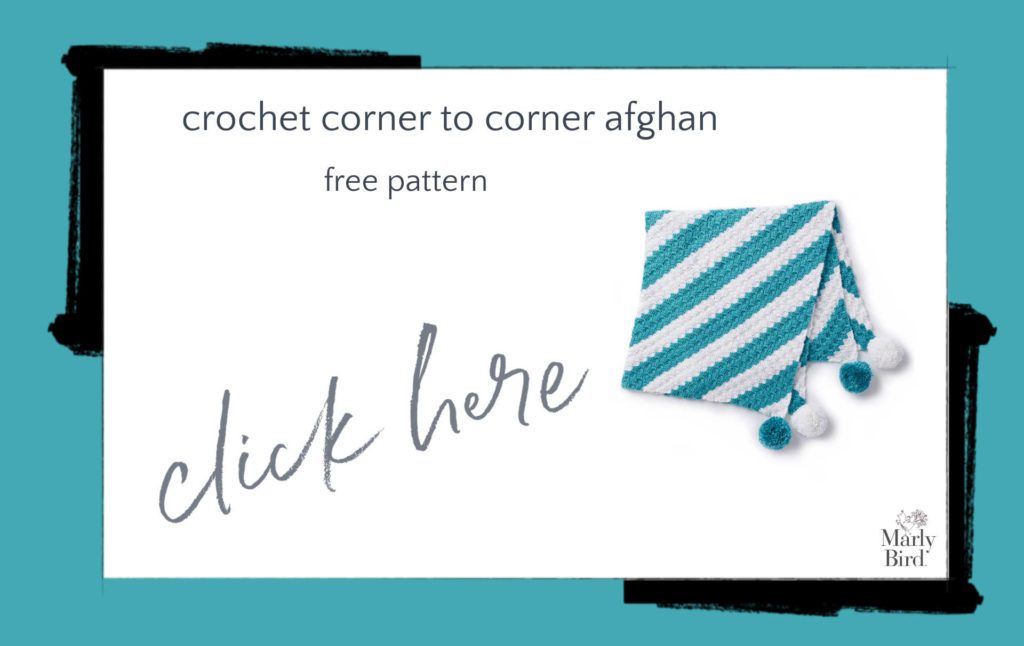
- Crochet Corner to Corner Afghan
- Corner to Corner Crochet School Bus Blanket
- Corner-to-Corner Ombre Throw
- Crochet Corner to Corner Afghan
- Corner-to-Corner Restful Throw
- Corner-to-Corner Crochet Throw
- Corner to Corner Pretty Florals Crochet Graphghan
- Block Party Crochet Blanket
- Geometric C2C Crochet Blanket
- Geo Folk C2C Crochet Afghan
- Argyle C2C Crochet Baby Blanket
- C2C Pop Art Flowers Crochet Blanket
- Bias Panels C2C Chevron Crochet Blanket
- Peak Your Interest C2C Crochet Tapestry
- Digital Snowflake C2C Crochet Blanket
- Solomon's Knot C2C Crochet Blanket
- C2C Crochet Lattice Blanket
- Geometric Steps C2C Crochet Blanket
- Crochet C2C Nordic Motif Blanket
- Daisy C2C Crochet Blanket
- Striped C2C Crochet Blanket
- Fading Rainbow C2C Crochet Blanket
- C2C Blast Off Crochet Baby Blanket
- C2C Crochet Dreamy Clouds Baby Blanket
- Crochet C2C Big Star Blanket
- C2C Crochet Dino Blanket
- Bias Blocks Baby Blanket
- Heart Throb Blanket
- Corner-to-Corner Snowflake Blanket
Other C2C Crochet Patterns
- Scrubbing Stripes C2C Crochet Dishcloth
- Corner-to-Corner Dishcloth
- Crochet Corner to Corner Bobble Cowl
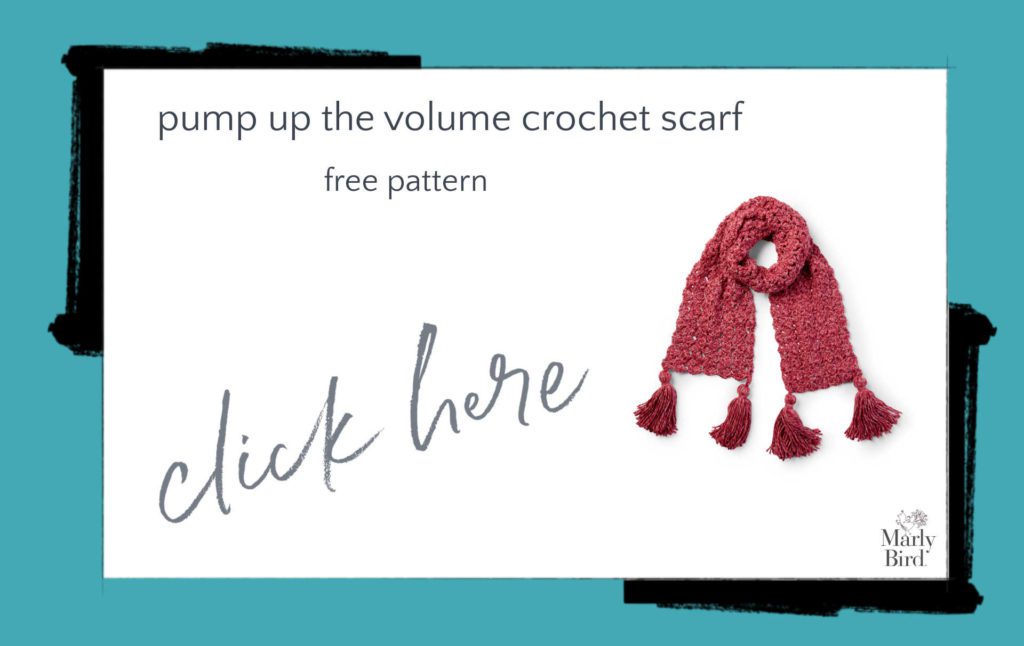
- Pump Up the Volume Crochet Scarf
- Pump Up the Volume Crochet Super Scarf
- On the Bias Crochet Scarf
- On the Bias Scarf
Free Crochet on the Bias Patterns
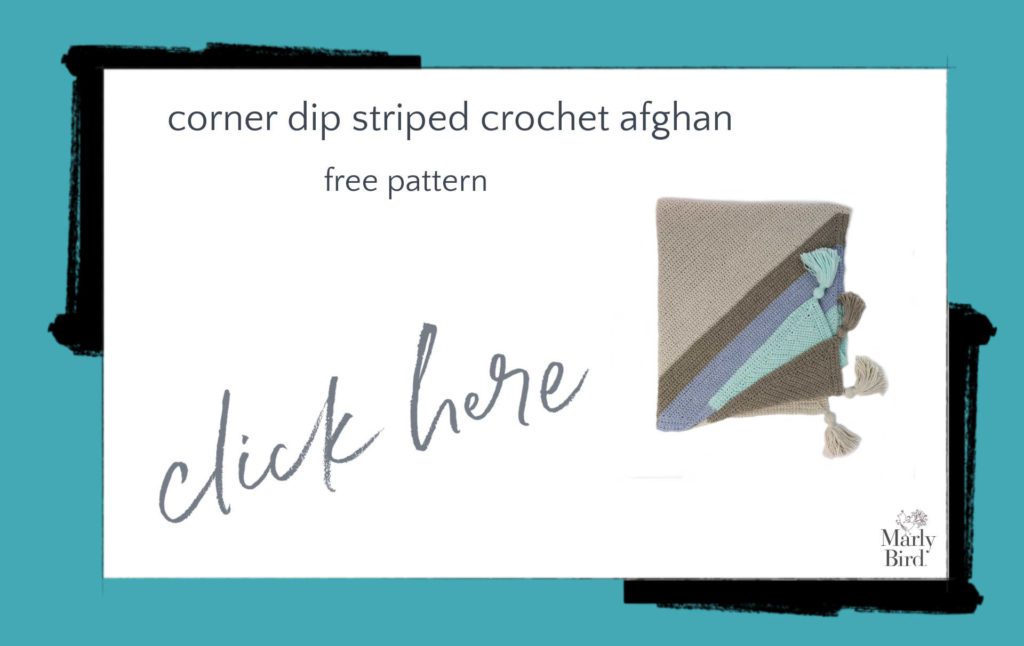
- Corner Dip Striped Crochet Afghan
- Daydreamer Diagonal Blanket
- Earn Your Stripes Baby Blanket
- Fur Trimmed C2C Crochet Blanket
- Bias Striped Swirl Crochet Blanket
- Bias Loop Crochet Cushion
- Corner to Corner Crochet Pillow
- Loopy Corner Crochet Pillow
- Corner to Corner Crochet Dishcloth
- Crochet Shawl on the Bias
- Grays on a Bias Crochet Shawl
- Bias Color Block Crochet Scarf
- Stepping Diamonds Crochet Scarf
More Crochet C2C Blogs
- Corner-to-Corner Rectangle Using Half Double Crochet
- Heart Throb Baby Blanket
- Beginner Corner to Corner Crochet Blanket
- Corner to Corner Planned Pooling Crochet Chevron Throw Blanket
- Corner to Corner Single Crochet Entrelac 12 ” Square
🌸 Looking for a handmade Mother's Day gift? These patterns are perfect — check out our complete Mother's Day Knit & Crochet Gift Guide 2026 for ideas Mom will actually love.
Frequently Asked Questions
What exactly is corner-to-corner crochet?
So instead of crocheting in horizontal rows like you normally would, corner-to-corner (C2C) crochet works on the diagonal. You start in one corner with a tiny block, increase until you hit the widest point, then decrease back down to the opposite corner. Each “block” is usually a small cluster of double crochet stitches… and when they all come together, you get this cool pixelated look. It's amazing for making pictures, words, and graphic designs in your projects.
What's the difference between C2C blocks and crocheting on the bias?
They both create diagonal fabric, but they look totally different! C2C uses little clusters (usually 4 double crochets per block) that stack on top of each other… giving you that signature “pixel” texture. Crocheting on the bias uses regular stitches (single crochet, half double, or double crochet) worked in rows with increases and decreases at the edges to create the diagonal shape. The bias method gives you a smoother fabric. Both are fun… it just depends on the look you're going for.
Is corner-to-corner crochet good for beginners?
Yes! Once you understand the basic block structure, it's honestly really repetitive in the best way. You're doing the same stitch cluster over and over… the magic is in how you increase and decrease to shape the piece. If you can double crochet and chain, you can do C2C. Marly even has a BiCrafty Bootcamp lesson that walks you through the whole thing from scratch. Don't be intimidated by how impressive the finished projects look… the technique itself is very approachable.
What kind of projects can I make with C2C crochet?
So many things! Blankets are the most popular… especially graphghan blankets where you follow a pixel chart to create pictures (think dinosaurs, flowers, snowflakes, even school buses!). But C2C also works beautifully for throws, baby blankets, pillow covers, scarves, and wall hangings. Basically, if it's flat and rectangular or square, you can probably make it with C2C. The technique is especially fun for personalized gifts because you can chart out names, images, or team logos.
How do I read a C2C crochet chart?
Here's the thing that trips people up… C2C charts are read diagonally, not left to right! Each square on the chart represents one block of stitches. You start in the bottom corner and work your way up diagonally. On increase rows, you're adding blocks. On decrease rows, you're dropping them. The color of each square tells you which yarn to use for that block. It feels weird at first but once you do a few rows, it clicks. Stitch markers between color sections are a lifesaver while you're learning.
Categories: Round Ups


Just starting c2c crochet loving it
Been crocheting for almost 50years I really like c2c projects