
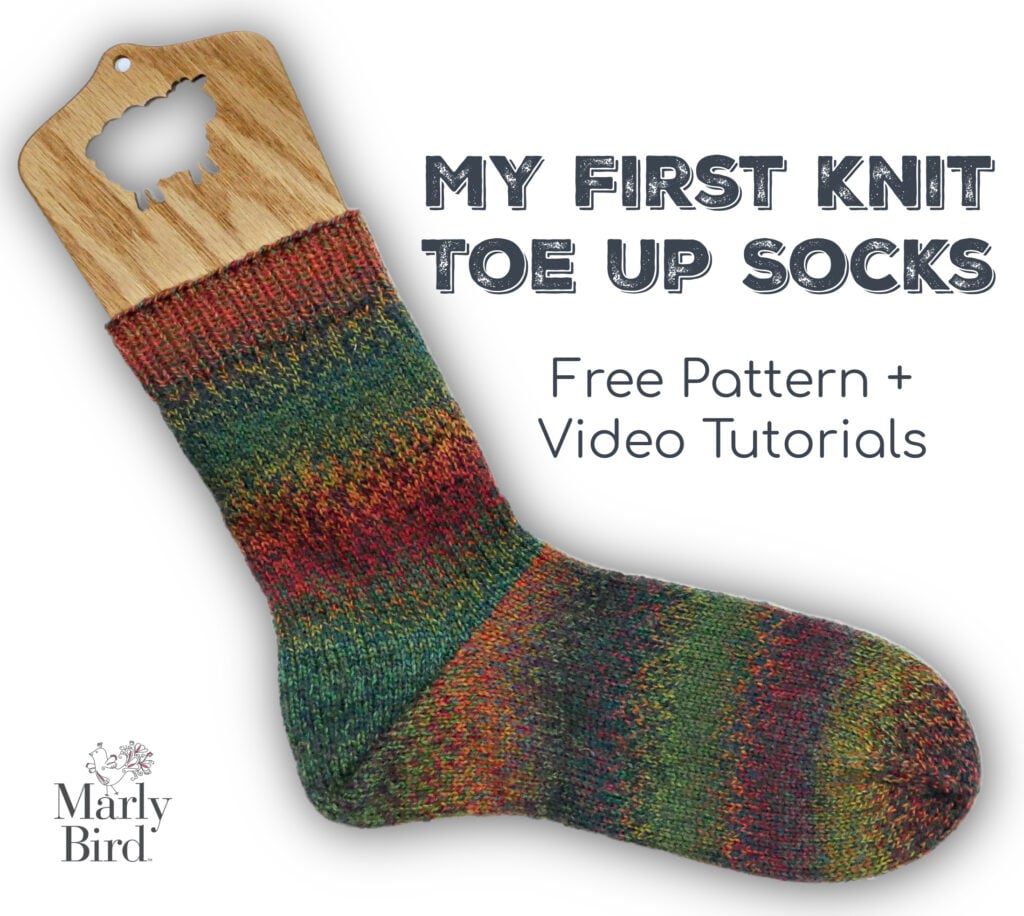
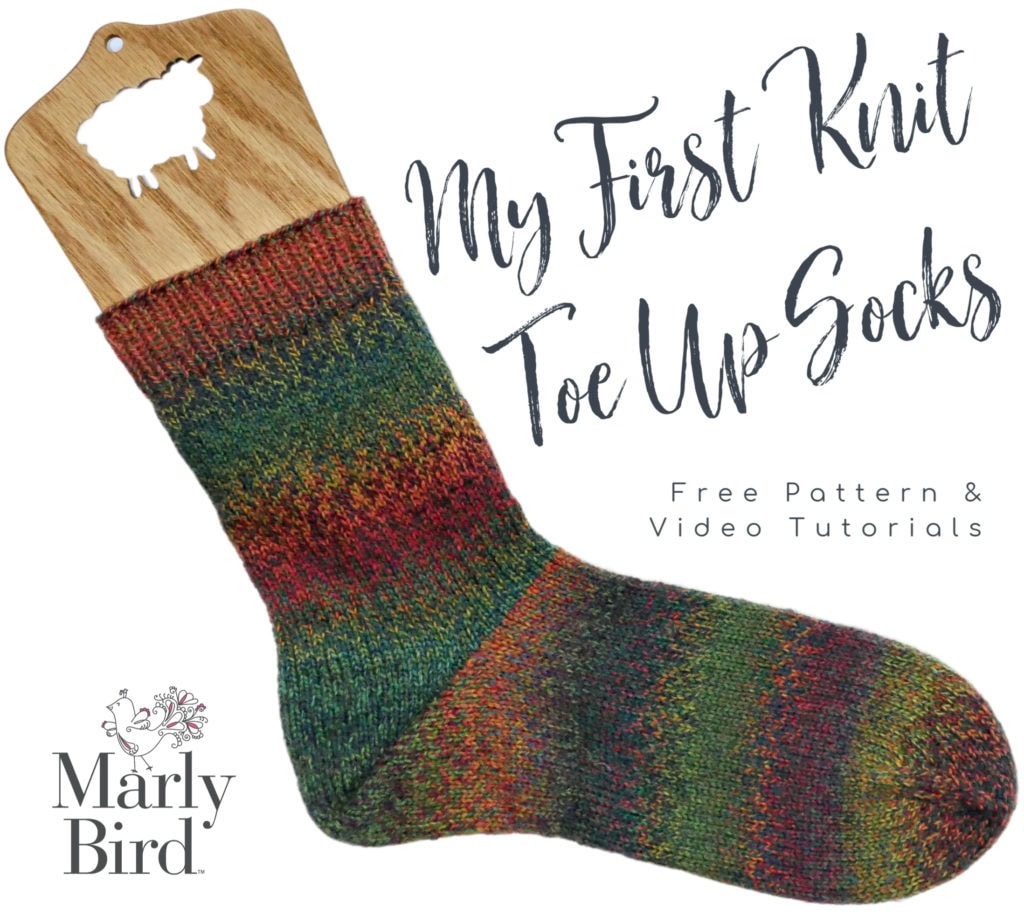
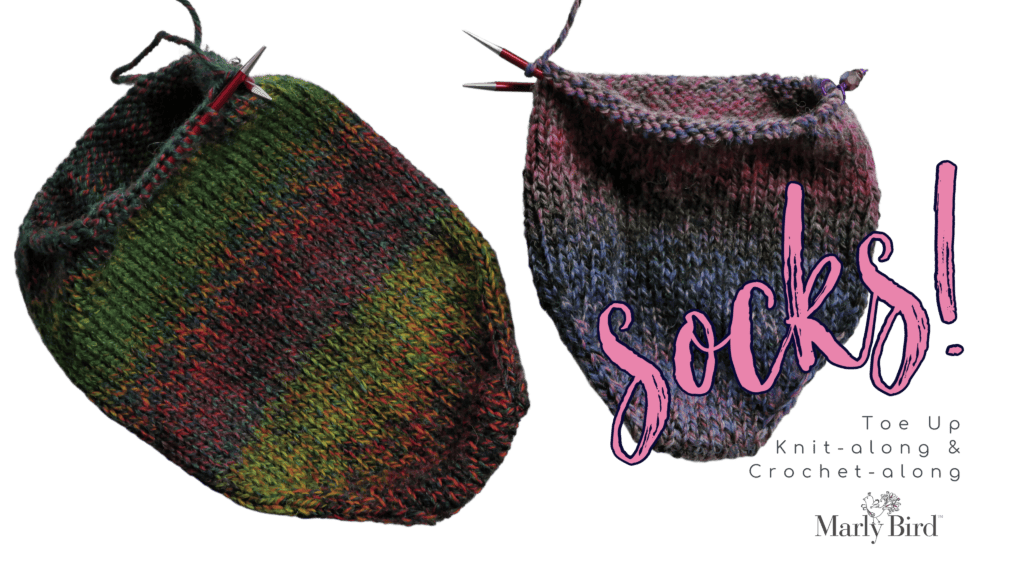
My First Toe-Up Knit Socks: Free Pattern with German Short Row Heel
The complete free knit toe-up sock pattern by Marly Bird. Worked from the toe up using Judy's Magic Cast-on, this beginner-friendly sock pattern features a German short row heel that's smoother, prettier, and more comfortable than traditional wrap-and-turn. Available in 6 sizes (foot circumference 5.5″-10.5″). Includes step-by-step video tutorials, multiple needle methods (2 circulars, magic loop, 9″ circular), and a downloadable customization worksheet. Perfect first toe-up sock for adventurous beginner knitters.
Hey, bestie 💛
Whether this is your first pair of socks ever, or you've made a hundred cuff-down pairs and you're FINALLY ready to try working from the toe up… this pattern is for you. My First Toe-Up Knit Socks is my free beginner-friendly toe-up sock pattern, designed around Judy's Magic Cast-on at the toe and a German short row heel that I genuinely think is the most comfortable, prettiest sock heel in knitting.
Here's why toe-up socks are kind of magical: you can try them on as you go. You can use up every last yard of yarn (just keep knitting the leg until you're almost out). And the German short row heel has zero of the gappy “what is happening in this corner” issues that wrap-and-turn heels are famous for.
If German short rows feel intimidating, don't panic. I've got step-by-step video tutorials AND a downloadable cheat sheet (more on that below). You can do this. Promise. 🧦
This post contains affiliate links. If you purchase through them, I may earn a small commission at no extra cost to you… and it helps keep these free patterns coming straight from my yarn-loving heart to yours. 💛

🧶 TL;DR — My First Toe-Up Knit Socks at a Glance
- What: Free toe-up knit sock pattern with a German short row heel by Marly Bird
- Sizes: Foot circumference 5.5–10.5″ (6 sizes); foot length + sock height adjustable
- Yarn: 2–3 balls of sock-weight yarn (sample is Patons Kroy Socks)
- Needles: US 2 (2.75 mm) circulars — works with 2 circulars, magic loop, or 9″ circular
- Cast-on: Judy’s Magic Cast-on at the toe
- Heel: German short row — smoother, prettier, and more comfortable than wrap-and-turn
- Skill level: Adventurous beginner — if you can knit and purl in the round, you can do this
- Time: 15–25 hours for a pair
- Bonus: Free downloadable customization worksheet for high insteps, wider ankles, or larger heels
- Ad-free PDF: Available on Ravelry 💖
What You Will Love About This Pattern 💖
🧦 Toe-up construction. Try them on as you go and use every last yard of yarn. No more “I have 30 yards left, can I finish this leg?” panic.
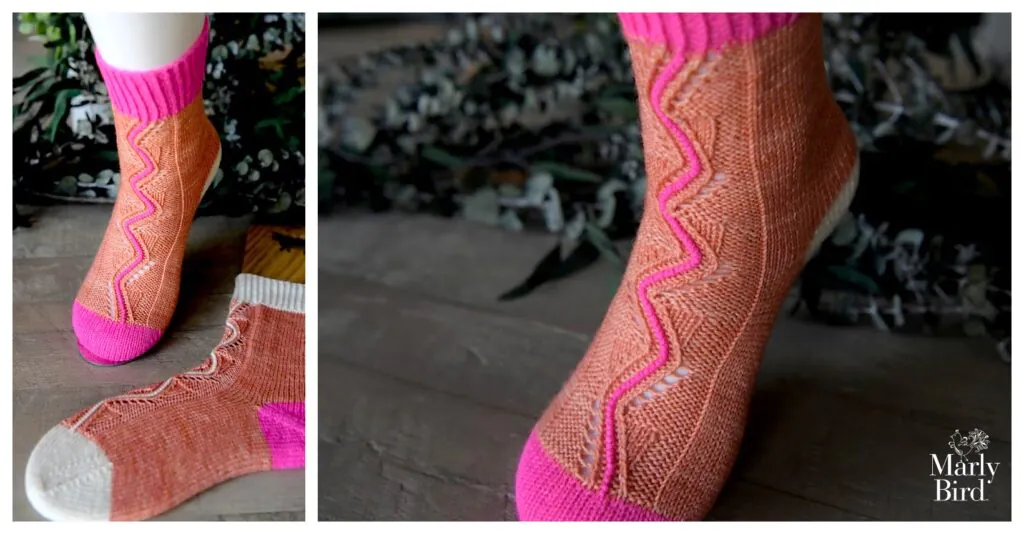
✨ German short row heel. The smoothest, prettiest, no-holes heel construction in knitting. Once you make one with German short rows, you may never go back.
📏 Six sizes. Foot circumference 5.5″ through 10.5″, with adjustable foot length and adjustable sock height. Designed to fit every adult foot.
🎬 Video tutorials at every step. Cast-on, toe + foot, German short row heel, leg + cuff… I'm walking you through every step on YouTube.
🪡 Multiple needle methods. The pattern works with 2 circulars, magic loop, or a 9-inch circular. Use whatever you like.
📝 Free customization worksheet. If you have larger ankles, a higher instep, or wider heels, my free downloadable worksheet walks you through the math to adjust the heel diagonal.
Quick Pattern Overview
🎯 Skill Level: Adventurous Beginner. If you can knit and purl in the round and you're willing to learn German short rows (with my videos), you can do this.
📏 Sizes: Foot circumference 5.5 (6.5, 7.5, 8.5, 9.5, 10.5) inches. Foot length and sock height both adjustable.
🧶 Yarn: 2 (2, 2, 2, 3, 3) balls of sock-weight yarn. The original sample uses Patons Kroy Socks (75% washable wool / 25% nylon, 166 yds per 50g ball). Any sock yarn (CYCA #1 super fine) works.
🪡 Needles: US 2 (2.75 mm) circulars. See pattern details below for which needle setup you need based on your preferred technique.
📐 Gauge: 32 stitches and 42 rows = 4 inches in stockinette stitch in the round. Tight stitches = durable socks.
⏱️ Estimated time: 15-25 hours for a pair, depending on size and speed.
Is This Sock Pattern Right for You?
This pattern is a perfect match if you're ready for your first toe-up sock, OR if you're an experienced cuff-down sock knitter ready to try toe-up construction. You'll be right at home if you can:
- Knit and purl comfortably in the round
- Work from a written pattern
- Try a new technique (Judy's Magic Cast-on, German short rows) with video support
- Use either 2 circulars, magic loop, or a 9-inch circular needle
Brand new to socks entirely? No worries, you can still tackle this… just watch the videos before you start. Or if you want a true beginner sock first, my My First Knit Socks (cuff-down) is a different starting point that uses traditional construction.
Want the full sock-knitting curriculum? Check out my Ultimate Guide to Knit Socks.
Free German Short Rows Customization Worksheet
If you have a higher instep, larger heel diagonal, or wider ankles than the standard sizing, you don't have to abandon this pattern. I made a free downloadable customization worksheet that walks you through the math to adjust the heel diagonal so the sock fits YOUR foot perfectly.
Why German Short Rows for the Heel?
Great question. There are several ways to make a sock heel: heel flap with gusset (classic), wrap-and-turn short rows, or German short rows. Here's why I chose German short rows for this pattern:
- No holes. Wrap-and-turn heels often leave gaps where the wraps and the turning row meet. German short rows create a “double stitch” instead, which closes neatly.
- Easier to memorize. Once you know the right-side and wrong-side moves, you do them over and over. No counting wraps to pick up later.
- Smoother fabric. The double-stitch construction sits flat and looks polished from both sides.
- Industry-standard for modern sock patterns. Most contemporary sock designers (myself included) have moved toward German short rows.
If you've been intimidated by German short rows in the past, this pattern is your invitation. The video tutorials walk you through every motion. By the end of one sock, you'll have it memorized.
Build Your Skills with This Pattern
By the time you finish this pair, you'll have practiced:
- Judy's Magic Cast-on… the seamless toe-start that makes toe-up socks possible
- Lifted increases (RLM1 + LLM1)… clean, invisible toe shaping
- 2 circulars, magic loop, or 9-inch circular technique… use whatever you prefer
- German short rows… the modern sock heel that beats wrap-and-turn
- Stretchy bind-off… your cuff will actually fit over your heel
If any of these are new to you, my knitting definitions glossary covers the abbreviations, and the video tutorials linked in the pattern below walk through every technique.
Want to go DEEPER into sock knitting? Come join me at Marly Bird House… I have multiple sock-focused courses inside, including Tranquility Knit Socks and Aromatherapy Knit Socks which take you through more advanced sock techniques and design variations.
Yarn & Materials
The original sample uses Patons Kroy Socks, a 75% washable wool / 25% nylon sock-weight yarn (166 yds per 50g ball). Patons Kroy is a workhorse sock yarn… affordable, durable, machine-washable, and widely available at craft stores. You'll need 2 (2, 2, 2, 3, 3) balls.
Yarn Substitutes & Stash Options
Have indie sock yarn in your stash? Want a different fiber blend? Any sock-weight (CYCA #1 super fine) yarn with around 400+ yards per 100 g will work. For socks you'll actually wear, look for a wool/nylon blend… the nylon adds the durability your heels need (pure wool will felt + wear out fast on hard floors).
A few favorite substitutes:
- 🧶 KnitPicks Stroll Fingering (75% superwash merino / 25% nylon, 231 yds / 50 g)… the WeCrochet/KnitPicks workhorse sock yarn. Same fiber blend as Patons Kroy, comparable yardage, in solids, tonals, hand-dyed, and self-striping. Affordable and machine washable.
- 🧶 KnitPicks Hawthorne Fingering (80% superwash merino / 20% nylon, 357 yds / 100 g)… a slightly more luxurious sock yarn from the same family, available in solids and beautiful hand-painted multi-color skeins. Great for self-striping or speckled socks.
- 🌈 KnitPicks Felici Sock Yarn… the classic self-striping sock yarn. Stripes are pre-planned in the skein, so your socks look beautifully patterned without having to fuss with multiple yarn balls. Great for second-sock syndrome (it's actually exciting to see what stripe is next).
- ✨ KnitPicks Static Sock Yarn… fun effect sock yarn that creates an organic speckled/static look as you knit. Adds visual interest to a simple stockinette stitch pattern like this one.
- 🦋 Malabrigo Sock Yarn… hand-dyed luxury sock yarn from Malabrigo. If you've been wanting to splurge on an indie-dye experience, this is a beautiful place to start. Saturated, jewel-tone colorways that make your socks feel like art on your feet.
- 🎨 Madelinetosh Tosh Sock Yarn… cult-favorite indie hand-dyed sock yarn. Tosh Sock has a near-legendary status in the sock-knitting community for its gorgeous tonal colorways and soft hand-feel.
- 🧶 Berroco Vintage Sock… fingering-weight wool blend with nylon from Berroco. Machine washable, durable, comes in a wide range of solids and heathers.
- 🧶 KnitPicks Capretta Superwash Fingering (80% superwash merino / 10% nylon / 10% cashmere, 230 yds / 50 g)… if you want a splurge sock with cashmere softness. Still has 10% nylon for durability. Treat yourself.
- 🧶 Berroco Comfort Sock (50% superwash nylon / 50% acrylic, 447 yds / 100 g)… a 100% synthetic sock yarn that's machine washable, dryer-safe, and great for gift socks or anyone with wool sensitivity. Find Berroco yarns here.
- 🧺 Stash yarn? Any indie hand-dyed sock yarn (Hedgehog Fibres, Spincycle, SweetGeorgia, Knerd String, Must Stash, etc.), Lion Brand Sock-Ease, Regia Sock, or any other fingering-weight wool/nylon blend with around 400+ yards per 100 g is a great fit. Speckled and self-striping yarns look especially fun in this simple stockinette pattern.
Want to browse the full KnitPicks sock-yarn lineup? Shop all KnitPicks sock yarn here.
For more sock yarn project ideas beyond socks, see my What To Crochet With Sock Yarn guide (even if you're knitting, the yarn weight discussion applies).
Needles: US 2 (2.75 mm) circulars. Your specific setup depends on your preferred technique:
- 2 circulars method: 2 needles, one 24″ and one longer than 24″
- Magic loop method: 1 circular longer than 24″
- 9″ circular method: a 9″ circular for the foot and leg, plus a longer-than-24″ circular for the toe and heel
I shop my KnitPicks needles for sock knitting because the size 2 tips are sharp enough to handle the tight gauge.
Notions:
- Stitch Markers
- Tapestry Needle
- Scissors
- Tape Measure
- Notions Bag for Supplies (Optional)
- Leather tags (Optional)
- Leather rivets (Optional)
- Sock Ruler (Optional)
- Sock Blocker (Optional)
Video Tutorials
Every step of this pattern has a video tutorial. Watch ahead of time or pull them up as you go:
- Part 1: Cast-on, toe, and foot
- How to add a lifeline (recommended before the heel)
Love the Pattern but Want an Ad-Free PDF?
The full pattern below is 100% free here on the blog (thank you for supporting the site by reading through the ads!). If you'd rather have a clean printable PDF, grab one from your favorite shop:
Join our Newsletter
Get Free Crochet & Knitting
Pattern Links & Coupons!

My First Toe-Up Knit Socks — Pattern Details
Skill Level
Adventurous Beginner
Sizes & Finished Measurements
To Fit Foot Circumference: 6 (7, 8, 9, 10, 11) inches (measure around ball of foot)
Foot Length: Adjustable
Sock Height: 5 inches from top of heel (adjustable)
Actual Sock Measurements:
Foot Circumference: 5.5 (6.5, 7.5, 8.5, 9.5, 10.5) inches
Foot Length: Adjustable
Sock Height: 5 inches from top of heel
Recommended Gauge
32 stitches / 42 rows = 4 inches in stockinette stitch in the round (you want tight stitches for socks as it helps with the wear of them).
Materials
Yarn: Patons Kroy Socks (75% washable wool, 25% nylon super fine weight yarn; 1.75oz/50g; 166yds/152m), 2 (2, 2, 2, 3, 3) balls. OR any sock weight yarn.
Knitting Needles: US 2 (2.75 mm) or size to obtain gauge.
Depending on what tools you want to use to make socks, you will need the following:
- To make socks with 2 circulars: 2 needles, 1 needle 24″ and the other longer than 24″
- To make socks with magic loop: 1 circular needle longer than 24″
- To make socks with a 9″ circular needle on foot and leg: a 9″ circular needle, plus a longer-than-24″ circular at the toe and heel
Notions:
- Stitch Markers
- Tapestry Needle
- Scissors
- Tape Measure
- Notions Bag for Supplies (Optional)
- Leather tags (Optional)
- Leather rivets (Optional)
- Sock Ruler (Optional)
- Sock Blocker (Optional)
Special Abbreviations
- GSR: German Short Row (see special stitches)
- LLM1: Left Lifted make-one (M1) increase
- PM: place marker
- RLM1: Right Lifted make-one (M1) increase
- SM: slip marker
- W&T: wrap and turn
Special Stitches
⭐ GSR (German Short Row): these short rows are worked in such a way that you get a ‘double stitch' in place of a traditional W&T short row.
GSR Right side: bring the yarn to the front BETWEEN the needles, slip the stitch from the left needle to the right needle purlwise with the yarn in front, pull the yarn to the back of the work OVER TOP of the right needle. This will distort the stitch making it look as if there are 2 stitches instead of 1. This is called the ‘double stitch'. With yarn in back, begin knitting.
GSR Wrong side: Slip the stitch from the left needle to the right needle purlwise with yarn in front, pull the yarn to the back of the work OVER TOP of the right needle. This will distort the stitch, making it look as if there are 2 stitches instead of 1. This is called the ‘double stitch'. Don't forget to bring the yarn to the front BETWEEN the needles to begin purling.
Continue in this fashion as specified in your pattern, creating your ‘doubled' stitches. To finish the short rows simply knit or purl the double stitch together.
⭐ LLM1 (Left Lifted Make-One): Insert left needle tip into the left leg of the second stitch directly under the stitch on the right hand needle (the grandmother stitch), knit it through the back leg. (1 stitch increased)
⭐ RLM1 (Right Lifted Make-One): Insert right needle tip into the right leg of the stitch directly under the stitch on the left hand needle (the mother stitch), lift the leg onto the left hand needle and knit it. (1 stitch increased)
⭐ W&T (Wrap and Turn):
Knit row: with yarn in back, slip next st purlwise onto right hand needle, bring yarn to front of work, return slipped st to left hand needle, bring yarn to back of work, then turn work.
Purl row: with yarn in front, slip next st purlwise onto right hand needle, bring yarn to back of work, return slipped st to left hand needle, bring yarn to front of work, then turn work.
⭐ Hide Wraps: Knit row… pick up the wrap from the front with the right hand needle and knit together with the stitch it wraps.
Notes
- Whether working on 2 circulars or magic loop, the stitches are always divided onto two needles. Needle #1: instep stitches; Needle #2: sole stitches.
- When the end of one needle has been reached, rotate the work so the stitches just worked are on the bottom. Move the bottom stitches to the cord and the unworked stitches to the next needle and continue on to work in the round.
- ⭐️ indicates extra explanation of instructions
- 🎬 indicates video tutorial available
GROW
To Unlock Exclusive Subscriber Content click the Box below and join for free by simply adding your email and creating a password! If you are having troubles, clear your cache or reset your password or login to the Grow Publisher Portal.
>> Learn More About Grow Here <<
I'm thrilled to share this amazing pattern with you, many patterns on my blog are absolutely free! I kindly request that you don't copy and paste or distribute this pattern. Prefer an ad-free experience? Buy a digital PDF pattern for a small fee from one of my online stores for a seamless crafting journey.
I appreciate your support and readership. You are the reason I can keep doing what I love and sharing it with others. So, thank you from the bottom of my yarn-loving heart! Disclosure: This post contains affiliate links, meaning I get a commission if you decide to make a purchase through my links at no cost to you.
My First Toe-Up Knit Socks — Pattern Instructions
Toe
🎬 Watch video for part 1: cast-on, toe and foot
Using Judy's Magic Cast-on, cast on 16 (16, 20, 24, 24, 28) stitches total.
⭐ Make it so half the stitches are on each of two needles if using 2 circulars, or distribute so that half of the stitches are on each tip if using magic loop.
Knit 1 round evenly.
⭐ First half of stitches are instep, second half of stitches are sole.
⭐ Place a marker on the needle with the instep stitches so you can identify that as needle #1 whether doing 2 circulars or magic loop.
Round 1 (increase round):
Needle #1: K1, PM, RLM1 (see special stitches), knit to 1 stitch before end of instep stitches, LLM1 (see special stitches), K1
Needle #2: K1, RLM1, knit to 1 stitch before end of instep stitches, LLM1, K1 — [4 stitches increased]
Round 2: Knit
Repeat rounds 1 and 2 until there are 44 (52, 60, 68, 76, 84) stitches total.
⭐ This is the total number of stitches for the sock and should measure the actual sock circumference listed above if you achieved gauge.

Leg and Cuff
🎬 Watch video for part 3: leg and cuff
Continue knitting all stitches around the sock until leg measures 8″ [20.3 cm] or desired length of leg before 1″ [2.54 cm] cuff.
⭐ The leg length measurement is customizable. Note: The beauty of toe up socks is once the foot and heel are complete, you can use up all the remaining yarn on the leg of the sock.
⭐ The leg of the sock should have some negative ease or it will slouch down into the shoe when worn.
Once the leg measures desired length, work 1×1 ribbing for 1″ [2.54 cm].
Stretchy Bind-Off
Bind off using the stretchy bind off as follows:
- Work 2 stitches on left hand needle in pattern
- Insert left hand needle into front leg of 2 stitches on right hand needle
- Knit the stitches together. Leaves one stitch remaining on right hand needle
- Work next stitch on left hand needle in pattern
- Repeat from step 2 to last stitch of round
Fasten off. Weave in ends.
More Marly Bird Sock Patterns
Once you've nailed your first toe-up pair, here are more sock patterns to try:
- 🧦 My First Knit Socks (cuff-down)… if you want to learn cuff-down construction next
- 🧦 Marly Knit Socks… cuff-down with heel flap, ribbed cuff, eyelet leg – Easy Sock Pattern
- 🧦 Hint of Hazelnut Knit Socks… colorful mini-skein vertical colorwork. Totally Unusual socks
- 🧦 Heartstrings Stranded Colorwork Socks… DK-weight stranded colorwork
- 🧦 Hygge Stripe Socks… worsted-weight beginner socks
- 🧦 Skyline Ribbed Socks… awesome beginner socks especially for the man in your life
- 🧦 Appalachian Cozy Up Thigh-High Knit Socks… continuous cables toe to thigh (includes plus size)
- 🎄 Heirloom Stocking Course… make more than just socks, make memories with this full course!
Want the full sock-knitting curriculum? Browse my Ultimate Guide to Knit Socks for step-by-step learning, video tutorials, and pattern recommendations sorted by skill level.
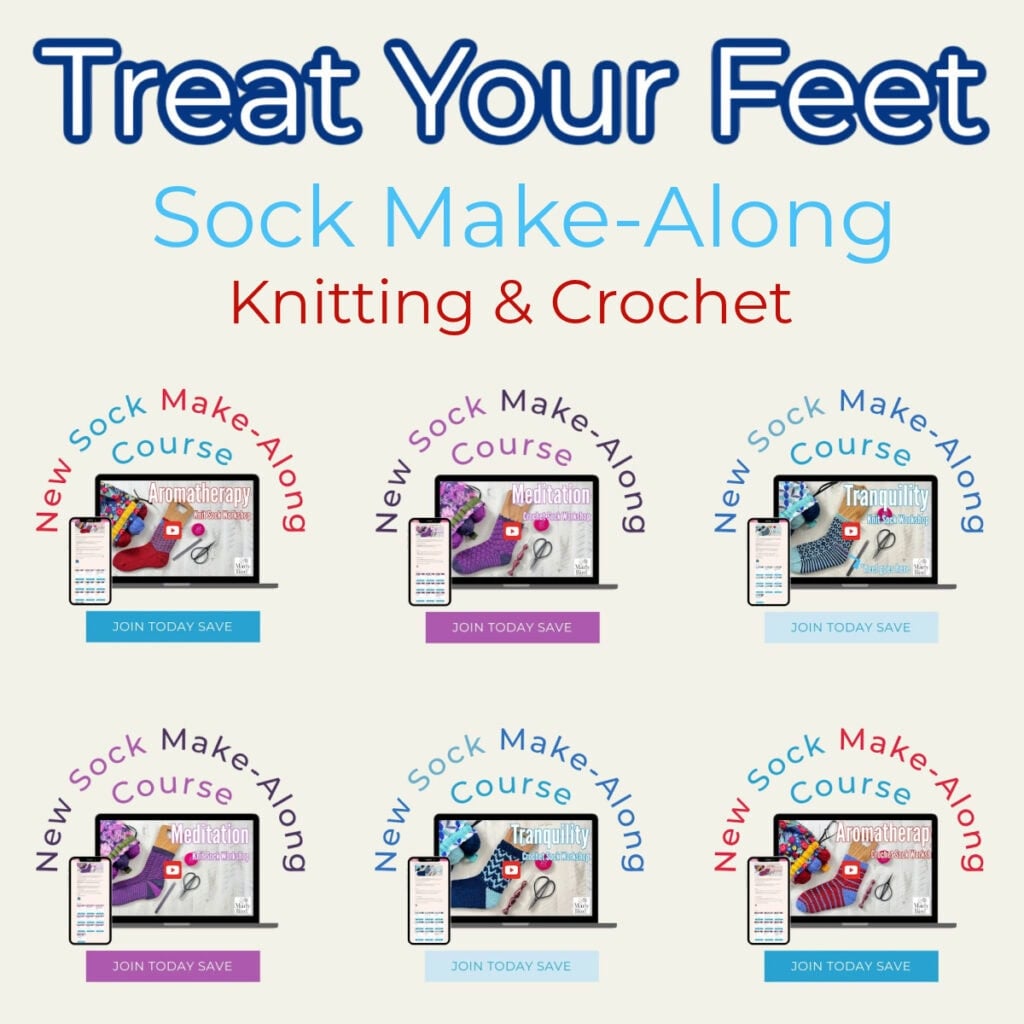
Want Marly Walking You Through Every Step? Sock Workshops at Marly Bird House
If you want hands-on coaching, advanced techniques, and a designer in your ear while you learn… my sock workshops at Marly Bird House are where you go:
- 🌿 Tranquility Knit Socks… a calm, mindfulness-paced sock pattern with full video instruction at Marly Bird House
- 🧴 Aromatherapy Knit Socks… self-care meets sock knitting
- 🧘♀️ Meditation Knit Socks… a calm, meditative sock-knitting experience built around the Sweet Tomato Heel (a unique heel construction that's different from German short rows and traditional flap-and-gusset, perfect for crafters who want to expand their sock-knitting repertoire). Sized S-L. Includes a full PDF pattern, interactive charts, and video modules covering Anatomy of a Sock, Yarn Planning for Sock Length, Cuff, Leg, Sweet Tomato Heel, Foot, and Toe.
- 🧦 Classic and Colorful Crochet Socks Workshop… if you also crochet, this is the comprehensive sock crochet course
Browse all sock courses at Marly Bird House.


Favorite & Queue on Ravelry
Please favorite and queue My First Toe-Up Knit Socks on Ravelry and tag your finished projects #MyFirstToeUpSocks. I love seeing your color choices and finished pairs.

Frequently Asked Questions
Are German short rows better than wrap-and-turn for sock heels?
Honestly, yes… most modern sock designers (myself included) have moved to German short rows because they create a smoother, no-hole heel without the fussy wrap-pickup of W&T. They're easier to memorize and look more polished. If you've struggled with wrap-and-turn heels in the past, give GSR a try… I think you'll convert.
Can I use any sock yarn for this pattern?
Yes. Look for sock-weight (CYCA #1 super fine) yarn with around 400+ yards per 100 grams. A wool/nylon blend gives you the best durability for actual wear. Hand-dyed indie sock yarn works beautifully for this pattern… the simple stockinette body really shows off variegated colors.
Which needle method is best for toe-up socks?
Honestly, whichever you're most comfortable with. The pattern works with all three. 2 circulars and magic loop work for the entire sock. The 9-inch circular is faster for the foot and leg but you'll need a longer circular for the toe and heel. If you've never tried any of them before, magic loop is usually the easiest to learn first.
How do I customize the heel for a high instep or wide ankles?
Great question. I made a free customization worksheet that walks you through the math step-by-step. Download it, fill in your own measurements, and you'll know exactly what numbers to adjust in the pattern for a perfect fit.
How long does this pattern take to knit?
Most knitters finish a pair in 15-25 hours, depending on size and speed. Sock knitting is naturally portable… if you knit during downtime (lunch breaks, waiting rooms, TV time), you can finish a pair in a few weeks of casual knitting.
Should I use a lifeline?
Yes, especially before the German short row heel. Slide a lifeline (waste yarn or dental floss) through your stitches just before starting the heel. If a mistake happens, you can rip back to the lifeline without losing your foot.
What's the difference between toe-up and cuff-down sock construction?
Toe-up starts at the toe with Judy's Magic Cast-on, works the foot up, turns the heel, knits the leg, and binds off at the cuff. Cuff-down starts at the cuff with a stretchy cast-on, works the leg down, turns the heel, knits the foot, and grafts the toe shut. Toe-up's main advantages: you can try the sock on as you go, and you use up every yard of yarn on the leg. Cuff-down's main advantages: classic heel flap construction is familiar to many knitters, and the bind-off is a finished cuff (no Kitchener stitch needed).
Where can I get the ad-free PDF?
The ad-free printable PDF is available on Ravelry. Etsy and Shopify versions coming soon. Your purchase supports me as an indie designer and keeps the free patterns coming. 💛
💬 Final Thoughts
Toe-up socks were the construction that made me fall in love with sock knitting. Once you cast on with Judy's Magic Cast-on (which I promise is easier than it sounds with a video), work the toe, knit the foot, and turn the German short row heel for the first time… you understand WHY toe-up is so beloved.
This is the pattern I wish I'd had when I was learning. Try-as-you-go fit, video tutorials at every step, multiple needle methods, and a heel that actually fits. If you finish a pair, please share with me. Tag me @themarlybird and use #MyFirstToeUpSocks, #mmmdi, and #marlybird. I want to see every pair.
Love, Your BiCrafty Bestie, Marly Bird


Hi Marly Bird!
I love your work! I would like to work on the toe up sock as my next project. I see the pattern directions online but is the pattern details somewhere I can print them out? I feel like I have clicked everything and still can’t find it! And yes, I did open a Grow account to see if I could print from there. Can you help me?
Sadly, this pattern is only available on the website at this time. No pdf to purchase.