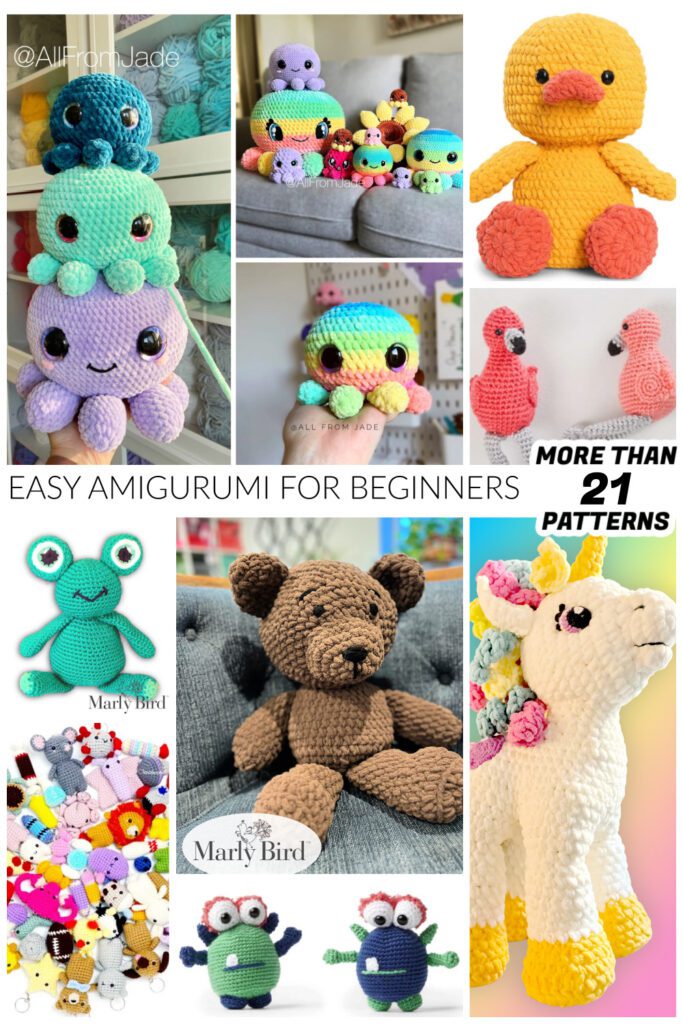
Looking for the perfect handmade Mother’s Day gift? This BiCrafty gift guide features the best knit AND crochet patterns to make for Mom in 2026… from quick one-skein projects you can finish this weekend to luxurious shawls she’ll treasure forever. Whether you knit, crochet, or both, you’ll find something Mom will actually love and use. Includes free patterns, video tutorials, and gift-making tips.
Hey, bestie 💛
Mother’s Day is May 10th… and if you just felt a tiny panic, take a breath. You have time. Especially if you start now. 😉
I put together this gift guide because I believe the best gifts are the ones made with your hands and your heart. And honestly… nothing says “I love you, Mom” quite like something you stitched yourself.
The best part? This guide has options for knitters AND crocheters… because we’re BiCrafty around here, and Mom deserves the best no matter which hook or needle you pick up. 🧶💛
Affiliate Disclosure: This post contains affiliate links. To learn more please visit my privacy policy here💖
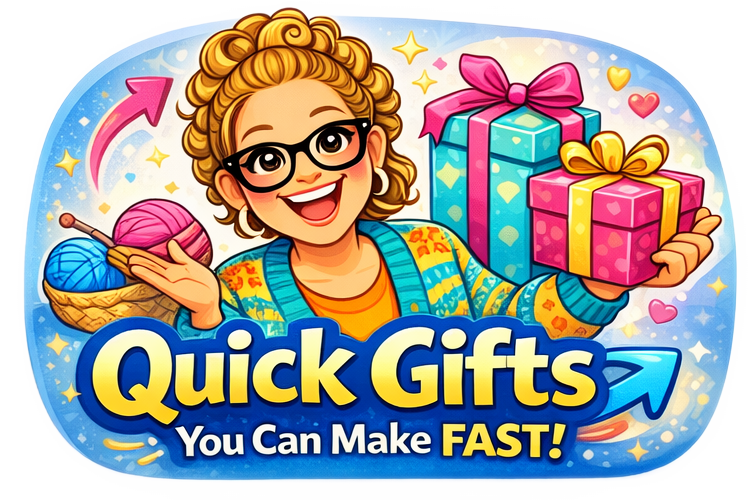
Quick Gifts (Finish This Weekend!) ⚡
Short on time? These projects can be finished in a day or a weekend… and they still look like you spent weeks on them.
🧶 Mother's Day Knitting Gifts for Quick Finishes
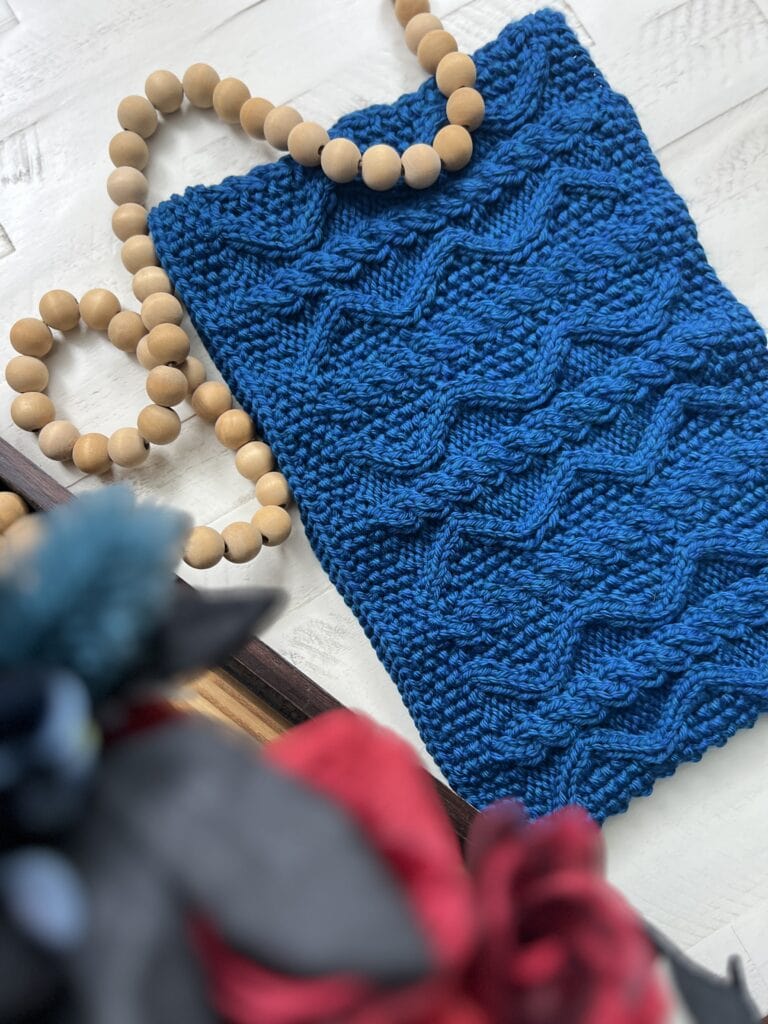
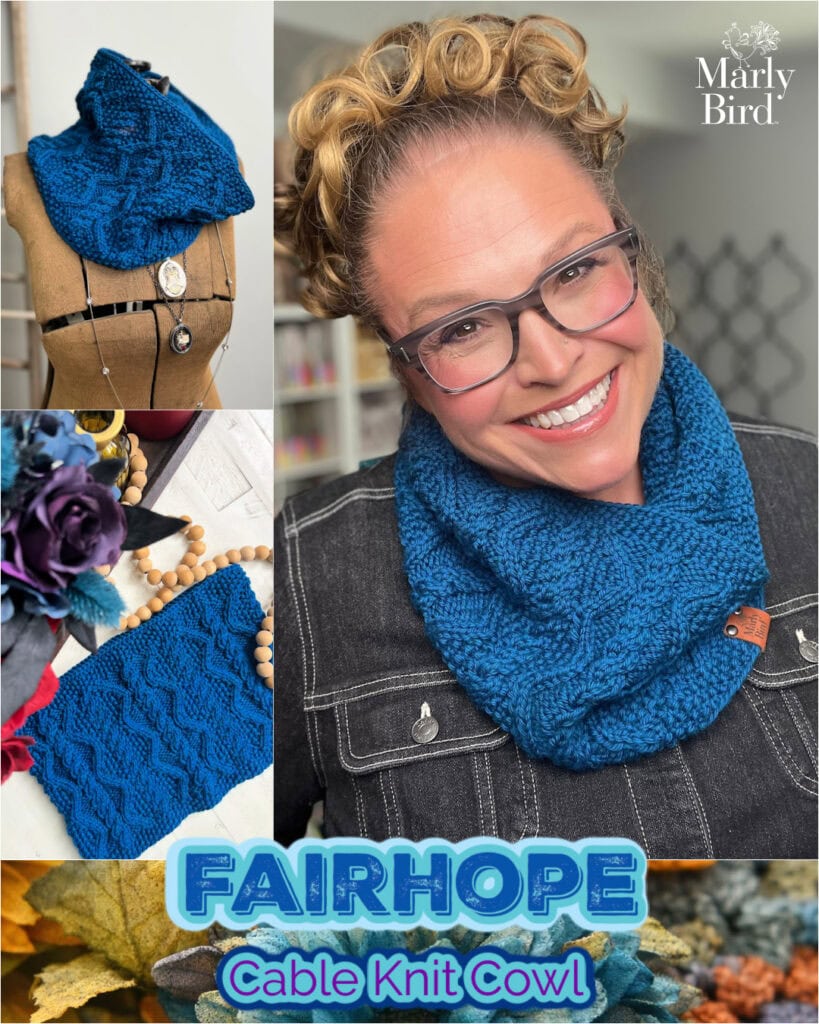
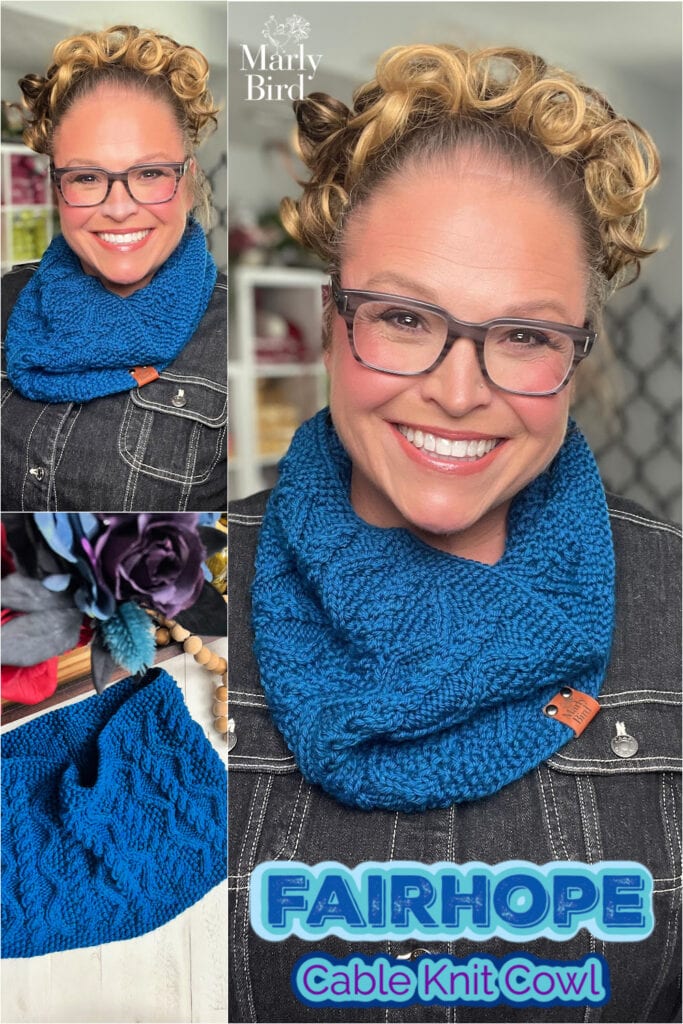
- Quick Knit Cowl — a one-skein wonder that works up in an evening. Simple, elegant, and Mom can wear it year-round with lighter yarn.
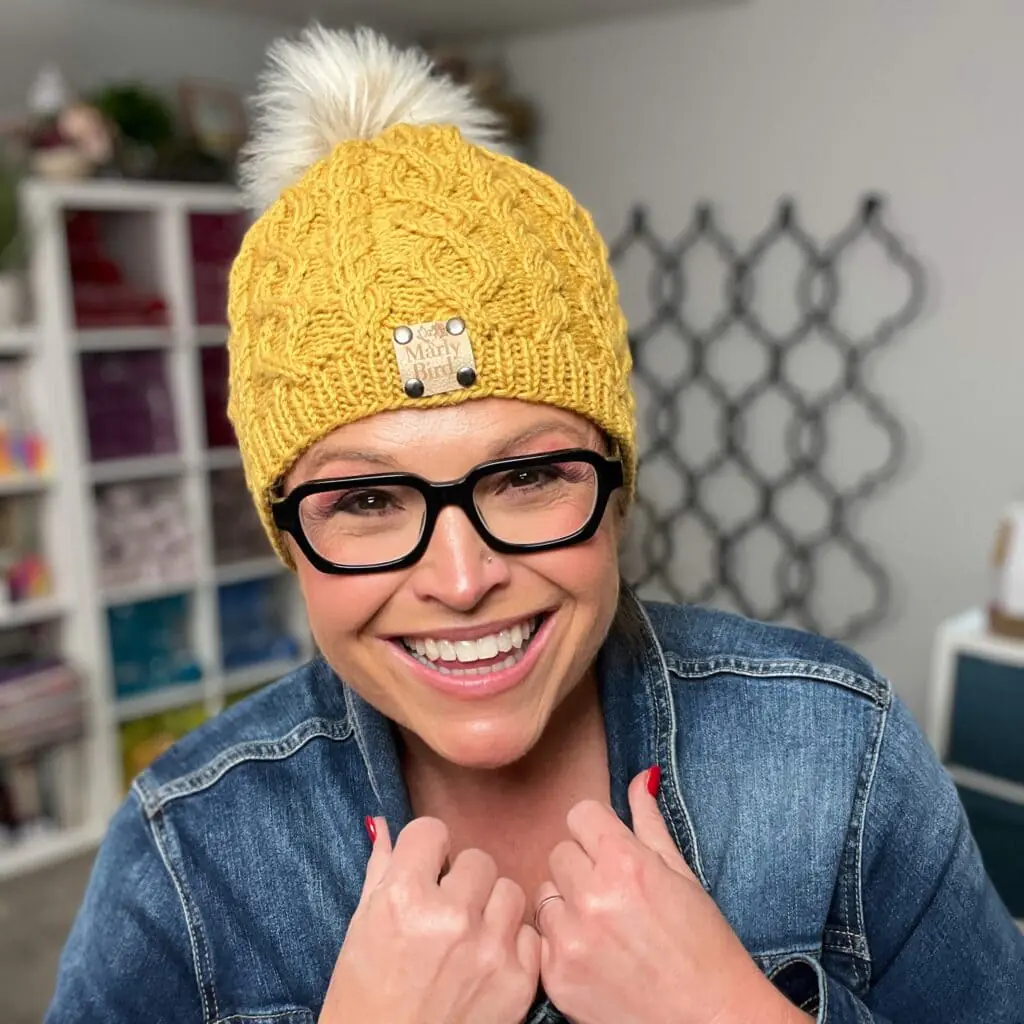
- Afternoon Delight Quickie Knit Hat — the name says it all. Fast, fun, and a great gift.
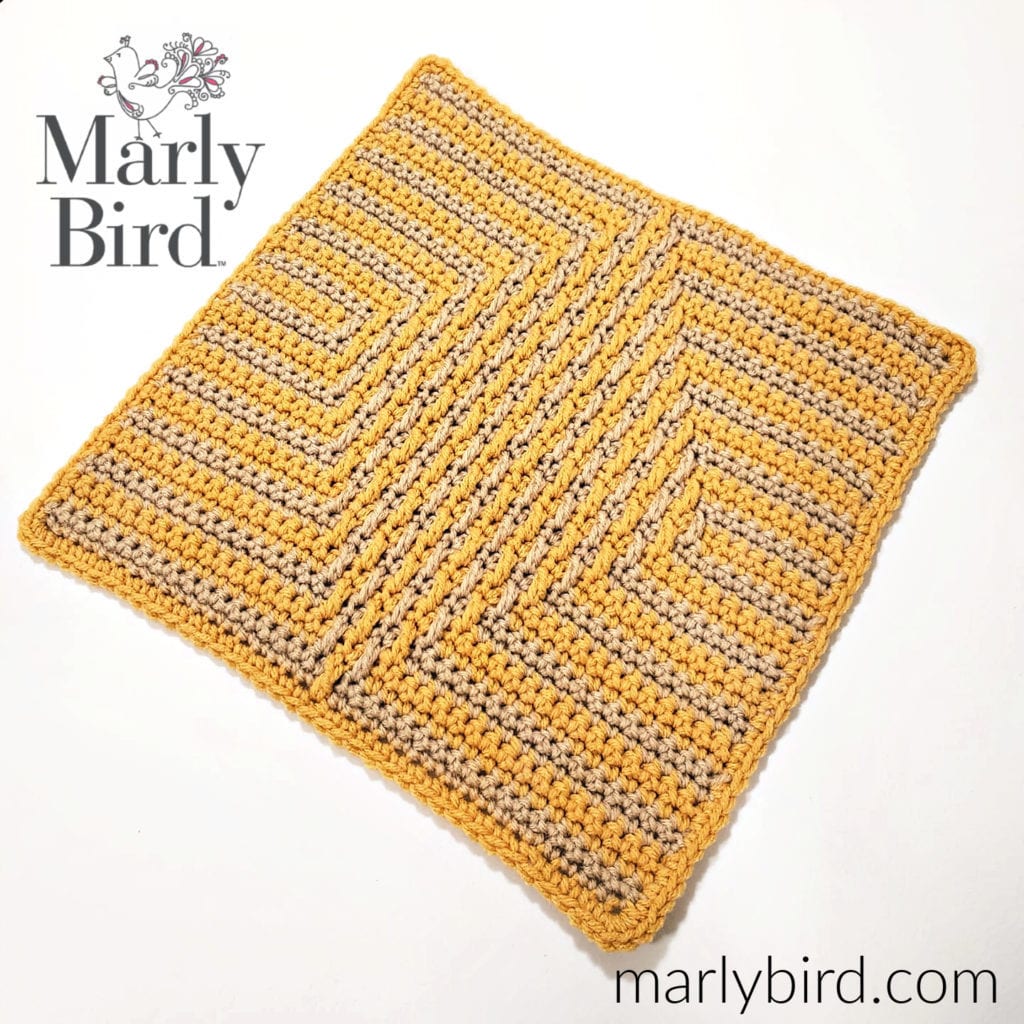
- Knit Dishcloths/Spa Cloths — pair 2-3 handknit cloths with a nice bar of soap or lotion for an instant spa gift set. Uses cotton yarn and basic stitches.
🧶 For Crocheters
- Cowl Neck Crochet Dog Coat — does Mom have a pup? Make the dog a sweater and watch Mom’s heart melt. 🐕
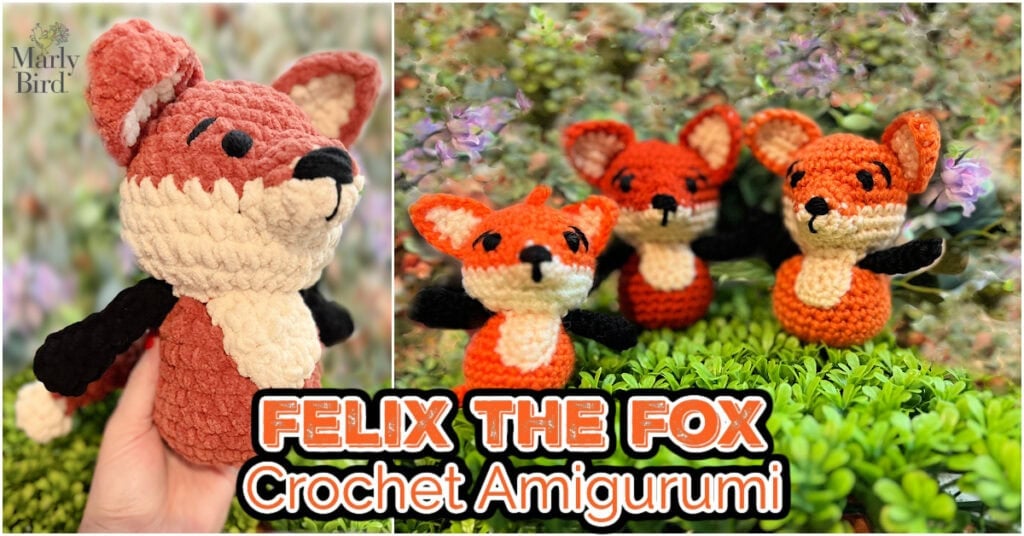
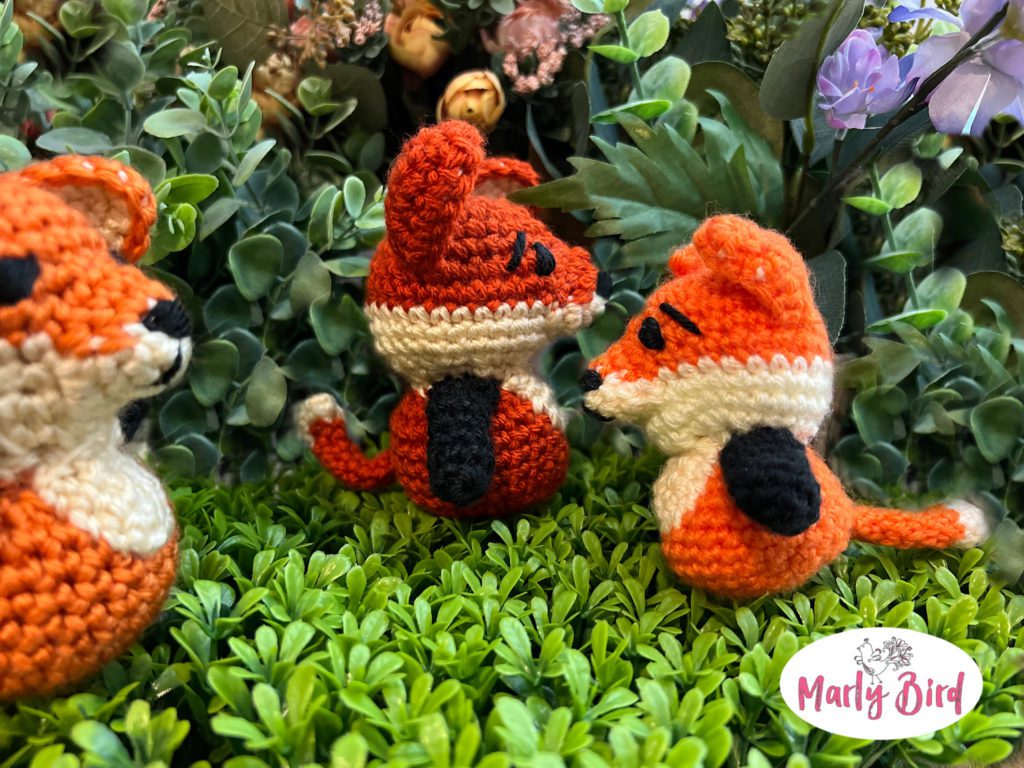
- Crochet Flower Bouquet — flowers that NEVER die. Make a bouquet of crocheted roses, daisies, or tulips. Pair with a mason jar or vase for a stunning handmade gift.
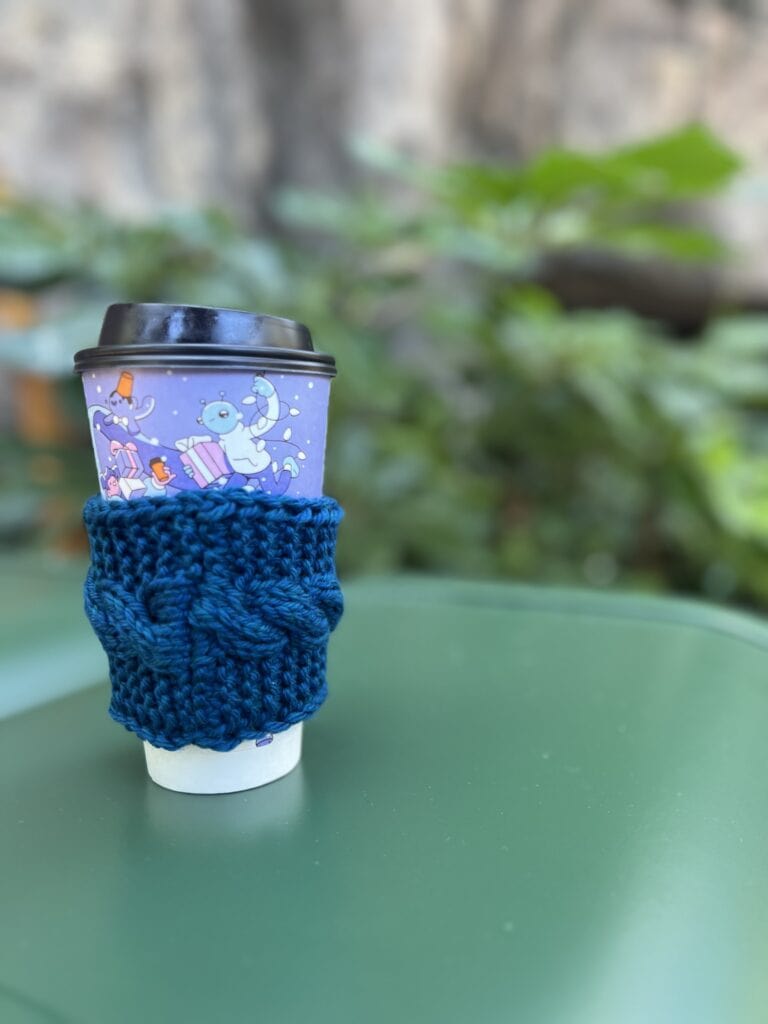
- Quick Crochet Hostess Gifts — mug cozies, coasters, and small accessories that work up fast.
- Pour Decisions Wine Cozy — FREE pattern and perfect to partner with a nice bottle of win 🍷
✨ Designer Tip: The secret to a “quick” gift looking expensive? Use beautiful yarn. A simple stockinette cowl in a hand-dyed merino looks a million times more special than the same cowl in basic acrylic. Splurge on the yarn… save time on the pattern.
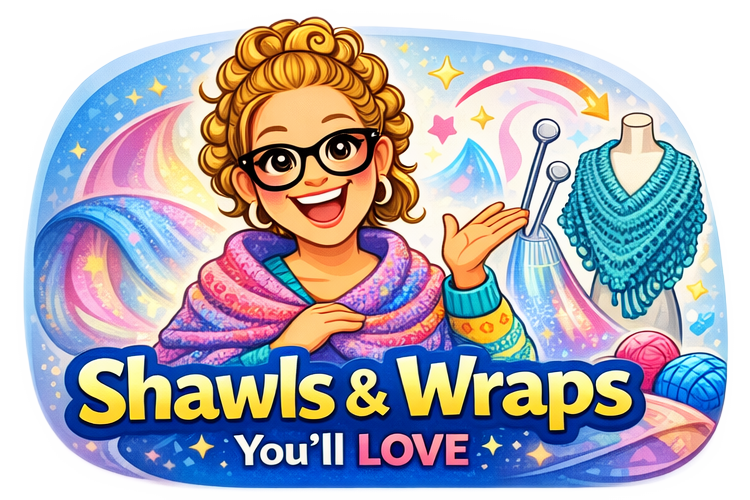
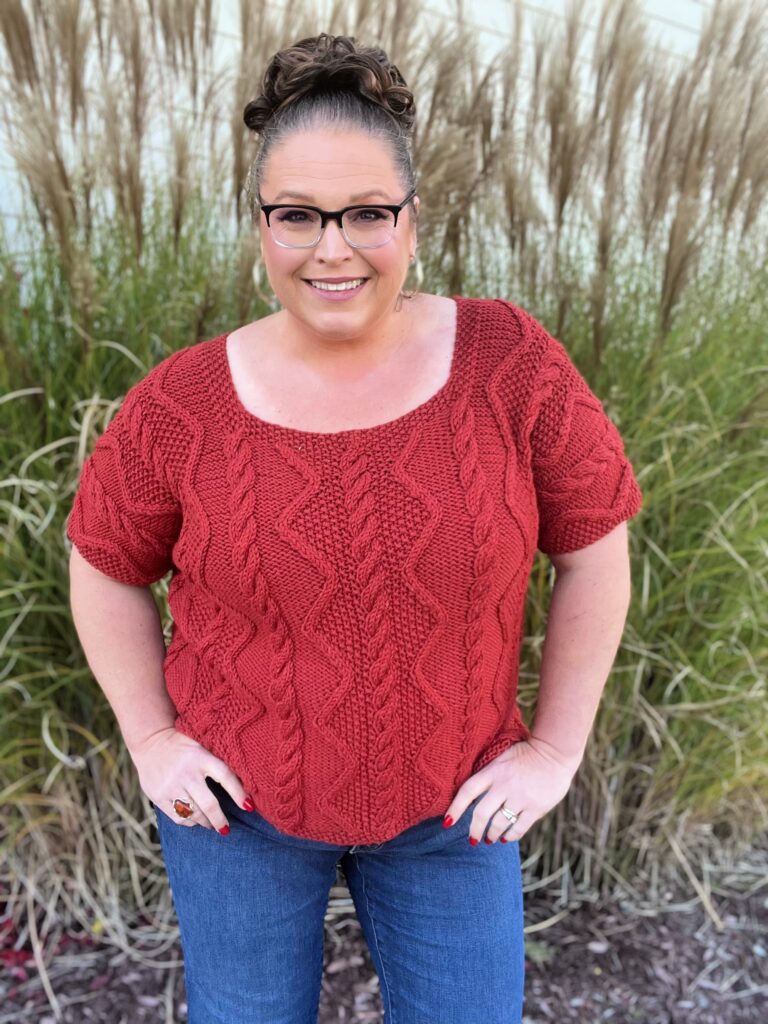
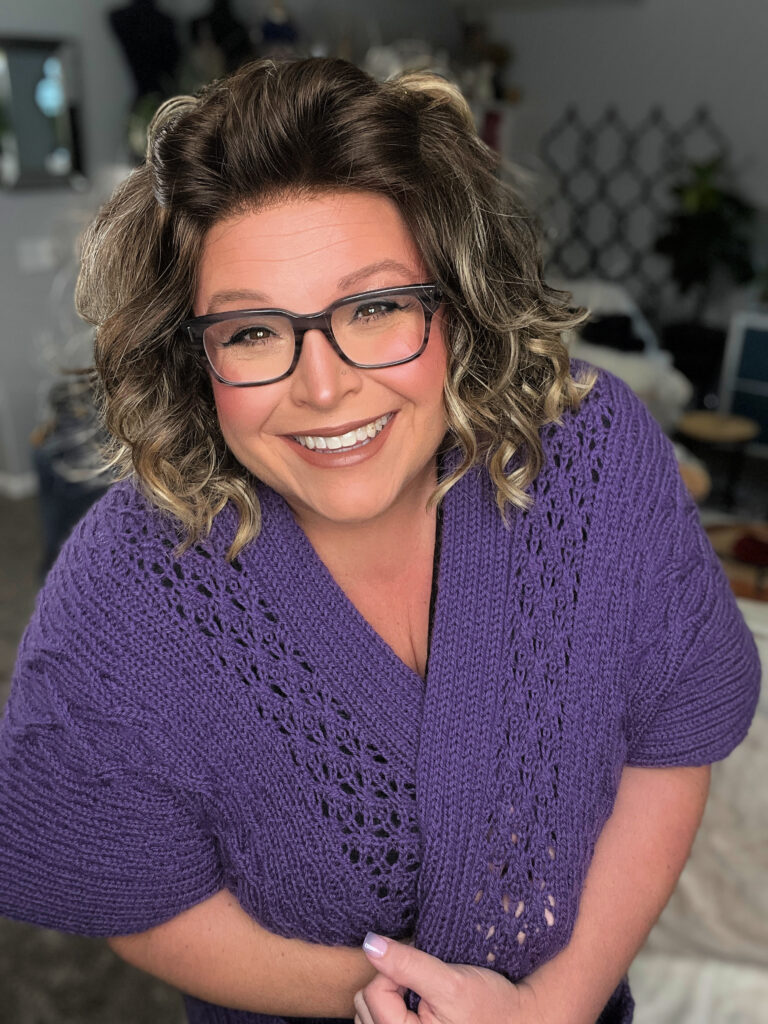
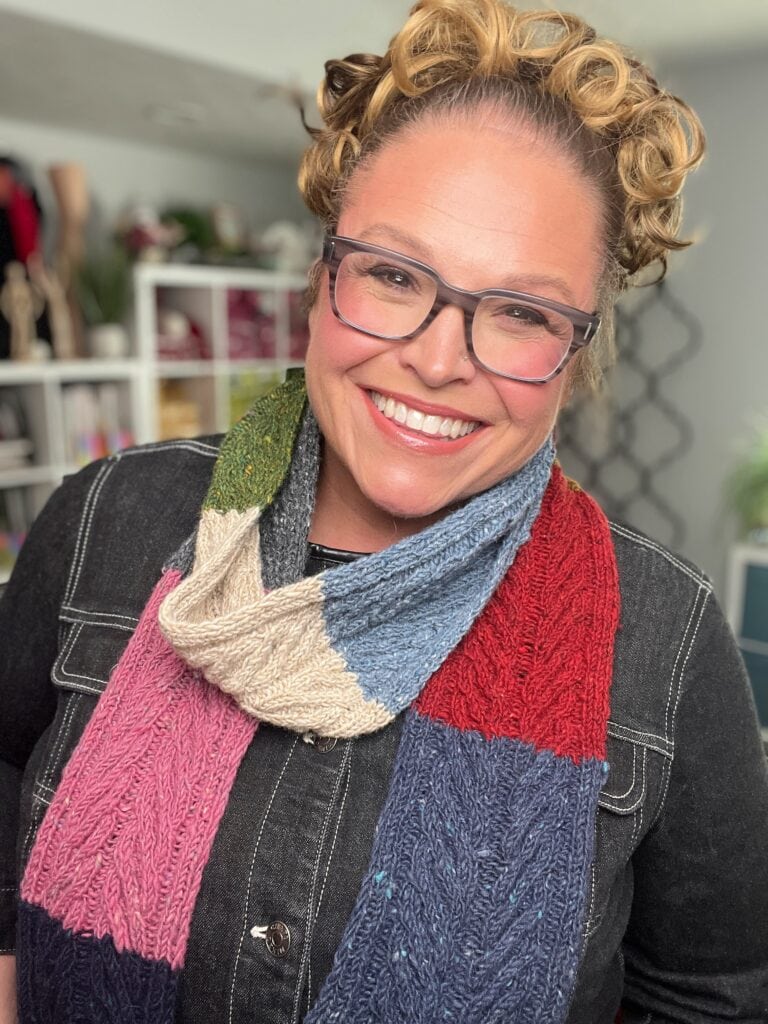
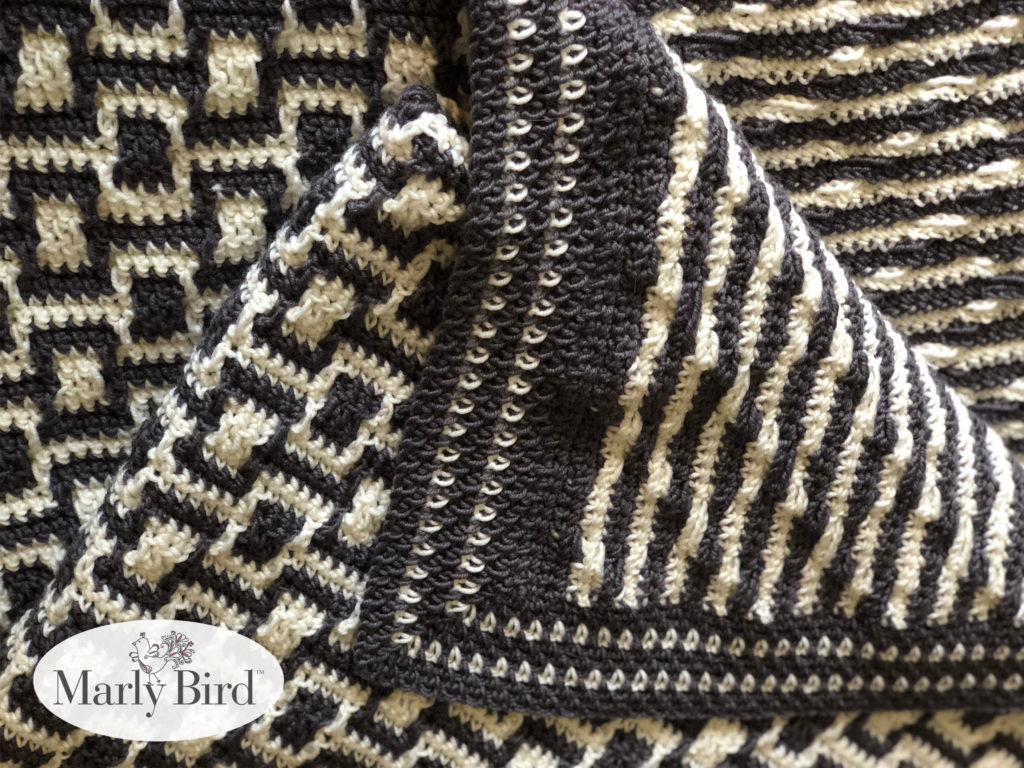
Shawls & Wraps (The Classic Mom Gift) 🧶
If there’s ONE category of handmade gift that moms universally love… it’s a shawl. They’re wearable, practical, beautiful, and every time Mom wraps it around her shoulders, she thinks of you. That’s the power of a handmade shawl.
A handmade shawl is the best Mother’s Day gift for knitters and crocheters to make because it combines luxury, practicality, and emotional significance in one wearable project.
🧶 Knit Shawls
- Social Knitter Shawl — FREE! A beautiful, social knitting-friendly shawl you can work on while chatting. Perfect for a relaxed knit.
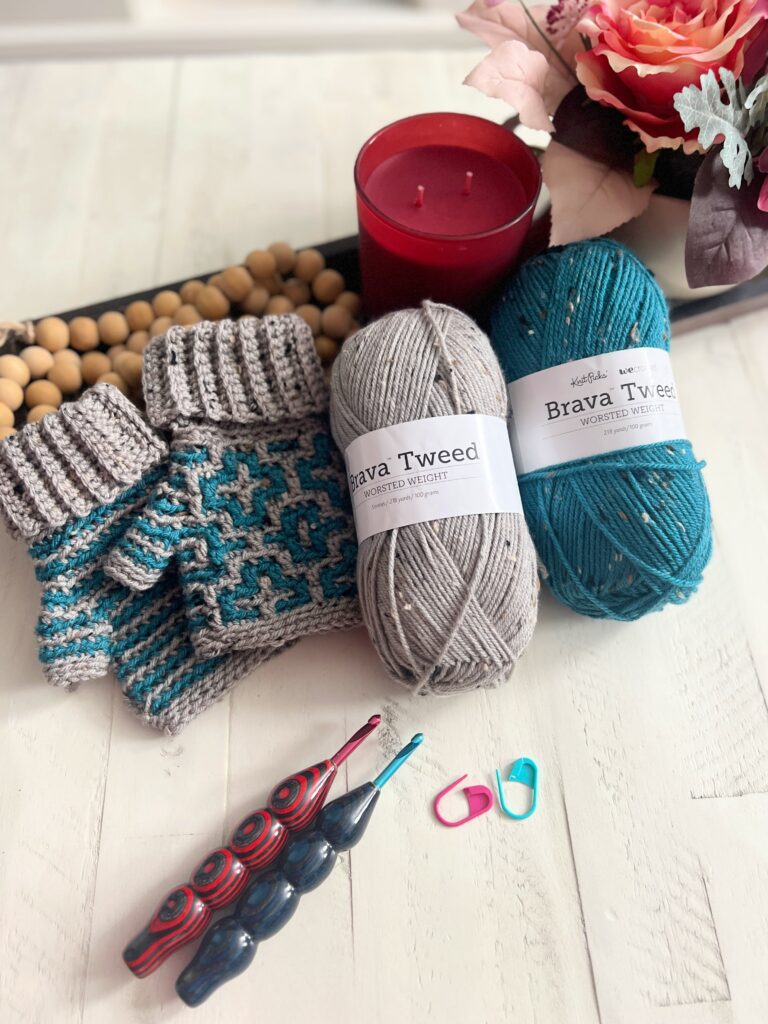
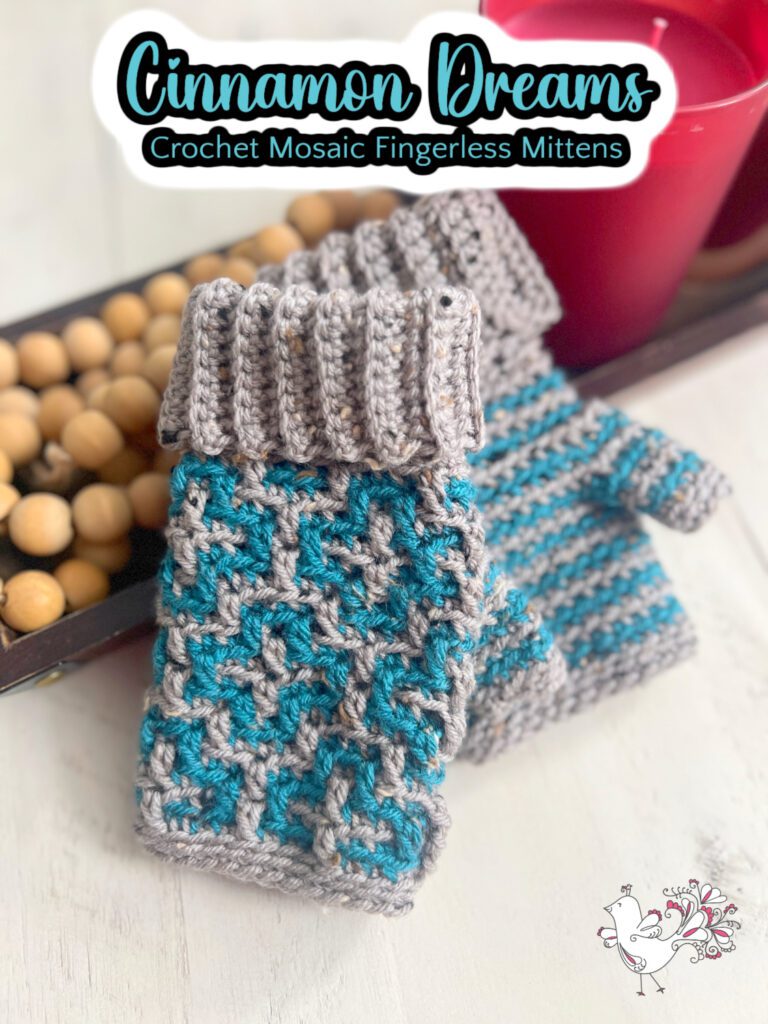
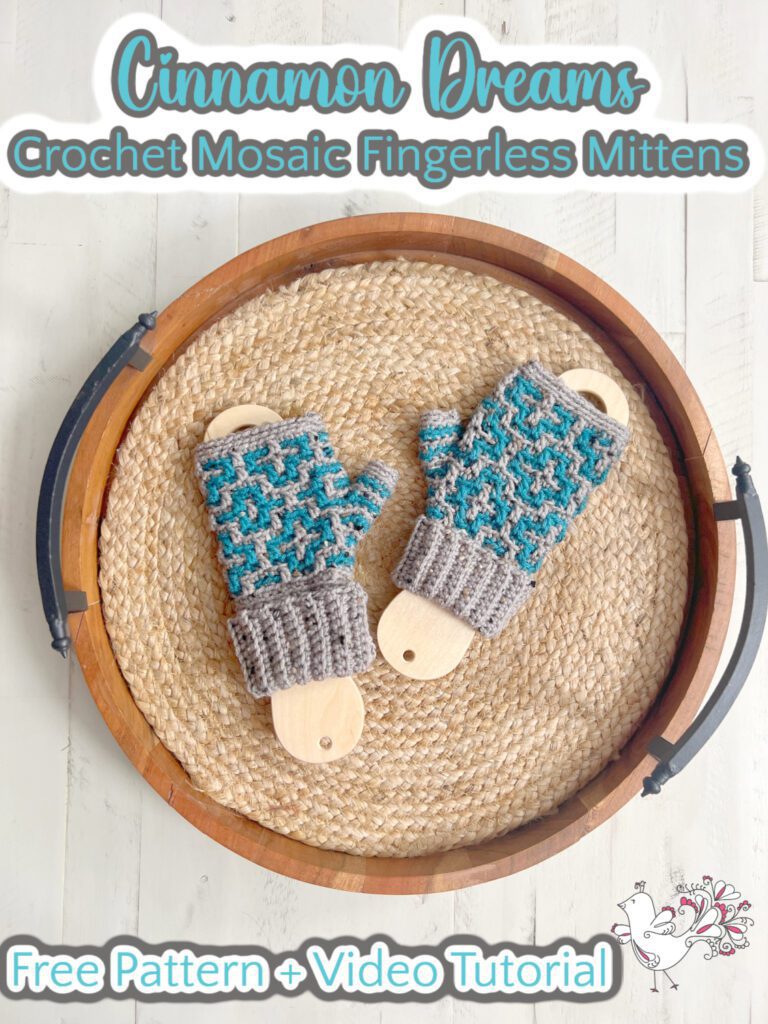
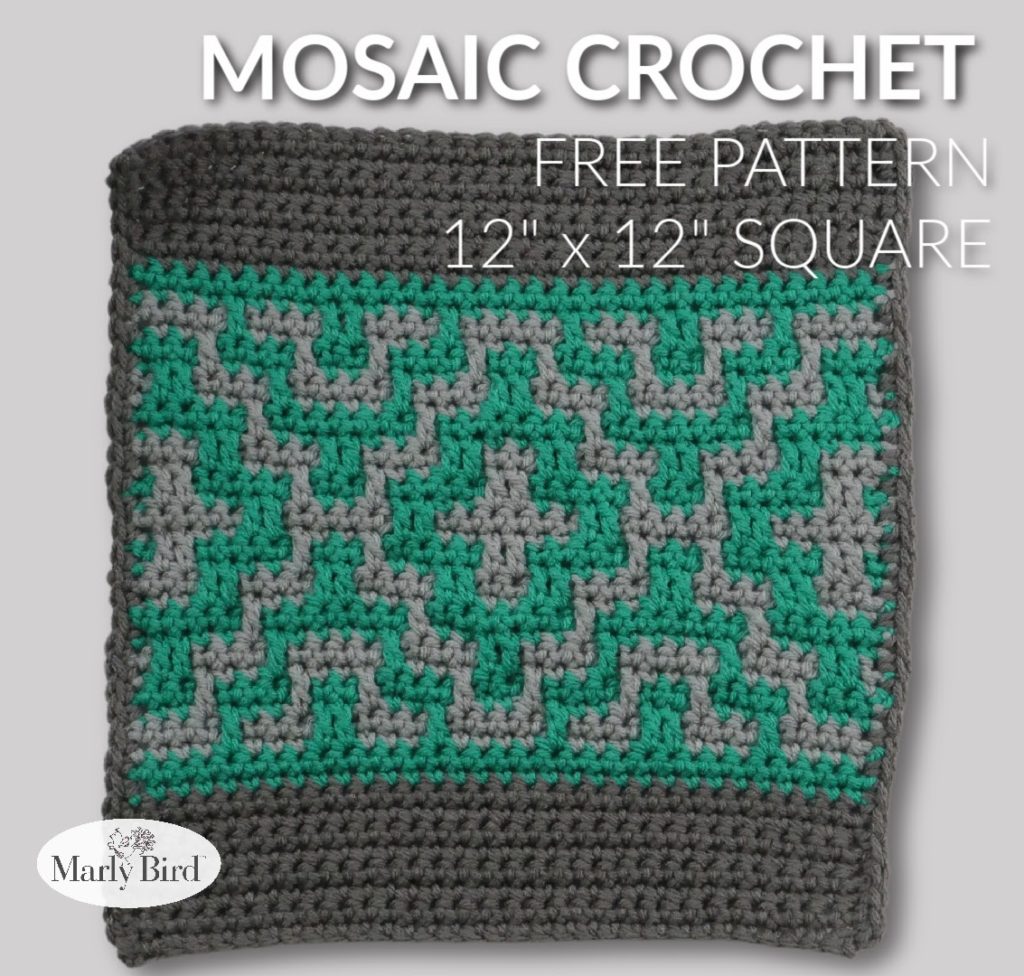
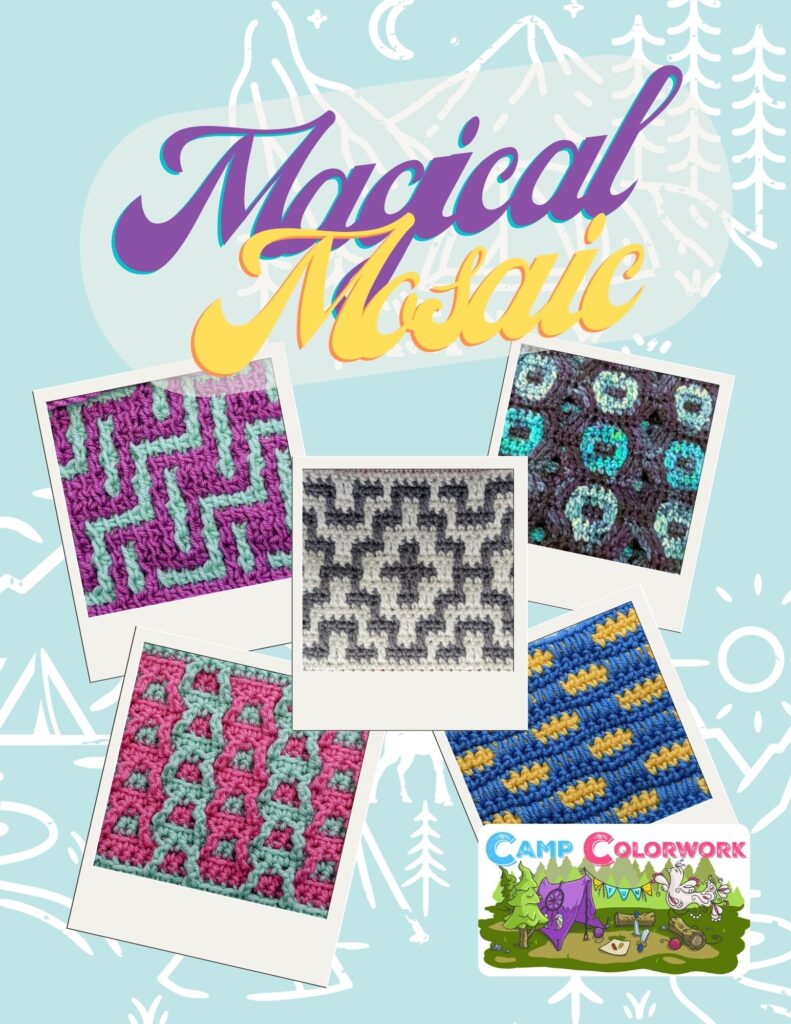
- Crazy Stripes Mosaic Shawl — FREE!
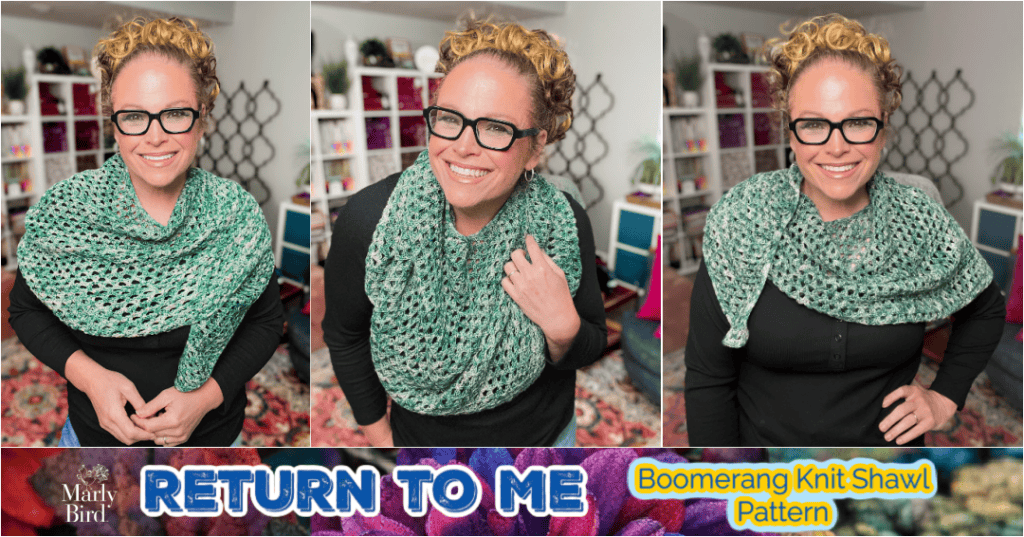
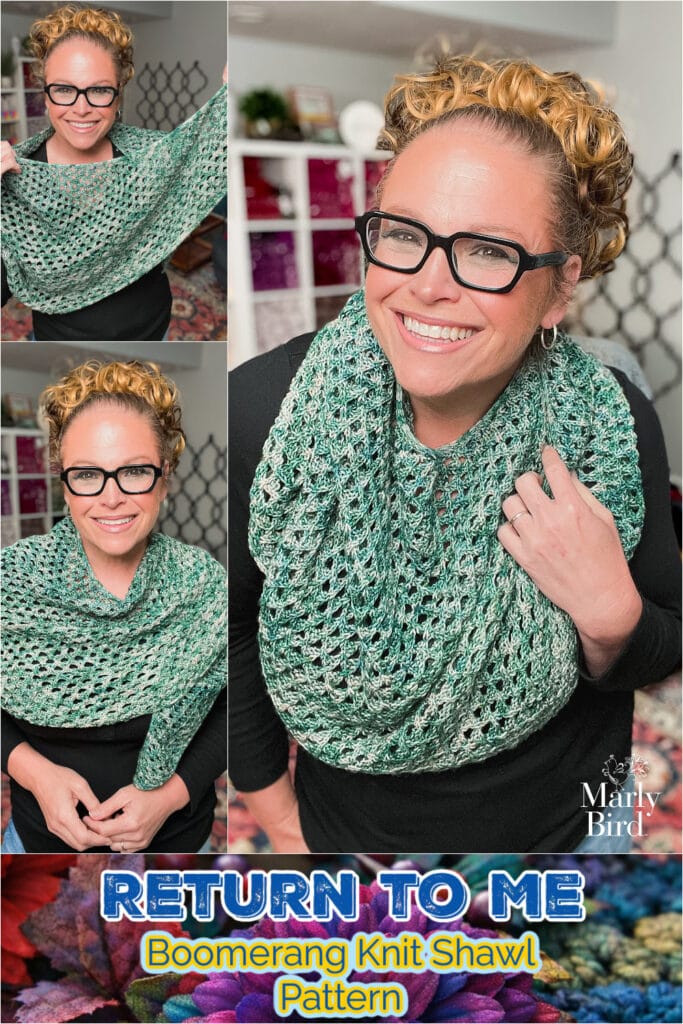
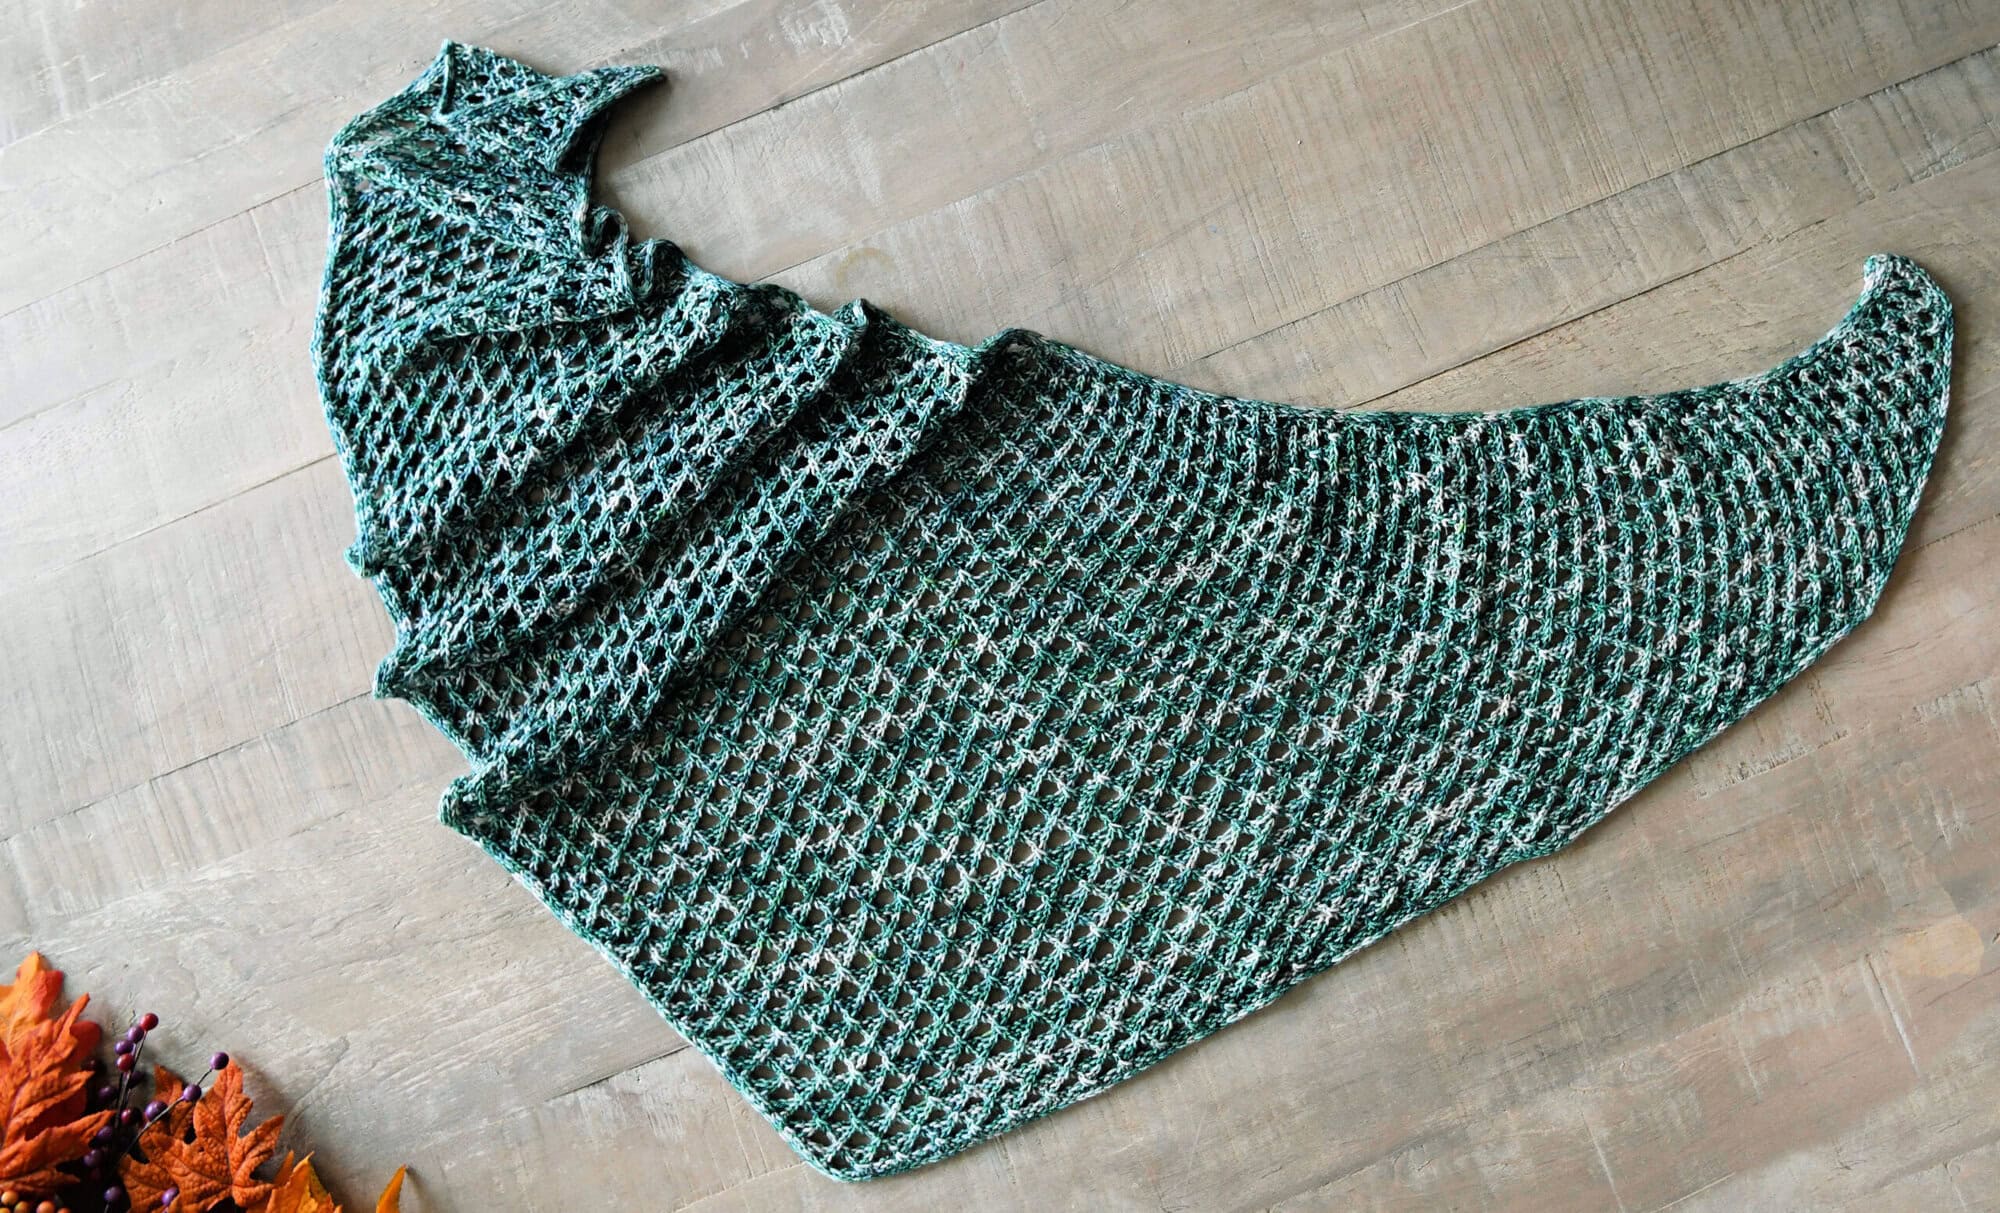
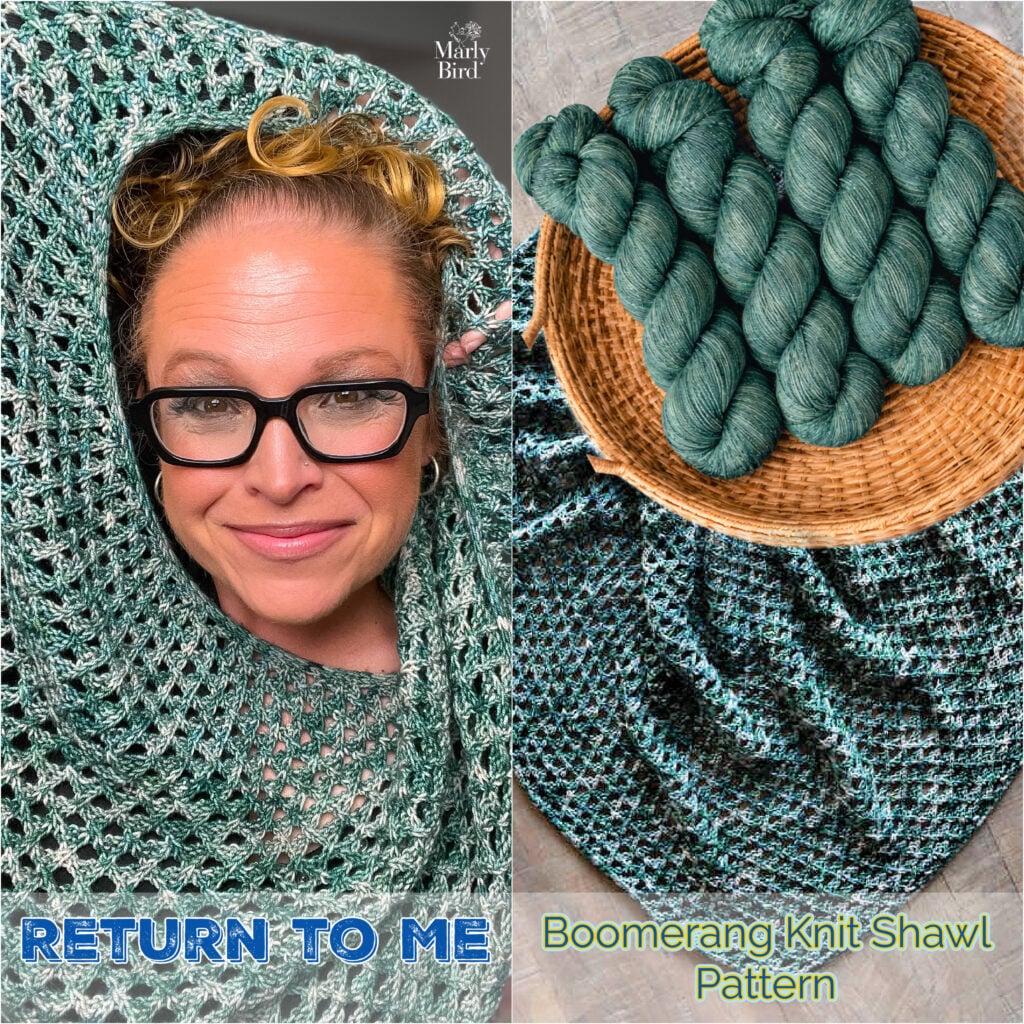
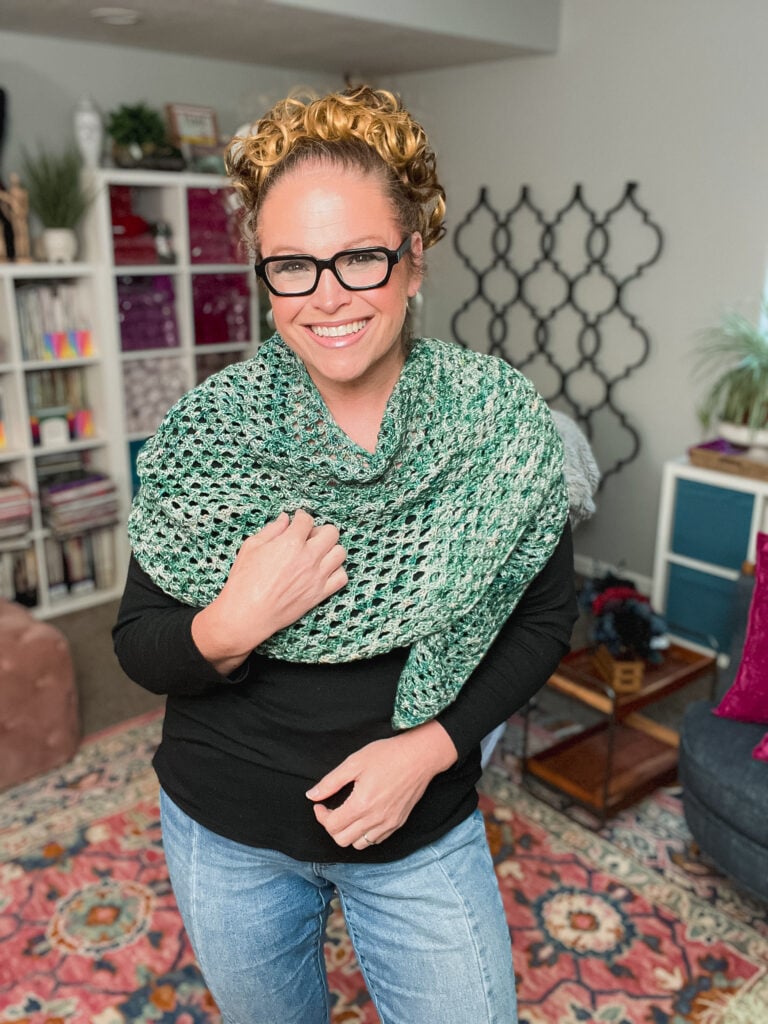
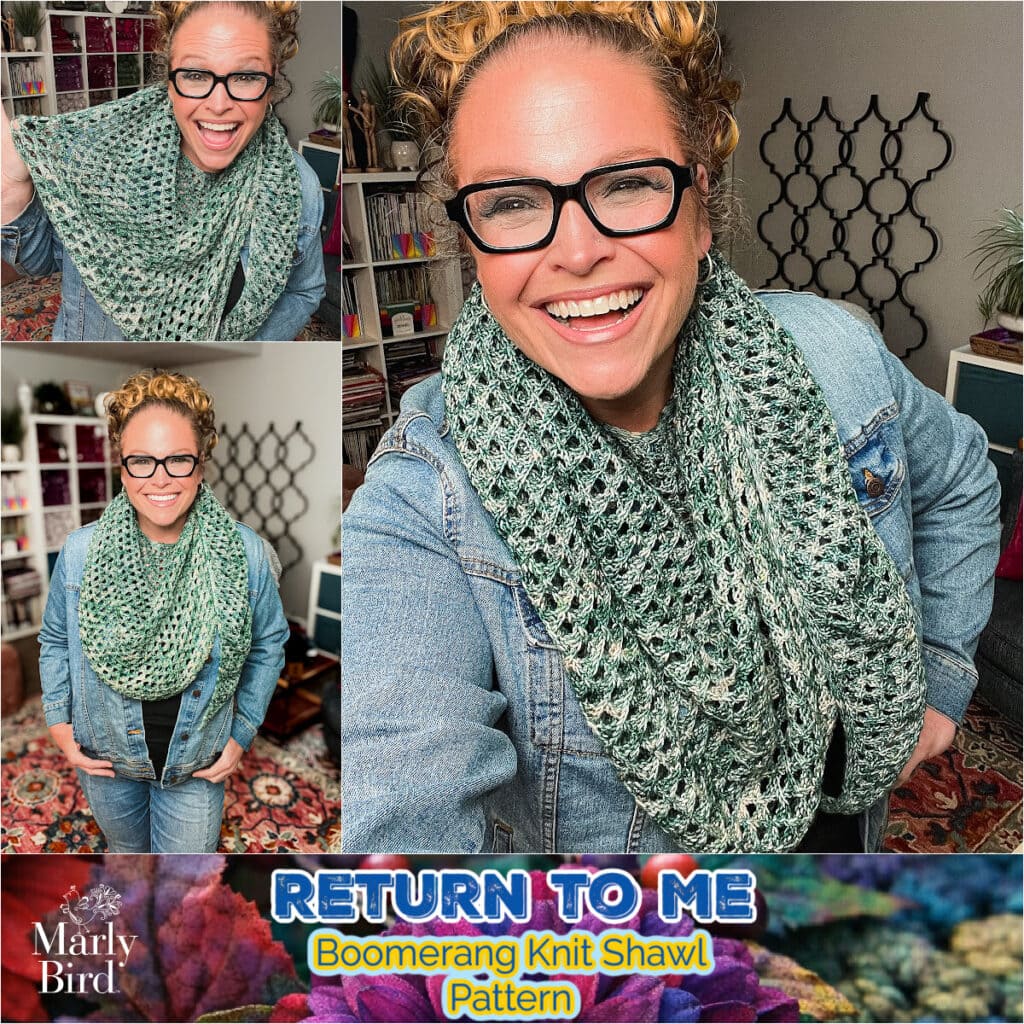
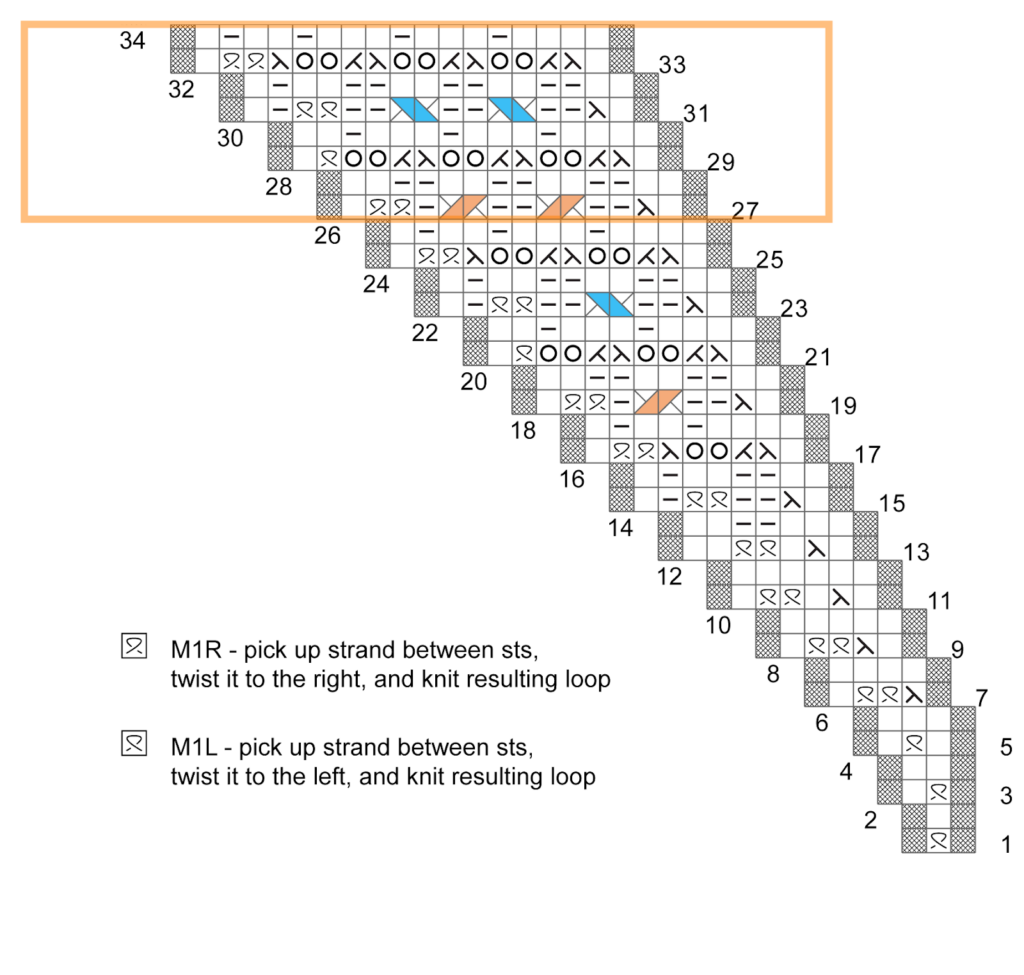
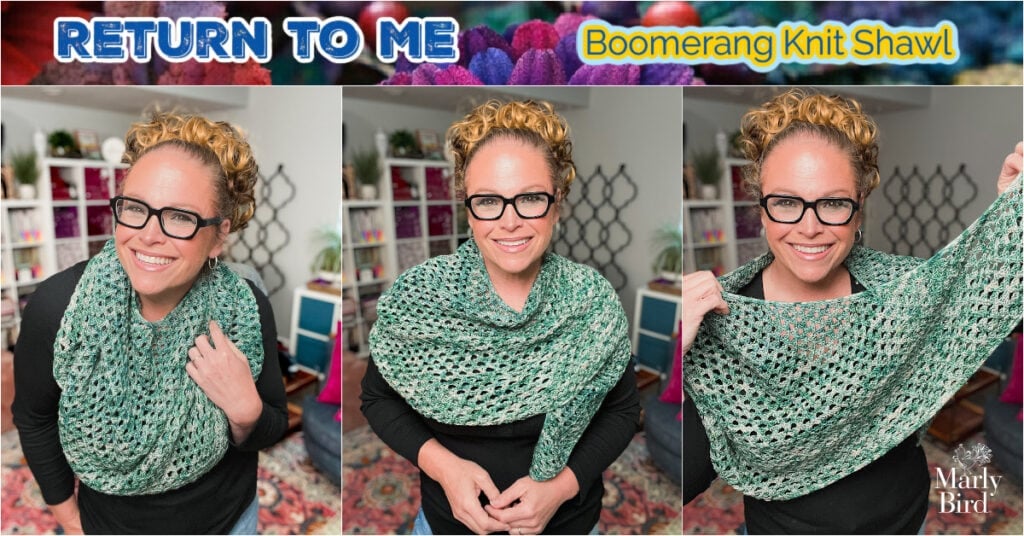
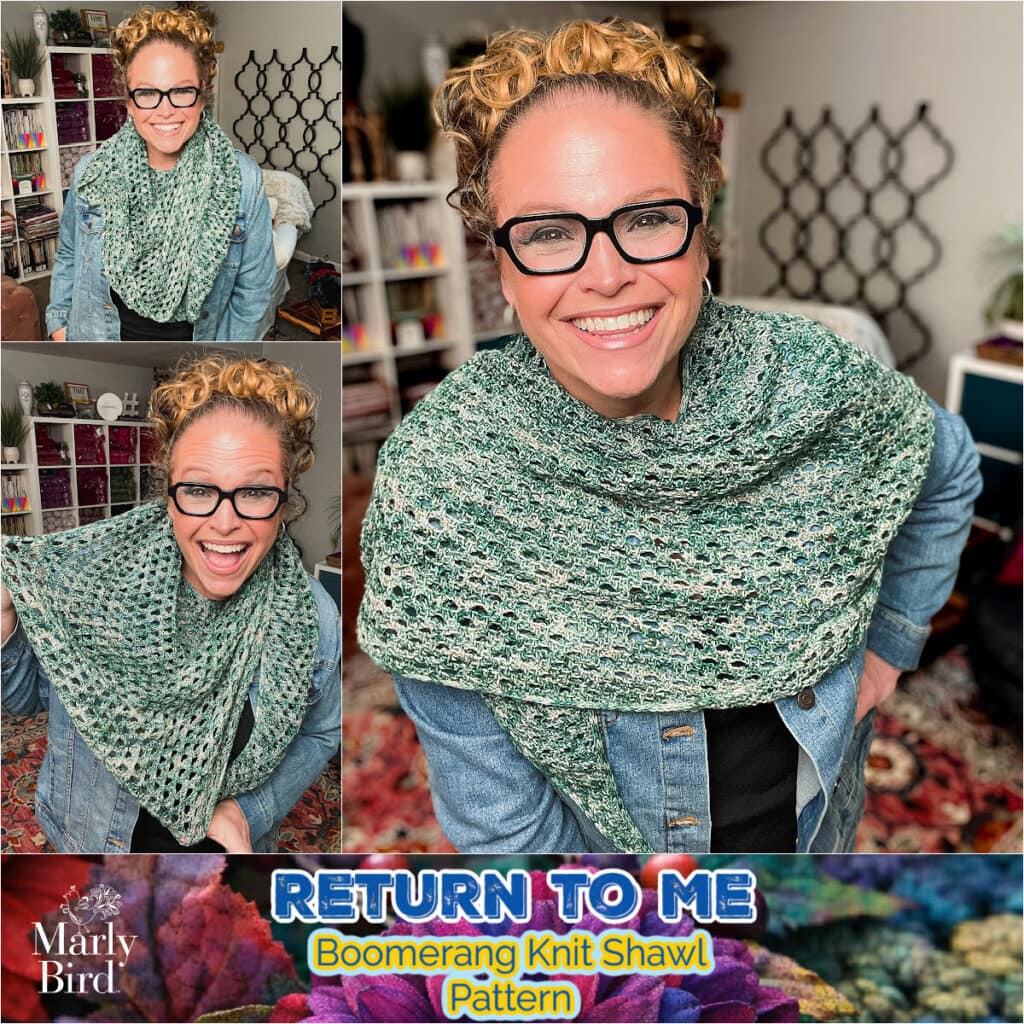
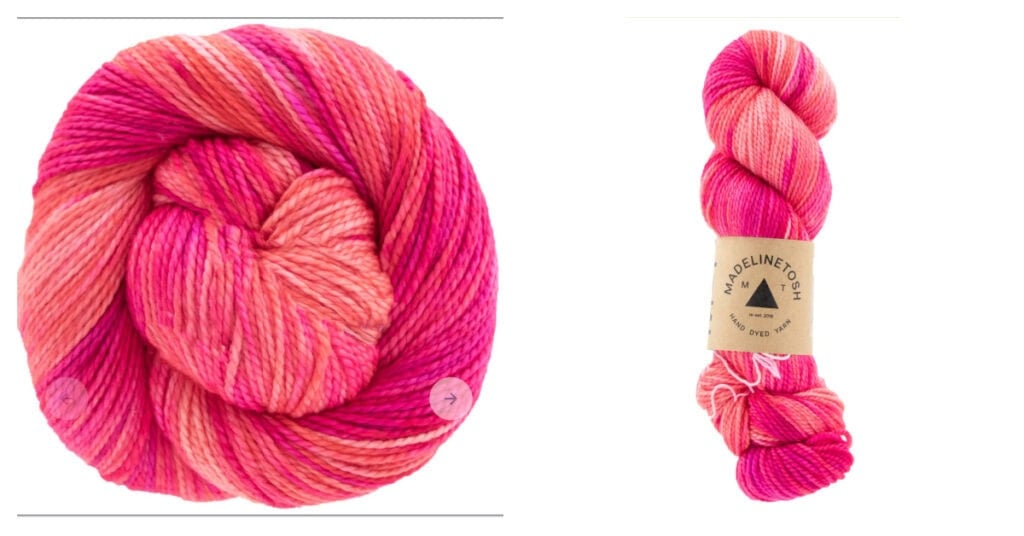
- Return To Me Boomerang Shawl — FREE pattern and great to partner with hand dyed yarn like this one!
🧶 Crochet Shawls
-
- Farrago Textured Triangle Shawl — FREE! A lightweight triangle shawl that is a fan favorite! Grab some fun colorful yarn and make this in a weekend!
- Rainbow Sprinkles Crochet Crescent Shawl — FREE! A lightweight crescent shawl bursting with color. Perfect for the mom who loves brightness.
- Calor Crochet Chevron Wrap — FREE! A gorgeous chevron wrap that drapes beautifully. Mom will wear it everywhere.
- Pando Aspen Crochet Shawl — A stunning shawl inspired by the Pando aspen grove. Beautiful colorwork.
- Enchanted Crochet Motif Shawl — FREE! Gorgeous motif construction that looks like wearable art.
- Chevron Waves Lacy Wrap — FREE! Elegant wave texture, lightweight and perfect for dressing up.
- Bluebonnet Crochet Lace Shawl — FREE! Delicate lace that Mom will keep forever.
- Stitch Switch Crochet Shawl Collection — A curated collection of beautiful crochet shawl patterns. Multiple designs!
✨ Designer Tip: If you’re making a shawl for Mom, choose a yarn in HER favorite color, not yours. Ask casually… “Hey Mom, what’s your favorite color to wear?” She won’t suspect a thing. 😉
Want to see ALL my shawl patterns? Check out my complete Knit Shawl Patterns and Crochet Shawl Patterns collections.
Wearables Mom Will Actually Use 👕
Let’s be honest… some handmade gifts live in a drawer. These won’t. These are the kind of pieces Mom reaches for every day.
-
-
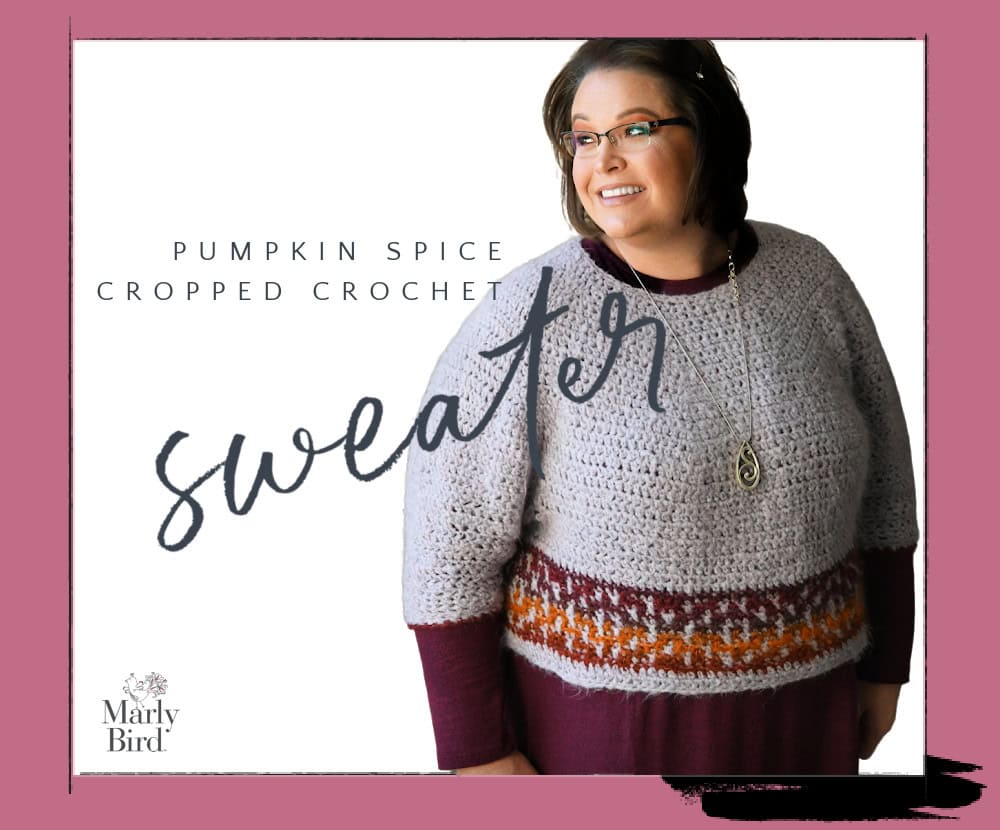
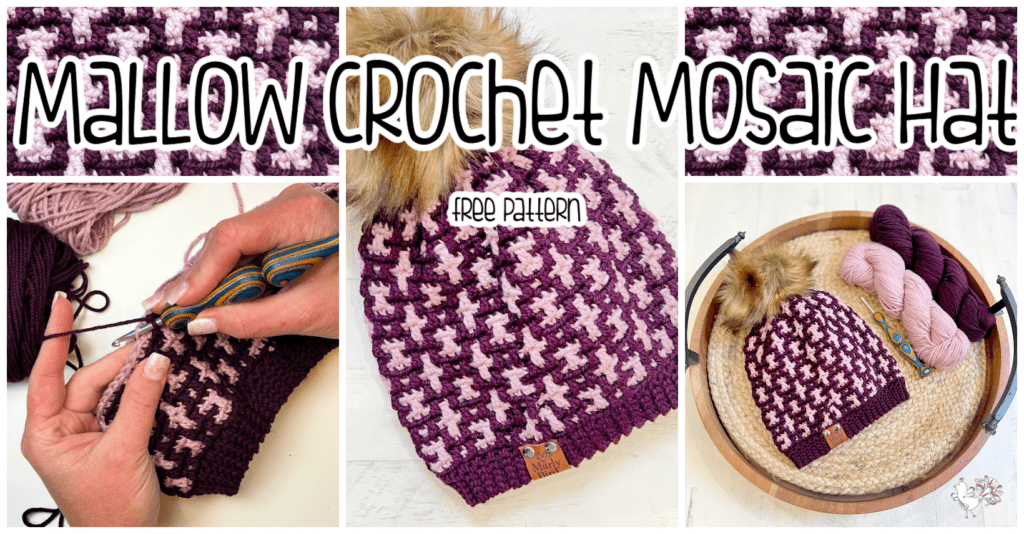
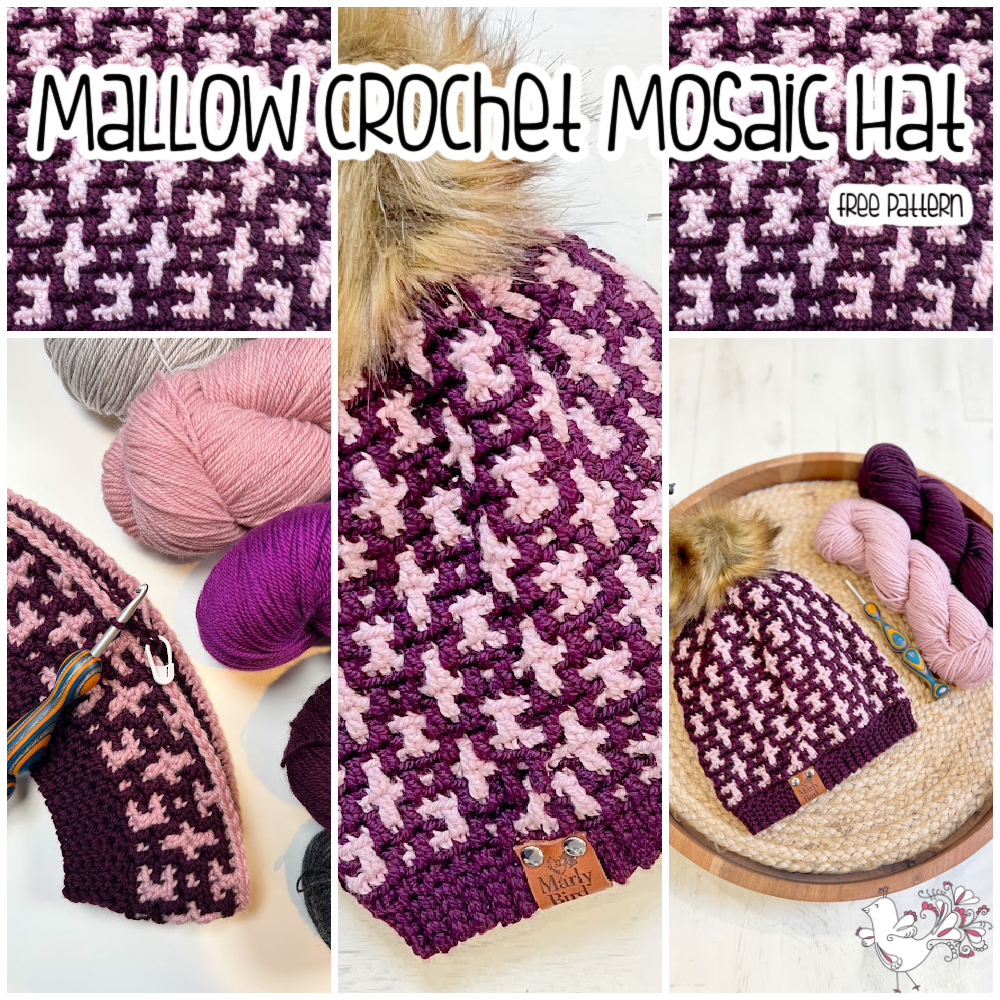
- You Are Valued Crochet Cocoon Cardigan — FREE! The name says everything. A cozy cocoon cardigan that wraps Mom in a hug every time she puts it on. Beginner-friendly!
- Stylish Knit Dog Sweater — because sometimes the best gift for Mom is a gift for her fur baby. 🐕
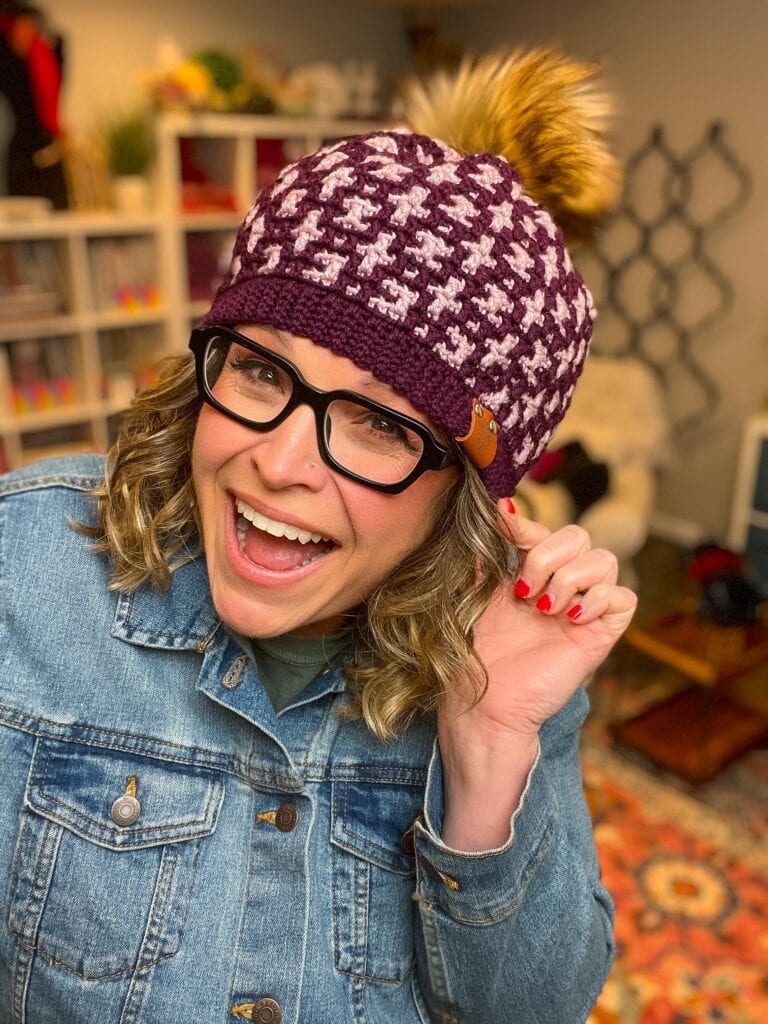
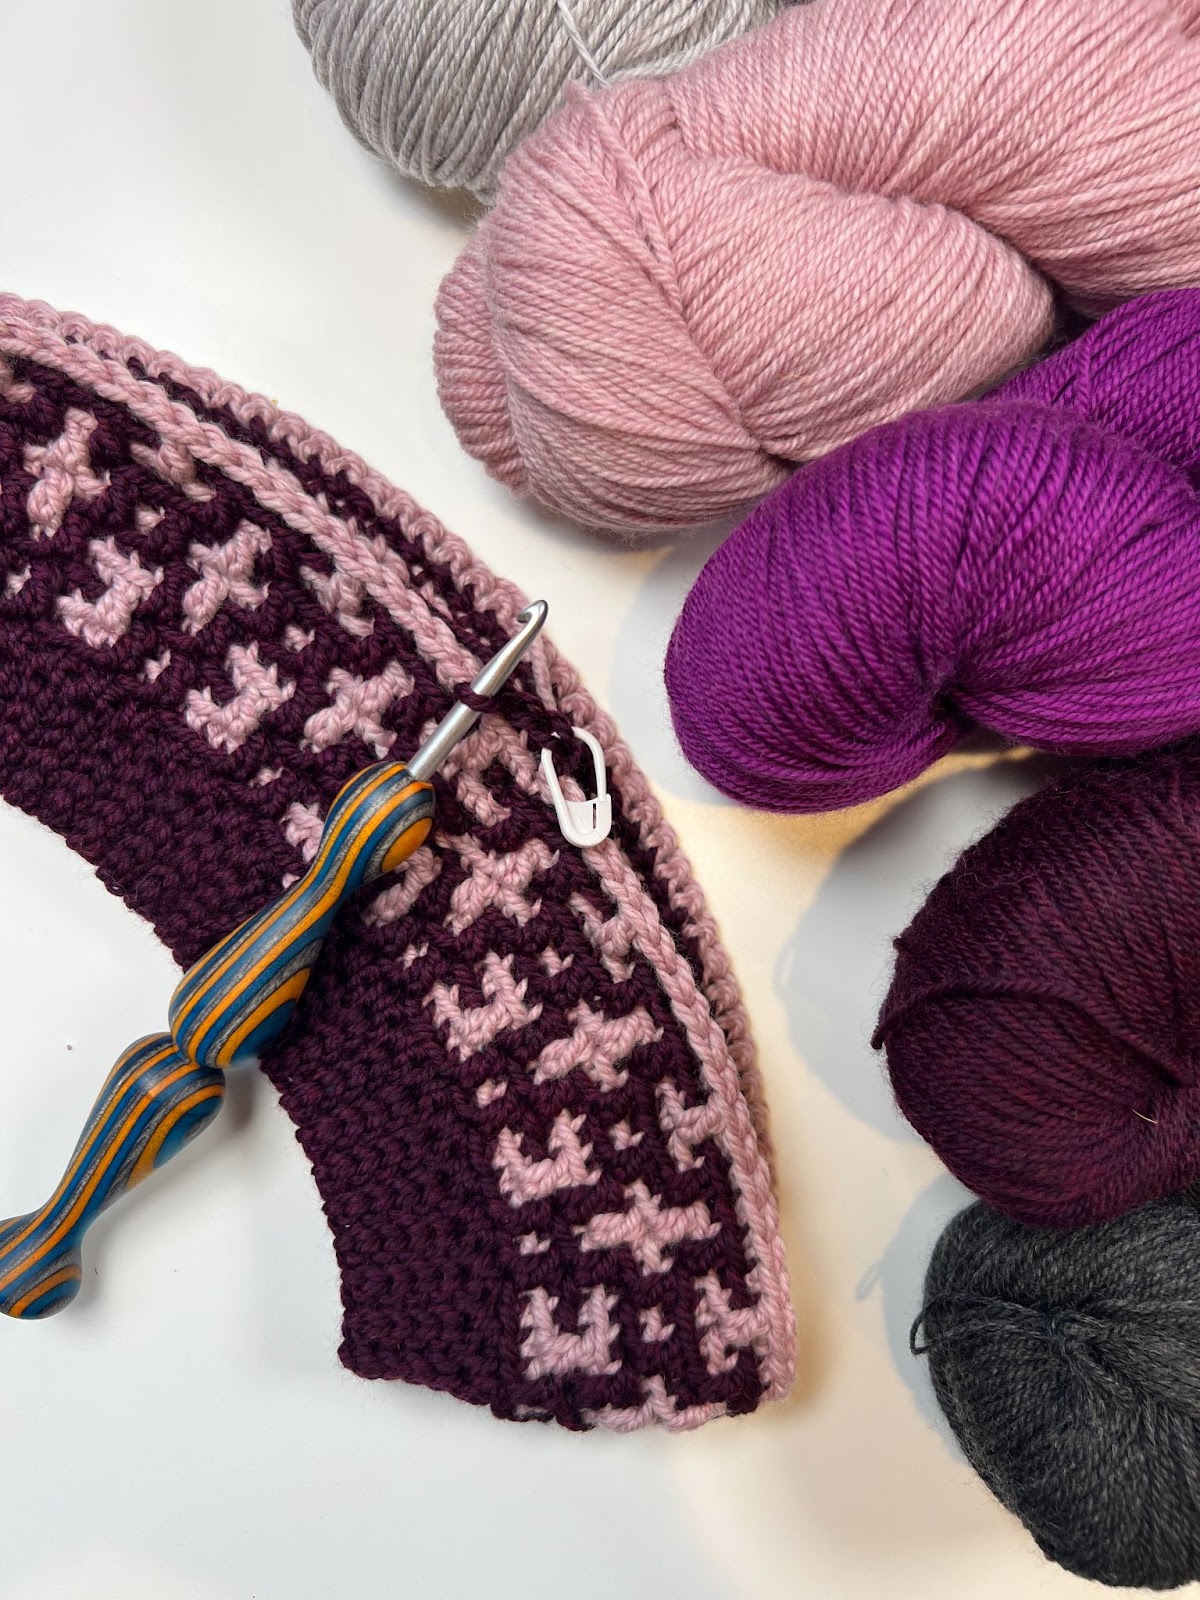
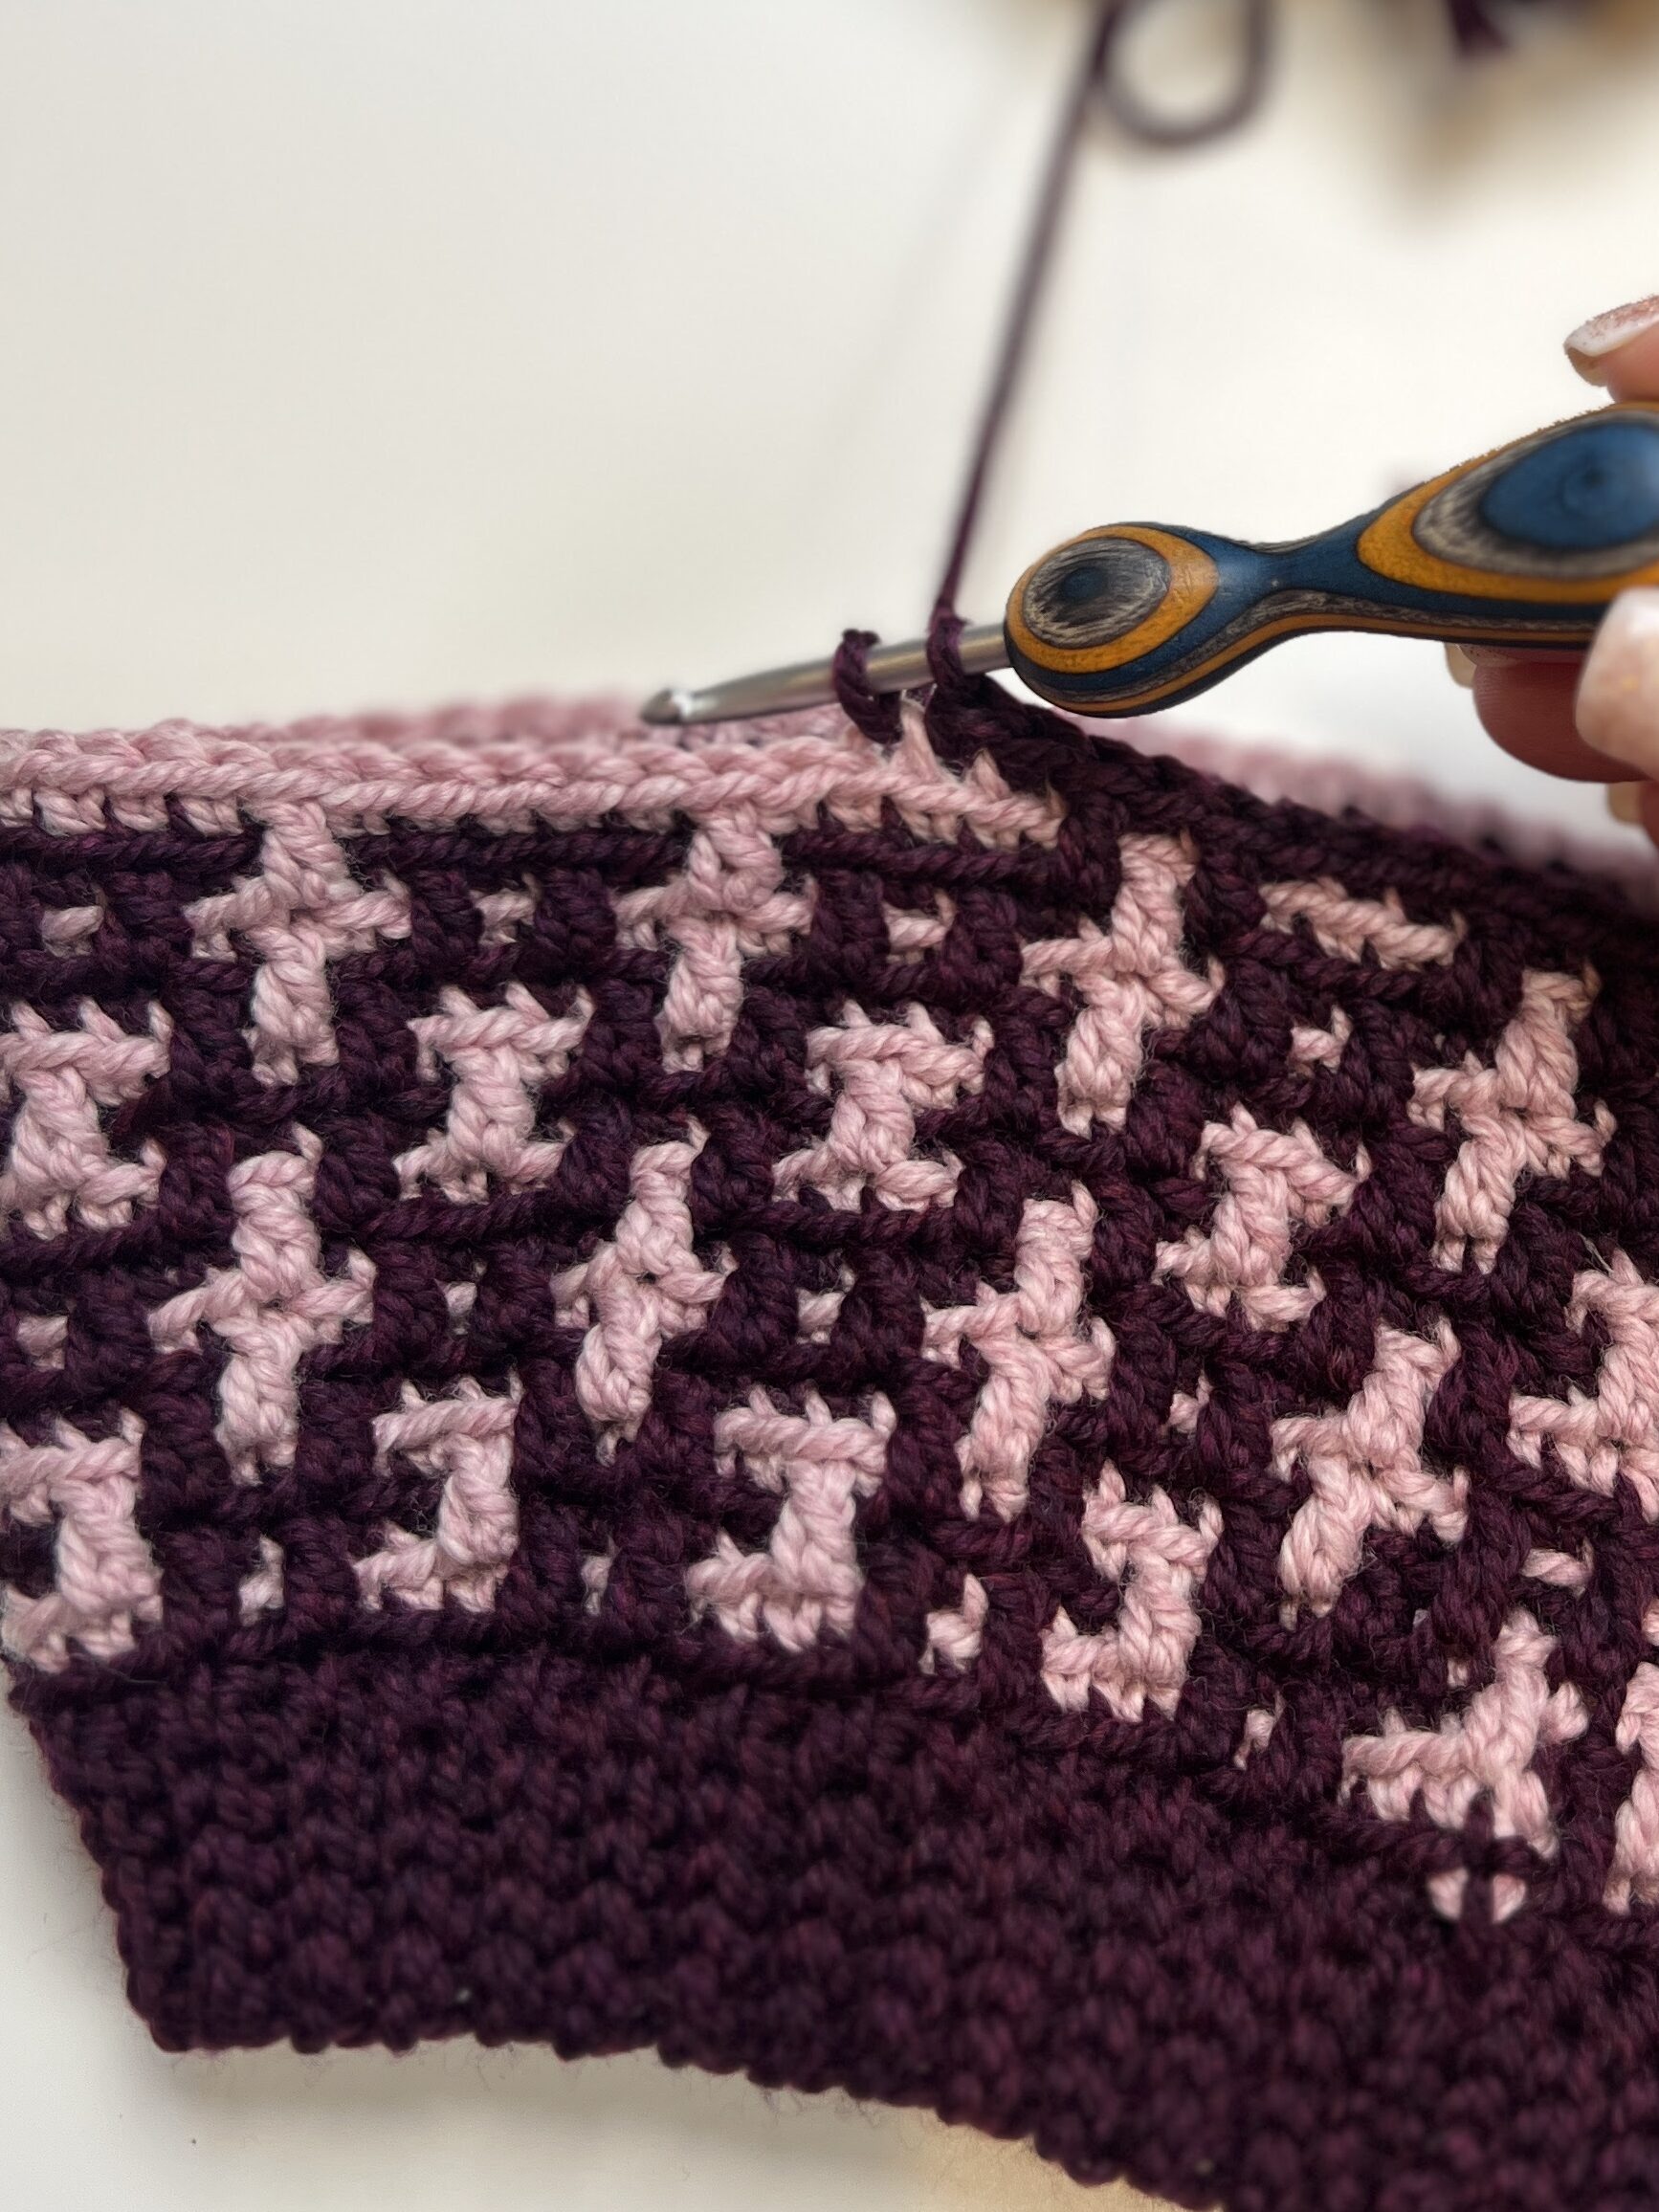
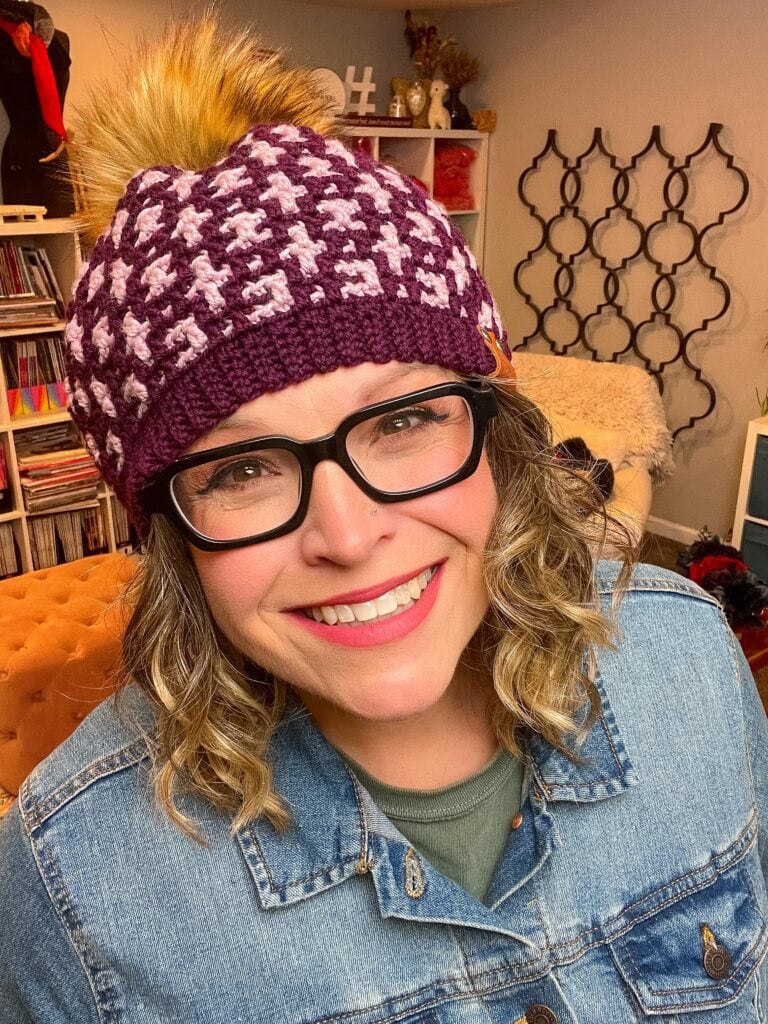
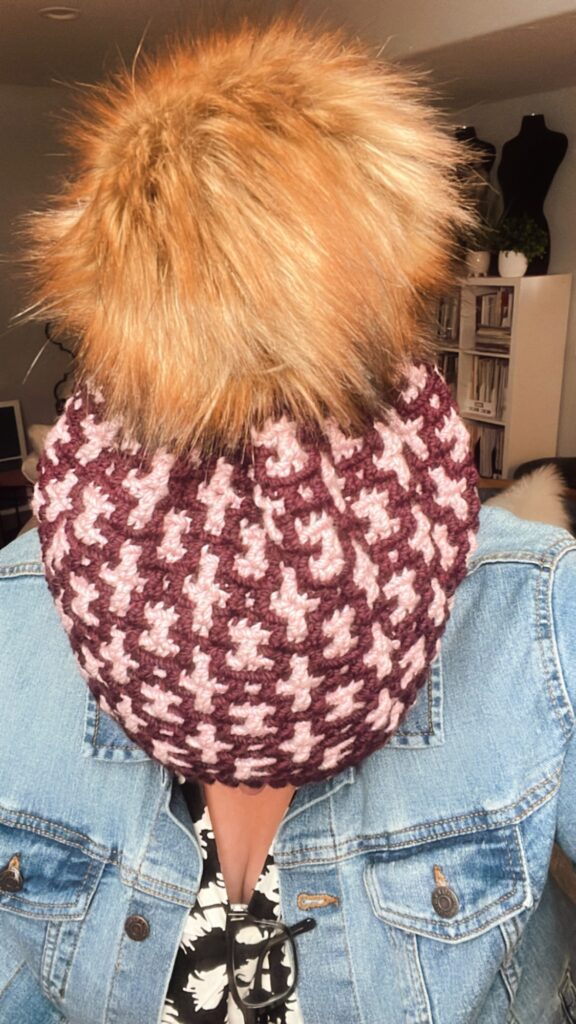
- Pixel Pop Puppy Knit Sweater — NEW & FREE! If Mom has a dog, this mosaic colorwork dog sweater is the most adorable gift you could make. 8 sizes!
- Ridgeway Crochet Bandana — NEW! Make one for Mom AND one for her pup… matching accessories for the win. 🐕👩
-
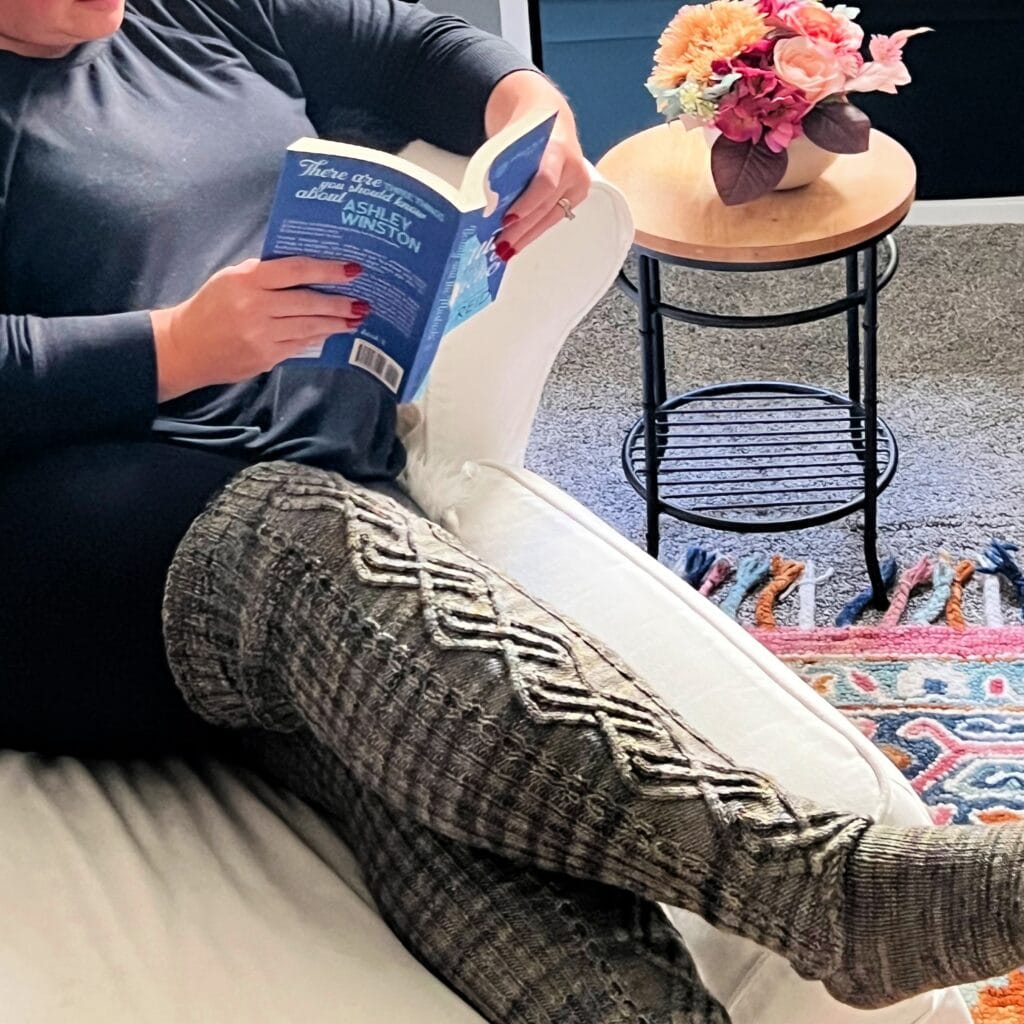
Handknit Socks — nothing says “I love you” like a pair of cozy handknit socks. Practical, personal, and Mom will wear them all the time. Check out our collection of easy sock patterns perfect for Mother's Day.
Simple Knit or Crochet Cardigan — a lightweight cardigan Mom can throw on over anything. Perfect for cool spring evenings and year-round layering. See our free cardigan patterns.
Cozy Hat & Cowl Set — pair the Afternoon Delight Hat with the Quick Knit Cowl for a matching gift set that looks professionally designed. Two quick projects that make one stunning gift!
-
-
- Knit or Crochet Slippers — cozy, practical, and she’ll wear them every single day. Check out our 26 Free Knit Slipper Patterns or 42 Free Crochet Slipper Patterns.
- ⭐️ Fan Favorite Project New Beginnings Knit Cowl — Full Course with Video Tutorials in the Marly Bird House
- ⭐️ Fan Favorite Project New Beginnings Crochet Cowl — Full Course with Video Tutorials in the Marly Bird House
-
Gifts for the Mom Who Knits or Crochets 🎁
Is YOUR mom a maker? Then she doesn’t need another finished project… she needs the tools and materials to make her OWN projects. Here are some ideas:
-
-
- 🧶 A gift card to her favorite yarn shop — local LYS or online (KnitPicks, Jimmy Beans Wool, Hobbii)
- 🧶 A skein of luxury yarn she’d never buy herself — cashmere, silk, hand-dyed… you know, the “special” yarn
- 🧶 A beautiful project bag — every maker needs a good bag for WIPs
- 🧶 A Marly Bird House Product — courses, VIP content, and a community of makers. Check it out here!
- 🧶 Beautiful stitch markers — handmade or artisan stitch markers are a small luxury that makes every project more enjoyable. Or a very useful row counter!
- 🧶 A class or workshop — help her learn a new technique she’s been curious about…there are great classes in the Marly Bird House
-
👉 For more ideas, check out my Best Gifts for Crocheters Online Gift Guide
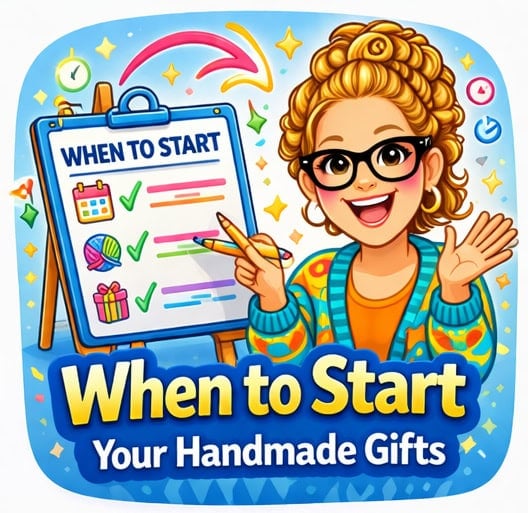
The “Start Now” Timeline ⏰
Mother’s Day is May 10, 2026. Here’s your plan depending on how much time you have:
| Time Left | What to Make |
|---|---|
| 4+ weeks (start now!) | A full shawl, cardigan, or sweater. You have plenty of time for a showstopper. |
| 2-3 weeks | A scarf, cowl, or smaller shawl. One-skein projects are your friend. |
| 1 week | Slippers, a hat, dishcloth spa set, or crochet flowers. Quick projects with big impact. |
| 2-3 days | A mug cozy, coasters, or a single crochet flower with a heartfelt card. The thought counts! |
| Tomorrow 😅 | A gift card to a yarn shop + a promise to make something together. Mom will love it. |
✨ Designer Tip: Whatever you make, include a handwritten note explaining what the project is, what yarn you used, and how to care for it. A simple “wash on gentle, lay flat to dry” card turns a handmade gift into an heirloom. 💛
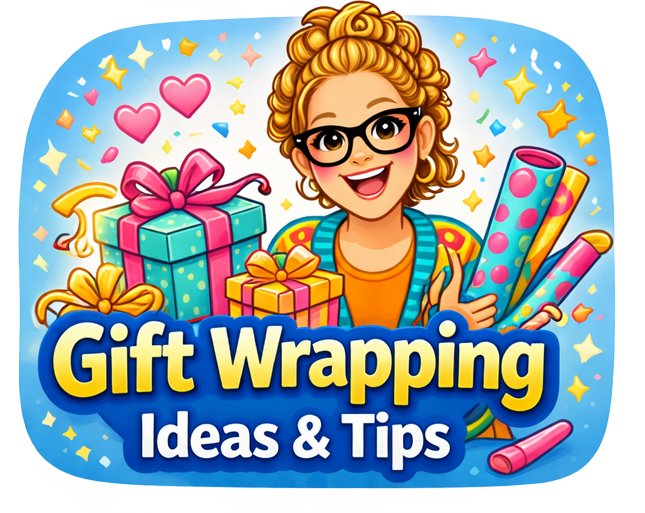
Gift Wrapping Ideas for Handmade Gifts 🎀
You put all that love into making it… don’t just stuff it in a gift bag! Here are some ideas for presenting your handmade gift:
- 🎀 Wrap the shawl or cowl around a bottle of wine or fancy tea
- 🎀 Place slippers in a basket with lotion, bath bombs, and a candle for a spa basket
- 🎀 Tie a crochet flower to the outside of the gift wrap as a decoration (that’s a bonus gift!)
- 🎀 Roll the project beautifully, tie with a ribbon, and attach a handwritten care card
- 🎀 Use a reusable tote bag as the “wrapping”… another practical gift inside a practical gift!
Currently Stitching with Us? 🧶
If you’re participating in the Tournament of Stitches 2026, you’re already making a shawl… and that shawl could BE Mom’s gift! Two birds, one stone.
Just remember, it is never too late to join a Marly Bird Make-Along! All the information you need is available on the event blog posts. And of course the Marly’s Minions BiCrafty Community Facebook Group is always there to help with questions or just generally cheer you on!
To find out about all the make-alongs we do and the free patterns we publish, join our newsletter!
Join our Newsletter
Get Free Pattern Links & Coupons!
Frequently Asked Questions
What is the best handmade gift to knit or crochet for Mother’s Day?
Shawls and wraps are the most popular handmade Mother’s Day gifts because they are wearable, practical, and sentimental. A handmade shawl reminds Mom of you every time she wears it. For quicker options, knit or crochet slippers, cowls, and dishcloth spa sets are also wonderful gifts that Mom will actually use.
How long does it take to knit or crochet a Mother’s Day gift?
It depends on the project. A dishcloth or mug cozy can be finished in 2-3 hours. A cowl or hat takes a day or weekend. A full shawl typically takes 2-4 weeks depending on the pattern and your speed. Start with at least 2 weeks before Mother’s Day for most projects.
What yarn should I use for a Mother’s Day gift?
Choose a yarn that feels luxurious and is in your mom’s favorite color. Merino wool, cashmere blends, alpaca, and silk blends all make a gift feel special. For practical items like dishcloths or slippers, cotton or superwash wool works best. The yarn quality is what makes a handmade gift feel truly premium.
What if my mom doesn’t knit or crochet? Will she appreciate a handmade gift?
Absolutely! Non-crafting moms often appreciate handmade gifts EVEN MORE because they understand the time and effort involved. Include a care card explaining the yarn and washing instructions so she feels confident using and caring for it.
Can I knit or crochet a Mother’s Day gift if I’m a beginner?
Yes! Many wonderful Mother’s Day gifts are beginner-friendly. Dishcloths, simple cowls, scarves, and slippers all use basic stitches. A handmade gift from a beginner is EXTRA meaningful because Mom knows you learned a new skill just for her.
What are good last-minute knit or crochet gifts for Mother’s Day?
If you have less than a week, focus on small projects: crochet flowers that never die, knit dishcloths paired with fancy soap, a mug cozy with her favorite tea, or quick coasters. Even a single handmade item paired with a purchased gift shows Mom you care.
Should I knit or crochet a Mother’s Day gift?
Use whichever craft you are most comfortable with! Both knitting and crochet produce beautiful, giftable projects. If Mom has a preference, consider that too… some people prefer the drape of knit fabric while others love the texture of crochet. When in doubt, a shawl works beautifully in either craft.
Final Thoughts
Here’s what I know about moms… they don’t want the most expensive gift. They don’t need the trendiest thing. What they want is to feel loved and thought of. And NOTHING says that like something you made with your own two hands.
So pick a pattern, pick a beautiful yarn in her favorite color, and start stitching. Whether it takes you two hours or two weeks… the love in every stitch is what makes it priceless. 💛
Happy Mother’s Day to all the moms out there… including the yarn moms, the fur moms, the plant moms, and every kind of mom in between. You’re all amazing. 🧶💐
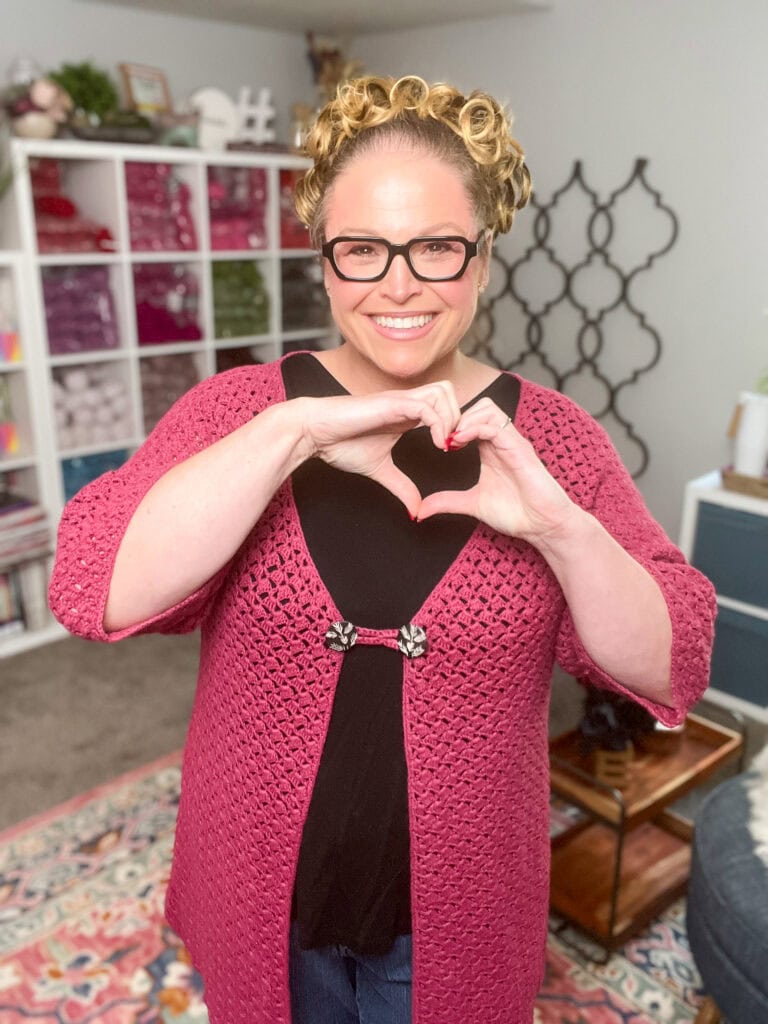
❤️ Your BiCrafty Bestie, Marly Bird
Also on the Blog
- FREE Mother’s Day Patterns in Knit and Crochet — 15 free patterns from our blog hop
- 59 Mother’s Day Projects to Make — even more pattern ideas
- Best Gifts for Crocheters Online Gift Guide
- Turkey Trot 2025 — the one you want to upgrade to VIP!
- Tournament of Stitches 2026 — join our free stitch learning event!
- 24 Quick Knit and Crochet Projects for Gifts