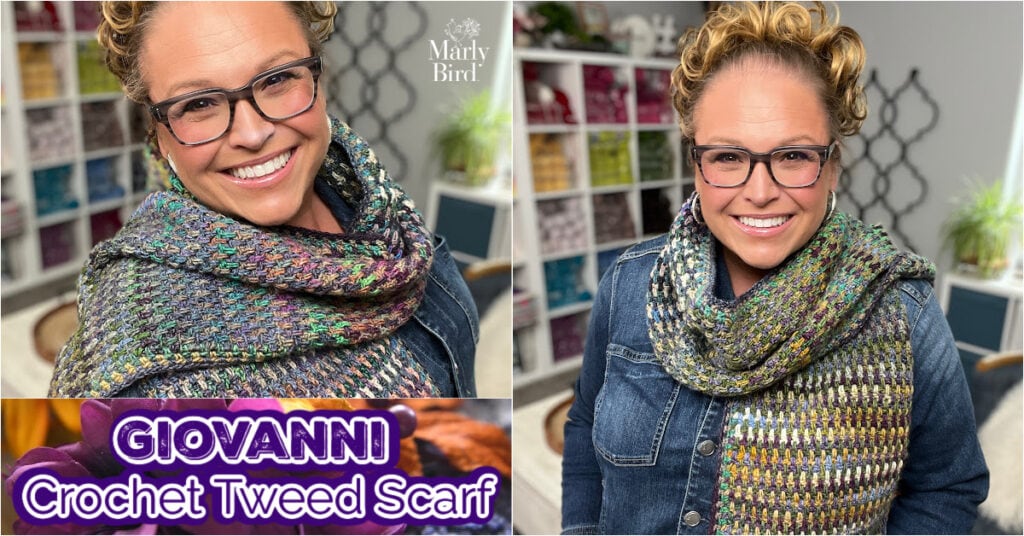
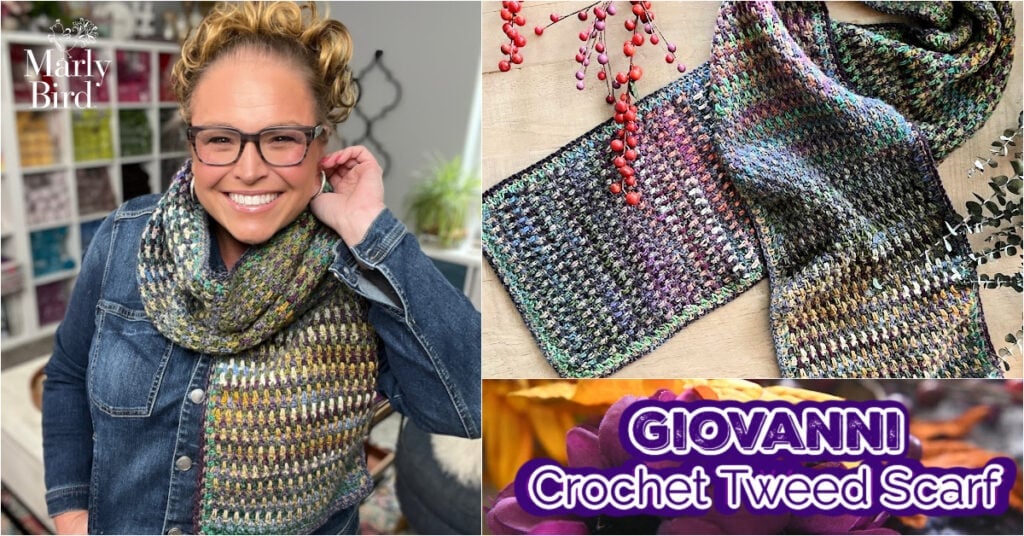
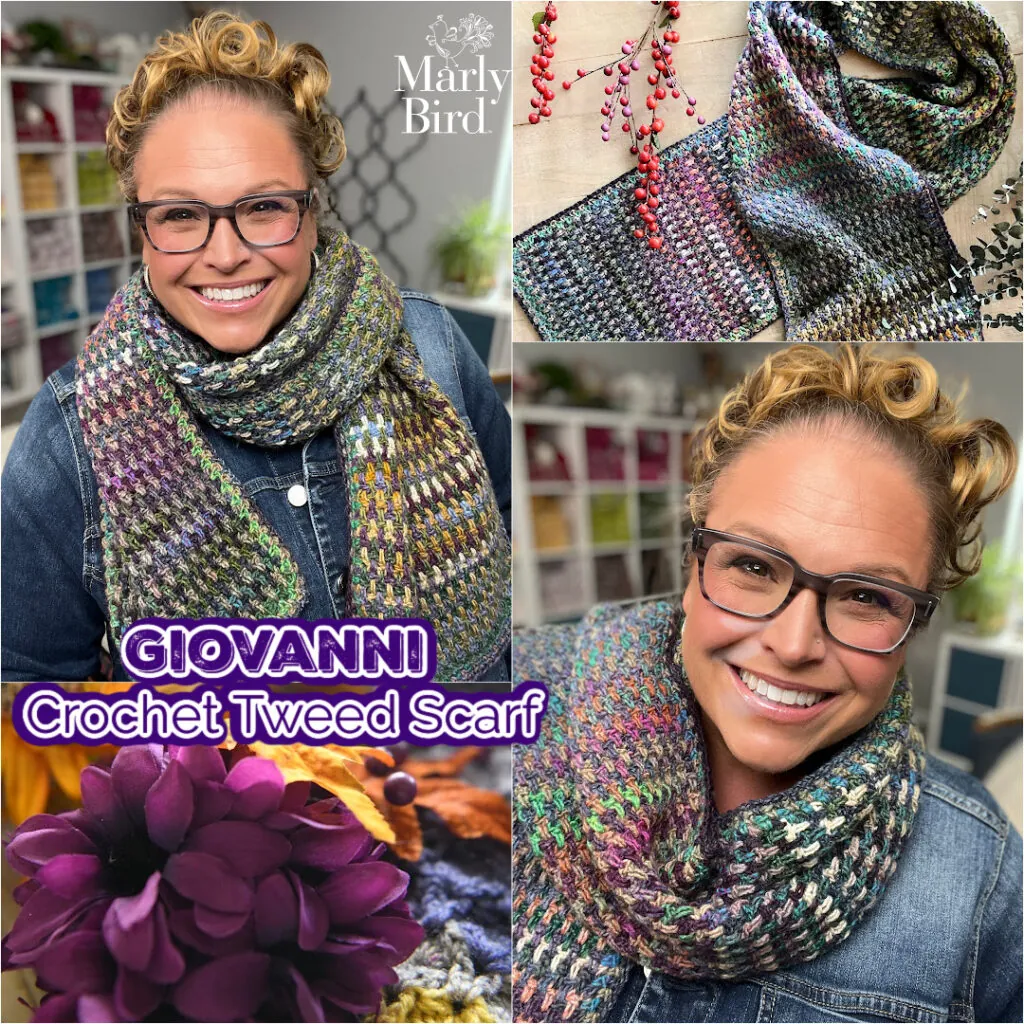
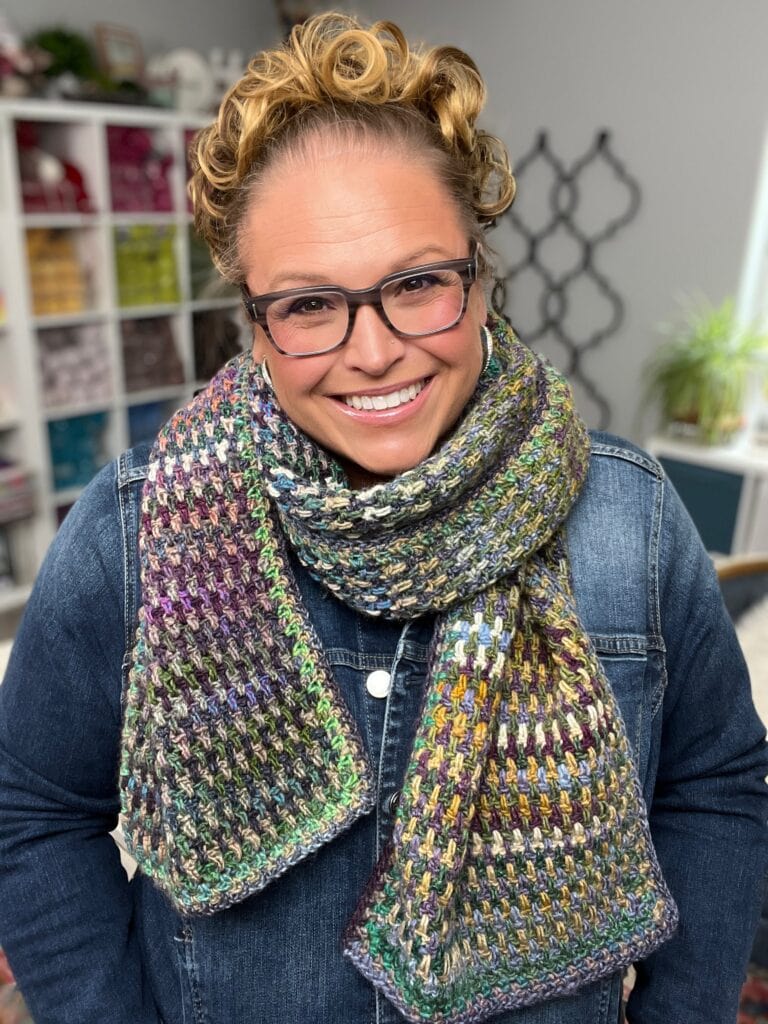
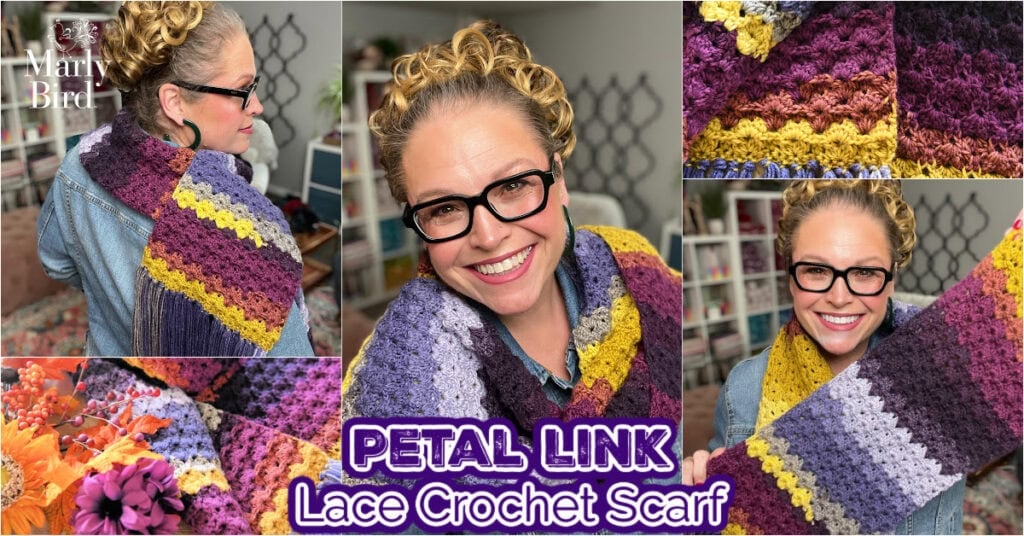
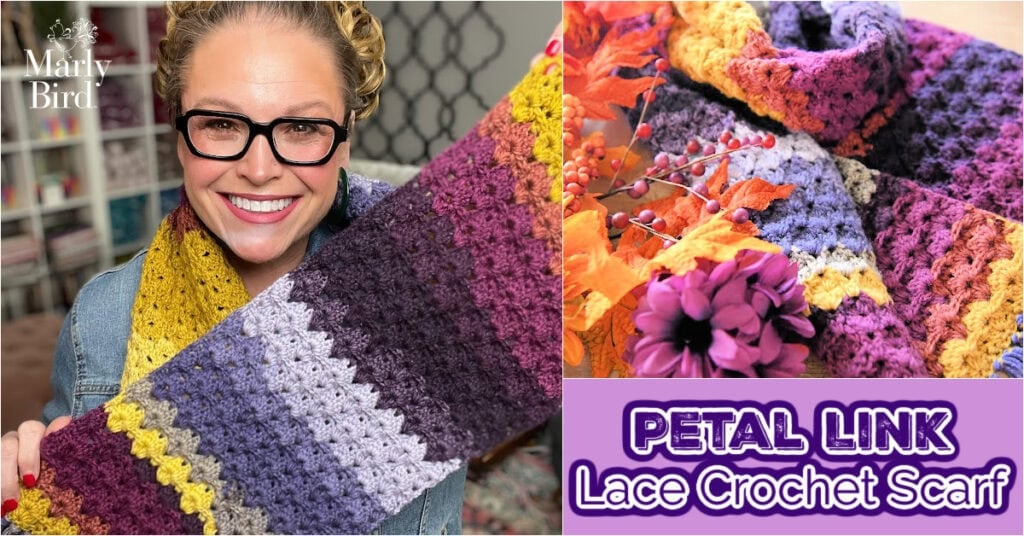
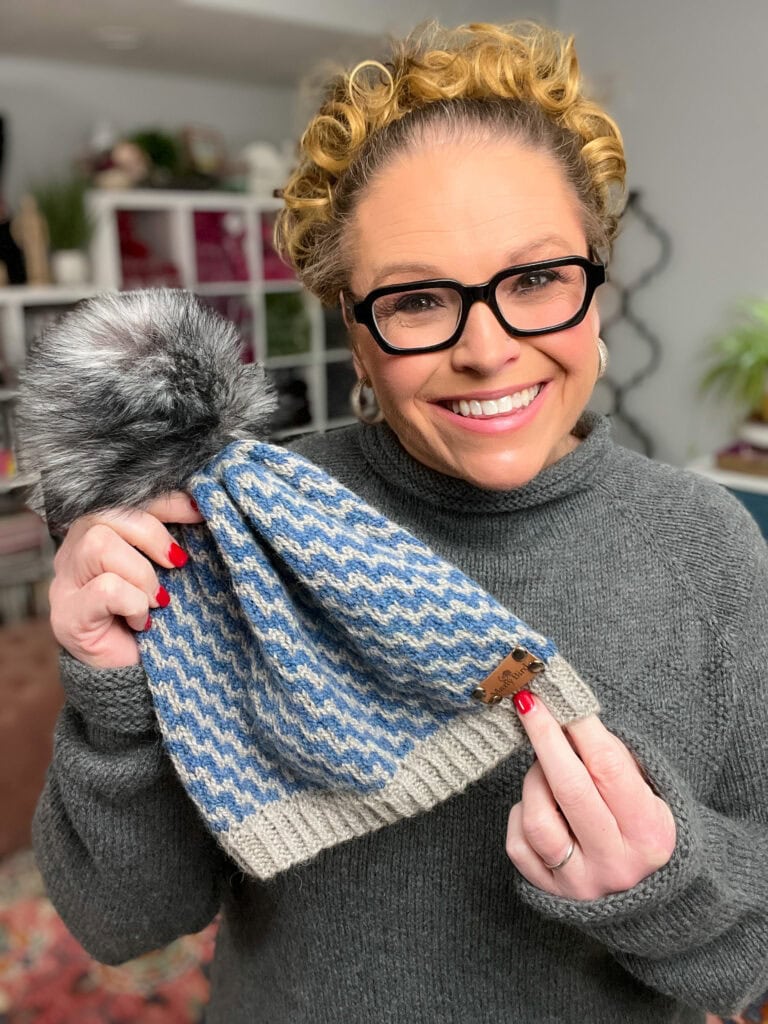
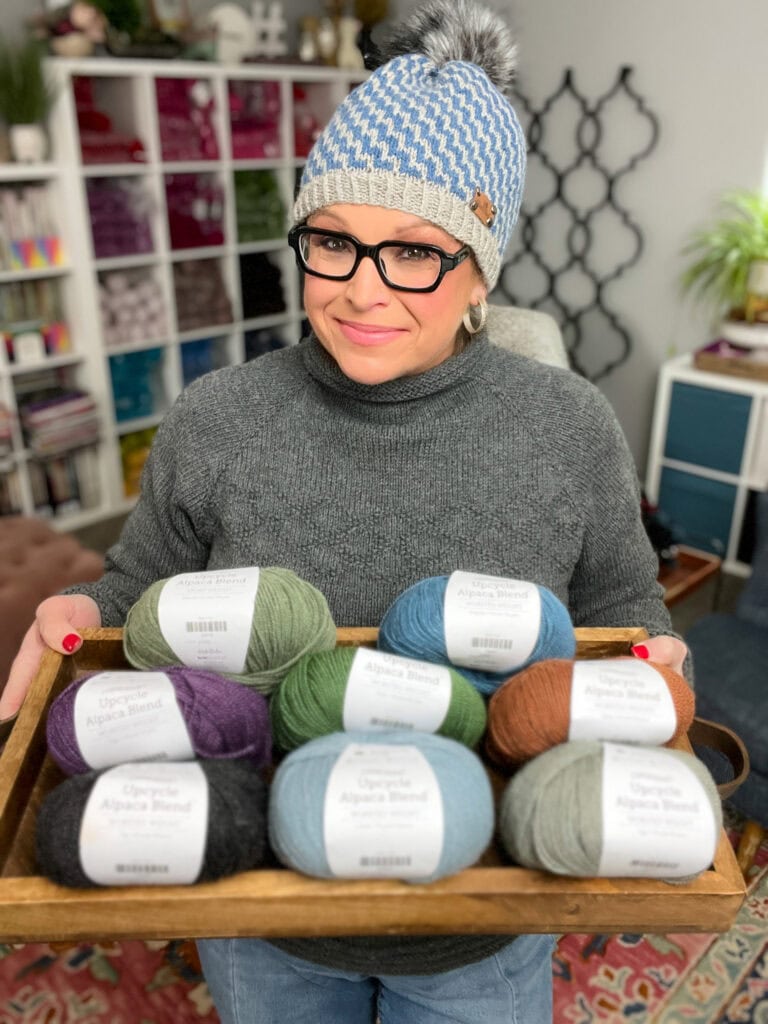
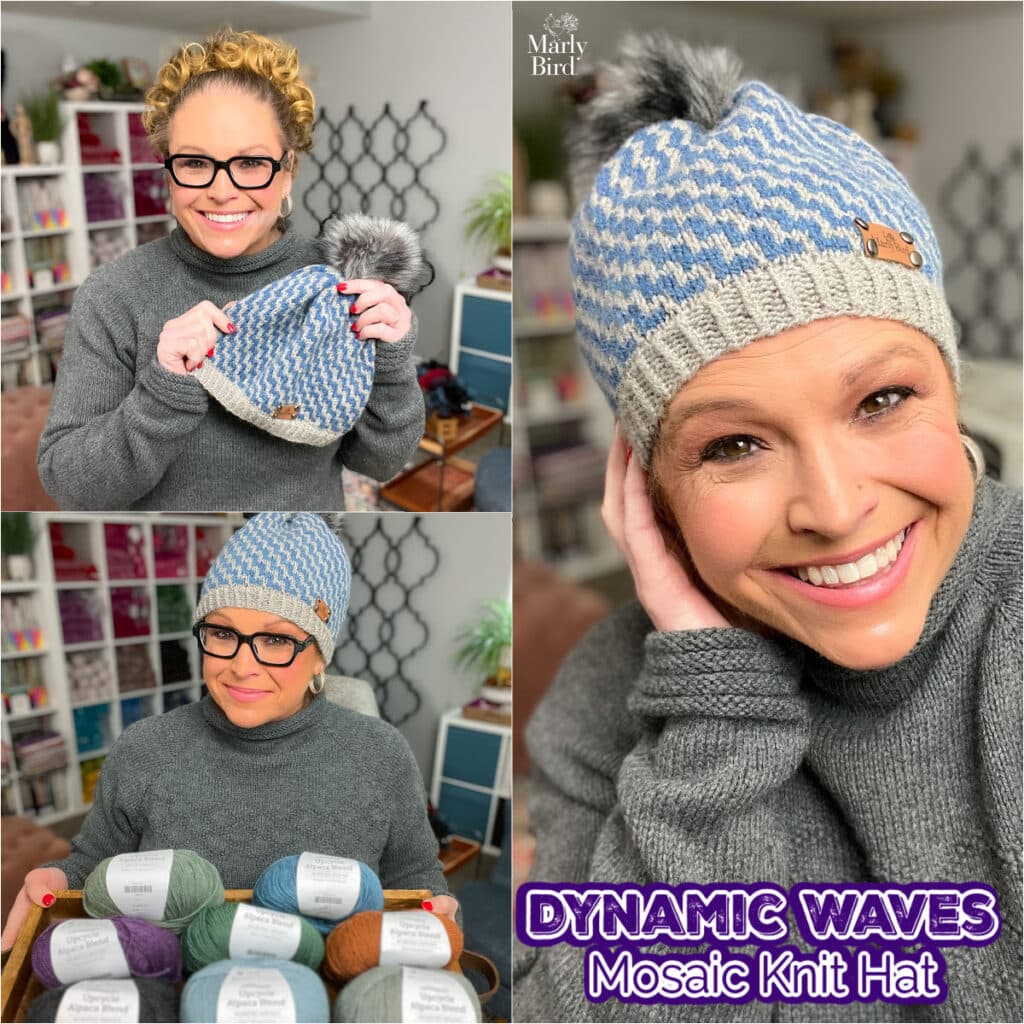
Knit this Mosaic Knit Hat Pattern – Dynamic Wave – with only 2 balls of a new alpaca blend yarn from KnitPicks/WeCrochet. Super-soft and stylish, make one for yourself today! As the seasons transition, nothing says “stylish warmth” quite like a stunning knit hat. And what could be more on-trend than the captivating textures of a mosaic knit pattern? That's precisely what you'll get with our Dynamic Waves Mosaic Knit Hat, a design that brings both warmth and a wave of chic to your wardrobe.
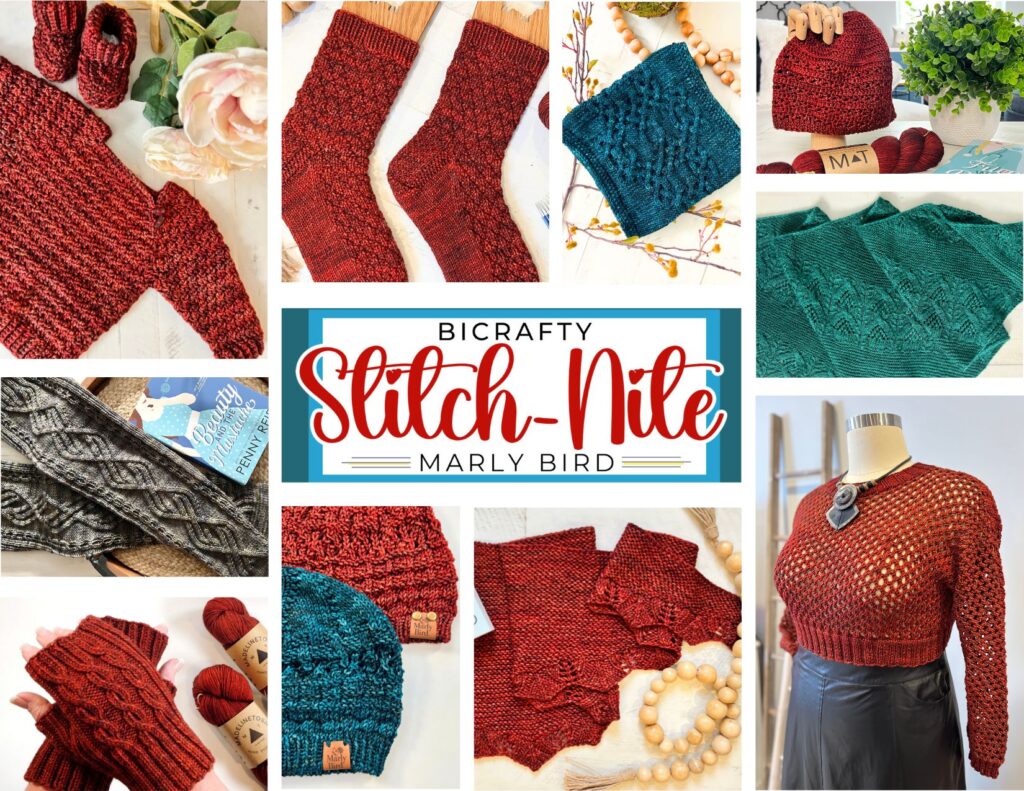
This is a free mosaic knit hat pattern on our website and this pattern is an invitation to crafters looking to dive into the beauty of mosaic knitting. If you like this pattern you will love the Confetti Blips hat, Disruptive Locomotive hat, Clark Mosaic Knit Hat, or if you want more than a mosaic hat, check out the Crazy Stripes Mosaic Shawl.
Affiliate Disclosure: This post contains affiliate links. To learn more please visit my privacy policy here💖
Crafting the Waves: The Appeal of Mosaic Knitting
Mosaic knitting is a technique that creates a colorful and intricate pattern with an almost magical simplicity. If you’ve admired colorwork but felt hesitant about trying it, mosaic knitting is a fantastic way to start. With the Dynamic Waves Hat, you'll use just one color in each round, making it an accessible project for those new to this style, as well as a quick, satisfying knit for the more experienced.
The Dynamic Waves Design: Your Next Go-To Hat Pattern
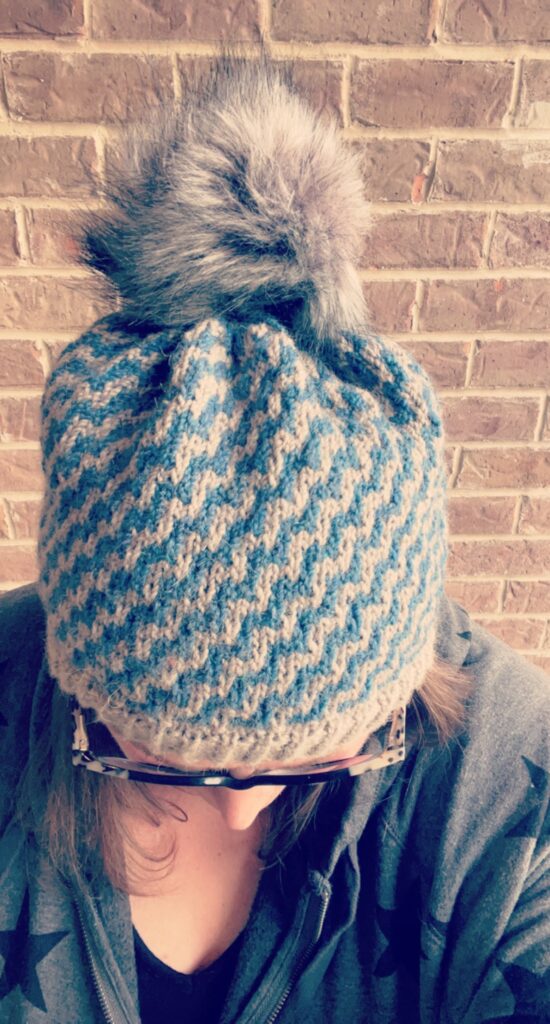
The Dynamic Waves Mosaic Knit Hat is more than just a functional piece; it's a fashion statement. The pattern features a captivating wave design that stands out in any crowd. This hat isn't just for cold days – it’s a year-round accessory that can be customized with your choice of colors to suit any season.

Why You'll Love Knitting This Hat
- Free Mosaic Knit Hat Pattern: Who doesn't love freebies? This pattern is available at no cost on our site.
- Skill Building: Ideal for knitters looking to level up from basic stitches, this pattern offers a gentle curve into the world of mosaic knitting.
- Customizable: Written in three adult sizes, choose your favorite colors to make this hat truly your own.
- Quick to Knit: Made with a worsted weight yarn in an alpaca blend, this hat works up quickly, giving you a satisfying finish in no time.
✨ Get the full PDF of the Dynamic Waves Mosaic Knit Hat. Click the button below to get purchase the pattern.
If you use Ravelry, please take a minute and favorite and queue up the pattern to show some love.

Knit Beanie Perfect For All Occasions
Whether you're looking for a casual hat to wear on your weekend outings or a unique handmade gift, the Dynamic Waves Hat checks all the boxes ✅. It's adaptable to various styles and perfect for those who appreciate a handcrafted touch.
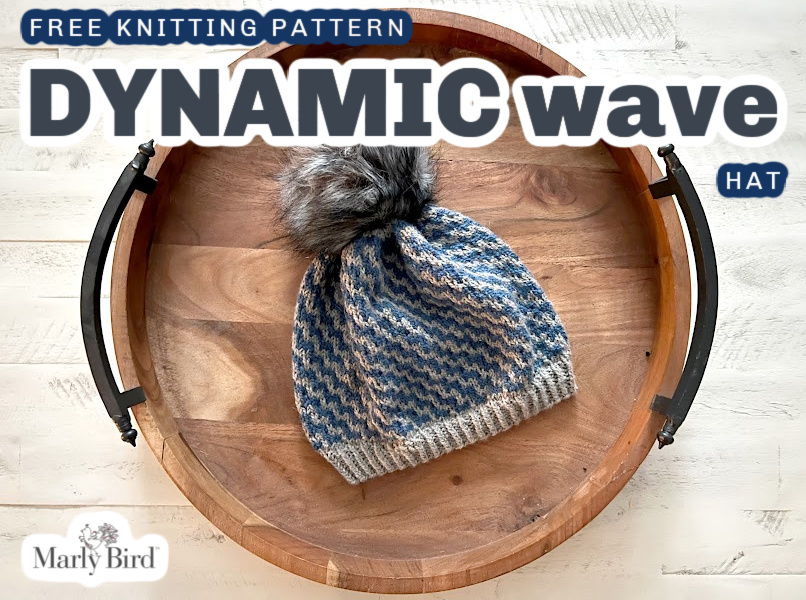
DYNAMIC WAVE HAT || Mosaic Knit Hat Details
Designed by Marly Bird
Skill Level
Intermediate
Measurements
To Fit Size
Adult S (M, L)
Finished Measurements
Circumference approx: 20 (22, 24)” [51 (56, 61) cm]
Tall: 8 (9, 10)” [20.5 (23, 25.5) cm]
Gauge
22 sts = 4″ [10 cm] in Dynamic Wave Slip Stitch pattern
Materials
Yarn
WeCrochet Upcycled Alpaca Blend (33% Alpaca/ 34% Wool/ 33% Acrylic, 219 yds / 200 m, 3.5 oz/ 100 g, CYCA# 4 Worsted):
Color A (CA): #29723 Pistachio, 1 ball
Color B (CB): #29727 Lapis, 1 ball
Needle
U.S. 6 [4 mm] 16” circular needle, U.S. 7 [4.5 mm] 16” circular needles and set of 5 double pointed needles, or size required for gauge
Notions
- Stitch Markers
- Tapestry Needle
- Scissors
- Tape Measure
- Faux Fur Pom (optional)
- Leather tags (Optional)
- Leather rivets(Optional)
Abbreviations
CDD – Center Double Decrease
CO – Cast On
k – knit
k2tog – knit Two Together
P – Purl
Pm – Place Marker
Sl – Slip
St(s) – Stitches
TBL – through the back loop
Special Stitches
⭐️ Center Double Decrease (CDD): Slip 2 stitches together knitwise, knit one stitch, pass the slipped stitches over [2 stitches decreased].
⭐️ Knit Two Together (k2tog): knit 2 sts together (1 st decreased).
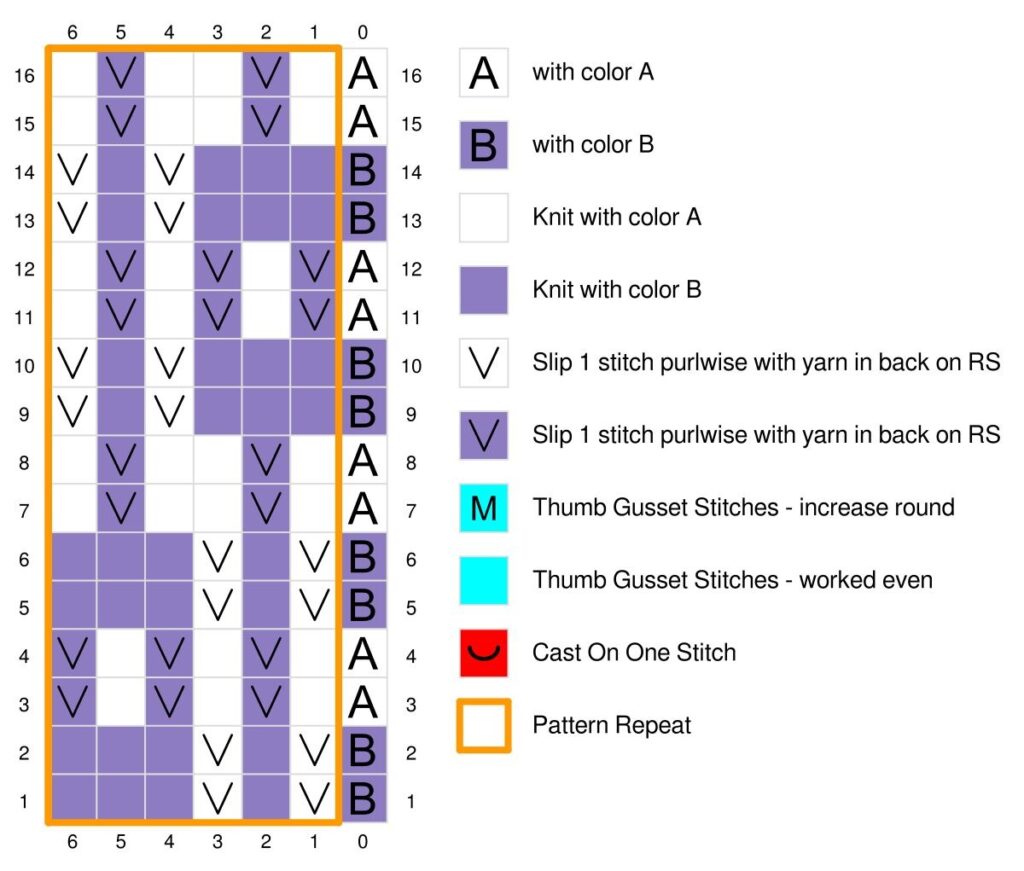
Mosaic Knit Hat Pattern Chart

Notes
- When casting on, place a marker every 20 stitches to keep count.
- Project is made from the bottom brim to crown.
- Slip all stitches as if to purl with yarn in back.
Video Tutorials
- Long Tail Cast-On >> Click Here for Video Help <<
- How to Add Lifeline >> Click Here for Video Help <<
- Center Double Decrease >> Click Here for Video Help <<
- Bury Ends >> Click Here for Video Help <<
- How to add a Faux Fur Pom >> Click Here for Video Help <<

Get the full PDF of the Dynamic Waves Mosaic Knit Hat. Click the button below to get purchase the pattern.
GROW
To Unlock Exclusive Subscriber Content click the Box below and join for free by simply adding your email and creating a password! If you are having troubles, clear your cache or reset your password or login to the Grow Publisher Portal.
>> Learn More About Grow Here <<
I'm thrilled to share this amazing pattern with you, many patterns on my blog are absolutely free! I kindly request that you don't copy and paste or distribute this pattern. Prefer an ad-free experience? Buy a digital PDF pattern for a small fee from one of my online stores for a seamless crafting journey.
I appreciate your support and readership. You are the reason I can keep doing what I love and sharing it with others. So, thank you from the bottom of my yarn-loving heart! Disclosure: This post contains affiliate links, meaning I get a commission if you decide to make a purchase through my links at no cost to you.
DYNAMIC WAVE MOSAIC KNIT HAT PATTERN
Brim
With CA and smaller circular needles, cast on 108 (120, 132) sts. Place marker on needle and join to work in the round.
Rounds 1-9: *k1tbl, p1; repeat from * around.
Body
With larger circular needles, continue in pattern.
Set-up Round 1: CA knit — 108 (120, 132) sts.
Round 1: *CA Sl 1 wyib, CB k3, CA Sl 1 wyib, CB k3, CA Sl 1 wyib, CB k3; repeat from * around — 9 (10, 11) times.
Round 2: *CA Sl 1 wyib, CB k3, CA Sl 1 wyib, CB k3, CA Sl 1 wyib, CB k3; repeat from * around — 9 (10, 11) times.
Round 3: *CA k3, CB Sl 1 wyib, CA k3, CB Sl 1 wyib, CA k3, CB Sl 1 wyib; repeat from * around — 9 (10, 11) times.
Round 4: *CA k3, CB Sl 1 wyib, CA k3, CB Sl 1 wyib, CA k3, CB Sl 1 wyib; repeat from * around — 9 (10, 11) times.
Round 5: *CB k2, CA Sl 1 wyib, CB k3, CA Sl 1 wyib, CB k3, CA Sl 1 wyib, CB k1; repeat from * around — 9 (10, 11) times.
Round 6: *CB k2, CA Sl 1 wyib, CB k3, CA Sl 1 wyib, CB k3, CA Sl 1 wyib, CB k1: repeat from * around — 9 (10, 11) times.
Round 7: *CA k1, CB Sl 1 wyib, CA k3, CB Sl 1 wyib, CA k3, CB Sl 1 wyib, CA k2; repeat from * around — 9 (10, 11) times.
Round 8: *CA k1, CB Sl 1 wyib, CA k3, CB Sl 1 wyib, CA k3, CB Sl 1 wyib, CA k2; repeat from * around — 9 (10, 11) times.
Work rounds 1-8 another 7 (8, 9) times more.
Crown
(also see chart)
Round 1: *CB k2, CB k2tog, CB k2, CB k2tog, CB k2, CB k2tog; repeat from * around — 81 (90, 99) sts.
Round 2: CB knit around.
Round 3: *CA k1, CA k2tog, CA k1, CA k2tog, CA k1, CA k2tog; repeat from * around — 54 (60, 66) sts.
Round 4: CA knit around.
Round 5: *CB k2tog; repeat from * around — 27 (30, 33) sts.
Round 6: CB knit around.
Round 7: *CA CDD; repeat from * around, sizes S and L knit 1 more — 14 (15, 16) sts.
Round 8: CA knit around.
Finishing
Cut yarn, and use tapestry needle to slip all remaining sts off the needles as if to knit, then pull tight like a drawstring.
Fasten tail securely to wrong side of hat.
Weave in all loose ends.
Make a pom-pom and sew to top (optional).
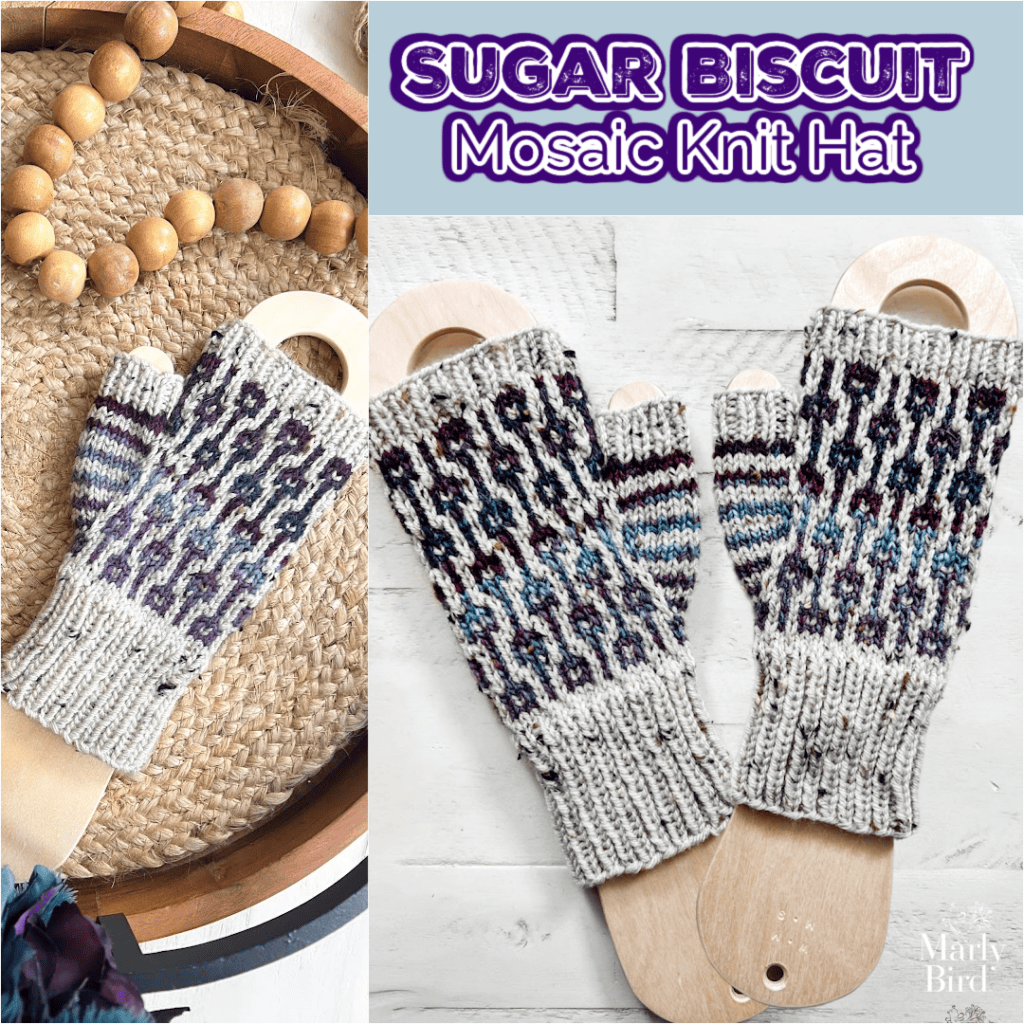
More Mosaic Knitting Patterns You’ll Love 🧶
If you enjoyed this easy knit crescent shawl pattern, here are more mosaic projects to explore:
- Pixel Pop Knit Hat (Free Pattern)
https://marlybird.com/blog/pixel-pop-knit-hat-free-pattern/ - Knit Mosaic Slippers (Free Pattern)
https://marlybird.com/blog/knit-mosaic-slippers-pattern/ - Twilight Trails Knit Mosaic Hat (Free Pattern)
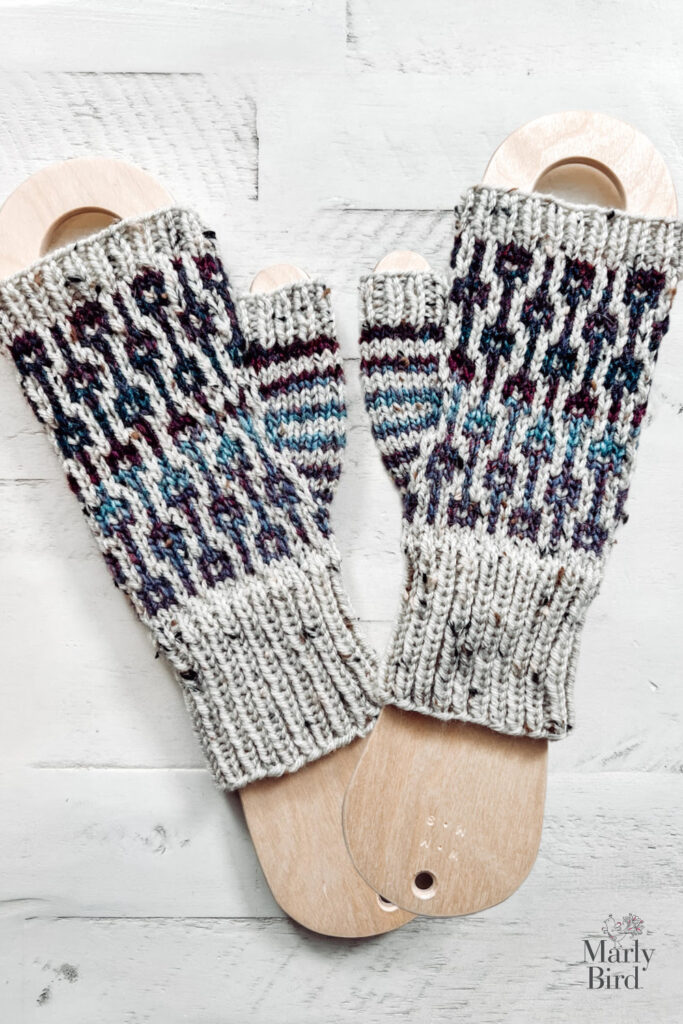
https://marlybird.com/blog/twilight-trails-knit-mosaic-hat-pattern-a-stylish-textured-design/ - Cocoa Dreams Mosaic Knit Fingerless Mittens (Free Pattern)
https://marlybird.com/blog/cocoa-dreams-mosaic-knit-fingerless-mittens-free-pattern/ - Falling Leaves Mosaic Knit Hat (Free Pattern)
https://marlybird.com/blog/cozy-up-with-the-falling-leaves-mosaic-knit-hat-free-pattern-mosaic-tips/ - Slipped Stripes Scarf (Slip-Stitch Texture)
https://marlybird.com/blog/working-texture-with-slip-stitches-slipped-stripes-scarf/ - Dynamic Wave Mosaic Knit Hat (Free Pattern)
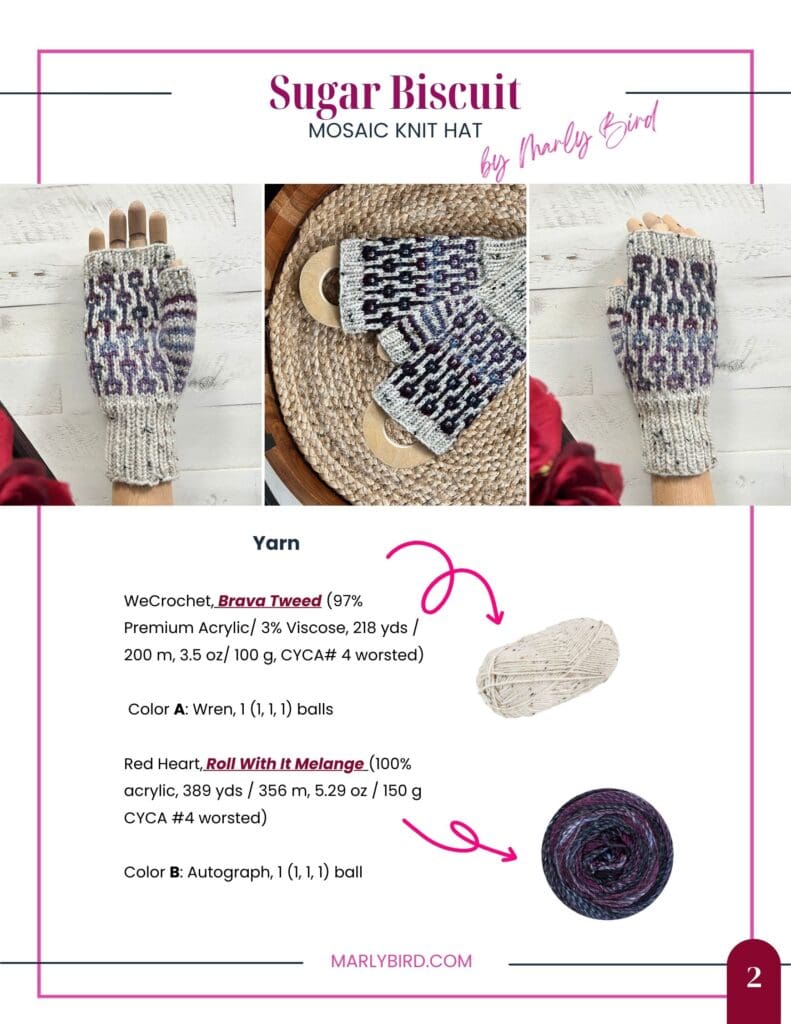
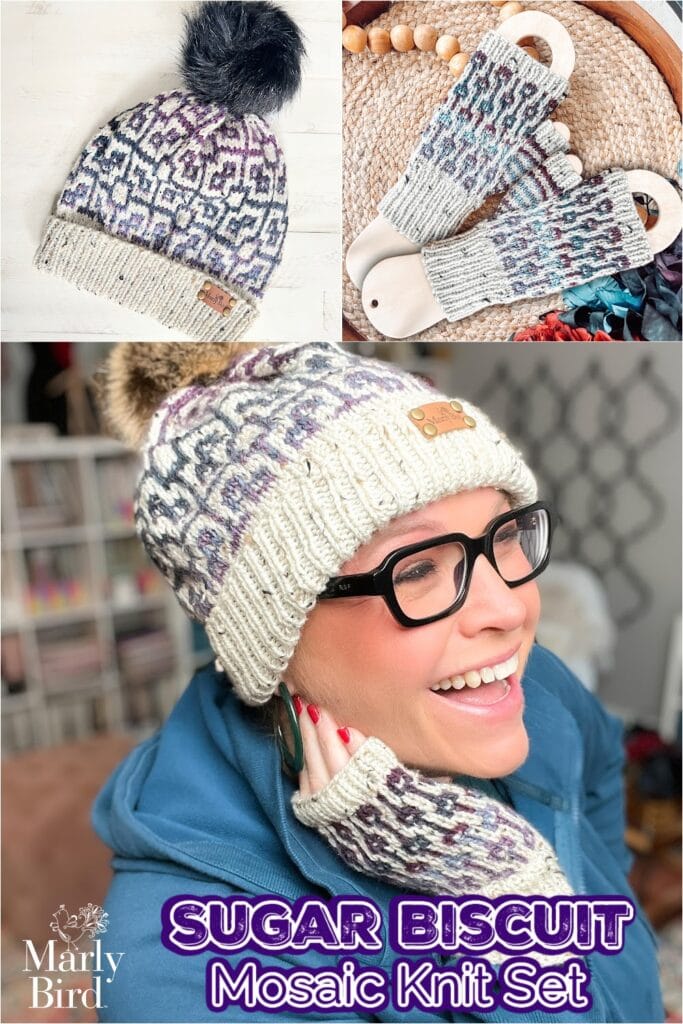
https://marlybird.com/blog/mosaic-knit-hat-pattern-dynamic-wave/ - Sugar Biscuit Fingerless Mitts (Free Pattern)
https://marlybird.com/blog/sugar-biscuit-knit-fingerless-mitts-pattern/ - Sugar Biscuit Knit Hat (Free Pattern)
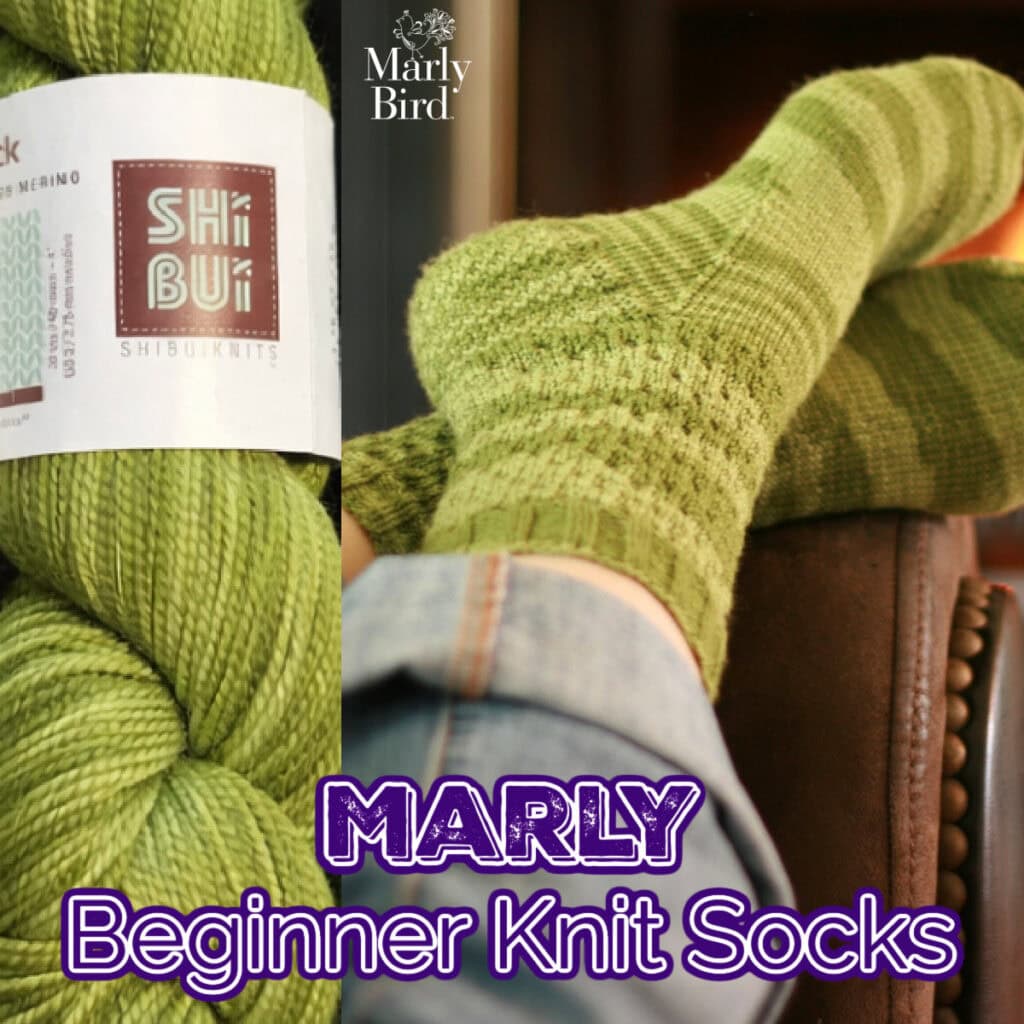
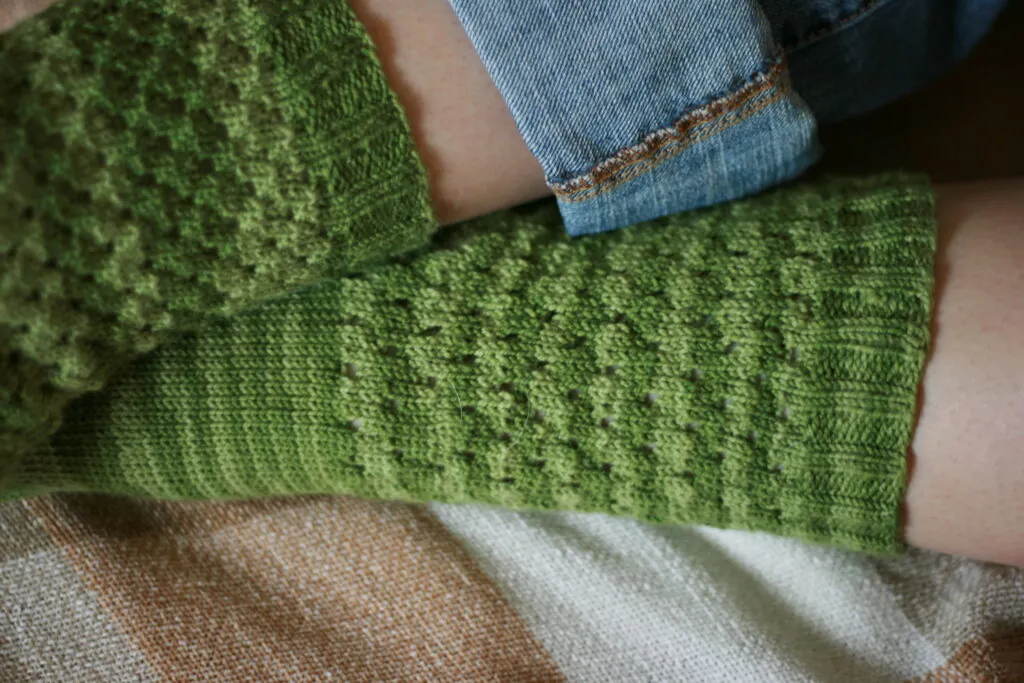
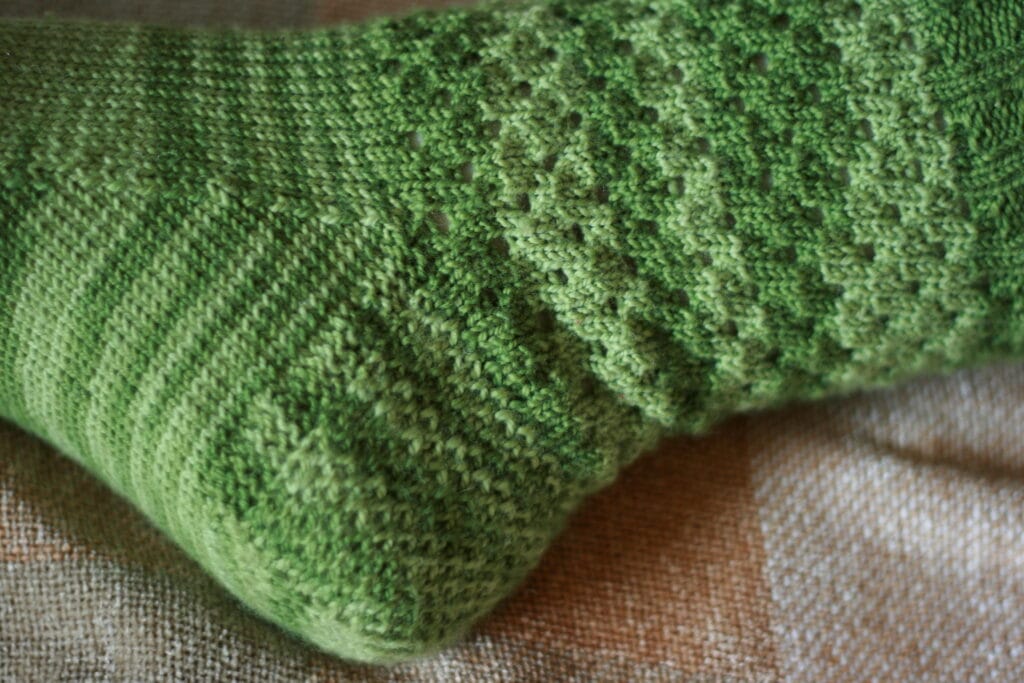
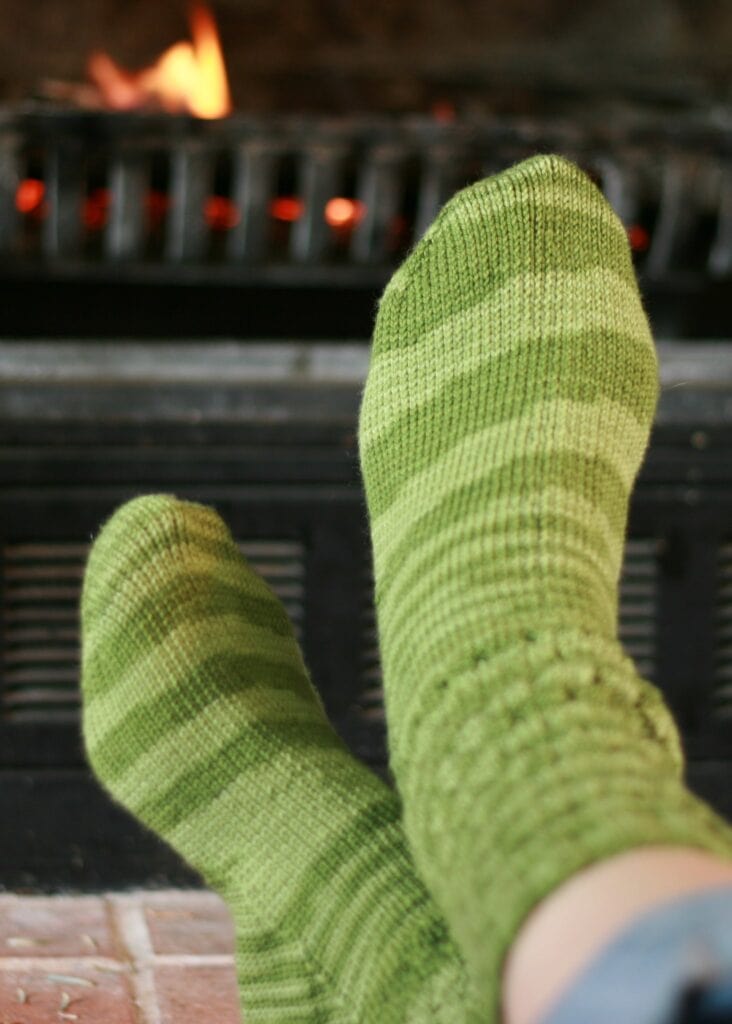
https://marlybird.com/blog/sugar-biscuit-knit-hat-pattern/ - Treat Your Feet Sock Make-Along — Multiple slip stitch sock patterns + video tutorials
https://marlybird.com/blog/treat-your-feet-sock-make-along-2025/
You can also browse a full roundup here:
https://marlybird.com/blog/free-mosaic-knitting-patterns/
Final Thoughts about Mosaic Knit Hats
Ready to cast on your next project? The Dynamic Waves Mosaic Knit Hat awaits you, complete with the allure of colorwork and the simplicity of the mosaic technique. Knit your way to a trendy, eye-catching accessory that you can flaunt all year round.
Be sure to share with us on social media as you work on this fun hat pattern. If you use #mmmdi or #marlybird I will be sure to see your project and smash your like button.
❤️ Your BiCrafty Bestie,
Marly Bird

Frequently Asked Questions
What is the Dynamic Waves Mosaic Knit Hat?
The Dynamic Waves is a free mosaic knit hat pattern by Marly Bird featuring a flowing wave-like colorwork design worked using slip-stitch mosaic knitting. The wave pattern creates a beautiful sense of movement in the two-color fabric… the slip stitches create flowing diagonal lines that give the hat a dynamic, modern look. It's designed as a skill-builder for colorwork beginners using the beginner-friendly mosaic technique.
What makes the “wave” pattern in this mosaic hat?
The specific placement of which stitches are worked and which are slipped creates the wave illusion! In mosaic knitting, the slipped stitches from the previous color row “pull” through the current row visually. When the slip placement follows a diagonal or curved arrangement across the chart, it creates the appearance of flowing lines through the fabric. The Dynamic Waves pattern uses a chart that creates this diagonal wave effect systematically across each round of the hat… the two colors appear to flow through each other in continuous curves.
What yarn should I use for this mosaic hat?
Two colors of worsted weight yarn with strong contrast! The wave pattern only reads clearly when the two colors are clearly distinct from each other. Light and dark combinations create the most dramatic waves. Classic pairs: cream and navy, white and deep burgundy, grey and mustard, black and any bright color. Smooth yarn with good stitch definition helps the mosaic fabric show the pattern clearly. Wool and wool blends are excellent for colorwork hats… the natural elasticity keeps everything even.
Is this hat appropriate for a first mosaic knitting project?
Yes! Marly designs her mosaic hat patterns specifically to be accessible to colorwork beginners. The pattern comes with chart support and likely video tutorials. If you understand how to read a simple slip-stitch chart (which stitches to knit, which to slip), you can work this hat. The wave chart adds some visual complexity compared to the simplest geometric mosaic patterns, but it's still much more approachable than traditional stranded Fair Isle colorwork. Start with this hat and your confidence for more complex colorwork will grow significantly.
How does this hat compare to Marly's other mosaic hats?
Marly has several free mosaic hat patterns! The Dynamic Waves uses a flowing wave motif that creates a more organic, fluid look. Her other mosaic hats (like the Twilight Trails, Northern Gleam, and the Turkey Trot mosaic cowl) use different geometric arrangements. All use the same slip-stitch technique… just different chart designs that create different visual effects. If you love one mosaic hat, you'll almost certainly want to try the others too. Each one builds your mosaic knitting confidence and adds a beautiful hat to your collection.