
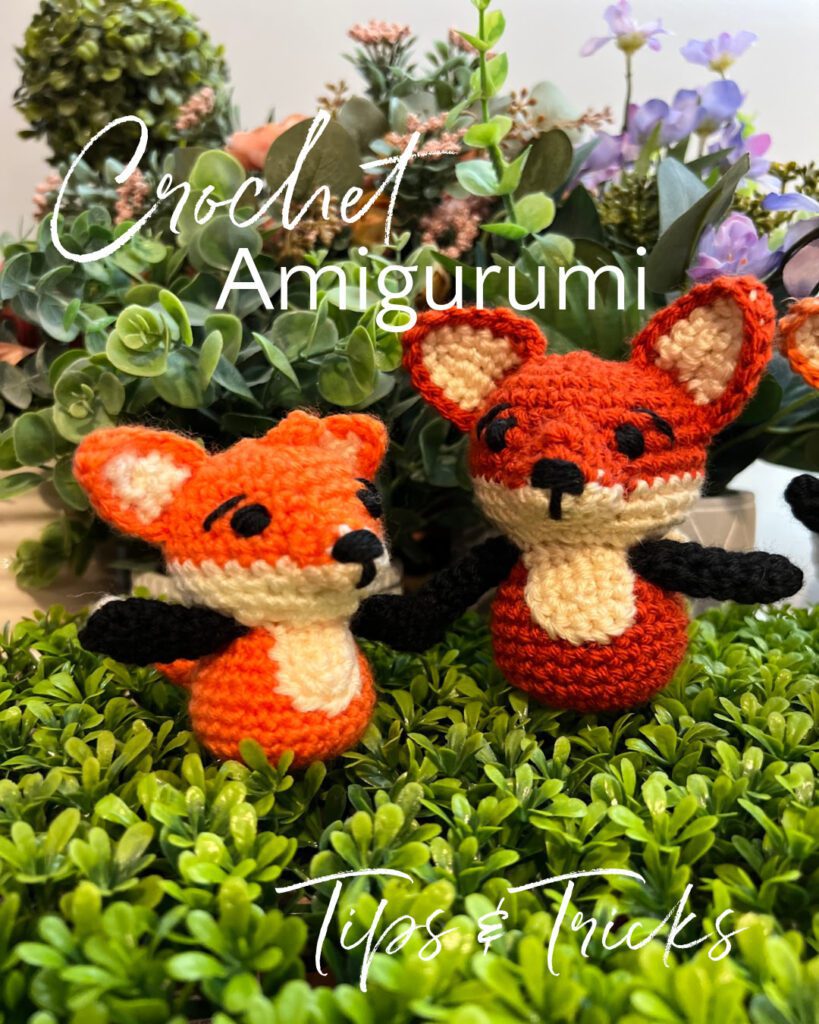
Crochet Amigurumi Tips & Tricks for Beginners Plus!
Earlier this month, we revealed some crochet amigurumi from Apricot Lane Amigurumi, kicking it off with Felix the Fox.
Amigurumi is something that hasn’t been regular around here, but we're excited to feature it more over the coming year! After comments and questions in the Marly’s Minions: Marly Bird BiCrafty Community Facebook group, we decided to bring you some tips and tricks to make it the best experience!
Getting Started With Crochet Amigurumi
Hook Size
Just like any project, you want to start off by making sure you’re using the right hook for your yarn. For amigurumi, typically, you want to use a smaller hook size than is on the yarn label. You want a denser fabric so that when you stuff your creature you don't see stuffing poking through.
Stitch Markers
Stitch markers are great for a lot of projects but are vital for crochet amigurumi. Typically you’re working in continuous rounds and you need to know where the rounds begin. Being off in your count in amigurumi is frustrating and often leaves you frustrated and ripping out your work. Stitch markers alleviate the need to count each stitch.
Magic Ring
Magic ring is the best method to use when starting amigurumi.
Using a ch3 or ch4 and joining to make a circle often leaves a gap. The magic ring closes tightly. This looks much cleaner, especially for the top of a head or the end of a limb.
Off and Running
Crochet Amigurumi Invisible Increase & Decrease
Sometimes, our increases and decreases can cause a gap or hole. Remember, those are the enemy when it comes to crochet amigurumi! Any hole will allow for the stuffing to show through, and we absolutely don’t want that! Using an invisible increase or invisible decrease can eliminate that issue.
How do you make an invisible increase?
I’m so glad you asked! Typically, an increase is done by making two stitches in the same stitch. To make an invisible increase, you make two stitches in the same stitch. But in this instance, the first stitch you make is in the front loop only of the stitch you’re working into. The second stitch is worked under both loops as normal.
How do you make an invisible decrease?
In a typical decrease, you’re working one stitch over two stitches by pulling up a loop in each stitch and crocheting them together. In the invisible decrease, you follow the same process but work in the front loops only. This gives you a nice neat stitch and no gaps!
Yarn Under vs. Yarn Over
This is a technique that you really only use in crochet amigurumi, so you may not be familiar with it! When crocheting regularly, you are likely very familiar with the yarn over. So much so that it's just habit and you don’t even think about what you’re doing. But by working yarn under stitches, you make slightly neater, tighter stitches (using less yarn!) and create a denser fabric! It takes a little intentionality and retraining your brain. But you just may be pleasantly surprised by how it looks!
Jogless Color Changing In Crochet Amigurumi
When you work in continuous rounds, color changes can often look sloppy. The best way to fix this is to use the jogless stripe method. Essentially, before you finish the last stitch before your color change, you’ll yarn over/under the new color and pull through to finish the stitch. You’ll slip stitch into the next stitch and then carry on with your sc through the remainder of the round. When you get back to the slip stitch, you’ll sc into that stitch as if it were a regular stitch. This will give you a nice clean line!
Finishing Tips
Stuffing Crochet Amigurumi
Don’t OVERSTUFF! This is the most common mistake that people make when making amigurumi. Overstuffing stretches the fabric and causes gapping. This means you'll see the stuffing through the fabric, but it can also alter the shape of the item itself. You can always add more stuffing, but once you stretch it out, it’s hard to get the shape back. So start stuffing lightly and increase slowly! Think of it more as sculpting your work than stuffing it.
You can use pantyhose to keep your stuffing from poking out! Fill knee highs with your stuffing and use that to fill your item.
Pin Your Limbs
Nothing's more frustrating than spending hours making each piece of crochet amigurumi, putting it all together, and finding things that are crooked and wonky. One of the best ways to make sure this doesn’t happen to you is to use pins. Straight pins, safety pins, whatever you’ve got on hand will work. Pin each limb to the body and make sure everything is lined up correctly. Use your fabric to help you by counting how many rows or how many stitches apart they need to be.
At the end of the day, as I always say, it’s just sticks and string! You can do this, and this is just another fun skill set to add to your toolbox!
Got any other crochet amigurumi tips & tricks that have helped you over the years? Share them with us!
Check out these recent additions to our Apricot Lane Amigurumi collection:
Frequently Asked Questions
What hook size should I use for amigurumi?
So here's the thing… for amigurumi, you usually want to go with a smaller hook than what the yarn label suggests. This helps create a tighter, denser fabric so no stuffing peeks through your cute little creations!
How do I keep my amigurumi from having holes?
Honestly… the best way is to use an invisible increase and decrease! These methods help prevent those pesky gaps that let the stuffing show through. It makes such a difference in the finished look!
Is the magic ring really that important for amigurumi?
Yes! Using a magic ring is the best way to start amigurumi projects. It creates a super tight center, unlike a chain circle which can leave a noticeable gap, especially on heads or limbs.
I'm having trouble with stuffing showing through… any tips?
Oh, don't OVERSTUFF! That's the biggest mistake, and it can stretch out your fabric and make gaps. Start light and build up your stuffing slowly… think of it like sculpting your project!
My color changes in amigurumi look so messy! What can I do?
Ugh, I know! When you work in continuous rounds, color changes can be a pain. Try the jogless stripe method before you finish your last stitch… it really helps create a nice, clean line!


Thank you for all you do!🎉🎉🎉🎉❤️❤️❤️!