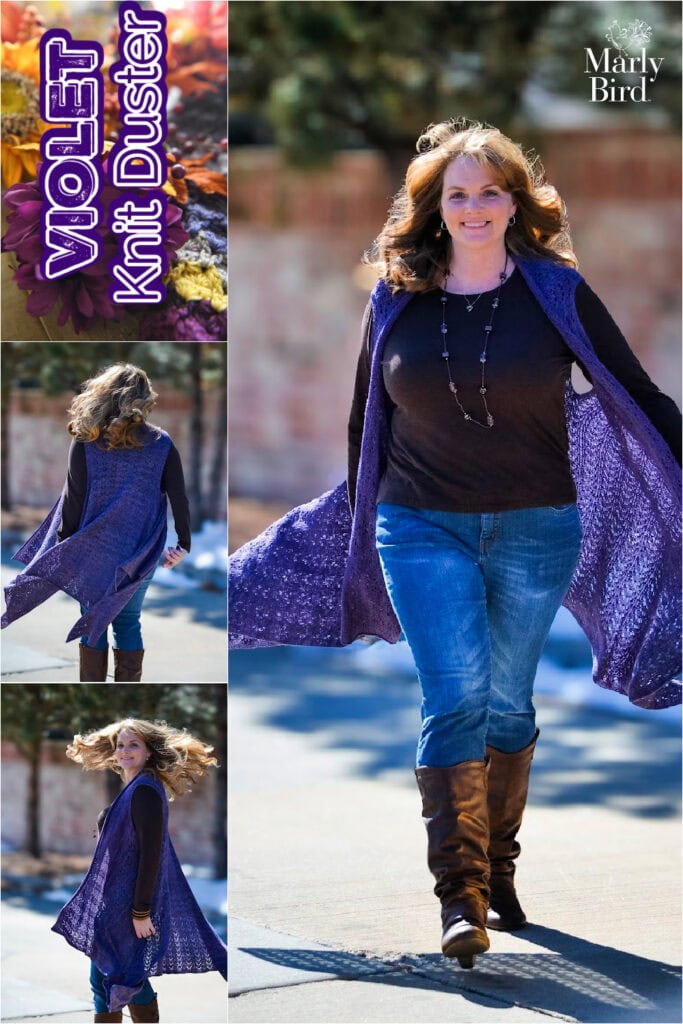
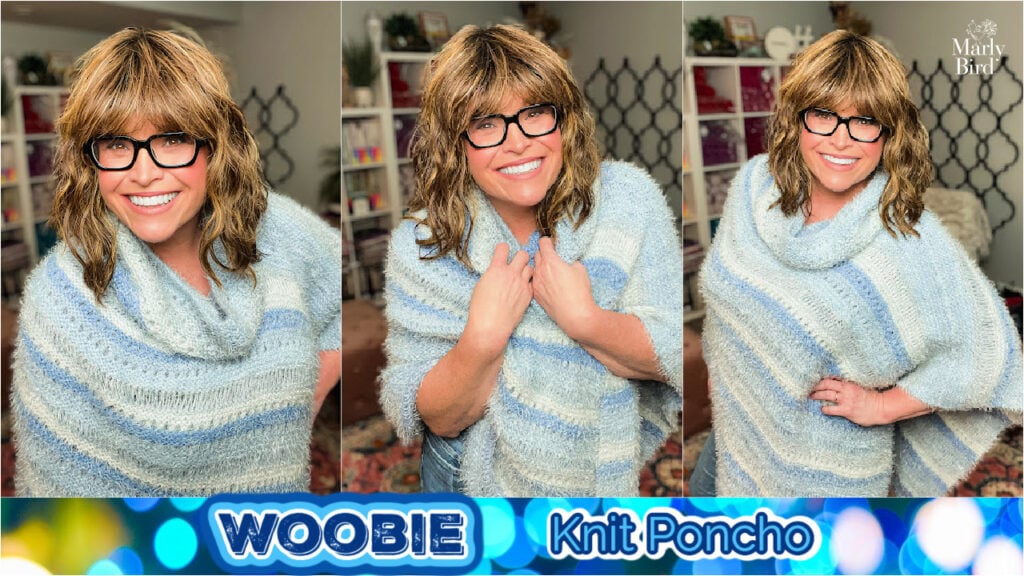
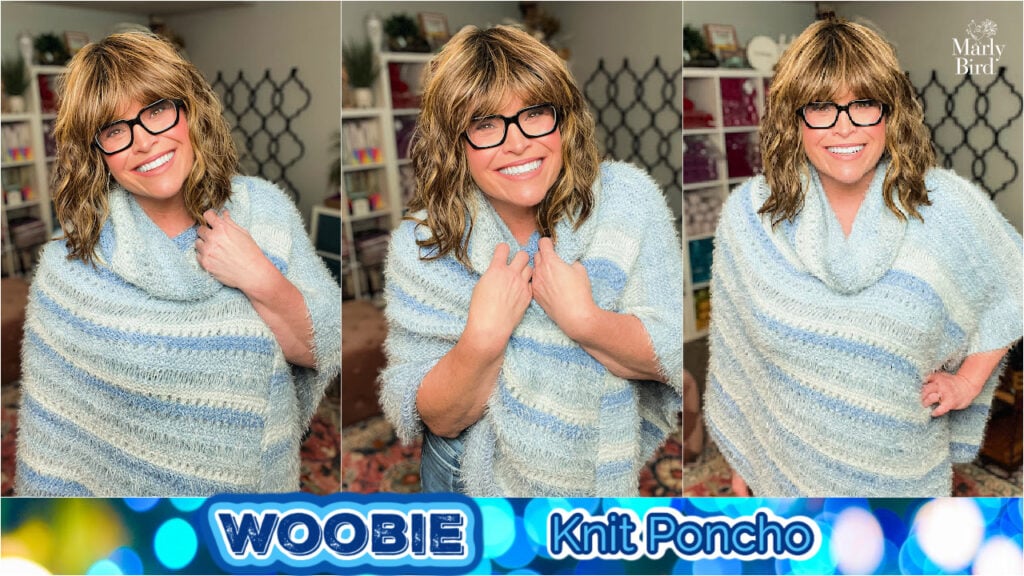
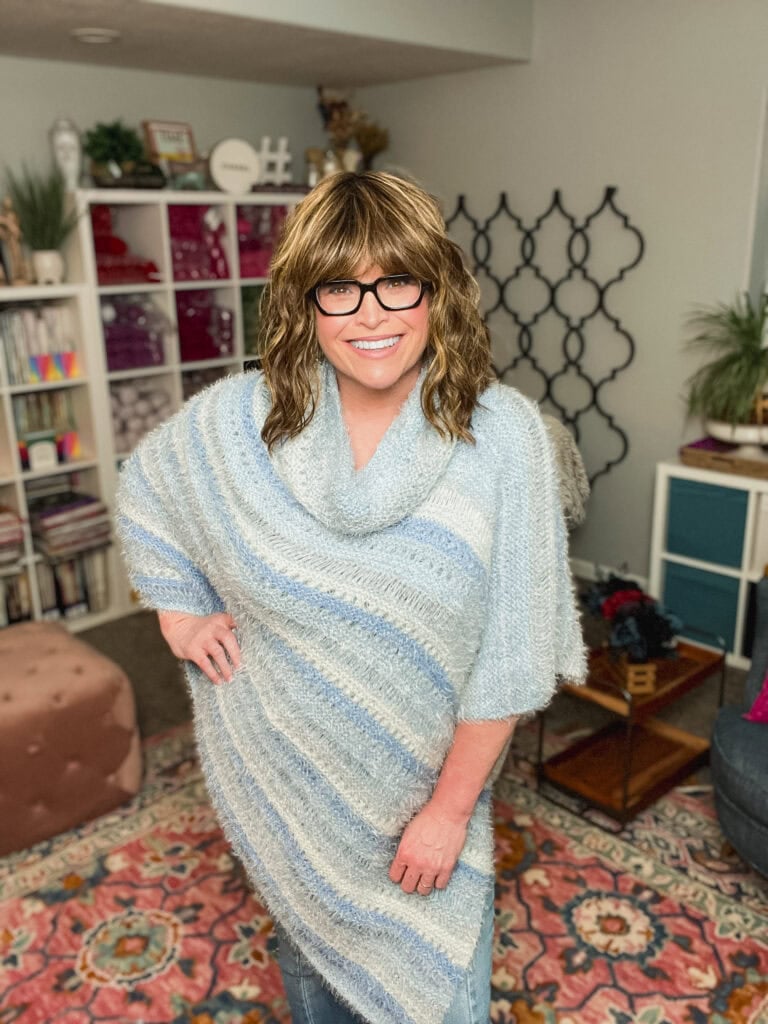
The Woobie Knit Poncho is a free knit poncho pattern by Marly Bird, originally designed for the 2019 Turkey Trot Mystery Make-Along and refreshed for Spring Fling 2026. Worked flat from the top down in Caron Latte Cakes #5 bulky cake gradient yarn, then folded and seamed. Adventurous beginner skill level. Sized S/M/L. Cozy enough to wear like a security blanket… but make it knitwear.
If you’ve been wanting to knit your first poncho, or you remember the 2019 Turkey Trot and have always wanted the full pattern in one clean place… this is the post. The original lived as three “clue” pages from the mystery make-along; now the whole thing is right here, refreshed, updated, and standalone.
Hey, bestie 💛
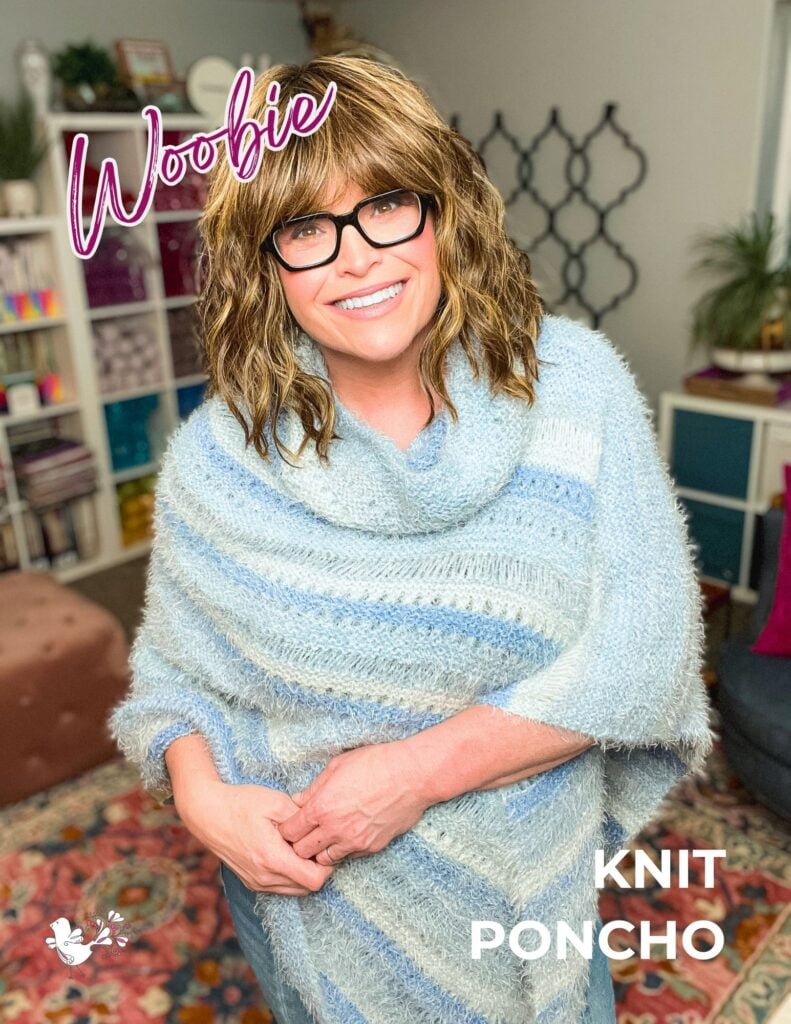
The Woobie Poncho holds a special place in my design archive. The original ran as a mystery make-along during Thanksgiving week 2019 and the community absolutely fell in love with it. The nickname “Woobie” stuck because it wears like a security blanket you can leave the house in. Cozy. Familiar. The thing you reach for when you want comfort but you also have to be a person in public.
What you’re getting today is the fully refreshed pattern… same beloved design, updated formatting, new photos, and our current standard layout. The construction is unchanged. The yarn is unchanged. It’s just the cleanest, easiest-to-follow version of the Woobie Poncho I’ve ever published.
Let’s get into it.
*This post contains affiliate links. By clicking one of the links and making a purchase, a small portion will go to support the blog. The price you pay does not change. Thank you for your support of the blog.*
What You Will Love About the Woobie Knit Poncho 💖
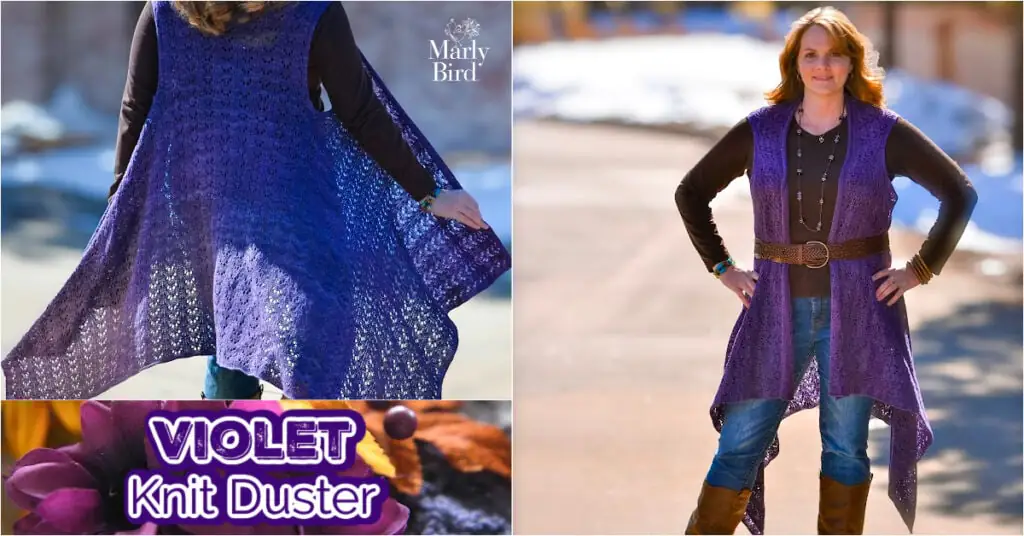
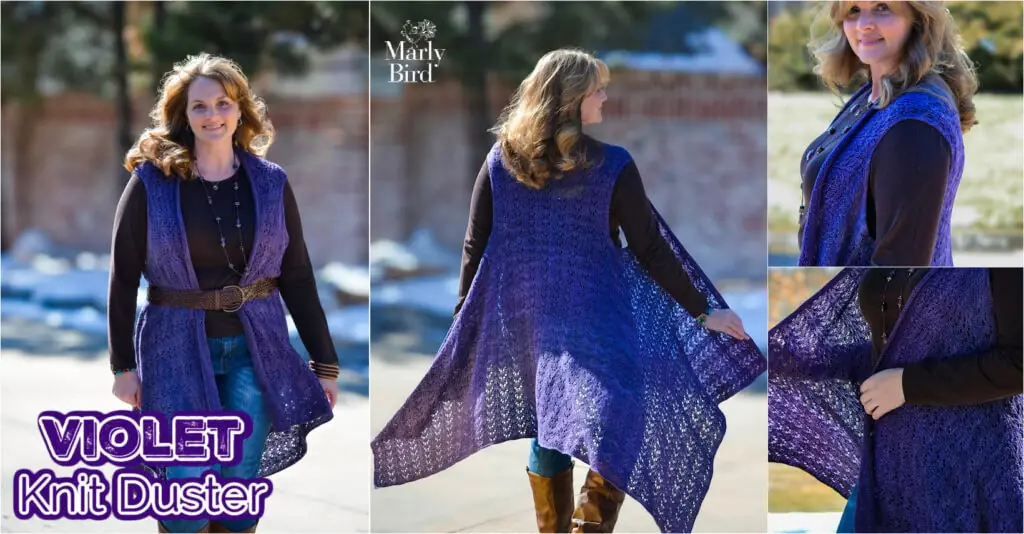
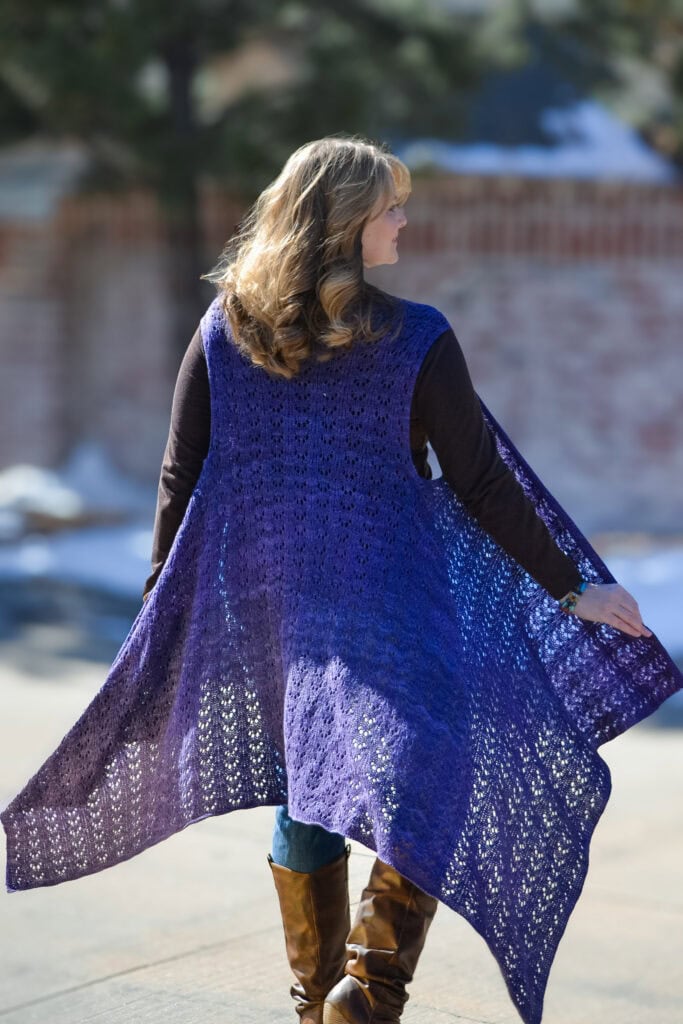
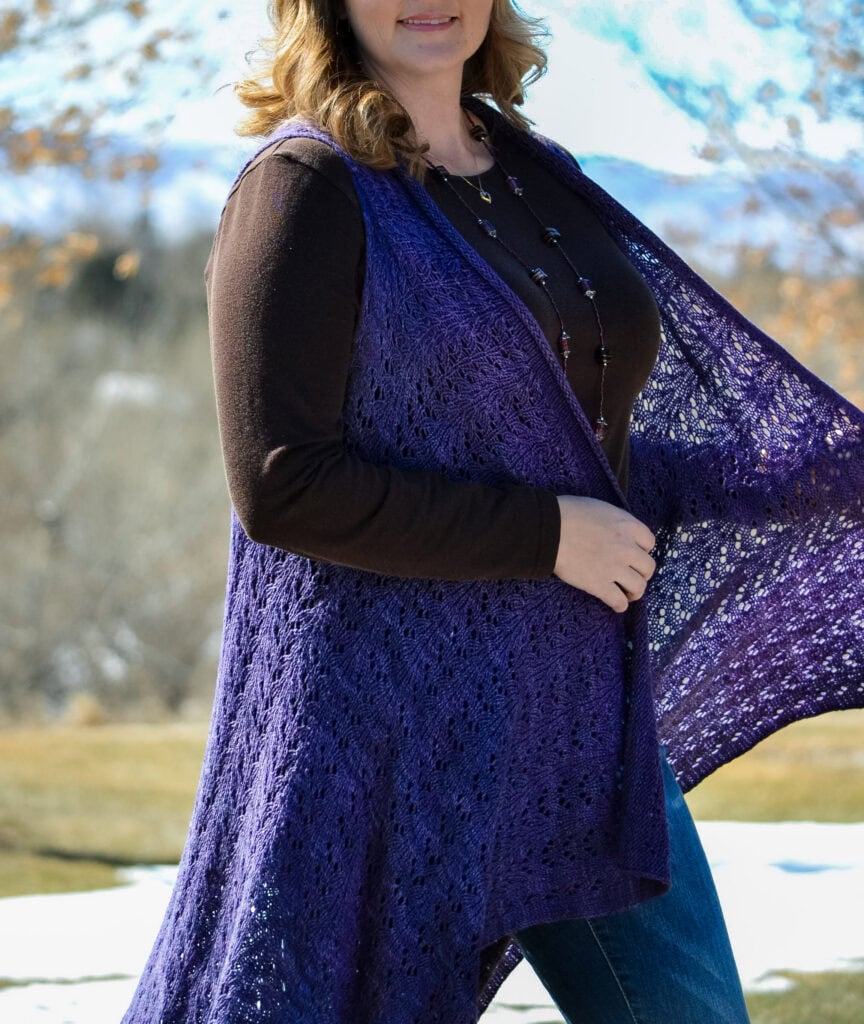
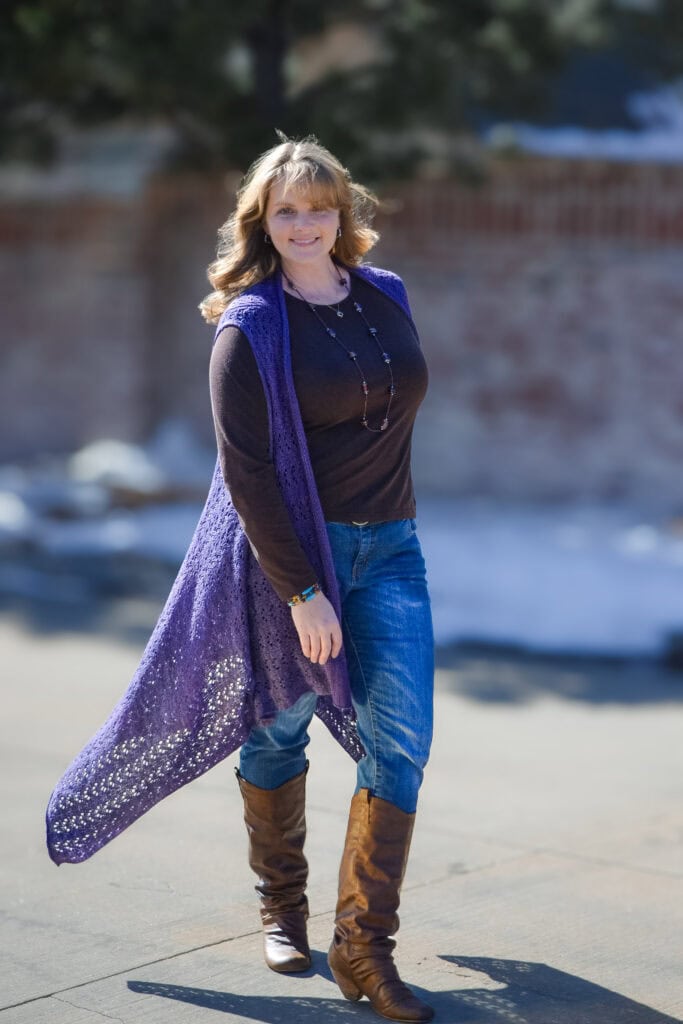
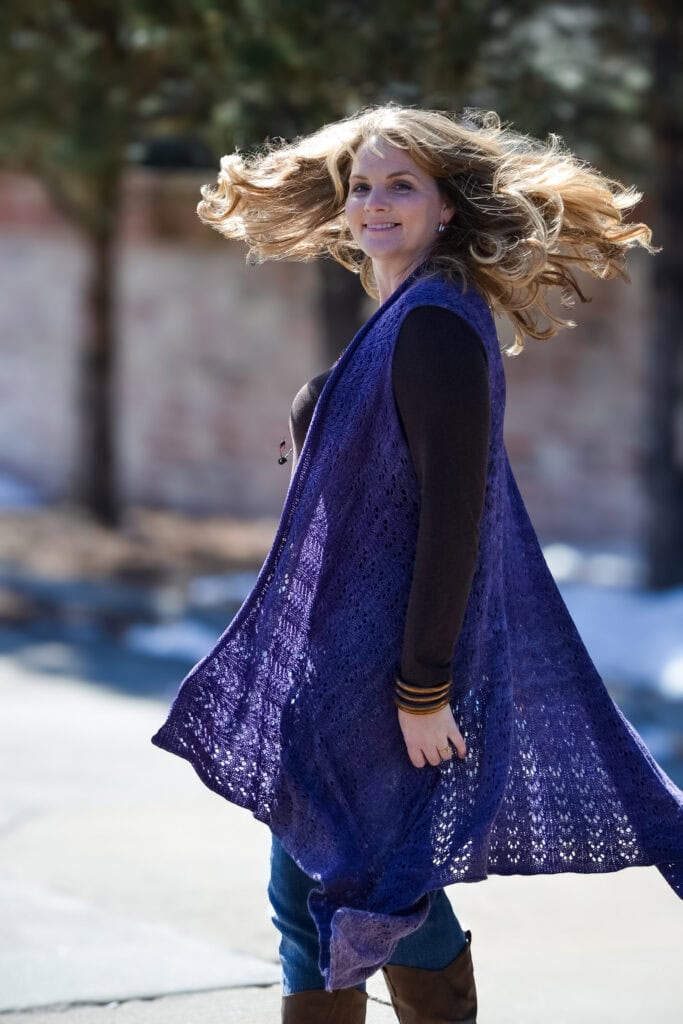
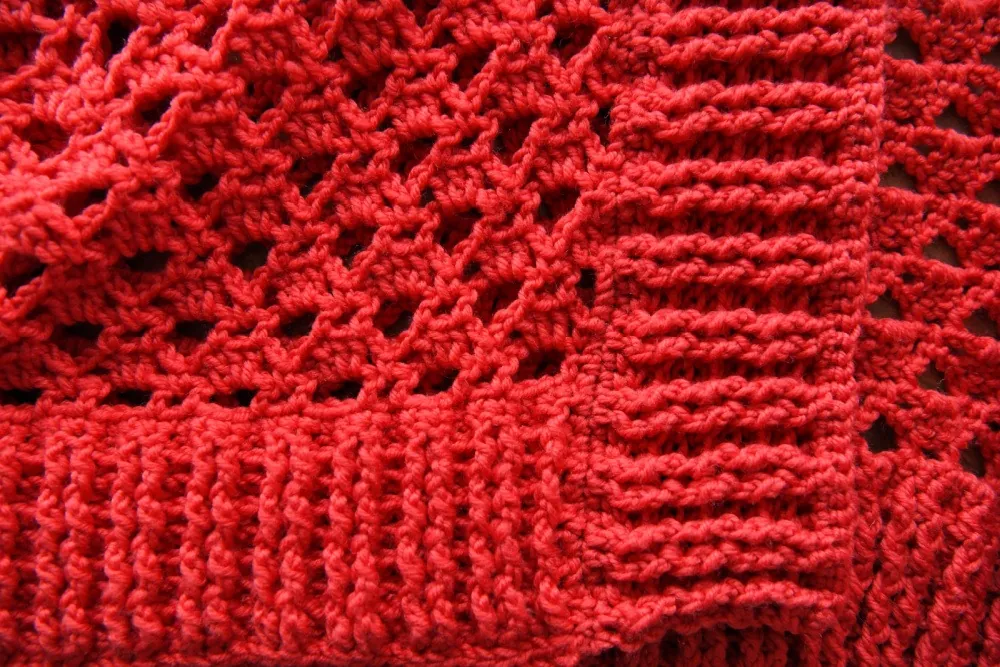
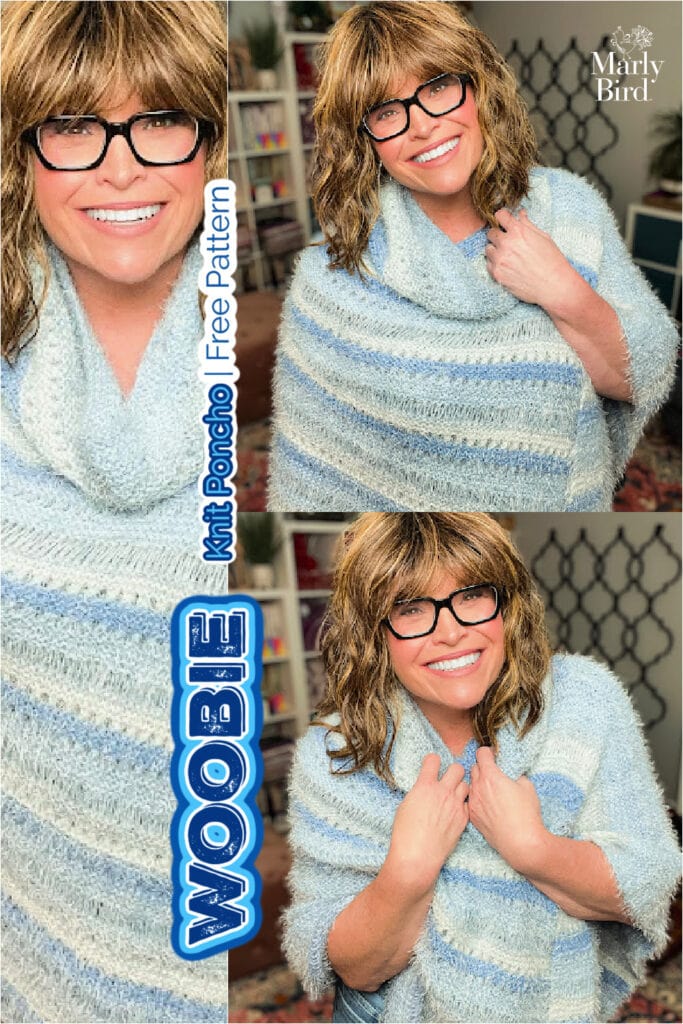
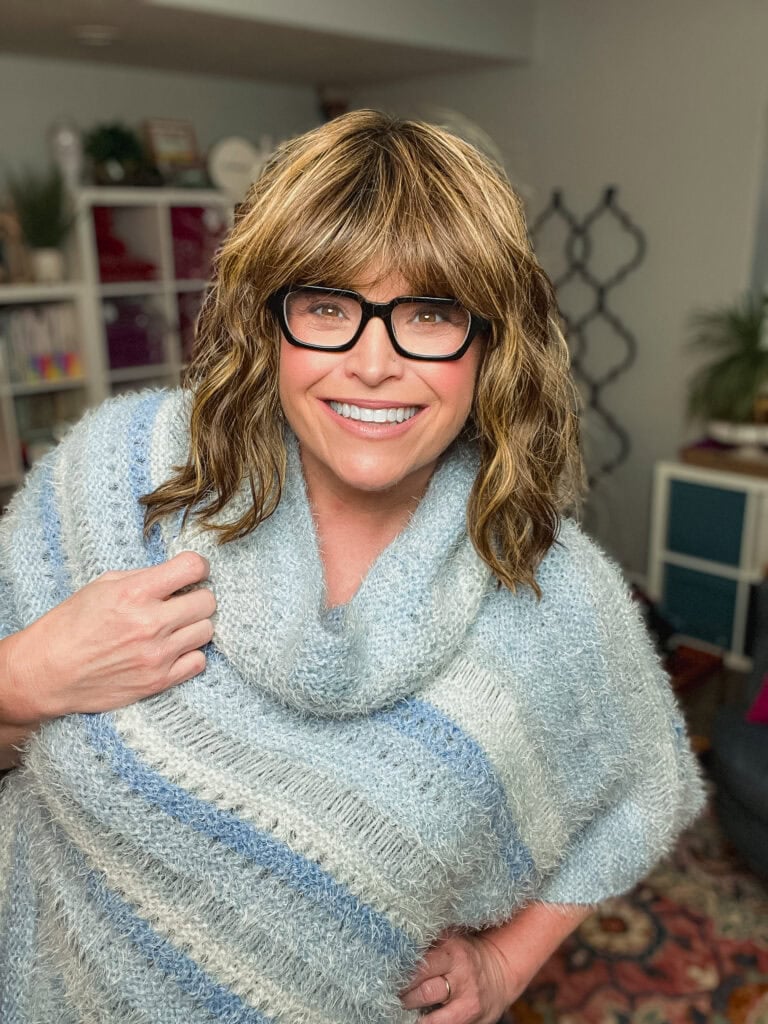
🧣 It wears like a hug. The Woobie earned its nickname for a reason. The soft knit fabric drapes like a wearable blanket… but the built-in cowl, open lace detail, and asymmetrical shape mean it actually looks fashionable. Comfort that doesn’t compromise. That’s the whole brief.
🧶 It’s an adventurous-beginner knit. If you know how to knit, purl, yarn over, and k2tog, you can make this poncho. The lace pattern is a simple 8-row repeat that becomes second nature after the first few inches. No complicated shaping, no tricky construction — just flat knitting that turns into a wearable layer.
⏱️ It’s a weekend-pace project. Bulky yarn + big needles = fast knitting. The Woobie works up faster than most sweaters or shawls, and the finishing is just folding and seaming — no picking up stitches, no complicated edgings.
📏 Size-inclusive sizing (S / M / L with generous fit). Sized Small, Medium, and Large with body widths from 28¾” to 37¼” (folded in half) — and because a poncho drapes instead of fits to the body, the generous cut works beautifully across a wide range of body types and shapes. Adjustable length means you can make it shorter or longer to suit your style and your frame. This is a poncho that’s meant to feel good on YOU, not the other way around.
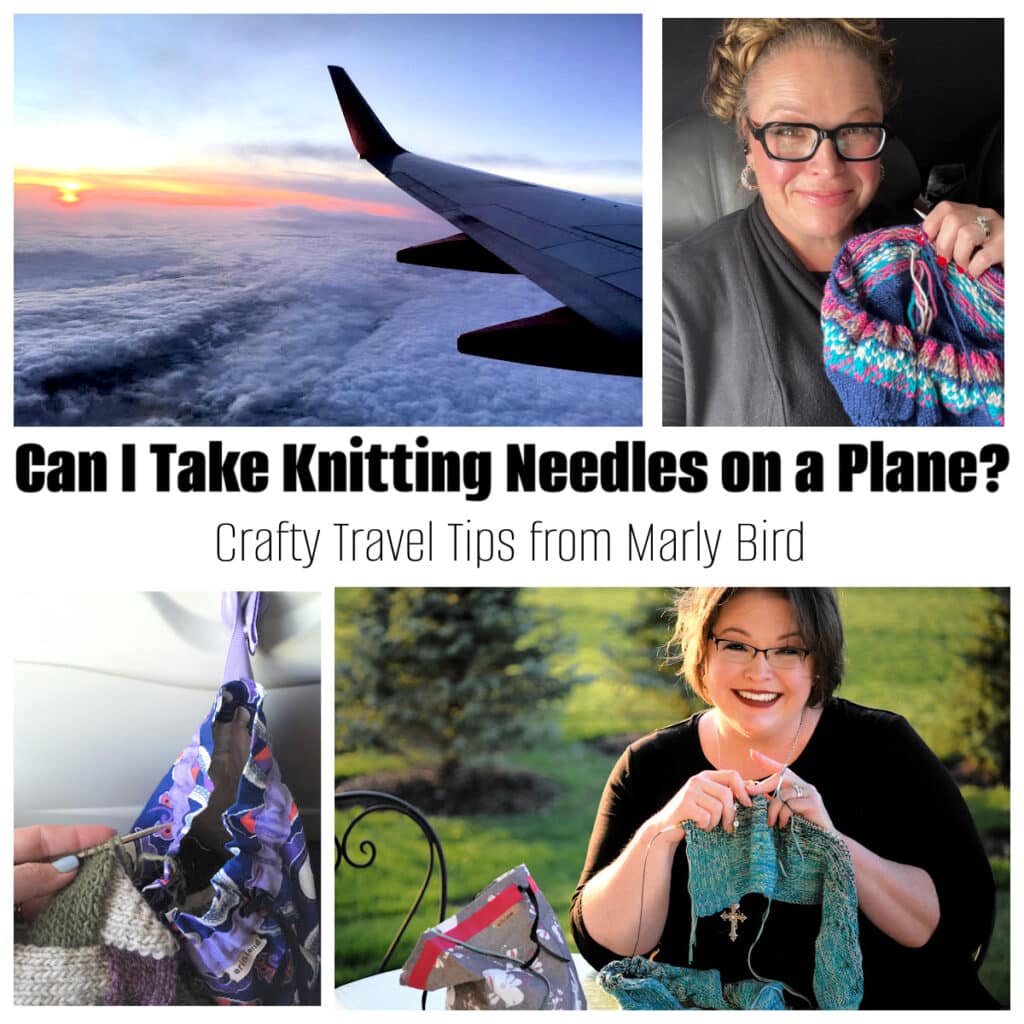
✈️ It’s a wearable travel blanket. The Woobie is one of those rare layers that doubles as a travel piece. Throw it on for a flight or train ride and you have a cozy blanket that keeps you warm without sacrificing free hands for your coffee, your phone, your kindle, or your knitting WIP. (Speaking of which — yes, you can absolutely knit on the plane. Here’s my popular guide to flying with knitting needles.) Throw it in your carry-on and your shoulders never get cold again. 🧣✈️
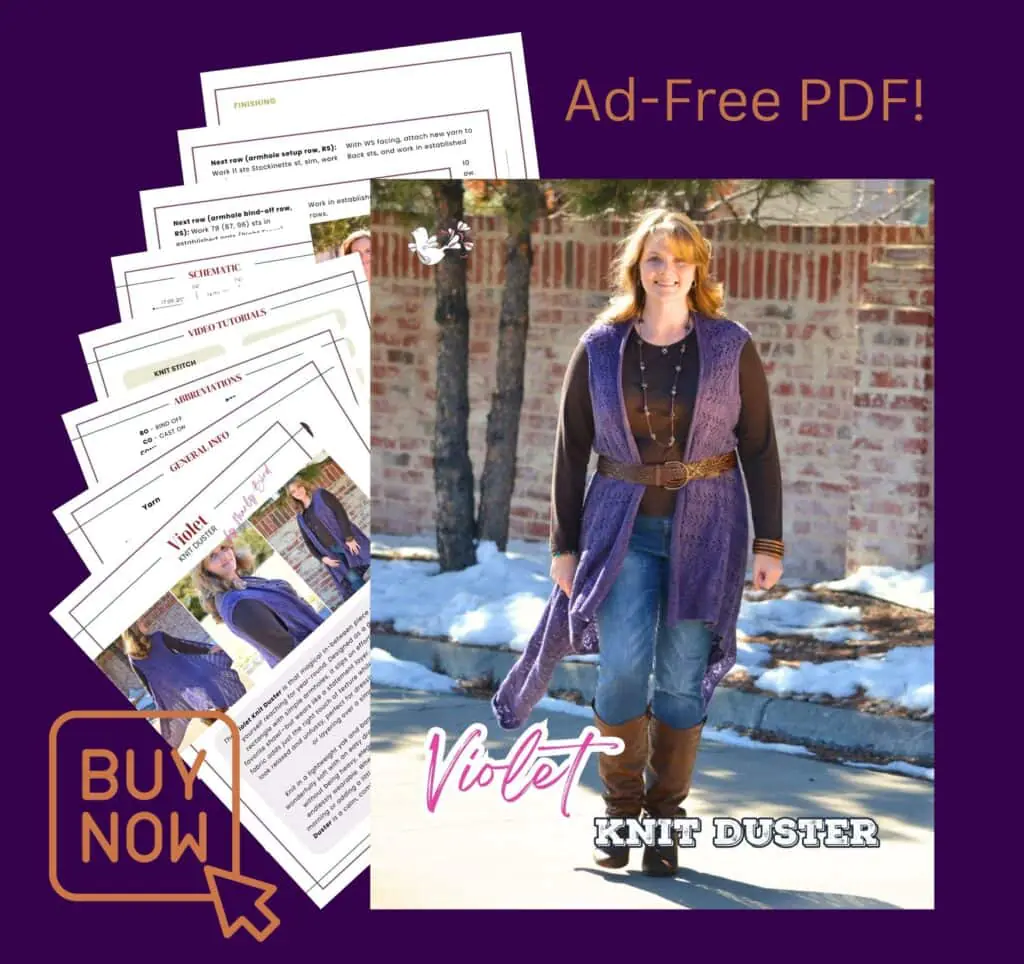
📄 Free Pattern here on the blog… ad-free PDF available too. The full pattern lives free right here on the blog. If you’d rather work from a clean ad-free PDF, I’ve got you covered below.
Quick Pattern Overview
🧶 Craft: Knitting
🌸 Pattern Name: Woobie Knit Poncho (originally designed for Turkey Trot 2019, refreshed 2026)
📏 Finished Size (S / M / L):
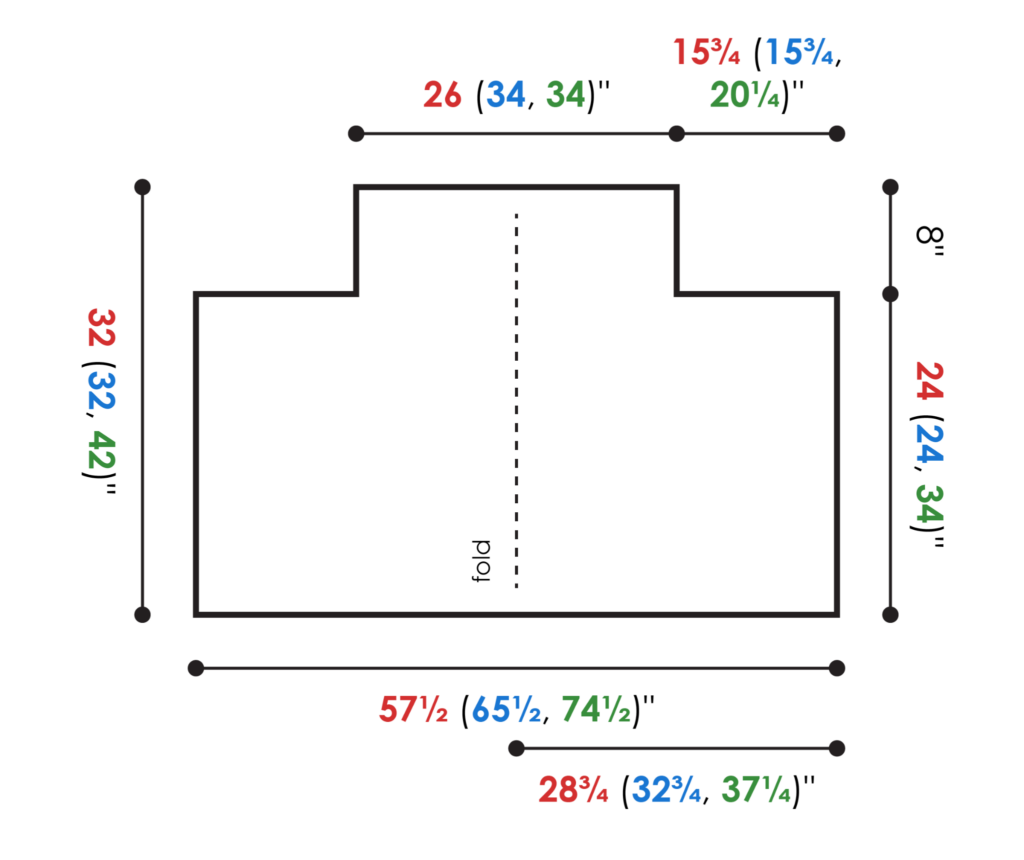
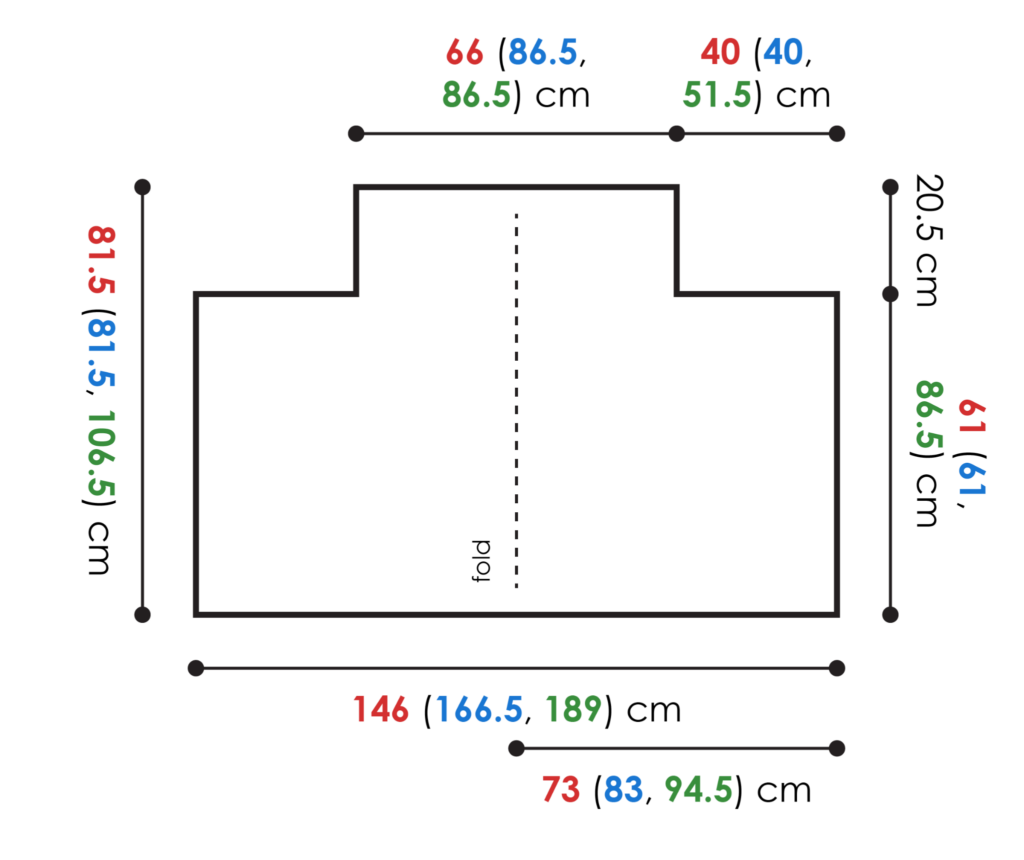
- Cowl: 26 (34, 34)” [66 (86.5, 86.5) cm] around and 8″ [20.5 cm] in length
- Body width: 28¾ (32¾, 37¼)” [73 (83, 94.5) cm] wide (folded in half)
- Body length: 24 (24, 34)” [61 (61, 86.5) cm]
🎯 Skill Level: Adventurous Beginner
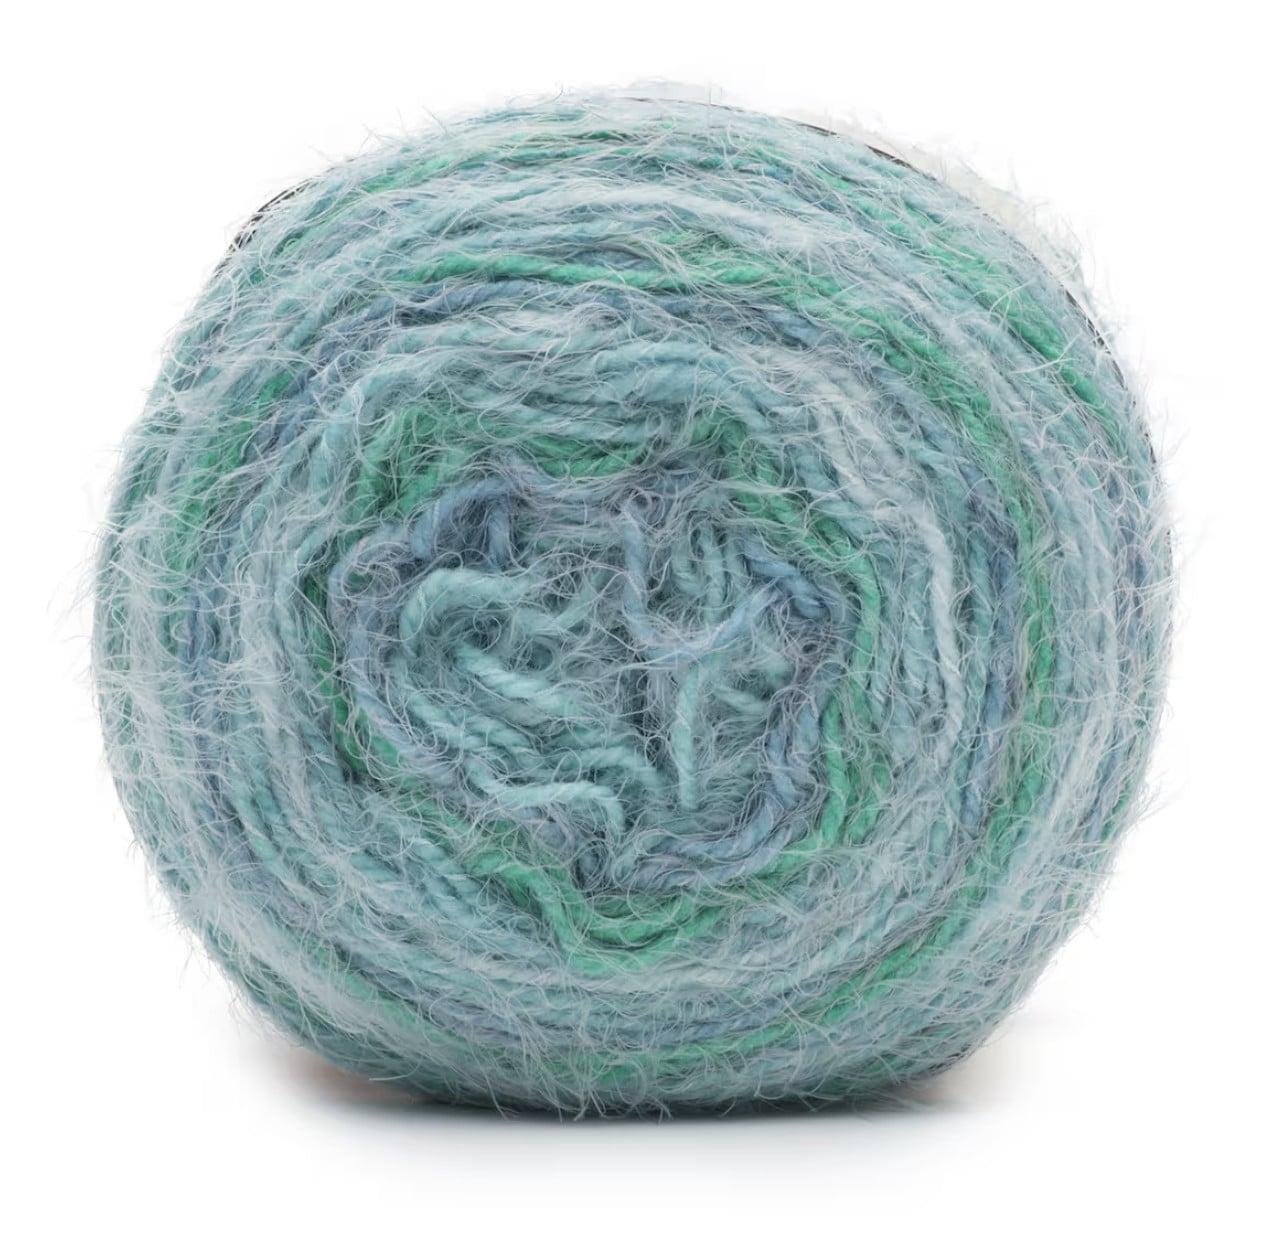
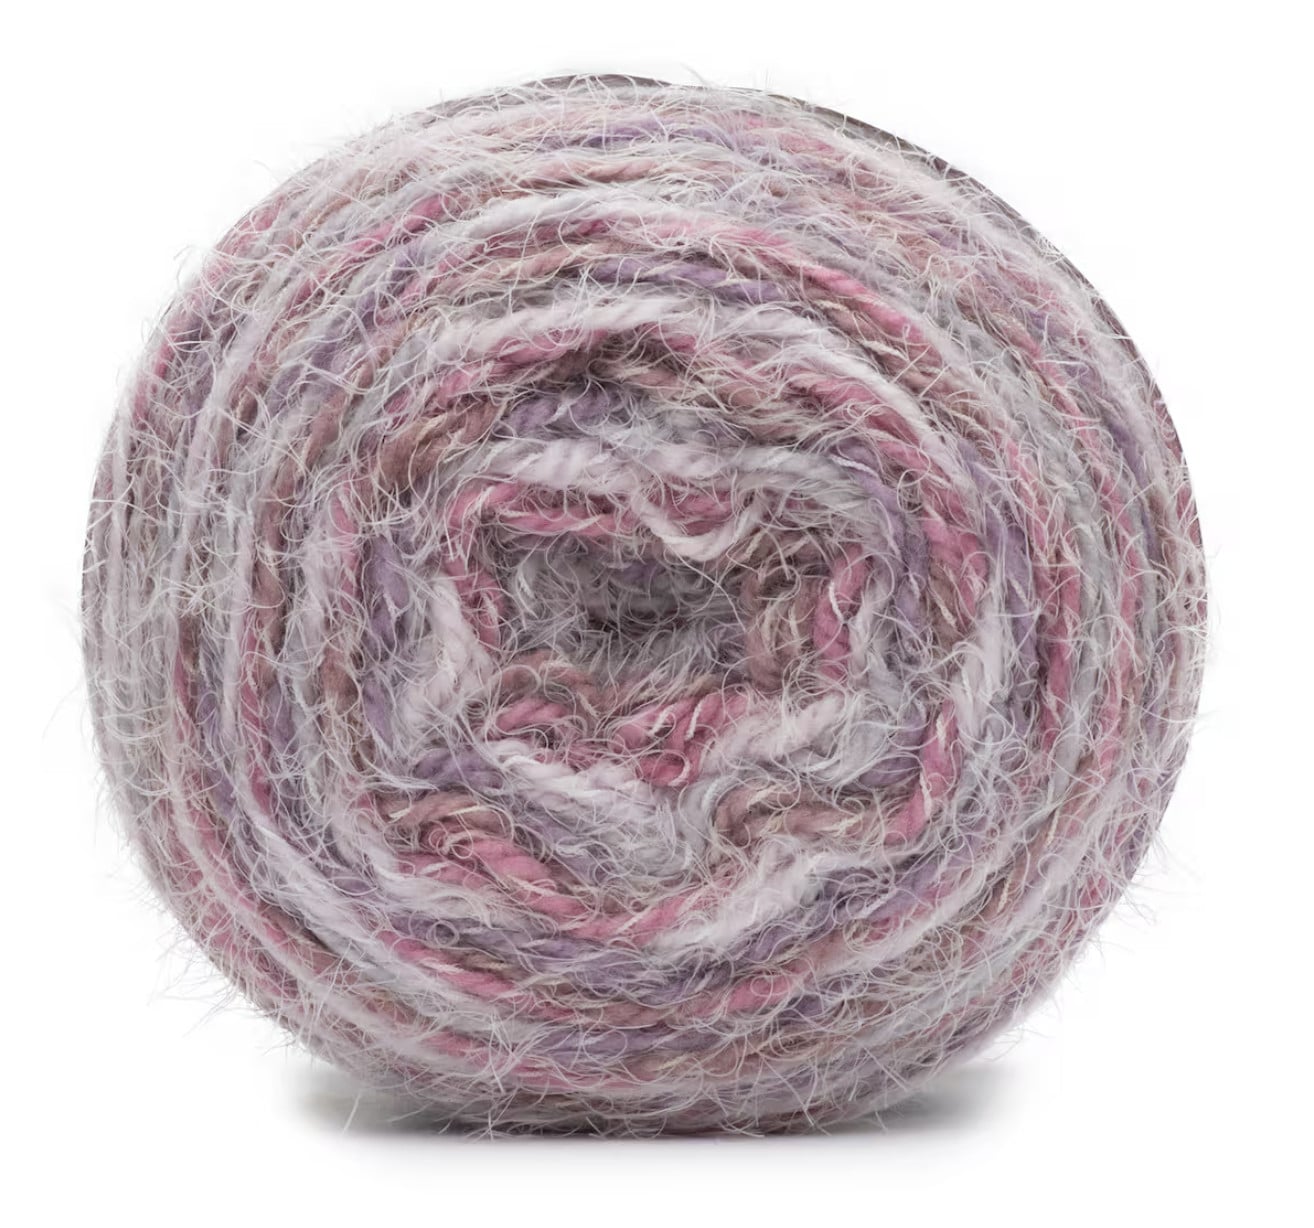
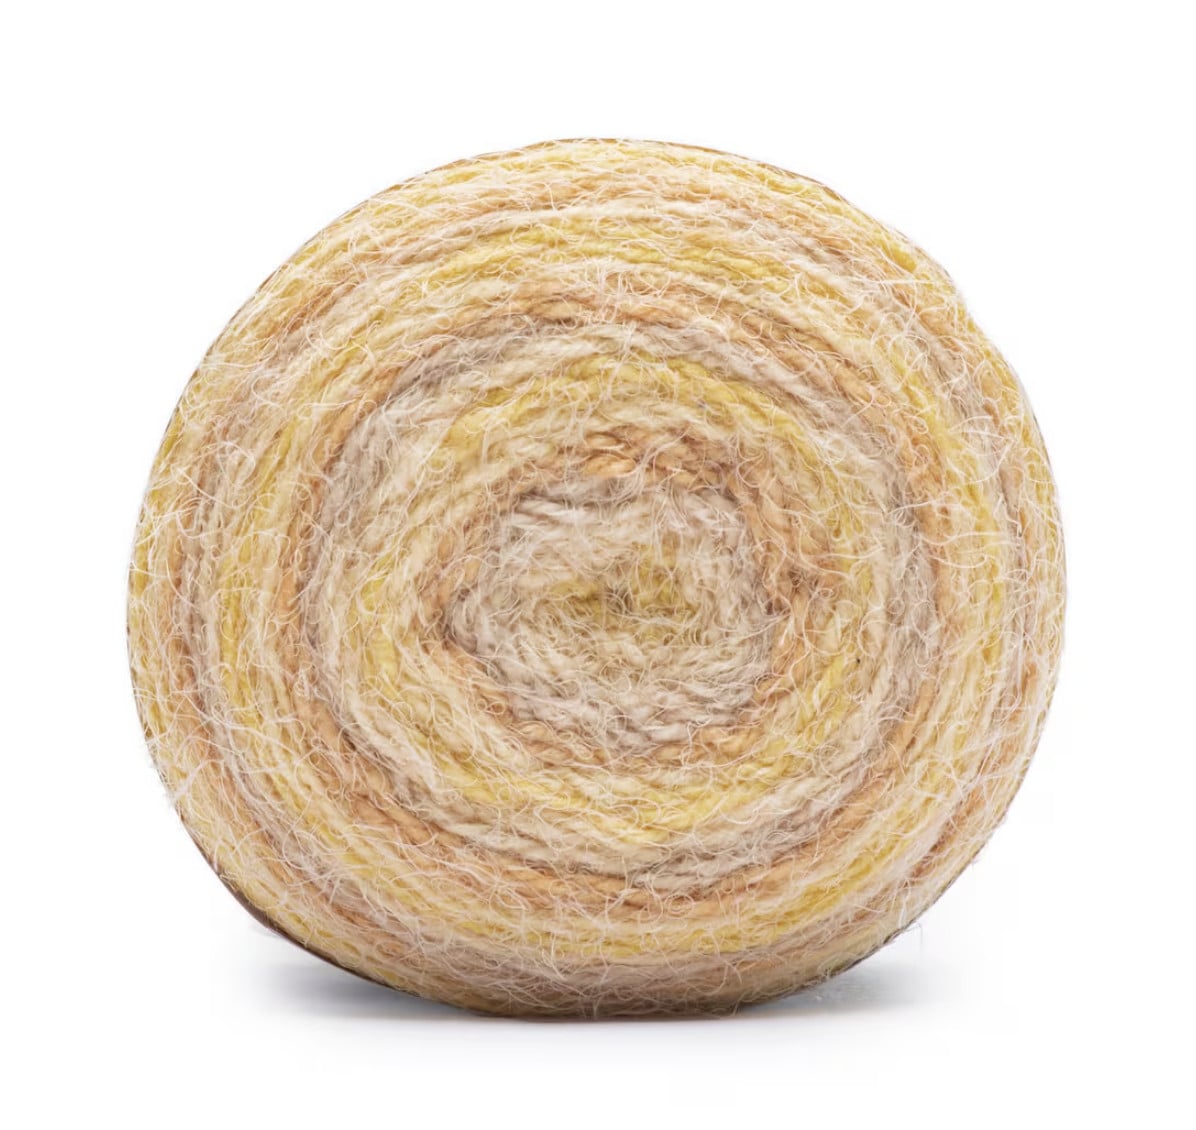
🧵 Yarn: Caron Latte Cakes — #5 Bulky cake gradient yarn (Michaels-exclusive, limited availability). See Yarn & Materials below for substitute picks.
🪡 Needles: U.S. 10 [6 mm] 48″ [122 cm] or longer circular needle (worked flat in rows — circulars hold the full width)
🪝 Crochet Hook: Size J/10 [6 mm] — used only to make the drawstring
📐 Construction: Worked flat from the top down (cowl first, then body), then folded in half and seamed. Drawstring threaded through cowl eyelet row (optional).
📊 Gauge: 12 sts and 24 rows = 4″ in Cowl Lace Pattern. Note: Latte Cakes has good stretch — account for it when measuring gauge.
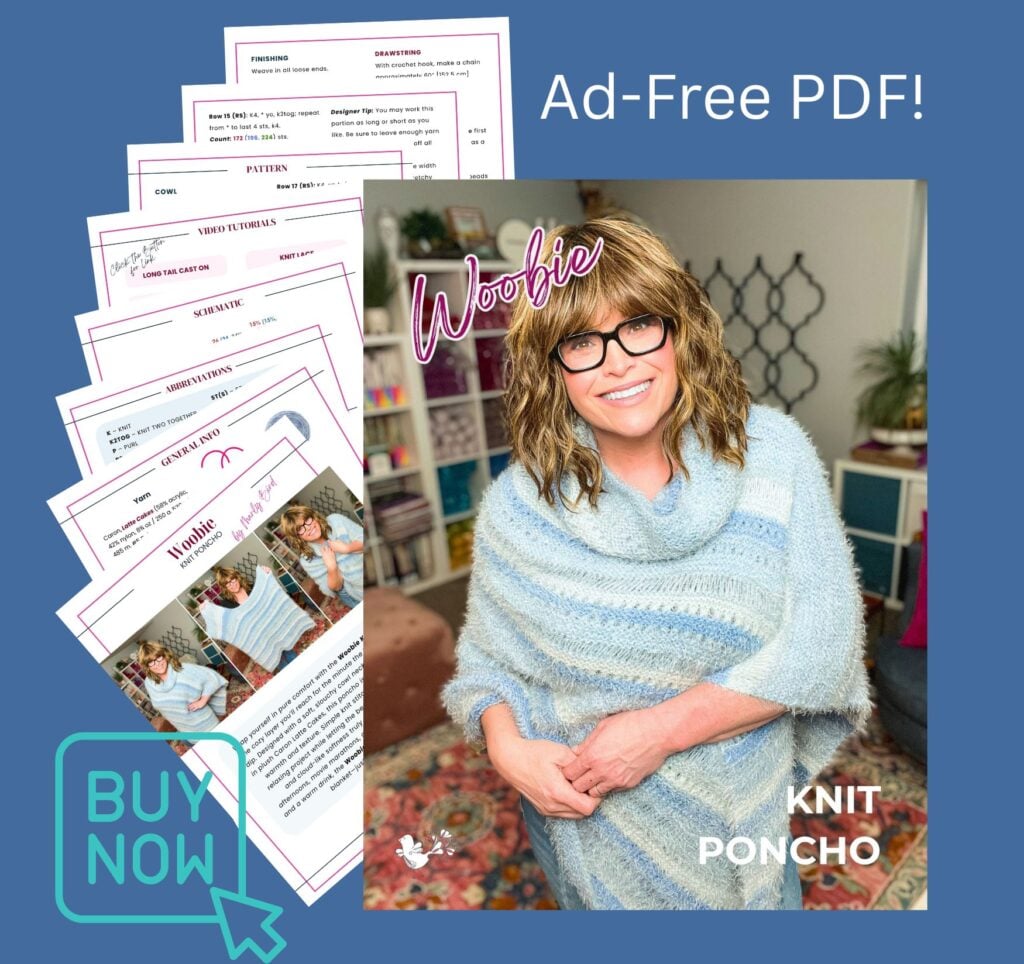
Love the Pattern but Want an Ad-Free PDF? ⭐
The Woobie Knit Poncho pattern is FREE right here on the blog… but if you’d rather work from a clean, printable, ad-free PDF (with schematic and no scrolling), I have you covered.
Grab the ad-free PDF in the shop of your choice:
Get the latest Marly Bird patterns + bestie-only deals in your inbox every week. 💛
Join our Newsletter
Get Free Crochet & Knitting
Pattern Links & Coupons!

Is the Woobie Knit Poncho Right for You?
This pattern is a great fit if…
✅ You’re an adventurous beginner ready to knit your first poncho. If you can knit, purl, yarn over, and k2tog, you have every skill you need. The construction is flat-knit-fold-and-seam, which is one of the most beginner-friendly garment constructions out there.
✅ You want a fast, satisfying garment project. Bulky yarn + big needles = quick knit. This is a weekend or two of casual knitting, not a multi-month sweater commitment.
✅ You love cozy, cake-gradient yarns. The Woobie was designed around Caron Latte Cakes’ natural color shifts, and the lightweight lace eyelet rows let those gradients show off beautifully.
✅ You want a pattern that’s generously sized and body-friendly. Because the Woobie is a fold-and-seam poncho (not a fitted garment), the S / M / L sizing wears generously across a wide range of body shapes and sizes. The drape does the work. You’re not squeezing into a number — you’re putting on a hug. 💛
✅ You travel and want a layer that doubles as a blanket. Throw the Woobie on for a plane ride, train trip, or car ride and you have a cozy travel blanket with your arms free for coffee, your phone, your book, or your knitting WIP. (See: flying with knitting needles.)
✅ You remember the 2019 Turkey Trot and always wanted the full pattern in one place. Welcome back. This is it. 💛
This pattern might NOT be the right fit if…
❌ You’re a brand-new knitter who hasn’t done a basic project yet. The Woobie is forgiving, but it assumes you’ve cast on and bound off something before.
❌ You’re looking for a lightweight summer layer. The Woobie is bulky and cozy by design — it’s the September-through-April layer, not the July layer.
Explore More Free Knit Patterns
If you love free knit garment patterns, you’ll want to keep these in your queue too:
- 🧥 Lorelai Knit Vest — the Turkey Trot 2024 featured knit, now available as a free standalone pattern (same Turkey Trot make-along format as the Woobie)
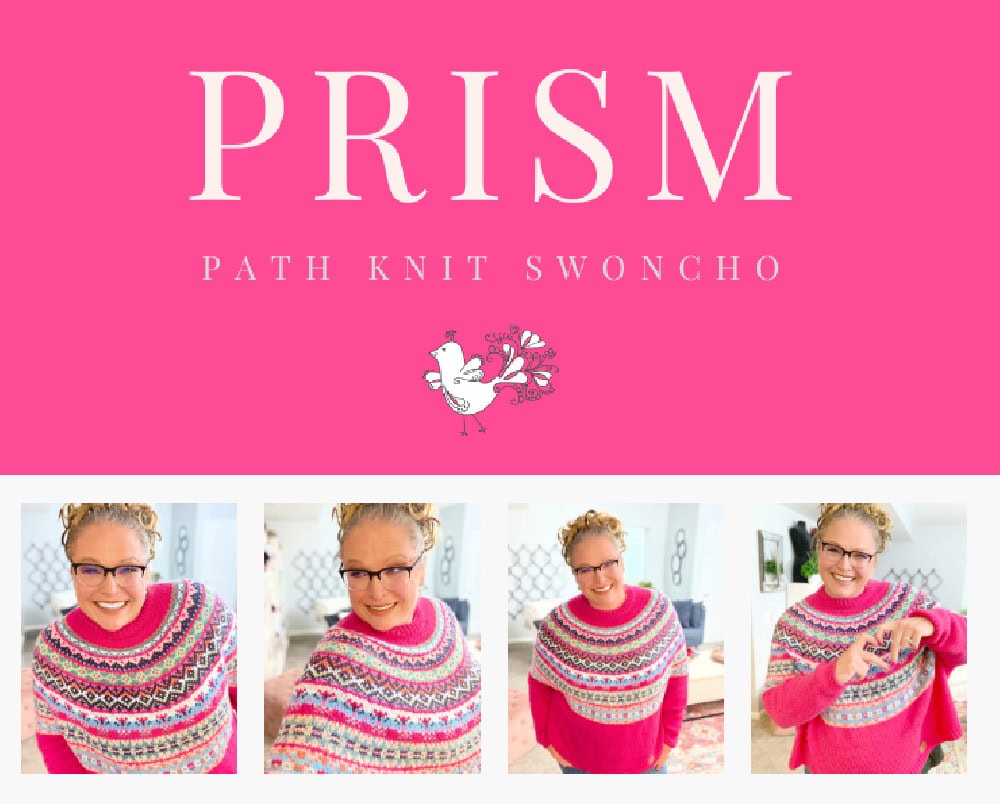
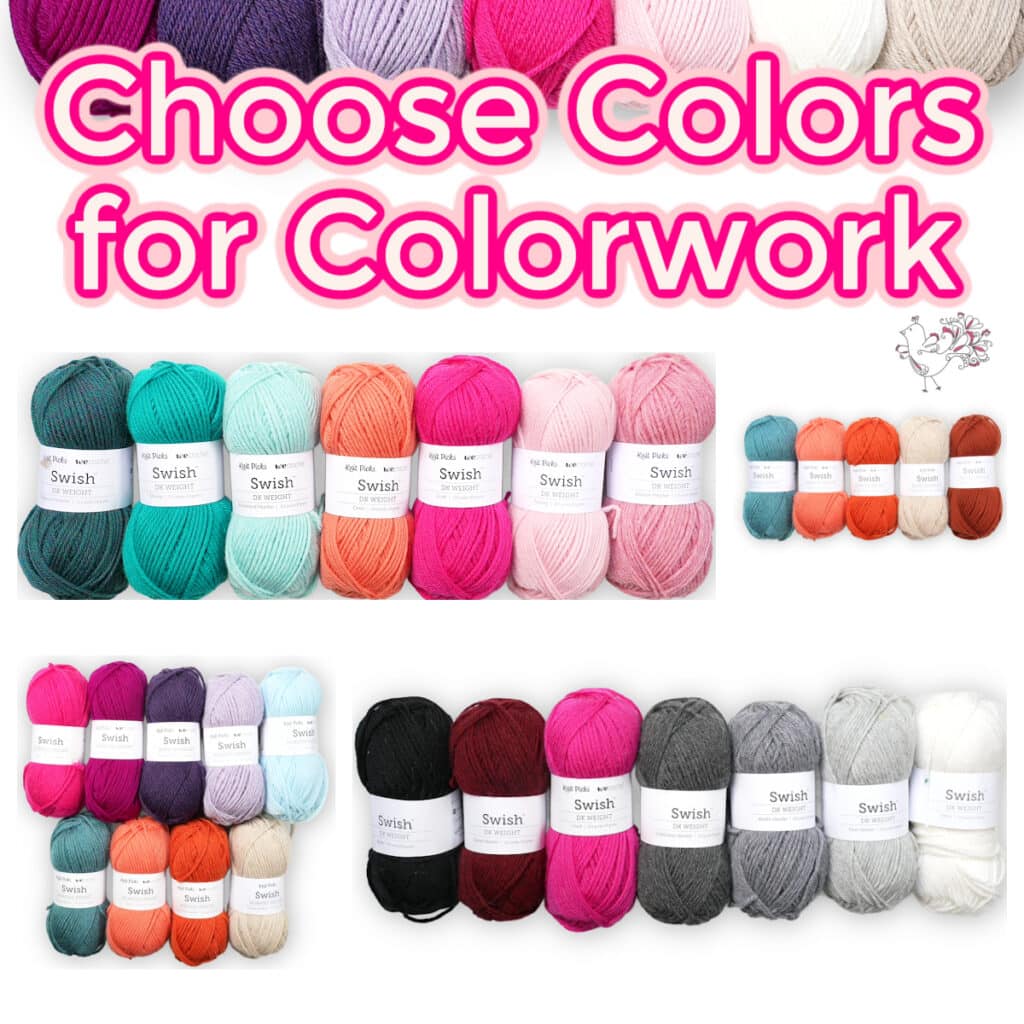
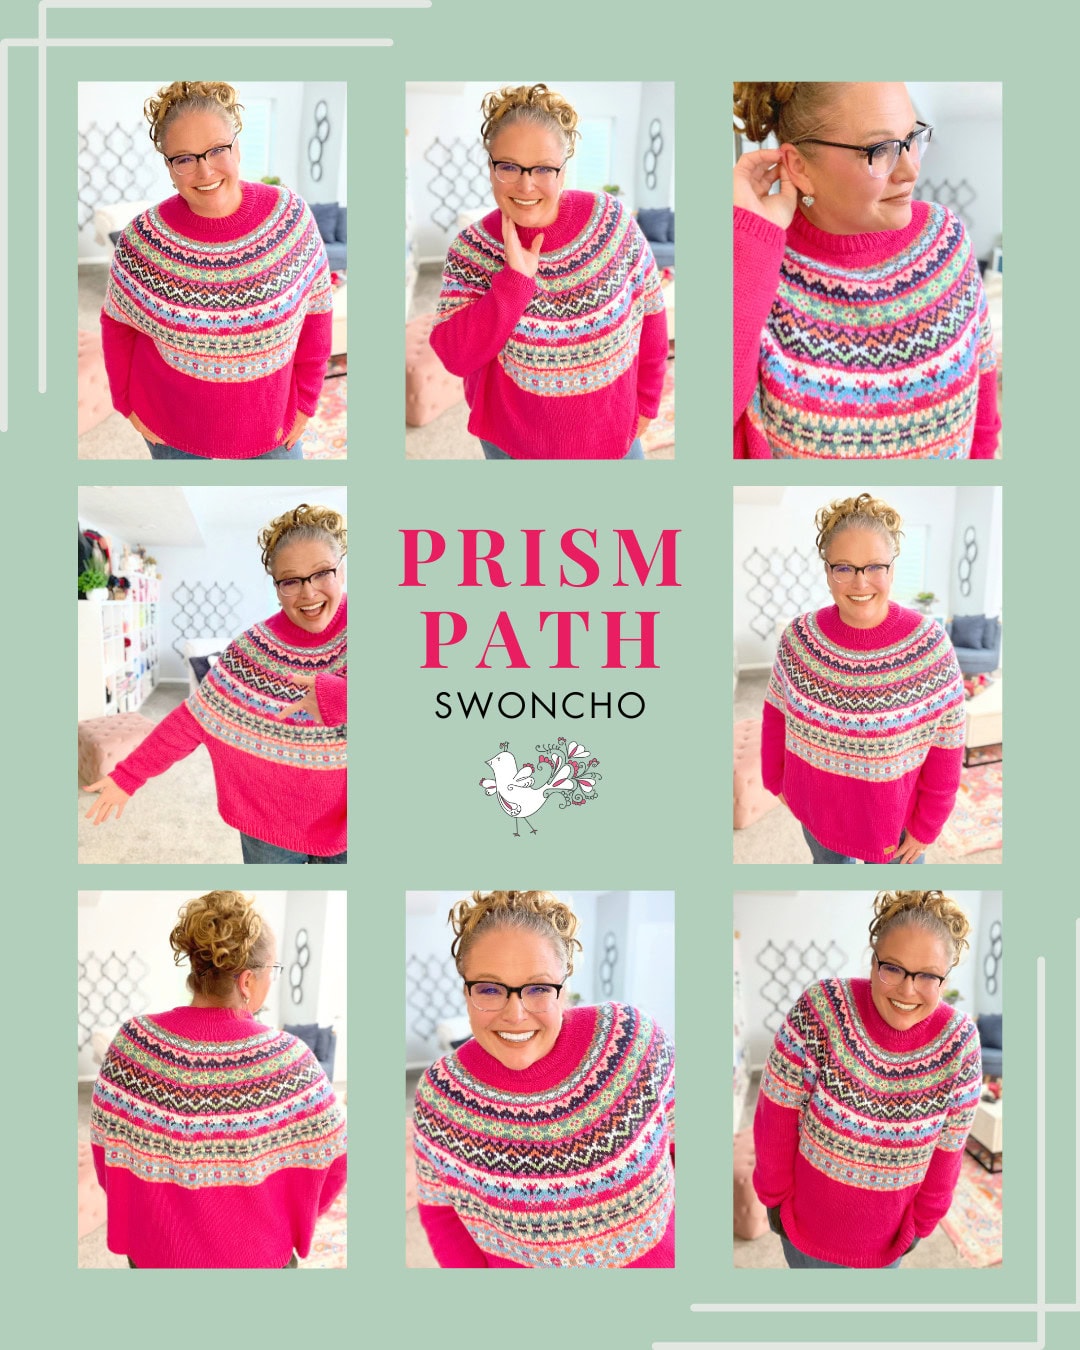
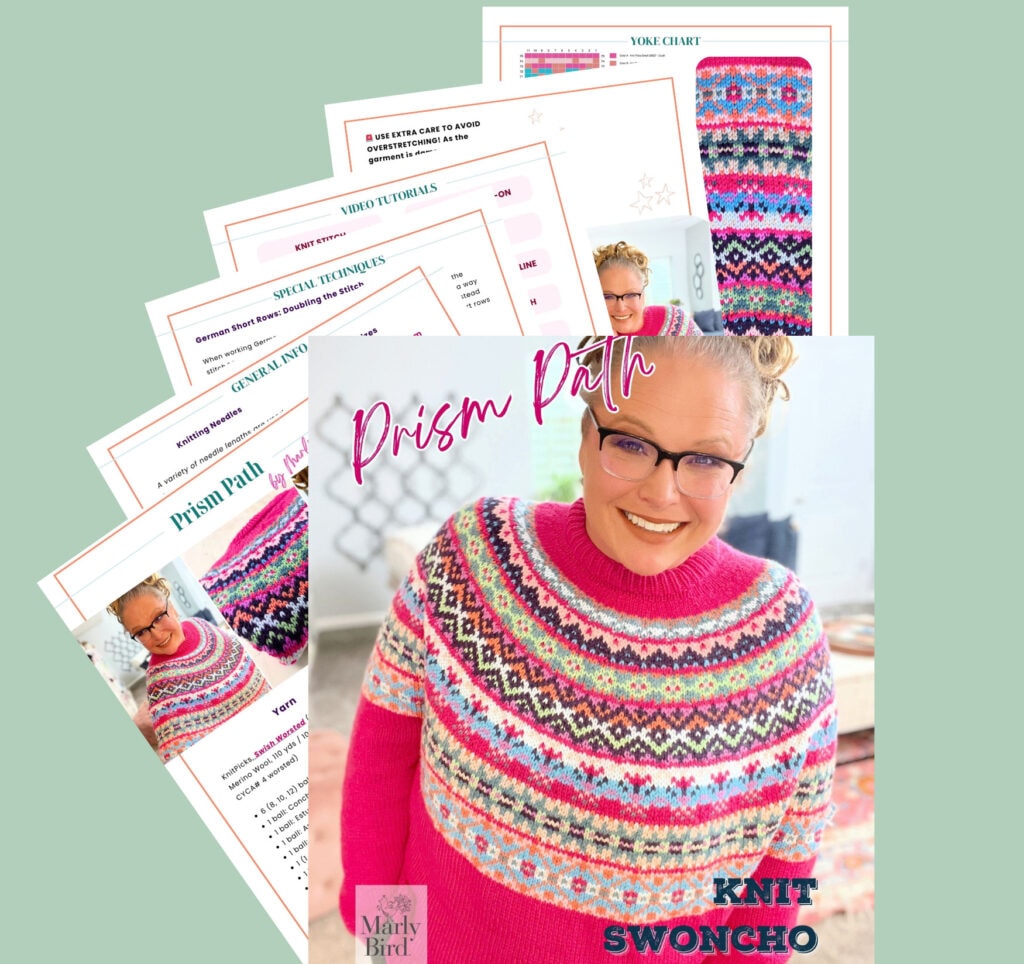
- 💕 Prism Knit Swoncho — A cozy, colorful knit swoncho featuring eye-catching geometric stitches and effortless layering style perfect for cool-weather making and wearing.
- 🎉 Sugar Frost Knit Cardigan — A soft and stylish knit cardigan with beautiful texture and a timeless silhouette that feels like wrapping yourself in a frosted winter hug.
- 🧣 Lehabah Fire Sprite Knit Shawl — lace shawl with built-in cowl-style detail (Crescent City fan favorite)
- 🧶 Return to Me Boomerang Knit Shawl — cables and lace in a boomerang construction
- 🌿 Make It Mine Easy Knit Triangle Shawl — beginner-friendly garter triangle
- 🏴 Blood of My Blood Knit Shawl — half-hexagon lace with cables (Outlander-inspired)
- 📚 Browse the full Knit Shawl Patterns hub and Turkey Trot 2019 event archive
The Story of the Woobie Poncho: From Turkey Trot 2019 to Standalone
If you’re new here, a little history. The Turkey Trot Mystery Make-Along is one of my favorite annual traditions. Every Thanksgiving week, I release a mystery pattern in daily “clues” — knitters and crocheters cast on without knowing what the finished project will be, and we reveal the design row by row throughout the week. It’s part craft-along, part community party, and the projects always end up being some of the most-loved designs in my archive.
The 2019 Turkey Trot was the very first one. The knit version was the Woobie Poncho. Three clues released over the Thanksgiving weekend, hundreds of knitters working through it together, and the finished piece earned its “Woobie” nickname from the community itself — because everyone said the same thing when they put it on: “It feels like a hug.”
The original pattern lived as three separate “clue” pages on the blog. For years, anyone who wanted to make the Woobie had to bounce between three URLs and piece the pattern together. Not ideal.
This post fixes that. The Woobie Poncho pattern is now fully refreshed, updated to our current standard layout, with a new schematic and new photos. The full pattern lives on one page. The old clue pages are being retired and redirected here so nobody gets lost in the archive.
If you’ve made the Woobie before — welcome back. If this is your first time meeting her — get ready to fall in love. 💛
Build Your Skills with the Woobie Poncho
Every pattern is also a chance to grow as a knitter. Here’s what you’ll add to your skill set when you make the Woobie Knit Poncho:
🧶 Cable cast-on (mid-row). The body of the poncho uses the cable cast-on technique to add stitches mid-row. It’s a clean, secure cast-on that’s perfect for adding live stitches in any project — once you have it in your hands, you’ll use it forever.
🧶 Stretchy bind-off. The bottom edge of the poncho uses a stretchy bind-off that prevents the kind of tight, pinched cast-off edge that ruins the drape of a knit garment. Essential for any project where the cast-off edge needs to flex.
🧶 Working a simple lace pattern. The Cowl Lace Pattern is just an 8-row repeat with a yarn-over/k2tog row. It’s the gentlest possible introduction to knitting lace, and once you’ve done it, you’ve unlocked dozens of more complicated lace patterns.
🧶 Drop-stitch decoration. The body of the poncho uses a “drop the yarn-overs” row that creates an elongated open-stitch effect. It looks dramatic. It’s actually one of the easiest decorative techniques you can do in knitting.
🧶 Crochet chain (for the drawstring). If you’re knit-only, this is your friendly introduction to crochet. A simple chain stitch with a J/10 hook makes the drawstring that threads through the cowl. (BiCrafty Bestie moment! ✨)
Why the Woobie Makes the Perfect Knit Travel Poncho ✈️
Some knit garments are great in concept and a hassle in practice. The Woobie isn’t one of those. It is — genuinely — the easiest layer I own to travel with, and once you wear yours on a plane or a long road trip, you’ll understand why.
🧣 Your arms stay free. Unlike a wrap or a blanket, a poncho stays put when you move. You can reach for your tray table, type on your laptop, scroll your phone, sip your coffee, and (most importantly) keep working on your next knitting WIP — all without your “blanket” sliding off your lap.
✈️ It doubles as a blanket. Airplane temperatures are an unsolved mystery of modern aviation. The Woobie gives you blanket-level warmth in a layer you put on once and forget about. No flagging down the flight attendant for a thin paper blanket. No layering a sweater + a wrap + a coat to stay warm.
🎒 It packs flat. Roll it, fold it, stuff it in your tote — the Woobie compresses easily and doesn’t crease. Plus the acrylic-blend yarn means no special care after a flight: pull it out, give it a shake, and it’s wearable.
🪡 It’s TSA-friendly to KNIT while you wear it. Yes — you can absolutely knit on the plane. (Yes, even with metal needles. Yes, even on the way home.) If you’re new to travel knitting, here’s my complete guide to flying with knitting needles — what’s allowed, what’s not, and how to pack so security never gives you a second look.
If you’re heading on a trip — and especially if there’s a long flight or a chilly destination involved — the Woobie deserves a spot in your carry-on. Cast on now, wear it on your next trip. 💛
Yarn & Materials
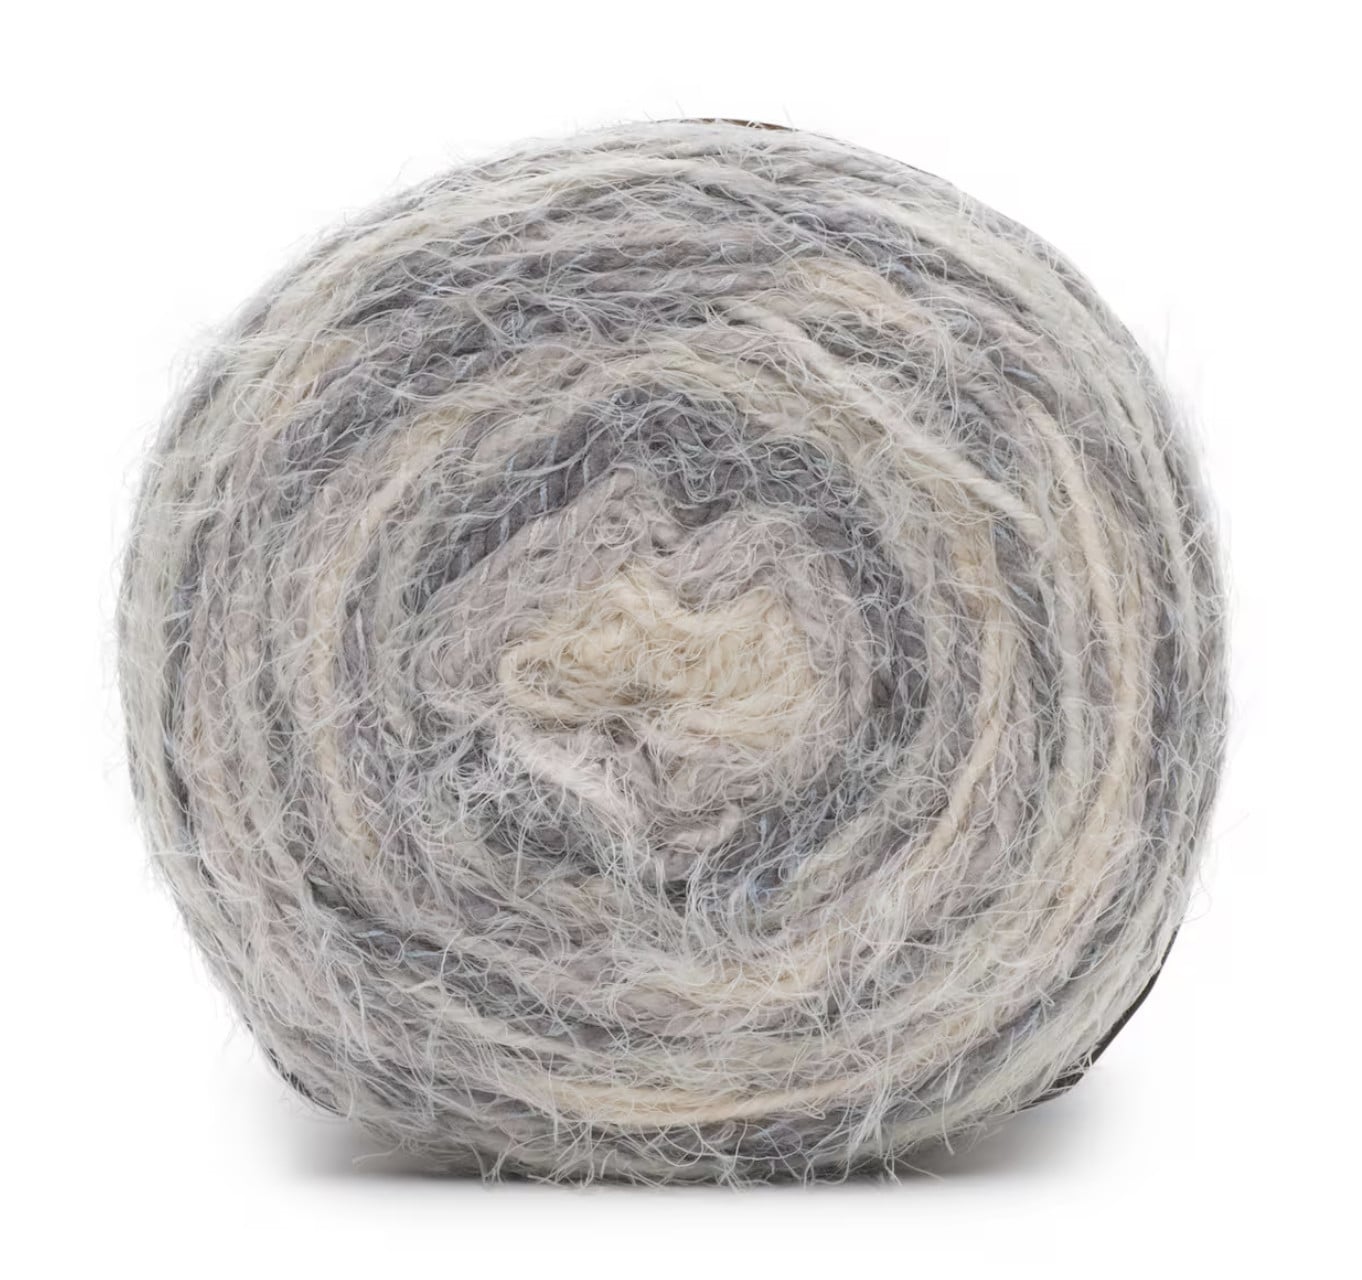
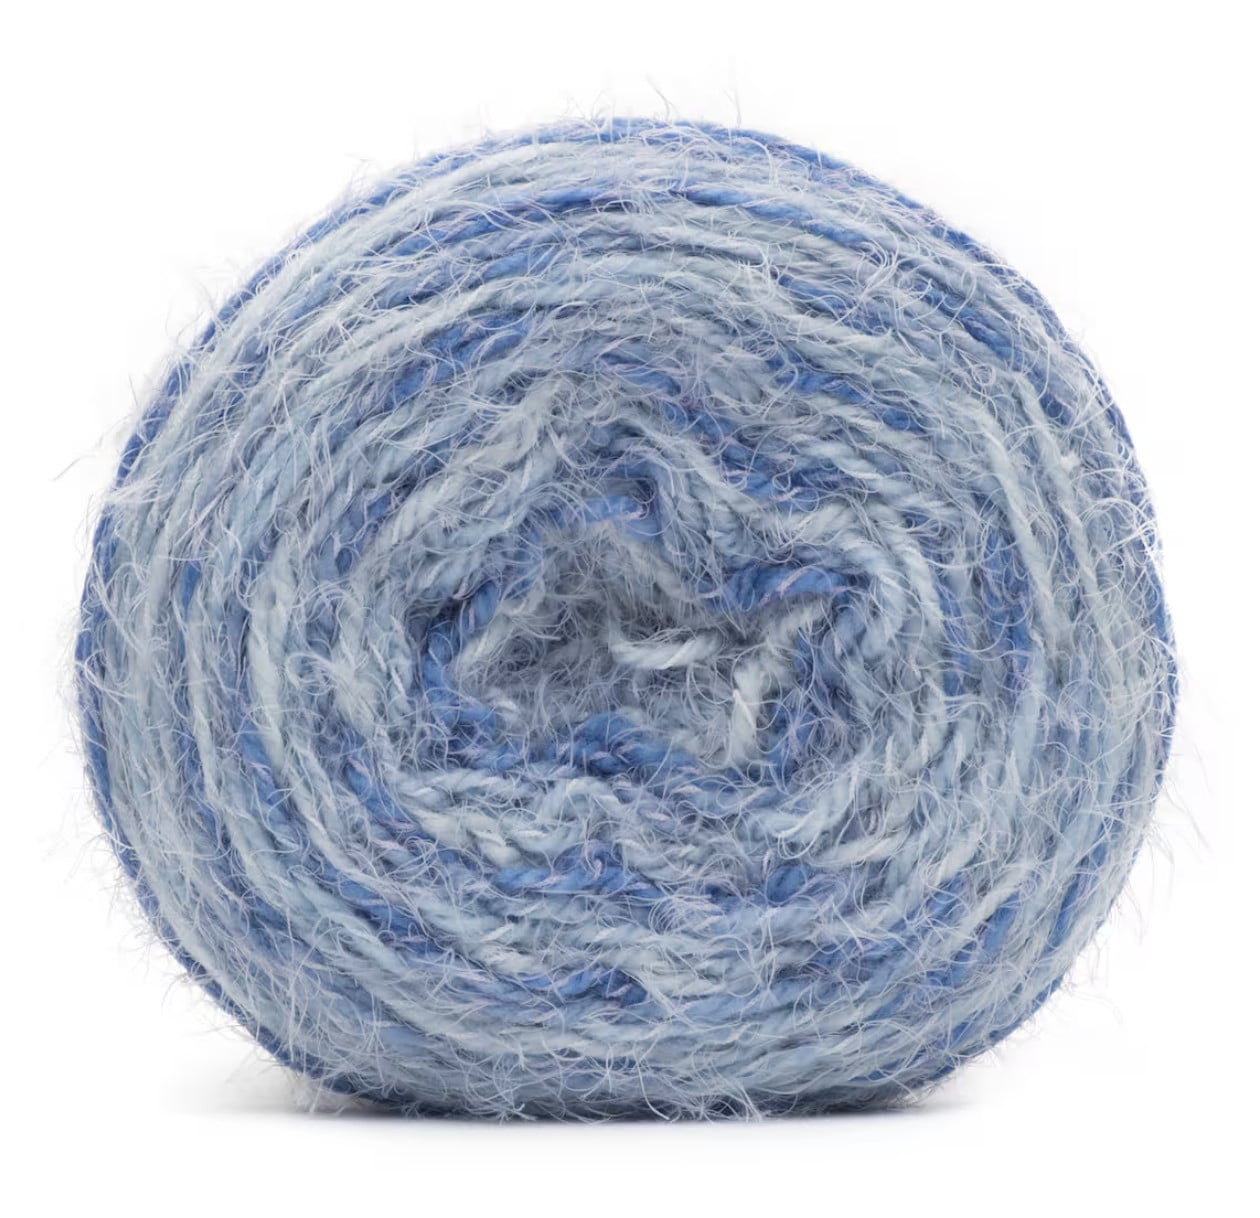
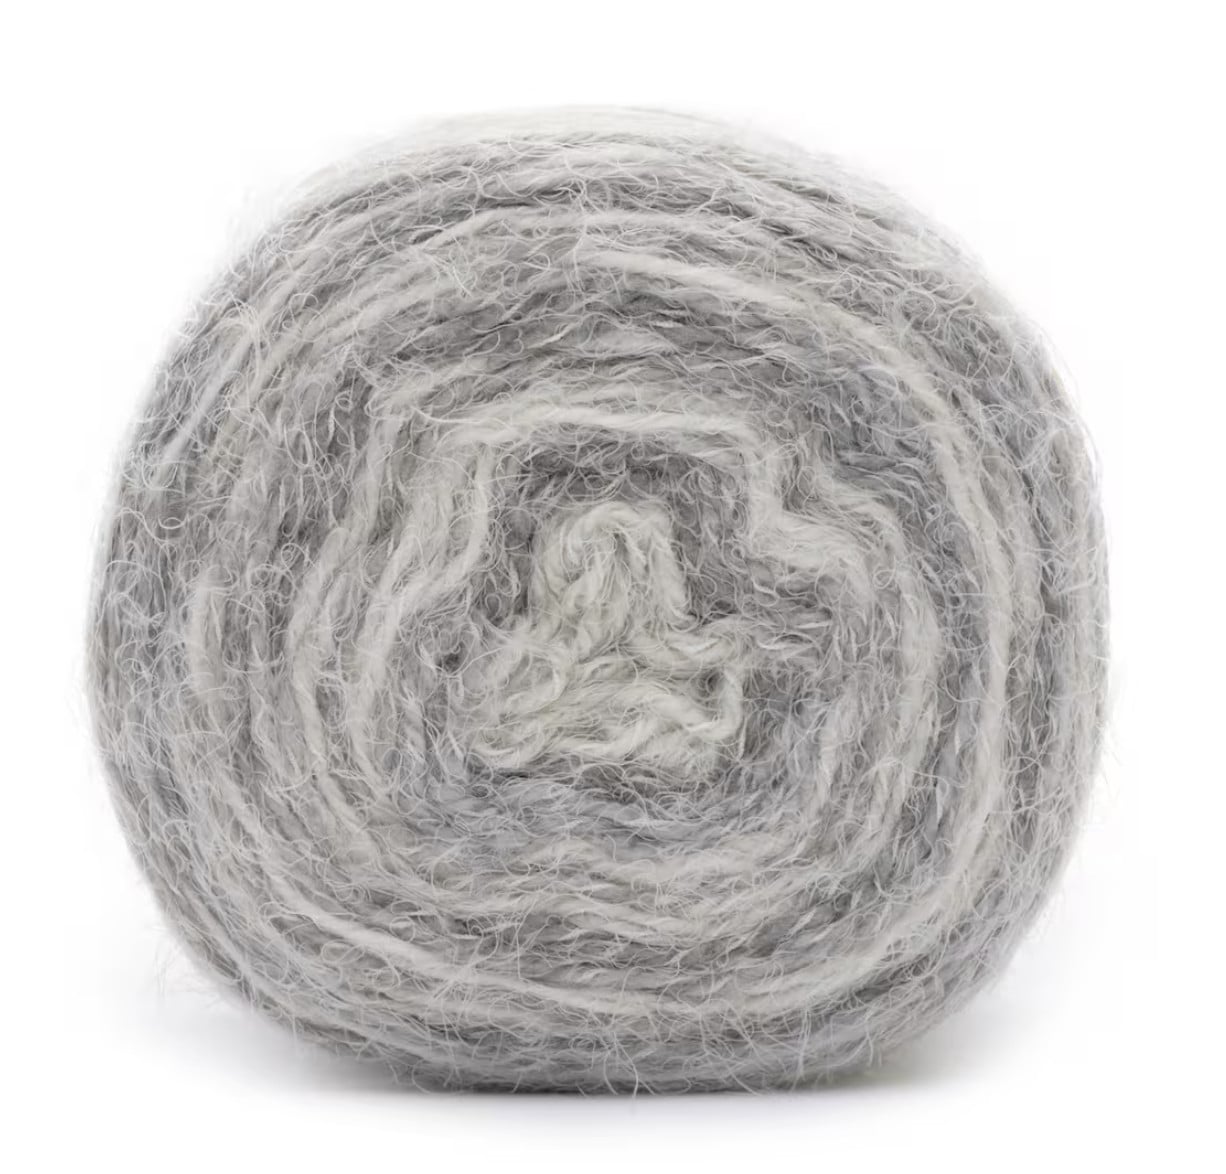
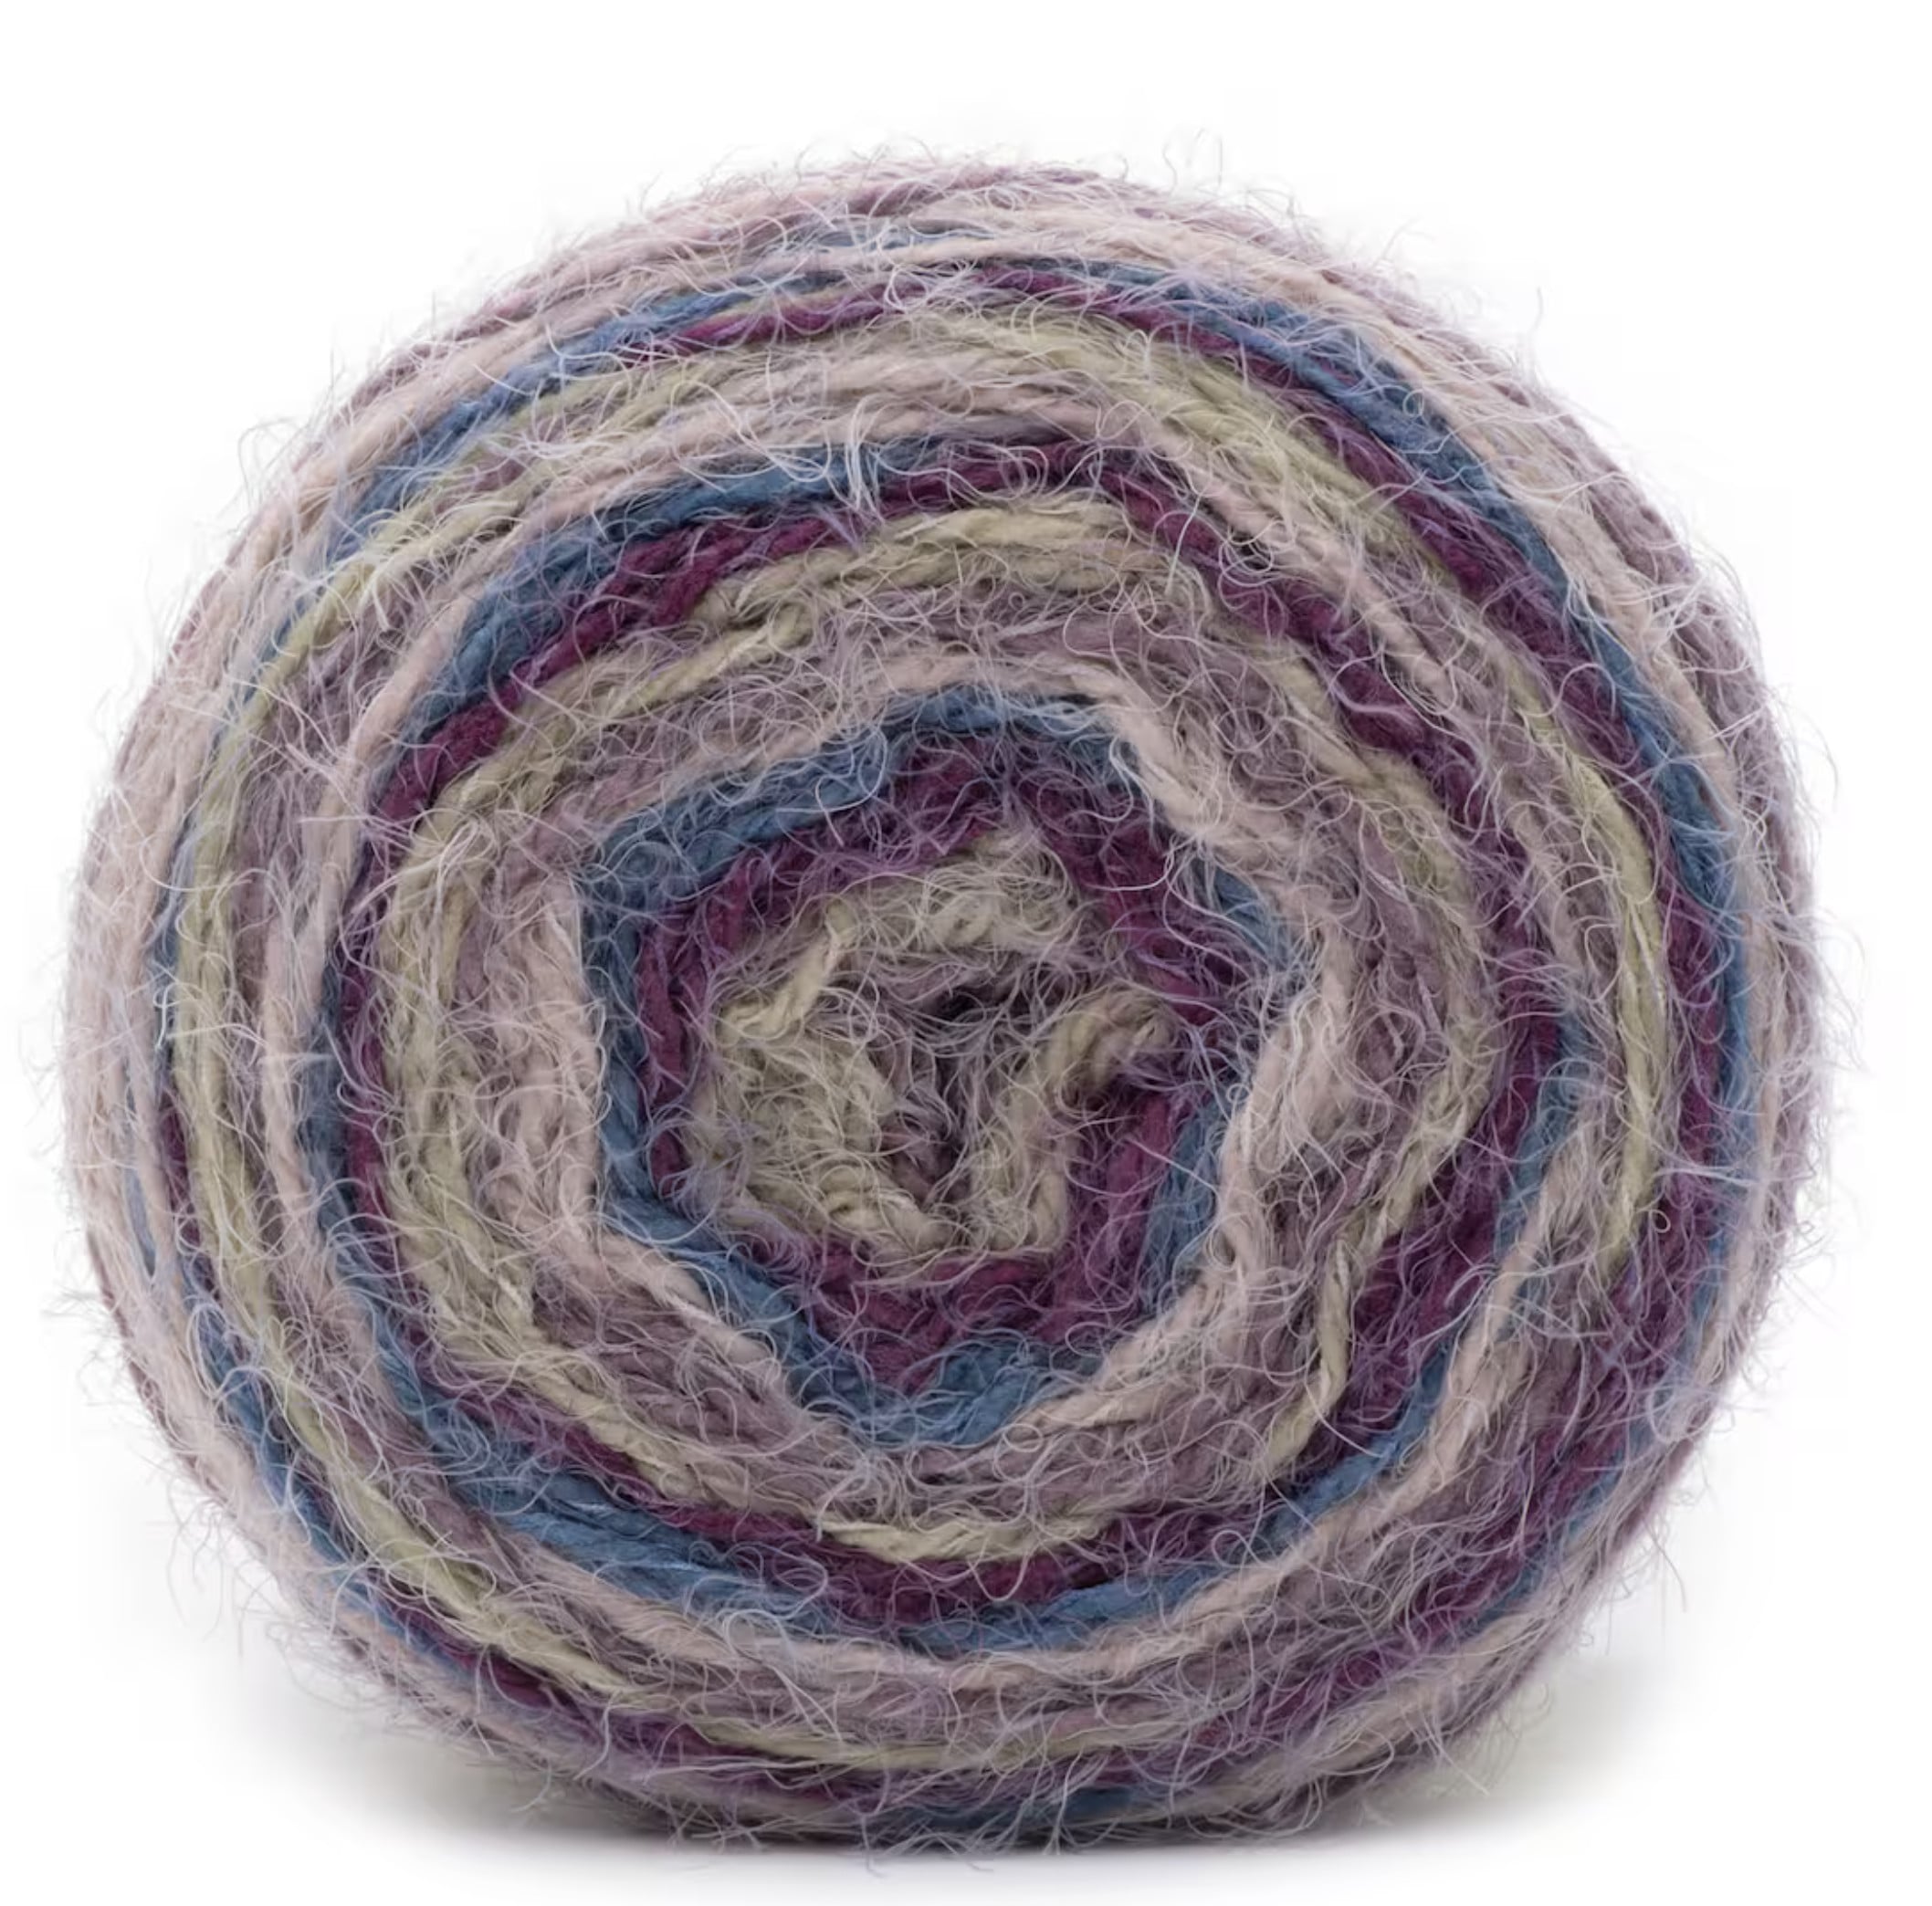
The Woobie Knit Poncho is designed for Caron Latte Cakes — a #5 Bulky weight cake gradient yarn, 58% acrylic / 42% nylon, 530 yds / 250g per ball. It’s a Michaels-exclusive yarn and currently still available there, though Yarnspirations lists it as no longer in active production. If you can grab a few cakes for your stash, this is the time. If you can’t find it, the substitutes below are excellent.
- 🧵 Yarn: Caron Latte Cakes at Michaels — #5 Bulky, 58% acrylic / 42% nylon, 530 yds / 250 g cake. Sample color: Blueberry. Yardage: 2 (3, 3) balls depending on size.
- 🪡 Needles: U.S. 10 [6 mm] 48″ [122 cm] or longer circular needle, or size to obtain gauge
- 🪝 Crochet Hook: Size J/10 [6 mm] — for the drawstring chain
- 📐 Stitch markers, tapestry needle, scissors, tape measure, stitch saver cord, notions bag
- ✨ Optional: Pom-pom or tassel maker for the drawstring ends.
What Can I Use Instead of Caron Latte Cakes? Yarn Substitute Guide
Since Caron Latte Cakes is being phased out as a Michaels exclusive, this is the most-asked question I get about this pattern. If you can’t find Caron Latte Cakes (or you just prefer a different fiber), here are the best substitute yarns for the Woobie Knit Poncho — all swatch-tested, gauge-checked, and ranked by how closely they match the original drape and gradient effect:
| Yarn | Weight | Yardage / Ball | Fiber | Where to Buy | Match Notes |
|---|---|---|---|---|---|
| Caron Latte Cakes (the original) | #5 Bulky | 530 yds / 250 g | 58% acrylic, 42% nylon | Michaels (limited stock) | The original — use if you can find it. |
| Loops & Threads Facets (top sub) | Worsted-Bulky | ~340 yds / 170 g | Acrylic blend | Michaels | 🏆 Closest substitute. Same gradient construction, swatch for gauge — may need a needle size up. |
| Lion Brand Mandala Ombre | #5 Bulky | ~466 yds / 227 g | 100% acrylic | Michaels | Widely available, soft, machine washable. Closest gradient self-striping at this weight. |
| Caron Cloud Cakes | #5 Bulky | 240 yds / 240 g | Acrylic blend | Michaels | Cloud-soft, fluffier texture. Lower yardage — you’ll need more cakes. |
| Any #5 bulky cake gradient yarn | #5 Bulky | 500+ yds / cake | Any (swatch first) | Your LYS / online | Generic guideline if none of the above is available. Always swatch — bulky weight means small gauge differences create big size differences. |
💡 Pro tip: If you’re switching to a substitute yarn, ALWAYS swatch first. Bulky-weight yarns are unforgiving — a half-stitch difference per inch can change the finished size by several inches. Use the gauge listed in the Pattern Details section as your target and adjust needle size up or down to hit it.
Video Tutorials
If you need a refresher on any of the techniques in this pattern, here are the video tutorials I recommend:
- 🎥 Long-Tail Cast-on
- 🎥 Fixing Long Tail Cast-on
- 🎥 Knit Stitch (Continental)
- 🎥 Purl Stitch (Continental)
- 🎥 How to Tink (un-knit)
- 🎥 How to Add a Lifeline (3 ways)
- 🎥 How to Yarn Over Increase
- 🎥 How to Knit Lace
- 🎥 How to Bury Ends
- 🎥 How to make an easy DIY Tassel
- 🎥 How to use a Pom Pom and Tassel Maker
- 🎥 Extra help on the first part of the body
Woobie Knit Poncho — Pattern Details
Skill Level
Adventurous Beginner
Measurements
To Fit Sizes: S (M, L)
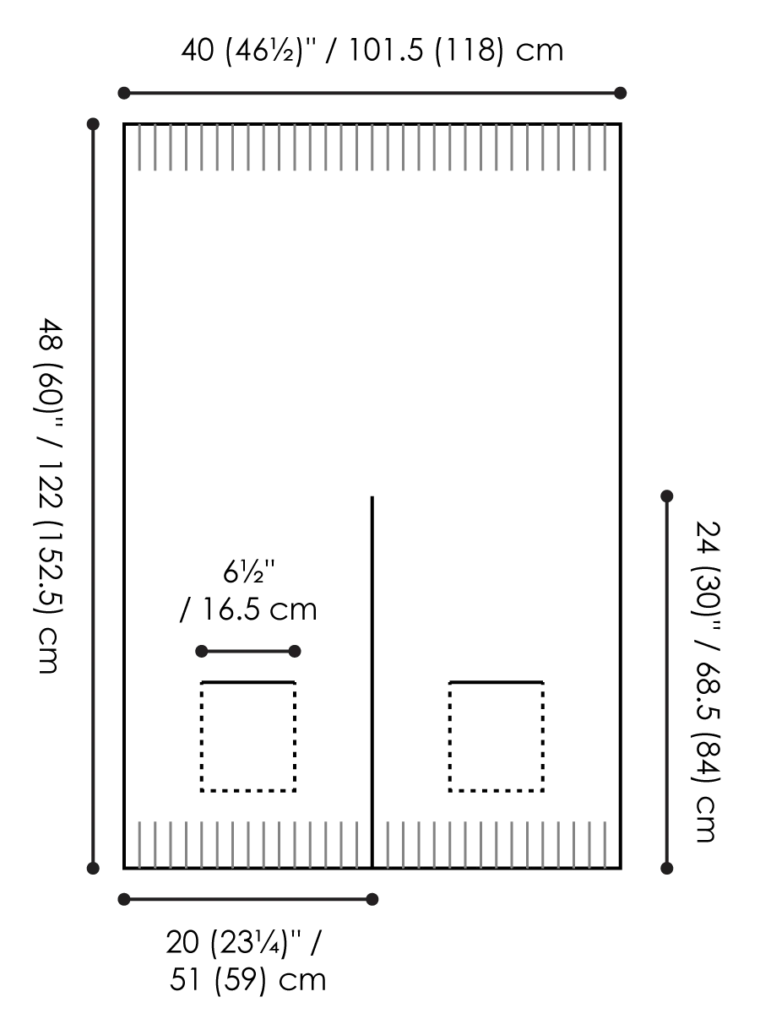
Finished Measurements:
- Cowl: 26 (34, 34)” [66 (86.5, 86.5) cm] around and 8″ [20.5 cm] in length
- Body width: 28¾ (32¾, 37¼)” [73 (83, 94.5) cm] wide (folded in half)
- Body length: 24 (24, 34)” [61 (61, 86.5) cm]
Gauge
12 sts and 24 rows = 4″ in Cowl Lace Pattern.
Note: The Latte Cake yarn has a good amount of stretch, so be sure to account for that stretch when you measure your gauge.
Materials
Yarn: Caron Latte Cakes (58% acrylic, 42% nylon, 8¾ oz / 250 g, 530 yds / 485 m, #5 Bulky, available only at Michael’s): 2 (3, 3) balls. Sample color: Blueberry
Needle: U.S. 10 [6mm] 48″ [122 cm] or longer circular needle, or size required for gauge.
Note: Poncho is worked back and forth in rows. Circular needles are used to accommodate the full width of the sts.
Hook: Size J/10 [6mm]
Notions: Stitch markers, tapestry needle, scissors, tape measure, stitch saver cord, notions bag for supplies, optional pom-pom or tassel maker.
Abbreviations
- K — Knit
- K2tog — Knit Two Together
- RS — Right Side
- St(s) — Stitch(es)
- WS — Wrong Side
- Yo — Yarn Over
Special Techniques
⭐ Cable Cast-on: Place a slipknot on left hand needle and k1, slip new st onto left hand needle; * insert right hand needle between first 2 sts on left hand needle, k1 from this position, leave the first st on left hand needle and slip new st onto left hand needle. Repeat from * for desired number of sts.
⭐ Stretchy Bind-Off: K2 from left hand needle, insert left hand needle into front leg of the 2 sts on right hand needle, k2tog (1 st remaining on right hand needle), * k1 from left hand needle, insert left hand needle into front leg of last 2 sts on right hand needle, k2tog; repeat from * to last st. Fasten off.
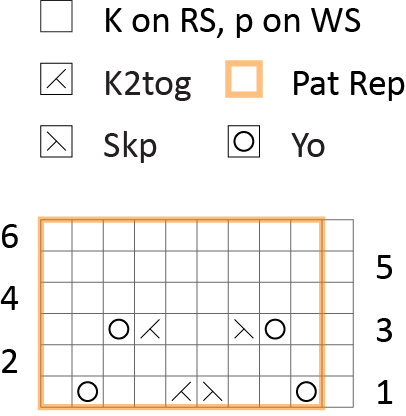
Pattern Stitch — Cowl Lace Pattern
Worked over an even number of sts (minimum 4).
Rows 1-7 (begin WS): Knit.
Row 8 (RS): K1, * yo, k2tog; repeat from * to last st, k1.
Repeat Rows 1-8 for Cowl Lace pattern.
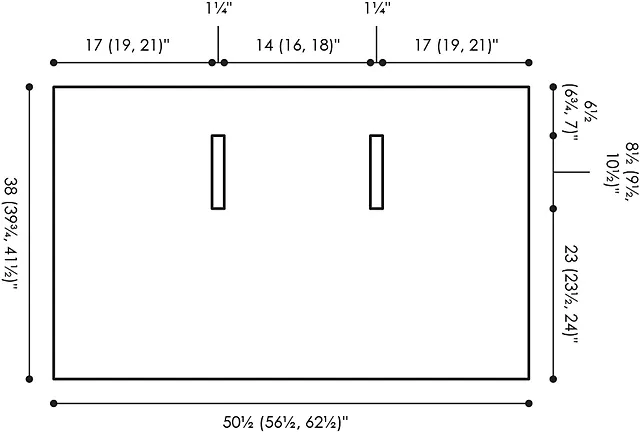
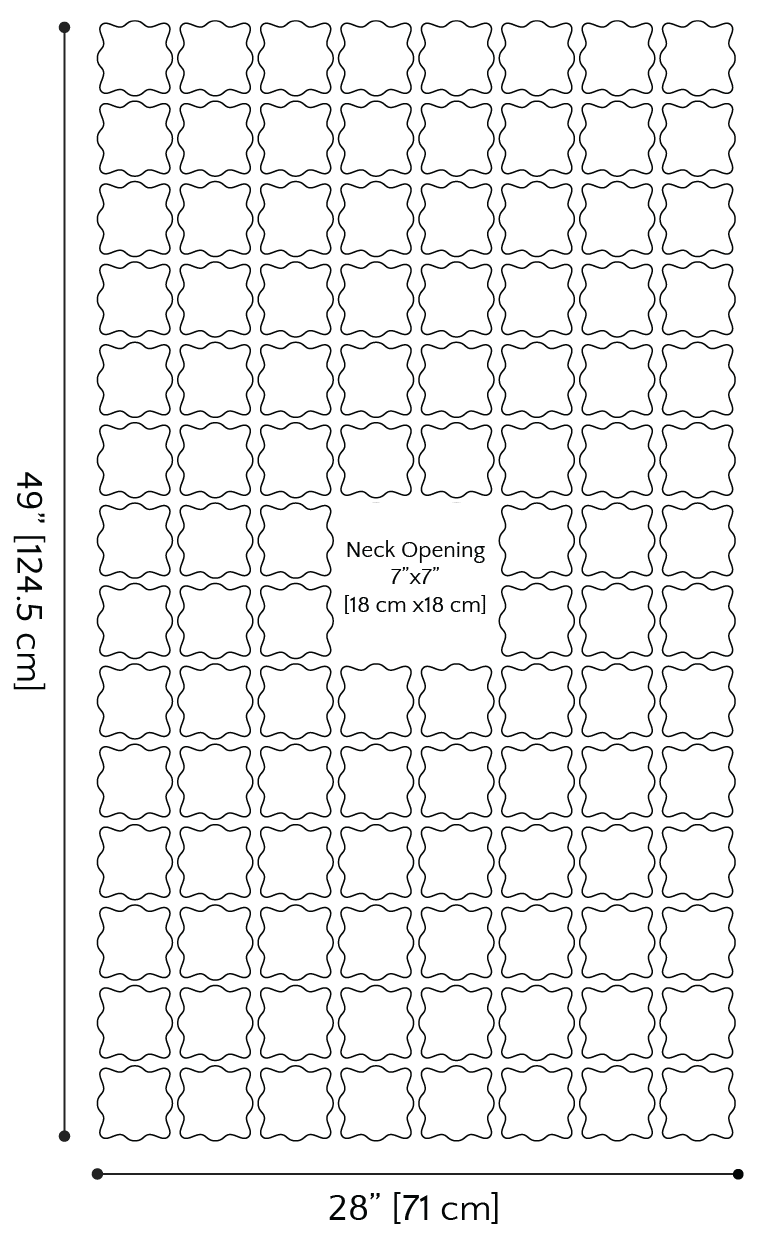
Schematic
Pattern Notes
- Directions are for the smallest size; changes for larger sizes are in parentheses. When only one number is given, that number applies to all sizes.
- The Latte Cakes yarn has a good amount of stretch, so be sure to account for that stretch when you measure your gauge.
- Poncho is worked back and forth in rows. Circular needles are used to accommodate the full width of the sts.
- Poncho is worked flat from the top down, then folded in half and seamed.
GROW
To Unlock Exclusive Subscriber Content click the Box below and join for free by simply adding your email and creating a password! If you are having troubles, clear your cache or reset your password or login to the Grow Publisher Portal.
>> Learn More About Grow Here <<
I’m thrilled to share this amazing pattern with you, many patterns on my blog are absolutely free! I kindly request that you don’t copy and paste or distribute this pattern. Prefer an ad-free experience? Buy a digital PDF pattern for a small fee from one of my online stores for a seamless crafting journey.
I appreciate your support and readership. You are the reason I can keep doing what I love and sharing it with others. So, thank you from the bottom of my yarn-loving heart! Disclosure: This post contains affiliate links, meaning I get a commission if you decide to make a purchase through my links at no cost to you.
Woobie Knit Poncho — Pattern Instructions
Cowl
Cast on 78 (102, 102) sts with Long-Tail cast-on (see Video Tutorials).
Work in Cowl Lace Pattern until piece measures 8″ [20 cm], ending after a pattern Row #7 (WS).
Body
Row 1 (RS): Using cable cast-on (see Special Techniques), cast on 47 (47, 61) sts, k across 47 (47, 61) newly cast-on sts, k to end.
Count: 125 (149, 163) sts.
Finishing
Weave in all loose ends.
Seaming
Fold Poncho in half according to schematic.
Sew side seam of Body, shoulder seam, and side seam of Cowl. Leave neck and bottom open.
Drawstring
With crochet hook, make a chain approximately 60″ [152.5 cm] length. Fasten off.
Weave this chain through the first eyelet row of the cowl to act as a drawstring.
Add pom-poms or tassels or beads to the ends of the drawstring as desired.
Wear with pride. 💛
Favorite & Queue the Woobie Knit Poncho on Ravelry

More Free Knit Patterns You’ll Love
Loved the Woobie? Here are more of my free knit patterns to add to your queue — a mix of garments, accessories, and quick projects so you can keep the cozy-knit momentum going:
- ⚔️ Eowyn Cable Knit Shawl — a textured right-triangle shawl with cables for Lord of the Rings fans (intermediate)
- 🧦 My First Toe-Up Knit Socks — a beginner-friendly first-socks pattern with German short row heel
- 🌈 Heartstrings Knit Socks — your stranded-colorwork-on-socks starter pattern
- ⛰️ Summit Knit Shawl — a graphic, modern shawl perfect for showing off variegated yarn
- 🍵 Cabled Knit Cup Cozy — the perfect tiny weekend project (and the best gift add-on to a cute mug)
- 🌊 Dynamic Wave Mosaic Knit Hat — slip-stitch mosaic colorwork without the float fuss
- 📚 Browse the full Knit Shawl Patterns hub for even more

Frequently Asked Questions
Is the Woobie Knit Poncho beginner-friendly?
It’s an adventurous-beginner pattern. If you can cast on, knit, purl, yarn over, and k2tog, you have every skill you need. The construction is flat-knit-fold-and-seam, which is one of the most beginner-friendly garment constructions out there. You’ll also pick up two new techniques along the way (cable cast-on and stretchy bind-off), but both are walked through in the Special Techniques section.
What yarn should I use for the Woobie Poncho?
The original was designed for Caron Latte Cakes, a Michaels-exclusive #5 Bulky cake gradient yarn. It’s still shoppable at Michaels (in-store and online) but Yarnspirations lists it as a retailer-exclusive with limited future availability. If you can find it, use it. If not, the closest big-box substitute is Loops & Threads Facets (also at Michaels), followed by Lion Brand Mandala Bulky or Caron Cloud Cakes. Any #5 Bulky cake gradient yarn with around 500+ yds per cake will work — just swatch first.
What can I use instead of Caron Latte Cakes for the Woobie Poncho?
The closest substitute is Loops & Threads Facets at Michaels — same gradient cake construction in a slightly different weight (swatch first; you may need a needle size up). Other strong substitutes: Lion Brand Mandala Ombre (#5 bulky, widely available, soft acrylic) and Caron Cloud Cakes (softer, fluffier texture but lower yardage — you’ll need more cakes). Any #5 bulky cake gradient yarn with around 500+ yards per cake will work for the Woobie. See the full yarn substitute guide earlier in this post for details, yardage, and where to buy.
Is the Woobie Poncho good for travel?
Yes — the Woobie is one of the best travel knitting projects you can wear. It works as a wearable blanket on planes, trains, or car rides because your arms stay free for coffee, your phone, your book, or your knitting WIP. It packs flat, the acrylic-blend yarn doesn’t wrinkle, and it’s warm enough to handle airplane-cabin temperatures. If you’re flying with knitting in progress, see my complete guide to flying with knitting needles.
How long does the Woobie Knit Poncho take to make?
It’s a weekend-pace project for most knitters — one to two weekends of casual knitting. Bulky yarn and big needles mean each row works up fast, and the cowl section is short. The body is where you’ll spend most of your time, but it’s mostly plain garter and easy lace rows. Significantly faster than a sweater.
Do I have to know how to crochet to make this poncho?
Only for the drawstring. The drawstring is a simple crochet chain — one of the easiest crochet stitches there is, and absolutely learnable from a 2-minute video if you’ve never crocheted before. If you really don’t want to crochet, you can make a long i-cord in knit, braid three strands of yarn, or use a piece of ribbon or leather cord instead. The drawstring is functional but not structural — any flexible cord works.
Can I make the Woobie Poncho longer or shorter?
Absolutely. The body length is the most customizable part of the pattern. Stop short for a capelet-length cozy, or keep going for a longer drape. Just make sure to end after Row #6, #14, or #22 of the body repeat, and leave enough yarn for the stretchy bind-off (about 8 times the width of your poncho).
Why is it called the Woobie?
“Woobie” is the nickname the community gave it during the original 2019 Turkey Trot Mystery Make-Along. A “woobie” is a beloved comfort blanket (think: the one your kid drags around the house), and that’s exactly how everyone described wearing this poncho — like a security blanket you could leave the house in. The name stuck, and it’s officially the Woobie Poncho now.
Where can I get the ad-free PDF of the Woobie Knit Poncho?
The ad-free PDF is available in my Etsy shop, my Ravelry store, and at shop.marlybird.com. The PDF version is printer-friendly with no ads or scrolling, which makes it much easier to work from while knitting.
Final Thoughts
The Woobie Knit Poncho has been one of my favorite designs to revisit. Going back into a 2019 pattern and refreshing it for a new generation of knitters has been a joy… and seeing the original Woobie crowd (“I still have mine!”) show up in the community has been the cherry on top. Whether you’re knitting it for the first time or you’re a returning Woobie person who just wants the full pattern in one place… welcome. I’m so glad you’re here. 🧣💛
If you make one, please share it with me. Tag @MarlyBird on Instagram or post in the Marly’s Minions Facebook group. There’s nothing better than seeing your finished pieces. 💛
And if this pattern brightened your day, share it with a fellow knitter on Facebook — that’s how patterns like this one find the people who need them most. 🧣
Until next time, friends… ❤️
❤️ Your BiCrafty Bestie,
Marly Bird

The Woobie Knit Poncho was first released as Day 10 of Spring Fling 2026 (Fri May 15) — Marly’s annual spring event featuring 20 days of free knit & crochet patterns.
👉 See the full Spring Fling 2026 lineup on the Hub
Share your finished Woobie with the hashtag #SpringFling2026 + #WoobiePoncho 🧣💛