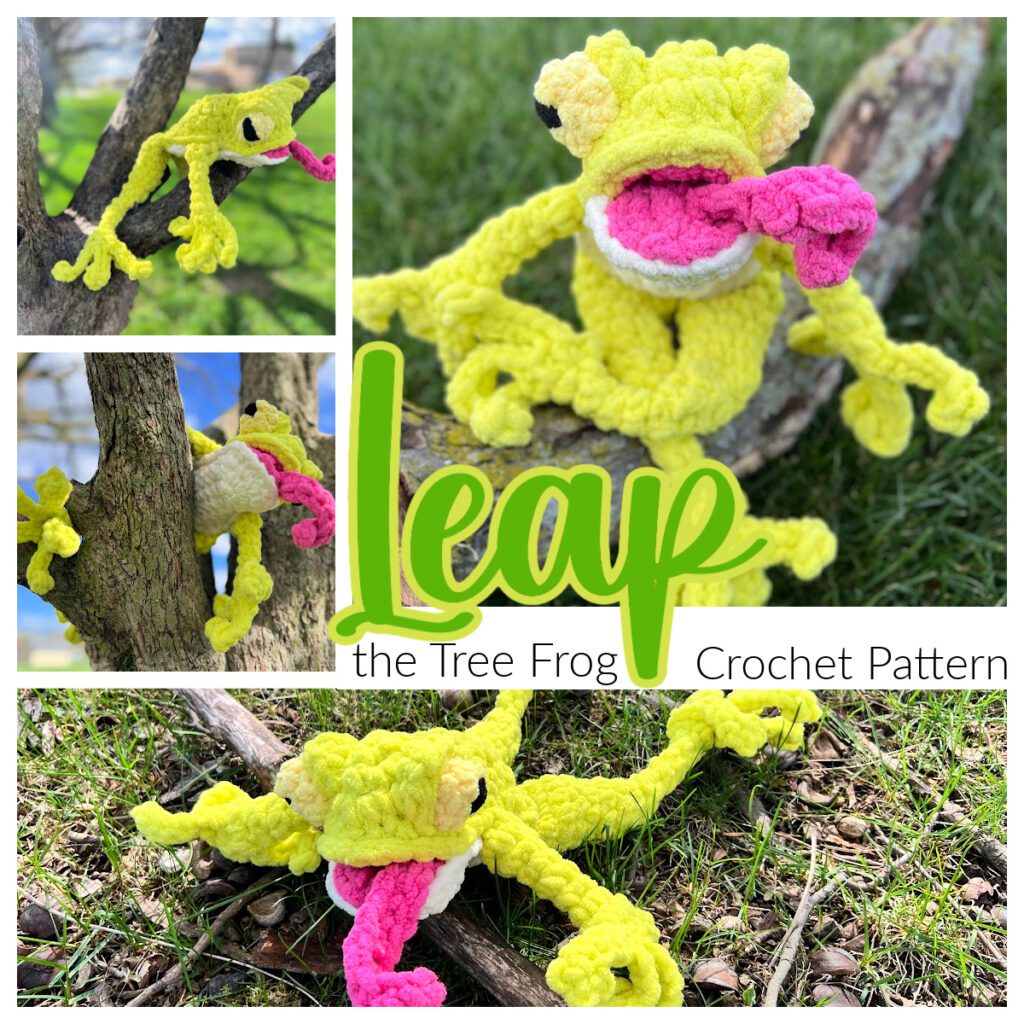
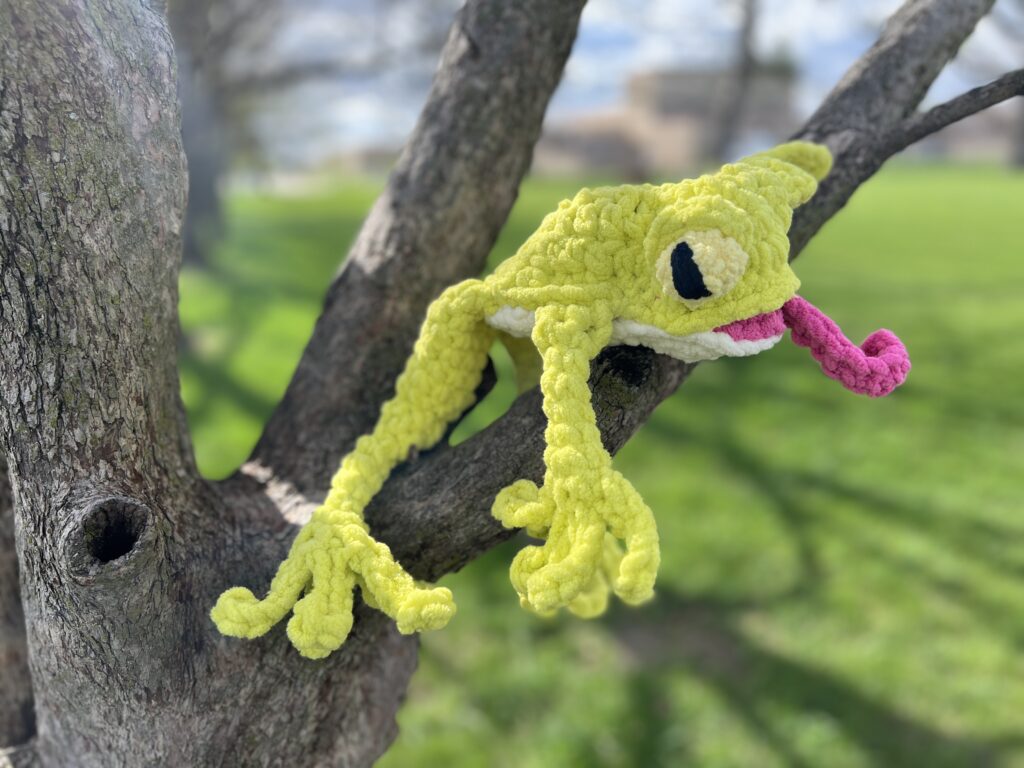
Leap into the magical world of crochet with the “Leap the Frog” crochet plush pattern, an enchanting creation from the imagination of Disney animator and renowned designer Megan Kreiner. This charming leggy frog crochet pattern is more than just a stuffed animal; it’s a whimsical companion that brings joy and delight to every stitch.
Crafted with Bernat Blanket Yarn infused with subtle sparkle, Leap offers a tactile adventure and a dazzling visual appeal. His cleverly designed mouth opens wide to reveal a playful tongue, perfect for capturing the hearts of both the young and the young at heart. With this pattern, crocheters can enjoy bringing to life a frog that’s not only cuddly but also interactive.
Accessible for adventurous beginners but ideal for intermediate crocheters looking for a project that combines fun with function, the Leap the Frog pattern promises a rewarding crafting experience. Each component is thoughtfully designed to ensure a seamless assembly, resulting in a durable and adorable frog ready for adventures. Whether perched on a shelf or tagging along on daily errands, Leap is a testament to the joy of crochet and the endless possibilities it holds.
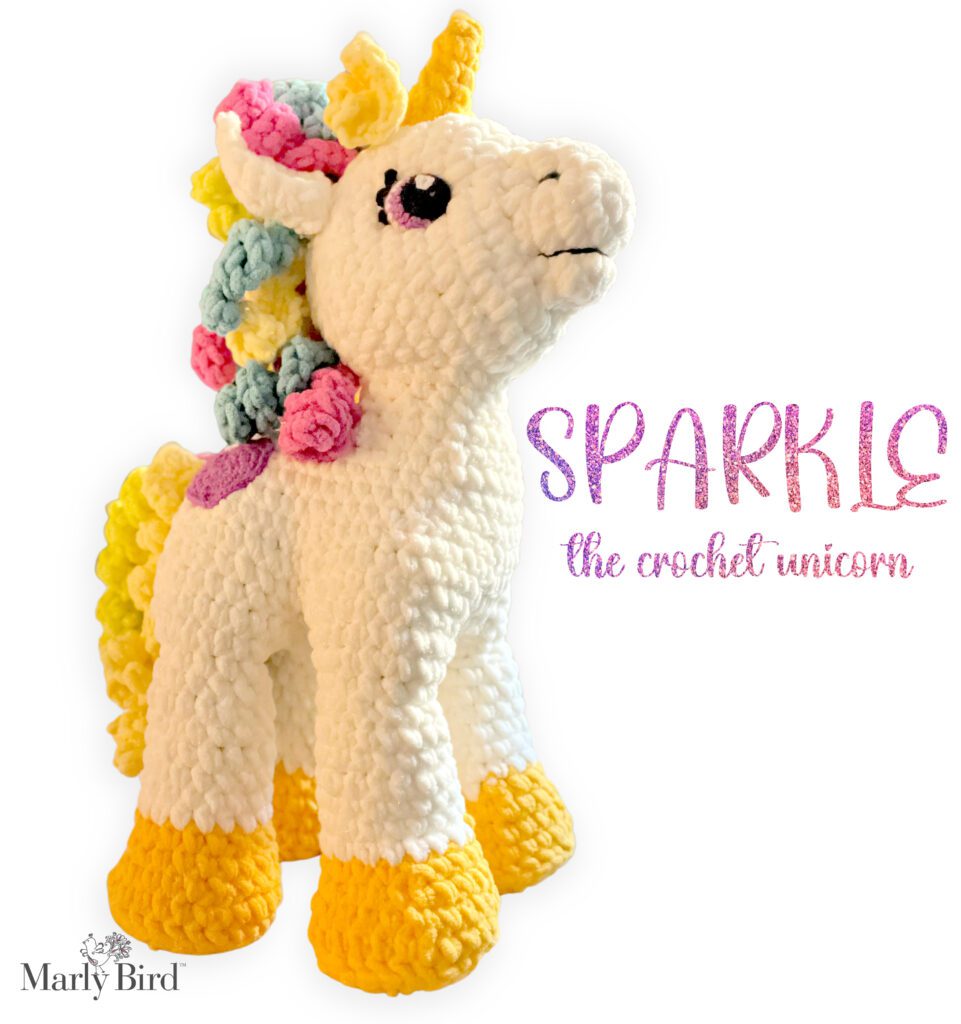
Looking for more crochet stuffed animal patterns? Look at the Frogging Friend Crochet Frog, Sparkle the Unicorn or Alden the Owl!
Disclosure: This post contains affiliate links, meaning I get a commission if you decide to make a purchase through my links, at no cost to you.
Meet “Leap the Frog” – Your Next Crochet Project
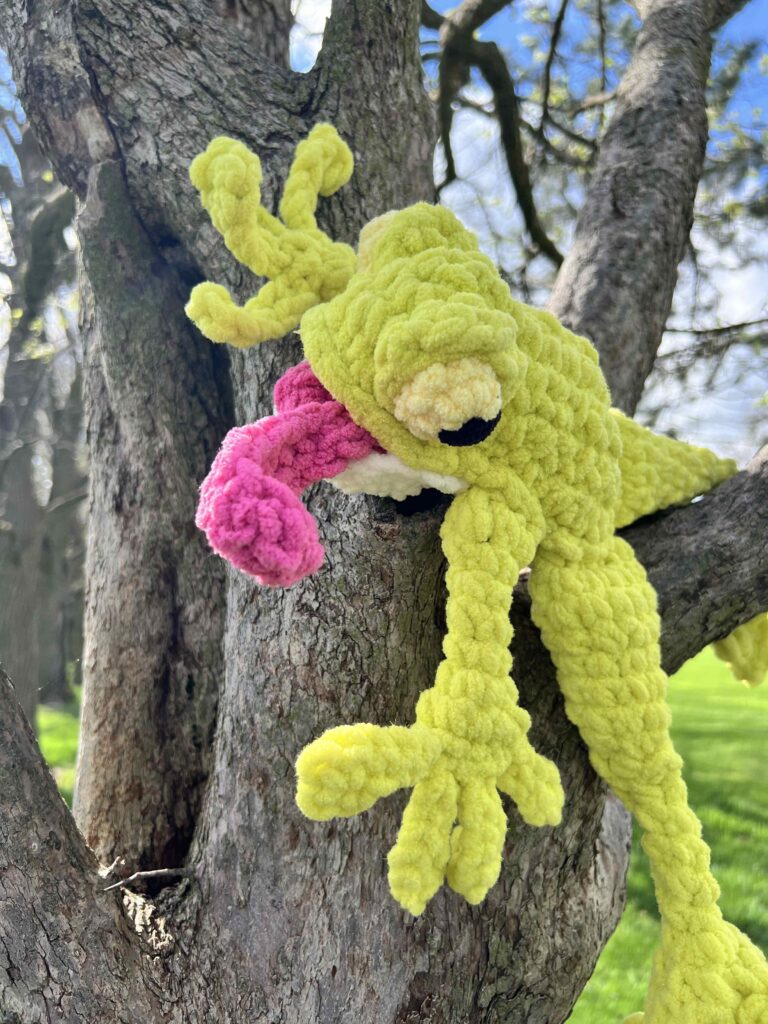
This isn’t just any crochet stuffed animal; it’s a super cuddly, bright lime yellow tree frog that’s sure to bring a smile to anyone’s face. Whether you’re a beginner or an expert, this pattern is designed to be fun and engaging, with detailed instructions available on my website at MarlyBird.com. So grab your hooks and let’s make something that hops right off your crochet table!
Who is Designer Megan Kreiner?
Now, let’s talk about the brilliant mind behind this delightful pattern. Megan Kreiner is not just any designer; she’s a Disney animator turned knit and crochet designer, which means she brings a touch of magic to everything she creates. With her experience in animation, Megan has a unique ability to bring characters to life through yarn. Her designs, including our friendly “Leap the Frog,” are not only fun to make but also full of personality and charm. You can find more of her enchanting patterns on my website, where we love to feature talented designers like Megan.
Check out these amazing free crochet pattern designs by Megan
Why You’ll Love Crocheting Leap the Tree Frog
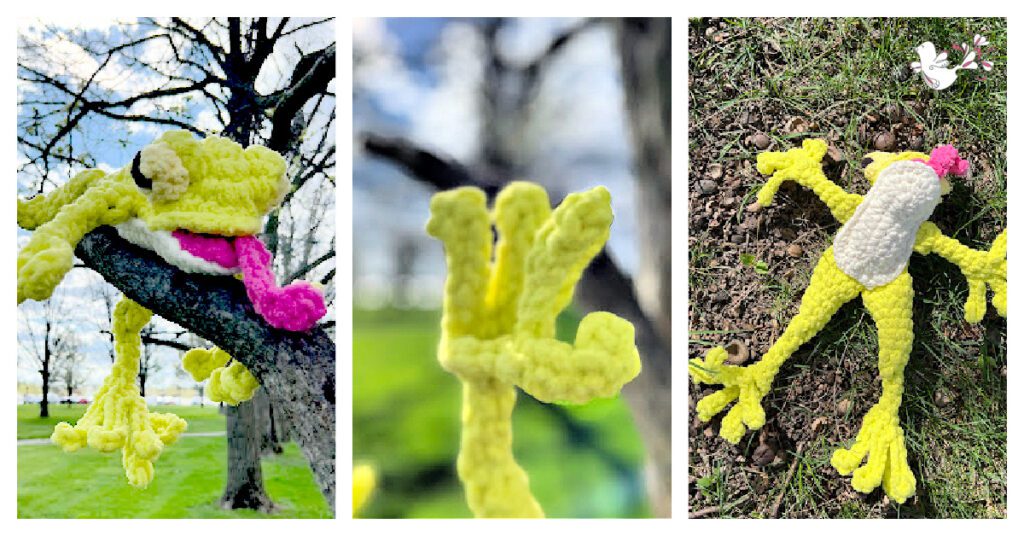
One of the most charming aspects of “Leap the Frog” is his interactive design. Imagine a crochet frog whose mouth actually opens to reveal a playful, extendable tongue—perfect for pretending to snap up flies!
This feature not only adds an element of fun to the finished product but also engages children and adults alike, bringing the stuffed animal to life with every play session. It’s these thoughtful details that make the “Leap the Frog” pattern a fantastic project for gifts or educational toys, fostering imagination and interactive play.
But that is not where the fun stops!
Leap isn’t just any frog—he’s a leggy frog crochet stuffie pattern designed with flexibility in mind. Each of Leap’s limbs is crafted to be not only adorable but also incredibly flexible, allowing you to pose him in various fun ways.
Whether he’s sitting on a shelf or dangling from a child’s hand, these leggy limbs bring an added dimension of interactivity and fun to the toy. This flexibility makes Leap not only a delightful decorative piece but also enhances playtime, providing endless opportunities for creative storytelling and display.
Whether you’re looking to add a whimsical touch to your home decor or crafting a gift that stands out, Leap the Frog is the perfect pattern to bring joy and a bit of sparkle into your life.
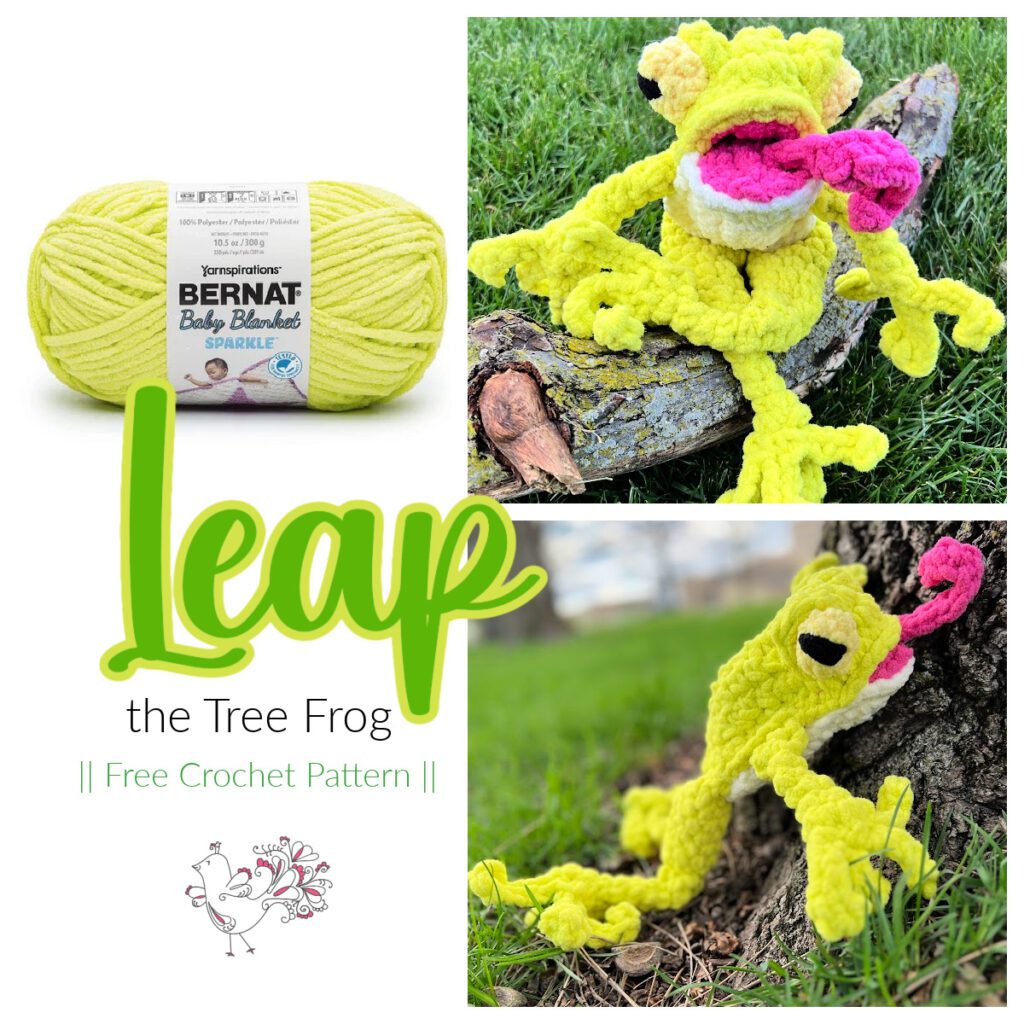
Plush Yarn for a Plush Crochet Stuffed Animal – Bernat Blanket Yarn with Sparkle
Now, let’s talk about the yarn that brings Leap to life. For this project, we use Bernat Blanket Yarn with a subtle sparkle, which not only enhances the visual appeal of our froggy friend but also offers several practical benefits. This yarn is known for its softness and durability, making Leap incredibly cuddly and resistant to wear and tear—ideal for lots of loving! Additionally, the sparkle in the yarn adds a magical touch that catches the light, bringing a delightful twinkle to Leap’s appearance. Plus, this yarn is easy to care for, which is perfect for toys that may need frequent washing.
Crochet Leap the Tree Frog – What You Need to Know
SKILL LEVEL
Intermediate
MEASUREMENTS
Finished Measurements
Frog is x” [x cm] wide by x” [x cm] long.
Gauge
7 sc x 8 rounds = 4” [10 cm] x 4” [10 cm]; use any size hook to obtain the gauge.
MATERIALS
Crochet Yarn
Bernat, Baby Blanket Sparkle (100% polyester, 220 yds / 201 m, 10.5 oz/ 300 g, CYCA# 6 super bulky)
Color A: #71011 Limeade Sparkle, 150 g
Color D: #71006 Hot Pink Sparkle, small amount
Bernat, Baby Blanket (100% polyester, 220 yds / 201 m, 10.5 oz/ 300 g, CYCA# 6 super bulky)
Color B: #10006 Vintage White, 30 g
Color C: #33615 Yellow, small amount
Color E: #10040 Coal, small amount
Crochet Hook
N/13 [9.0 mm] or hook needed for gauge
Notions
Tapestry needle, Fiberfil Stuffing, Stitch Markers
ABBREVIATIONS
Theses are basic abbreviations for most crochet patterns but it is important to list the ones actually used in the pattern. Did you know we have a great list of crochet abbreviations and definitions here on the Marly Bird website. Check these out here.
Ch – Chain(s)
Dc – Double Crochet
Hdc – Half Double Crochet
RS – Right Side
Sc – Single Crochet
Sl st – Slip Stitch
Sp(s) – Space(s)
St(s) – Stitch(es)
WS – Wrong Side
SPECIAL STITCHES
⭐️ Single Crochet 2 Together (sc2tog): *Insert hook into indicated stitch, yarn over and pull up a loop; repeat from * in next stitch indicated, yarn over and draw through all 3 loops on hook. (1 st decreased)
⭐️ Single Crochet 3 Together (sc3tog): *Insert hook into indicated stitch, yarn over and pull up a loop; repeat from * in next 2 stitches indicated, yarn over and draw through all 4 loops on hook. (2 sts decreased)
NOTES
- Tree Frog is worked in pieces and seamed together. Details are added last.
- Body parts are worked in continuous spiral rounds that are not joined at the end of the round.
- Use a stitch marker to mark the first stitch of each new round throughout the project.
- Change colors when 2 loops are left on the last stitch of the old color. Fold in the new color to complete the stitch and start using the new color.
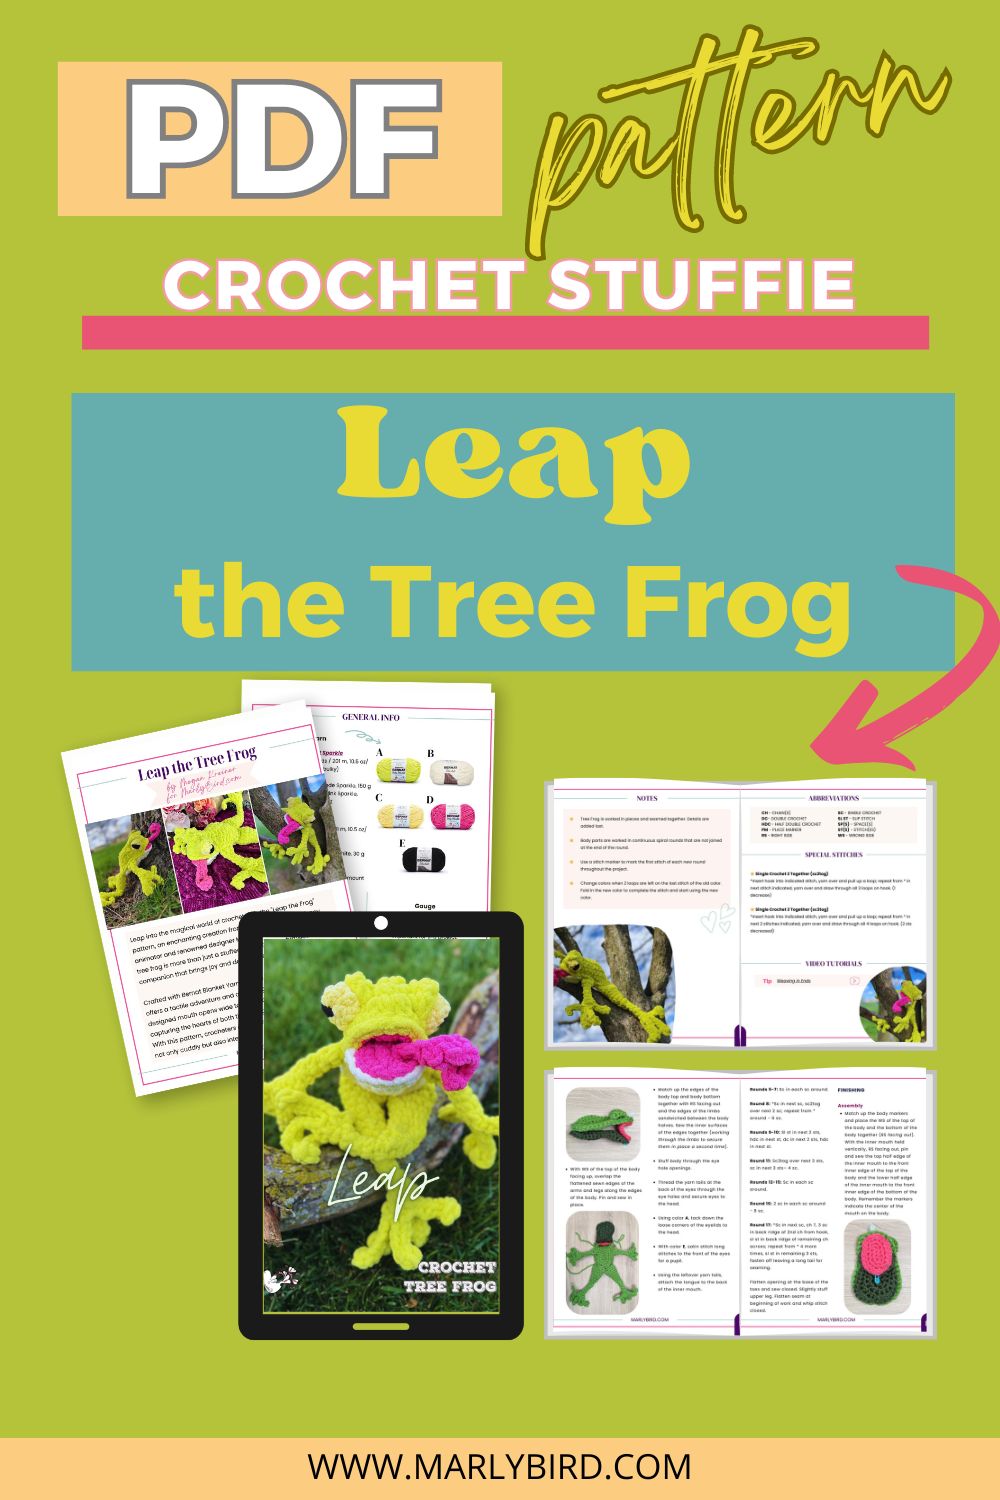
Upgrade to the Printable PDF
Beautifully formatted to print and relax while crocheting this adorable 🐸 leggy frog crochet pattern.
The Ad-Free Crochet Pattern can be purchased on Etsy or Ravelry or Shopify.
Where to Find the Leggy Frog Crochet Pattern – Leap the Frog Pattern
Discovering Leap the Frog is a breeze for crafters of all skill levels. This leggy frog crochet stuffie pattern is available free exclusively to subscribers at MarlyBird.com. Joining is simple: just click the subscription box in the blog post, enter your email, and create a password to unlock a treasure trove of subscriber-only content, including the vibrant and playful Leap the Frog.
For those who prefer a seamless crafting session without interruptions, the ad-free PDF version of the pattern is available for purchase. You can find this version on Etsy, Ravelry, and my Shopify store. This option is perfect for enthusiasts who appreciate having a portable, print-friendly format at their fingertips, ensuring that Leap can come to life in your hands wherever you are. Whether you choose the free version or support us by purchasing the pattern, you’re in for a delightful crochet adventure with Leap the Frog!
To Unlock Exclusive Subscriber Content click the Box below and join for free by simply adding your email and creating a password! If you are having troubles, reset your password or login to the Grow Publisher Portal.
I’m thrilled to share this amazing pattern with you, many patterns on my blog are absolutely free! I kindly request that you don’t copy and paste or distribute this pattern. Prefer an ad-free experience? Buy a digital PDF pattern for a small fee from one of my online stores for a seamless crafting journey.
I appreciate your support and readership. You are the reason I can keep doing what I love and sharing it with others. So, thank you from the bottom of my yarn-loving heart! Disclosure: This post contains affiliate links, meaning I get a commission if you decide to make a purchase through my links at no cost to you.
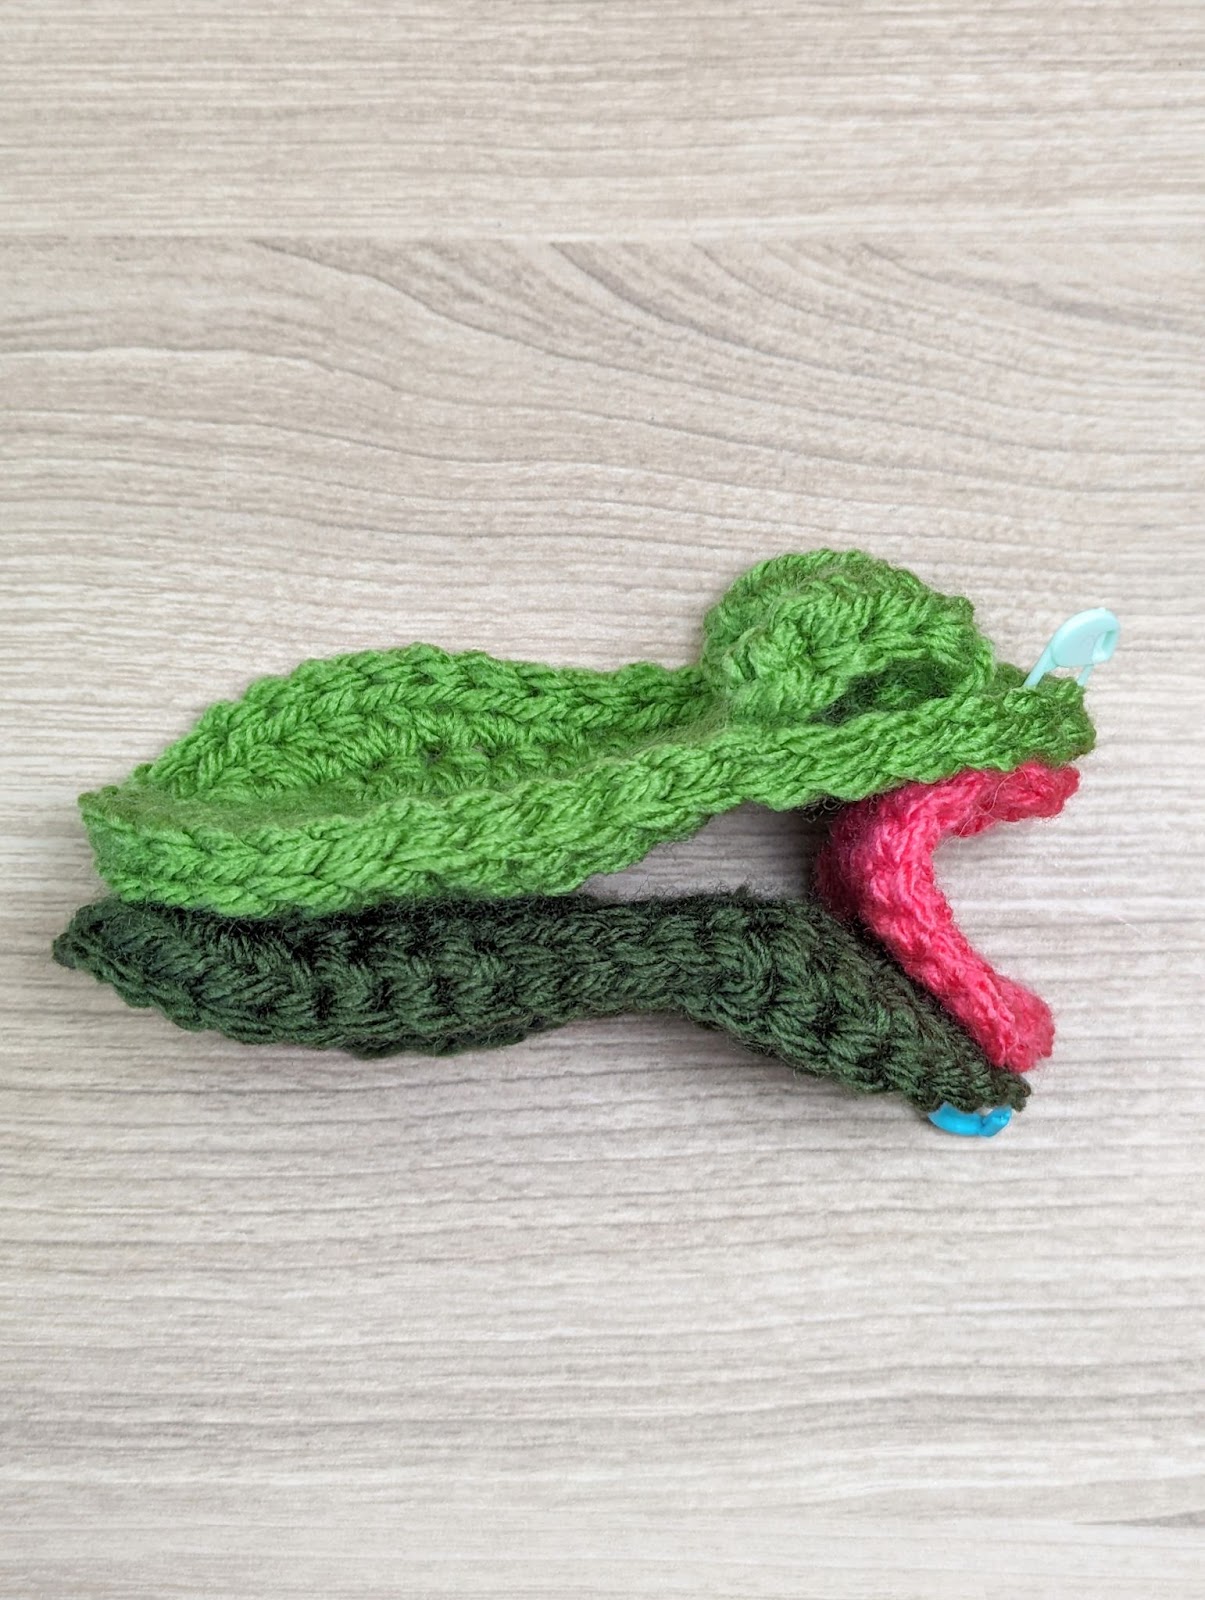
Leap the Tree Frog Crochet Written Instructions
TOP OF BODY
Note: Body is worked from the center out, with eyelids created with short rows while working.
With color A, loosely chain 10.
Round 1: Sc in back ridge of 2nd ch from hook (place marker, see notes), sc in back ridge of next 7 ch, 3 sc in last ch, turn to work in front loops of foundation ch, sc in front loops of next 7 ch, 2 sc in next ch, do not join or turn (see notes)–20 sc.
Round 2: 2 hdc in next st, hdc in next 4 sts, sc in next 2 sts, hdc in next st, 2 sc in next 3 sts, hdc in next st, sc in next 2 sts, hdc in next 4 sts, 2 hdc in last 2 sts –26 sts.
Round 3: 2 hdc in next 2 sts, hdc in next 3 sts, sc in next 2 sts, sl st in next st, sc in next st, place marker, begin creating eyelid working in short rows as follows:
Row 3a: Ch 1, 2 hdc in next 2 sts on body, ch 1, turn.
Row 3b: Sc in first hdc, hdc in next 2 hdc, sc in last hdc, sl st in marked st on body, remove marker, turn.
Row 3c: Ch 2, position eyelid in front of work, skip eyelid and start working on body.
Round 3 cont: 2 sc in next 4 sts on body, place marker, begin creating next eyelid working in short rows as follows:
Row 3d: Ch 1, 2 hdc in next 2 sts on body, ch 1, turn.
Row 3e: Sc in first hdc, hdc in next 2 hdc, sc in last hdc, sl st in marked st on body, remove marker, turn.
Row 3f: Ch 2, position eyelid in front of work, skip eyelid and start working on body.
Round 3 cont: Sc in next st on body, sl st in next st, sc in next 2 sts, hdc in next 3 sts, 2 hdc in next 2 sts – 28 body sts + 2 ch-2 sps.
Round 4: 2 hdc in next 4 sts, sc in next 2 sts, sl st in next 4 sts, 2 sc in next ch-2 sp, sc in next 4 sts, place marker (this locates the front of the body and center of the upper mouth), sc in next 3 sts, 2 sc in next ch-2 sp, sl st in next 4 sts, sc in next 3 sts, 2 hdc in next 3 sts, 2 sc in next st – 40 sts.
Round 5: Sl st in each st around, move markers up as you work, fasten off, weave in ends.
BOTTOM OF BODY
Note: Body is worked from the center out.
With color B, loosely chain 10.
Round 1: Sc in back ridge of 2nd ch from hook (place marker, see notes), sc in back ridge of next 7 ch, 3 sc in last ch, turn to work in front loops of foundation ch, sc in front loops of next 7 ch, 2 sc in next ch, do not join or turn (see notes)–20 sc.
Round 2: 2 hdc in next st, hdc in next 4 sts, sc in next 2 sts, hdc in next st, 2 sc in next 3 sts, hdc in next st, sc in next 2 sts, hdc in next 4 sts, 2 hdc in last 2 sts –26 sts.
Round 3: 2 hdc in next 2 sts, sc in next 3 sts, sl st in next 3 sts, sc in next 3 sts, 2 sc in next 4 sts, sc in next 3 sts, sl st in next 3 sts, sc in next 3 sts, 2 hdc in next 2 sts- 34 sts.
Round 4: 2 hdc in next 3 sts, sc in next 4 sts, sl st in next 4 sts, sc in next 6 sts, place marker (this locates the front of the body and center of the lower mouth), sc in next 6 sts, sl st in next 4 sts, sc in next 4 sts, 2 hdc in next 2 sts, sc in last st, sl st to first st, fasten off, weave in ends– 40 sts.
EYE
Note: Eye is worked from front to back.
Make 2
With color C, make an adjustable ring.
Round 1: 4 sc in ring, pull ring closed, do not turn or join.
Round 2: 2 sc in each sc around – 8 sc.
Round 3: Sc in each sc around.
Round 4: *Sc2tog over next 2 sts, repeat from * around, sl st to first st, fasten off with long tail- 4 sts.
Stuff eye with fiberfil. Weave tail through the last round and pull to close the hole. Keep a long tail for seaming.
INNER MOUTH
Note: Mouth is worked from the center out.
With color D, loosely chain 5.
Round 1: Sc in back ridge of 2nd ch from hook (place marker, see notes), sc in back ridge of next 2 ch, 3 sc in last ch, turn to work in front loops of foundation ch, sc in front loops of next 2 ch, 2 sc in next ch, do not join or turn (see notes)–10 sc.
Round 2: 2 sc in next st, sc in next 2 sts, 2 sc in next 3 sts, sc in next 2 sts, 2 sc in last 2 sts –16 sts.
Round 3: *Sc in next st, 2 sc in next st; repeat from * around, sl st to first st, fasten off, weave in ends –24 sts.
TONGUE
With color D, loosely chain 12.
Row 1: Sc in back ridge of 2nd ch and each ch across, fasten off with long tail for seaming.
ARMS
Note: Arms are worked from upper arm to fingers.
Make 2
With color A, chain 6 and sl st to first ch.
Round 1: Sc in next ch, place marker, sc in next 4 ch, sc in next sl st, do not join or turn- 6 sc.
Round 2: *Sc in next sc, sc2tog over next 2 sc; repeat from * around – 4 sc.
Rounds 3-6: Sc in each sc around – 4 sc.
Round 7: *Sc in next sc, 2 sc in next sc; repeat from * around – 6 sc.
Round 8: *Sc in next 2 sc, 2 sc in next sc; repeat from * around – 8 sc.
Round 9: *Sc in next sc, ch 6, 3 sc in back ridge of 2nd ch from hook, sl st in back ridge of remaining ch across; repeat from * 3 more times, sl st in remaining 4 sts, fasten off leaving a long tail for seaming.
Flatten opening at the base of the fingers and sew closed. Do not stuff upper arm. Flatten seam at beginning of work and whip stitch closed.
LEGS
Note: Legs are worked from upper leg to toes.
Make 2
With color A, chain 12 and sl st to first ch.
Round 1: Sc in next ch, place marker, sc in next 10 ch, sc in next sl st, do not join or turn- 12 sc.
Rounds 2-3: Sc in each sc around.
Round 4: *Sc in next 2 sc, sc2tog over next 2 sc; repeat from * around – 9 sc.
Rounds 5-7: Sc in each sc around.
Round 8: *Sc in next sc, sc2tog over next 2 sc; repeat from * around – 6 sc.
Rounds 9-10: Sl st in next 2 sts, hdc in next st, dc in next 2 sts, hdc in next st.
Round 11: Sc3tog over next 3 sts, sc in next 3 sts– 4 sc.
Rounds 12-15: Sc in each sc around.
Round 16: 2 sc in each sc around – 8 sc.
Round 17: *Sc in next sc, ch 7, 3 sc in back ridge of 2nd ch from hook, sl st in back ridge of remaining ch across; repeat from * 4 more times, sl st in remaining 3 sts, fasten off leaving a long tail for seaming.
Flatten opening at the base of the toes and sew closed. Slightly stuff upper leg. Flatten seam at beginning of work and whip stitch closed.
FINISHING
Assembly
- Match up the body markers and place the WS of the top of the body and the bottom of the body together (RS facing out). With the inner mouth held vertically, RS facing out, pin and sew the top half edge of the inner mouth to the front inner edge of the top of the body and the lower half edge of the inner mouth to the front inner edge of the bottom of the body. Remember the markers indicate the center of the mouth on the body.

- With WS of the top of the body facing up, overlap the flattened sewn edges of the arms and legs along the edges of the body. Pin and sew in place.

- Match up the edges of the body top and body bottom together with RS facing out and the edges of the limbs sandwiched between the body halves. Sew the inner surfaces of the edges together (working through the limbs to secure them in place a second time).
- Stuff body through the eye hole openings.
- Thread the yarn tails at the back of the eyes through the eye holes and secure eyes to the head.
- Using color A, tack down the loose corners of the eyelids to the head.
- With color E, satin stitch long stitches to the front of the eyes for a pupil.
- Using the leftover yarn tails, attach the tongue to the back of the inner mouth.
Hop Over and Share on Social – We Wanna See Your Leap!
We can’t wait to see your completed Leap the Frog! Don’t forget to share pictures of your adorable leggy frog on Ravelry. Need a bit more help or want to join a community of fellow crafters? Head over to the Marly Bird Facebook group where support and inspiration abound.
Happy crocheting!