In another post, I shared 20 reasons why being a crocheter makes it easier to learn knitting. One of those reasons is that you already know what gauge is from learning to crochet. Therefore, you can apply the same gauge knowledge to your knitting. However, I know that some people do avoid dealing with gauge altogether. It may be the excitement of starting a new project, thinking you may not have enough yarn, or being on a time crunch. Even as an experienced crocheter, you might not know how to calculate crochet gauge. So I decided to share an older video with you here so you can learn or brush up on your gauge skills.
What Is Gauge in Crochet?
Often crafters think of gauge as something complicated. But, when you think about it:
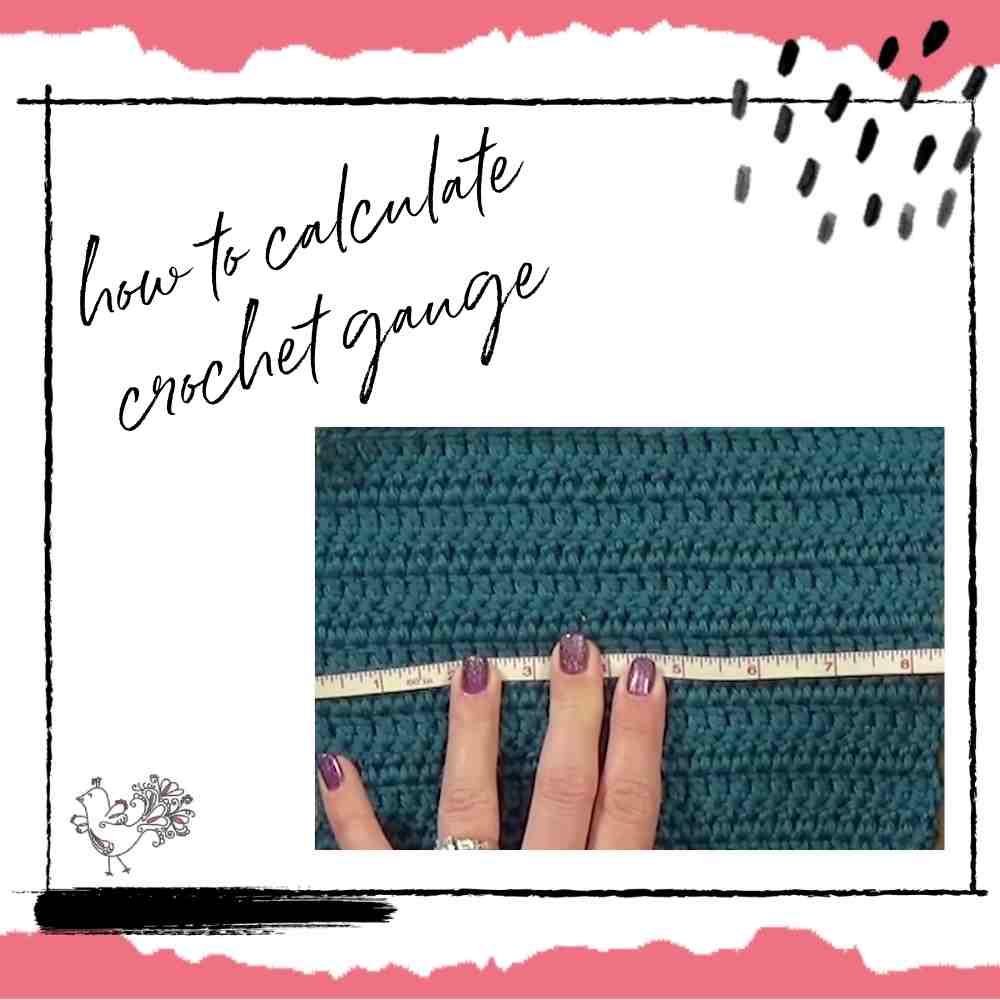
Crochet gauge is simply a measure of the size of your stitches in width and height.
That's all it is. You calculate crochet gauge to determine how wide and how tall your crochet stitches are. This small step ensures your work will match the sizes given in the pattern for the project you want to make. When you ‘get gauge' your project will fit as the pattern states.
Let's discuss this a little more.
Everyone Crochets Differently
In theory, if you follow a pattern correctly, you should crochet a piece exactly like the designer intended, right? Wrong! Because everyone crochets a little bit differently. Even though you're using the same crochet hook and yarn as the pattern suggests, your gauge could be quite different from the designer's. In other words, the width and/or height of your stitches could be different.
Why is that? Well, there are several reasons for differing stitch sizes. Here are a few of the main ones.
Crochet Hook Brands And Styles
Not all crochet hooks are made equal. Yes, there are standard sizes, but different brands have different styles of hook heads and shafts. Take the two big names, for example – Boye and Susan Bates are the biggest names that spring to mind. If you compare the heads of these crochet hooks, they look slightly different.
Boye crochet hook heads appear to be more rounded. The working end of the crochet hook and the tip of the hook head are like rounded points.
Susan Bates crochet hooks have rounded points at the head tip, but the hook itself has a wider flat area inside of the hook.
Both of the above brands have a flat section on the shaft where you can rest your thumb so the hook doesn't spin in your hand.
Handmade wooden crochet hooks are different again depending on the design and style of the craftsperson who made them. Often, these wooden crochet hooks have no thumb rest, and the whole shaft remains round.
This is not at all an exhaustive list. There are many more brands to try. Some have ergonomic handles and others alternative handles; the basic ones are simply plastic.
Tensioning Methods
There are probably as many different tensioning styles as there are crocheters! We may all be taught the same or similar ways of yarn tensioning for crochet, but we all tend to find and stick with what works best for us.
When you consider how age-friendly crochet is, you can understand why there may be so many different tension styles. A very young crocheter might struggle to have each hand do different things at the same time, but an older crocheter may have hand problems such as arthritis or a repetitive strain issue.
Finer yarns may be a little more difficult to work with and might require a wrap or two around the pinkie to help prevent slippage.
Knitters may hold the yarn differently again. There is really no wrong way to tension yarn for crocheting; it's just what works best for you.
Stress Levels
It might seem strange, but stress levels can significantly affect your crochet gauge. If things aren't going your way, you might get a tighter gauge than if you were more relaxed.
Crochet Speed
When you start a new project and are getting used to the stitch pattern, you might be focusing hard and feel a little stressed. Once the pattern becomes familiar, you may speed up, loosen your gauge, or tighten it depending on your tendencies.
Skill Levels
As a beginner crocheter, keeping your gauge consistent is often tough. You might struggle with wavy edges, loopy or tight stitches, and tensioning your yarn evenly.
Honestly, just keep practicing! Consistency comes with practice, so keep practicing your crocheting, and your gauge will become more consistent over time.
Yarn Substitution
I'm sure we've all done it…substituted yarn that's not quite the same weight as the pattern skipped the gauge swatch and dived right into the project. What happened? We got something that was too small or too large, just didn't fit right, or downright hated it.
That's another reason gauge is not to be skipped or taken lightly. All these small differences can add up to huge differences when working on a large project. That's why designers calculate crochet gauge and share it in their patterns.
When you begin a crochet project, work a swatch to check for gauge. Measure it against the designer's recommendation. If yours is smaller, you might go up a hook size to compensate. Likewise, if your stitches are bigger than the designer's, you might go down a hook size.
Why Is Crochet Gauge So Important
It's important to calculate crochet gauge at the beginning of a project for several reasons. These include:
- Your wearables might not fit if you're gauge doesn't match the designers'.
- Even with non-wearables, you need to crochet to gauge if you want the item to be the same size as intended.
- You might run out of yarn if you don't calculate for gauge. The recommended yarn amount is for the designer's gauge. Therefore, if you crochet “bigger,” you use more yarn.
Can I Calculate Crochet Gauge Once and Know What It Is Forever?
At first glance, it sounds like you can calculate crochet gauge once. Then you know how you crochet and can adjust to patterns accordingly.
Unfortunately, this is not the case. Your gauge isn't going to be the same each time. There are too many factors that go into it (as I mentioned above), such as:
- Your tension changes depending on your stress level, tiredness, and whether you're trying a new or familiar crochet technique.
- The yarn you're using. Even one worsted weight yarn can create a subtly different gauge than another in the same weight.
- Your crochet hook. You might crochet differently depending on the hook you're using.
- The stitch pattern in the project. Your gauge is different if you're working single crochet than if you're working front post double crochet.
Therefore, you can't just say, “oh my gauge is this.” Instead, you should crochet a gauge swatch every time you start working on a new crochet pattern. Don't worry; it gets easier with time.
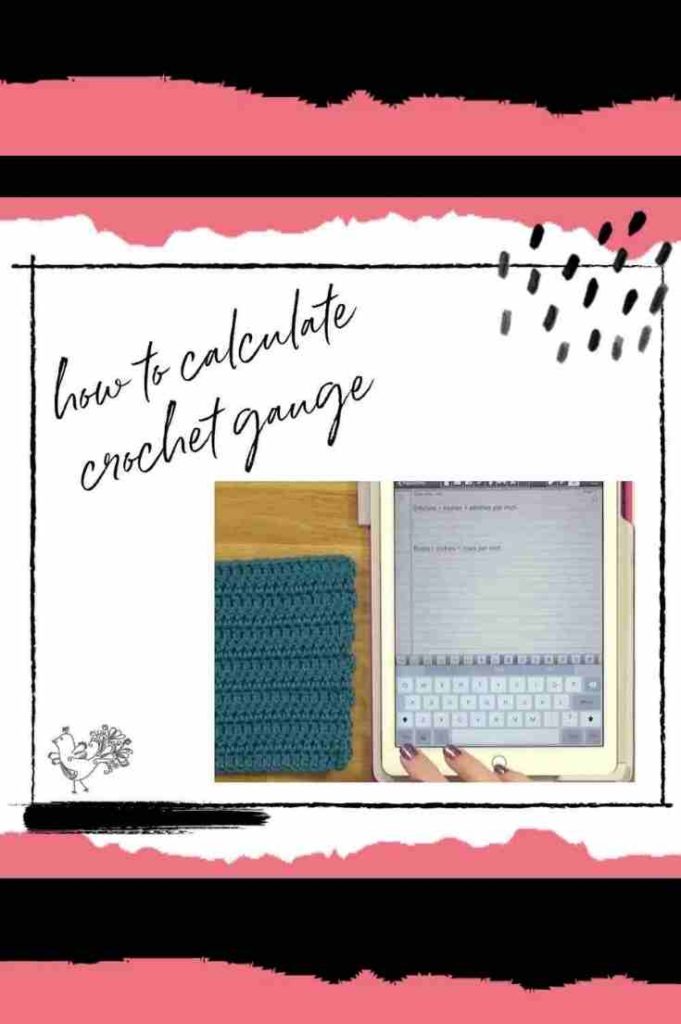
How to Calculate Crochet Gauge
Now that you understand why it's so important to figure out your gauge for each crochet project, it's time to learn how to do it.
It doesn't take much…only the crochet pattern, a crochet hook in the appropriate size for your yarn, the yarn you want to use, a tape measure or ruler, something to write on and with, a flat surface, and some time.
Work a swatch in your chosen yarn with your chosen hook then watch the video below for your calculation instructions. It's simple math. You've got this!
See? It's not so hard after all. Once you understand how and why to make these calculations, it becomes easier every time.
See below for more beginner crochet tutorials.
You Might Also Like:
- Learn How to Crochet: The First Five Stitches To Learn
- How to Crochet a Granny Square 2 Ways
- How to HDC with Variations
Frequently Asked Questions
What exactly is crochet gauge?
So here's the thing… crochet gauge is basically just a measurement of how big your stitches are, both in width and height. It's super important because it makes sure your finished project turns out the size the pattern says it should be. If your gauge is off, your project might end up way too big or too small!
Why is my crochet gauge different from the pattern's?
Honestly… everyone crochets a little differently, even when using the same yarn and hook! Things like the brand or style of your crochet hook, how you hold your yarn (tensioning methods!), and even your stress levels can change how big your stitches are. It's totally normal!
Do I really need to make a gauge swatch every time?
Yes! I know, it sounds like a pain, but your gauge isn't always the same. It can change depending on your mood, how tired you are, the yarn you're using, the hook, and even the stitch pattern itself. So, it's always best to crochet a swatch for each new project to be sure.
What if my gauge swatch is too small?
Don't worry… if your swatch is smaller than the pattern calls for, it means your stitches are too tight. To fix this, you'll want to go up a hook size. This will give you bigger stitches and help you match the designer's gauge.
Can crocheting faster affect my gauge?
You bet! When you're first learning a new pattern, you might be focusing really hard and crocheting slower, which could make your stitches tighter. Once you get into the groove and speed up, your tension might loosen up, or tighten up, depending on your tendencies. It's just another reason why checking your gauge with a swatch is so important!