So, you want to learn how to crochet? Where should you begin? There are a lot of things that you're going to need to learn eventually. You'll need to learn about yarn weights and fibers, crochet hook sizes, and more. But in terms of basic stitches, there are five things you need to learn when you first start to crochet. What's interesting is that after you've learned the first two, you basically know how to crochet. The next three are essentially variations on those. And with that, you'll be able to crochet blankets, scarves, and so much more. So, in terms of first techniques and basic stitches, here are the first five things you want to learn how to crochet.
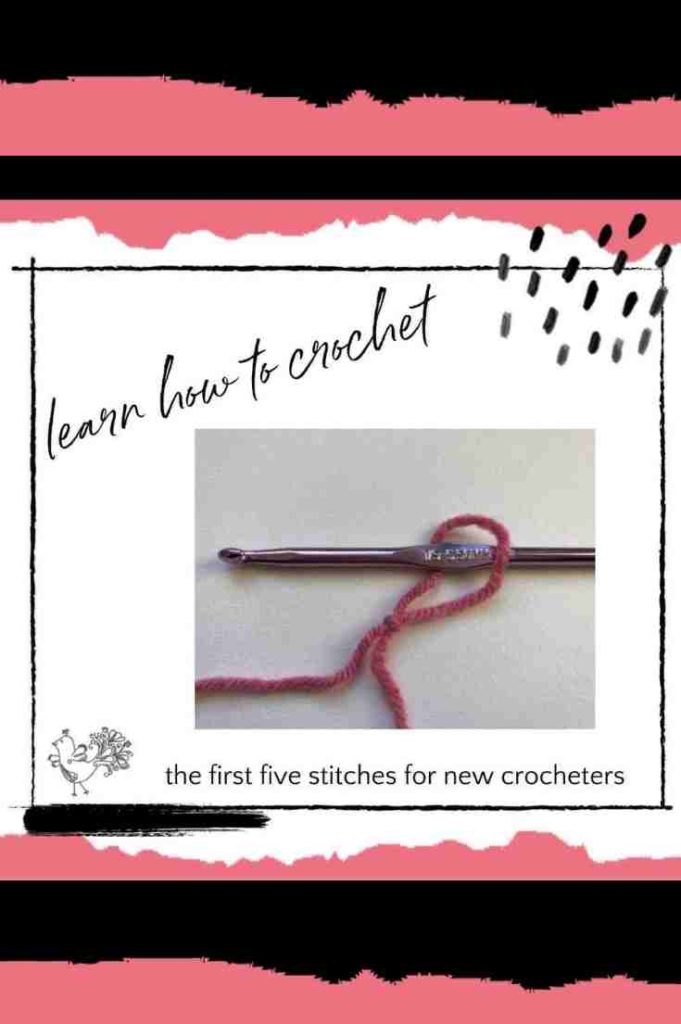
How to Slip Knot and Make Your Foundation Chain
In order to start a crochet project, you have to first get the yarn onto your hook. There are different ways of doing this. However, the most common method is to make a slip knot. You place the knot on the hook. Then you crochet a chain. If you can do this, then you've begun to learn how to crochet.
How to Crochet the Single Crochet Stitch
The single crochet stitch is the most basic, simple crochet stitch. Take the time to learn how to work this stitch, because the essential steps of working it are going to apply to almost every other stitch you ever make in crochet.
How to Crochet the Double Crochet Stitch
The double crochet stitch is worked very similar to the single crochet stitch. However, it's double the height. That's where the name comes from. Just like with the single crochet, you're going to use the techniques of “yarn over” and “pull through loops”. You just use them slightly differently to get that higher height.
How to Half Double Crochet
As you may guess by the name, this stitch is halfway between the single crochet stitch and the double crochet stitch in height. You'll pull the yarn through a different number of loops to achieve this effect. But the time that you're this far in learning how to crochet, you'll start to get a really good sense of stitch anatomy.
How to Make The Treble Crochet Stitch
Finally, we'll complete your beginner crochet stitches with the treble crochet stitch. Using the same foundational methods, you'll make a stitch that's taller than the double crochet stitch. As you can see, you can do a lot when learning to crochet even by just learning a few really basic things.
What You Can Do With This Knowledge
With the “learn how to crochet” skills from the videos above, you can now work in rows. This means that you'll be able to crochet anything that is square or rectangular. At this stage, you'll want to work one stitch into one stitch. You'll probably also want to work the same stitch across the whole row.
For example, you might crochet a foundation chain that's 20 stitches long.
Then you might turn the work and make one single crochet into each of those twenty chains.
You could continue to work 20 single crochet stitches across the row until you have a square or rectangle the length that you desire. This might be a crochet mug rug, for example.
Alternatively, you might work 20 double crochet stitches as a row, or twenty half double crochet stitches. The only thing that you need to know differently for each of those rows is how many stitches to make each turning chain. Which is why you also need this information:
With this knowledge you can crochet anything square or rectangular. Make crochet scarves, blankets, square shawls, placemats, dishcloths, etc.
What's Next In Learning How to Crochet
Obviously, when you learn how to crochet you want to learn lots of different things. There are a lot of different stitch patterns and crochet techniques to learn. You'll also want to learn how to work with different stitches in the same row (single crochet, double crochet, across a row, for example.) Plus you'll want to know how to change colors in a project. Moreover, you'll want to learn how to increase and decrease rows to create different shapes besides the rectangle or square. Finally, you'll want to learn how to crochet in the round, rather than just in rows.
But these five stitches (chain, single crochet, double crochet, half double crochet, and treble crochet) give you a very solid foundation when you first learn how to crochet. Then you can take it from there. Check my YouTube channel for lots more instructional videos to take it further.
You Might Also Like:
Frequently Asked Questions
What are the first five things to learn when starting crochet?
The fundamentals that unlock everything else! First: how to hold the hook and yarn comfortably. Second: the slip knot and foundation chain… the starting point of almost every crochet project. Third: single crochet, which is the building block of most beginner patterns. Fourth: how to turn at the end of a row (the turning chain) and work back across. Fifth: how to count your stitches to make sure you're not accidentally adding or losing any. Master these five things and you can make a dishcloth, a swatch, or start simple patterns… you're a crocheter.
How long does it take to learn to crochet?
Most people can learn to make simple single-crochet projects within a few hours of practice! The physical coordination takes some getting used to at first… holding the hook, maintaining yarn tension, and inserting the hook consistently. But once the motion clicks, it clicks. Many complete beginners watch a tutorial and make their first swatch in the same afternoon. Being able to make beautiful projects with confidence takes longer… months of practice across different techniques. But the basics are genuinely accessible quickly, which is one of the reasons crochet has such a wide following.
What supplies do I need to start crocheting?
Honestly, very few! A size H crochet hook (5mm) and a skein of smooth worsted weight yarn in a light color (so you can see your stitches clearly). That's the minimum. Light-colored smooth acrylic is ideal for learning… it's affordable, consistent, and easy to see. Everything else (scissors, tapestry needle, stitch markers) can be added as you go. The barrier to entry for crochet is remarkably low… you can start learning for under $10 in supplies. Fancy ergonomic hooks and premium yarn come later, once you know you love the craft.
Is it easier to learn crochet from a video or from written instructions?
For most people, video is much better for learning physical craft skills! Seeing exactly how the hook moves, how the yarn wraps, where the hook inserts… makes the physical motion immediately understandable in a way that written “insert hook into stitch, yarn over, draw through two loops” can't quite achieve. Marly Bird's YouTube videos are specifically designed to be clear and encouraging for beginners. Watch the video, pause and try it yourself, rewind if needed. Written instructions become more useful once you have the physical motion and need to follow specific pattern sequences.
What's the most common mistake beginners make?
Accidentally adding stitches at the end of rows! This causes your work to gradually get wider and wider. It happens because the turning chain can look like a stitch and you inadvertently work into it. The fix: count your stitches at the end of every row for the first several projects… if you have more than you started with, you added accidentally. Also common: crocheting too tightly because of tension nervousness. Relax! Yarn should slide freely. And not recognizing which loops to insert the hook through… always check that you're going under both top loops unless a pattern specifically says otherwise.