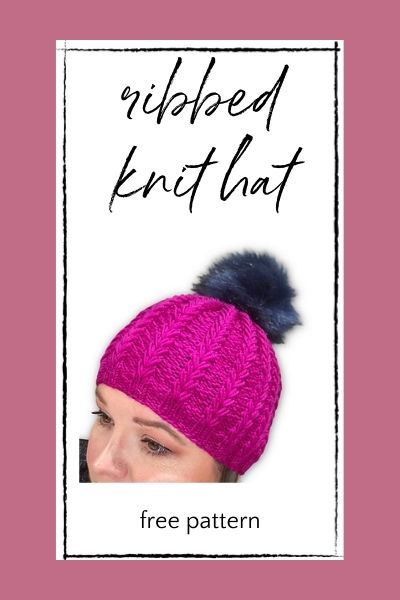
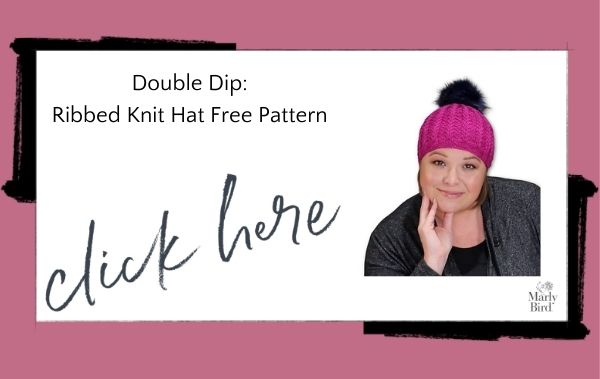
Learn Knit Dip Stitch with this Easy, Ribbed Knit Hat…
If you earn how to knit dip stitches, then you can easily add a lot of texture to your knitting. In this ribbed knit hat free pattern, I show you exactly how to work a specific type of dip stitch. The result is texture that looks like fishtail braids. It's fun and interesting to the eye. In fact, this is one of my most popular free knit hat patterns. Therefore, I wanted to showcase it for you again in case you missed it the first time around. It's a great project to learn something new. Moreover, it's perfect to make for lots of people as we head into the season for gifting crochet to others!
This post may contain affiliate links. If you click one then make a purchase, I get a percentage of the sale. Your price doesn't change. Thank you for your support.

What Are Knit Dip Stitches?
Knit dip stitches refer to stitches that you knit into the fabric lower than the row where your needles are located. In other words you “dip down” to knit into the fabric.Note that you don't drop or unravel any stitches in the process of making dip stitches.
There are many different types of knit stitches, depending on how far down you dip. In this pattern, you'll Identify the 2nd stitch from tip of the left hand needle and 4 rows down below it. Then you'll use your right needle to knit into that stitch. That's your dip stitch, worked four rows below the working row. You could work one three rows down instead, as an example of a variation on knit dip stitch.
Working the dip stitches closer together (meaning not having many rows between the dip point of one stitch pattern repeat to the next one up) makes this version look like a fishtail braid! I love the effect and hope that you will, too!
This ribbed knit hat free pattern includes a photo tutorial for how to work this variation of knit stitch. Additionally, I've completed a video tutorial for this ribbed knit hat free pattern to show you exactly how to work it, including how to to knit the dip stitches. This is a great new way to improve your knitting skills.
More About This Ribbed Knit Hat Free Pattern
The Double Dip Knit Hat free pattern is all about showcasing that textured dip stitch. However, you'll have the opportunity to work some other special stitches as well. Of course, I've described these in detail in the pattern itself. But in brief, the three other special stitches you'll use are all methods of decreasing as you build the hat:
- Center Double Decrease (CDD)
- Knit Two Together-through the back leg (k2tog-tbl)
- Slip, Knit Two Together-through the back leg (sk2tog-tbl)
This is a relatively easy knitting pattern. A brand-new beginner would want to start with something a bit simpler. But an ambitious or advanced beginner could figure out this hat. If you can knit 3, purl 2 to make knit ribbing, and you're comfortable learning how to knit dip stitches, then you can complete this ribbed knit hat free pattern.
Get the Ribbed Knit Hat Free Pattern
Are you ready to knit this hat? If so, then click here or on the image below. That will take you to the free pattern here on my site. There you'll find the instructions for how to knit the dip stitches. Additionally, you'll find the video tutorial for the entire hat, including the pom that tops it off. Moreover, you'll find a link to the Ravelry PDF if you're looking to purchase an ad-free version of this ribbed knit hat pattern.
Watch the Video
The free hat pattern above also comes with a video tutorial. Therefore, you should find it easy to craft this super-wearable hat pattern:
You Might Also Like:
- 30 Marly Bird Knit Hat Patterns – One For Every Season and Occasion
- Learn Dip Stitch from Firmament, a Self-Published Knitting Book
- Chill Out Winter Hat Pattern with Latvian Braid
Frequently Asked Questions
What is the dip stitch in knitting?
The dip stitch (also called the drop stitch elongated version) is worked by inserting your needle into a stitch several rows below your current row and pulling up a long loop, which “dips” through the fabric between the rows. When you complete the stitch and let the stitches above drop, it creates a beautiful vertical textured line that adds a slight elongated drop to the pattern. In this ribbed hat, the dip stitch creates a beautiful decorative element within the ribbing structure. It sounds scarier than it is… the tutorial demonstrates it very clearly.
Is this hat pattern appropriate for beginners?
It's rated for adventurous beginners or those with some knitting experience. The base hat construction is worked in the round using ribbing… if you can K2, P2 in the round, you have the foundational skill. The dip stitch is the added challenge and is the specific technique this pattern teaches. The hat is designed as a skill-building project, not just a pattern… it gives you a beautiful finished hat PLUS a new technique in your toolkit. If you're comfortable with basic in-the-round knitting and ready for your next challenge, this is a perfect project.
What yarn should I use for this ribbed hat?
Worsted weight in a smooth yarn that shows stitch detail clearly is ideal for a ribbed hat… the ribbing and dip stitch both need to be legible in the fabric. Wool or wool blend gives excellent stitch definition and the natural elasticity that makes ribbing spring back perfectly. Acrylic works well too. For the dip stitch specifically, avoid very slippery yarns (silk, bamboo blends) at first because managing the dropped stitch rows is easier with yarn that has some grip. A classic worsted weight wool or wool-blend is the safest choice for learning the technique.
How do I keep the ribbing even throughout a whole hat?
Consistent tension is the key! Ribbing requires alternating between knit and purl stitches, and the transition between them is where tension issues often appear. The most common problem: pulling the yarn too tightly when moving from purl to knit (or vice versa) creates tight loops that pucker the fabric. Practice keeping an even, relaxed tension across all stitches and specifically at the transitions. Checking your work every few rows and gently evening out any puckered spots while the fabric is still on the needle helps. Blocking after finishing also smooths out minor tension variations.
Can I make this hat in different sizes?
Yes! Ribbed hats are actually very size-adaptable because ribbing fabric stretches significantly. A hat worked to fit a smaller circumference will stretch to fit a larger head due to the elastic quality of ribbing. Most ribbed hat patterns include 2×2 rib which stretches about 20-30% beyond the cast-on circumference. For a precise fit, calculate your stitch count based on gauge and desired finished circumference. For a gift where you're not sure of the recipient's head size, ribbing's natural stretch makes it more forgiving than a hat worked in plain stockinette.
Categories: Knitting, Our Free Patterns, Pattern