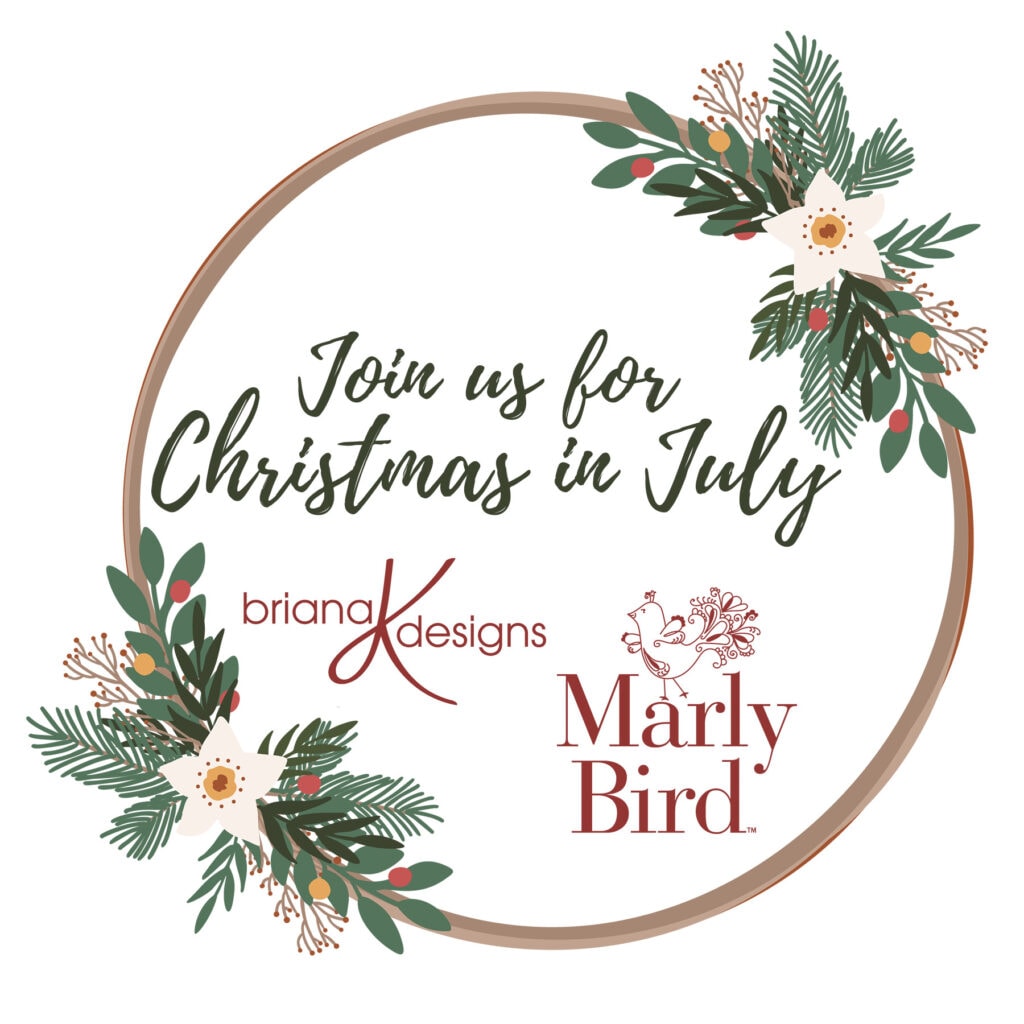
Briana K Designs and I have teamed up in the past to offer this popular Christmas in July make-along. We considered skipping it this year because things are so busy right now. After all, you're probably still enjoying your summer crochet or summer knit projects. You might even be in the middle of the BiCrafty Champions Workshop KAL/CAL; or it's not too late to join!) However, we know that the Christmas in July Stocking CAL/KAL is always one of our most popular events. Therefore, we not only decided not to skip it this year … we decided to go bigger and better than ever before!
Note: This post may include affiliate links. I get a percentage of sales when you click on those links. Your price doesn't change. Thank you for your support.
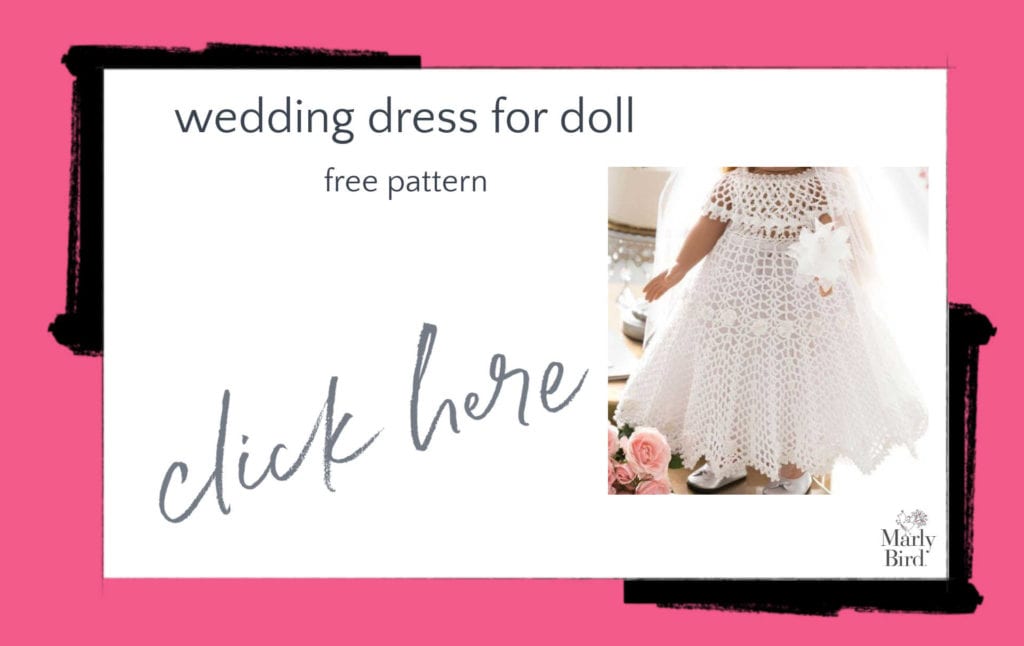
GET STARTED: Like and queue up the knit stocking pattern on Ravelry.
What Is The Christmas In July Stocking Makealong?
You know how much I love bicrafty stitchalongs, right? This is another one! It's a Christmas in July stocking knitalong / crochetalong. You can participate in either craft or both. I love these bicrafty makealongs because they provide such a great opportunity for crocheters and knitters to come together in community. You'll knit and/or crochet your Christmas in July stocking at the same time, sharing as you go in the Facebook Minions group. You can cheer each other on, help each other out, and celebrate together.
When Is The Christmas In July Stocking Makealong?
Okay, so we say “Christmas in July” because that's a thing. But actually it's in early August this year. This CAL/KAL will run August 6 – 8, 2021. If you joined Brianna K and I last year, then you know that it was a single-day event in 2020. Like I said, we're going bigger and better. You can start prepping your materials right now so that you're all ready to go when we begin launching the pattern instructions on August 8th.
Christmas in July Stocking Materials List
We have a single page document for you that shows exactly what you need for both the knit stocking and the crochet stocking. MATERIALS LIST HERE.
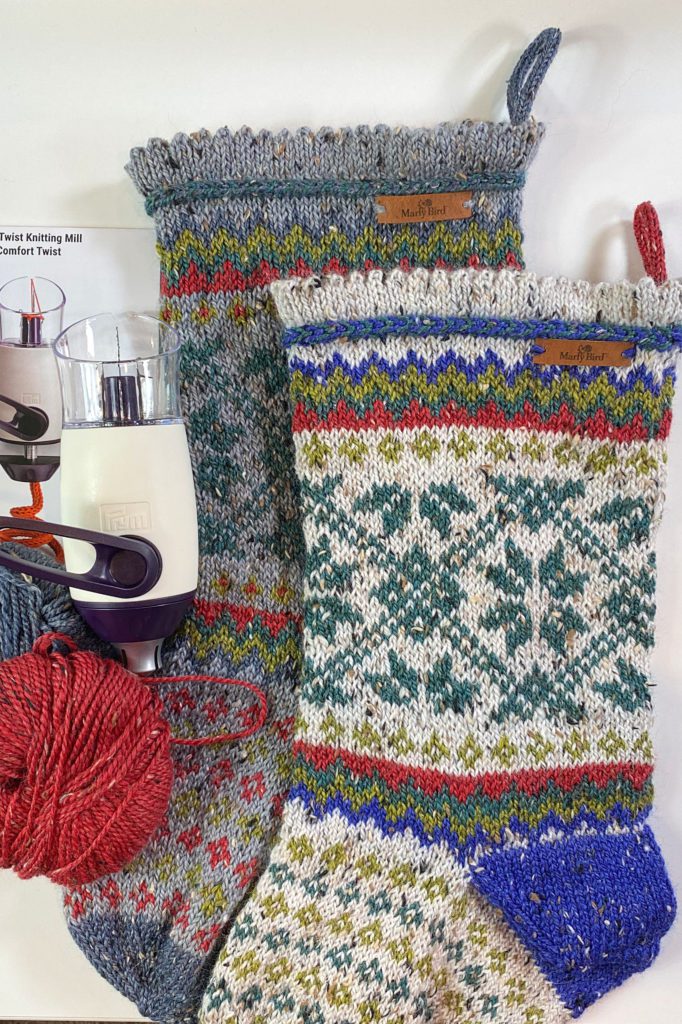
We're going to be working with Knit Picks ® City TweedTM Dk Weight yarn. This is a really beautiful yarn made up of 55% merino wool, 25% superfine alpaca, and 20% donegal tweed. That wool/alpaca combination is a really soft, wonderful yarn to work with. And it has that holiday spirit infused into it so it's perfect for our Christmas in July stocking projects. Knitters will use five colors of this yarn whereas crocheters will use two colors.
UPDATE: When this KAL/CAL went live we broke the Internet. Okay, not really. But we did cause the Snowbank colorway to sell out of stock! If you want yours to look similar to mine, then Snowshoe or any light tan would work! But this is your stocking, you can totally own it and make it whatever colors you want! So don't limit yourself. Order away.
As you can see on the materials list, you'll also need either a size G (4.00 mm) crochet hook or, if you're knitting, you'll need 4.5mm [US 7] and 5mm [US 8] 16′′ (40.5 cm) as well as a set of 5 double pointed needles 4.5mm [US 7]. You'll need stitch markers, a tapestry needle, scissors, etc. Basically, you'll need stuff you probably already have in your supplies stash.
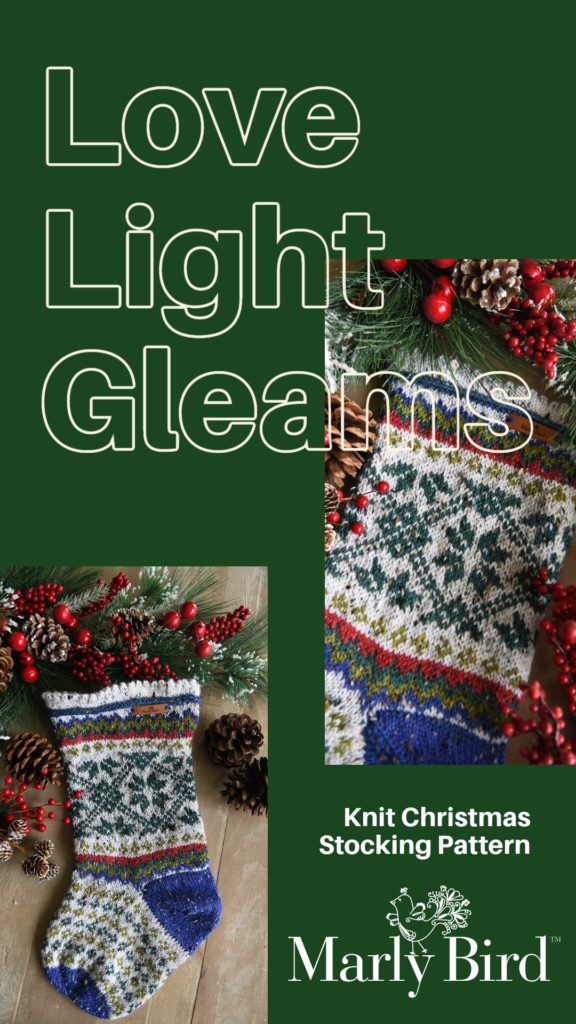
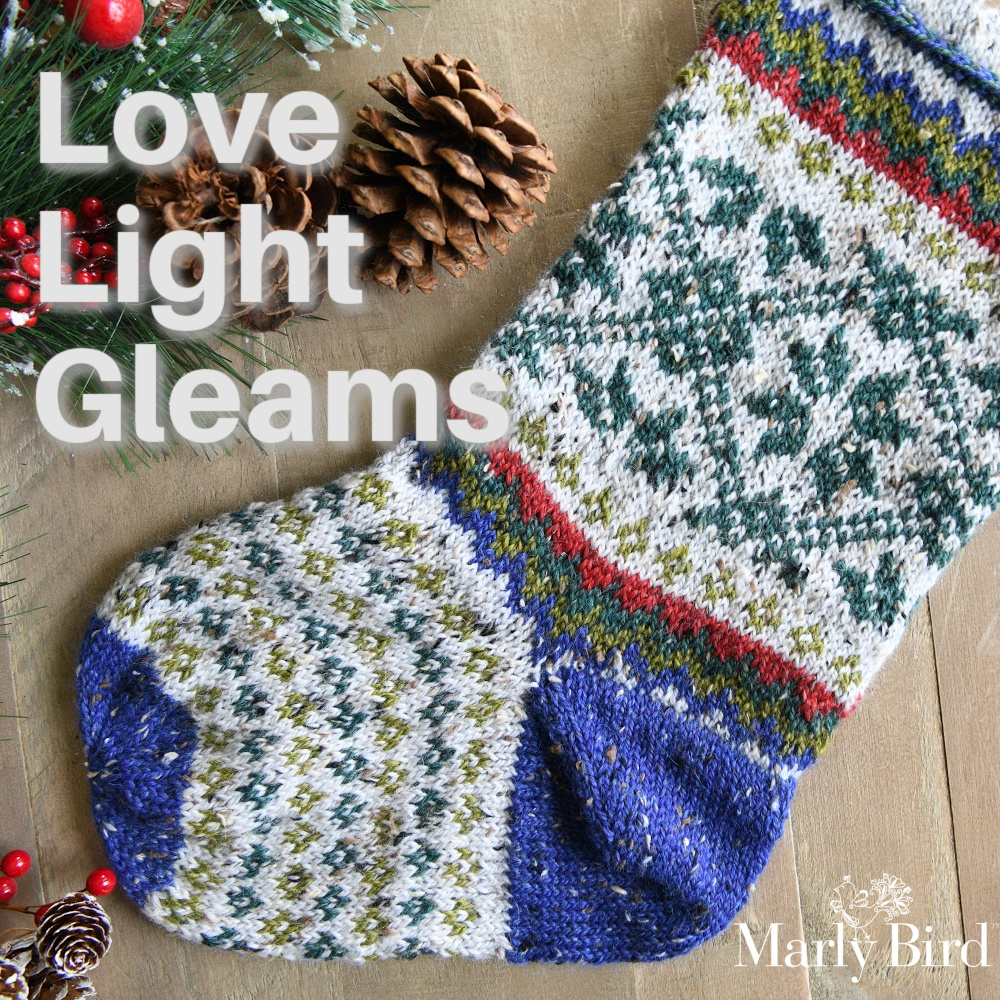
Love Light Gleams Knit Stocking Pattern
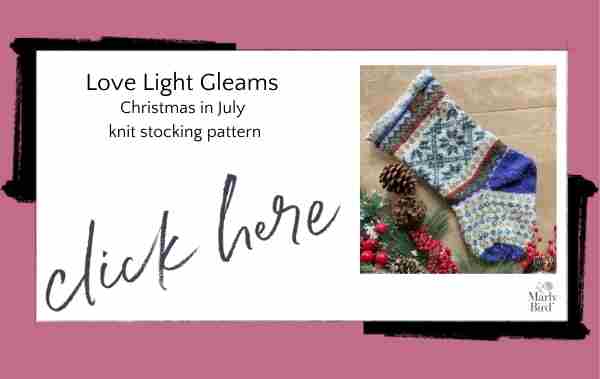
The knit version of the pattern is called Love Light Gleams. Make sure that you head over to Ravelry, give it a like, and queue it up so that you're all ready to go.
You Get So Much Stuff When You Join This CAL/KAL
First of all, you'll get both the knit and crochet stocking patterns. Of course, the instructions will be dripped out during the three-day KAL/CAL period. You can see what the knit stocking will look like above. And you can see the crochet stocking over on Briana K's site.
More importantly, those won't just be written instructions. You'll also get charts, color block graphics, and tutorial videos during this three-day make-along event. PLUS, we also have a little extra surprise that we are announcing this Friday over on the Marly Bird YouTube Channel. So tune in there to find out more!
How Do I Join?
Make sure that you're in the Minions Facebook Group. Then bookmark the main blog page: marlybird.com/blog and come back to visit it on August 6, 2021 to get started. You might also want to make sure you've signed up for the Marly Bird newsletter. And don't forget to queue up the knit stocking pattern on Ravelry right now.
GET THE LINKS TO EACH DAY BELOW
Day 1 Knitting: Aug. 6 @ noon ET
Day 1 Crochet: Aug. 6 @ noon ET
Day 2 Knitting: Aug. 7 @ noon ET
Day 2 Crochet: Aug. 7 @ noon ET
Day 3 Knitting: Aug. 8 @ noon ET
Day 3 Crochet: Aug. 8 @ noon ET
Do you like the PRYM tool I used? It is awesome! Enter here for a chance to win one!
Or you can order one from our friends at Jimmy Beans Wool Here.
https://kingsumo.com/g/zagfje/christmas-in-july-knitting-mill-giveaway
*closes Aug. 17, 2021 @ 11:59pm ET
You Might Also Like:
- 15 Free Crochet Christmas Stockings Patterns
- Festive Fair Isle Knit Stocking Tutorial
- Uptown Chic Knit Stocking Pattern
Frequently Asked Questions
What is the Christmas in July Stocking Makealong all about?
So here's the thing… it's a bicrafty stitchalong where you can knit OR crochet a Christmas stocking! It's a super fun way for knitters and crocheters to come together, share your progress in the Facebook Minions group, and cheer each other on.
When exactly is this makealong happening?
Honestly… we call it “Christmas in July” but it's actually happening in early August! The event runs from August 6th to August 8th, 2021. We're making it bigger than last year, so get ready!
What yarn and tools will I need for the stocking?
Yes! There's a materials list linked right in the post that details everything. For yarn, we're using Knit Picks City Tweed DK, and you'll need specific crochet or knitting needles depending on your craft. Don't worry, most of the other notions are probably already in your stash!
How do I actually join the makealong?
Easy peasy! First, make sure you're in the Minions Facebook Group. Then, just head back to the main blog page (marlybird.com/blog) on August 6th to get started. Oh, and don't forget to queue up the knit stocking pattern on Ravelry right now!
Will I get the whole pattern all at once?
Well, here's the fun part… the instructions are dripped out over the three days of the make-along! You'll get charts, color block graphics, and tutorial videos too. PLUS, there's a surprise coming soon on my YouTube channel, so keep an eye out!