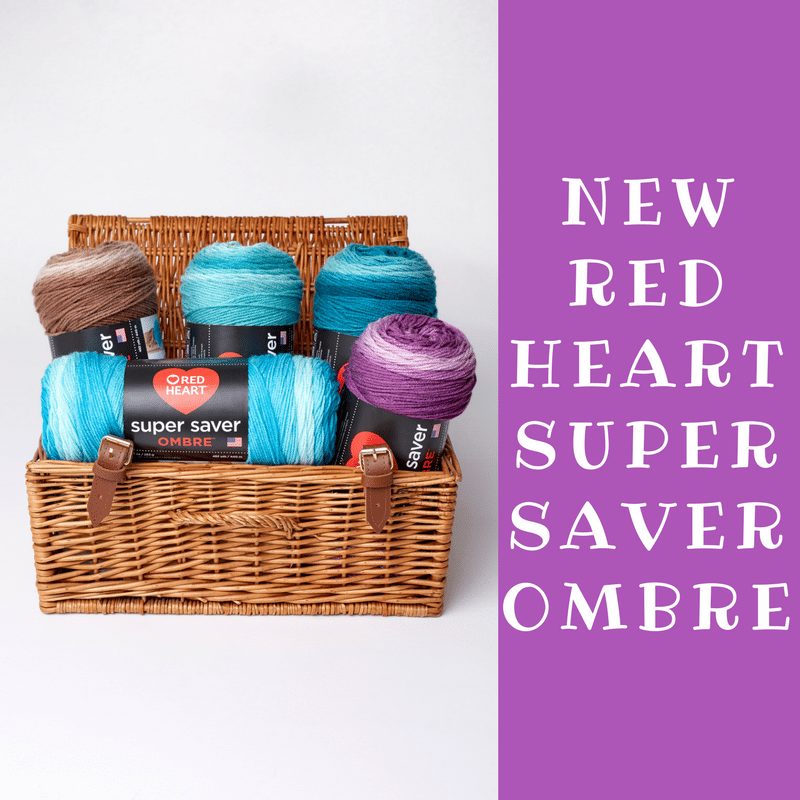
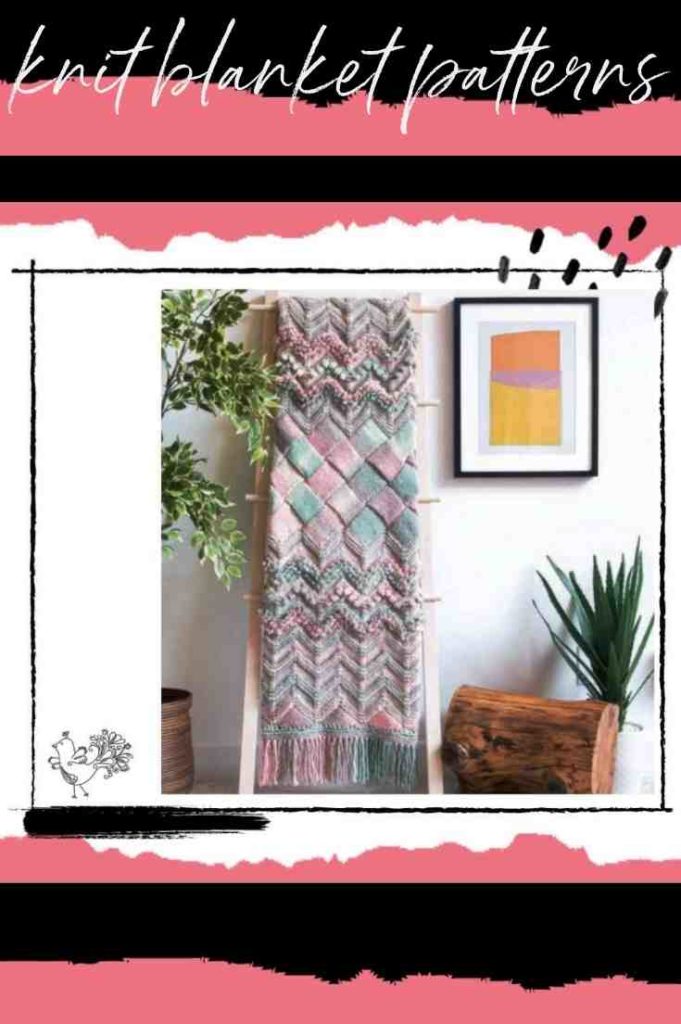
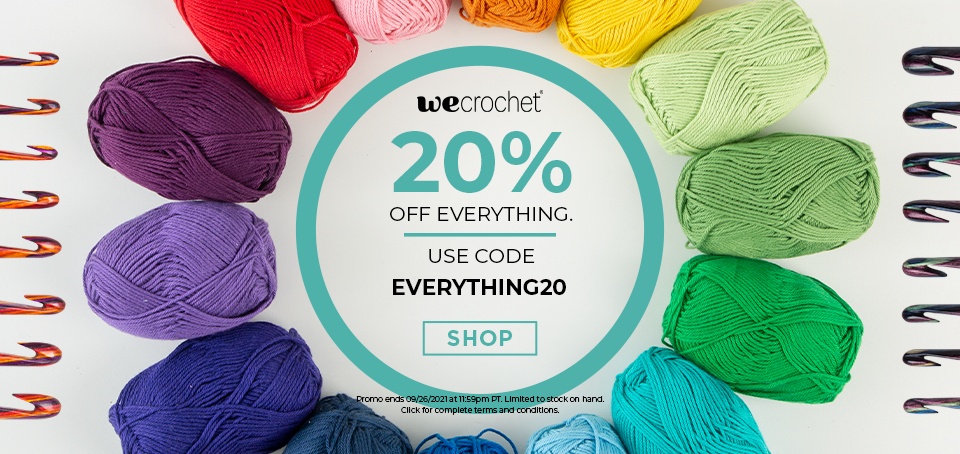
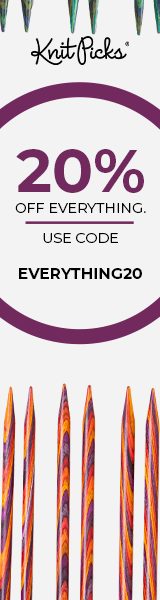
You know that we love WeCrochet here at Marly Bird. In fact, we're thrilled that they're sponsoring our BiCrafty Bootcamp: Beginner Crochet Lessons for Knitters. Of course, we love their sister site KnitPicks as well. More than that, we love a good deal. So we are excited to let you know that today is the first day of a weeklong sitewide yarn sale on the sites. And it's not just yarn … if there's something you see on the site that you love, you can bet that it's also 20% off.
Disclosure: This post includes affiliate links. I get a percentage of sales made from clicks on those links. Your price doesn't change. Your support is valued!
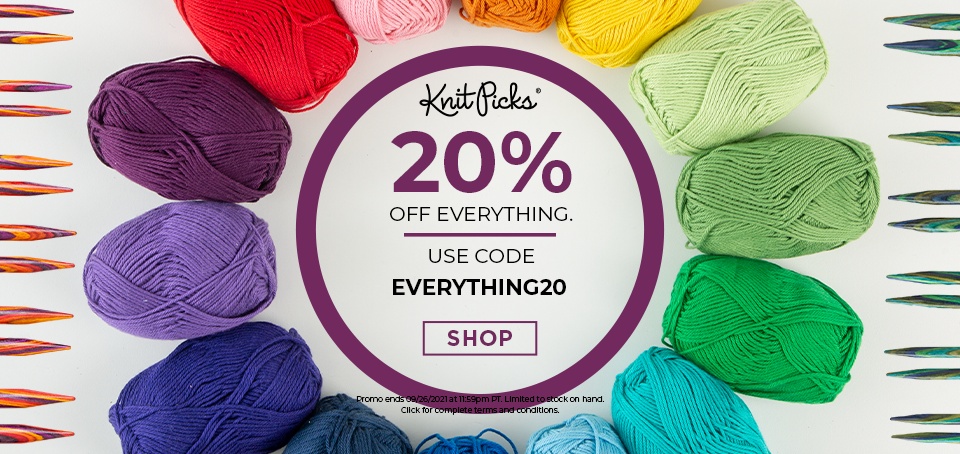
The Quick Lowdown On This Yarn Sale
- Visit KnitPicks and/or WeCrochet websites.
- Load your cart up with everything you want / need.
- Enter coupon code EVERYTHING20 at checkout.
- That's it; everything across the sites is 20% off.
- Moreover, you get free shipping on all orders of $35+
- And if this happens to be your first time shopping with KnitPicks / WeCrochet, they offer free returns on that first order. Although we doubt you'll want to return anything.
- Yarn Sale begins 9/20/21 and ends 9/26/21 at 11:59 p.m. PDT. And remember it's not just yarn; it's all the things.
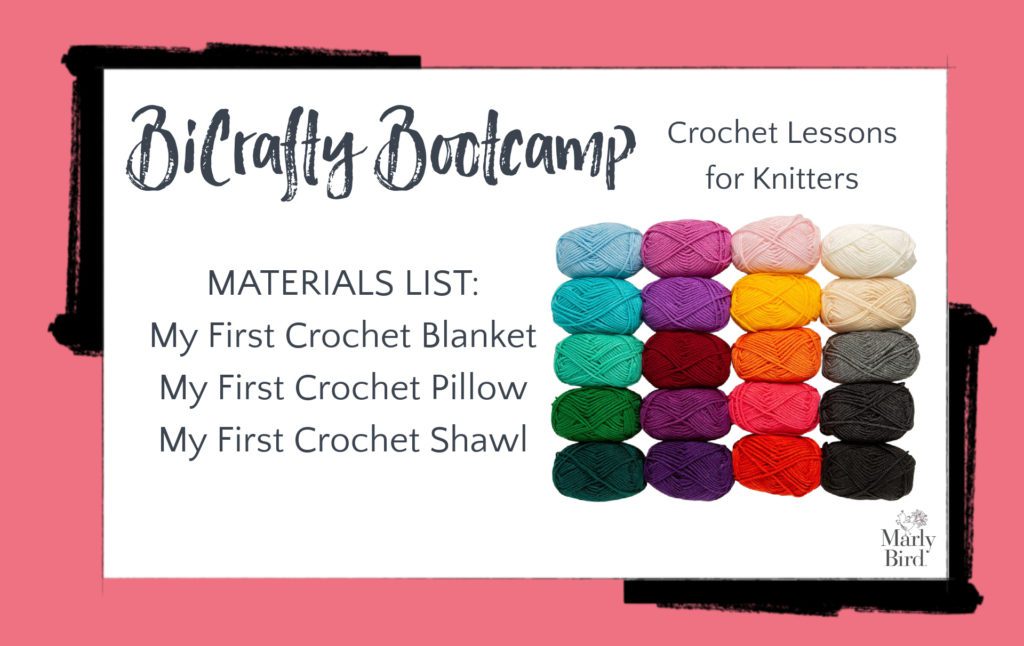
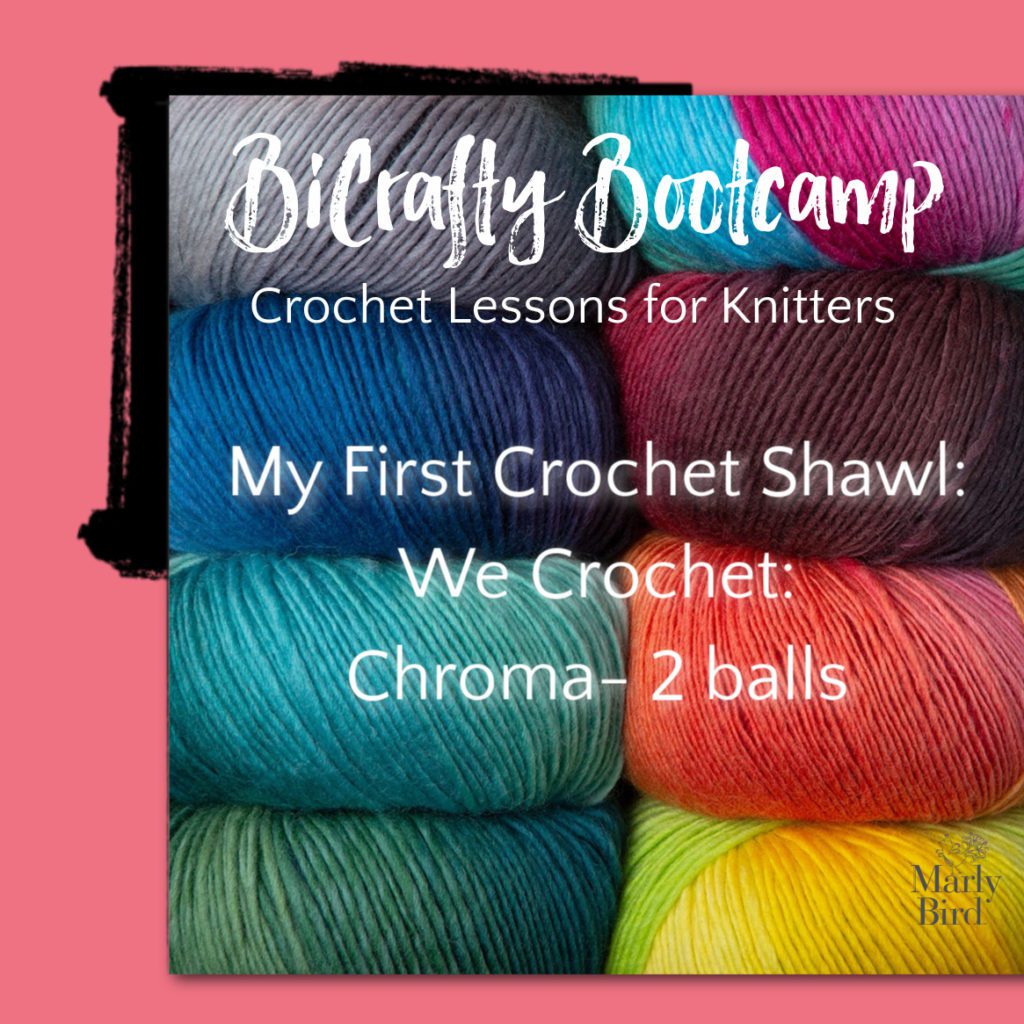
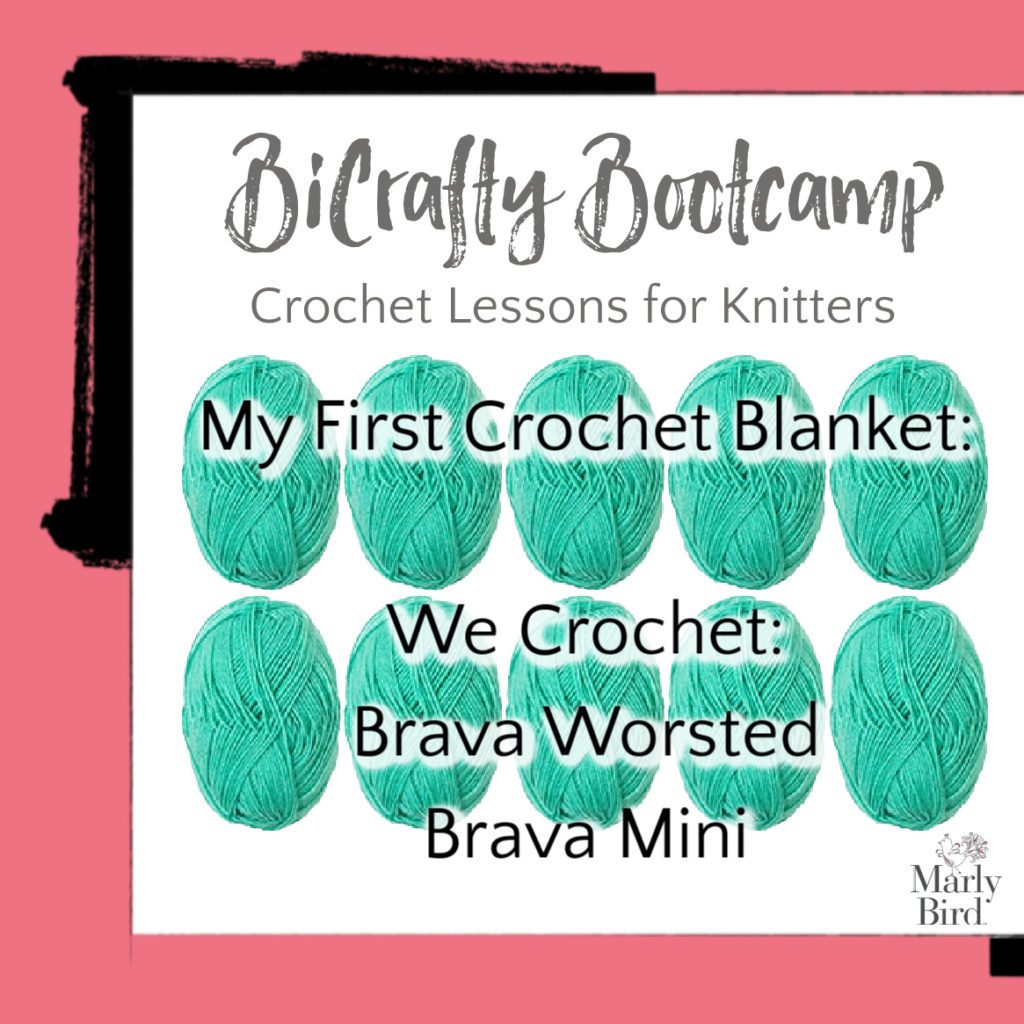
Attention BiCrafty Bootcampers: YARN SALE FOR YOU
Obviously everyone who wants to should take advantage of this terrific 20% off sitewide sale. However, we definitely want to highlight how great this is for our BiCrafty Bootcampers. Why? Because we just released the announcement about all of the yarn you'll need through Lesson 10 of BiCrafty Bootcamp. So this yarn sale allows you to get it at 20% off.
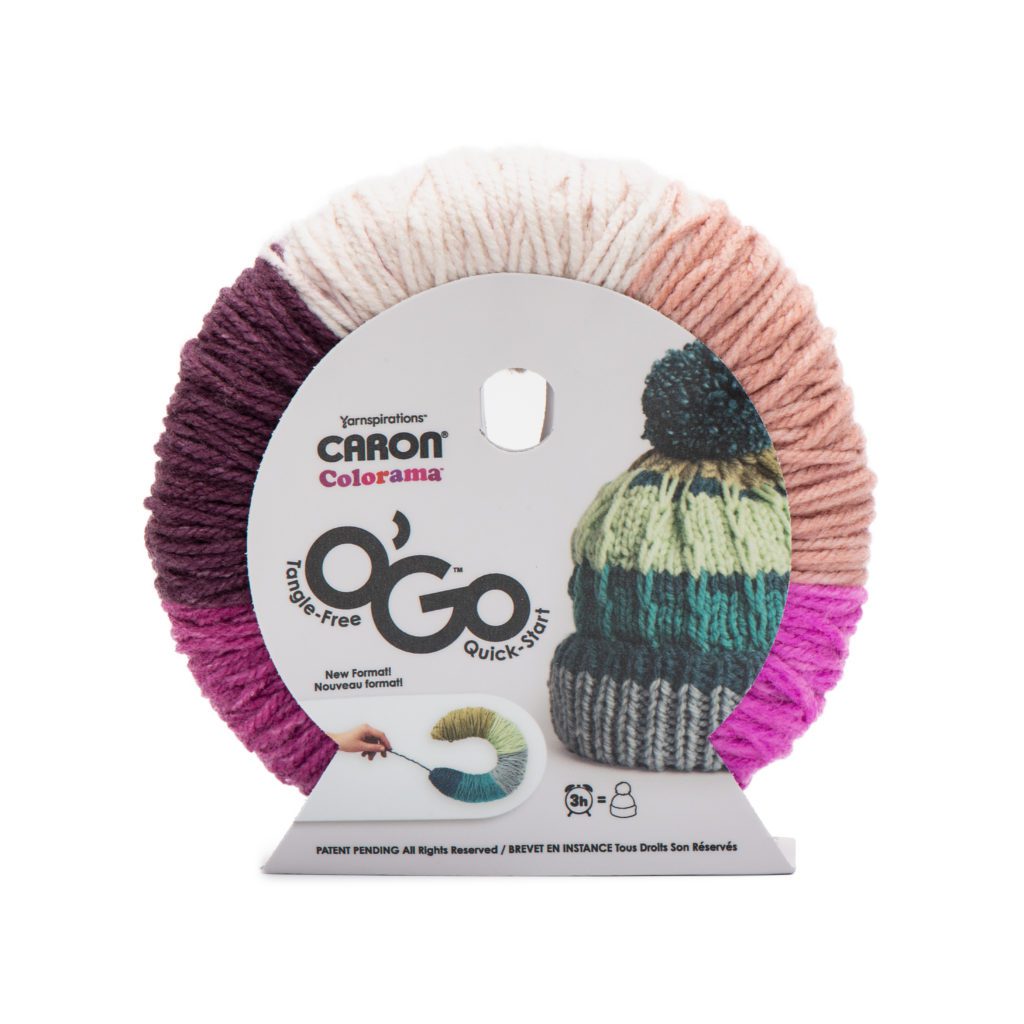
Here's the materials list for those upcoming lessons. Buy that this week to save you money! Also, please note that we highly recommend at this point that you purchase a full set of crochet hooks. We recommend at least sizes G 4.0 mm – L 8.0 mm. You can buy those at a 20% discount this week with the sitewide sale. You can get most of those sizes with the WeCrochet hook set. Then you can supplement the larger size individual hooks.
More Than a Yarn Sale
We are emphasizing that this is a terrific yarn sale. However, we don't want you to neglect to buy the other things that you might need, too. After all, this is the best time to do your shopping for the rest of the year. You're going to have a lot of projects that you want to work on for the holidays, right? Stock up now, not just on the yarn but on all of the other 20% off goodness from KnitPicks and WeCrochet.
Here are some things we think you might also like:
- WeCrochet Kits: craft kits, grab bags, tool kits, and pattern kits
- Crochet books
- Crochet hook cases and knitting needle binders
- Knitting needle sets
- Notions including locking stitch markers and row counters
- Yarn swifts / ball winders
We really hope that you'll take advantage of this great sale. It's the perfect time to treat yourself to yarn and more at a discount. If you do buy something, we'd love to see it. Share it in the Marly's Minions Facebook Group or tag us on Instagram @themarlybird #marlybird #marlymademedoit
You Might Also Like:
- Yarn Weight Chart and Recommended Yarns for Each Weight
- Crochet Hooks Chart with US/mm/UK Conversions
- 20 Best Super Bulky and Jumbo Yarns
Frequently Asked Questions
What's this sale all about?
So here's the thing… KnitPicks and WeCrochet are having a sitewide sale! You can get 20% off absolutely everything, including yarn, hooks, kits, and more. Just use the code EVERYTHING20 at checkout.
When does this awesome sale end?
Honestly… you've got until September 26, 2021, at 11:59 p.m. PDT to grab all the goodies. Don't miss out!
Is it just yarn on sale?
Nope! It's not just yarn… it's everything on the KnitPicks and WeCrochet sites. This is the perfect time to stock up on tools, kits, and anything else your crafty heart desires.
Do I get free shipping with this sale?
Yes! You get free shipping on all orders over $35. So load up that cart and save even more!
Is there a coupon code I need to use?
You bet! Make sure to enter the coupon code EVERYTHING20 at checkout to snag your 20% discount on everything.