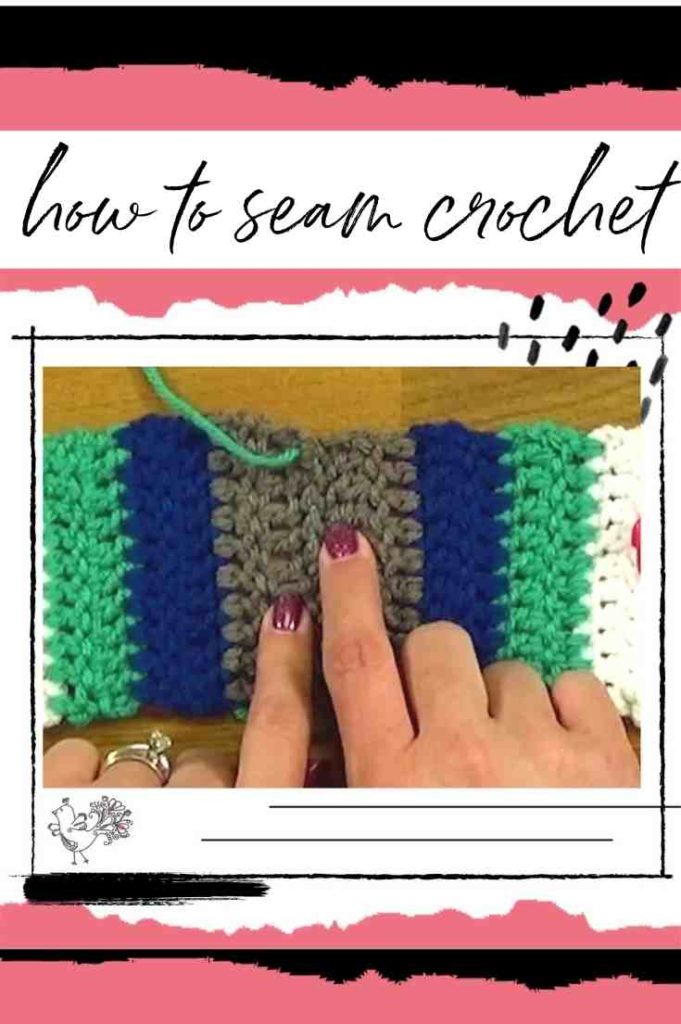
How to Seam Crochet: Mattress Stitch (Plus Lace-Up Stitch Variation), Slip Stitch and Single Crochet Join Video Tutorials
You put a lot of effort into creating a good crochet project. Therefore, you want to make sure that you know how to do the finishing touches correctly. After all, you don't want your work to look shoddy or fall apart because you failed to put the attention into those details. Therefore, you want to learn how to seam crochet. In other words, you want to learn how to stitch together different pieces – to attach sleeves to the body of a sweater, join squares for a blanket, or stitch the short sides of a rectangle together to create a headband or cowl. You have several different options for how to seam crochet. I show you three of them in this video tutorial.
3 Ways for How to Seam Crochet with Mattress Stitch
Crochet seaming simply means attaching one piece of crochet to another. There are a variety of different ways that you can approaching seaming, also sometimes called joining. For example, some seams are designed to be invisible whereas others are designed as decorative details. Often times people will use a simple slip stitch join, a classic whipstitch join, or a more textured single crochet join.
Mattress Stitch for Seaming Crochet
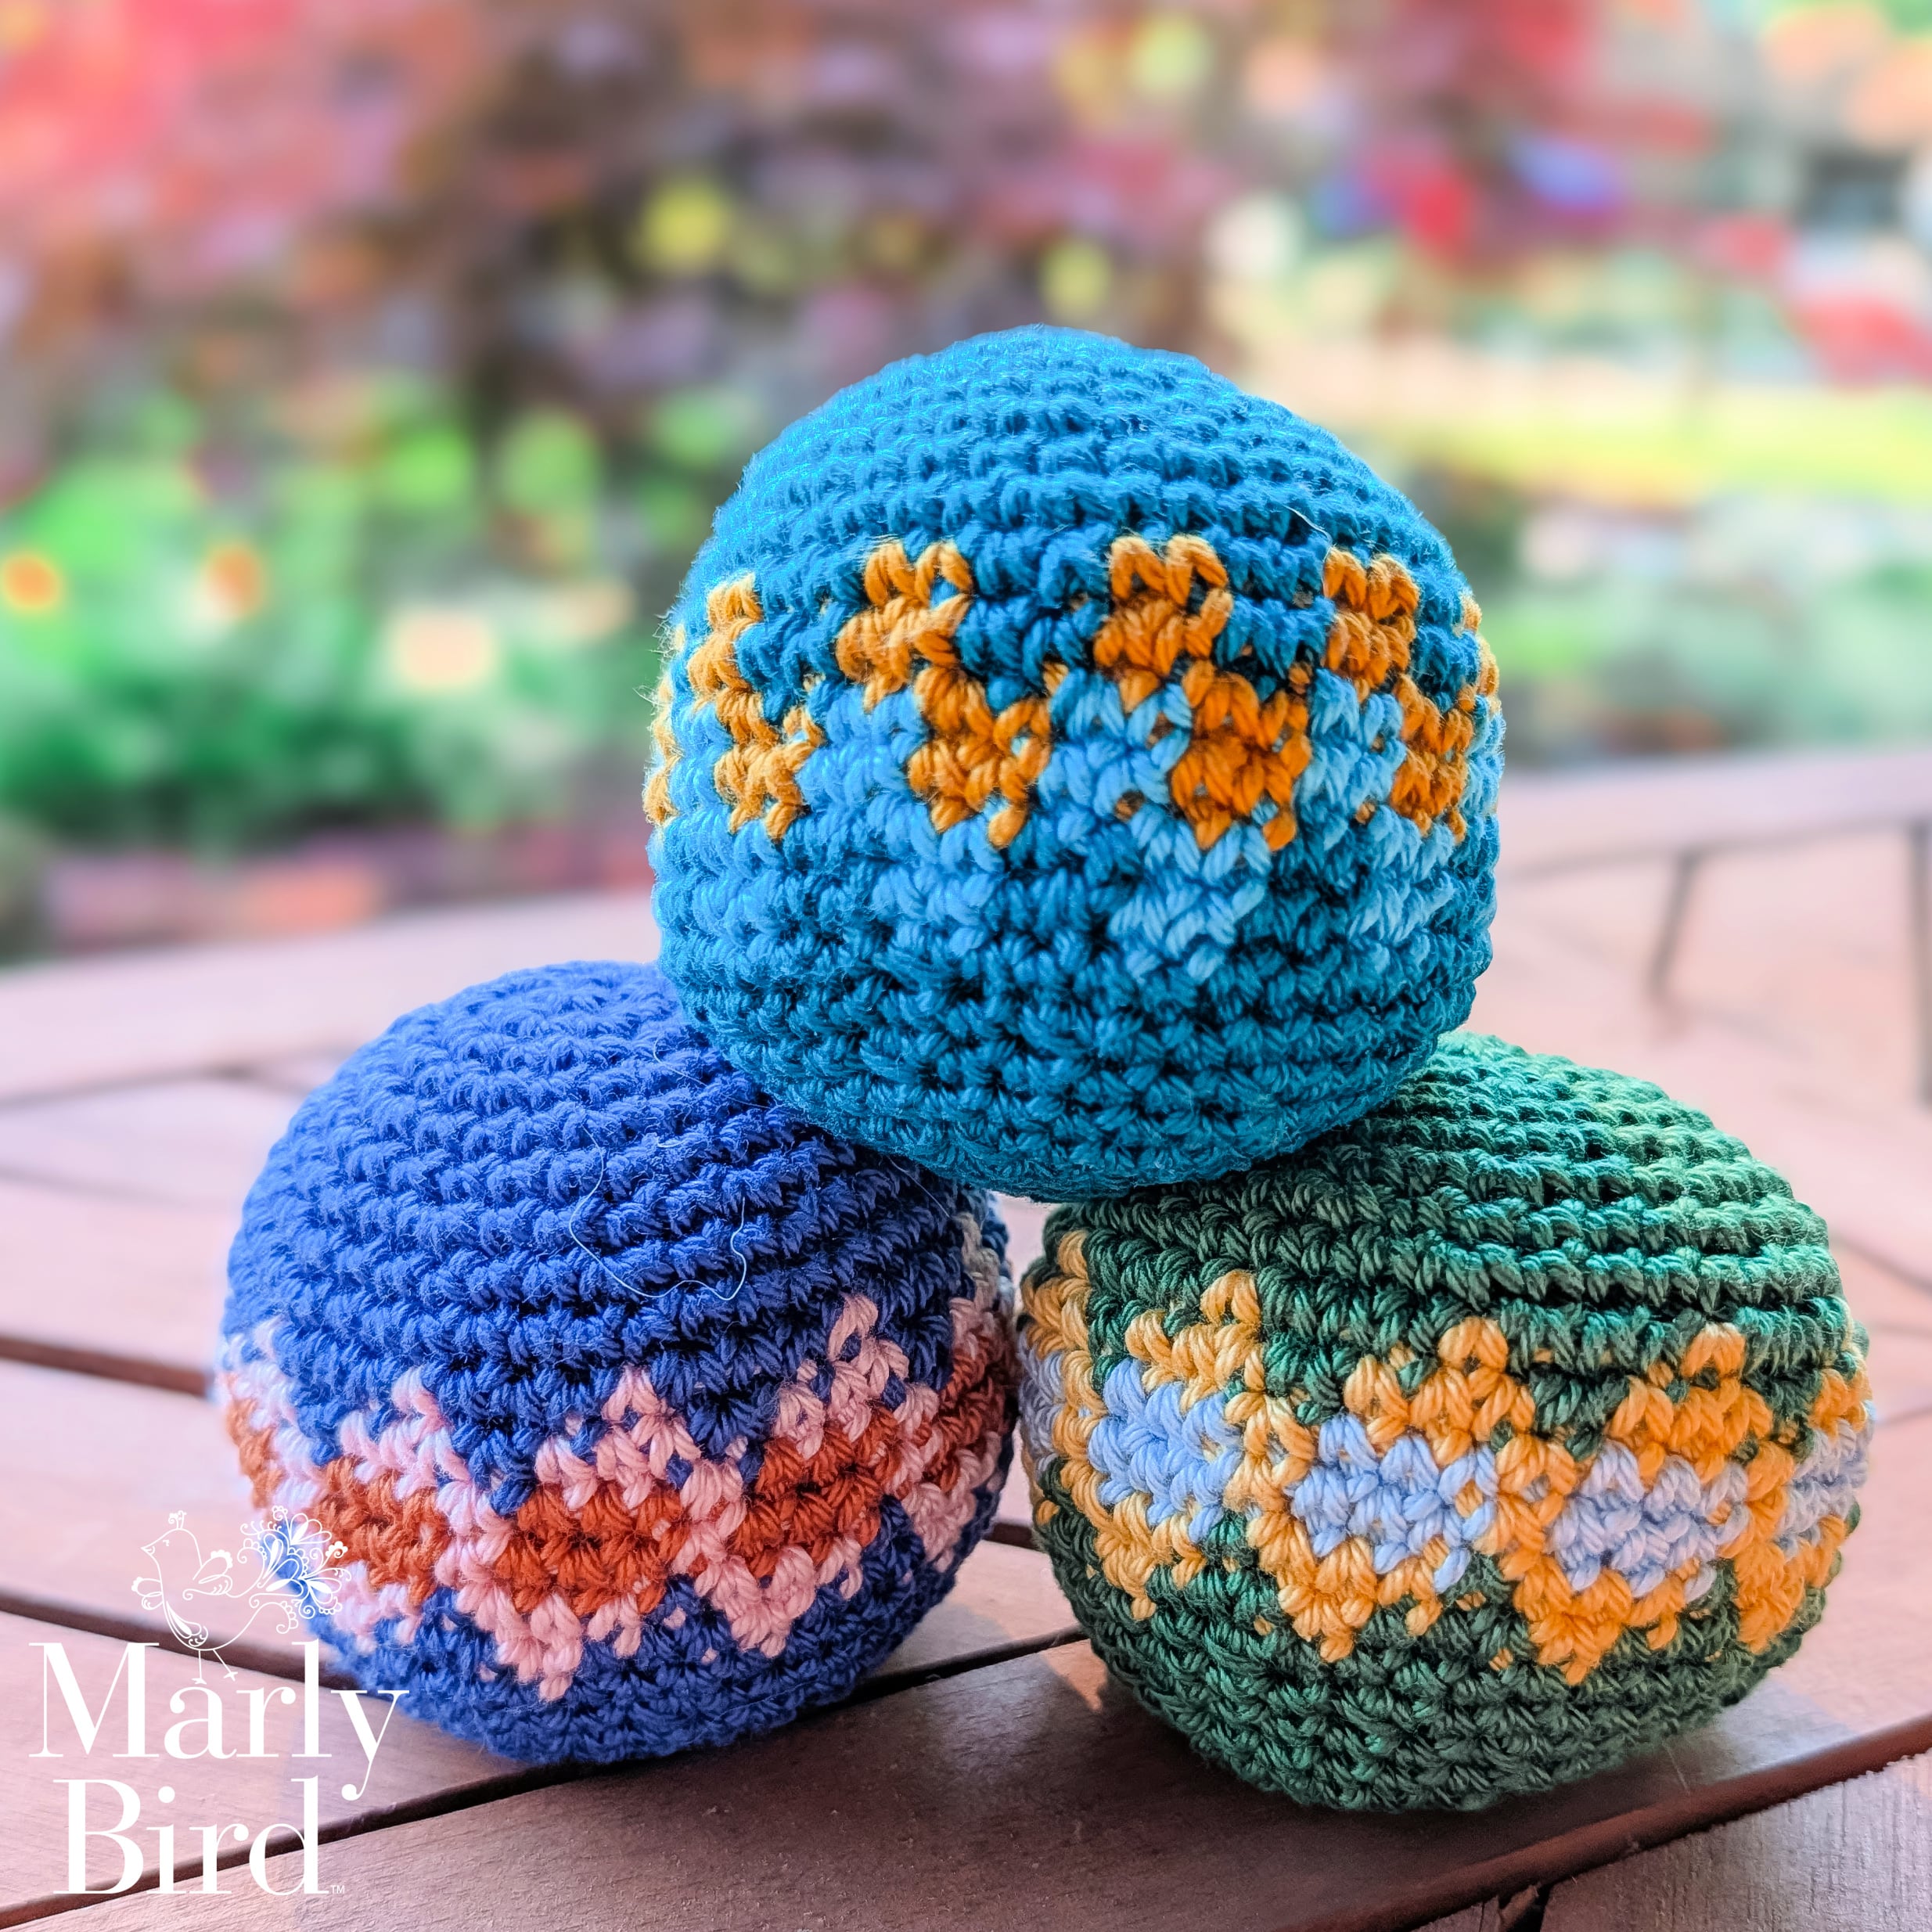
The mattress stitch is a flat, nearly invisible crochet seaming option. People use this when they want a durable join on any type of project. Whether you want invisible seams between motifs on a blanket or you want to crochet a sweater without an obvious join between its body and arms, mattress stitch will work for you. In fact, I show you how to seam a crochet sweater with mattress stitch on my Xanadu Pullover free crochet pattern.
Mattress stitch, also sometimes called woven stitch looks a little bit like a lace-up stitch. Think about when you lace up your shoes. It looks like that. In fact, sometimes I'll refer to it as the lace-up stitch. You'll put two pieces of crochet together, right side up. Then you'll stitch them together in lace-up fashion, working entirely on the right side of the work. And yet, because of the loops you use and the stitch you're working with, you get a naturally invisible seam.
As you'll see in the video below, there are different ways to work the mattress stitch. Which you choose often depends on the stitches that you're working into on the pieces that you're joining. Additionally, you may work in different parts of the stitch loops. I've explained in the video why I might choose one over the other. I've also shown which particular version I most often tend to call “lace-up stitch.”
Video Tutorial for 3 Ways to Seam Crochet with Mattress Stitch
How to Join Crochet 3 Ways for Seaming
As I said, you can also choose really simple seaming options such as the slip stitch or single crochet join. In this video, for seaming together my crochet stitch sampler baby blanket squares, I show you those two options. I also show you mattress stitch / lace-up stitch again. With all of these options for how to seam crochet at your disposal, you'll be able to finish a variety of different project types to perfection.
You Might Also Like:
- The First Five Basic Crochet Stitches to Learn
- Learn to Bury in Ends for Knitting and Crochet
- Planned Pooling Crochet Finishing Unused Foundation Chain
Frequently Asked Questions
What crochet seaming methods does this tutorial cover?
Three important techniques! Mattress stitch is worked with a tapestry needle and creates nearly invisible seams when done correctly on the right side of crochet fabric. The slip stitch join uses a crochet hook to join pieces together with a visible decorative ridge (beautiful as a design element or worked inside for a clean interior join). And the single crochet join creates a sturdy, visible seam that also adds a slight decorative effect. Each method has its best applications… and the video tutorials for all three make them much easier to learn than from written instructions alone.
When should I use each seaming method?
Mattress stitch for invisible seams on sweater side seams and anywhere you want the join to disappear. Slip stitch join on the right side for a decorative ridge… great for granny square blankets where the visible seams add design interest. Slip stitch join on the wrong side for a clean, mostly invisible seam in crochet garments. Single crochet join for sturdy bags and items needing a strong, thick seam. The video tutorials demonstrate each method's specific applications so you can make the best choice for your project.
What is the lace-up stitch variation for crochet seaming?
The lace-up stitch variation creates a seam that looks like lacing… similar to the lacing on shoes or a corset. You thread yarn back and forth between edge stitches of two pieces in a zigzag pattern rather than a straight seam. This creates a decorative seam that's intentionally visible and adds design interest. It's beautiful for bags, garments where a visible embellishment is desired at the seam, and any project where you want the joining itself to be a design feature. It's one of those techniques where the “seam” becomes part of the aesthetic.
How do I know which edge stitches to seam into?
This is where many new seamers struggle! For row edges (the side edges of flat crochet fabric), you typically work into the end-of-row stitches… sometimes both loops, sometimes just the edge loops depending on the technique. For stitch edges (the top/bottom of a flat piece or working edge), you insert your needle under both loops of each edge stitch. Mattress stitch specifically catches the same consistent loops on each side to create that invisible effect. Watching the video makes this much clearer than any written description can… the video shows exactly which loops to pick up and how to maintain even tension.
Does it matter whether I seam before or after blocking?
Yes! Block the individual pieces BEFORE seaming whenever possible. Blocking flat pieces lets you pin them precisely to matching dimensions, even out any uneven edges, and ensure the two pieces are actually the same size before you join them. Trying to seam unblocked pieces that are slightly different sizes creates a distorted, puckered seam. After seaming, a light final block of the assembled piece can smooth out any small irregularities at the seam and help everything settle into its final shape. Block first, seam second, final-block third.
Categories: Crochet, Tips, Tricks, Techniques for Knitting and Crochet