
Beginner Crochet Facecloth Pattern (BiCrafty Bootcamp:…
Welcome back BiCrafty Bootcampers! If you joined us last week for Lesson One of BiCrafty Bootcamp Crochet Edition then you've already learned a lot. We talked about different crochet hooks and how to hold them. You learned the single crochet stitch and even how to decrease in single crochet for some basic shaping. Plus you learned about the turning chain, an important feature that differs from knitting. So, now you're ready for even more! We'll build on last week's skills this week with a beginner crochet facecloth pattern.
❣️ If you haven't signed up for BiCrafty Bootcamp yet – join here now!❣️ It's how we know to send you information on new lessons, Live Videos, schedule changes and more.
Note: this post may contain affiliate links. I receive a small percentage of sales from clicks on those links. This is one way I'm able to keep offering free patterns. Your price doesn't change. Thanks for the support.
The Basic Crochet Stitches We're Going To Learn This Week
One of the primary differences between knitting and crochet is that in crochet there are stitches of varying heights. One of the reasons that many people can crochet a piece quickly as compared to knitting the same size piece is because you can use taller stitches to grow the work quickly. What's great, though, is that all of the basic crochet stitches use the same essential steps.
So, last week, you learned how to single crochet. This week, you'll learn the next three heights of basic crochet stitches: half double crochet, double crochet, and treble crochet. They all use the same basic steps as single crochet, so you're just practicing the same motions over and over. That's great because it builds your muscle memory and helps you learn.
You'll also get to learn more about the turning chain this week. You learned how to chain one last week for a single crochet turning chain. However, when you have a stitch of a different height, you need to chain more on the turning chain to come up to that same height. Don't worry; it'll make more sense as you begin working with it.
Crochet Chart or Diagram for BiCrafty Bootcamp Lesson 2
Video Help for Stitches Used in the Beginner Crochet Facecloth Pattern
Click on the stitch below If you need a quick refresher on how to do it.
- Slip Knot: Insert crochet hook in the indicated stitch, yarn over and draw through both the stitch and the loop on the hook.
- Chain Stitch: Wrap the yarn around the crochet hook (yarn over) and draw it through the loop on the hook to form the first chain. Rep this step as many times as instructed. (The loop on the hook is never included when counting the number of chains).
- Single Crochet: Insert crochet hook in indicated stitch, yarn over and pull up a loop; yarn over and draw through both loops on hook.
- Half Double Crochet: Yarn over hook, insert hook into indicated stitch, yarn over and pull up a loop; yarn over and draw through all three loops on hook.
- Double Crochet: Yarn over hook, insert hook into indicated st, yarn over and pull up a loop; [yarn over and draw through 2 loops on hook] 2 times.
- Treble Crochet: Yarn over hook two times, insert hook in indicated stitch, yarn over and pull up a loop; (yarn over and draw through two loops) three times.
Learning About Crochet Charts or Diagrams and Reading Patterns
During last week's live video, I started showing you some super basic chart drawings to help you better understand the rows and turning chains. Many of you said this was really helpful. This week we're going to learn more about crochet symbol charts and diagrams.
We'll also start talking more about reading written crochet patterns. When you first started knitting, knit patterns probably looked like another language. Then eventually that language became second nature to you. Although you might not yet know the crochet abbreviations, you do basically know the concept of how to read a crochet pattern. It's similar to reading a knitting pattern. You just need to learn some new vocabulary.
Changing Colors in Crochet
Finally, this week you're going to learn how to change colors in crochet. For the most part, this is similar to changing colors in knitting. However, there are some slight differences in terms of exactly where you make the color change. This directly relates to the turning chain. Once you see it, it should make sense. You'll get all the details specific to this pattern towards the end of the long live video below. But here's a shorter video for reference, too.
How to Count Rows
In the video lesson below, you'll also find information about how to count your rows in crochet. There are some tricks and tips to help you identify the right side and wrong side of the work. Then you can effectively count by twos on either side.
As a Knitter, You're Ahead in the Crochet Game
Have confidence in your skills. You already know so much of this as a knitter. It might not yet feel natural to translate it to crochet. We know a few of you threw your hooks across the room this week. Or put your work in timeout. That's okay. You can take breaks and come back to it. But honestly, you've got this. It takes time to make your hands adjust to the slightly different motions of crochet, but they can do it. The more you work the steps, the more muscle memory you'll build. It gets easier and easier each time.
Useful Crochet Skill for Knitters
In this lesson you learn about working into the back bump or butt of the foundation chain. Yes, there are more ways to begin a project. Crochet has many different ways you can start, just wait and see. But regarding working into the back bump or butt of the chain, this is something you can do when working a provisional cast on for knitting.
Some of you are most likely familiar with using the crochet hook to actually crochet over a knitting needle. Yes, you can do this. But that you know more about crochet, watch yourself work the provisional technique in that way. Notice that as you do that you are essentially putting the back bump or butt of the stitch around the knitting needle. Can you see it?
Well, if you find that method of crocheting around a knitting needle cumbersome, you can just work a chain first, then, pick up and knit stitches into the back bump or butt of the chain.
How To Use A Crochet Chain for a Provisional Cast On
To do so, Using scrap yarn that is the same weight as your working yarn, chain more than the number of stitches you plan on picking up and knitting for your provisional cast on (I like to do 10 chains more) then fasten off.
It is important you know which tail of the chain is the one you just fastened off so I like to put a couple knots in the tail so I know that is the end I will start to unravel when it is time.
Now, with your working yarn, skip a couple chains, then begin to pick up and knit through the back bump or butt of the chain for each stitch you need to cast on. the “and knit” is important because there are some patterns that will just tell you to pick up stitches then work a row of knitting to get with the pattern. But when you pick up and knit you are already doing the row of knitting.
Once you have picked up and knit along the back bump or butt of the chain, you continue with your work.
When it is time to remove the provisional cast on chain, start at the end with the knots in the tail. Undo the fasten off, then essentially unzip the crochet chain thus revealing the exposed loops of the knitting.
Put those loops on a needle as they become available.
Like that technique? Here are a variety of ways you can do a provisional cast on. Have a look! Don't forget to smash the like button and if you haven't yet, SUBSCRIBE TO THE YOUTUBE CHANNEL!
Lesson 2: Beginner Crochet Facecloth Pattern
We think it's really important to give you the opportunity to put your new skills to use right away. We want you to make something that you can use. If you did last week's lesson, then you already have a single crochet spa headband. This week, our second pattern is a beginner crochet facecloth pattern. It's designed as a complementary pattern to go with the headband.
???? New Stitch: Long Wave Crochet Stitch
I chose the Long Wave Crochet Stitch for our complementary facecloth to last week's headband. I like the crazy colors and the way this stitch pattern uses all the new stitches in lesson 2 of BiCrafty Bootcamp.
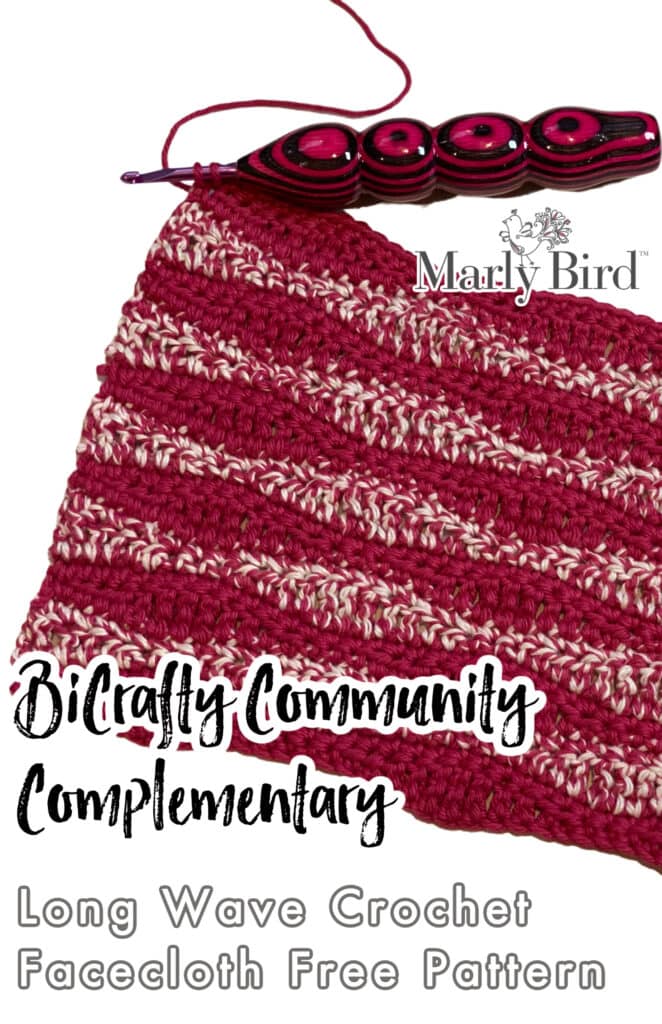
This facecloth is created by using the different heights of the stitches to their full advantage. The height of each of the stitches makes the wave without having to do any increases or decreases. It's a really cool feature of crochet that I think you knitters are going to enjoy learning.
If you enjoy the project, make a bunch of them. After all, these are great gifts for many different people in your life. One of the great things about out BiCrafty Bootcamp Crochet patterns is that they're all terrific for you but also great to give as gifts. So even though this is a self-care beginner crochet facecloth pattern, it's also something you can wrap up with a bar of soap and give as a Christmas gift this season.
BONUS PATTERN: The Long Wave Crochet Stitch is actually one of the stitches used in the 2015 Stitch Sampler Blanket CAL. This is a great pattern for you to start working on to grow your crochet skills alongside Bootcamp lessons. You can find the links to the each part of the CAL here. Or get the whole pattern in one place on Ravelry.
BiCrafty Community Complementary Long Wave Beginner Crochet Facecloth Pattern for Self-Care: Details
Measurements
Finished Size:
- 10” x 10″ [25.4 X 25.4 cm]
Gauge:
- 17.2 stitches = 4”
- 16 rows = 4”
Materials
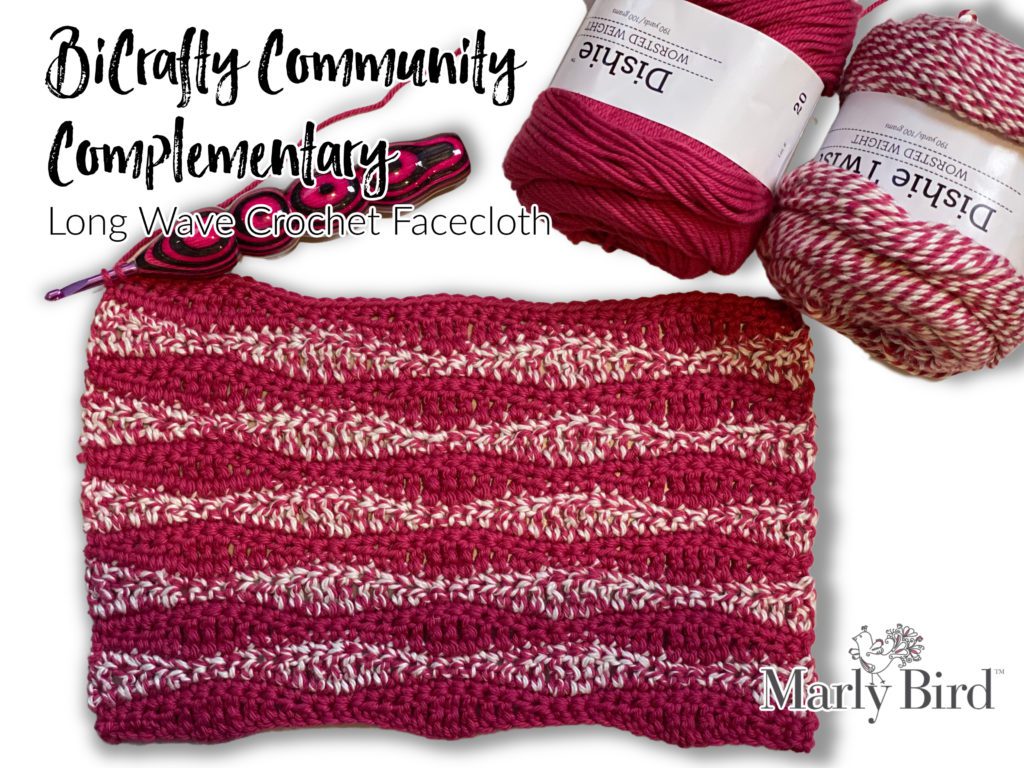
Yarn:
WeCrochet Dishie Yarn, 1 ball in color of your choosing. This is a worsted weight cotton yarn.
WeCrochet Dishie Twist Yarn, 1 ball in color of your choosing. This is a worsted weight cotton yarn.
Hook:
Size G (4.0mm)
Don't forget to check out our Ultimate Guide to Crochet Hooks if you're ready to learn more about them.
Notions:
Locking stitch markers, Chenille and tapestry needles for weaving in ends.
Crochet Abbreviations
That's right, you're ready to start learning crochet abbreviations. After you, you already understand the concept from your knitting abbreviations. This is how you'll learn to read crochet patterns!
beg – begin(ning)
ch – chain
dc – double crochet
hdc – half double crochet
rep – repeat
RS – right side
sc – single crochet
sk – skip
sl st – slip stitch
sp – space
st – stitch
tch – turning chain
tr – treble crochet
WS – wrong side
yo – yarn over
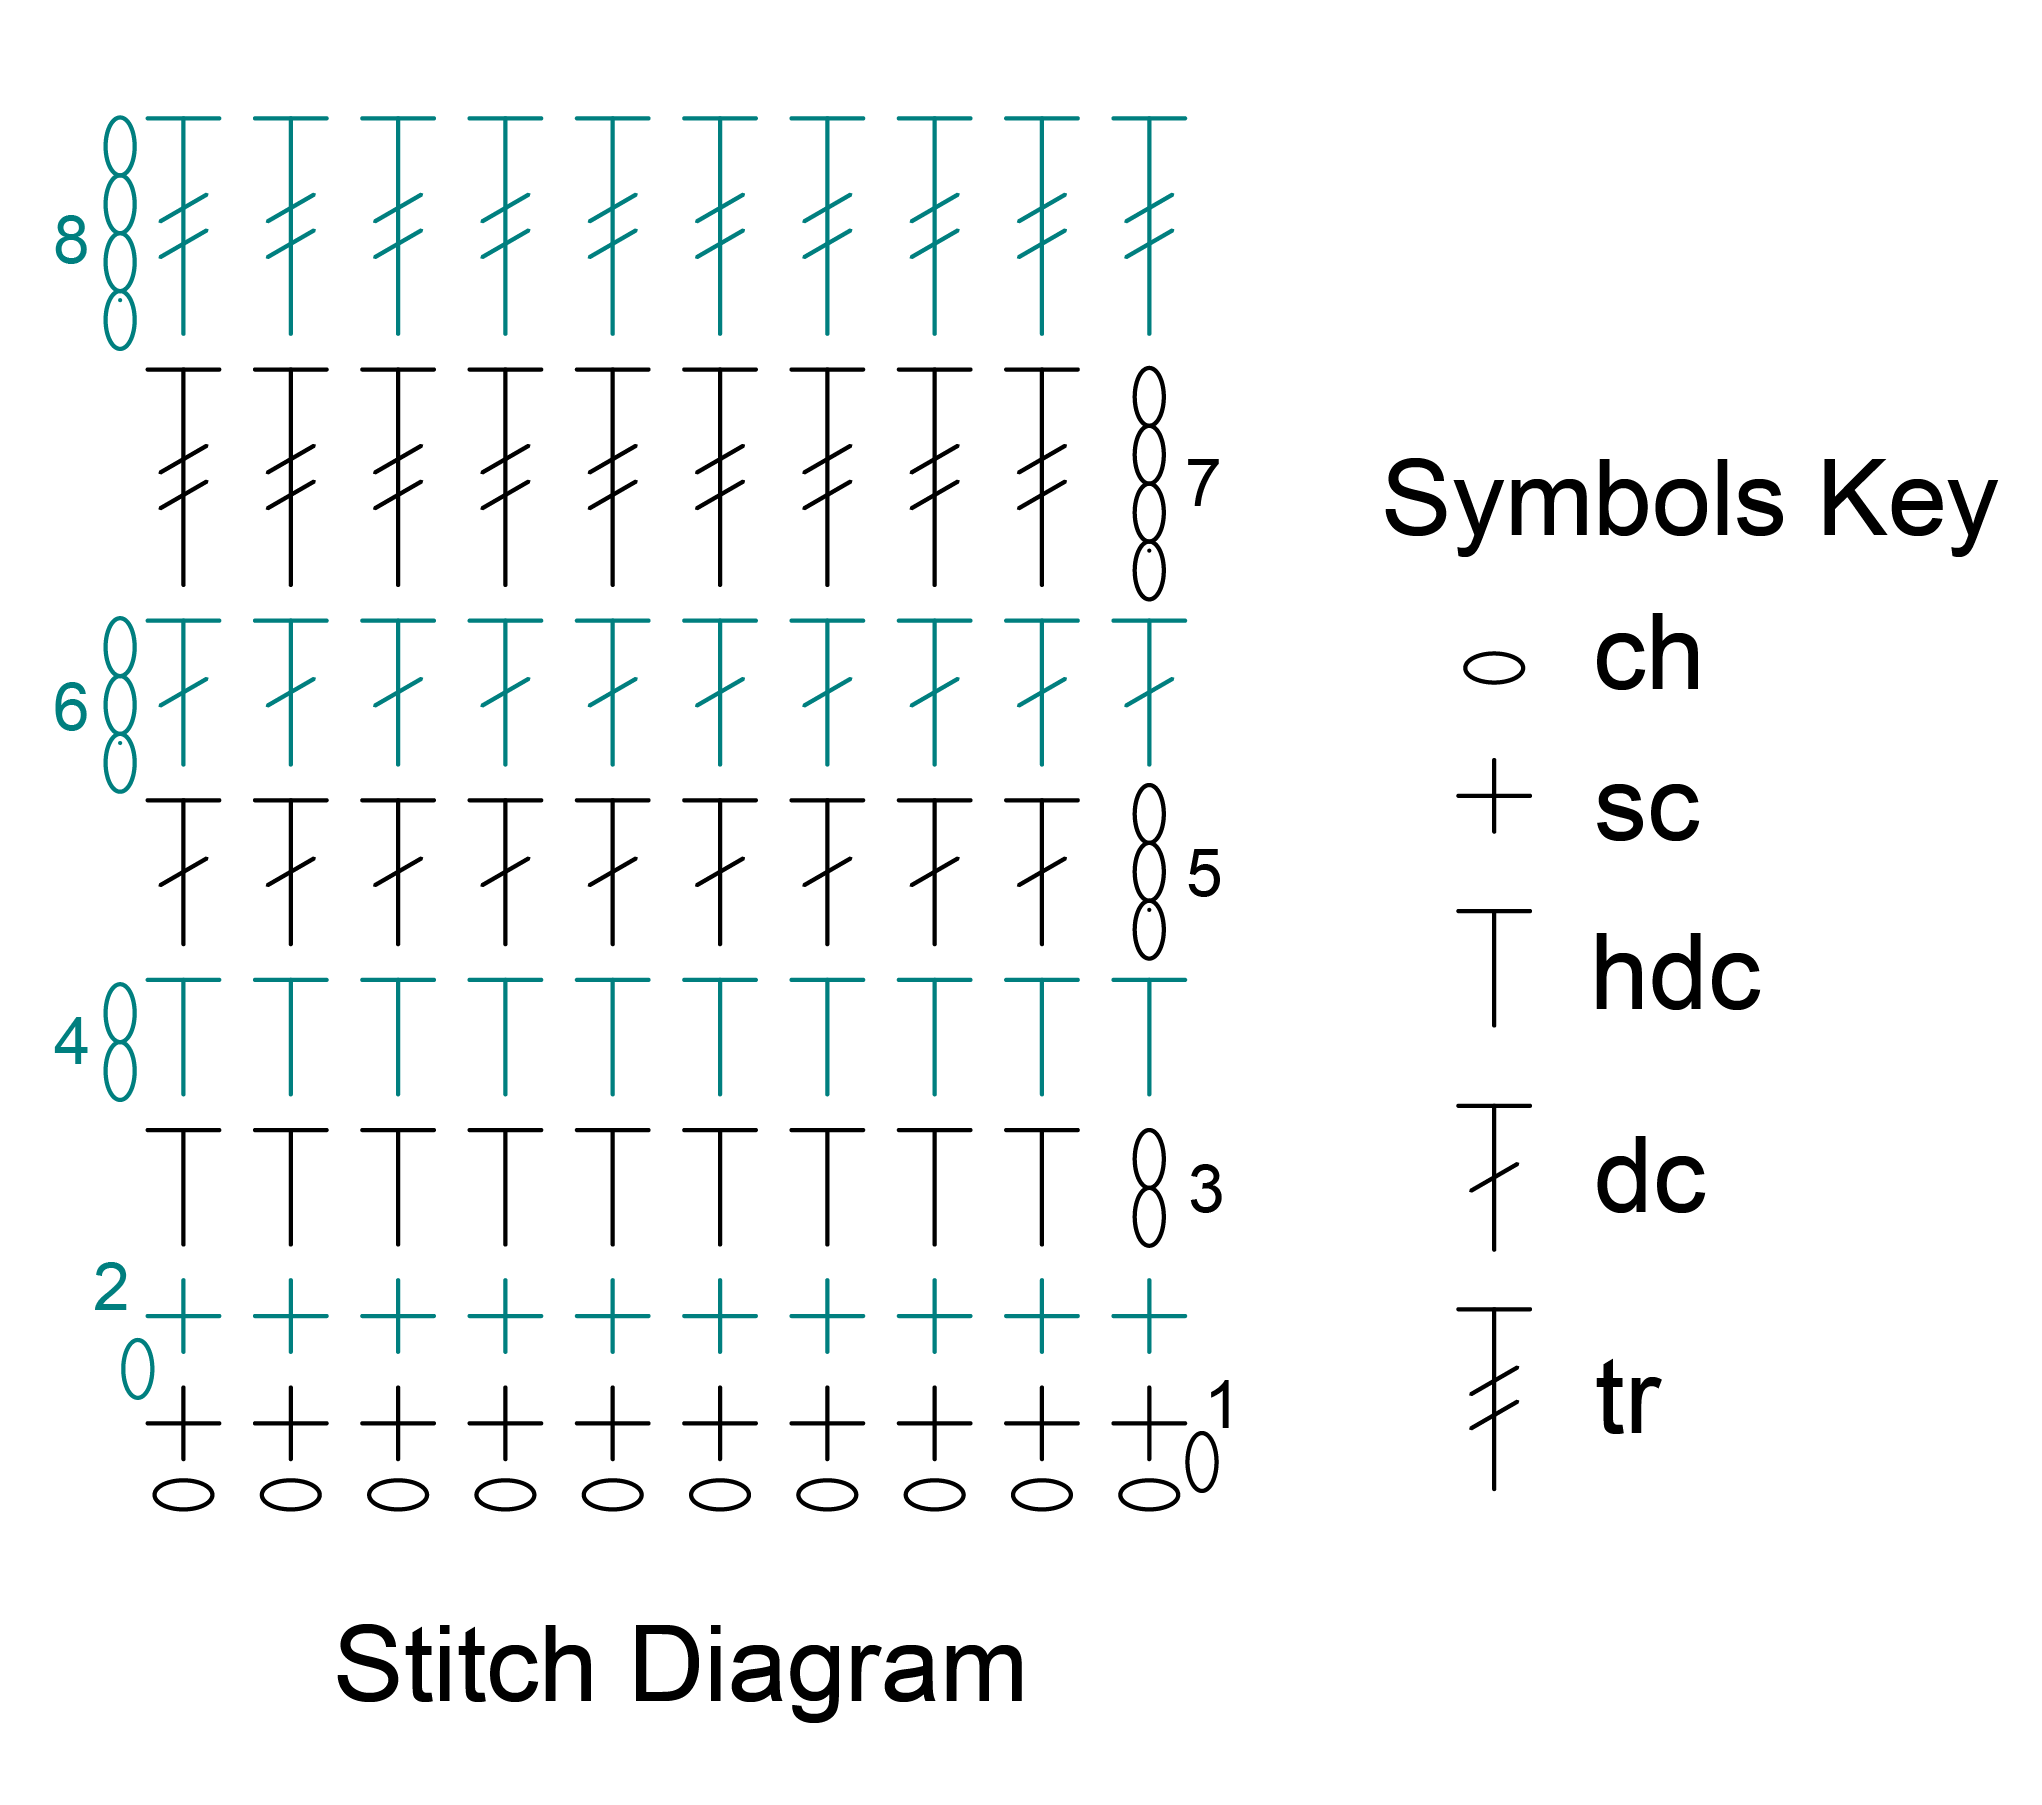
Long Wave Stitch Diagram

For this chart you will notice that the numbers on the outside count the rows of the stitch pattern. Also notice these numbers let you know from which side you will begin reading that row of the chart. For example: Row 1 will be read from the left to right.
To use the chart, simply repeat the stitches and rows as indicated in red on the chart to desired size.
Beginner Crochet Facecloth Pattern Notes
Get a clean edge on the foundation chain by working into the back bump or butt of the chain on row 1.
Turning chains count as a stitch in this pattern. Use stitch markers to easily identify them at the end of each row.
When working the stitches with cotton yarn, keep the tension between stitches in a row very consistent or the later rows will end up wider than the earlier ones. Do this by keeping the loops on the hook the same size as the hook throughout.
Change colors in the last draw through two on the last stitch of the row.
Cut yarn each time.
Bury the ends on the wrong side of the facecloth at the end.
PATTERN: BiCrafty Community Complementary Long Wave Beginner Crochet Facecloth for Self-Care
For the Long Wave Crochet Stitch–Foundation chain is a multiple of 14+2.
Ch 44
NOTE: USE stitch markers to help you keep your place!
Row 1 (RS): Sk 2 ch (counts as 1 ch and 1 sc), *sc in next ch, hdc in each of the next 2 ch, dc in each of the next 2 ch, tr in each of the next 3 ch, dc in each of the next 2 ch, hdc in each of the next 2 ch, sc in each of the next 2 ch; rep from * to end — 43 sts.
Row 2 (WS): Ch 1 (counts as 1 sc), sk 1st st, sc in next st and each st to end, working last sc in tch.
Row 3: Change to B, ch 4 (counts as 1 tr), sk 1st sc, * tr in next sc, dc in each of the next 2 sc, hdc in each of the next 2 sc, sc in each of the next 3 sc, hdc in each of the next 2 sc, dc in each of the next 2 sc, tr in each of the next 2 sc; rep from * to end working last tr in tch.
Row 4: As row 2.
Row 5: Change to A, ch 1 (counts as 1 sc), sk 1st sc, * sc in next sc, hdc in each of the next 2 sc, dc in each of the next 2 sc, tr in each of the next 3 sc, dc in each of the next 2 sc, hdc in each of the next 2 sc, sc in each of the next 2 sc; rep from * to end working last sc in tch.
Rep rows 2-5 nine times more, then row 2 once for pattern.
Designer NOTE: Are you having a little trouble? Check out the HD Video and let me help.
Finishing
Weave in or bury the ends on the wrong side of the fabric.
Watch the Live Video Instructions
Additional Videos and Patterns You Might Like
You can actually make so many different things now that you've learned these major basic crochet stitches. Honestly, if you can work these first first five basic crochet stitches, you can make such a range of different items from scarves to blankets and more. But here are some good places to start:
- Absolute Beginner Crochet Throw. Practice your double crochet stitches. Video help included.
- Modern Color Block Scarf. Here's another double crochet pattern. However, with this one you'll also get to practice your color changes.
- Cuddles Baby Blanket. This uses the single-double or “lemon peel” crochet stitch pattern discussed in the video above.
- And here's the Game Day Scarf we mentioned. It also uses the single double crochet stitch.
- Caron Let's Begin Crochet Scarf. This unisex crochet scarf is just half double crochet stitches.
- Easy Crochet Shell Stitch Blanket Pattern. This is one of my most popular free crochet patterns. If you can crochet a wave stitch, then you can crochet shell stitches. You can make this blanket in varied sizes.
- Beginner Crochet Poncho Pattern. Once you figure out shells, you can make this poncho! I've offered a video tutorial for support.
- Red Heart Uniquely You Crochet Cowl Patterns. You might be able to work several of these cowl patterns now. Check them out and see what you think.
Frequently Asked Questions
What new stitches will I learn in this lesson?
Honestly…, this week you'll learn the half double crochet, double crochet, and treble crochet stitches. We'll also talk more about the turning chain and how it changes with taller stitches… it all makes sense as you work with it!
Can you explain crochet charts a bit more?
So here's the thing… crochet charts can look like a secret code at first, but they're super helpful once you get the hang of them. We'll go over how to read them, and you'll see they're not too different from reading a knitting pattern you already know. You've got this!
Is it really possible to change colors in crochet?
Yes! Changing colors in crochet is totally doable, and it's pretty similar to how you do it in knitting. The exact spot where you make the change is a little different, especially with the turning chain… but you'll totally get it once you see it!
I'm a knitter… am I going to be totally lost learning to crochet?
Oh no, honey, you're actually way ahead of the game as a knitter! You already understand so much of this concept… it just takes a little time for your hands to adjust to the new motions. Don't get discouraged if you need to take a break, you can totally do this!
What yarn and hook size do I need for the facecloth?
For this cute facecloth, you'll want to grab some WeCrochet Dishie Yarn or Dishie Twist Yarn… they're both worsted weight cotton. And you'll need a size G (4.0mm) crochet hook. Happy hooking!


American Girl Doll outfits–Thanks Marly–