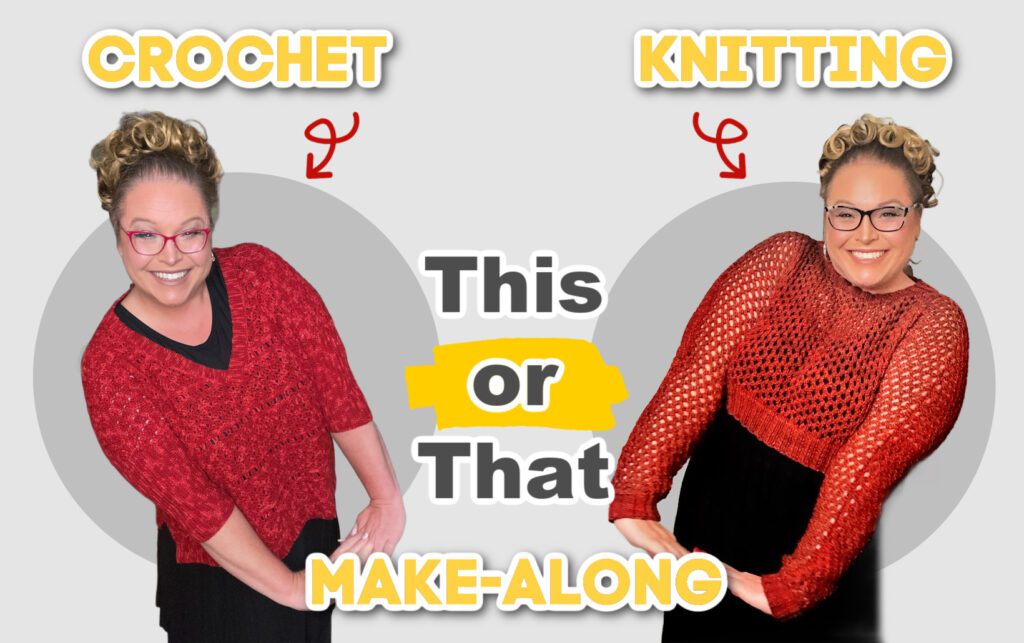
Calling all crocheters and knitters, time to join the This or That Make-Along: Your Next Creative Adventure Awaits!
Are you ready to begin a creative journey with fellow crafters? The This or That Make-Along 2024 with Marly Bird is here, and it’s time to choose your path! Whether you’re a fan of crochet or knitting, this make-along has something special just for you —two sweaters, similar in shape but different in texture, cut, and fit, yet equal in popularity and style. So grab your yarn, and let’s dive into a month of creativity, community, and crafting fun!
Affiliate Disclosure: This post contains affiliate links. If you click on one of these links and make a purchase, I may earn a small commission at no additional cost to you. This helps support the content and free patterns I provide here on MarlyBird.com. Thank you for your support—it means the world to me! 💖
What’s This or That Make-Along 2024 All About?
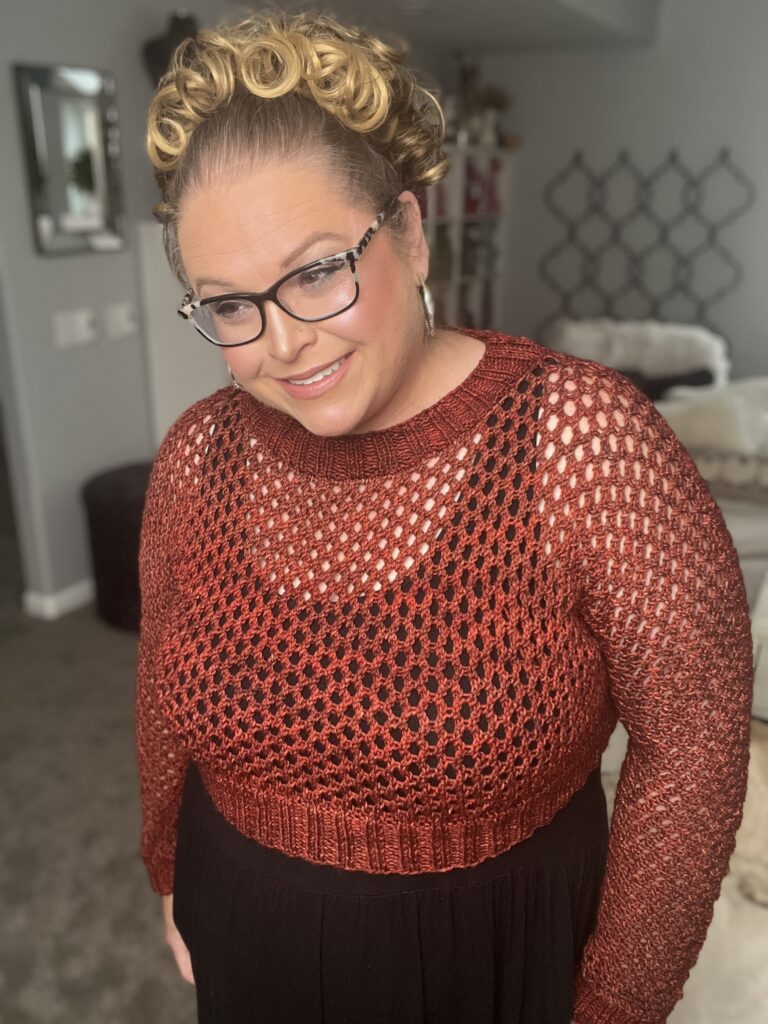
In this make-along, you have the exciting choice between two fabulous sweater patterns: the Bellini Crochet Sweater and the Sandra PDA Knit Sweater. These patterns are designed for advanced beginners to intermediate crafters, making them the perfect next step in your crafting journey.
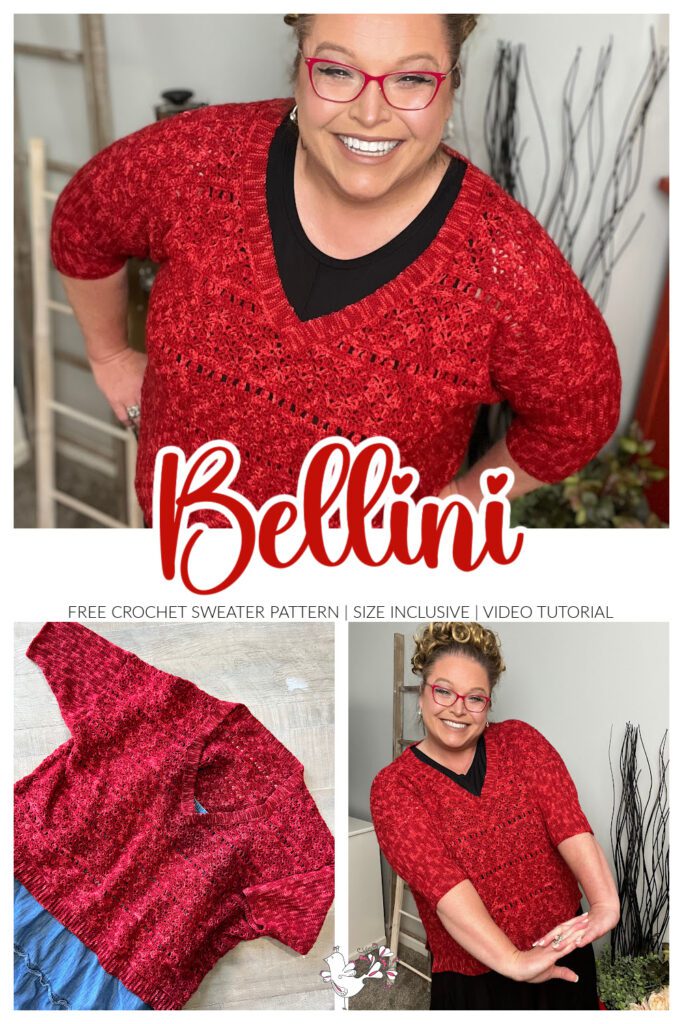
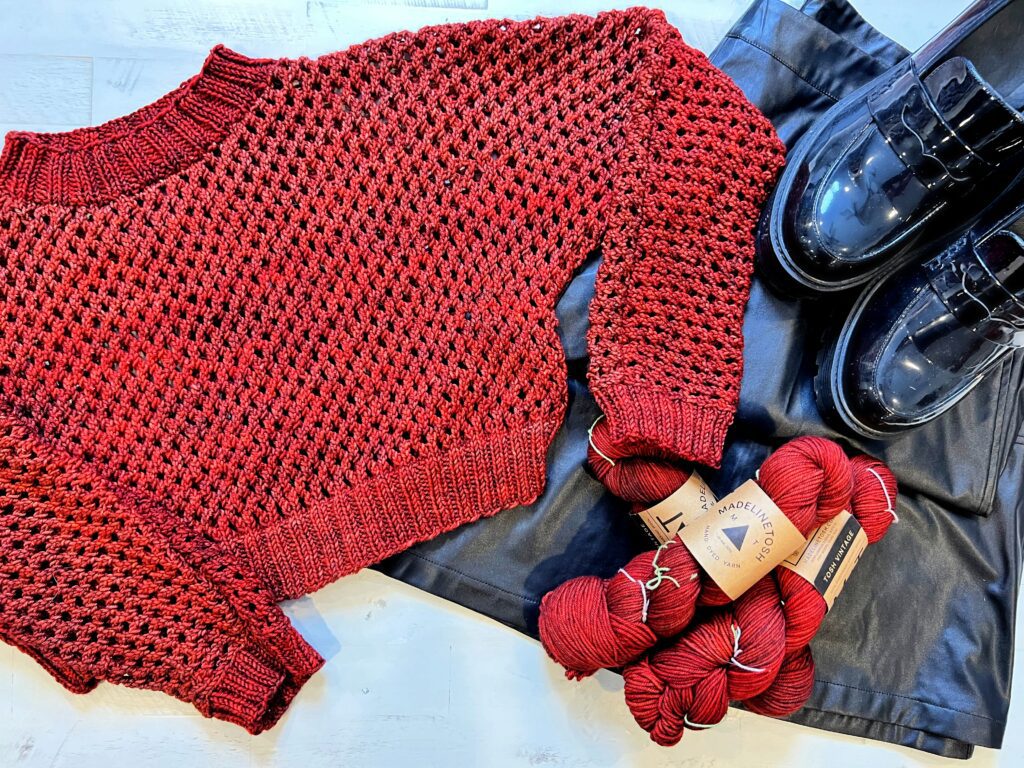
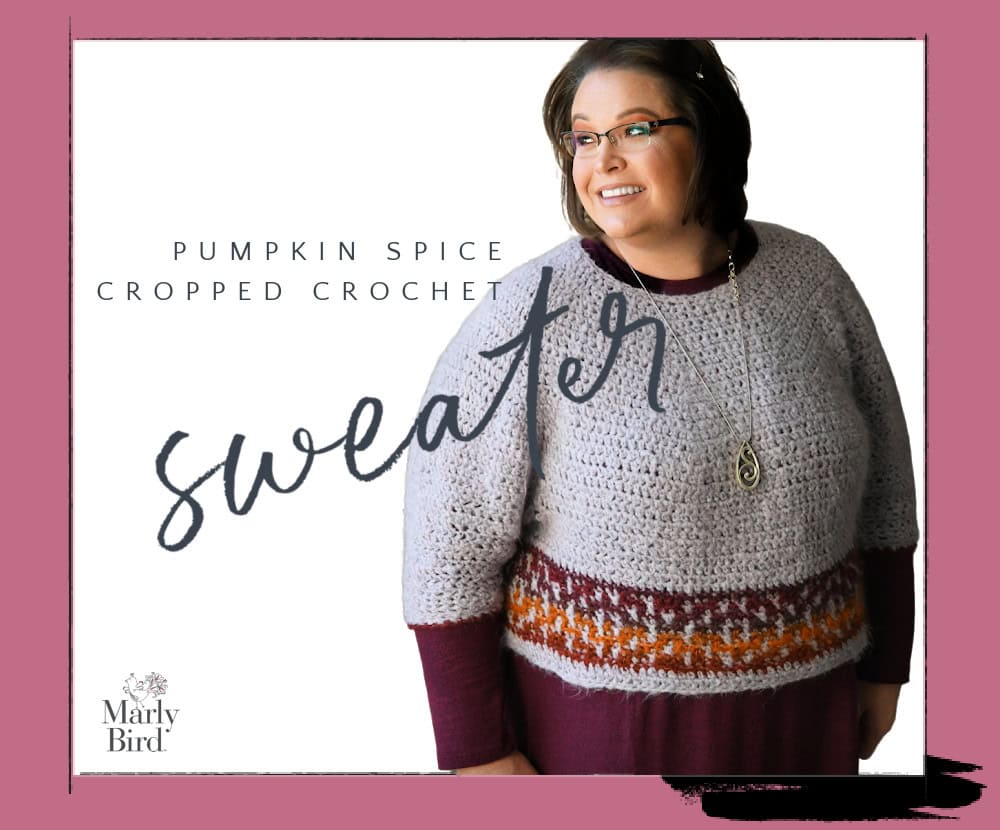
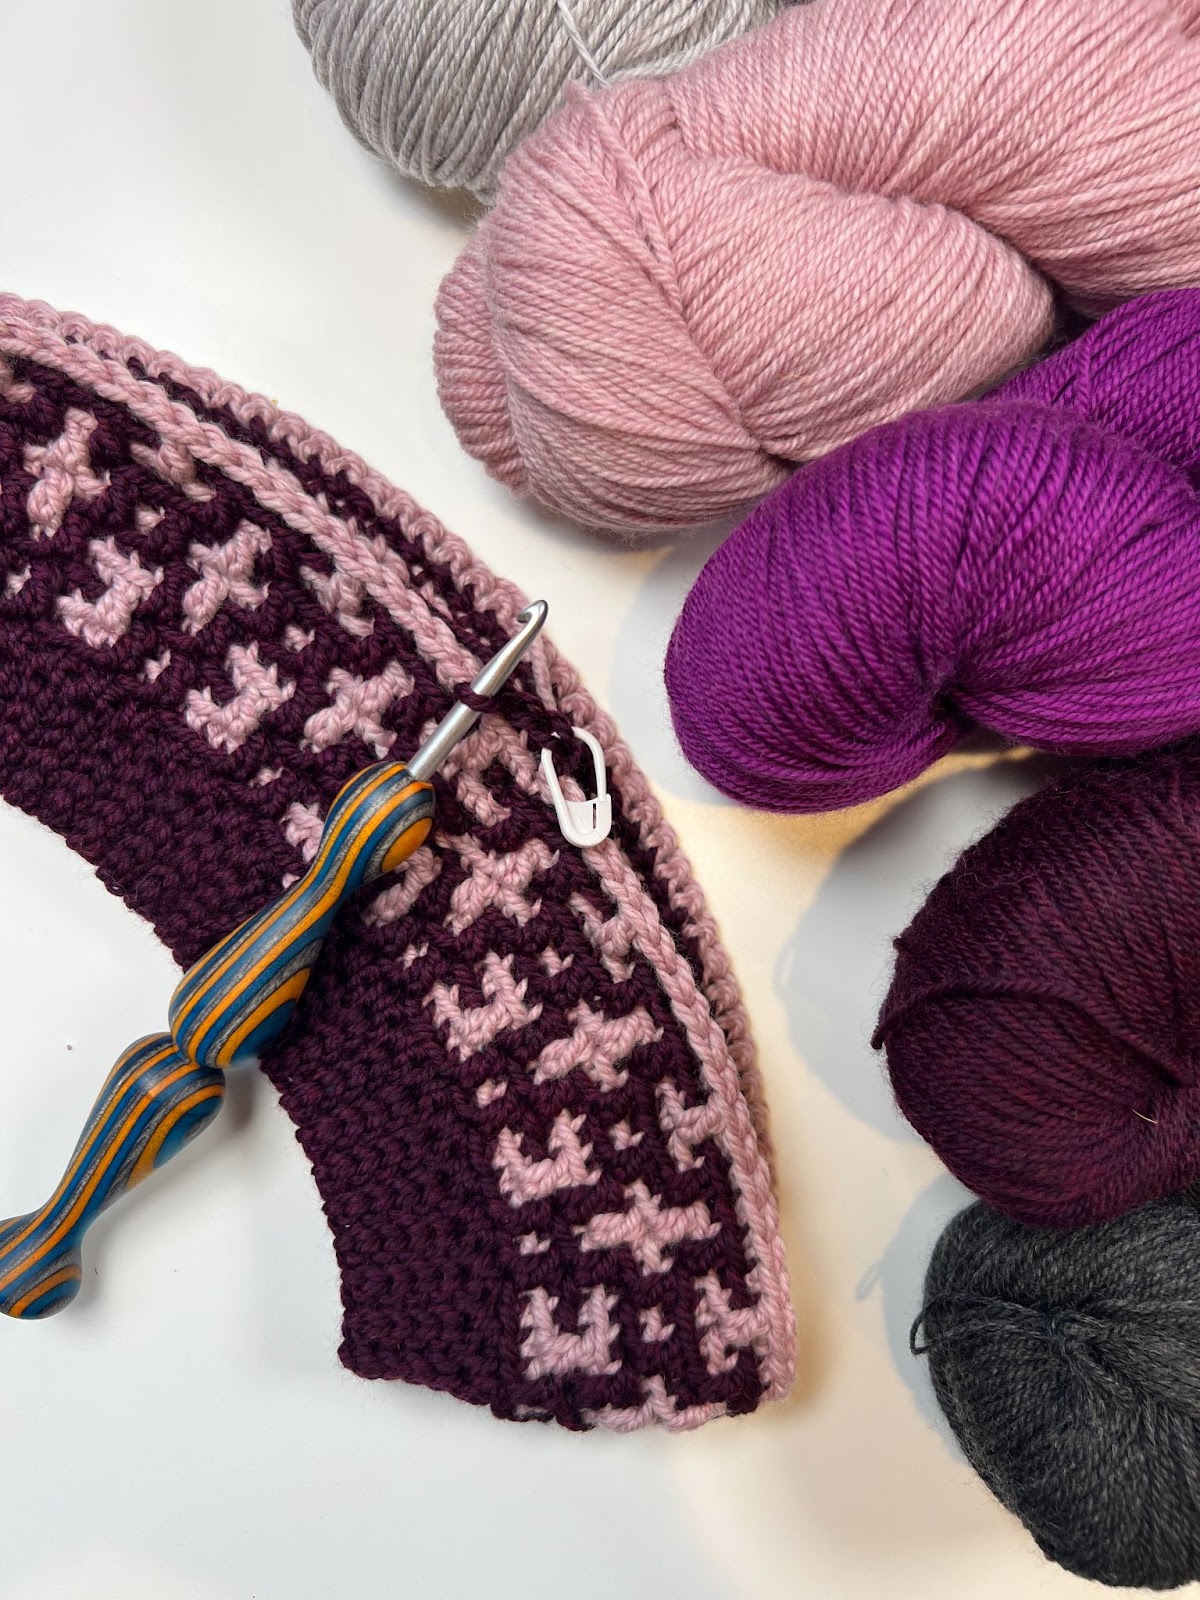
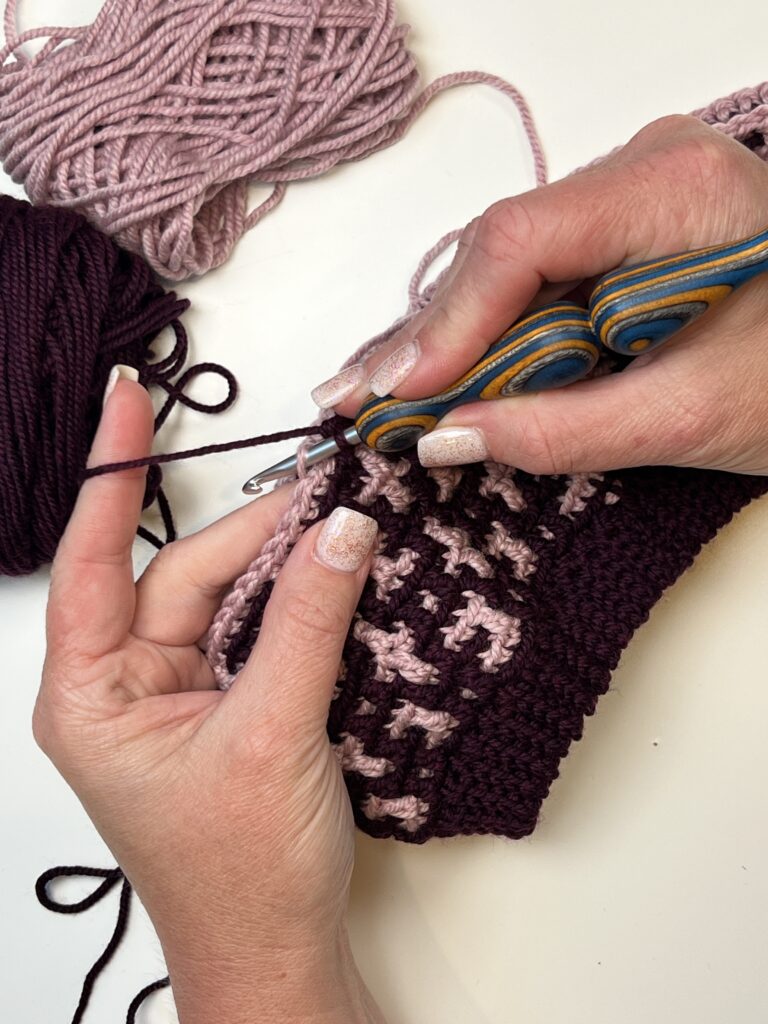
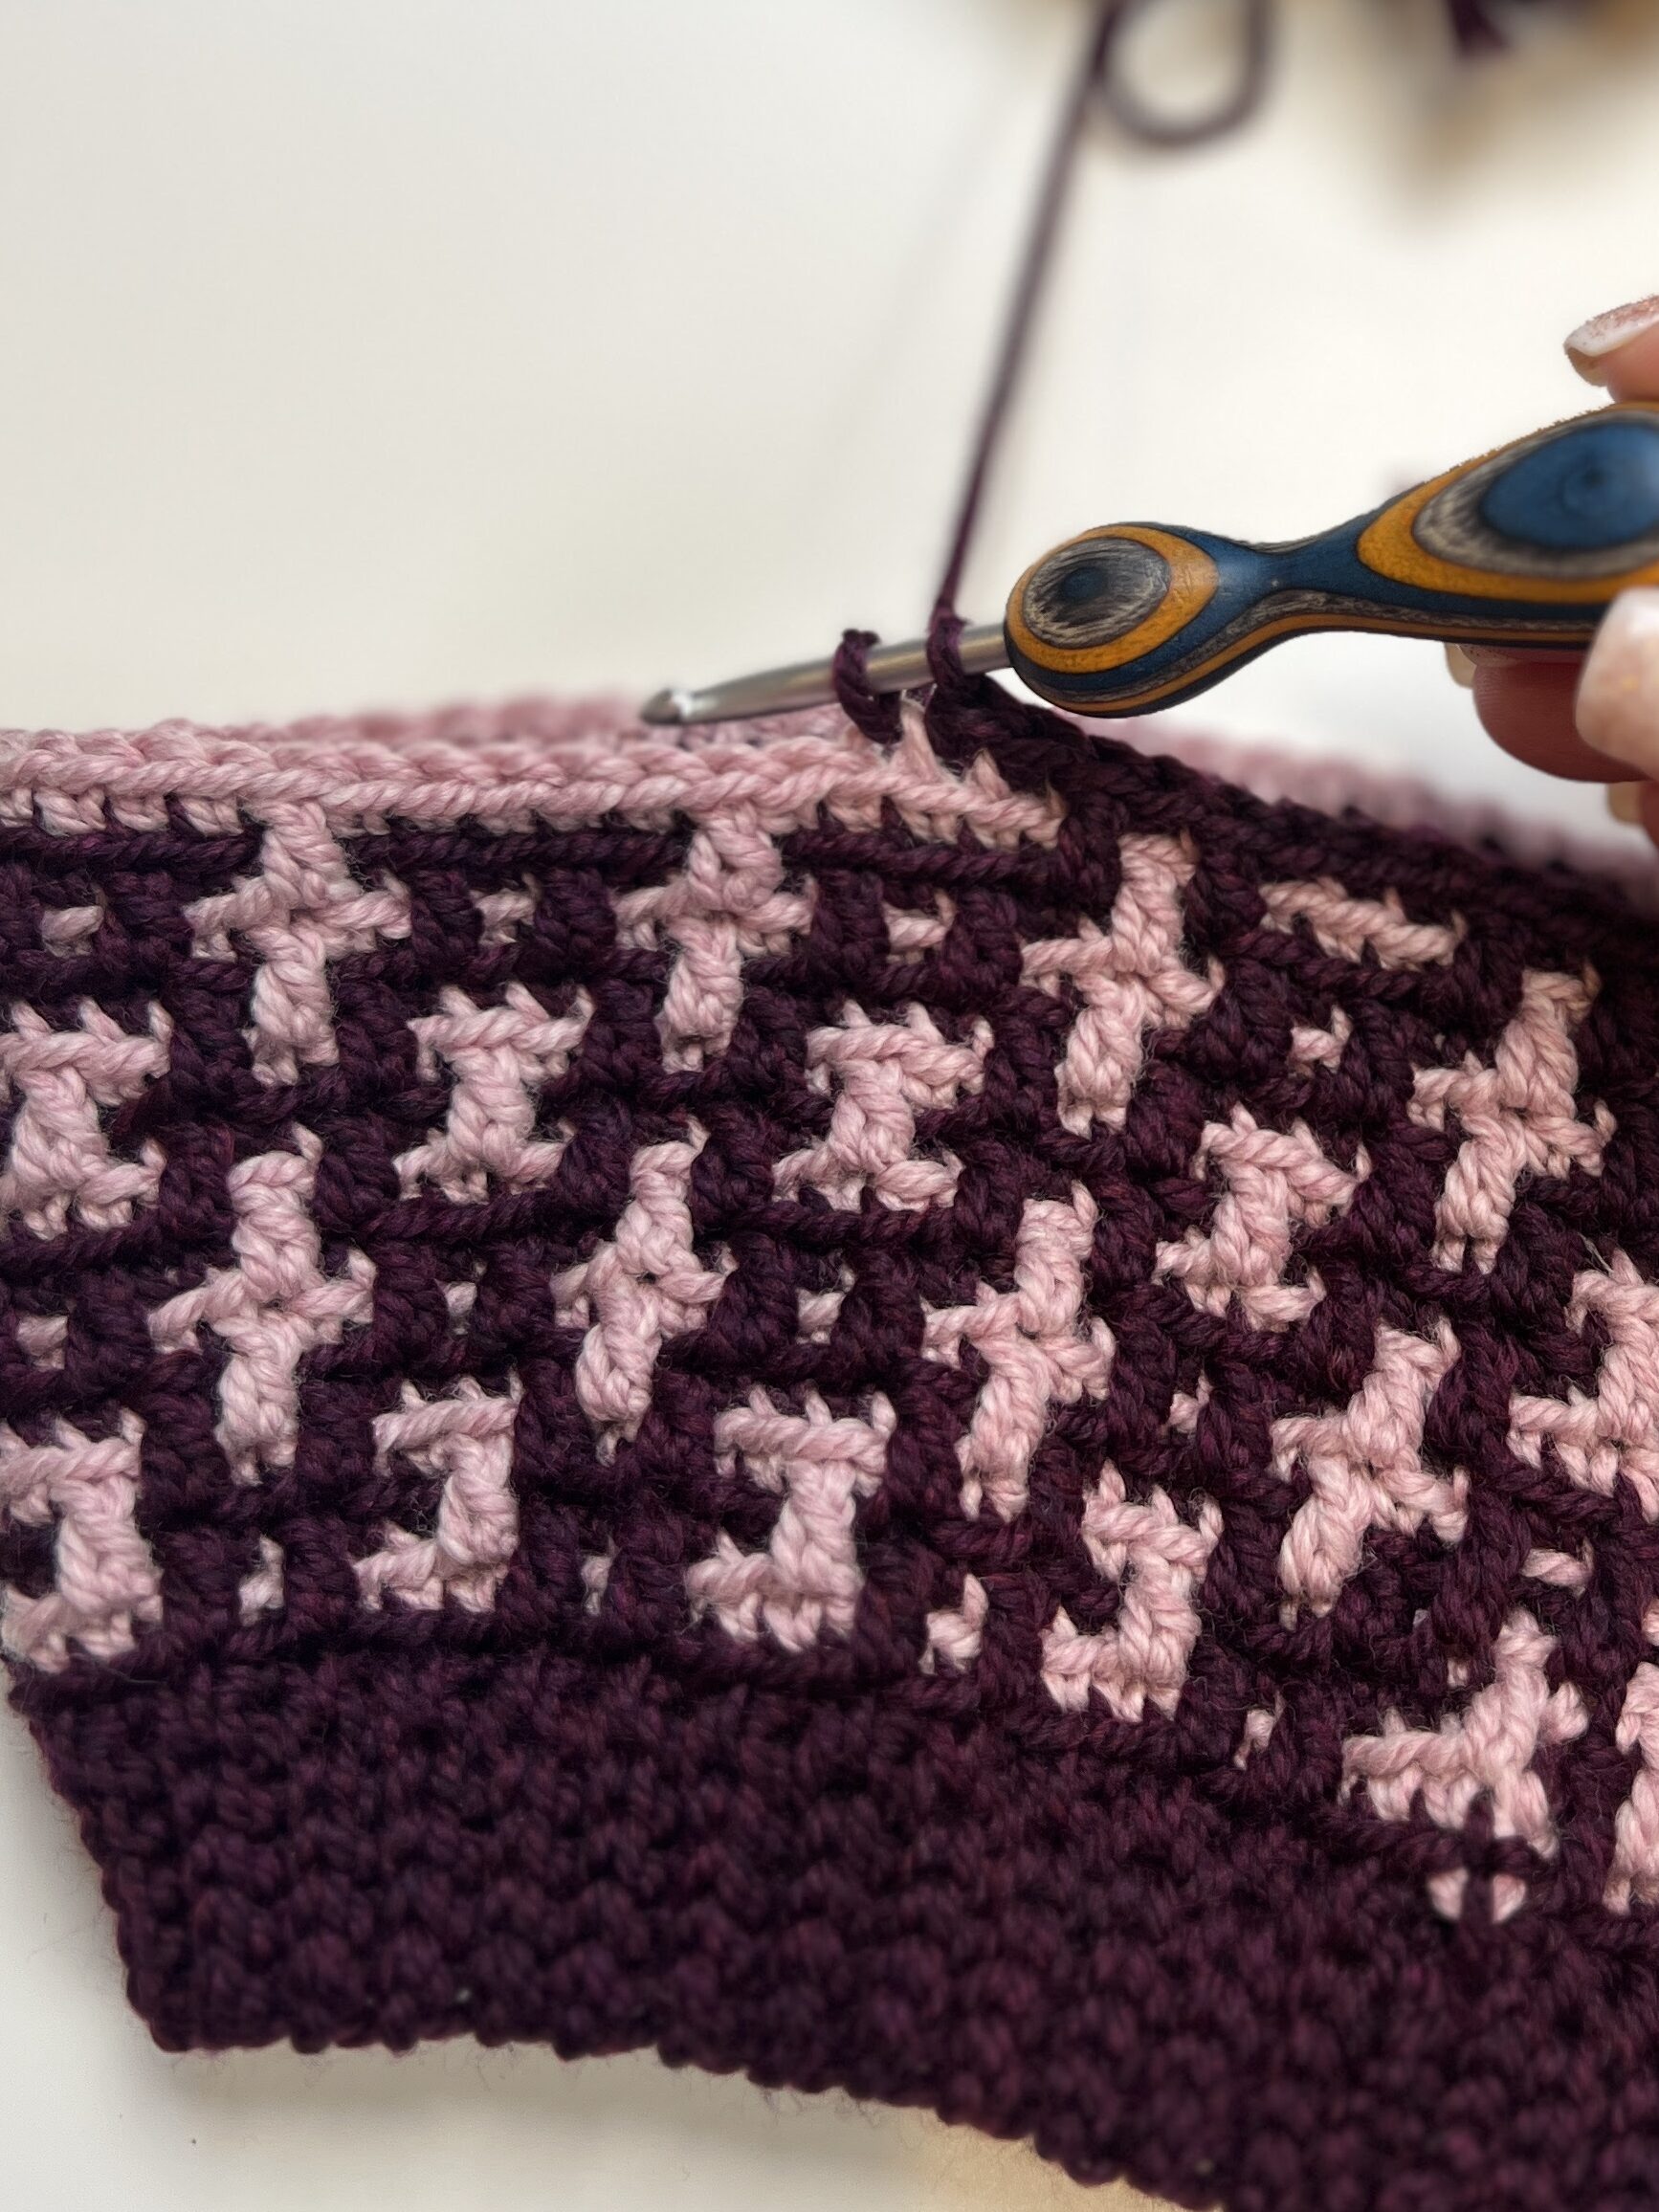
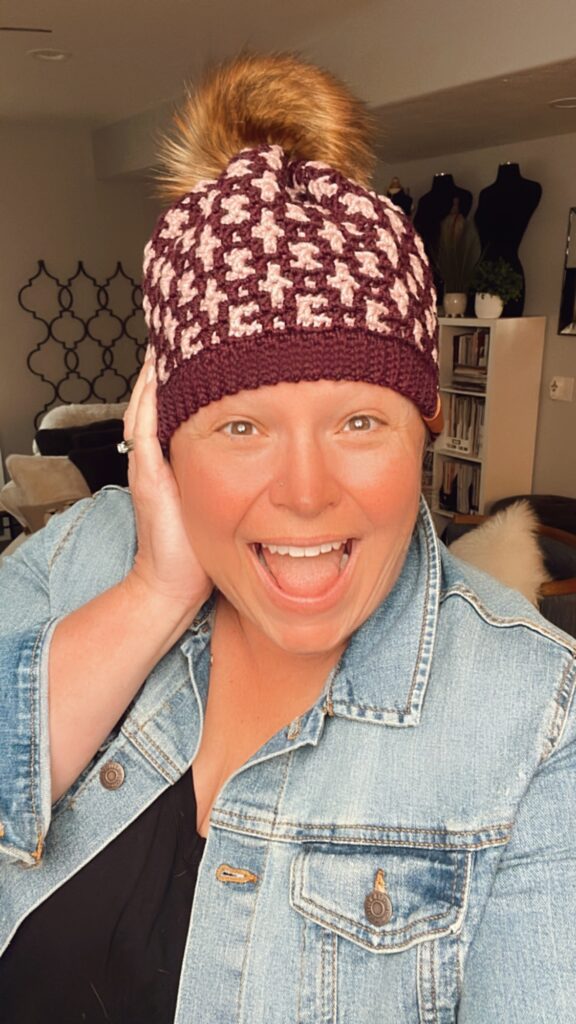
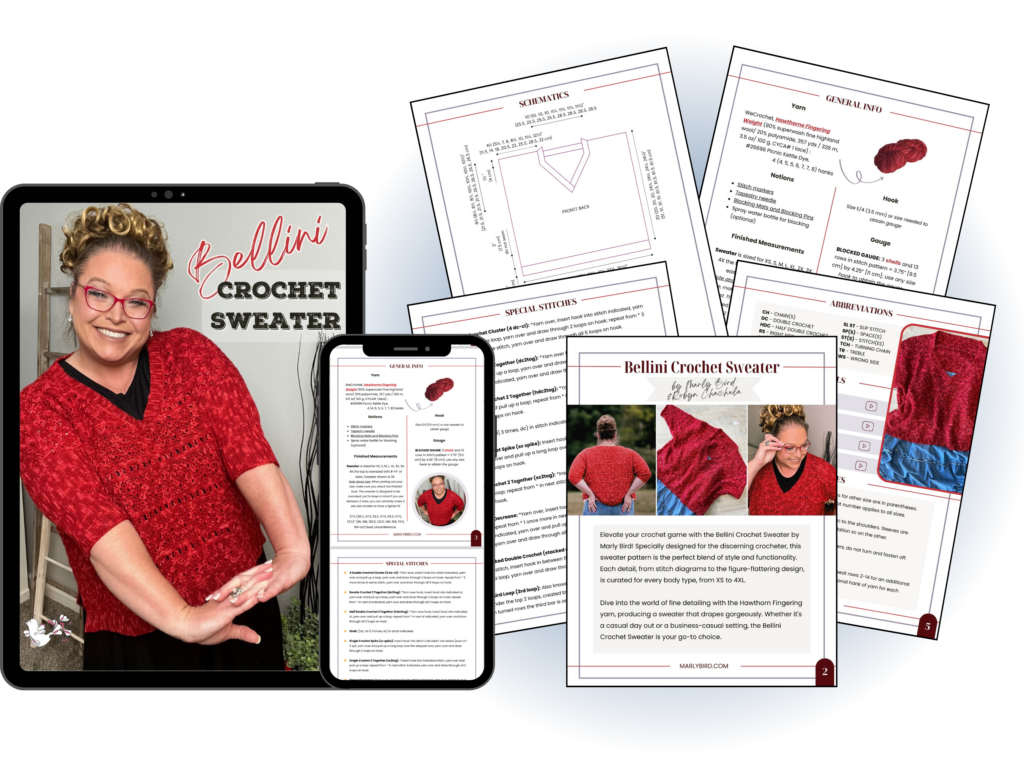
- The Bellini Crochet Sweater: A stunning piece crafted with fingering weight yarn, perfect for those who love the elegance and drape of finer yarns. Get the ad-free pdf here.
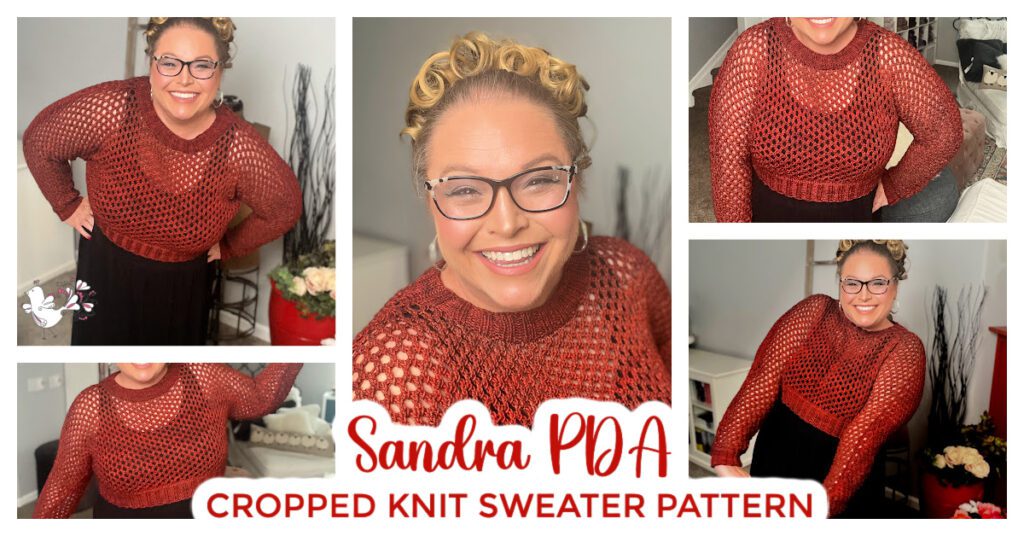
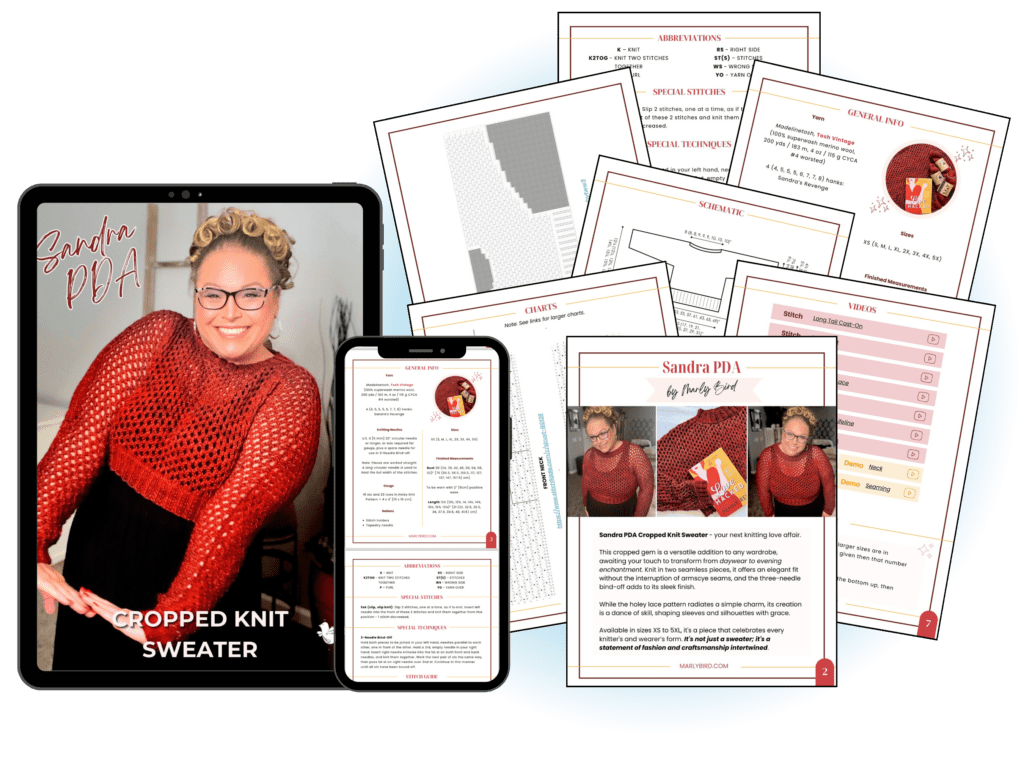
- The Sandra PDA Knit Sweater: A cozy, versatile sweater made with worsted weight yarn, ideal for knitters who appreciate warmth and texture. Get the ad-free pdf here.
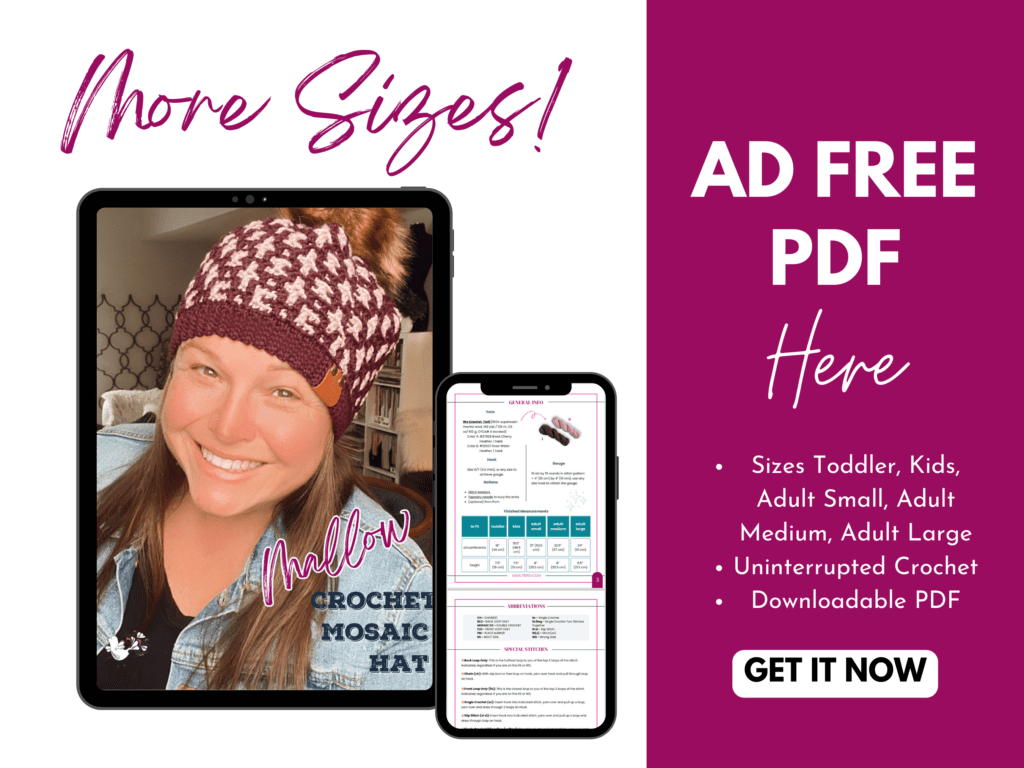
And for a LIMITED TIME: Both patterns are FREE ON THE BLOG! The free versions come with detailed instructions and video tutorials. But the real value add is in the Ad-Free PDF’s because they also include, full stitch diagrams, and charts, ensuring you have everything you need to create your masterpiece.
Learn About the Make-Along from Marly on Monday Aug. 19th 2024
Join Marly as she announces the make-along officially. ⏰ 10:15 am EST she will go live!
How Can You Participate in the Make-Along?
You can join us in one of two ways:
- Free Version on the Blog: Access the written instructions for free, right on the Marly Bird blog. Follow along at your own pace with ads supporting the content.
- Purchase Ad-Free PDF Version: For a streamlined, uninterrupted experience, purchase the ad-free PDF version of the pattern. This includes all the extras—video tutorials, stitch diagrams, and charts—all in one convenient download. 🌟 Plus, enjoy a special 25% off in the Marly Bird Etsy Store until August 31st at 11:59 PM—no coupon needed! ✅
Weekly Live Q&A Sessions
Throughout the make-along, Marly Bird will be hosting live Q&A sessions each week on the Marly Bird YouTube channel. These sessions are a great opportunity to ask questions, get tips, and connect with fellow crafters. Don’t forget to join the Marly Bird Facebook community for additional support and camaraderie!

Video Support: Find Your Weekly Tutorials
Each week, new video tutorials will be released to guide you through the make-along. These videos will be available on the Marly Bird YouTube channel and will be linked directly from the blog post for easy access. Whether you’re working on the Bellini Crochet Sweater or the Sandra PDA Knit Sweater, you’ll find step-by-step instructions to help you every stitch of the way. Make sure to subscribe to the Marly Bird YouTube channel so you never miss an update!

Why You’ll Love the Ad-Free PDF
Choosing the ad-free PDF version isn’t just about convenience; it’s about elevating your crafting experience. Here’s why:
- No Interruptions: Enjoy a seamless crafting journey without the distraction of ads.
- Comprehensive Content: Get access to exclusive video tutorials, stitch diagrams, and charts that aren’t available in the free version.
- All in One Place: Download and keep your pattern for easy access anytime, anywhere.
❣️Remember: the 25% off is only available in the Marly Bird Etsy Store until Aug. 31 @ 11:59pm EST.
Bellini- Get the Ad-Free PDF

Purchasing the ad-free PDF of the Bellini Crochet Cropped Sweater Pattern is a fantastic option for those who want a seamless, uninterrupted crafting experience. This convenient format allows you to easily follow along without distractions, and it’s perfect for printing out and taking on-the-go for your crochet projects.
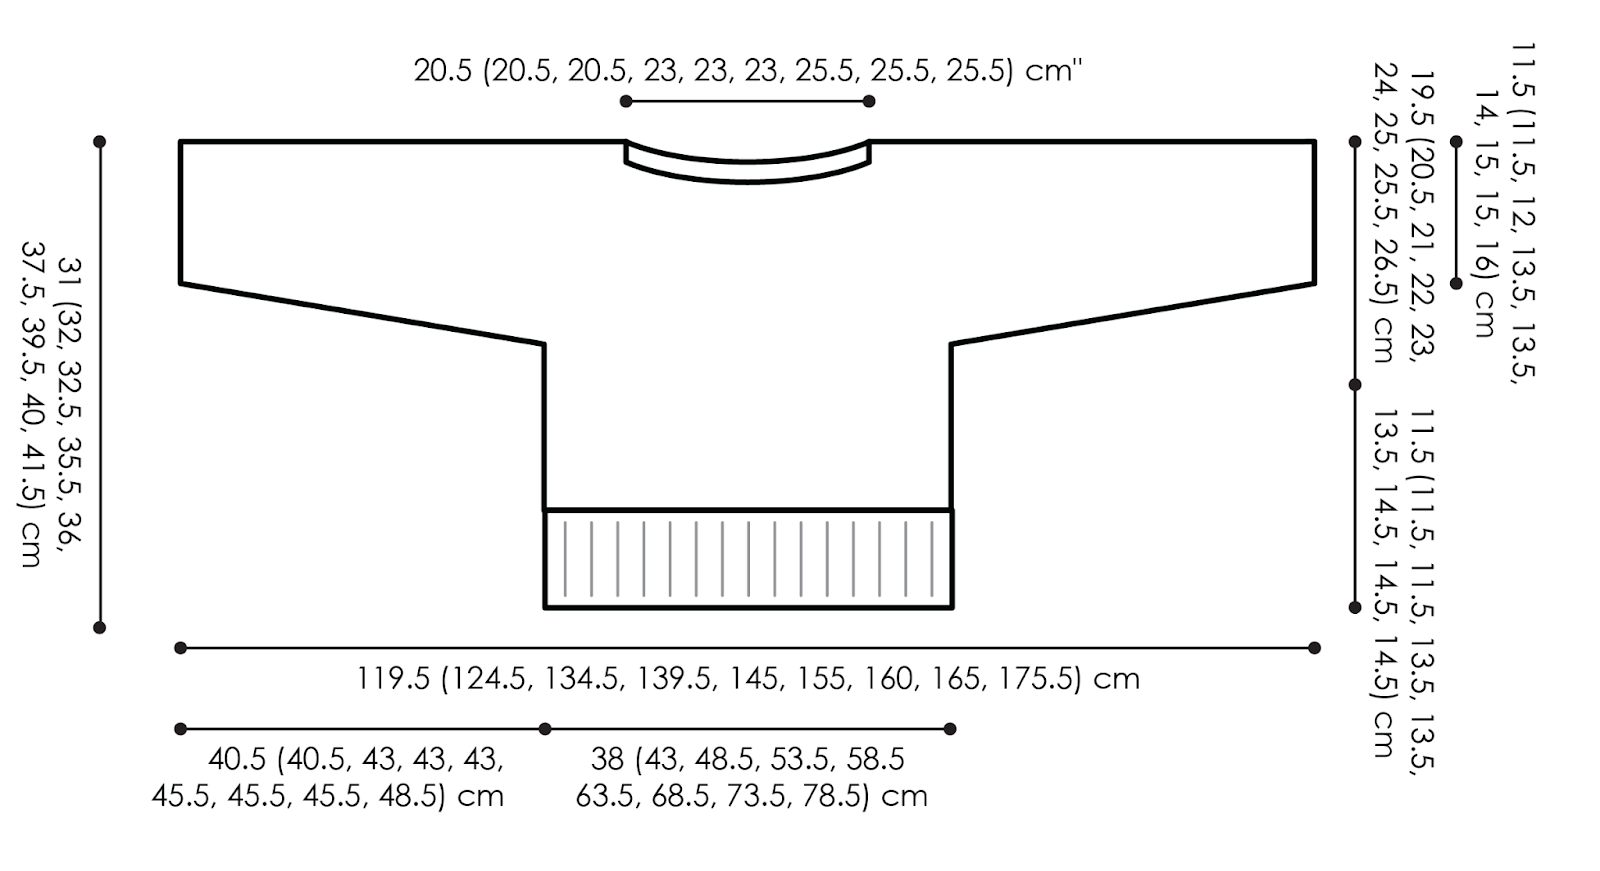
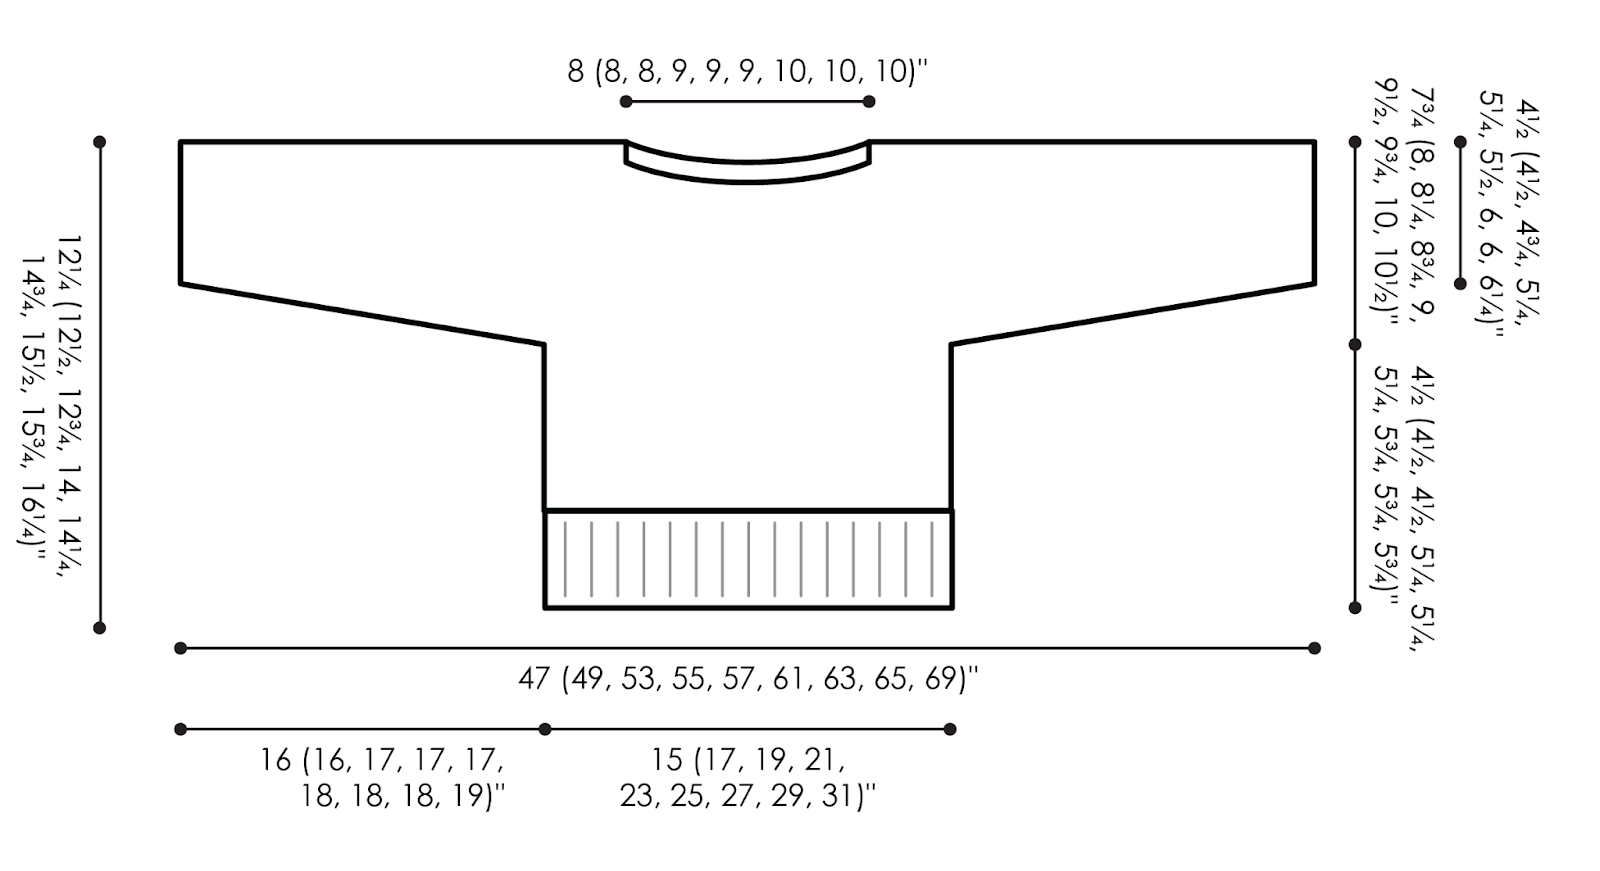
The PDF includes fully formatted pattern with written instructions, schematic, crochet stitch diagrams, full pattern charts for each size, and video tutorial links.
Sandra- Get the Ad-Free PDF
Ready to cast on? Your purchase includes an instant download of the Sandra PDA Cropped Knit Sweater pattern PDF, complete with ✨32 pages✨ of detailed instructions and high-quality images.
The PDF includes fully formatted pattern with written instructions, schematic, crochet stitch diagrams, full pattern charts for each size, and video tutorial links.
Ready to Start?
Mark your calendars, gather your supplies, and get ready to create something beautiful. Whether you’re making the Bellini Crochet Sweater or the Sandra PDA Knit Sweater, you’re in for a rewarding and fun experience.
To join the fun and get a full materials list, fill out the form below ⬇️
Join us for the “This or That Make-Along” and see which path you’ll choose!
FAQ: This or That Make-Along
Q: When does the make-along start and end?
A: The make-along runs from August 30th to September 27th, 2024.
- Make-Along Announcement – Aug. 19 – Watch Video Here
- Get Ready: Gauge Swatch Information and Choosing Sizes – Aug. 23th – Watch Video Here
- Week 1: Aug. 30th
- Knitting Video — click here
- Row by Row Worksheet ⭐️ BONUS ⭐️
- Front – copy from google sheets
- Back – copy from google sheets
- Row by Row Worksheet ⭐️ BONUS ⭐️
- Crochet Video — click here
- Knitting Video — click here
- Week 2: Sept. 6th
- Knitting Video — click here
- follow along with the Row by Row Worksheet from week 1
- Crochet Instructions — No video for this week as you are supposed to work up the front of the Bellini sweater to the start of the neckline.
- Knitting Video — click here
- ⭐️ BONUS ⭐️ Join the LIVE Q & A on Monday Sept. 9th at 7:30 pm on the Marly Bird YouTube Channel.
- Week 3: Sept. 13th
- Knitting Video — click here
- follow along with the Row by Row Worksheet from week 1
- Crochet Video — Join the Live @ 5:30 ET Sept. 13, 2024 — click here
- Knitting Video — click here
- Week 4: Sept. 20th — Work Week — No Lessons.
- Week 5: Sept. 27th
- Knitting Video — click here
- Crochet Video — click here
- After reading some feedback I think you all need one more weekend to get to where you are ready to seam the sweater. So I will do the live on Monday Night 🙂
Q: How do I join the make-along?
A: You can participate by following the free version of the pattern on the blog or by purchasing the ad-free PDF version from the Marly Bird Etsy Store.
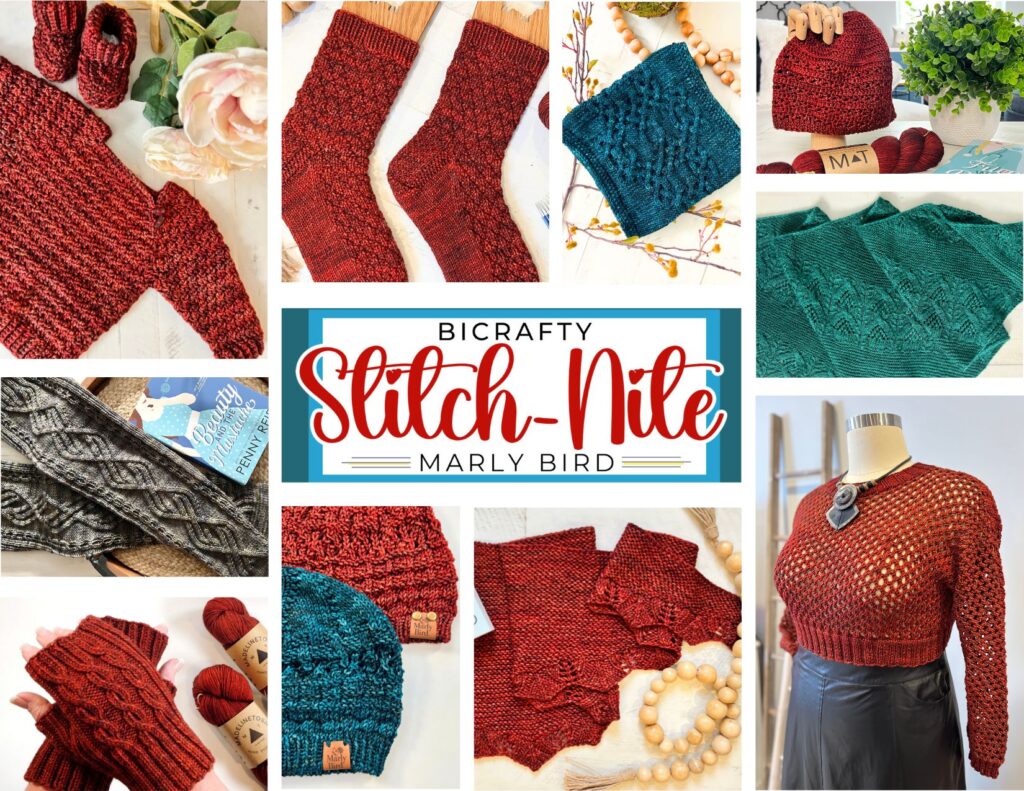
❣️Note: these patterns are not in the Marly Bird House, unless you purchased the BiCrafty Stitch-Nite Collection which does have the Sandra PDA included.
Q: What skill level is required for the make-along?
A: This make-along is perfect for advanced beginners to intermediate crafters who are comfortable with the basics of knitting or crochet.
Q: What yarn should I use?
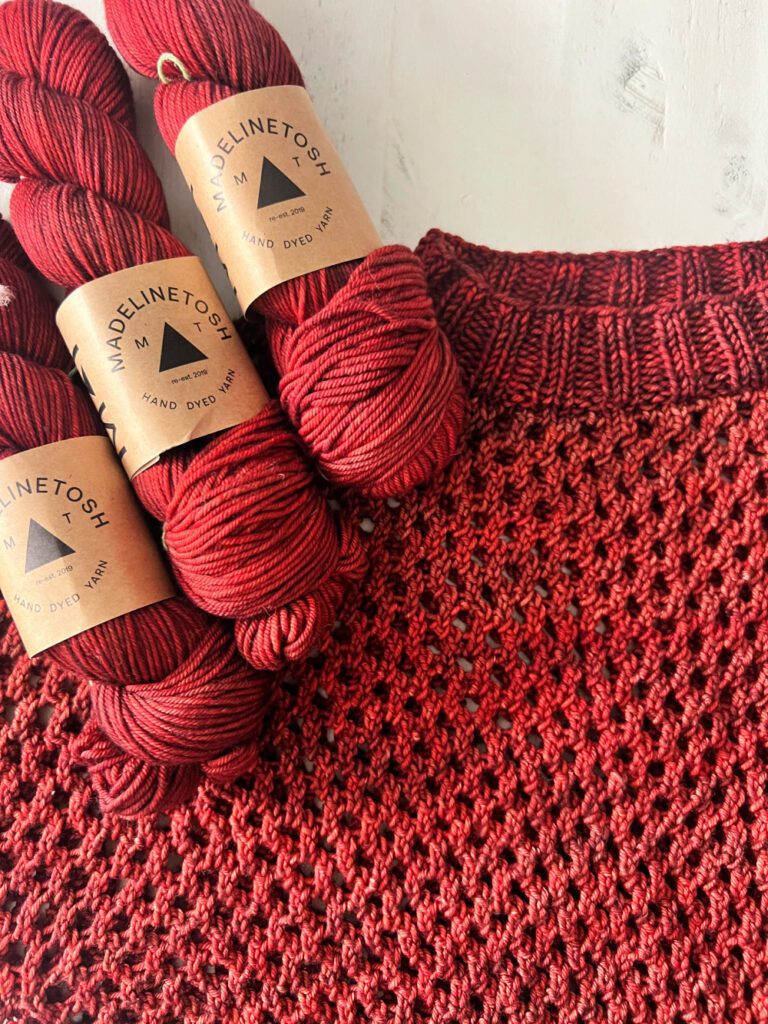
🧶 The Bellini Crochet Sweater is made with fingering weight yarn. Specifically WeCrochet Hawthorne Fingering. But we also would suggest these yarns: Comfy Fingering, Twill Fingering, Yarn Citizen Fingering, Malabrigo Ultimate Sock Yarn, or splurge and go with Madelintosh Tosh Merino Light.
🧶 The Sandra PDA Knit Sweater is made with worsted weight yarn. Specifically Madelinetosh Vintage. But we also would suggest these yarns: Brava Worsted, Swish Worsted, Twill Worsted, Wool of the Andes Worsted, Berroco Ultra Wool.
Q: Where can I get help if I’m stuck?
A: You can ask questions during the weekly live Q&A sessions on the Marly Bird YouTube channel or seek support from the Marly Bird Facebook community.
Q: Do I need to sign up or register?
A: Yes! Please let us know you want to join the fun and we will send you the full material list for both sweaters. Then you simply choose your pattern, get your materials, and start crafting along with us.
Also, We do highly recommend joining the facebook group and subscribing to the Marly Bird YouTube Channel.
Q: What if I can’t finish on time?
A: If you are following with the free patterns ❣️ Note: the free Sandra PDA Knit Sweater will only be free for the duration of the make-along. However, if you purchase the ad-free pdf’s you have no worries! You can work at your own pace as you will own the full pattern.
Q: Can I share my progress on social media?
A: Absolutely! We encourage you to share your progress using the hashtags #mmmdi and #thisorthat. We’d love to see your work and feature it in our Stories and posts!
We can’t wait to see what you create in the This or That Make-Along. Whether you choose the Bellini Crochet Sweater or the Sandra PDA Knit Sweater, you’re in for a creative adventure that’s as fun as it is rewarding. Happy crafting!