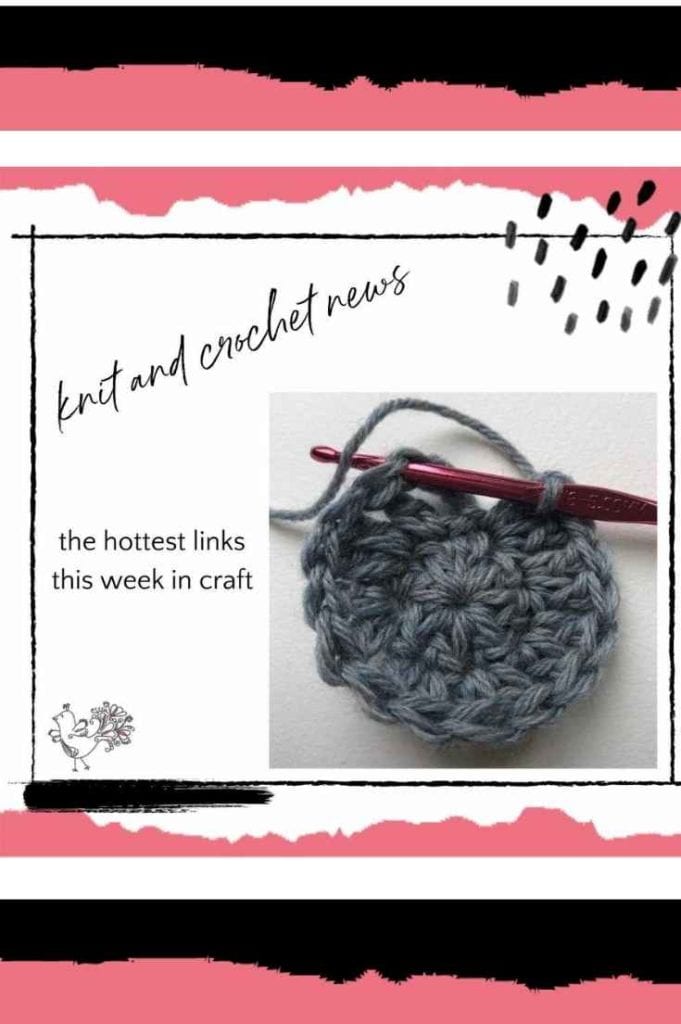
It's been so fun perusing the Internet each week to bring you the latest crochet and knit news. So much happens in the craft world each week. From fashion to art, politics to events, there are just so many things going on in knitting and crochet. In case you missed out on any of that goodness, here are this week's crochet and knit news links.
Crochet and Knit News: Fashion
Vogue did an article about Diotoma, a New York fashion brand working with artisans on Jamaica. There's a great back story about how designer Rachel Scott learned of a craft group in Jamaica, where she's originally from, and made it a point to visit and seek them out. She learned new techniques and started working with them to bring embroidery, crochet and knitting her designs. The Diotoma Summer '21 lookbook is beautiful.
Other crochet and knit fashion news:
- GQ did an article on the trend of crochet hats. Some of it is a bit derogatory to the craft which is unfortunate but there are some good parts. Like this line: “People care about practicality and are thinking more than ever about where their clothing comes from and how it was made.”
- “London -Portuguese knitter Fatextil has played a key role in the production of the world's first carbon negative hoodie.”
Crochet and Knit News: Art
- The Washington Post announced an upcoming event on their site: an interview on May 27th with yarnbomber and crochet artist / author London Kaye. The Live Chat is at 11 am ET 5/27/21.
- “Artist Carol Hummel covering Chagrin Falls trees in crocheted circles for Valley Art Center’s 50th anniversary.”
- There are so-called Knitting Banksy and Crocheting Banksy battling it out with yarnbombed mascots and tribute pieces.
- “Great Dunmow yarn-bombers join caterpillar cake row.”
Crafty World Records
There are actually a number of knit and crochet Guinness World Records that people attempt to break. Right now a team is trying to make the longest knitted or crocheted chain.
People Who Knit and Crochet
Sadly there were a few articles this week about crafters who died due to COVID-19. Margaret Rossi's obituary shares a sweet story about how she met her husband when he asked her what she was crocheting. Gloria Jean Board enjoyed crocheting blankets as gifts for people. During the pandemic some nurses started giving matching crocheted hearts to patients and their family members who couldn't visit them in the hospital due to the new restrictions.
Other news stories about regular people who knit and crochet, often for good causes:
- Woman crochets for foster children
- Knitting group seeking to tackle mental health issues through projects
- Veterinarian raises money selling crochet cat toys to help strays
- Profile of Karina Zhao, Yale neuroscientist and avid knitter who contributes to knitting to non-profits
- Young Jonah Larson, who you might know online as Jonah's Hands, crocheted a blanket for basketball star Giannis Antetokounmpo
- Another charming story about the pandemic making a crocheter out of someone needing to keep their hands busy
And NPR did a piece on how to find a hobby. They spoke to a knitter, among others, and came up with suggestions for people who just aren't sure what their next hobby should be.
And Don't Miss Out:
In addition to all of the crochet and knit news from around the web, make sure that you didn't miss out on any of this week's Marly Bird blog posts:
- Get Your Yarn Box Now for The Olympics BiCrafty Games Stitchalong
- Top 100 Knit and Crochet Instagram Influencers to Follow
- 54 Free Mitered Knit and Crochet Patterns
- 50 Free Crochet Summer Tops Patterns
- 20 Free Summer Knit Tops Patterns
- ChiaoGoo Knitting Needles Review
- BiCrafty Boot Camp: How to Knit Double Moss Stitch (and Learn How to Slip Stitch in Knitting)
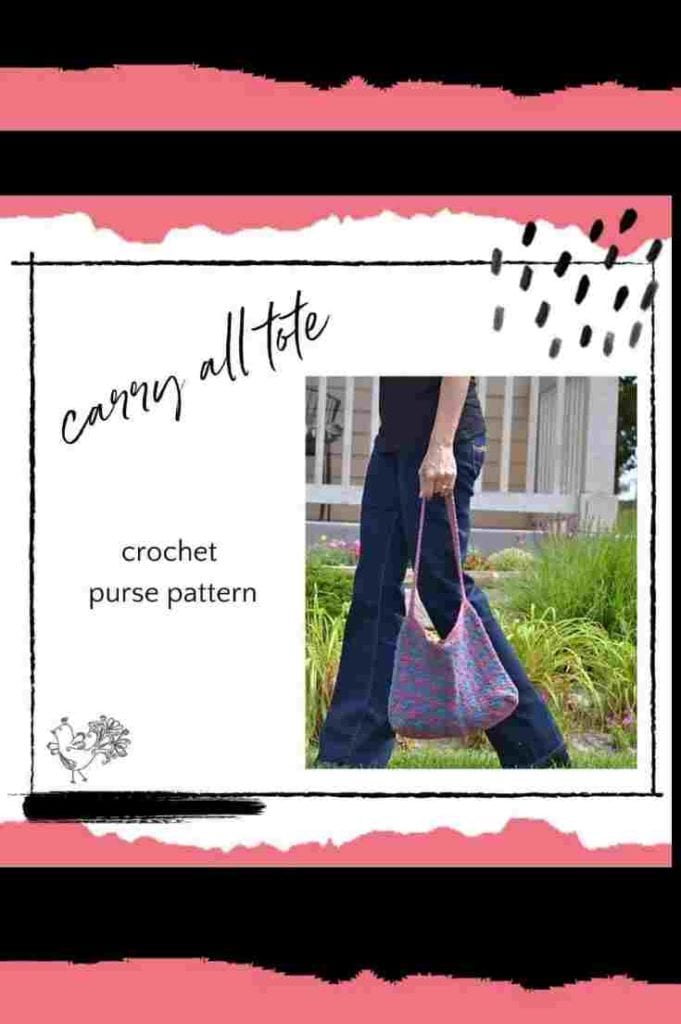
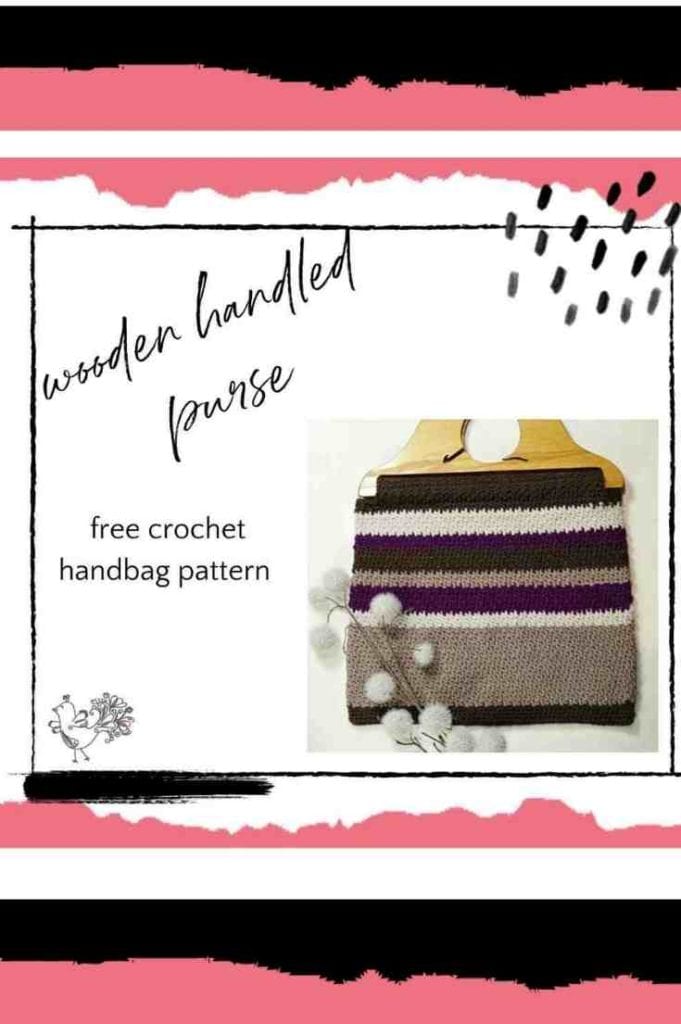
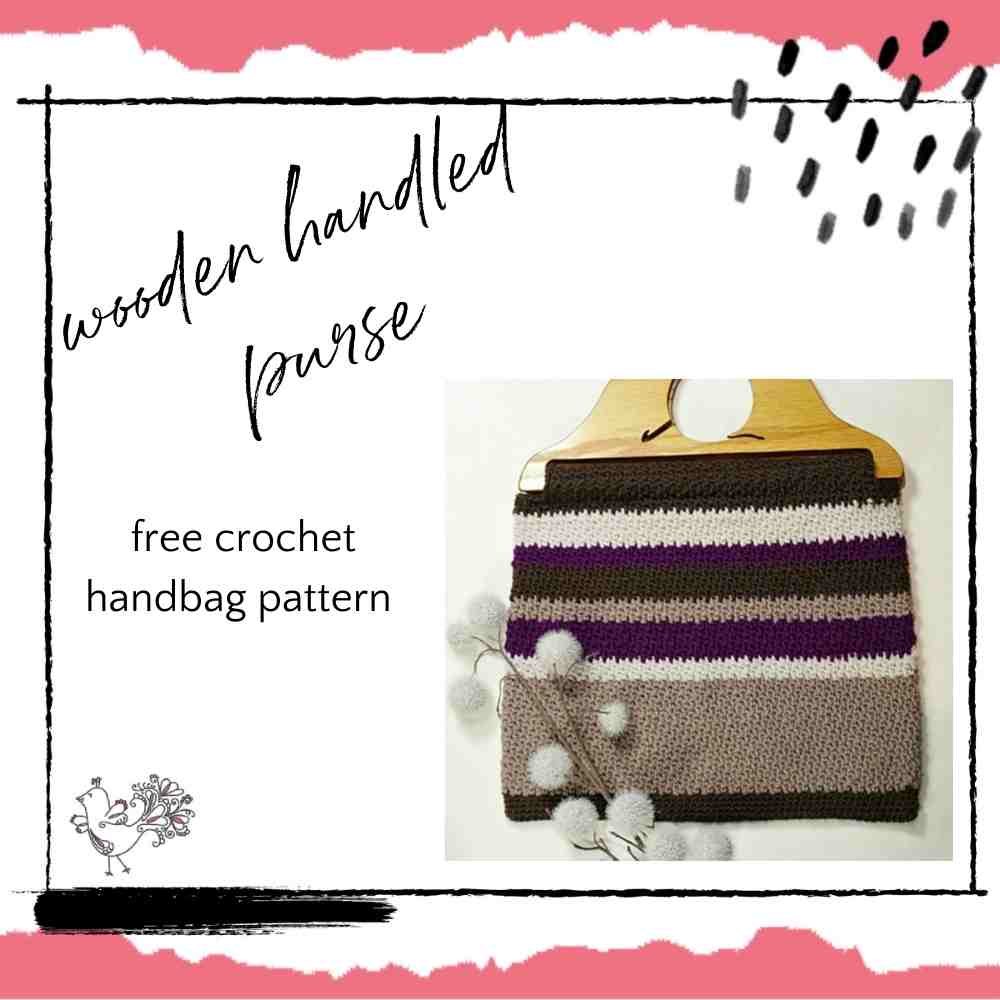
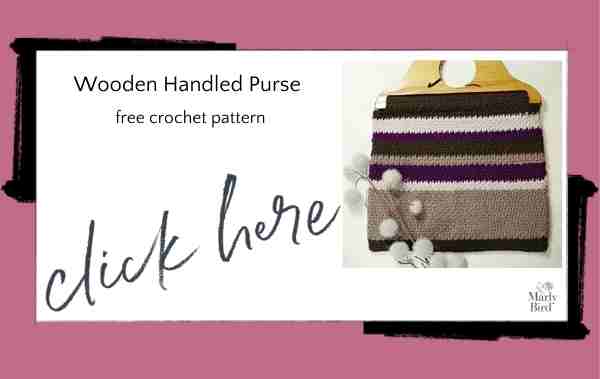
- Plus Free Crochet Purse Patterns: Chic Wooden Handled Purse, Patriotic Felted Crochet Purse, Crochet Tote Pattern, Granny Square Purse, Seed Stitch Purse, and Crochet Bento Bag with Video Tutorial