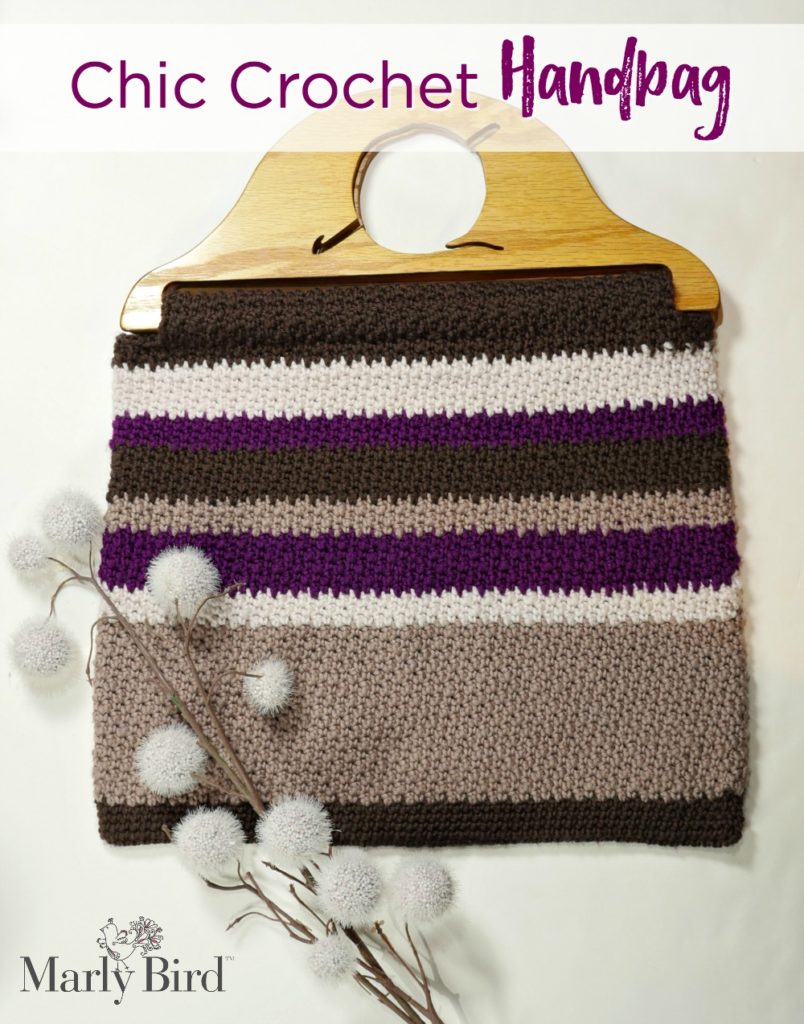
Chic Crochet Handbag with Wooden Handles
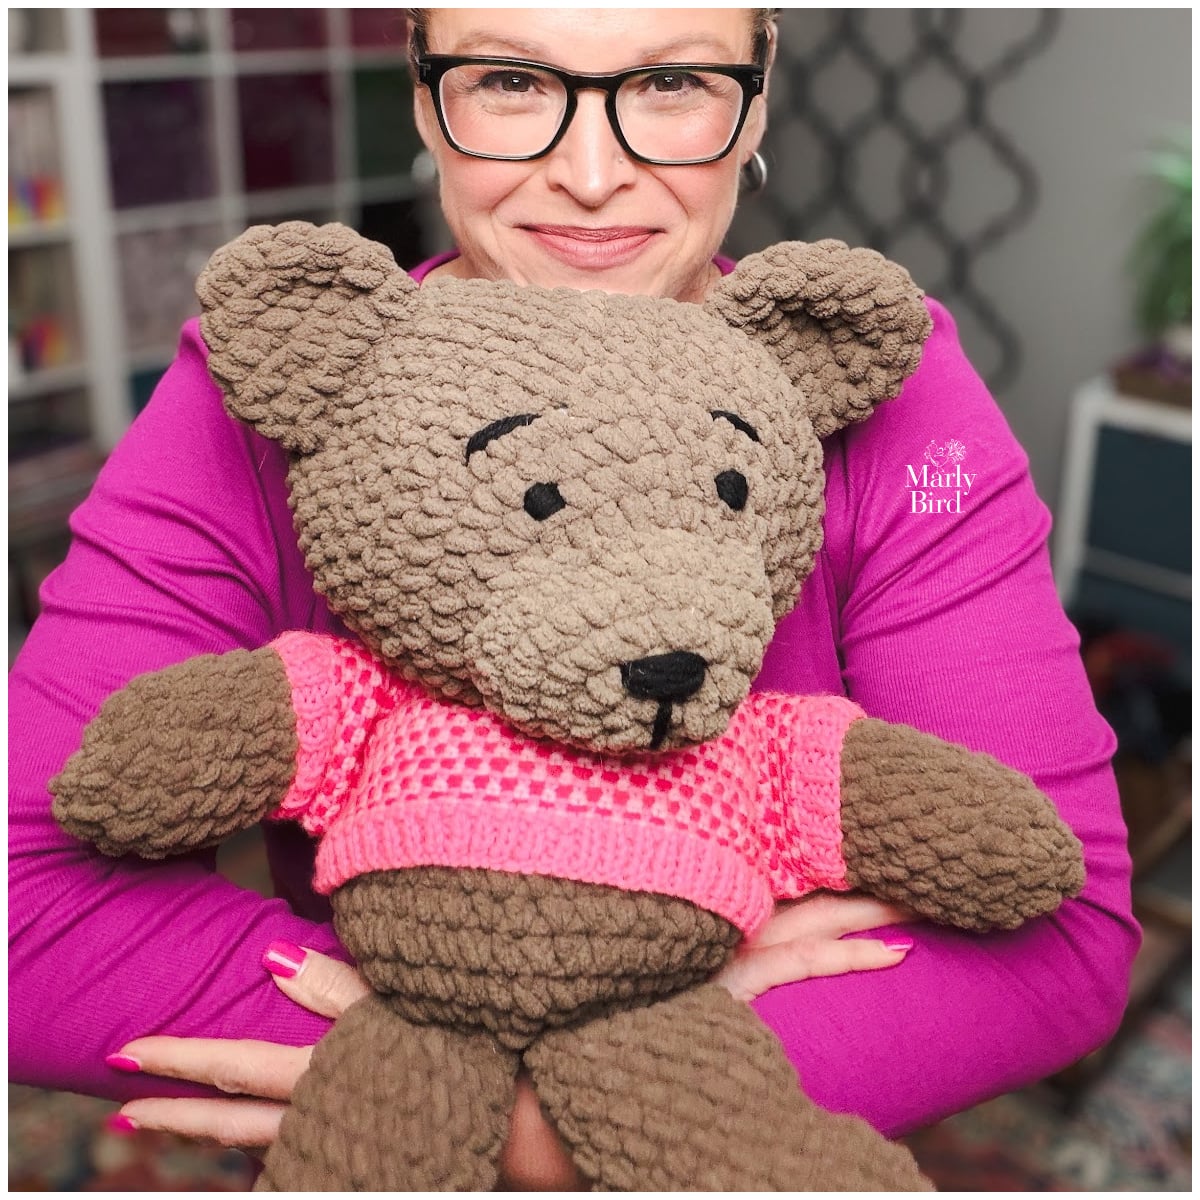
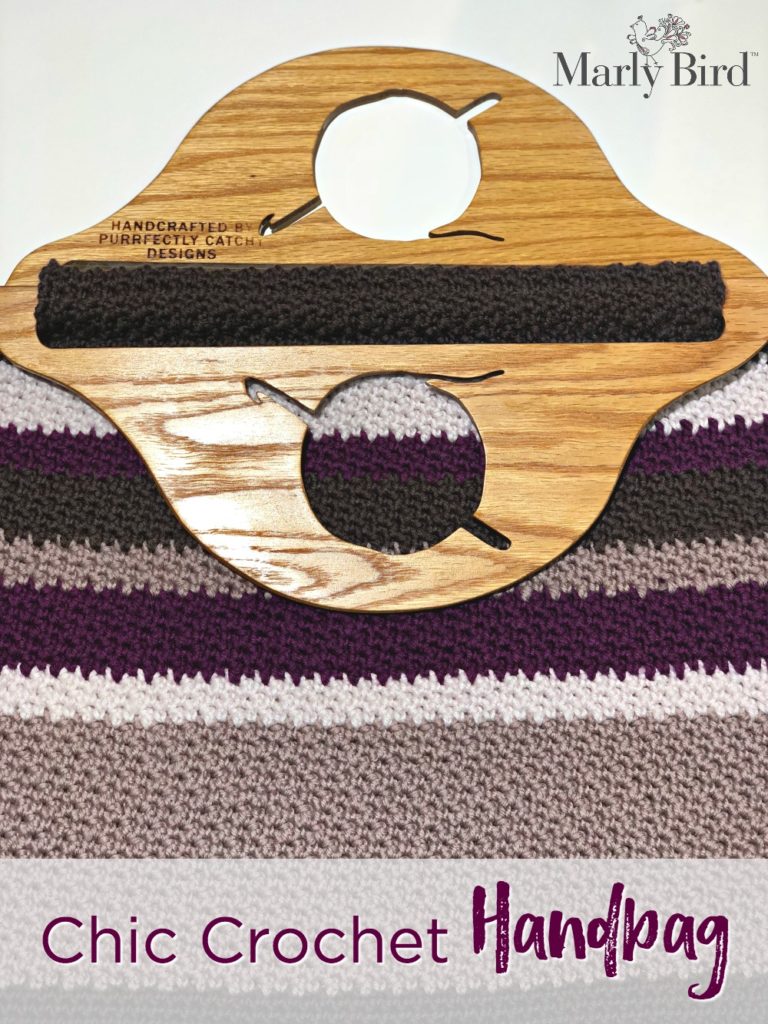
The Free Crochet Pattern Chic Crochet Handbag with Wooden Handles makes up a very useful and stylish handbag for any crocheter. Use Chic Sheep Yarn by Marly Bird™ or any other scrap yarn in 4 complimentary colors to get this wonderful tote. The wooden handles are made by the wonderful Chappy Arts and Crafts. Did you notice the ball of yarn and crochet hook in the handle? absolutely perfect!
![]()
Queue it up and Like the Pattern on Ravelry
Disclosure: This page may contain affiliate links which help me cover the cost of publishing my blog. Should you choose to make a purchase, at no additional cost to you, I may earn a small percentage of the sale.
When making crochet bags I always start with the straps or the handles. In my opinion, that one thing can really make your piece look drastically different. When my friend Chappy gave me these purse handles and asked me to make a handbag for her, my mind began to swirl. Should I do crochet entrelac, should I do tapestry crochet, should I do cables? The possibilities were endless.
After taking some time to think about it I decided that I would let the handles be the star of the handbag. Therefore, I ended up choosing one of my favorite stitches to make a basic bag body. Then of course, I had to add some stripes with yarn from my own yarn line! I almost added extra details to the inside of the bag, like a pocket or a keychain with a lobster claw clasp to hold keys, but I figured the bag didn’t need it.
What resulted is a very simple handbag with amazing wood handles that I am proud of.

Free Crochet Pattern Chic Crochet Handbag with Wooden Handles by Marly Bird
I chose not to line the bag for display, but if I were to carry this bag around for use I definitely would line it with fabric to help prevent stretching. Maybe that is where I add the extra inside bits I was talking about earlier. When I get a chance, I will be sure to add a bit about lining this bag, but until then, here are some instructions for how to line a bag.
Okay, since the pattern is rather simple, so should be the into and the instructions 🙂
Materials
Yarn
- Leather (color A)
- Suede (color B)
- Linen (color C)
- Regal (color D)
Hook
Susan Bates® : H//8 (5mm)
Notions
Stitch Markers, Bent Tip Tapestry Needle, Wooden Handbag Handles by Purrfectly Catchy Designs (aka Chappy’s Arts and Crafts)
Sizing
Finished Measurements
12” tall (not including handles) x 15″ wide
Gauge
16 stitches = 4″ (10 cm) CHECK YOUR GAUGE. Use any size needle to obtain the gauge. Exact gauge is not critical to this project.
Notes
Cut color each time, do not carry up on the inside.
Color Sequence
Color A — 6 rows
Color B — 16 rows
Color C — 3 rows
Color D — 6 rows
Color B — 3 rows
Color A — 6 rows
Color D — 3 rows
Color C — 6 rows
Color A — 3 rows
Free Crochet Pattern Chic Crochet Handbag with Wooden Handles by Marly Bird
Pattern
Griddle Stitch multiple is even number of stitches.
Follow color sequence as listed above for body of bag.
Base of Bag
With Color A, chain 60 sts (this is the foundation chain
Body of Bag
Round 1: *Sc in first st, dc in next st; rep from * around to last st, sc in the same stitch as the last dc; do NOT join but work in continuous rounds — 121 sts.
Round 2: *Dc in first st, sc in next st; rep from * around to last st, dc in last st; do not join but work in continuous round.
Round 3: *Sc in first st, dc in next st; rep from * around to last st, sc in last st; do not join but work in continuous round.
Continue repeating rounds 2 and 3 for the full color sequence of the pattern.
Fasten off.
Finishing
Weave in all ends. Watch how Marly buries ends on YouTube.
Wooden Handles by Purrfectly Catchy Designs (aka Chappy)
The best way I can explain how to add the handles is to be a little vague and let you have some freedom to do what you wish. With that said…
- Once the body of the bag is complete lay it down flat with RS facing.
- Center the wooden purse handles along the top edge of the handbag.
- Using removable stitch markers, mark the stitches at the point where there needs to be more fabric made to go through the openings of the handles.
- Be sure to mark both sides.
- Set the handles aside and continue on making the fabric to go around the handles.
With Color A and RS facing
Row 1: Continue in established pattern (sc on top of dc, dc on top of sc) starting at the marked stitch. Join yarn with a standing sc or standing dc, work towards the other marker on the same side of the bag, letting the last stitch of the row land on the second marked stitch. Turn.
If your first stitch on the next row is a sc, then ch 1; if the first stitch on the next row is a dc, ch 3 and counts as a dc.
Row 2 – ?: Continue in established pattern for however many rows you need to make the fabric long enough to wrap around the handle opening.
Fasten off.
Do the same for both sides of the bag.
Then, wrap the fabric around the purse handle and sew with a whip stitch to the inside of the bag.
Weave in all ends again.
Line the bag if you wish.