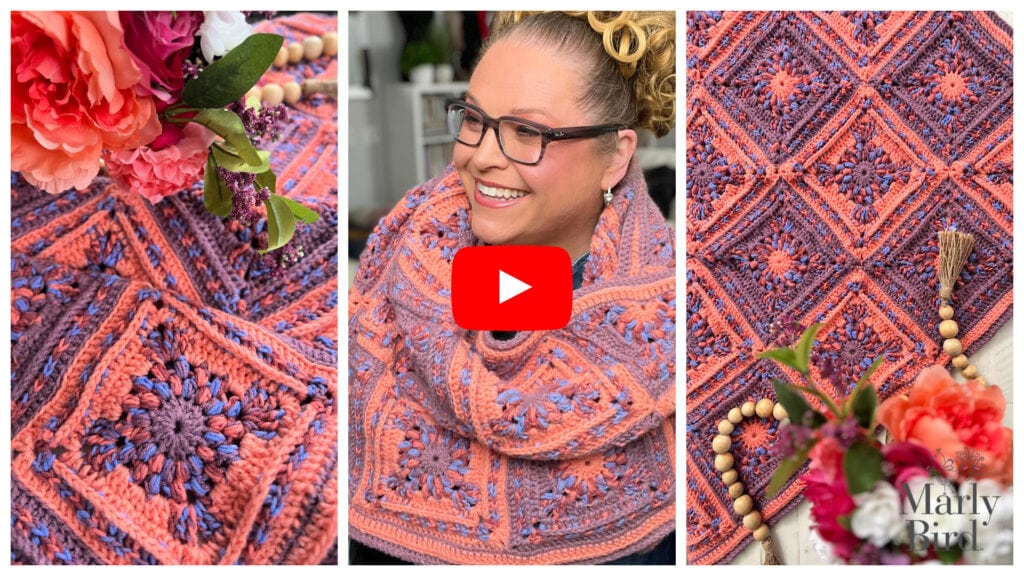
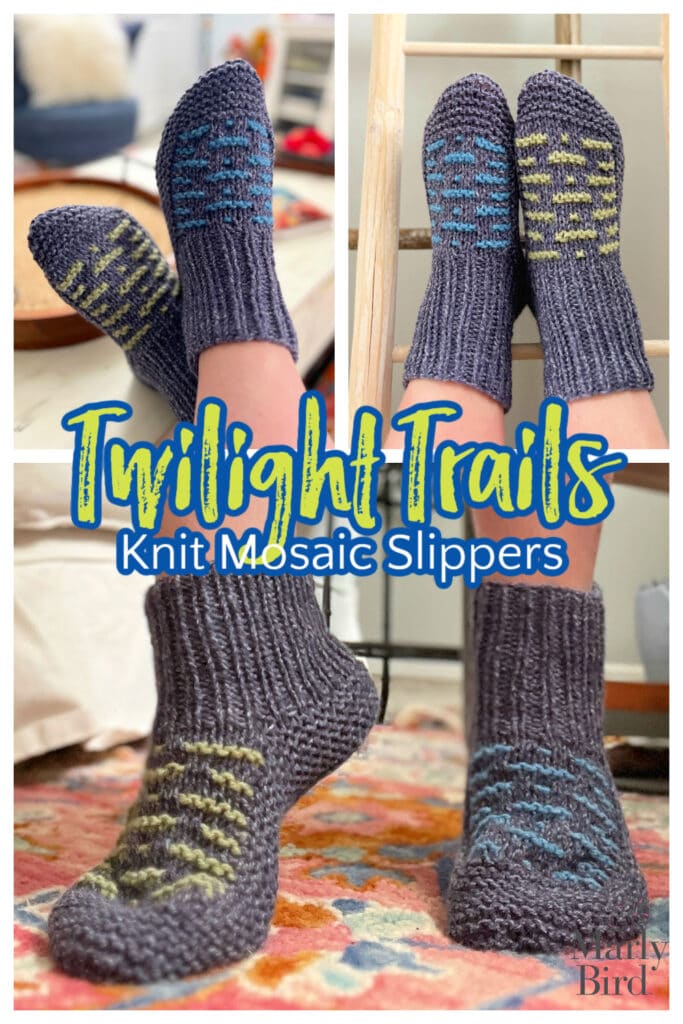
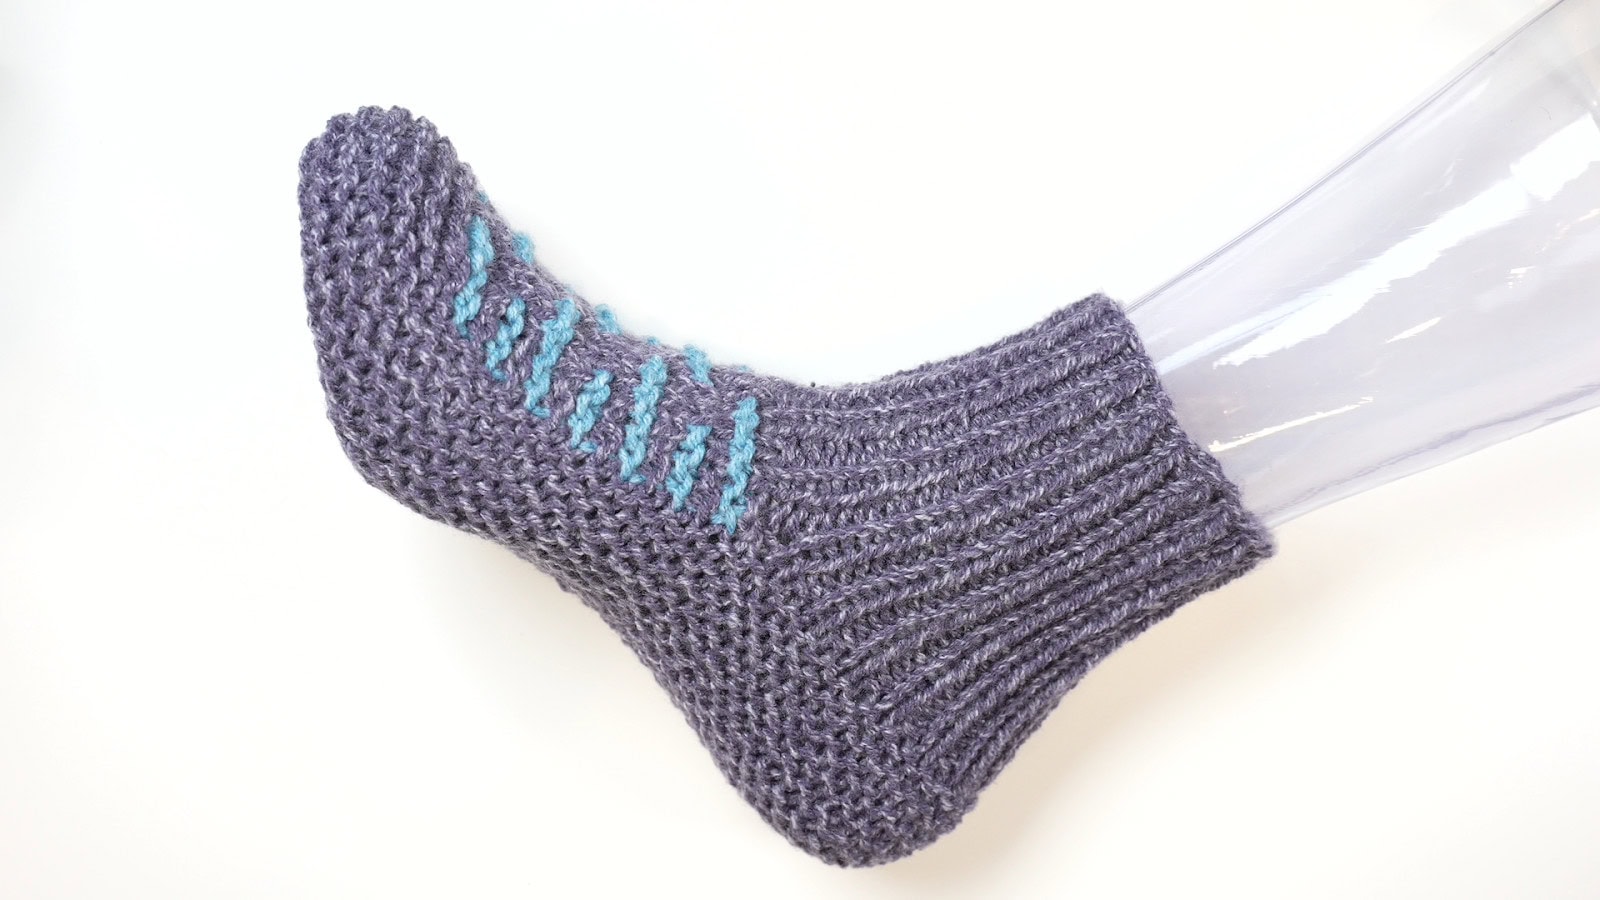
Hey there, yarn-loving friends! If you’re looking for your next cozy obsession, the Twilight Trails Knit Mosaic Slippers pattern are here to steal the show. We’re talking about ultimate comfort, vibrant color play, and texture that pops—all wrapped up in a knit project that’s fun, fast, and totally fabulous. These slippers are a must-knit whether you’re lounging, gifting, or just treating yourself (because you know you deserve it!).
You love the Twilight Trails Knit Mosaic Hat, you will love these too!
Affiliate Disclosure: This post contains affiliate links. If you click on one of these links and make a purchase, I may earn a small commission at no additional cost to you. This helps support the content and free patterns I provide here on MarlyBird.com. Thank you for your support—it means the world to me! 💖
Why You’ll Love the Twilight Trails Knit Mosaic Slippers
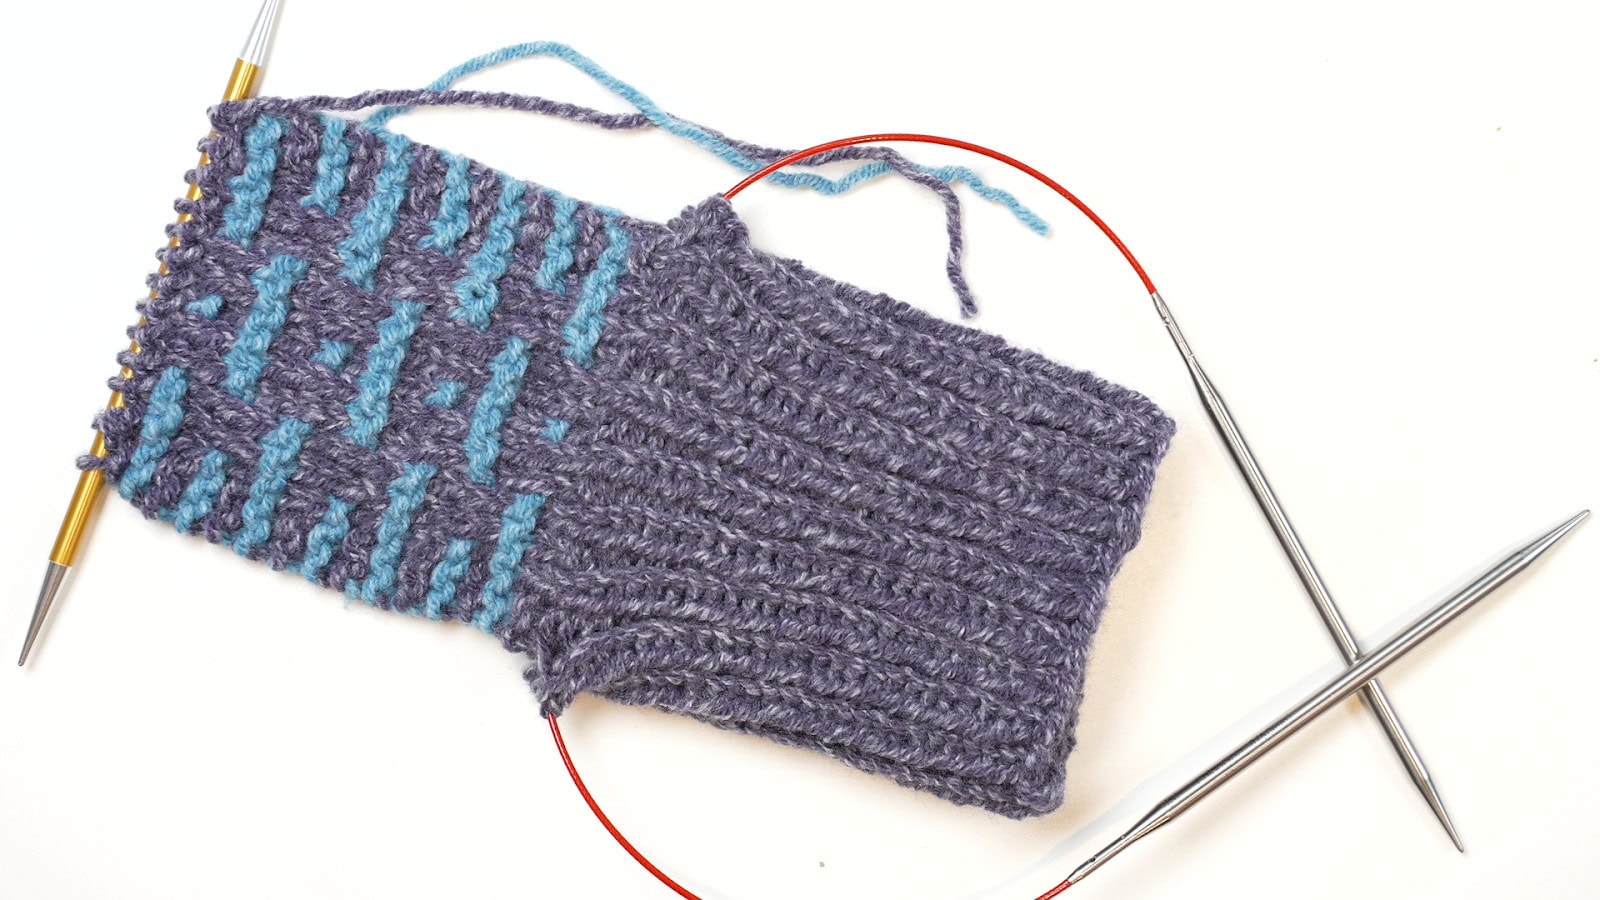
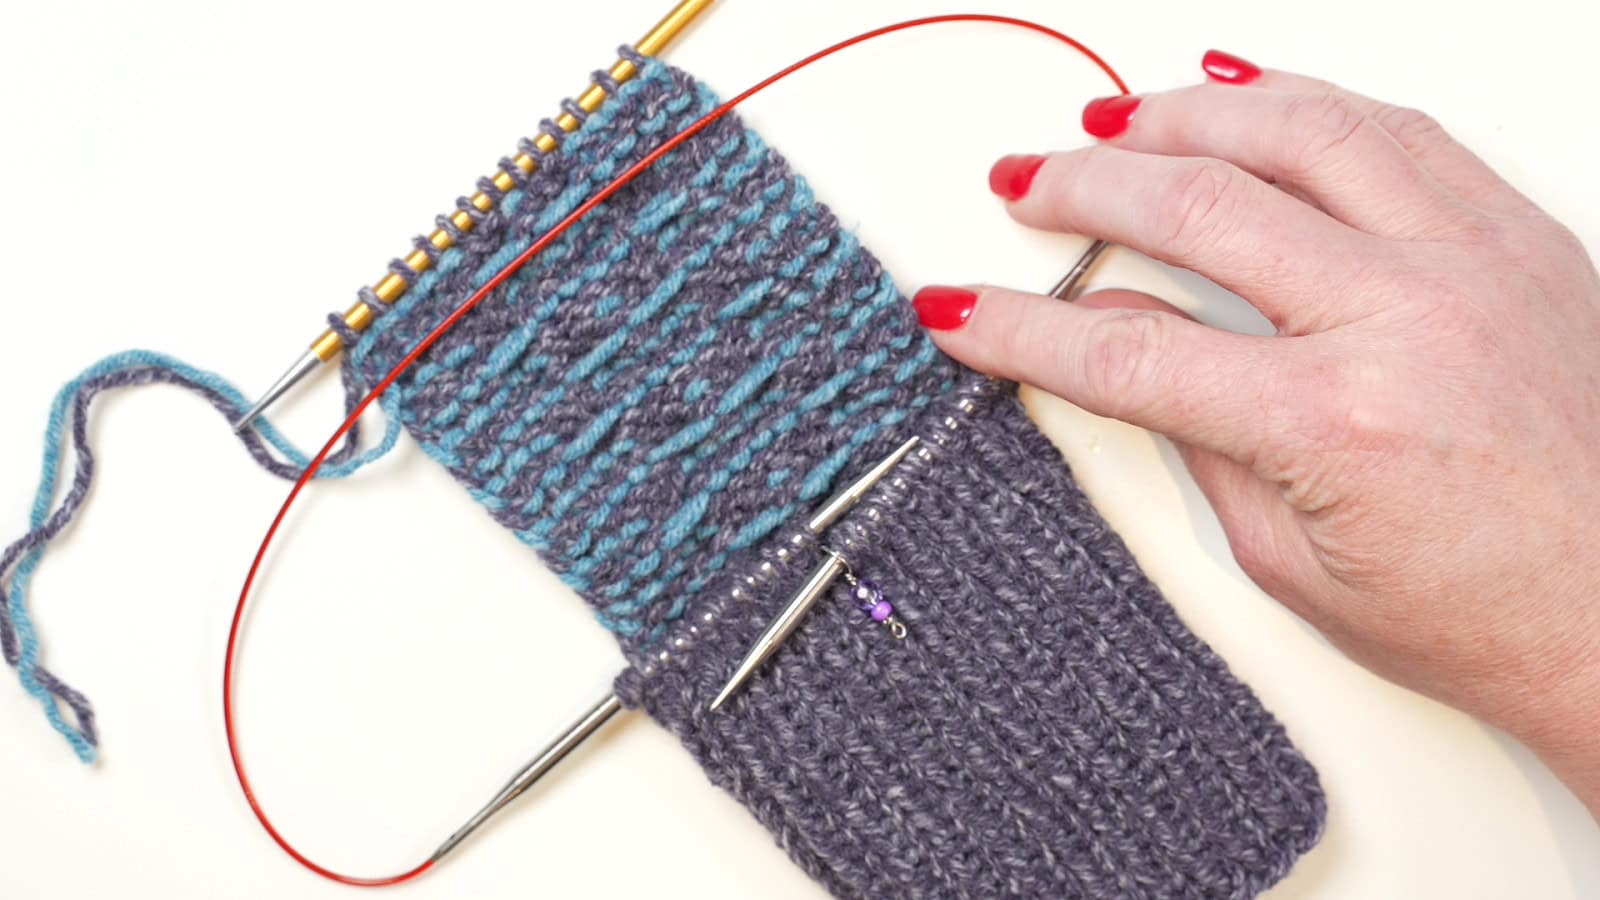
✨ Mosaic Knitting, Marly Style – Think colorwork looks complicated? Nope! This slip-stitch mosaic knitting technique means you work with one color per row. No yarn tangles, no drama—just gorgeous results. You’ll be saying, “Look what I made!” in no time.
🧦 Ribbed Cuff Realness – Let’s talk fit. This snug, stretchy cuff hugs your feet just right, making sure your slippers stay put—whether you’re binge-watching your favorite show or hustling for another cup of coffee.
🎨 Color Playground Vibes – Feeling bold? Go big with high-contrast brights. More into chill tones? Soft neutrals have your back. Whatever you choose, these slippers are your blank canvas for creativity!
🧶 Soft, Durable Yarn Goodness – We’re talking yarn that brings the cozy and can handle the wear. Soft enough to keep you comfy, tough enough for daily lounging.
⏰ Weekend Win Project – This is your Netflix-and-knit dream project. Quick, satisfying, and perfect for gifting (if you can bear to part with them!).
What is Mosaic Knitting (and Why You’ll Love It!)
Mosaic knitting—aka the secret sauce to stunning colorwork with minimal effort. Slip stitches create eye-catching patterns while you knit with only one color per row. Translation? Gorgeous texture and color with zero stress.
✨ New to mosaic knitting? These slippers are the perfect way to dip your toes in (literally). You’ll pick it up fast and love how relaxing it is. Pro knitter? You’ll be hooked on how rewarding this knit is!
Here are some other fun knit mosaic patterns to check out.
- Ocean Waves Wine Cozy
- Cocoa Dreams Knit Fingerless Mitts
- Falling Leaves Knit Hat
- Anne Slip Stitch Knit Mosaic Shawl
- Confetti Blips Knit Mosaic Hat
- Bamberg Bandana Cowl
- Tournament of Stitches Knit Mosaic Cowl
- Crazy Stripes Shawl
Choosing Colors for Your Twilight Trails Knit Mosaic Slippers
🎨 Let’s talk color—because this is where the magic happens!
- 🌑 Bold & Beautiful: Dark main color + neon contrast = slippers that shout, “Look at me!”
- 🌙 Chill & Classic: Soft, neutral tones for the minimalist’s dream pair.
- 🌿 Seasonal Vibes: Fall vibes? Think rust and gold. Winter feels? Cool blues. Spring? Fresh pastels.
✨ Honestly, there’s no wrong answer—just endless possibilities.
Pattern Details – Here’s the Lowdown
📝 Skill Level: Advanced Beginner / Intermediate
📏 Sizing: Adjustable for most adult feet (cozy should be universal!)
🧶 Yarn: Soft, durable yarn—hello, comfort and longevity
🧵 Techniques: Slip-stitch mosaic knitting, ribbed cuff fabulousness, and all the color fun
🎥 Bonus: Tips and tricks for nailing that perfect fit (because we’re all about the details!)
What You’ll Get with the Knit Mosaic Slippers PDF Pattern
To have an uninterrupted knitting experience, you can purchase the ad-free PDF. Now available in the Marly Bird Etsy store, Ravelry store, and Shopify.
✅ Instant PDF Download – No ads, no interruptions—just you and your yarn!
✅ Written Instructions – Clear, detailed, and Marly-approved.
✅ Video Tutorial Links – Stuck? No worries! Clickable links to video tutorials are included to guide you.
✅ High-Quality Photos – See every stitch with crisp, clear images.
💡 Reminder: This is a digital knitting pattern (PDF)—not the finished slippers. But trust me, you’ve got this!
Grab Your Twilight Trails Knit Mosaic Slippers Pattern—Today!
✨ Hey bestie, ready to get cozy? ✨
The Twilight Trails Knit Mosaic Slippers pattern is just a click away—available for instant download on Etsy, Ravelry, and Shopify. With clear instructions, stunning mosaic textures, and all the comfy vibes, these slippers will be your new favorite knit.
🧶 So, grab your needles, pick some yarn that sparks joy, and let’s make some slipper magic!
Free Pattern – Twilight Trails Knit Mosaic Slippers
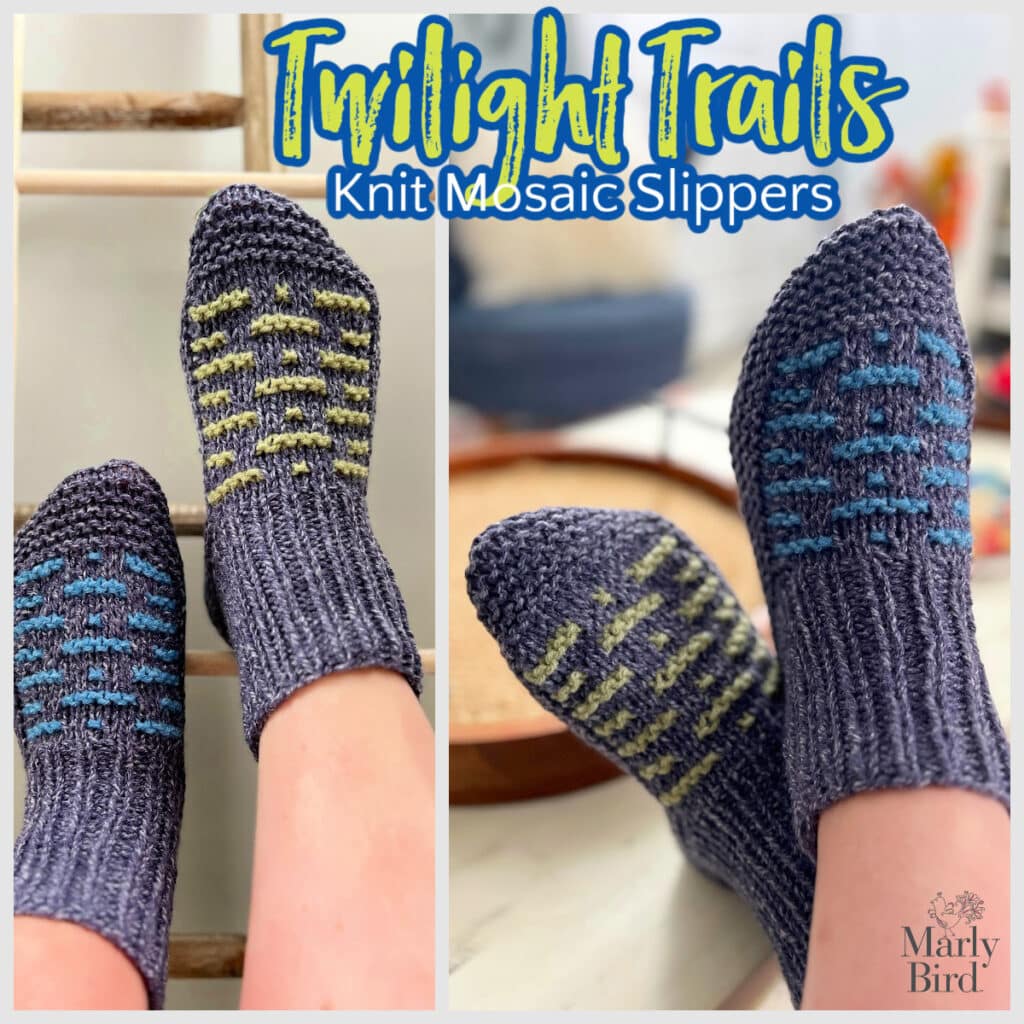
Twilight Trails Knit Mosaic Slippers
Designed by Marly Bird
SKILL LEVEL
Intermediate
MEASUREMENTS
To Fit Sizes
S (M, L) to fit US Women’s shoe sizes 4-6, 7-10, 11-13
Finished Measurements
Cuff circumference 6½ (7, 7¼)” [16.5 (18, 18.5) cm] when laid flat
Cuff circumference 10½ (11, 11½)” [26.5 (28, 29) cm] when fully stretched
Foot circumference 7½ (8½, 9½)” [19 (21.5, 24) cm]
Gauge
16 sts and 32 rows = 4” [10 cm] in Garter st
MATERIALS
Yarn
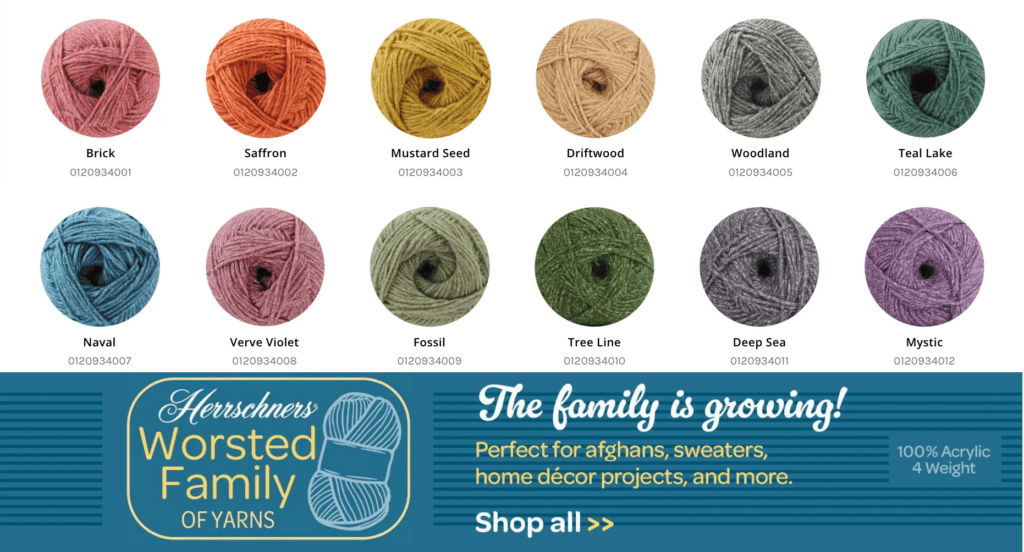
Herrschners, Worsted Heathers (100% Premium Acrylic, 489 yds / 448 m, 8 oz/ 226 g, CYCA# 4 worsted)
1 ball: #4011 Deep Sea (A)
1 ball: #4007 Naval (B)
Needles
Two U.S. 8 [5mm] 16” circular needles and set of 5 double pointed needles, or size required for gauge.
Notions
ABBREVIATIONS
K – Knit
K2tog – Knit Two Stitches Together
P – Purl
Pm – Place Marker
RS – Right Side
Sl – Slip
Slm – Slip Marker
St(s) – Stitches
WS – Wrong Side
Wyib – With Yarn In Back
Wyif – With Yarn In Front
SPECIAL STITCHES
⭐️ M1 (Make 1): With tip of left needle, pick up the horizontal strand between stitches from front to back. Knit this strand through the back leg, twisting it into a loop in the process – 1 stitch increased.
⭐️ Ssk (Slip, Slip, Knit): Slip 2 stitches, one at a time, as if to knit. Insert left hand needle into the front of these two stitches and knit them together from this position (1 stitch decreased)
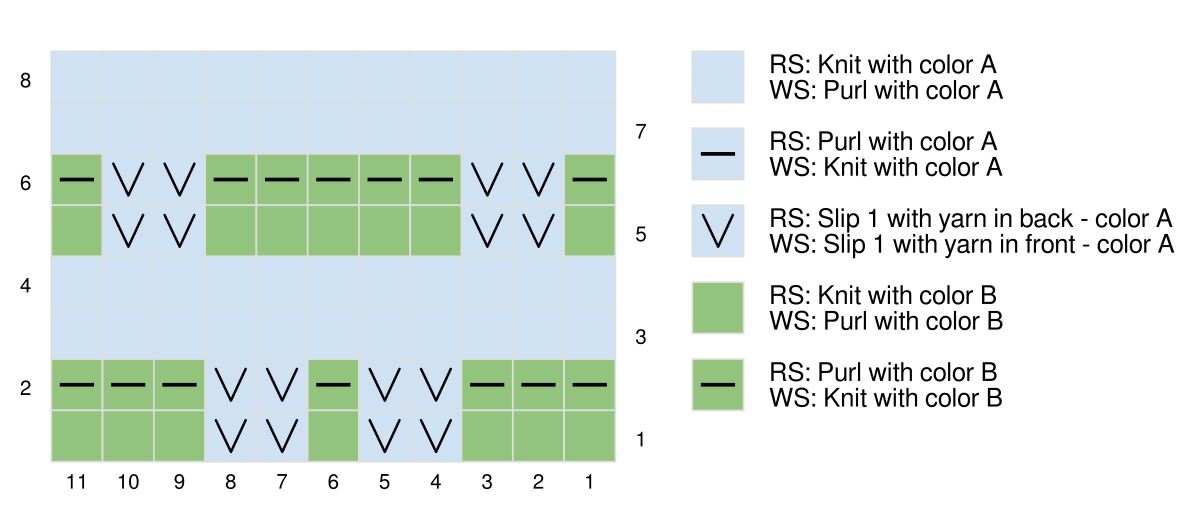
TWILIGHT TRAILS MOSAIC PANEL
Worked flat over 11 sts.
Row 1 (RS): With B, k3, sl 2 wyib, k1, sl 2 wyib, k3.
Row 2 (WS): With B, k3, sl 2 wyif, k1, sl 2 wyif, k3.
Row 3 (RS): With A, knit.
Row 4 (WS): With A, purl.
Row 5 (RS): With B, k1, sl 2 wyib, k5, sl 2 wyib, k1.
Row 6 (WS): With B, k1, sl 2 wyif, k5, sl 2 wyif, k1.
Row 7 (RS): With A, knit.
Row 8 (WS): With A, purl.
Repeat Rows 1-8 for Twilight Trails Mosaic Panel.
CHART
NOTES
- Directions are for size S; changes for sizes M & L are in parentheses. When only one number is given then that number applies to all sizes.
- Slippers stretch a lot when wearing. Size shown is a medium on a Women’s Size 10 Foot.
- Slip all stitches as if to purl. When slipping stitches be sure to not pull the float too tight or the gauge will get too small.
- Do not cut colors, carry the color up the side of the project.
- If you want to be sure you have a safety net as you knit, adding a lifeline to your project every so often will be helpful. Just to make sure you have a point to rip back to if something goes wrong. (video help).
VIDEO TUTORIALS
- No Cuss Long Tail Cast-On >> Click Here for Video Help <<
- Knit Stitch (continental style) >> Click Here for Video Help <<
- Purl Stitch (continental style) >> Click Here for Video Help <<
- Perfect Ribbing >> Click Here for Video Help <<
- Kitchener Stitch >> Click Here for Video Help <<
- Duplicate Stitch >> Click Here for Video Help <<
- How to Add Lifeline >> Click Here for Video Help <<
- How to Bury Ends >> Click Here for Video Help <<

GROW
To Unlock Exclusive Subscriber Content click the Box below and join for free by simply adding your email and creating a password! If you are having troubles, clear your cache or reset your password or login to the Grow Publisher Portal.
>> Learn More About Grow Here <<
I’m thrilled to share this amazing pattern with you, many patterns on my blog are absolutely free! I kindly request that you don’t copy and paste or distribute this pattern. Prefer an ad-free experience? Buy a digital PDF pattern for a small fee from one of my online stores for a seamless crafting journey.
I appreciate your support and readership. You are the reason I can keep doing what I love and sharing it with others. So, thank you from the bottom of my yarn-loving heart! Disclosure: This post contains affiliate links, meaning I get a commission if you decide to make a purchase through my links at no cost to you.
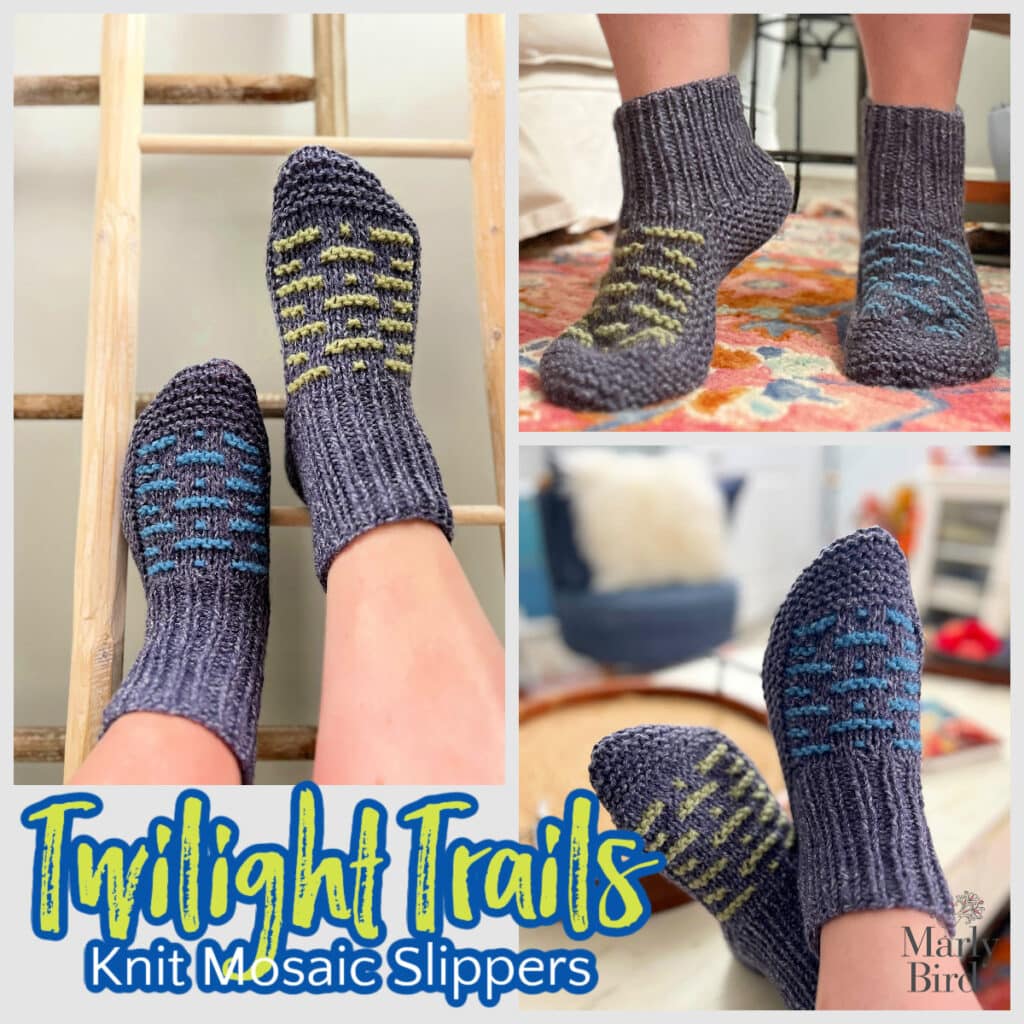
TWILIGHT TRAILS Knit Mosaic Slippers
Divide Color A ball into 2 balls of yarn.
Make both Slippers the same:
CUFF
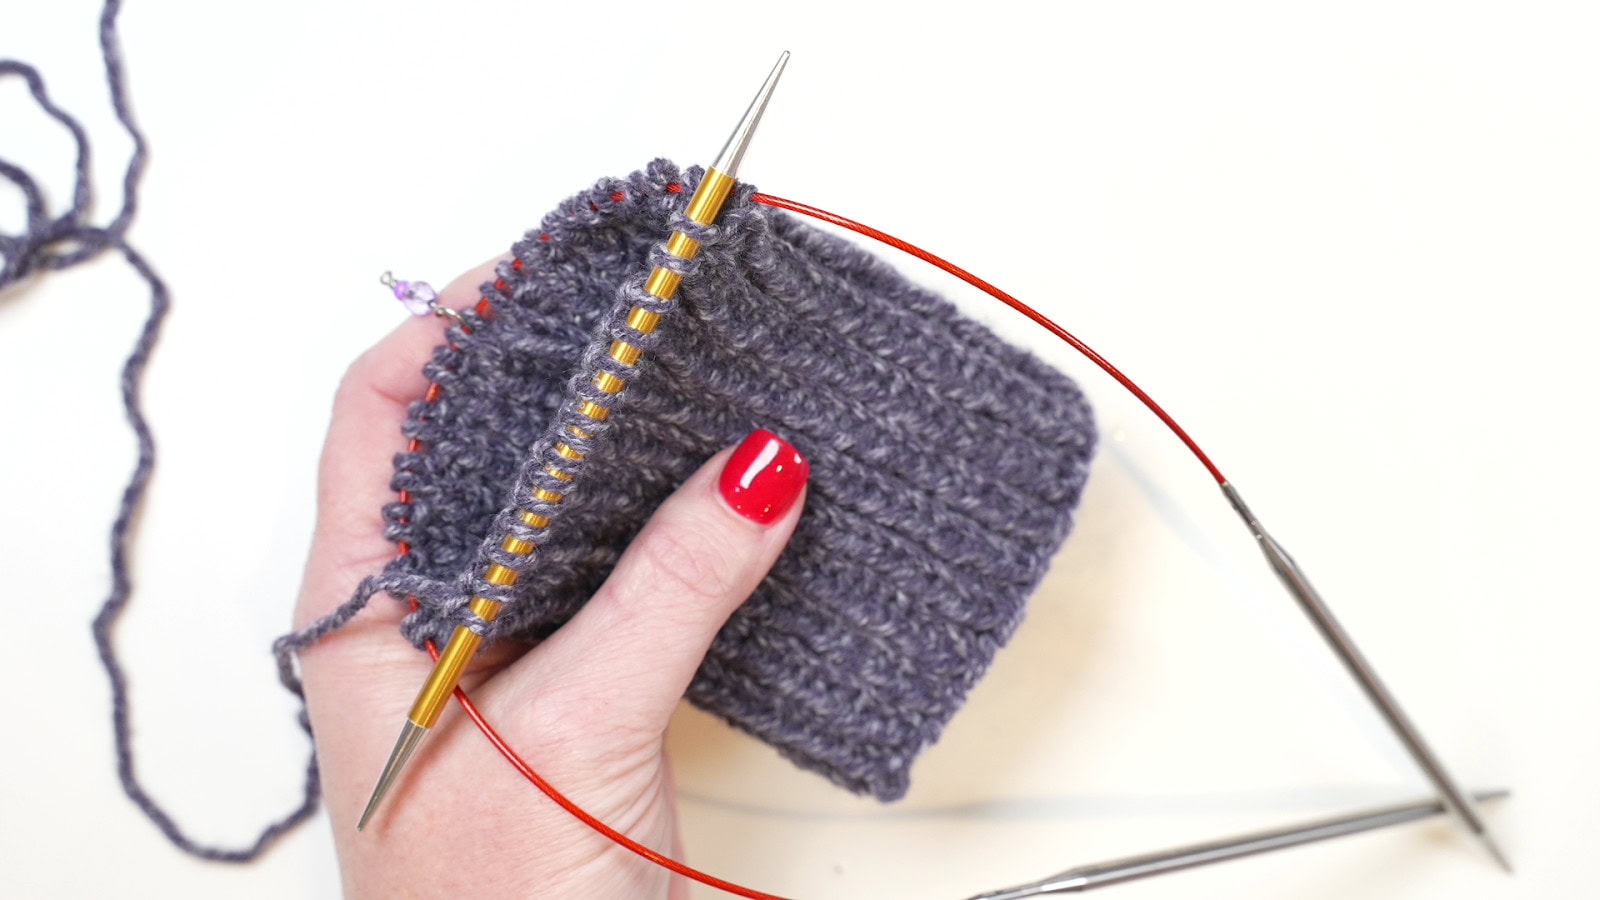
With A, cast on 42 (44, 46) sts and divide approx evenly onto 4 double-pointed needles.
Join round being careful to not twist cast-on edge, and mark first st.
Round 1: * K1, p1; repeat from * around.
Repeat this round for 1 x 1 Ribbing until Cuff measures 4½ (5, 5)” [11.5 (12.5, 12.5) cm] in length.
SIDES OF FOOT
Use the first color A ball still attached at Cuff for next set of instructions:
Next Round (set-up round): K16, pick up and knit 1 st in each Garter ridge along right edge of Top of Foot, working final row at Top of Foot, k5 (6, 7), pm, k6, (7, 8), working, pick up and knit 1 st in each Garter ridge] along left edge of Top of Foot, k16, join round and mark first st— 65 (75, 85) sts.
Next 2 Rounds:
Round 1: Purl.
Round 2: Knit.
Repeat the last 2 Rounds 4 more times, then repeat Round 1 only once.
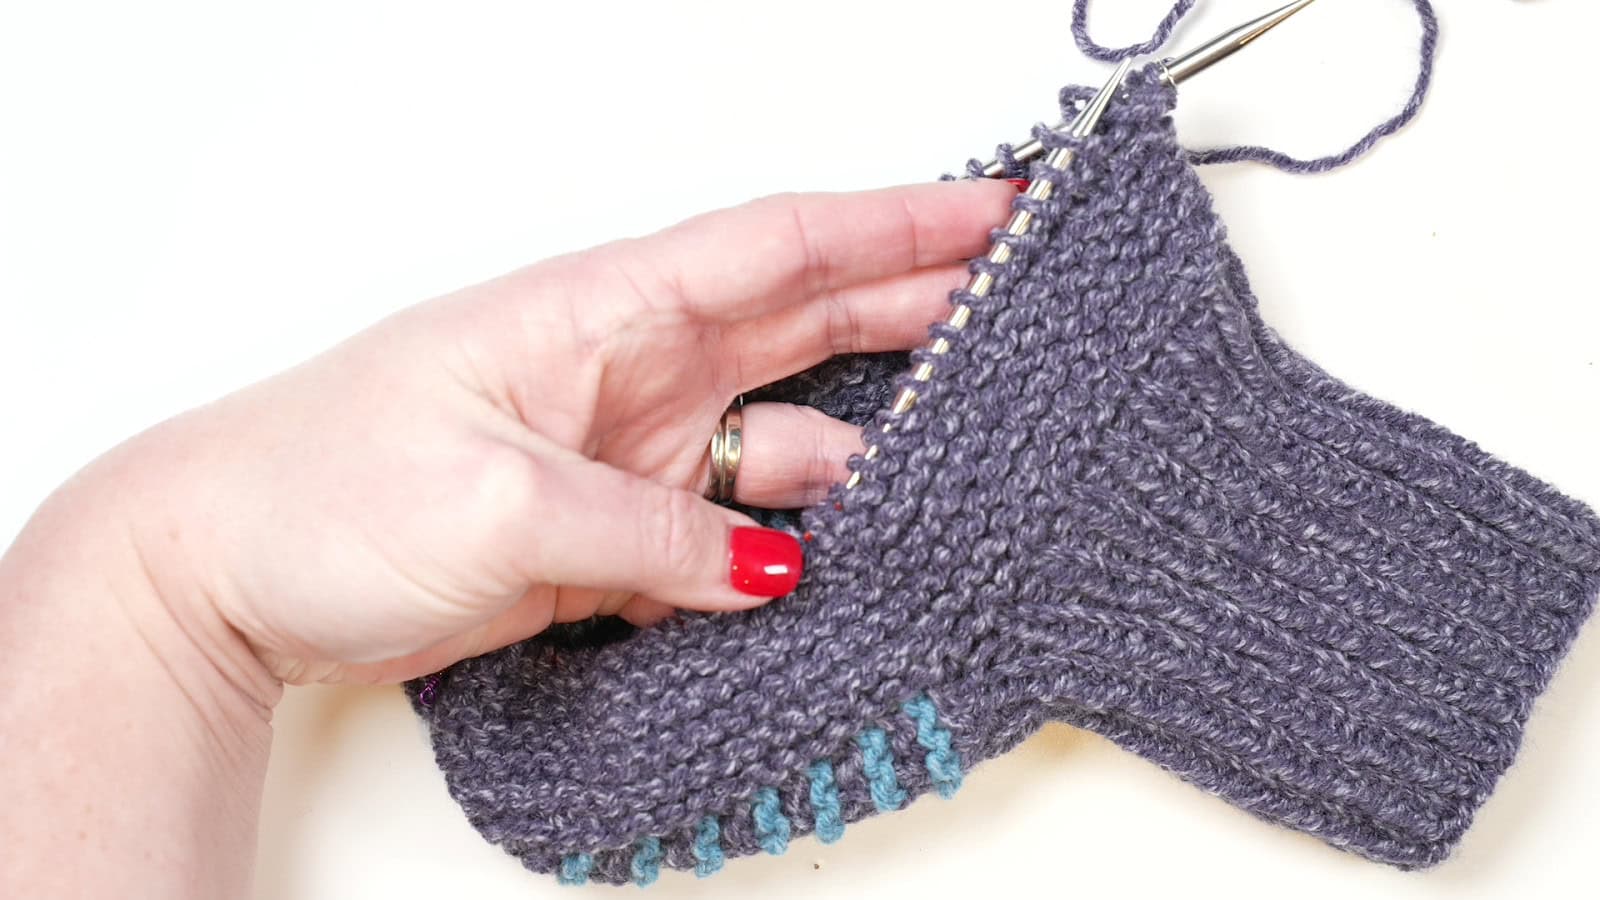
SHAPE SOLE
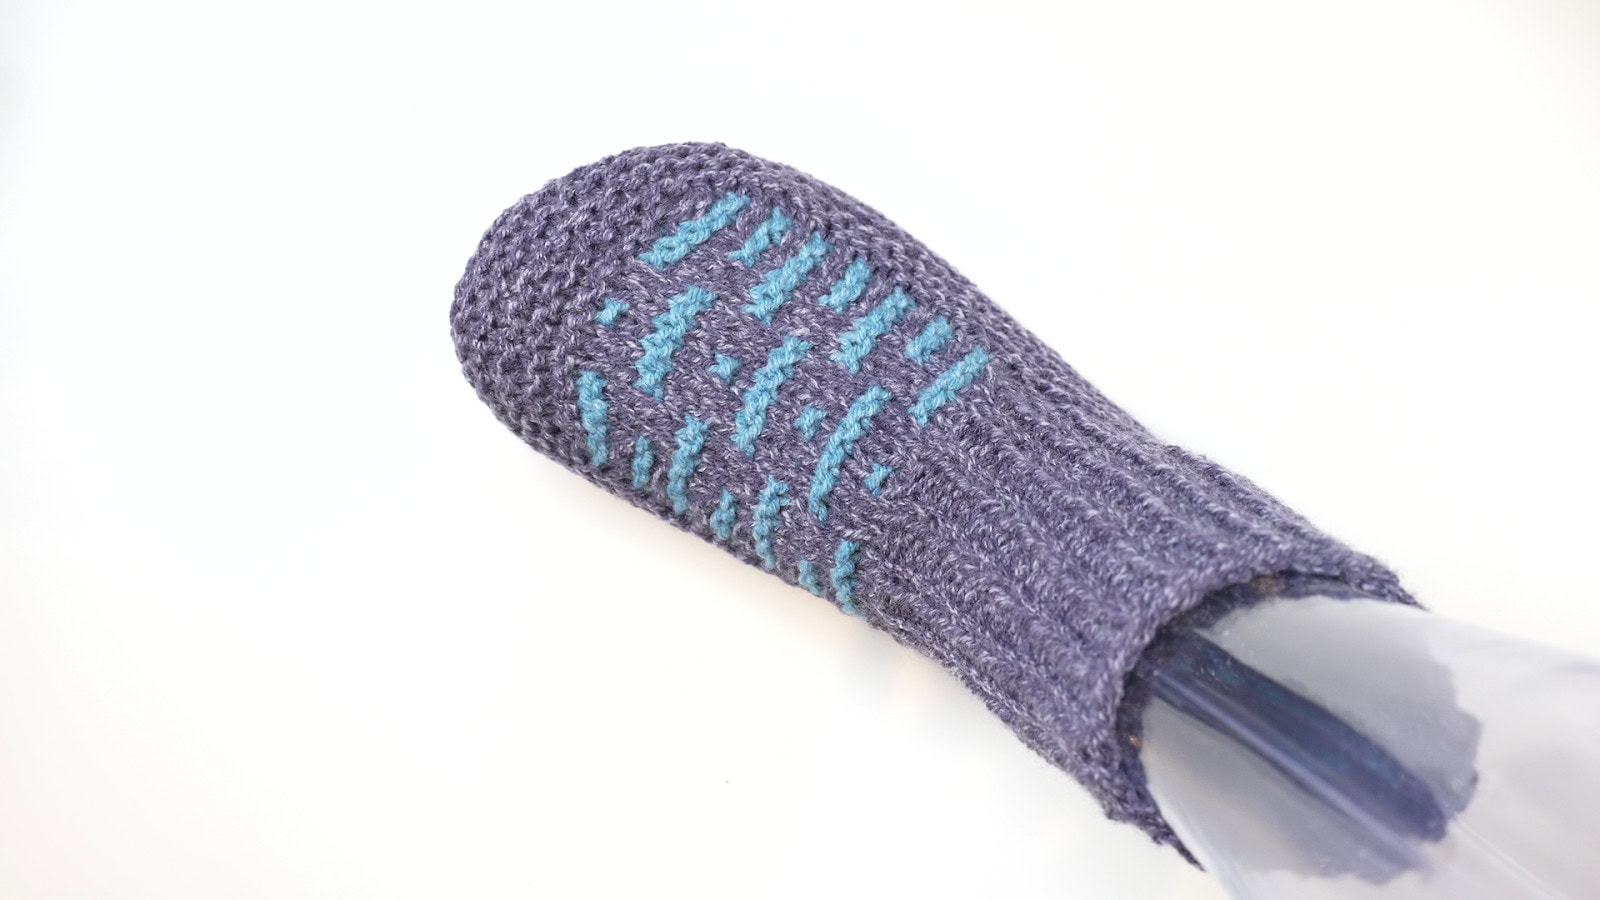
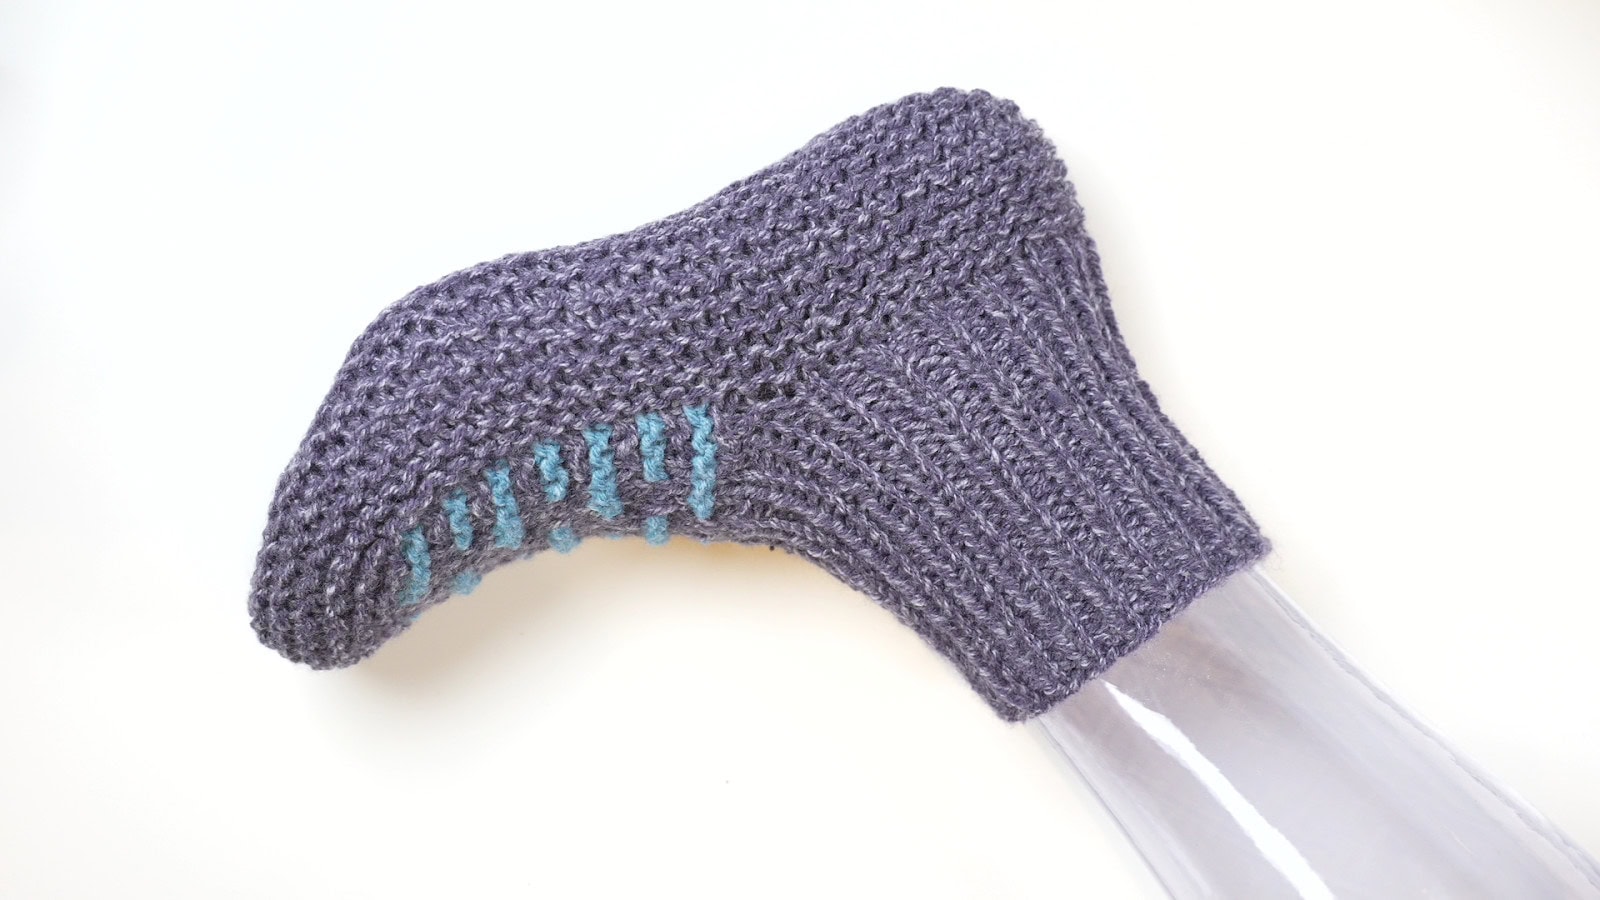
Round 1: K2tog, k to 2 sts before 1st marker, ssk, slm, k1, k2tog, k to 2 sts before 2nd marker, ssk — 4 sts decreased.
Round 2: Purl.
Repeat the last 2 rounds 3 (4, 5) more times – 12 (16, 20) sts decreased.
FINISHING
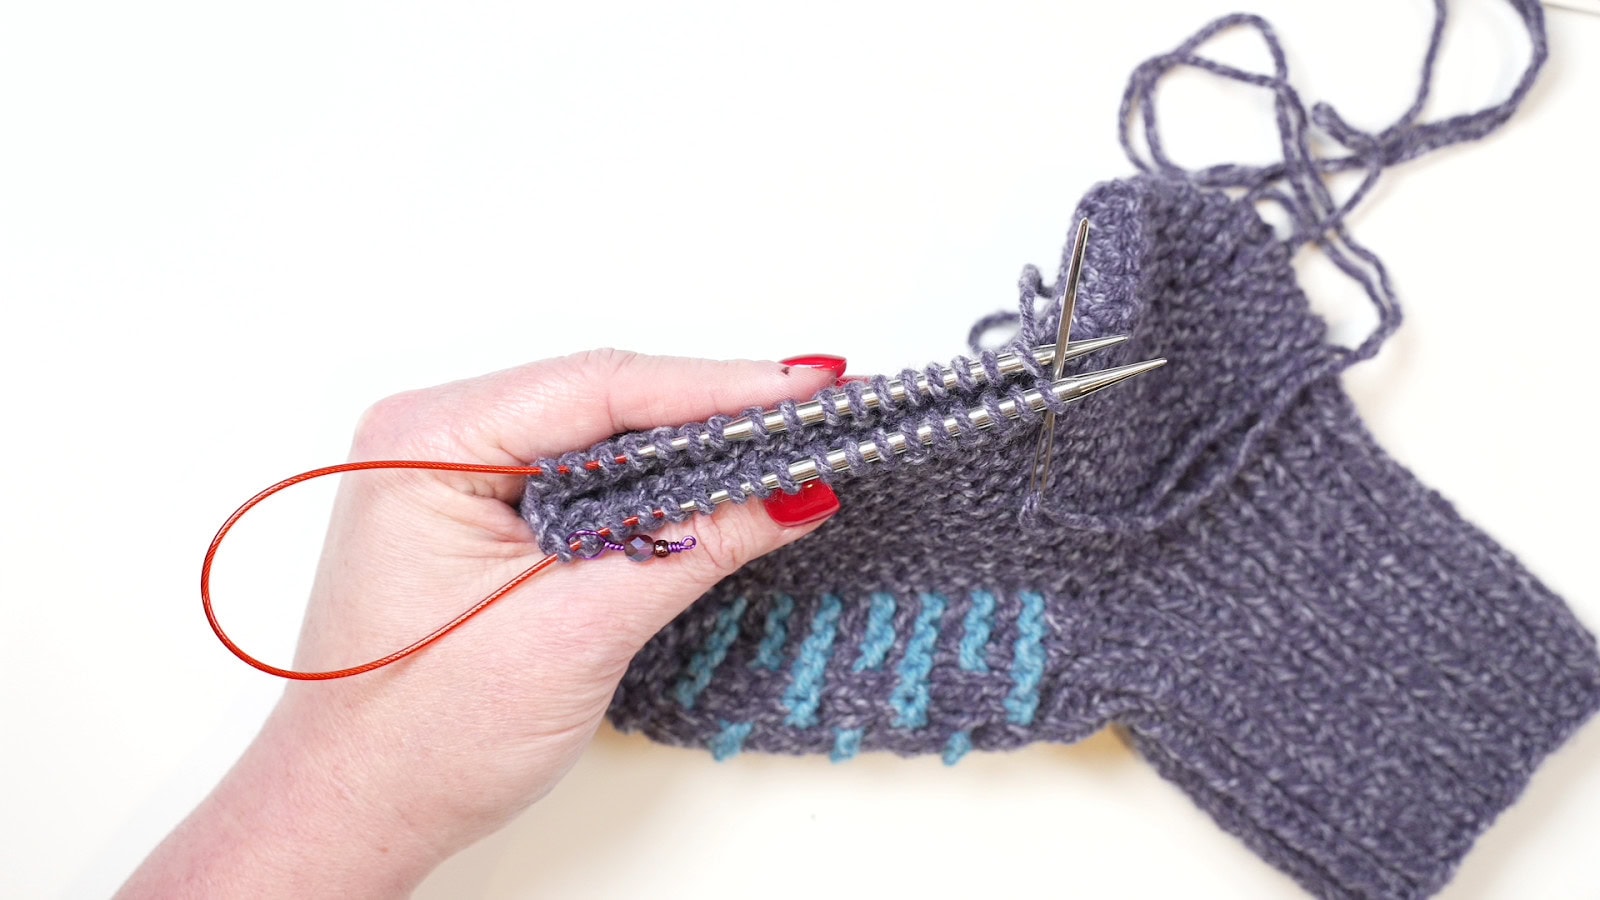
Fold final row of sts in half, with first half having one extra st.
Choose one of the following two techniques, Grafting with Kitchener Stitch or Three-Needle Bind-off, to seam the sole:
Grafting with Kitchener Stitch
Turn Slipper upside down, and hold both needle tips in your left hand, parallel to each other, one in front of the other.
Cut yarn, leaving a long tail, and thread tail into tapestry needle.
Step 1: Insert yarn needle purlwise into first st on front needle and pull it through, leaving st on the knitting needle.
Step 2: Insert yarn needle knitwise into first st on the back needle and pull it through, leaving st on the knitting needle.
Step 3: Insert yarn needle knitwise into first st on front needle and pull it through, then drop this st off knitting needle.
Step 4: Insert yarn needle purlwise into first st on front needle and pull it through, leaving st on the knitting needle.
Step 5: Insert yarn needle purlwise into first st on the back needle and pull it through, then drop this st off knitting needle.
Step 6: Insert yarn needle knitwise into first st on the back needle and pull it through, leaving st on the knitting needle.
Repeat steps 3-6 only, pausing to pull sts taut and neaten the seam after every couple of inches. Be sure to always pause after a step 6 so as to not lose your place.
When 3 sts remain, work steps 3-5, then fasten off.
Three Needle Bind-Off
Turn slipper inside out.
Hold both needle tips in your left hand, parallel to each other, one in front of the other. Hold a 3rd, empty needle in your right hand. Insert right needle knitwise into the 1st st on both front and back needles, and knit them together. Work the next pair of sts the same way, then pass 1st st on right needle over 2nd st. Continue in this manner until all sts have been bound off. Bind off the final leftover st by itself, unpaired, then fasten off.
Weave in all loose ends.
Join the Marly’s Minions BiCrafty Community
Knitting is way more fun with friends, right? 💖 Join the Marly’s Minions BiCrafty Community on Facebook. Share your slipper pics, flaunt your color combos, and hang with folks who get it—because crafting together is the best kind of cozy.
Final Thoughts
The Twilight Trails Knit Mosaic Slippers bring all the cozy-chic vibes with minimal fuss. Quick to make, totally customizable, and dripping with that “I made this!” energy. Whether you’re knitting for yourself or gifting a handmade hug, these slippers deliver.
💬 Have you tried mosaic knitting? What color combos are you dreaming of? Drop them in the comments—I can’t wait to see! 🧶✨
xoxo Your BiCrafty Bestie, Marly


