
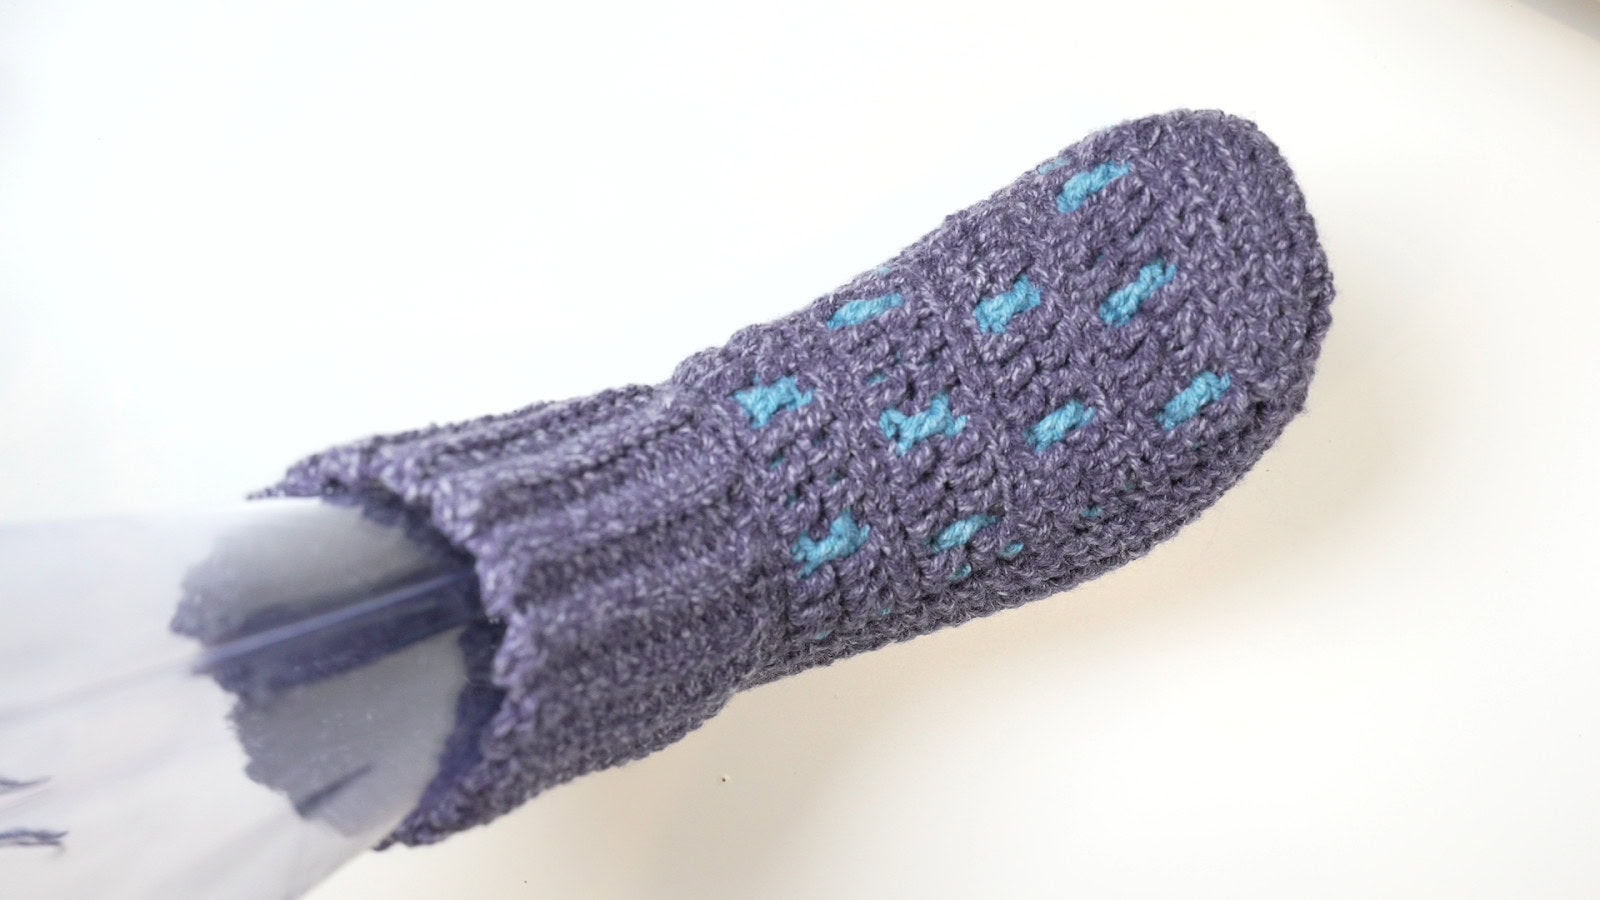
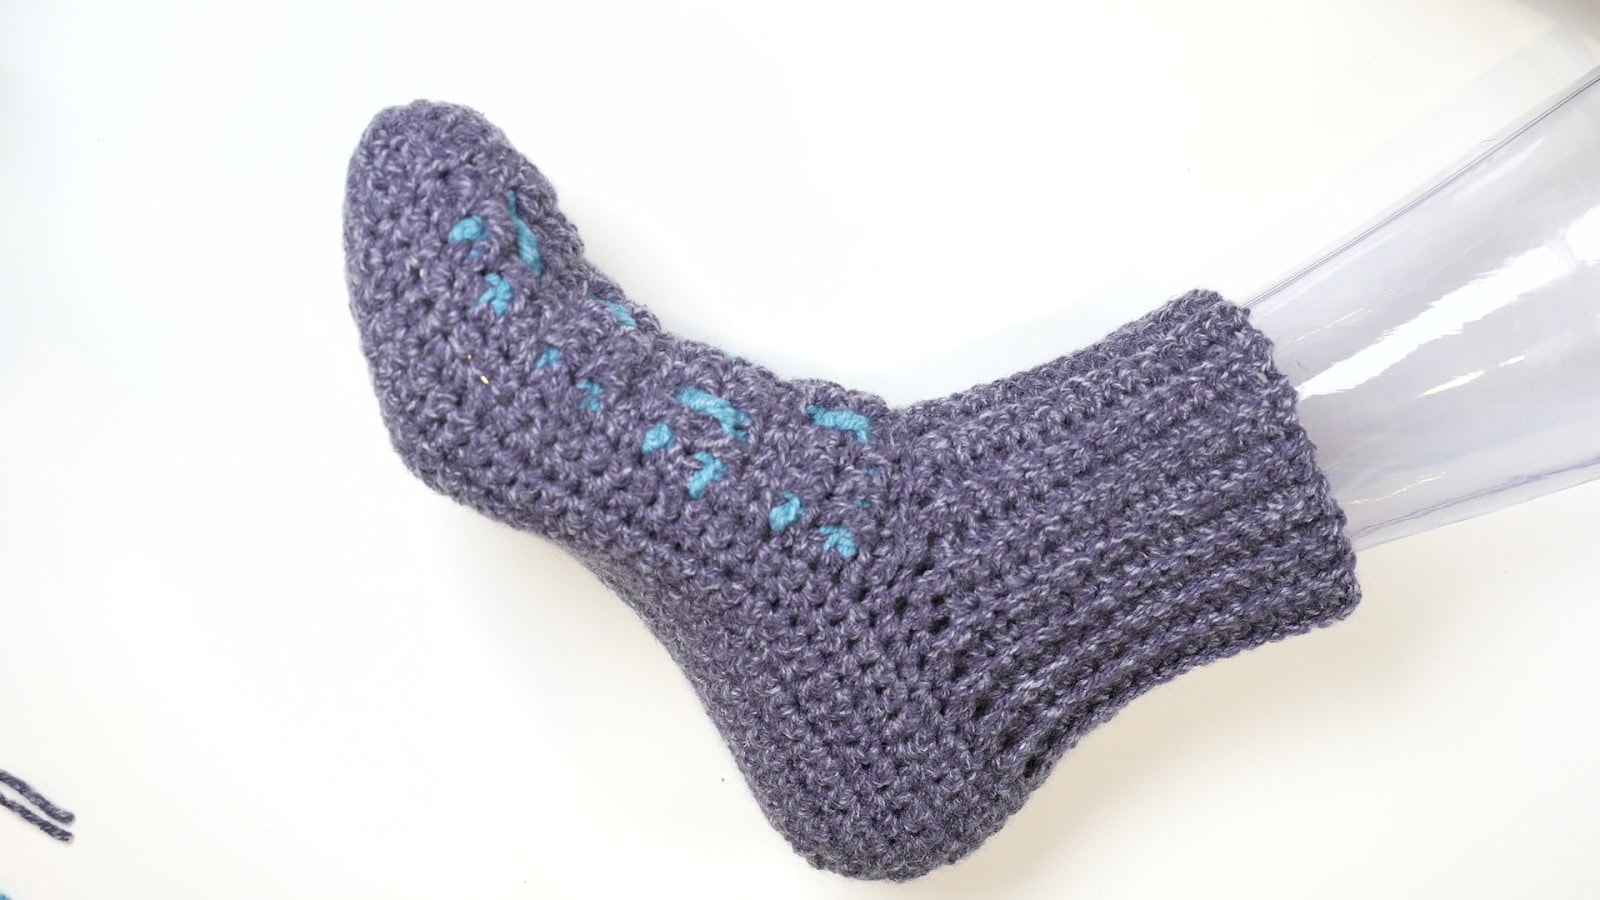
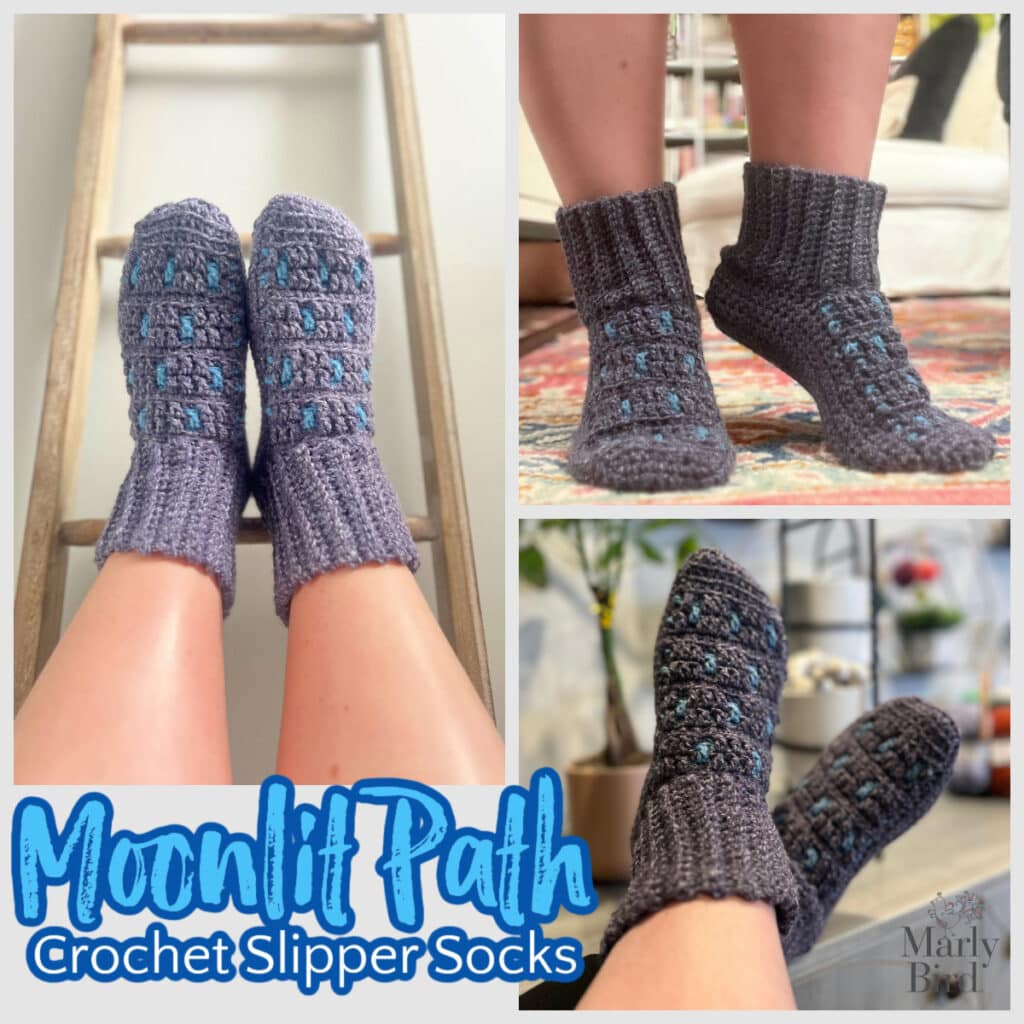
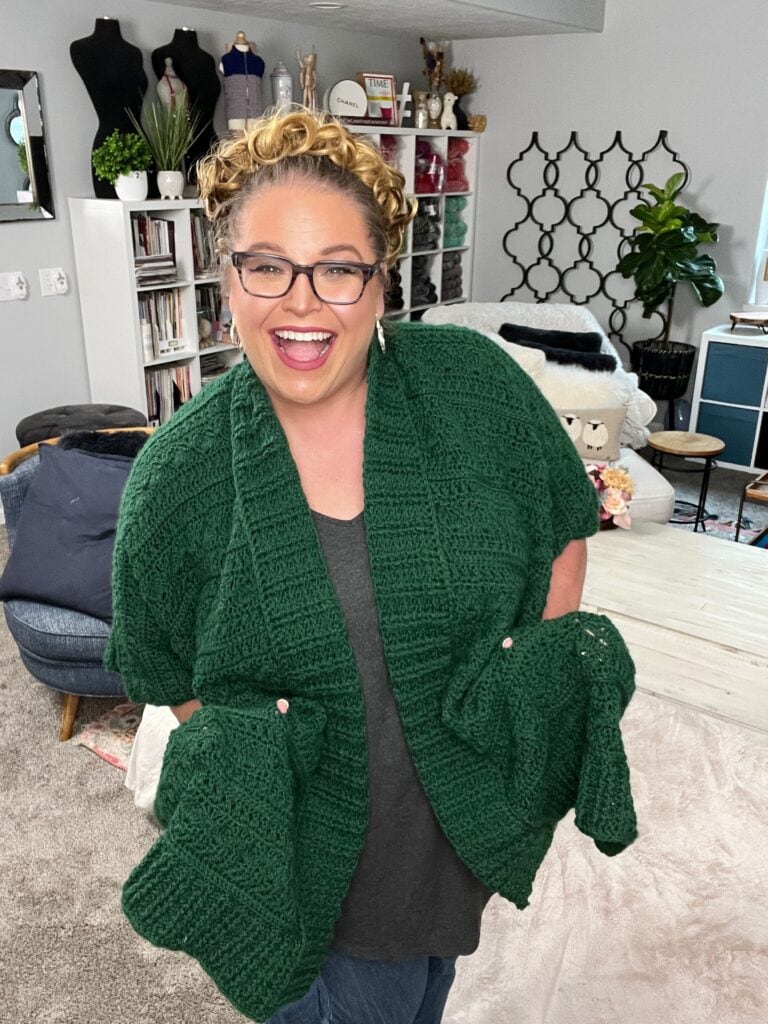
Hey there, yarn lover! Looking for a crochet project that’s equal parts cozy and stylish? The Moonlit Path Crochet Mosaic Slippers have got you covered—literally!
Packed with warmth, texture, and gorgeous mosaic stitchwork, these slippers are a must-make. Perfect whether you’re just dipping your toes into mosaic crochet or you’re a seasoned pro ready for a quick win.
If you like these crochet slippers then you will love these, or these, oh…and these too!

Affiliate Disclosure: This post contains affiliate links. If you click on one of these links and make a purchase, I may earn a small commission at no additional cost to you. This helps support the content and free patterns I provide here on MarlyBird.com. Thank you for your support—it means the world to me! 💖
Why You’ll Love the Moonlit Path Crochet Mosaic Slippers
✨ Mosaic Crochet Made Easy – One color per row? Yes, please! This slip-stitch colorwork technique is approachable for newbies and still fun for experienced makers.
🧦 Comfy Ribbed Cuff – Like a hug for your feet! Keeps the slippers snug and secure while adding that extra stretch for maximum comfort.
🎨 Color Your Way – Bold brights? Soft neutrals? Wild combos? You do you! These slippers are your canvas for endless color creativity.
🧶 Soft & Durable Yarn Love – Cozy vibes that last. Your feet will thank you, season after season.
⏰ Quick & Satisfying Make – Fast, fun, and totally gift-worthy (if you don’t keep them all for yourself!).
What is Mosaic Crochet (and Why It’s the Best!)
Mosaic crochet is like magic—but super simple! Create stunning, textured designs using slip stitches and easy pattern repeats. Best part? Only one color per row. No juggling multiple yarns, no stress, just pure crochet bliss.
Thinking of trying mosaic crochet? The Moonlit Path Slippers are the perfect starting point. Stylish, practical, and oh-so-satisfying to make!
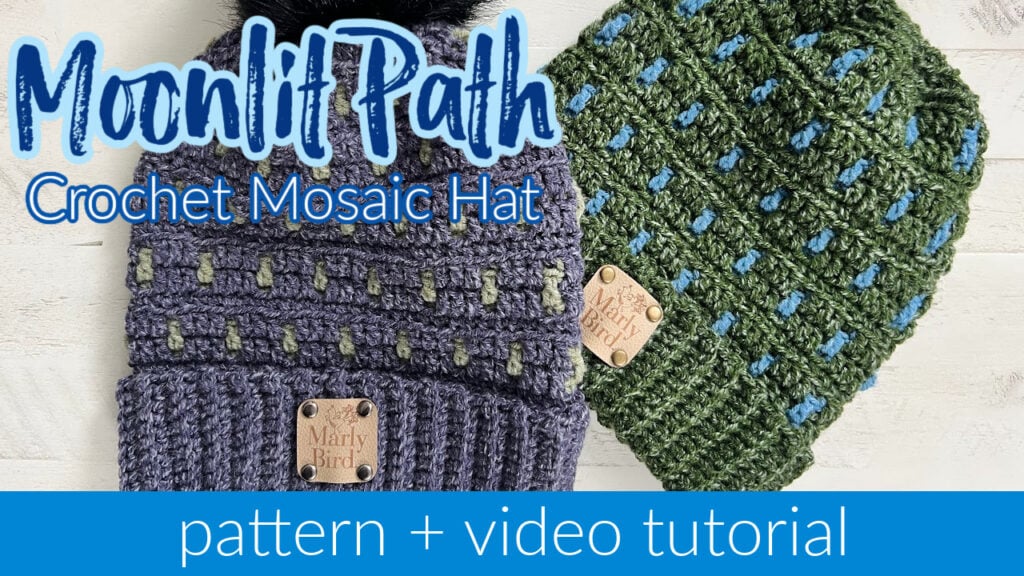
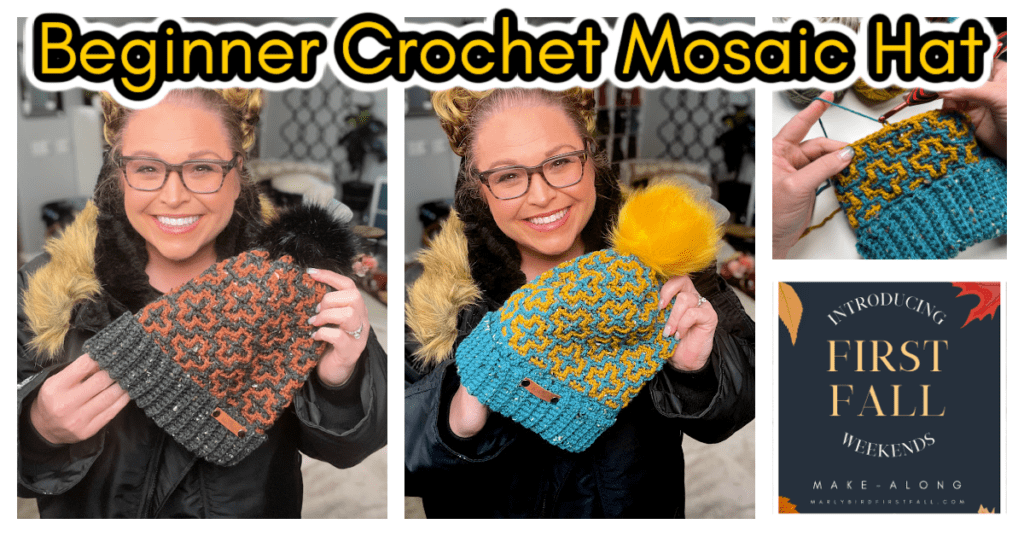
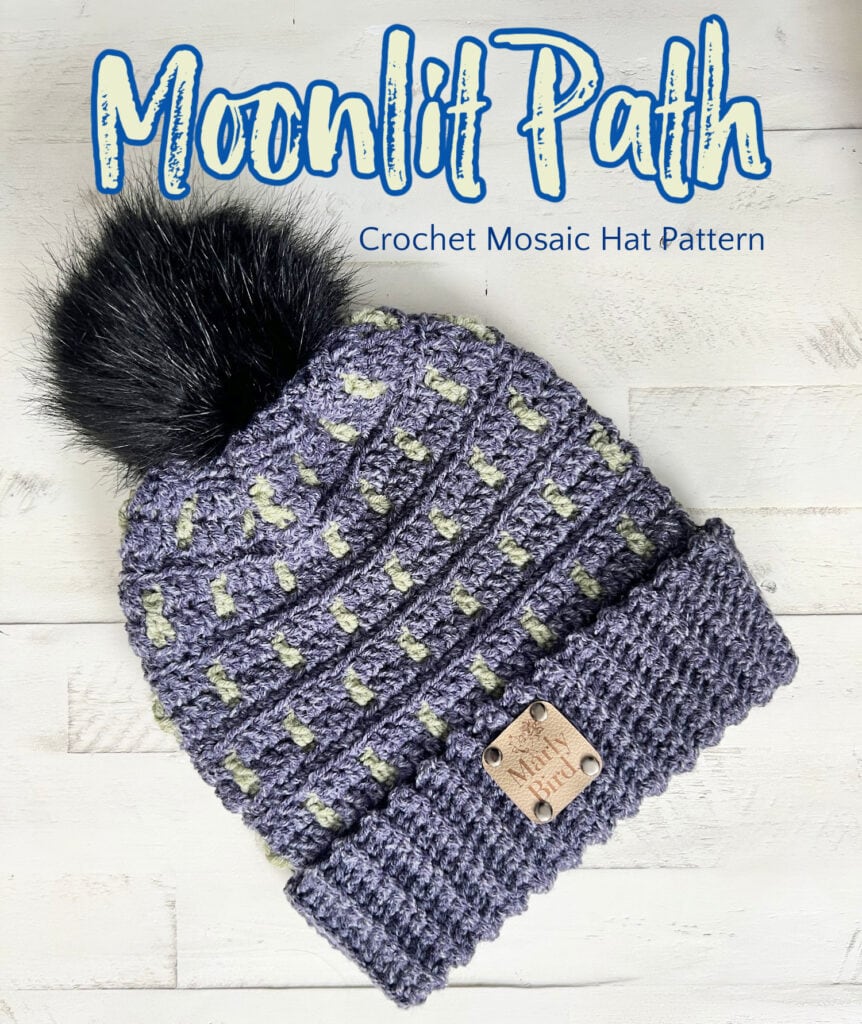
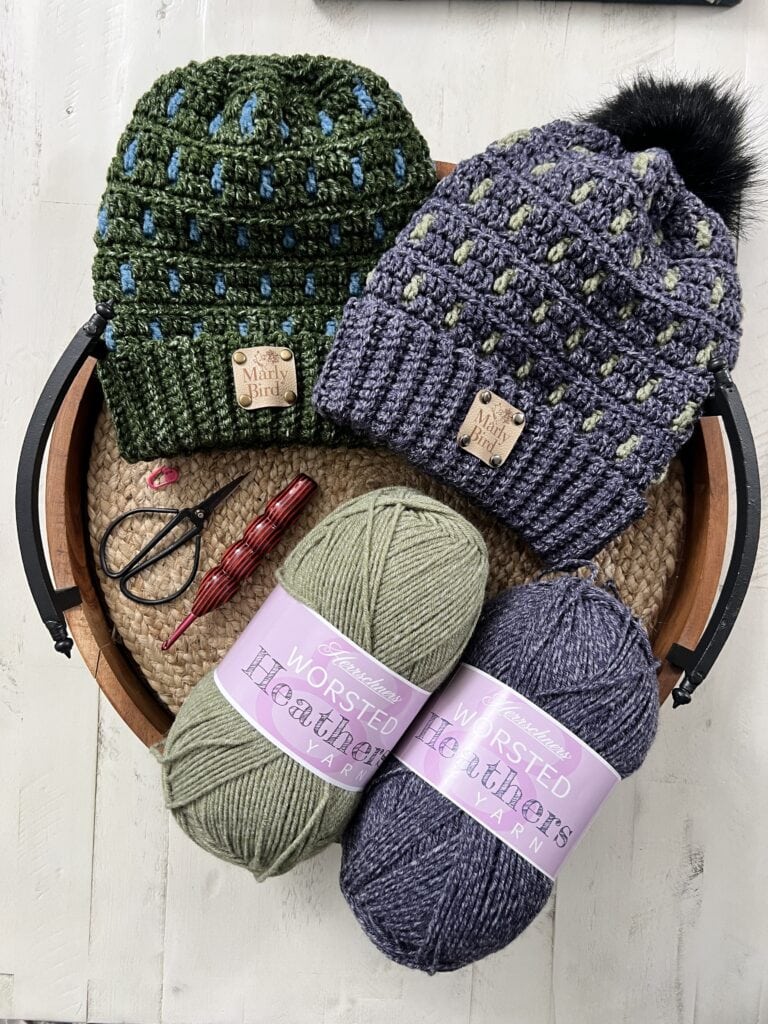
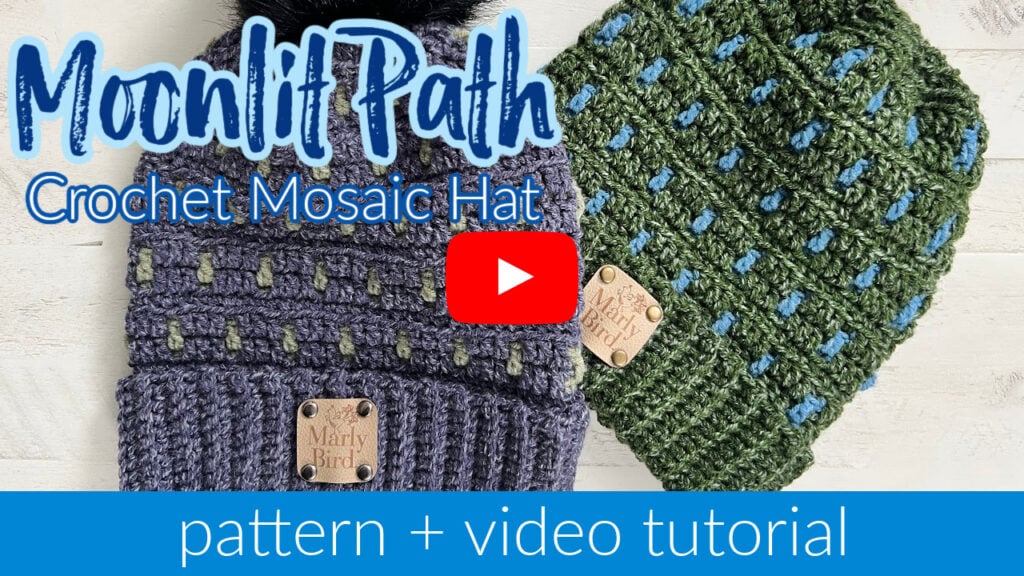
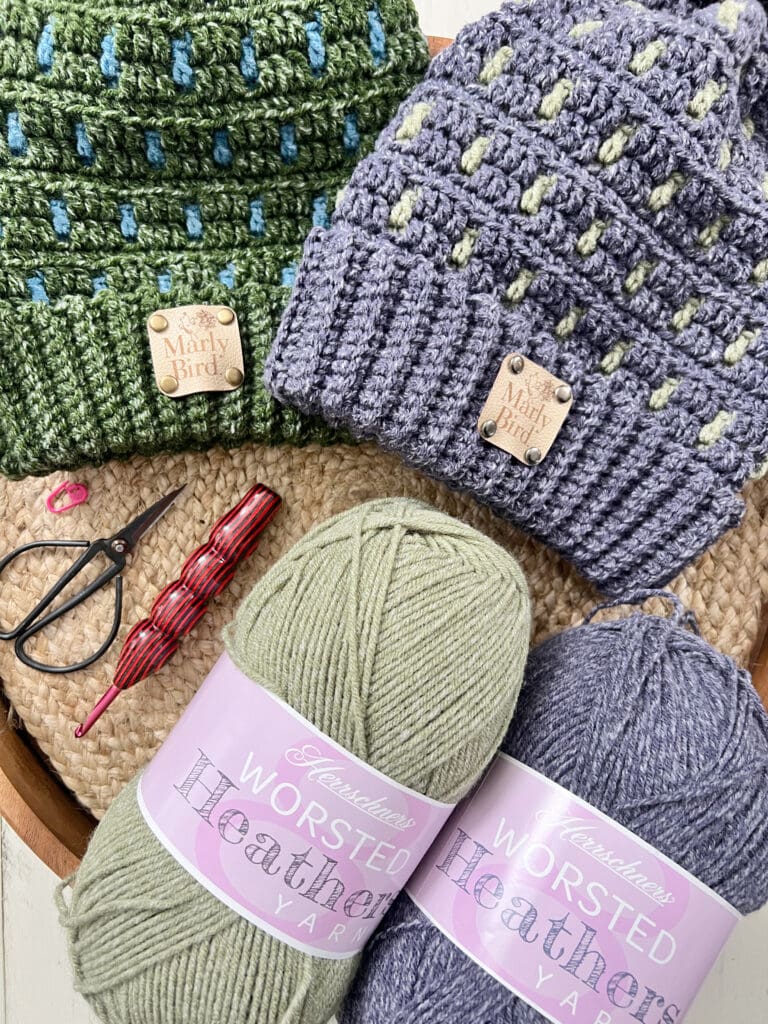
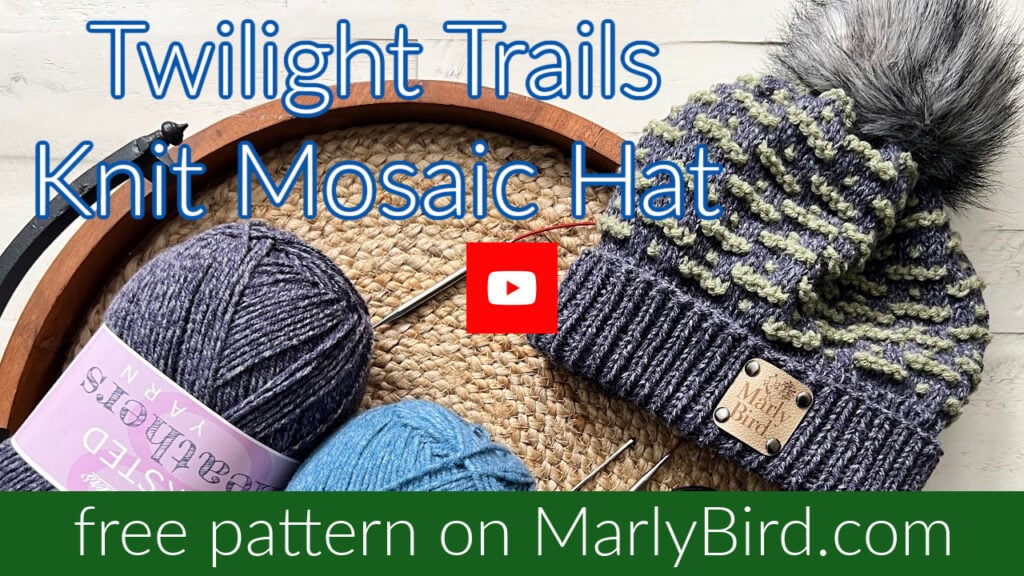
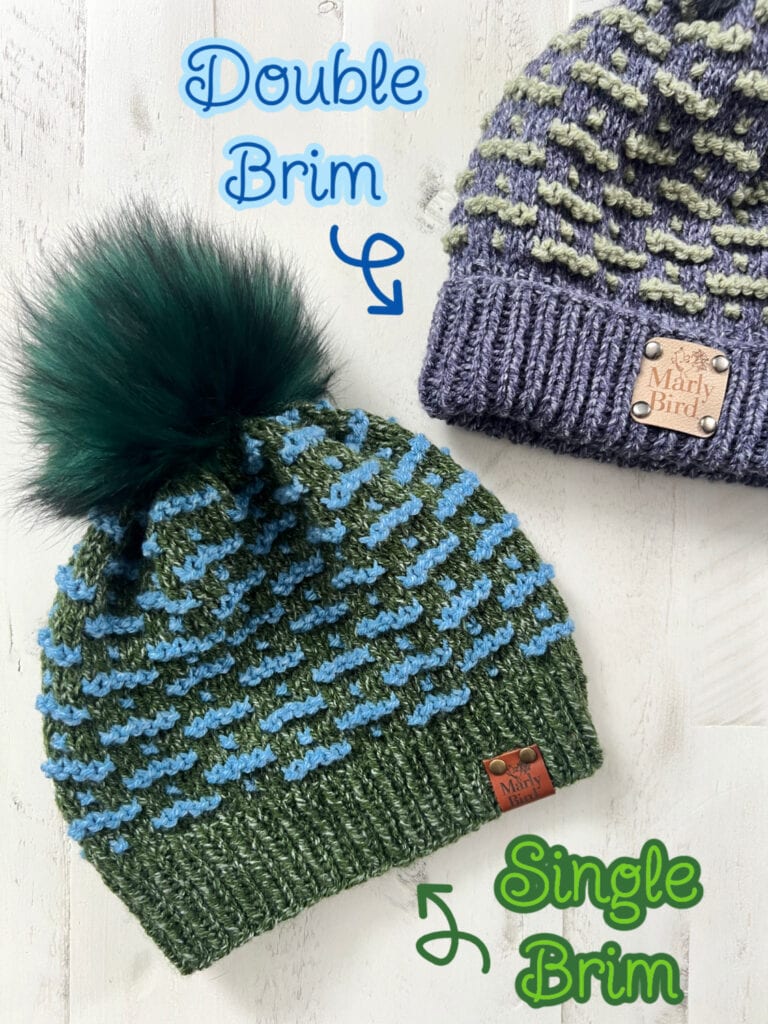
Maybe you like the idea of a set of accessories? Then the Moonlit Path Crochet Mosaic Hat is the way to go!

Choosing Colors for Your Moonlit Path Slippers
Let’s talk color—because this is where the fun really starts! 💃
- 🌑 Bold & Beautiful: Dark main color with bright contrasts? Instant showstopper!
- 🌙 Soft & Subtle: Calm, muted tones for cozy vibes.
- 🎨 Seasonal Feels: Spring pastels, autumn earth tones, or wintery blues—the choice is yours.
✨ Pro Tip: Make a pair for every season. You know you want to.
Mosaic Crochet Slipper Pattern Details – The Nitty Gritty
📝 Skill Level: Advanced Beginner / Intermediate
📏 Sizing: Adjustable to fit most adult feet (because everyone deserves cozy toes!)
🧶 Yarn: Soft, durable yarn = all-day comfort
🧵 Techniques: Slip-stitch mosaic crochet, ribbed cuffs, and loads of color fun
🎥 Bonus: Tips and tricks for perfect shaping and fit
What You’ll Get with the Pattern
Here’s what you’re getting when you hit that download button:
✅ Free Pattern – Get started ASAP (because waiting is the worst!)
✅ Step-by-Step Instructions – Super clear, no guesswork.
✅ Mosaic Crochet How-Tos – We’re breaking it down, Marly style.
✅ Customization Freedom – Sizing and color combos? Totally up to you!
💡 Heads up: This is a digital crochet pattern (PDF)—not a finished product. But you’ve got this!
Purchase the ad-free pdf for a seamless crocheting experience!
Grab Your Moonlit Path Crochet Mosaic Slippers Pattern Today!
✨ Ready to slip into something handmade and fabulous? ✨
The Moonlit Path Crochet Mosaic Slippers pattern is ready for purchase and instant download on Etsy, and Ravelry. Easy instructions, stunning colorwork, and cozy comfort—what more could you want?
🧶 Grab your hook, pick your favorite yarns, and let’s get stitching!

Moonlit Path Crochet Mosaic Slippers Details
MOONLIT PATH SLIPPERS CROCHET
Designed by Marly
SKILL LEVEL
Intermediate
MEASUREMENTS
To Fit Size
S (M, L, XL)
Small fits Youth US Shoe Sizes 11-2
Medium fits Women US Shoe Sizes 5-7
Large fits Women US Shoe Sizes 8-10
OR Men US Shoe Sizes 7-9
XL fits Women US Shoe Sizes 11-13 OR
Men US Shoe Sizes 10-12.
Finished Measurements
Cuff Length is 8¾ (9¼, 9¾, 10¼)” [22 (23.5, 25, 26) cm] long.
Top of Foot is 5 (6, 7, 8)” [12.5 (15, 18, 20.5) cm] long and 3¾ [9.5 cm] wide.
Toe to Heel Length is 7 (8½, 9½, 10½)” [18 (21.5, 94, 26.5) cm]
Gauge
14 sc blo x 15 rows = 4” [10 cm] x 4” [10 cm] in mosaic pattern stitch at top of foot; use any size hook to obtain the gauge.
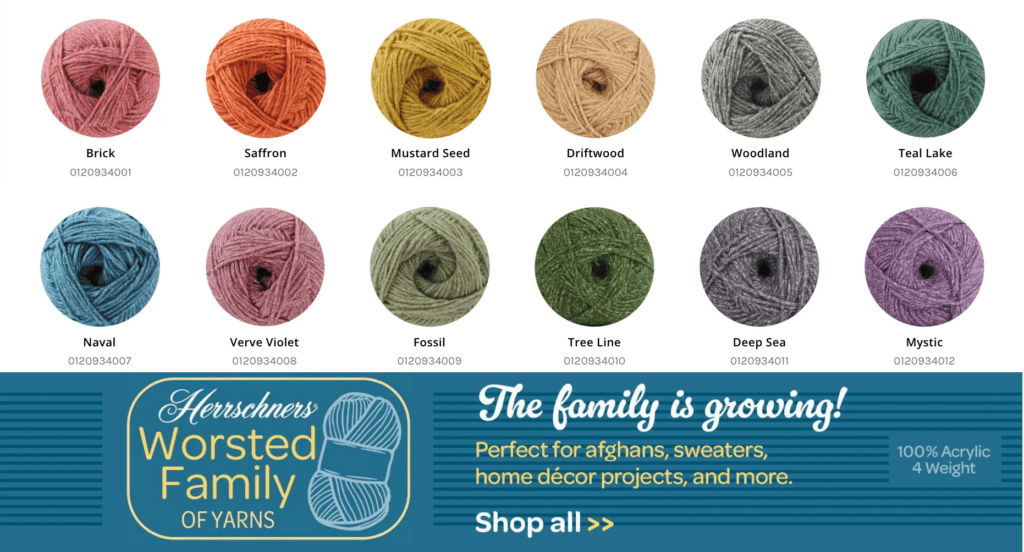
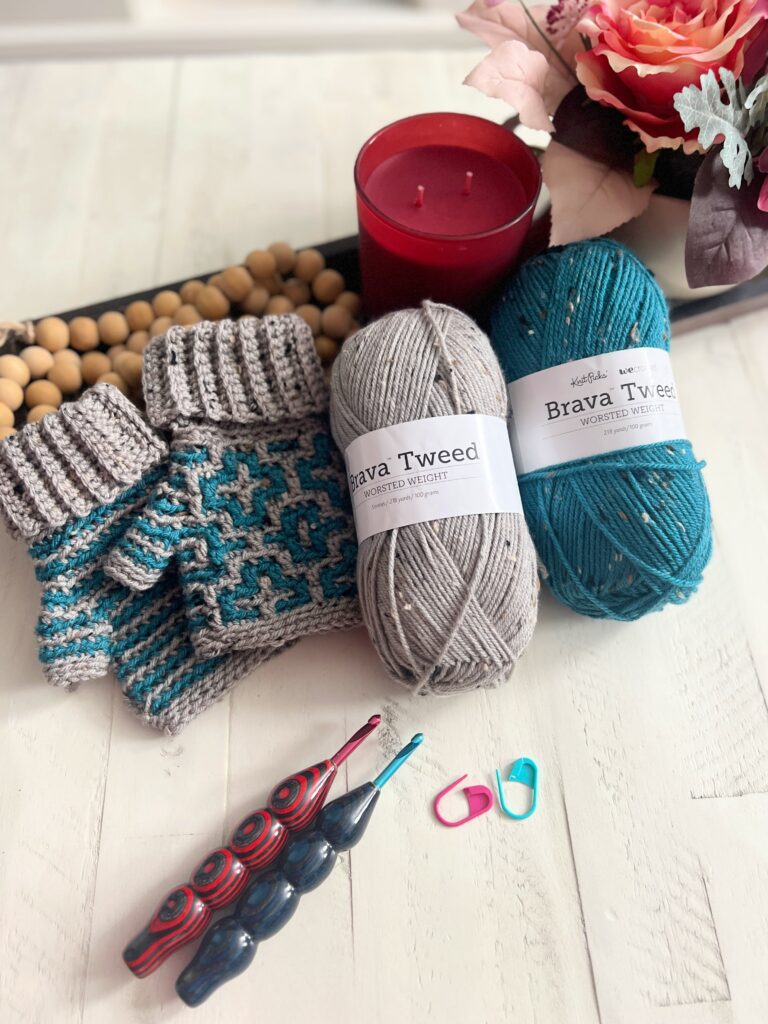
MATERIALS
Crochet Yarn
Herrschners, Worsted Heathers (100% Premium Acrylic, 489 yds / 448 m, 8 oz/ 226 g, CYCA# 4 worsted)
Color A : #4011 Deep Sea, 1 ball
Color B: #4007 Naval, 1 ball
Crochet Hook
Size H/8 [5 mm]
Notions
Tapestry needle, stitch markers
ABBREVIATIONS
Ch – Chain(s)
BLO – Back Loop Only
Mosaic Dc – Mosaic Double Crochet
FLO – Front Loop Only
PM – Place Marker
RS – Right Side
Sc – Single Crochet
Sc2tog – Single Crochet Two Stitches Together
Sl st – Slip Stitch
St(s) – Stitch(es)
WS – Wrong Side
SPECIAL STITCHES
⭐Back Loop Only (blo): This is the furthest loop to you of the top 2 loops of the stitch indicated, regardless if you are on the RS or WS.
⭐️ Chain (Ch): With slip knot or free loop on hook, yarn over hook and pull through loop on hook.
⭐ Front Loop Only (flo): This is the closest loop to you of the top 2 loops of the stitch indicated, regardless if you are on the RS or WS.
⭐️ Single Crochet (Sc): Insert hook into indicated stitch, yarn over and pull up a loop, yarn over and draw through 2 loops on hook.
⭐️ Slip Stitch (Sl st): Insert hook into indicated stitch, yarn over and pull up a loop and draw through loop on hook.
⭐️ Single Crochet Two Together (Sc2tog): *Insert hook into indicated stitch, yarn over and pull up a loop; repeat from * in next stitch indicated, yarn over and draw through all 3 loops on hook.
⭐ ️Standing Single Crochet (standing-sc): With slip knot on hook, insert hook into indicated stitch, yarn over and pull up a loop, yarn over and draw through 2 loops on hook.
⭐️ Mosaic Double Crochet (Mosaic-dc): Yarn over hook, insert hook into front loop of st indicated 2 rounds below (in front of next st), yarn over and pull up a loop, [yarn over and draw through 2 loops on hook] twice. Skip next st on current round (the one directly behind the dc just made).
SCHEMATIC
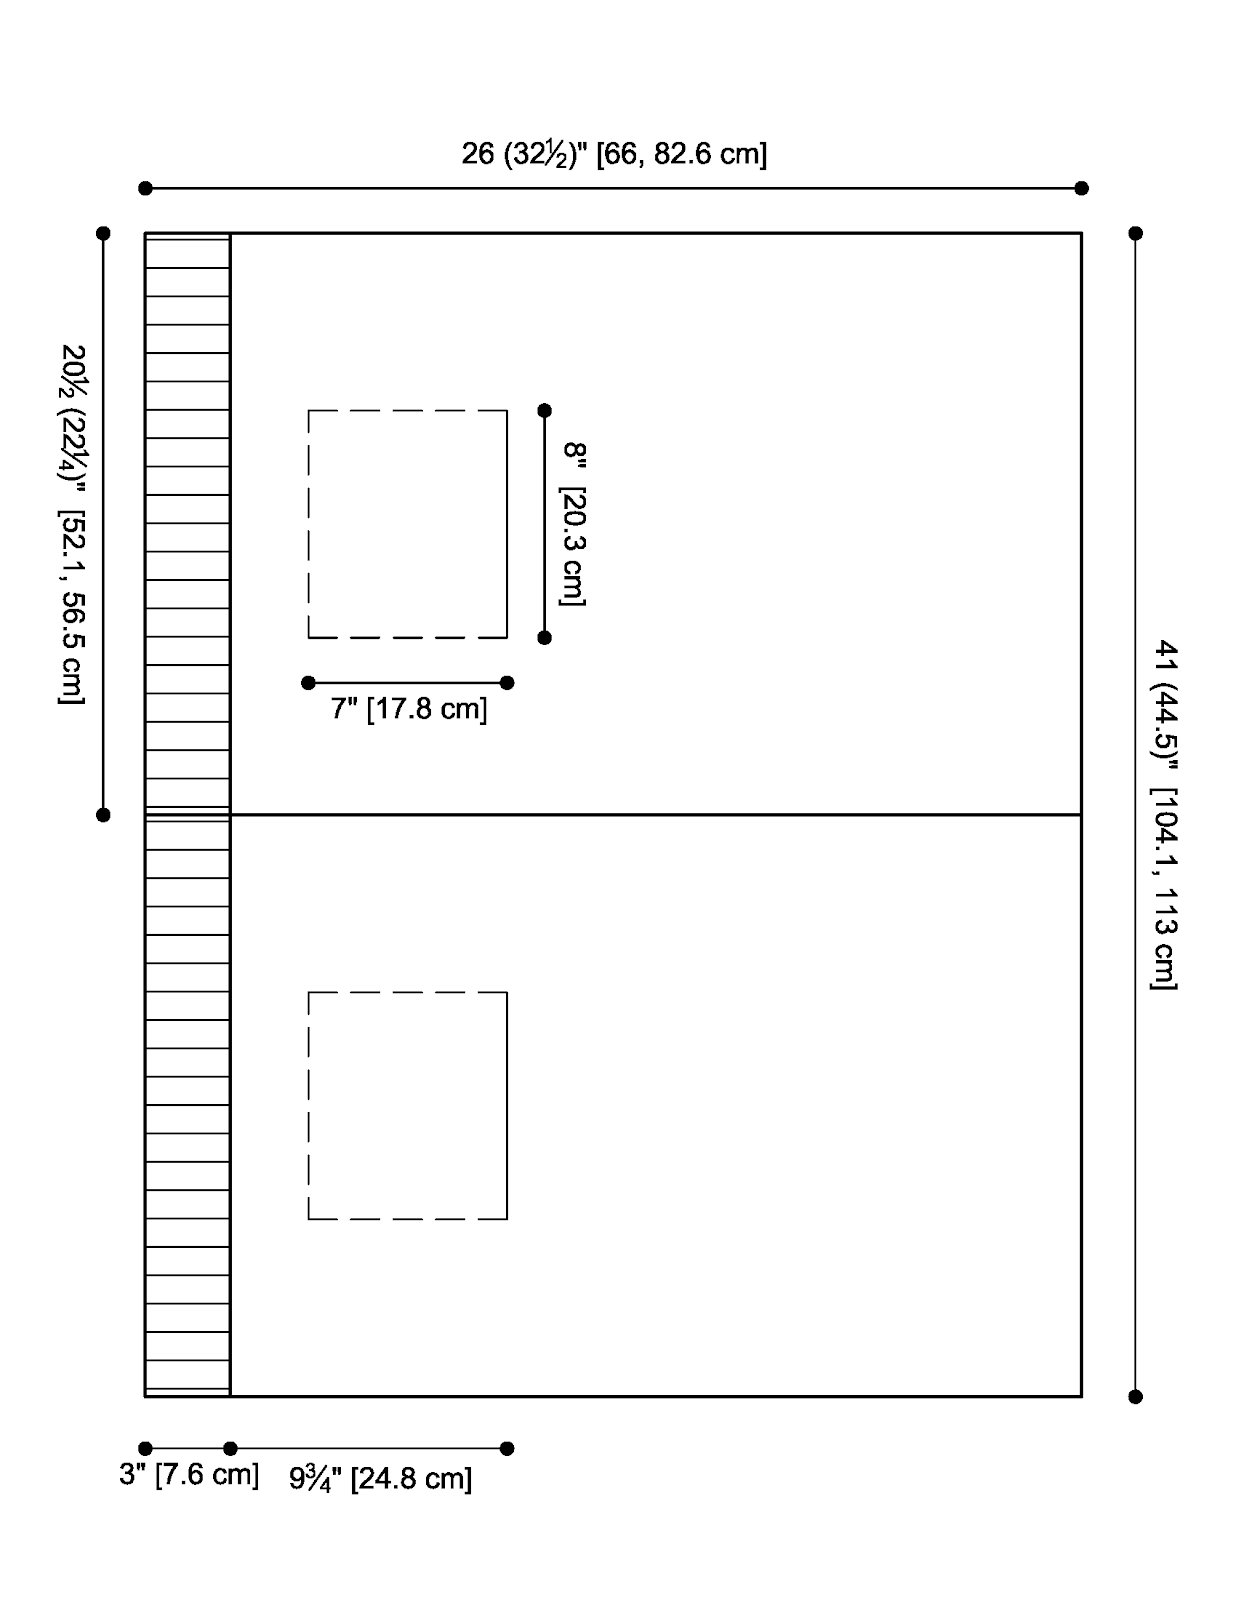
![Diagram of a cozy sock knitting pattern with labeled sections: "Top of Foot" and "Cuff." Measurements in inches and centimeters are provided: 3¾" [9.5 cm] for width, and various lengths for different sizes. Pair perfectly with crochet mosaic slippers for a colorful touch. -Marly Bird](https://marlybird.com/wp-content/uploads/Moonlit-Path-Slipper-Schematic.png)
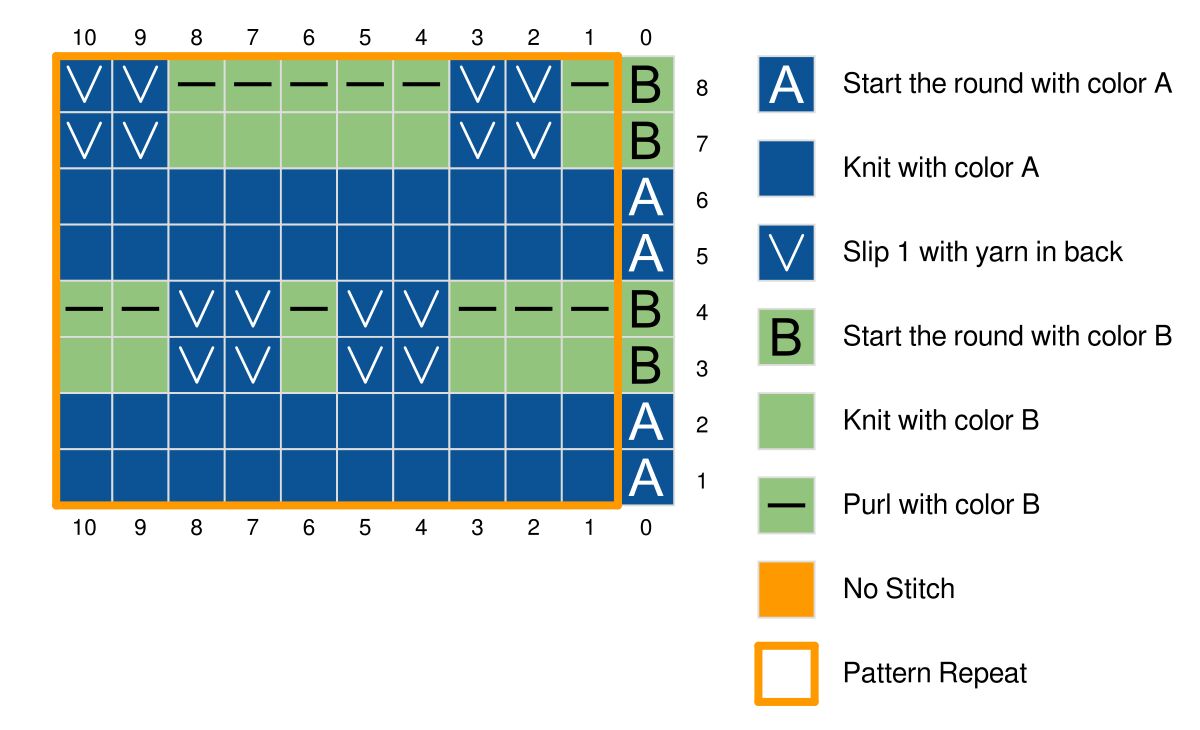
CHART
Interactive Stitch Fiddle Chart Available in the Ad-Free PDF Only
NOTES
- Directions are for size S; changes for sizes M, L, XL are in parentheses. When only one number is given then that number applies to all sizes.
- Cuff/Leg of sock can be adjusted by adding or subtracting number of chains at start.
- Top of foot is worked in rows.
- Each row is worked with RS facing
- Begin each row with a standing-sc and end the row by finishing off the color and cut the yarn.
VIDEO TUTORIAL
- Single Crochet Ribbing >> Click Here for Video Help <<
- Through the Back Loop >> Click Here for Video Help <<
- Through the Front Loop >>Click Here for Video Help <<
- How to Bury Ends >> Click Here for Video Help <<
GROW
To Unlock Exclusive Subscriber Content click the Box below and join for free by simply adding your email and creating a password! If you are having troubles, clear your cache or reset your password or login to the Grow Publisher Portal.
>> Learn More About Grow Here <<
I’m thrilled to share this amazing pattern with you, many patterns on my blog are absolutely free! I kindly request that you don’t copy and paste or distribute this pattern. Prefer an ad-free experience? Buy a digital PDF pattern for a small fee from one of my online stores for a seamless crafting journey.
I appreciate your support and readership. You are the reason I can keep doing what I love and sharing it with others. So, thank you from the bottom of my yarn-loving heart! Disclosure: This post contains affiliate links, meaning I get a commission if you decide to make a purchase through my links at no cost to you.
MOONLIT PATH CROCHET MOSAIC SLIPPERS PATTERN
Cuff
Make 2
With color A, chain 17 (17, 21. 21)
Row 1 (RS): Sc in 2nd ch from hook and in each ch across, turn — 16 (16, 20, 20) sc.
Row 2: Ch 1, sc-blo in each sc across, turn.
Repeat Row 2, 30 (32, 34, 36) times more —32 (34, 36, 38) rows.
Rotate cuff 90 degrees and work along the long edge.
Last Row (RS): Ch 1, sc in each row to end — 32 (34, 36, 38) sc.
Fasten off.
Top of Foot
Row 1 (RS): Skip 9 (10, 11, 12) sts, join color A in the back loop of the next sc with sc, sc-blo in next 12 sc, leave remaining stitches unworked. Fasten off. Do not turn — 13 sc.
Row 2: With color B, standing-sc in back loop of first sc, sc-blo in next 12 sc. Fasten off. Do not turn.
Row 3: With color A, standing-sc in back loop of first sc, mosaic dc-flo in next 3 sts, sc-blo in next st, mosaic dc-flo in next 3 sts, sc-blo in next st, mosaic dc-flo in next 3 sts, sc-blo of last st. Fasten off. Do not turn.
Row 4: With color B, standing-sc in back loop of first sc, sc-blo in next 3 sts, mosaic dc-flo in next st, sc-blo in next 3 sts, mosaic dc-flo in next st, sc-blo in next 4 sts. Fasten off. Do not turn.
Row 5: With color A, standing-sc in back loop of first sc, mosaic dc-flo in next 3 sts, sc-blo in next st, mosaic dc-flo in next 3 sts, sc-blo in next st, mosaic dc-flo in next 3 sts, sc-blo of last sc. Fasten off. Do not turn.
Row 6: With color A, standing-sc in back loop of first sc, sc-blo in next 12 sc. Fasten off. Do not turn.
Row 7: With color B, standing-sc in back loop of first sc, sc-blo in next 12 sc. Fasten off. Do not turn.
Row 8: With color A, standing-sc in back loop of first sc, mosaic dc-flo in next st, sc-blo in next st, mosaic dc-flo in next 3 sts, sc-blo in next st, mosaic dc-flo in next 3 sts, sc-blo in next st. Fasten off. Do not turn.
Row 9: With color B, standing-sc in back loop of first sc, sc-blo in next st, mosaic dc-flo in next st, sc-blo in next 3 sts, mosaic dc-flo in next st, sc-blo in next 3 sts, mosaic dc-flo in next st, sc-blo in last 2 sts. Fasten off. Do not turn.
Row 10: With color A, standing-sc in back loop of first sc, mosaic dc-flo in next 3 sts, sc-blo in next st, mosaic dc-flo in next 3 sts, sc-blo in next st, mosaic dc-flo in next 3 sts, sc-blo in next st, mosaic dc-flo in next st, sc-blo in last st. Fasten off. Do not turn.
Row 11: With color A, standing-sc in back loop of first sc, sc-blo in next 12 sc. Fasten off. Do not turn.
Repeat Rows 2-11, until top of foot measures approx. 4 (5, 6, 7)” [10, 12.5, 15, 18 cm] ending after a row 10 or row 5.
Shaping
Row 1: With color A, standing-sc in back loop of first sc, sc2tog in backloop over next 2 sts. sc-blo in next 7 sts, sc2tog in backloop over next 2 sts, sc-blo in last st. Fasten off. Do not turn — 11 sts.
Row 2: With color A, standing-sc in back loop of first sc, sc2tog in backloop over next 2 sts. sc-blo in next 5 sts, sc2tog in backloop over next 2 sts, sc-blo in last st. Fasten off. Do not turn — 9 sts.
Row 3: With color A, standing-sc in back loop of first sc, sc2tog in backloop over next 2 sts. sc-blo in next 3 sts, sc2tog in backloop over next 2 sts, sc-blo in last st. Fasten off. Do not turn — 7 sts.
Weave in all ends.

Bottom of Foot
Set-up Row: With RS facing, join A to right side edge of cuff * (see schematic) with standing-sc, sc in each sc across to top of foot, sc evenly up row ends of top of foot, (do not add extra stitches to turn corner), sc in each sc across toe, sc evenly down row ends on other side of top of foot, sc in each sc across left side cuff, turn.
Find center of toe, skip 6 sts and place marker in next st, repeat on other side.
Sizes – (-, L, XL)
Next two rows: Ch 1, sc in each sc to end, turn.
Decrease Rows
All Sizes
Row 1 (WS): Ch 1, sc in first st, sc2tog over next 2 sc, sc in each sc to marker, sc2tog over marked st and next st, move marker, sc in each sc to 1 st before marker, sc2tog over next st and marked st, move marker, sc in each sc to last 3 sts, sc2tog over 2 sts, sc in last st, turn. (4 sts decreased)
Row 2: Ch 1, sc in each sc across, move markers, turn.
Rows 3-8 (8, 10, 10) Repeat Rows 1-2 3 (3, 4, 4) times
Size Medium (X-Large Only)
Repeat Row 2 once more
FINISHING
Turn the project inside out, whipstitch the row ends together starting at the toe and working down the bottom of the foot and across the cuff. Weave in ends. Turn right side out.
Join the Marly’s Minions BiCrafty Community
Crochet’s more fun with friends—am I right? 💖 Join the Marly’s Minions BiCrafty Community on Facebook for tips, inspiration, and all the crafty convos. Show off your slippers, swap color ideas, and connect with makers who get it.
Final Thoughts
The Moonlit Path Crochet Mosaic Slippers = comfort, style, and all the mosaic crochet fun. Quick to make, easy to customize, and perfect for gifting (if you can bear to part with them!).
💬 What colors are calling your name? Share your combos in the comments—I can’t wait to see! 🧶✨
Your BiCrafty Bestie, Marly


