
Time to welcome 2025 with Marly Bird’s 7th Annual Countdown to New Year’s Giveaway Event and think about some fun crafty ideas, foods, and games for New Year’s Eve Shenanigans.
Looking for something fun and cozy to do this New Year’s Eve? Whether you’re a knitter, crocheter, or just love spending NYE with your favorite yarn, snacks, and movies, Marly Bird’s NYE Giveaway has got you covered!
🎉 Every hour from 1 AM ET to Midnight, two exciting giveaways are up for grabs—don’t miss your chance to win some amazing goodies. Keep reading for fun project ideas, delicious snacks, games, and movies to keep you entertained while you wait for the next giveaway to drop. 💖
Affiliate Disclosure: This post contains affiliate links. To learn more please visit my privacy policy here💖
🎉 Hourly NYE Giveaways: How It Works
Starting at 1 AM ET on New Year’s Eve, a new giveaway will go live every hour. You’ll have two hours to enter each giveaway—for example, if a giveaway starts at 10 AM, you’ll have until 12 PM to enter.
Bookmark this page and check back hourly to enter giveaways as they go live! ✨ Set an alarm, grab your yarn, and get ready for some serious fun.
🧶 Perfect Patterns for NYE Crafting
NYE is the perfect time to start a new project—or finally finish that WIP (work in progress)! Here are a few fun patterns to keep your hands busy as you wait for the ball to drop:
- Autumn Breezes Crochet Hat
A cozy mosaic hat to keep your hooks flying. - Falling Leaves Knit Hat
Wonderful mosaic hat to keep your interest engaged as you knit. - Kaleidoscope Harmony Knit Hat
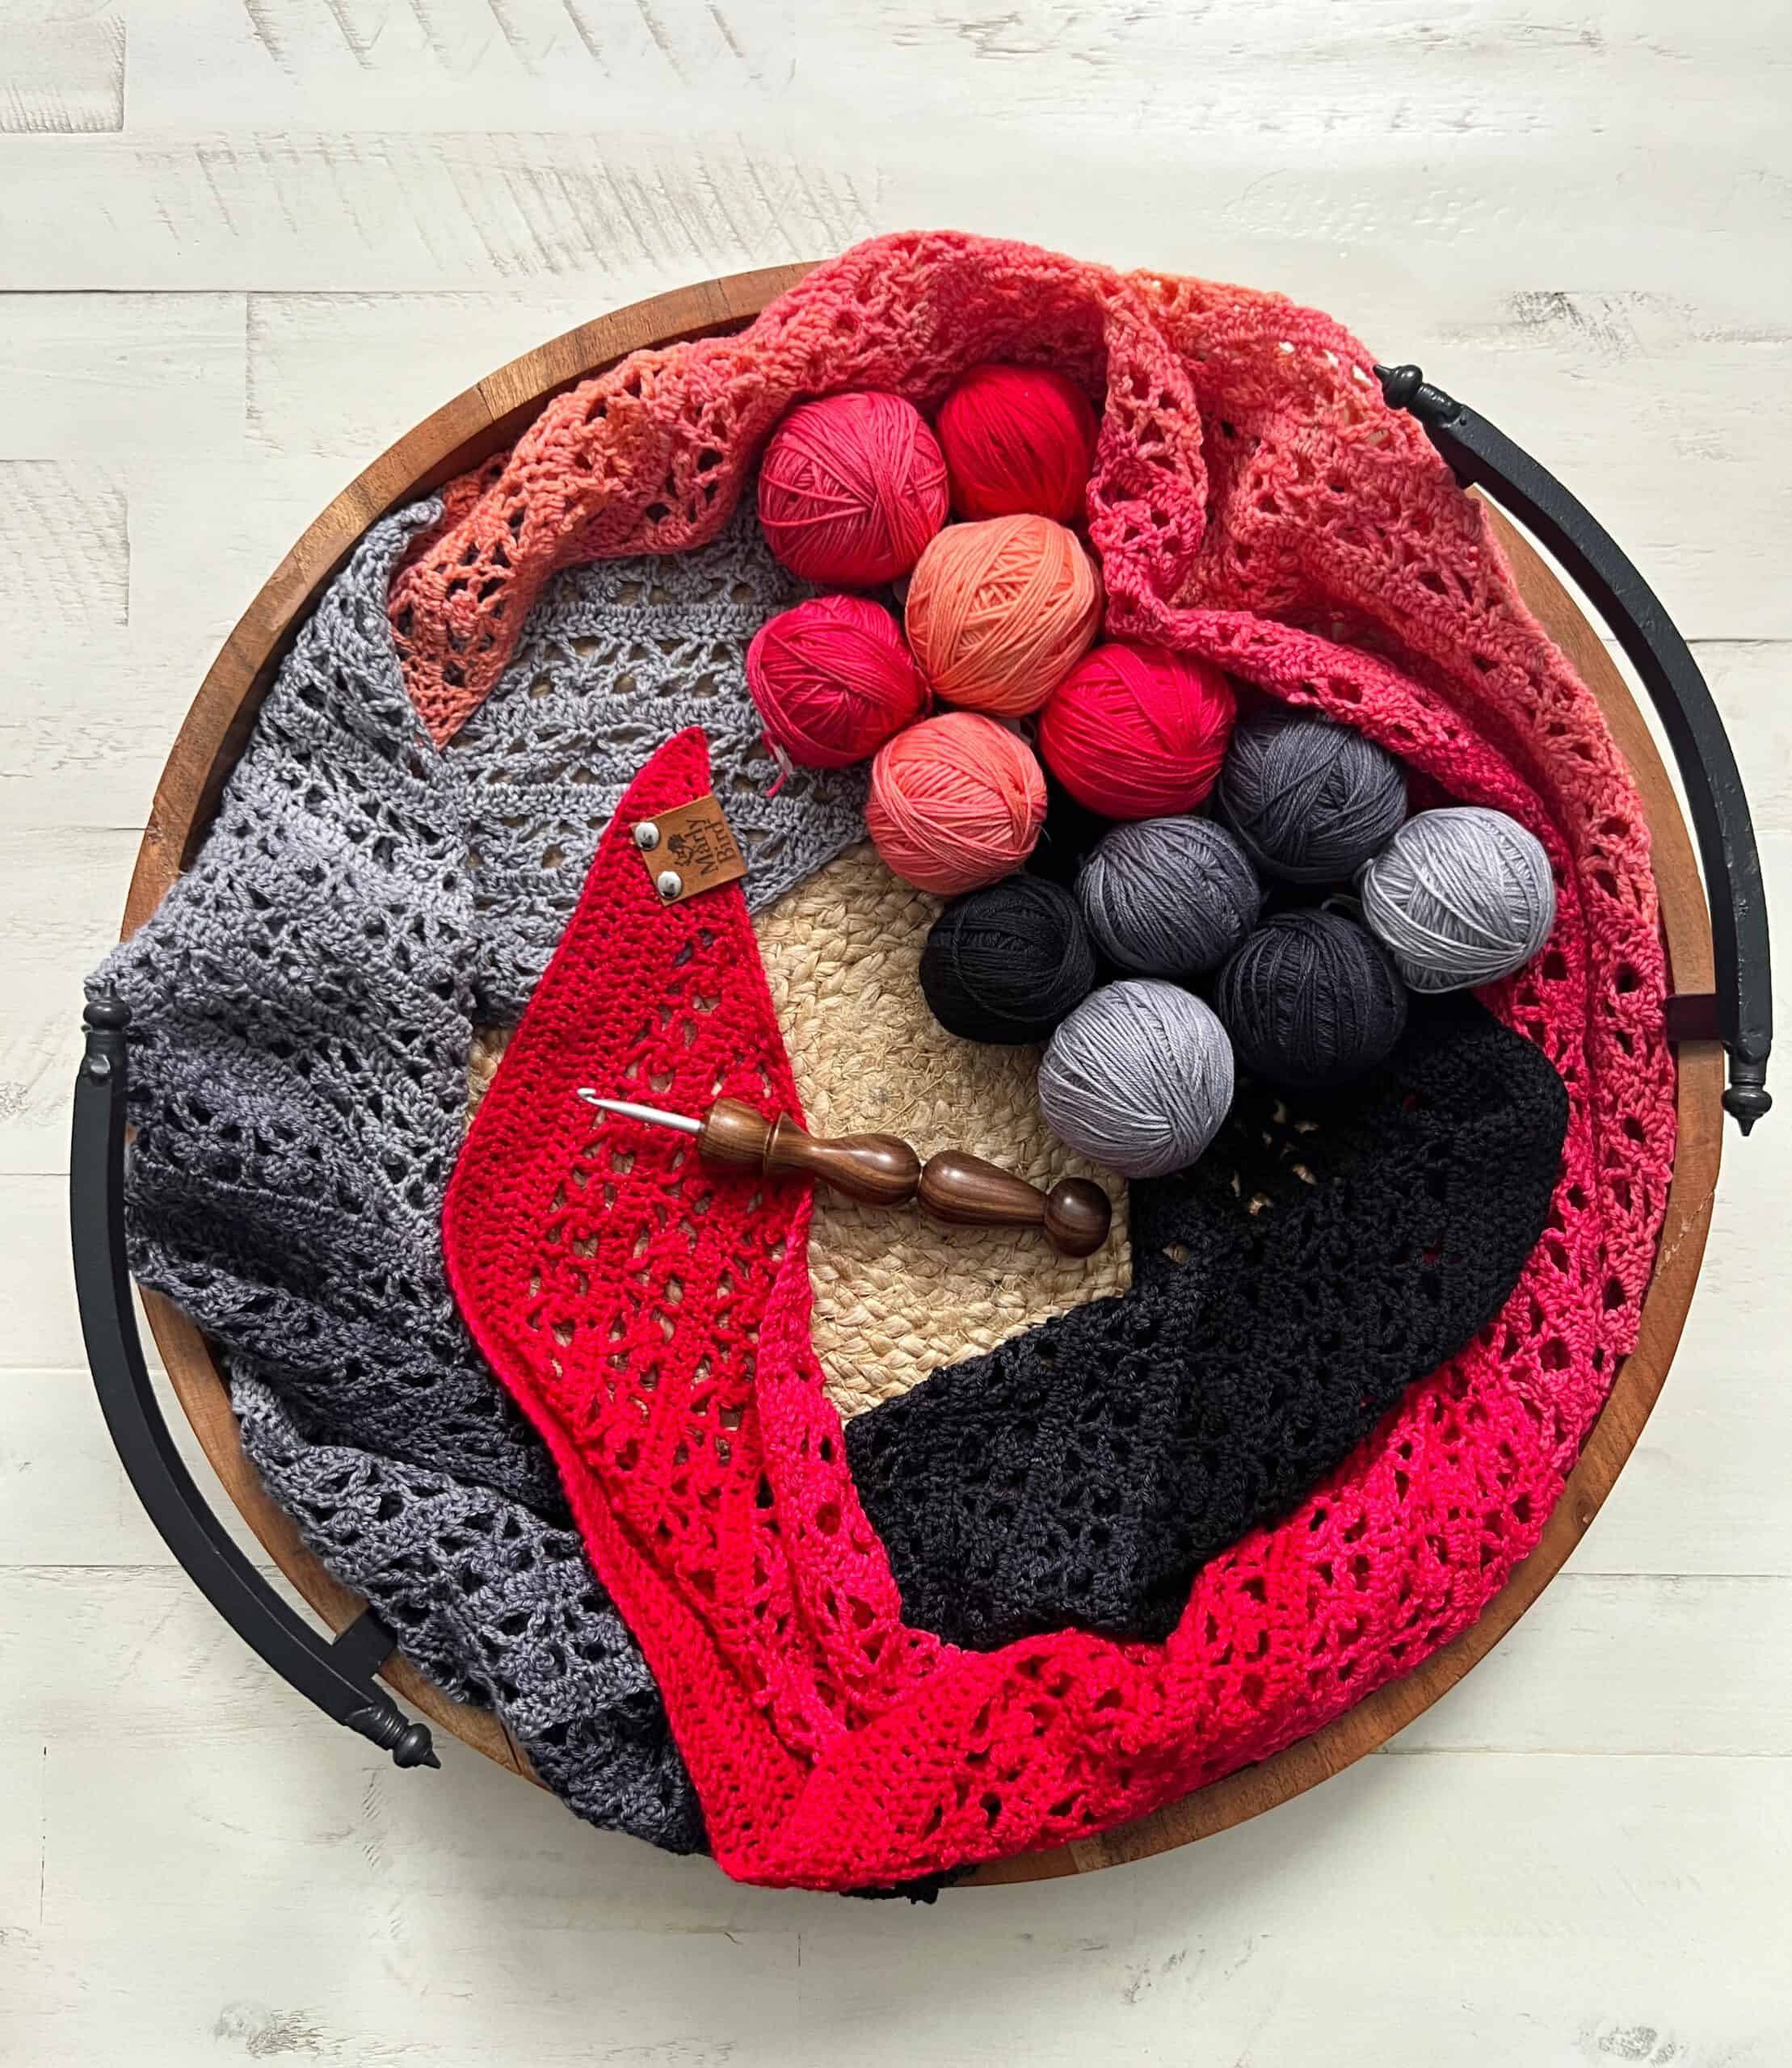
Use up those scraps and make a colorful hat you will L💖VE. - Stonington Crochet Gradient Shawl
A stunning way to use gradient yarns and mini sets. - Stoney Creek Crochet Tank
Dreaming of summer? Grab your cotton yarn and make this funk tank. - Knit Stuffed F-Bomb
Bring the year in with a BANG and knit yourself an F-Bomb! - Knit Wine Cozy Trio
Hostess gift that will be treasured forever. Choose from 3 free knit cozy patterns. - Crochet Late Nite Shawl
This quick shawl project is a great one to start a few hours before the ball drops and have it finished by midnight!
Check out more patterns on MarlyBird.com and find your next favorite project!
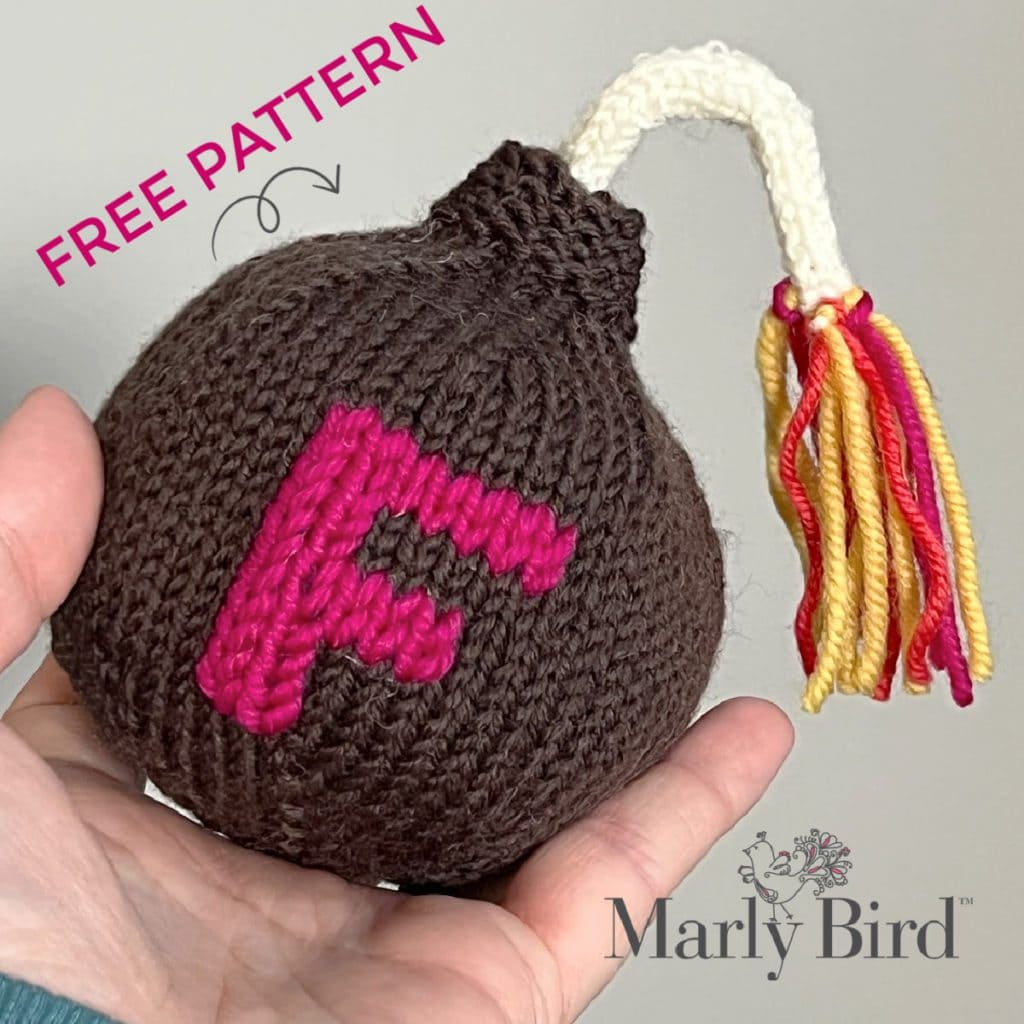 Stuffed Knit F-Bomb Novelty Toy Pattern by Marly Bird
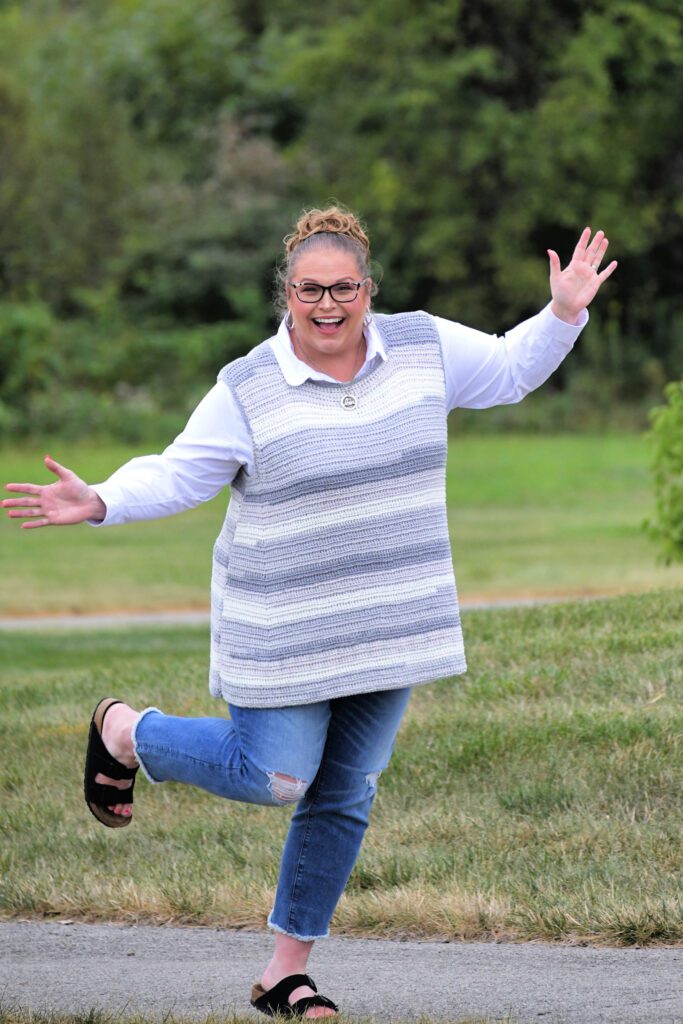 Stoney Creek
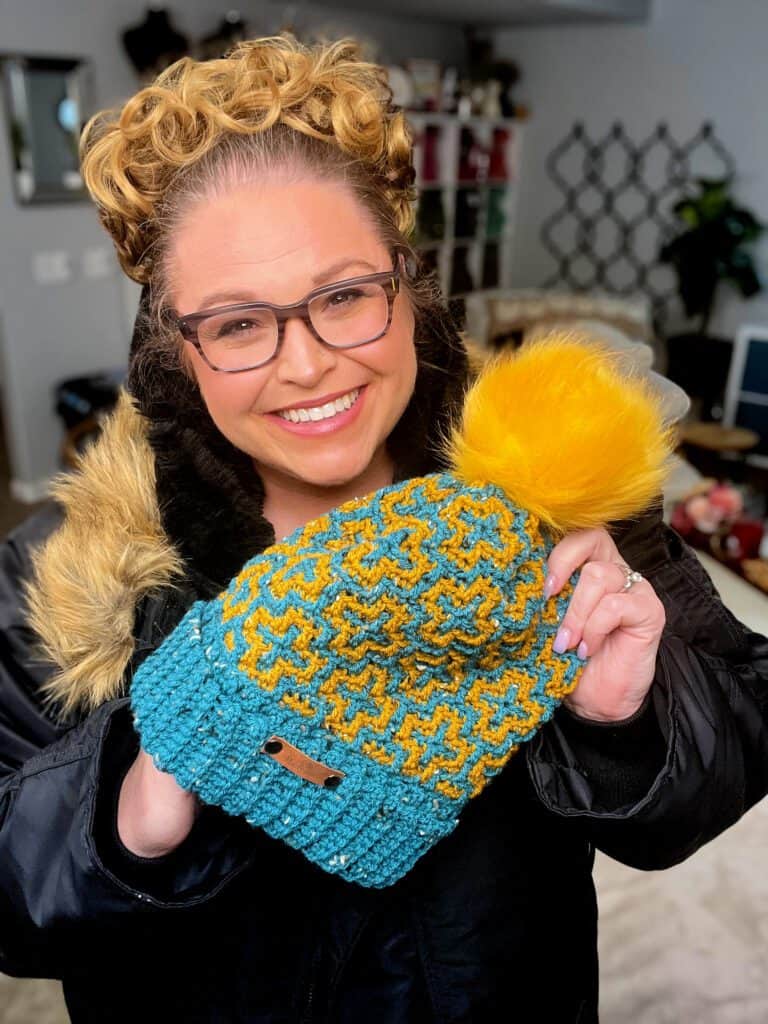 Autumn Breezes Mosaic Crochet Hat
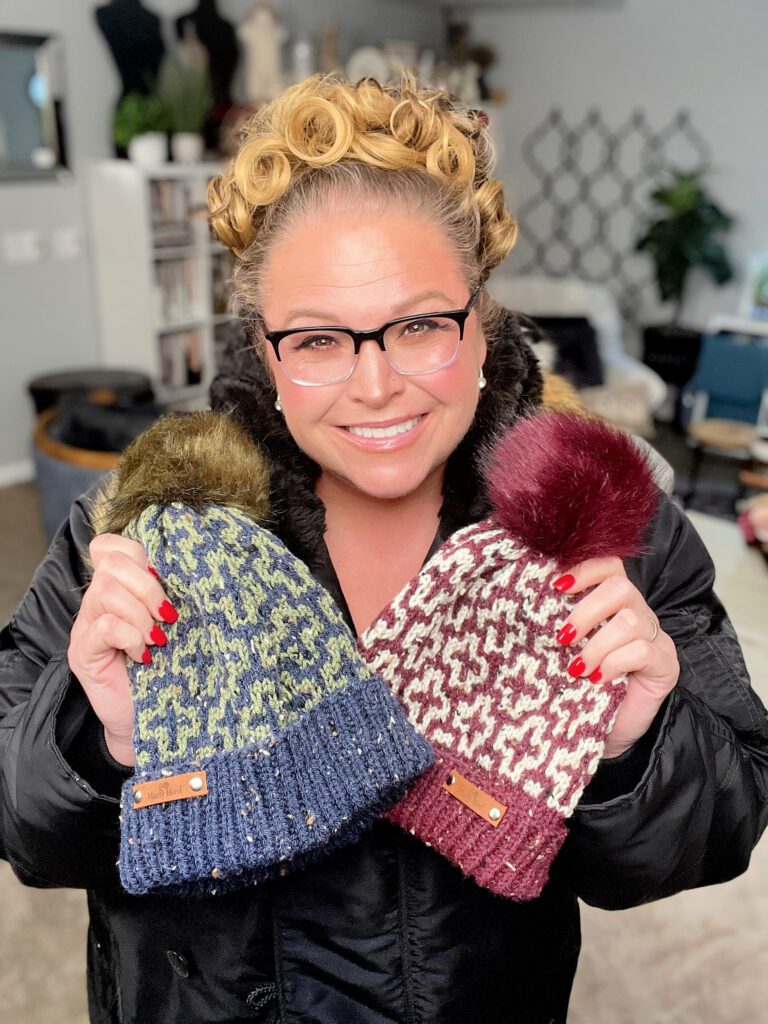 Falling Leaves Mosaic Hat
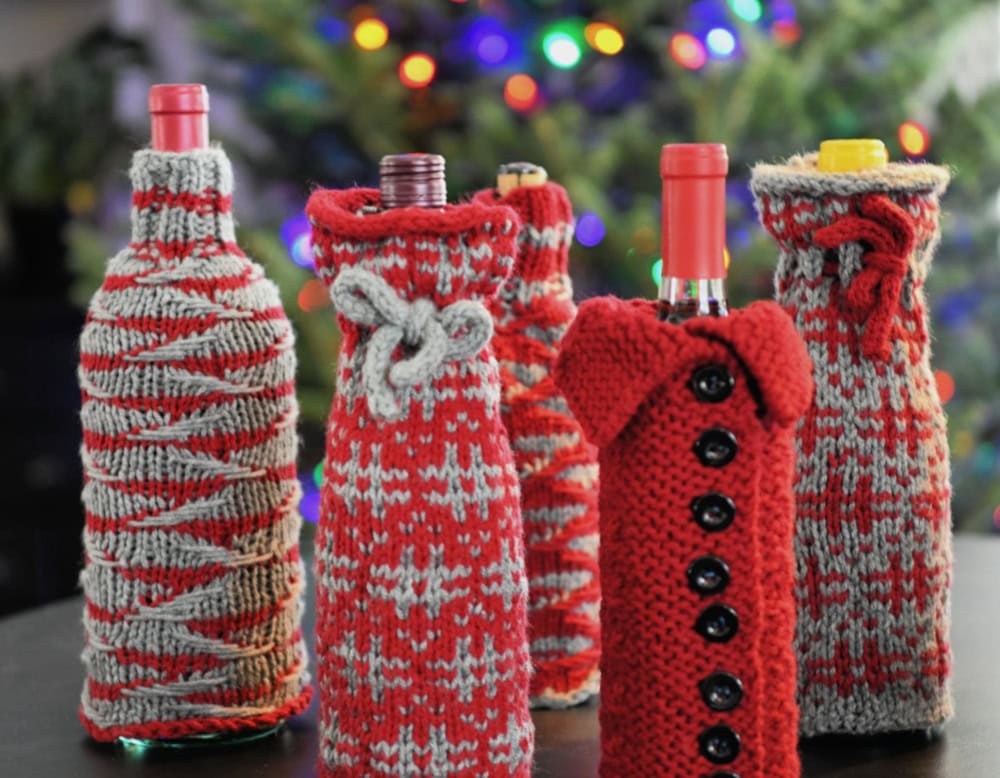 Holiday Wine Cozy Trio
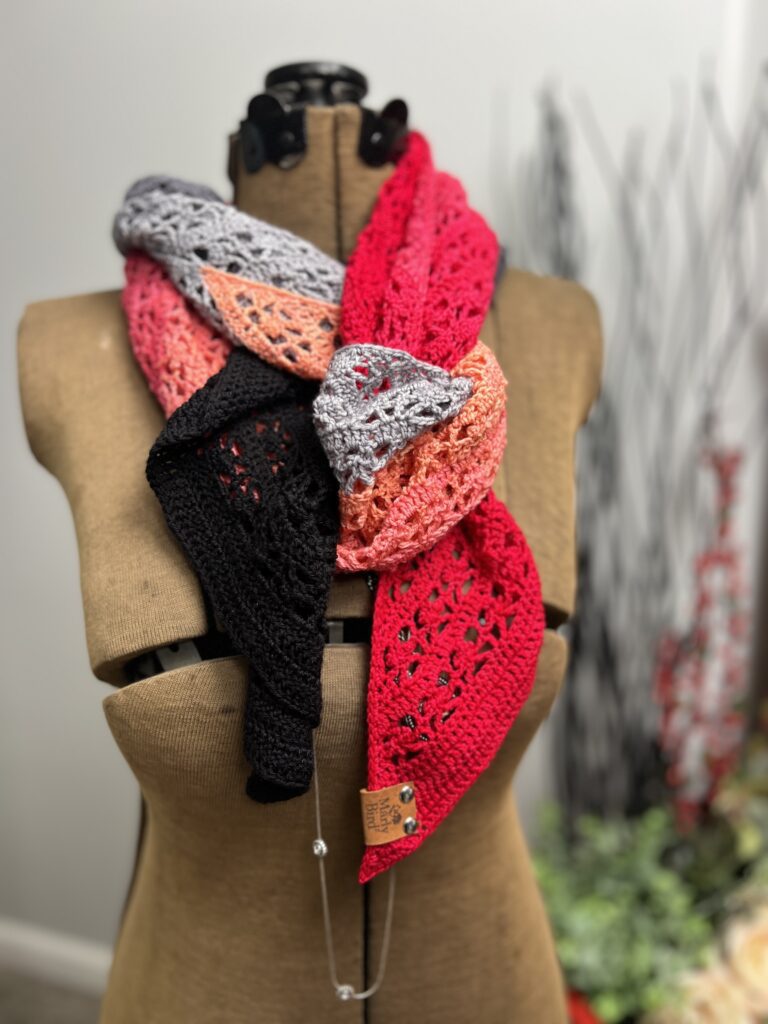 Stonington Crochet Gradient Shawl
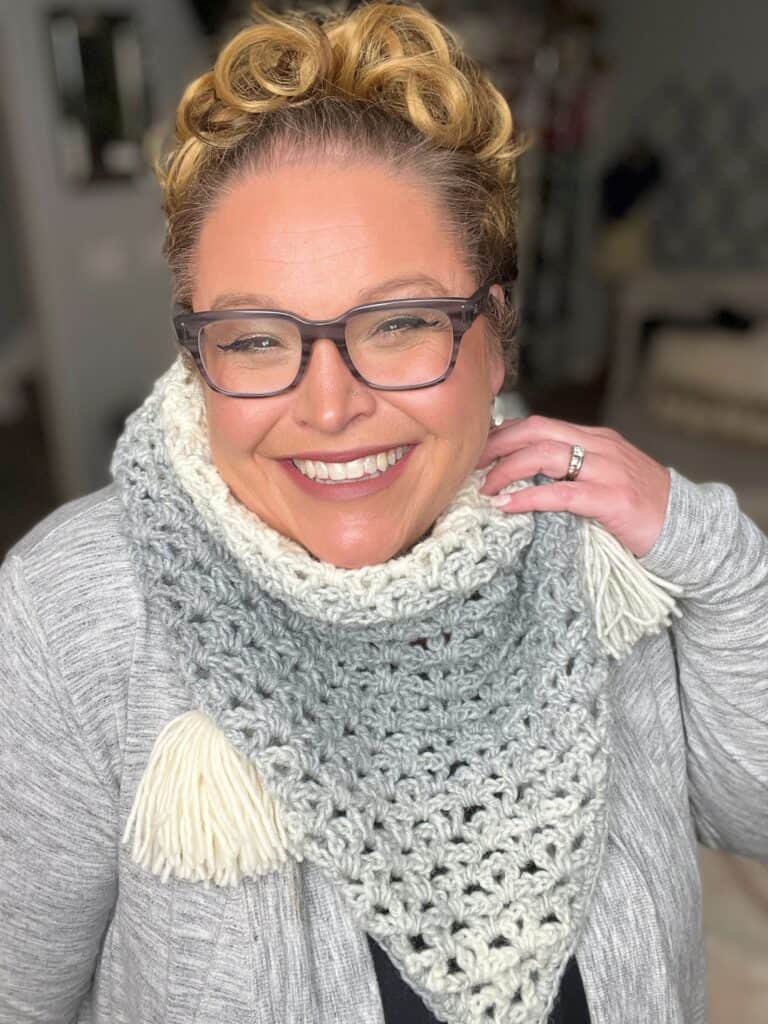 Late Nite Crochet Shawl
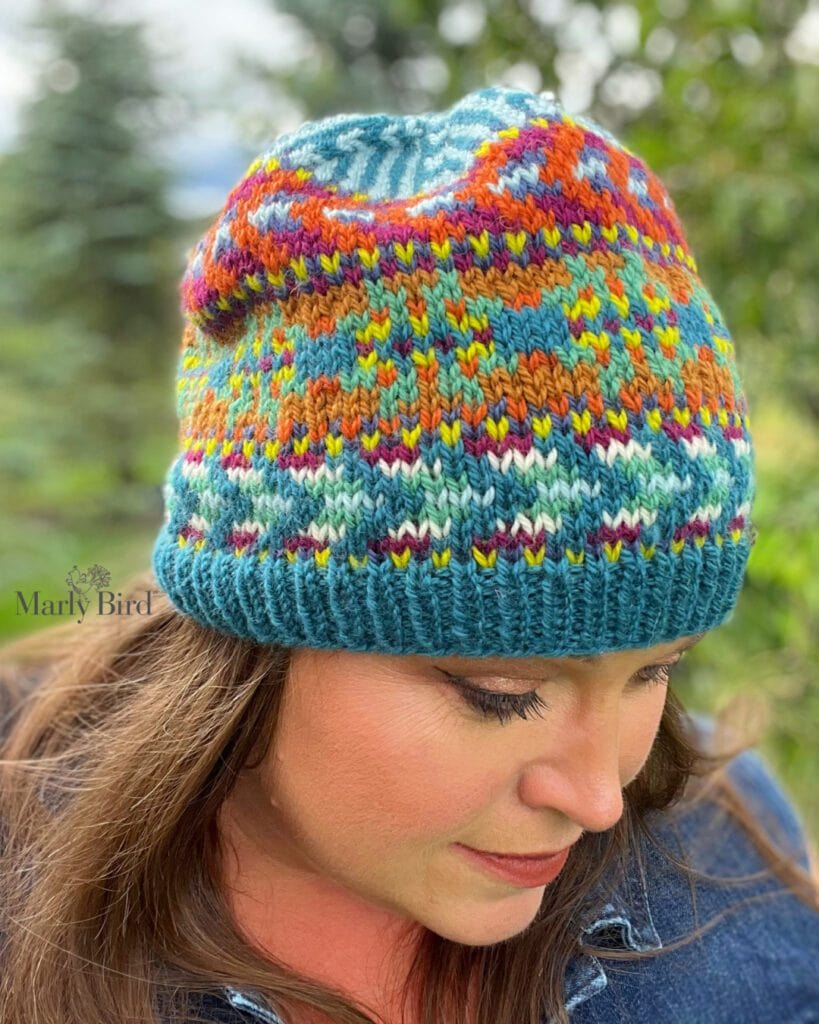 Kaleidoscope Harmony Knit Hat
🍿 Snack Ideas for Crafty Nights
No NYE crafting session is complete without snacks. Here are a few ideas that won’t leave your hands too messy:
- Popcorn – Easy to munch and customize with sweet or savory toppings.
- Veggie Sticks with Dip – Healthy and low-maintenance.
- Cheese and Crackers – A classic! Add some fruit for a festive touch.
- Trail Mix – Perfect for energy during those late-night giveaways.
For a treat: consider hot cocoa with marshmallows or a festive sparkling mocktail.
🎲 Games for a Fun Break
If you’re crafting with friends or family, try these quick and easy games:
- Yarn Bingo – Make a bingo card with fun yarn-related terms (e.g., “frogging,” “stash,” “WIP”) and play along as you craft!
- Here are some knitting abbreviations and terms or some crochet abbreviations and terms you can use.
- Pictionary – Use yarn and hooks/needles to “draw” your clues.
- Two Truths and a Lie: Craft Edition – Share fun or silly crafting facts.
🎥 Movies to Watch While You Craft
Looking for inspiration or just some fun background entertainment? Here are some crowd-pleasers:
- Knitting Themed: A Stitch in Time.
- Feel-Good Classics: The Holiday or Love Actually. *Did you know Marly named one of her newest patterns after the main character from The Holiday?
- Crafty Documentaries: Yarn (on Netflix) or Martha Stewart Documentary (on Netflix).
- Family Favorites: Frozen or When Harry Met Sally.
🛠️ Get Ready for a Night of Fun!
As you gear up for this year’s NYE Giveaway, don’t forget to:
- Bookmark this blog and check hourly for new giveaways.
- Follow me on social media (Instagram, Facebook) for reminders.
- Share your NYE crafting setup using hashtags #MarlyBirdNYE and #MarlyMadeMeDoIt #mmmdi

Start your New Year with fun, creativity, and plenty of yarn. Don’t forget to join the Marly’s Minions BiCrafty Community for support, inspiration, and giveaway updates. Let’s make this NYE unforgettable!
See you in the giveaways! 🎉 LINKS LISTED BELOW!
Giveaway Terms and Privacy Notice
Giveaway Terms:
- Eligibility: Open to participants aged 18 and older. Void where prohibited by law.
- Data Collection and Sharing: By entering the giveaway, participants agree to provide their email addresses, which will be used for the purpose of administering the giveaway and shared with both MarlyBird.com and the giveaway sponsor. By entering, you consent to receive emails from MarlyBird.com and the sponsor, who may contact you for marketing purposes.
- No Purchase Necessary: Entry into the giveaway is free and does not require a purchase.
- Winner Selection: Winners will be selected at random and notified via the email provided. Odds of winning depend on the number of entries received.
- Responsibility: MarlyBird.com and Sponsor are not responsible for technical errors or failures that may affect entry.
Privacy Policy:
- Data Usage: Email addresses collected will be used for the purposes of:
- Administering the giveaway.
- Sharing with MarlyBird.com for communications and marketing.
- Sharing with the sponsor, who may also use the emails for marketing purposes.
- Your Rights (CCPA and GDPR): If you are a resident of California or another region with specific data protection laws, you have the right to:
- Know what data is collected about you.
- Request deletion of your data.
- Opt-out of data sharing with third parties.
- Exercising Your Rights: To exercise these rights, contact us at contact@marlybird.com.
California and U.S. Compliance:
- CCPA Compliance: This giveaway complies with the California Consumer Privacy Act. You will not be discriminated against for exercising your rights under the CCPA.
- Wiretapping and Consent Laws: All data collection methods comply with applicable wiretapping and data interception laws. By entering, you provide consent for data collection and sharing as described.
General Legal Notes:
- This giveaway is governed by the laws of Indiana.
- MarlyBird.com and Sponsor reserve the right to modify or cancel the giveaway at any time.
- Any disputes arising from this giveaway will be resolved under Indiana’s laws.
- Participants waive the right to participate in a class-action lawsuit.
Disclaimer for Restricted Areas: This giveaway is void where prohibited. If local laws in your region restrict participation or the sharing of data for marketing purposes, you are not eligible to enter.
Liability Release:
- By entering, participants agree to release and hold harmless MarlyBird.com and Sponsor from any claims, damages, losses, or expenses resulting from participation or prize acceptance.
Remember:
- Each link is only live for 2 hours, so be sure to keep an eye on the clock!
- To enter each giveaway, click on the “>>CLICK HERE TO ENTER<<” link next to each listing below.
- Only enter each giveaway once! Multiple entries will disqualify you from winning.
- You MUST confirm that you agree to the terms of the giveaway and privacy notice or your entry will be disqualified.
- The winners will be randomly selected on January 3rd, and contacted via email used to enter.
- Winners have until January 5th at 10pm EST to respond to our email (from contact@marlybird.com). If we don’t hear from you by then, we’ll pick a new winner on January 6th.
- Bookmark this page so you can return every hour to enter. Keep in mind that you only have a limited time for each giveaway!
- Marly’s Pro Tip: Make it even easier to keep up with the giveaways by adding a Marly Bird Bookmark to your web browser. Check out this video for a quick tutorial: Marly Bird Bookmark Video
What Can You Win?
Each designer and company has handpicked their own giveaway prizes. You’ll discover the specifics of the prizes once their respective hour goes live and you click on >>CLICK HERE TO ENTER<< You’ll be directed to a Google form that will provide details about the prize and allow you to enter.
It’s Important to Emphasize: Giveaways are void where prohibited! Please review the giveaway terms and privacy policy below.

KNIT AND CROCHET GIVEAWAY LINKS BELOW!!!
CLICK EACH ONE TO GO TO THE PAGE WITH THE ENTRY FORM.
Again: This giveaway and its terms are subject to all applicable federal, state, and local laws and regulations. Void where prohibited. If any part of these terms is found to be invalid or unenforceable, the remaining provisions will remain in full force and effect.
THE GIVEAWAY LINKS ARE UPDATED EVERY HOUR!
Knit and Crochet Giveaways 1:00AM — closes at 10:00AM EST
- CLOSED
- CLOSED
Knit and Crochet Giveaways 2:00AM — closes at 10:00AM EST
- CLOSED
- CLOSED
Knit and Crochet Giveaways 3:00AM — closes at 10:00AM EST
- CLOSED
- CLOSED
Knit and Crochet Giveaways 4:00AM — closes at 10:00AM EST
- CLOSED
- CLOSED
Knit and Crochet Giveaways 5:00AM — closes at 10:00AM EST
- CLOSED
- CLOSED
Knit and Crochet Giveaways 6:00AM — closes at 10:00AM EST
- CLOSED
- CLOSED
Knit and Crochet Giveaways 7:00AM — closes at 10:00AM EST
- CLOSED
- CLOSED
Knit and Crochet Giveaways 8:00AM — closes at 10:00AM EST
- CLOSED
- CLOSED
Knit and Crochet Giveaways 9:00AM — closes at 11:00AM EST
- CLOSED
- CLOSED
Knit and Crochet Giveaways 10:00AM — closes at 12:00PM EST
- CLOSED
- CLOSED
Knit and Crochet Giveaways 11:00AM — closes at 1:00PM EST
- CLOSED
- CLOSED
Knit and Crochet Giveaways 12:00PM — closes at 2:00PM EST
- CLOSED
- CLOSED
Knit and Crochet Giveaways 1:00PM — closes at 3:00PM EST
- CLOSED
- CLOSED
Knit and Crochet Giveaways 2:00PM — closes at 4:00PM EST
- CLOSED
- CLOSED
Knit and Crochet Giveaways 3:00PM — closes at 5:00PM EST
- CLOSED
- CLOSED
Knit and Crochet Giveaways 4:00PM — closes at 6:00PM EST
- CLOSED
- CLOSED
Knit and Crochet Giveaways 5:00PM — closes at 7:00PM EST
- CLOSED
- CLOSED
Knit and Crochet Giveaways 6:00PM — closes at 8:00PM EST
- CLOSED
- CLOSED
Knit and Crochet Giveaways 7:00PM — closes at 9:00PM EST
- CLOSED
- CLOSED
Knit and Crochet Giveaways 8:00PM — closes at 10:00PM EST
- CLOSED
- CLOSED
Knit and Crochet Giveaways 9:00PM — closes at 11:00PM EST
- CLOSED
- CLOSED
Knit and Crochet Giveaways 10:00PM — closes at 12:00AM EST
- CLOSED
- CLOSED
Knit and Crochet Giveaways 11:00PM — closes at 1:00AM EST
- CLOSED
- CLOSED
Knit and Crochet Giveaways 12:00AM — closes at 2:00AM EST
- CLOSED
- CLOSED
More Information About How Does It Work?
On December 31st, we’re going all out with knit and crochet giveaways every single hour beginning at 1am est, and this year, we’ve teamed up with some of the most fabulous designers and businesses in the yarn industry to make it an unforgettable event! It’s the perfect way to ring in 2025 with a bang!
Each giveaway opens on the hour as listed, and you’ll have a specific window to enter. From 1 am to 8 am EST (all times are EST), you have until 10 am to enter. For the rest of the day, from 9 am to midnight, you’ll have two hours to enter each giveaway.
If you want a chance to win the prize for a specific hour, simply click >>CLICK HERE TO ENTER<< next to that listing. You’ll be directed to the entry page for that hour, where you can easily fill out the entry form. It’s as simple as that!
Keep checking back on this blog post every hour to discover the exciting prizes up for grabs.
Details You Need To Know
While we’d love for everyone to win each prize, there will be only one winner for each giveaway. Winners will be randomly selected and announced next to their prize on the blog post, as well as notified by email. So, make sure to enter your email address correctly!
That’s all, folks!! HAPPY NEW YEAR!!
Look out for the winners’ post on January 3rd!
Frequently Asked Questions
How do the hourly giveaways work?
So here’s the thing… starting at 1 AM ET on New Year’s Eve, a new giveaway goes live every hour! You’ll have two whole hours to enter each one, so don’t miss out. Just bookmark this page and check back hourly to snag your chance at winning some goodies!
What kind of projects can I work on during the giveaways?
Honestly… NYE is the perfect time to dive into a new project or finish up that WIP! The page lists some fun patterns like the Autumn Breezes Crochet Hat, Falling Leaves Knit Hat, and the Stonington Crochet Gradient Shawl. There’s something for knitters and crocheters alike!
Are there any snacks recommended for a crafting night?
Yes! You’ll want snacks that are easy to munch on without making your yarn sticky. The post suggests things like popcorn, veggie sticks with dip, cheese and crackers, or trail mix. Plus, a little hot cocoa or a sparkling mocktail is always a good idea!
What if I want to do some games while I craft?
Oh, that’s fun! The page suggests a few quick games perfect for crafty friends. You could try Yarn Bingo, Pictionary using yarn and hooks, or a fun game of Two Truths and a Lie with a craft edition twist!
How will I know if I’ve won a giveaway?
The winners are selected randomly and will be notified via email. Make sure you enter your email address correctly when you enter each giveaway! Winners have a specific window to respond to the email, so keep an eye on your inbox after the event!


