
Ribbed for Him and Her – Free Crochet Messy Bun Hat Pattern
Originally published 2016 · Updated July 2026 with affiliate links, yarn alternatives, FAQ schema, and full framework treatment.
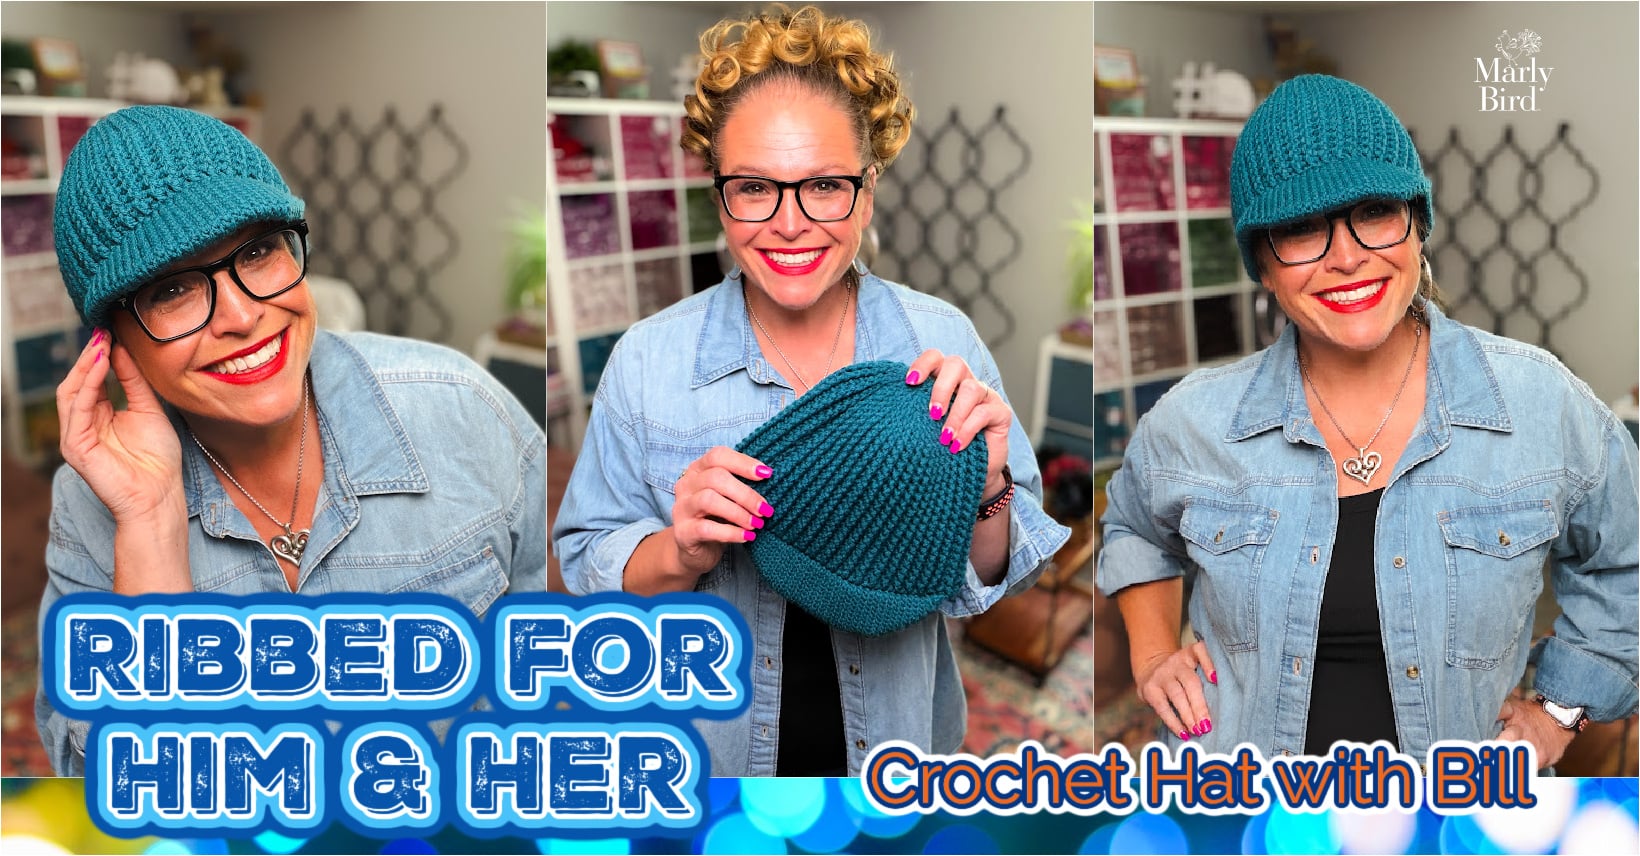
The Ribbed for Him and Her Hat is a free crochet pattern by Marly Bird offering a closed crown or messy bun opening. Worked in worsted-weight yarn on a 5mm hook, it features a self-supporting bill that needs no stiffeners, classic front/back post ribbing, and beginner-friendly construction that finishes in one skein with video tutorials for every technique.
⚡ Quick Answer:
This free crochet messy bun hat pattern uses worsted-weight yarn and a 5mm hook to create a ribbed, unisex hat with Marly's signature self-supporting bill. At the crown you choose… close it up for a classic beanie or fasten off early for a messy bun or ponytail opening. Same pattern, two completely different hats.
Hey, bestie 💛 I can not tell you how many of these have shown up at farmers markets and craft fairs over the years… and every single person wearing one looks so pleased with themselves (as they should!). The messy bun hat moment has been real for years, and the Ribbed for Him and Her gives you BOTH options in one pattern. That bill though? No plastic canvas, no wire, no stuffing. Just crochet doing what crochet does best. Let's make it!
Why You'll Love This Pattern 💖
🧵 Two hats for the price of one. The pattern gives you a fork in the road at the crown… close it up into a classic ribbed beanie, OR fasten off early and leave an opening for a messy bun or ponytail. Make both and have options depending on the day.
🧢 That bill is the whole thing. Marly's signature self-supporting bill uses slip stitch construction to stand away from the forehead without any stiffeners. It's durable, washable, and looks intentional… because it is.
💛 One skein, one evening. Worsted weight yarn and a 5mm hook make this a fast project. The ribbed body is meditative once you get going… you'll have a finished hat before the next episode ends.
This is your pattern if you want a versatile, unisex hat that works for everyone on your gift list. You'll come away knowing how to work a slip stitch bill, foundation double crochet, and front/back post ribbing… skills that carry straight into every hat you make from here.
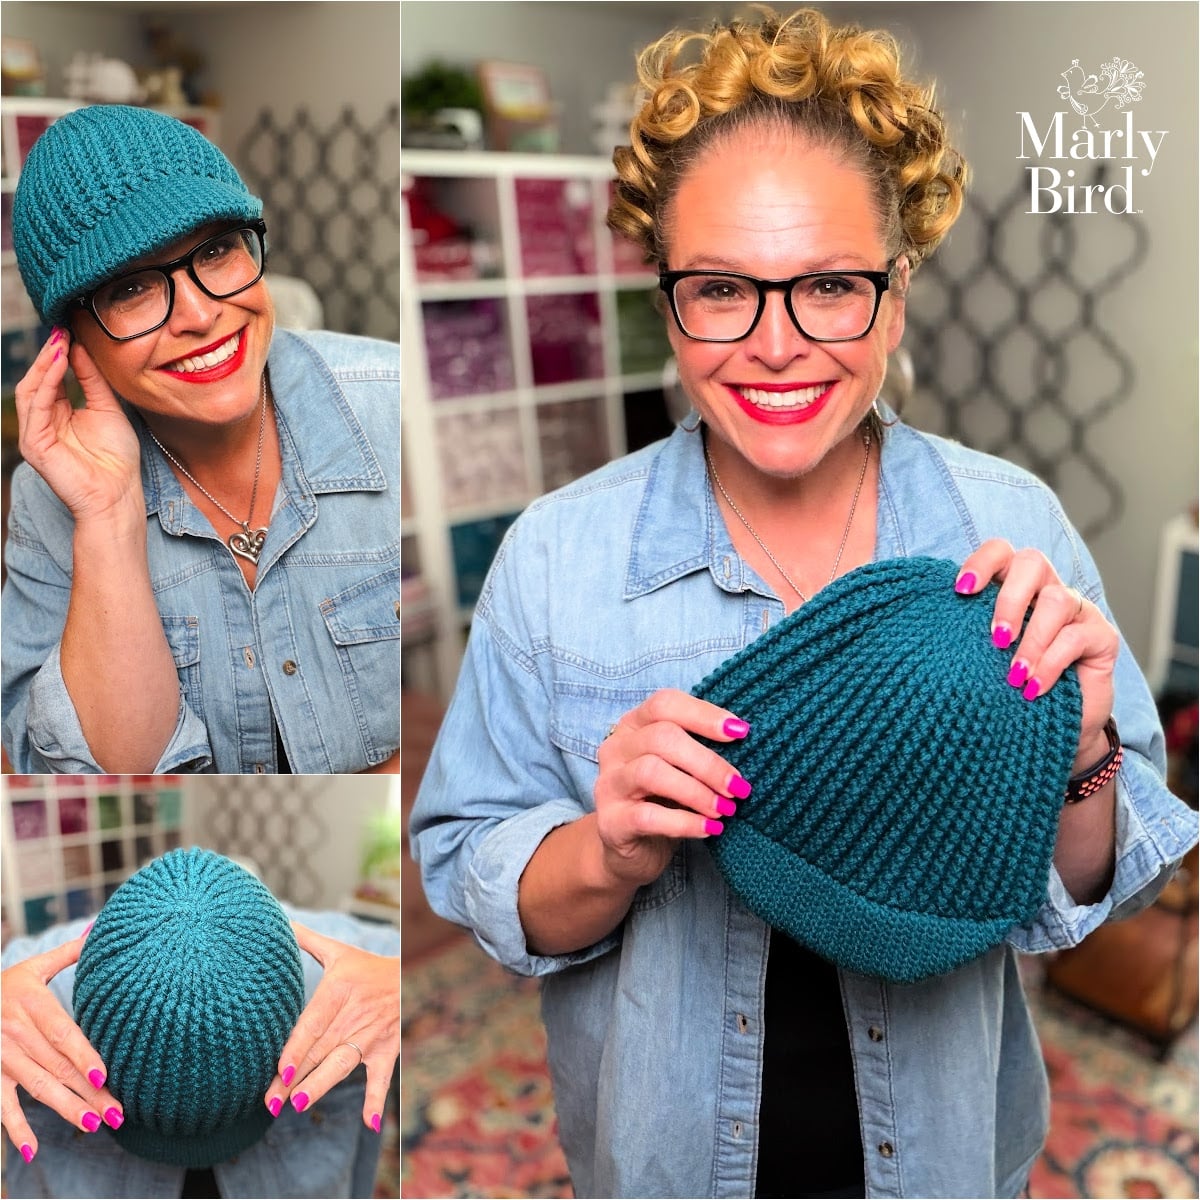
Quick Pattern Overview
🧵 Craft: Crochet
🎯 Skill Level: Easy/Intermediate… post stitches and bill construction are approachable; read the bill section through once before you start
🪢 Yarn: Worsted weight (#4), 1 skein… Red Heart With Love shown
🪝 Hook: 5mm (US H-8)
📐 Finished Circumference: 20″ at the base unstretched; ribbing stretches comfortably to fit most adult heads
🎉 Crown Options: Closed (classic beanie) or open (messy bun / ponytail hat)… your choice at Round 4 of the crown
Love the Pattern but Want an Ad-Free PDF? ⭐
Join our Newsletter
Get Free Crochet & Knitting
Pattern Links & Coupons!


Prefer to stitch without interruptions? Grab the ad-free PDF from your favorite shop and stitch straight through… no scrolling, no ads, no losing your place in round 3. Formatted for easy printing or tablet reading.
Marly's Signature Crochet Bill… No Stuffing Required!
Marly Bird's signature crochet bill is the feature that sets her hat designs apart. The bill offers a structured look and feel without stiffening agents like plastic canvas, polyfill, or interfacing. This unique construction has become a hallmark of Marly Bird's hat patterns… one that's actually easier to make than it looks.
What's truly special about this bill is its versatility. Marly has skillfully incorporated this design into various hat patterns, catering to a diverse audience with different style preferences. Need a sporty cap for your morning walk? A classic ribbed hat for fall? There's a Marly Bird pattern for that, and they all use the same bill construction that stands away from the forehead perfectly.
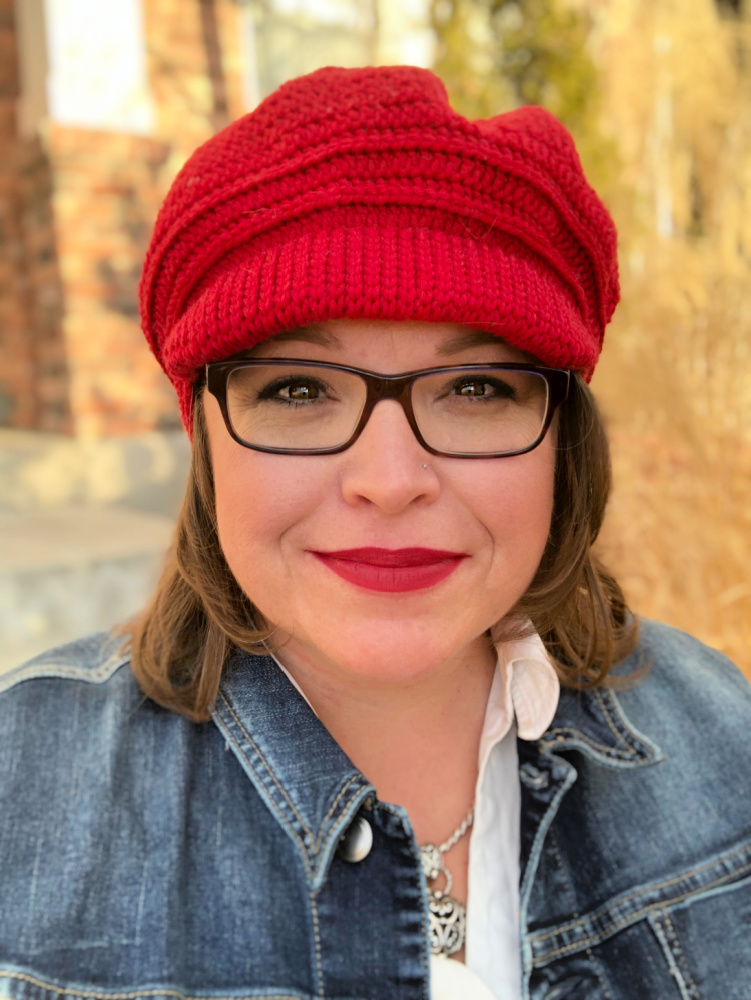
The Messy Bun Hat… Why Everyone Wants One
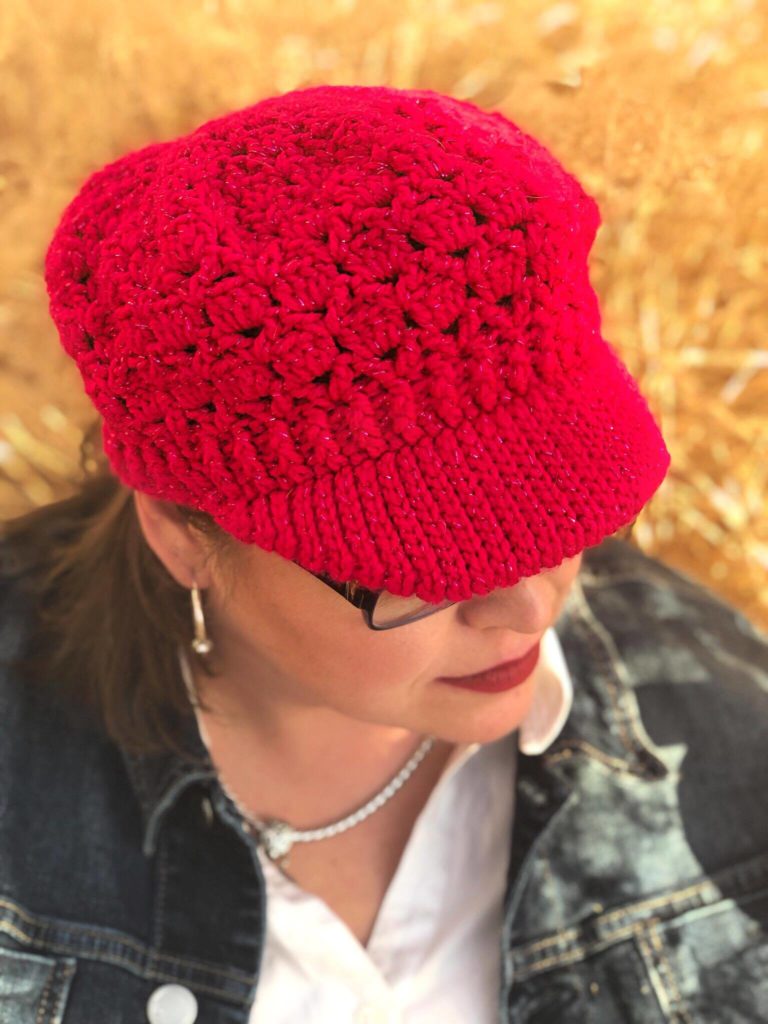
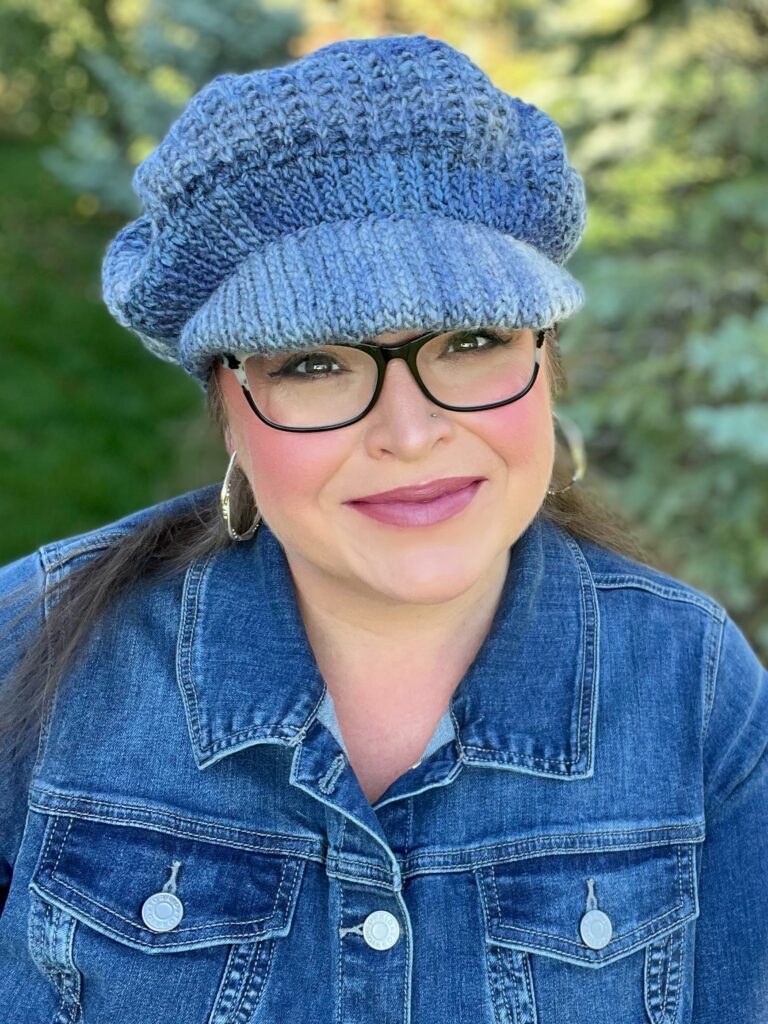
The messy bun hat has been a staple in the crochet community for years… and for good reason. Unlike traditional closed-top hats, it solves a real everyday problem: you keep your hair up in a bun, ponytail, braids, or locs while keeping your ears and head warm. No taking your hair down just to put on a hat.
From a crafter's perspective there's a bonus too… no need to decrease all the way to a closed crown means slightly less yarn and a slightly faster finish. The open top is also more breathable, making it a great option for transitional weather or anyone who runs warm.
If you sell at craft fairs, offering BOTH the messy bun version and a closed-crown version covers the whole market… every customer finds their hat. The Ribbed for Him and Her gives you both in one pattern, which is basically the best deal in crafting.
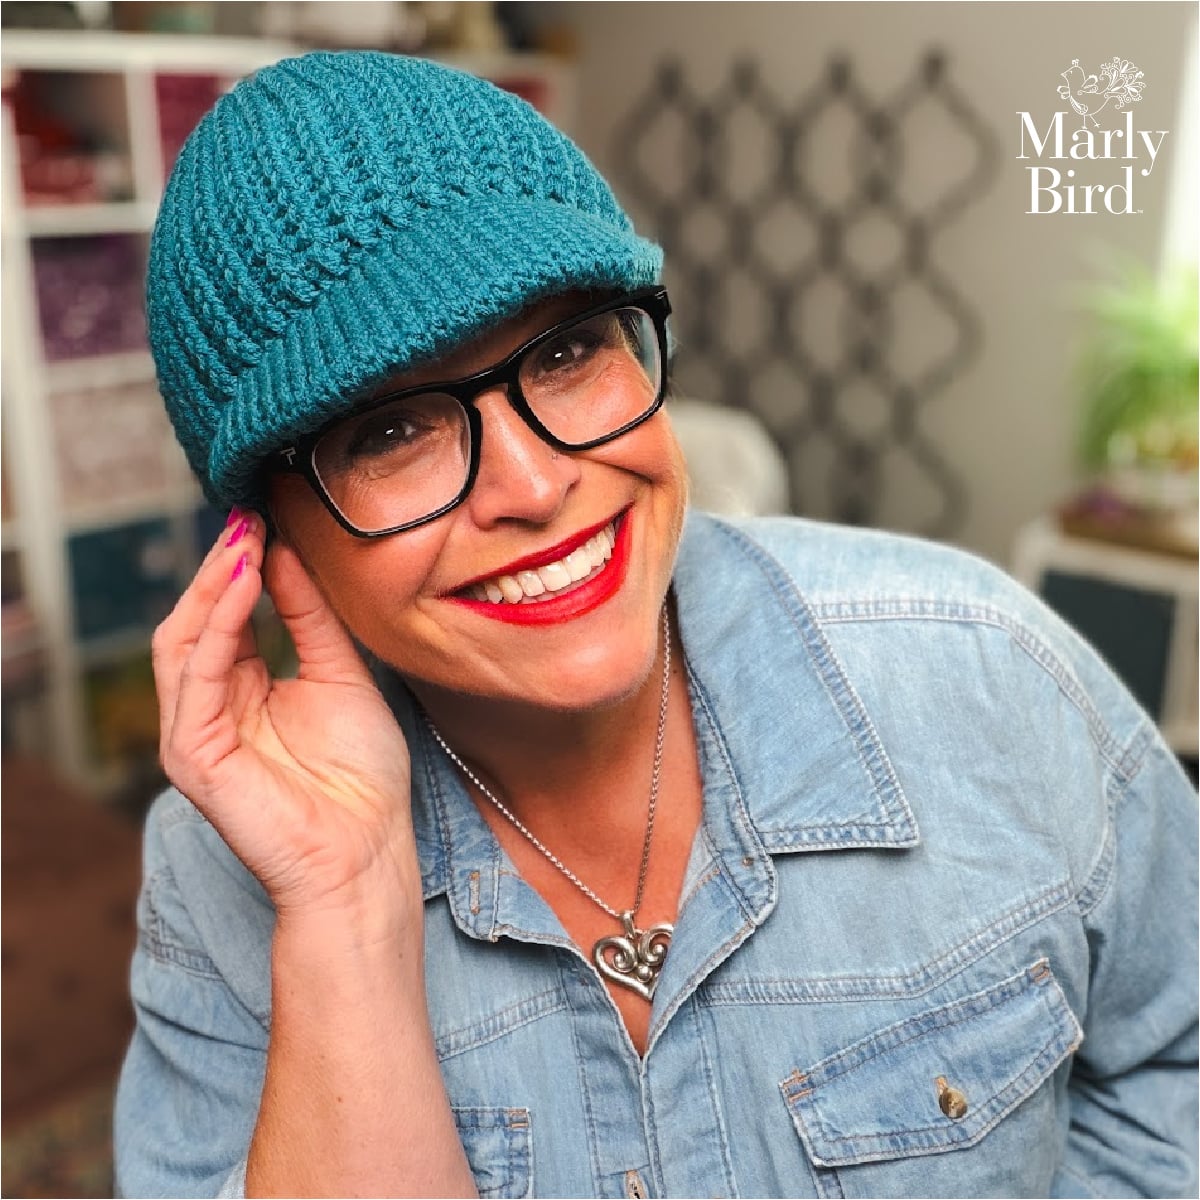
Ribbed for Him & Her Hat || Pattern Details
A perfect blend of fashion and functionality… Marly Bird's Ribbed for Him and Her Crochet Hat with Bill. Handcrafted using front and back post double crochet rib stitches, this hat offers comfort and durability in a classic look that never goes out of style.
Pattern updated November 2023.
Skill Level
Easy/Intermediate… the front and back post ribbing is approachable once you've got the basics of double crochet. The bill construction is the learning curve here, but the video tutorial walks you through every step in real time.
Measurements
Finished Measurements
Circumference: 20″ around at base of hat unstretched.
Gauge
16 sts by 12 rounds in body stitch pattern = 4″ [10 cm] by 4″ [10 cm]; use any size hook to obtain the gauge.
New to gauge swatching? Here's Marly's complete crochet gauge swatch guide… free printable worksheet included. Worth 15 minutes before you start!
Materials
Yarn
[4 Medium] RED HEART® With Love™, Art. E400, available in solid color 7 oz (198 g), 370 yd (338 m); multicolor 5 oz (141 g), 230 yd (211 m), skeins
Note: Red Heart With Love is a fairly thick worsted weight yarn. If you substitute a lighter worsted, the ribbing won't have quite the same density… that's totally fine, just something to know going in!
Crochet Hook
Size Crochet Hook: 5 mm [US H-8]
Notions
- Stitch Markers
- Tapestry needle to bury the ends
- (optional) Pom Pom
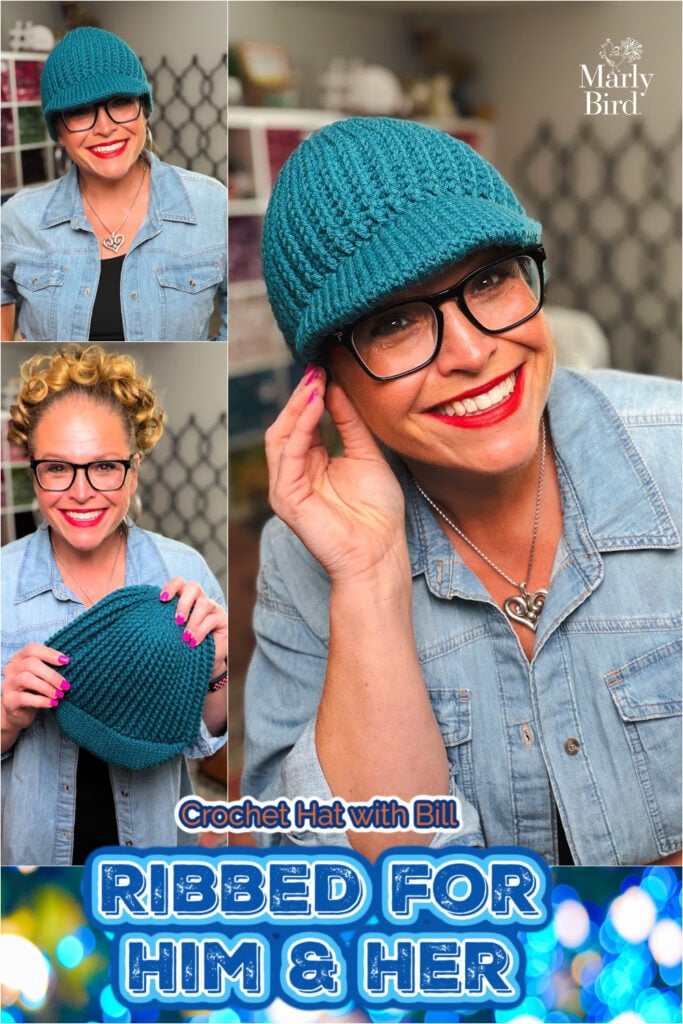
Yarn Alternatives
Any worsted weight (#4) yarn will work beautifully for this hat. Here are a few favorites that give great stitch definition for ribbing:
- Red Heart Soft… same brand, a little softer feel, machine washable. Great if you're making for someone with sensitive skin.
- Caron Simply Soft… widely available, silky-soft acrylic, excellent for gift hats.
- Berroco Vintage Worsted… wool/acrylic blend for extra warmth and beautiful stitch definition. Lovely choice for colder climates.
Abbreviations
- CH – Chain(s)
- BLO – Back Loop Only
- BPDC – Back Post Double Crochet
- DC – Double Crochet
- FDC – Foundation Double Crochet
- FLO – Front Loop Only
- FPDC – Front Post Double Crochet
- FPDC2tog – Front Post Double Crochet 2 Together
- PM – Place Marker
- RS – Right Side
- Sl st – Slip Stitch
- St(s) – Stitch(es)
- WS – Wrong Side
Special Stitches
⭐️ Back Loop Only (BLO): This is the furthest loop to you of the top 2 loops of the stitch indicated, regardless if you are on the RS or WS.
⭐️ Back Post Double Crochet (BPDC): Yarn over, insert hook from back to front to back around the post of the stitch indicated, yarn over and pull up a loop, [yarn over and draw through 2 loops on hook] twice.
⭐️ Foundation Double Crochet (FDC):
First fdc: Ch 3, yarn over hook, insert hook into 3rd ch from hook, yarn over and pull up a loop, yarn over and draw through 1 loop on hook (forming a chain), [yarn over and draw through 2 loops on hook] twice (forming the double crochet)
Next fdc: Yarn over hook, insert hook into base of previous stitch (in the “chain” space), yarn over and pull up a loop, yarn over and draw through 1 loop on hook (forming a chain), [yarn over and draw through 2 loops on hook] twice (forming the next double crochet).
Repeat directions for desired amount of stitches.
⭐️ Front Loop Only (FLO): This is the closest loop to you of the top 2 loops of the stitch indicated, regardless if you are on the RS or WS.
⭐️ Front Post Double Crochet (FPDC): Yarn over, insert hook from front to back to front around the post of the stitch indicated, yarn over and pull up a loop, [yarn over and draw through 2 loops on hook] twice.
⭐️ Front Post Double Crochet 2 Together (FPDC2tog): *Yarn over hook, insert hook from front to back to front around the post of the stitch indicated, yarn over and pull up a loop, yarn over and draw through 2 loops on hook; repeat from * in next st indicated, yarn over and draw through all 3 loops on hook.
Video Tutorials

If you're a visual learner, watch these YouTube tutorials before you start… each one opens in a new tab so you can keep the pattern right here:
Chains · Back Loop Only · Front Loop Only · Double Crochet · Back Post Double Crochet · Front Post Double Crochet · Slip Stitch Ribbing · Adding a Pom Pom · Bill of Hat Tutorial
For weaving in your ends, watch this right here on the blog… it plays inline with no ads interrupting your stitching:
Notes
- Use markers in the first slip stitch of the brim on each row to help keep count.
- CAUTION: when working the slip stitches on the brim, maintain consistent tension, or the stitches will become too tight as the brim gets longer.
- The slip stitches should NOT be any more snug than the size of the hook.
- Brim of hat is worked flat then seamed together.
- Body of hat is worked into the long side edge of the brim as instructed.
- Body of hat is worked in continuous rounds. Use a marker to identify the first stitch of each round.
- Body st gauge near the brim will be a little more snug than it is in the body of the hat. The gauge given is in the body of hat.
- Stitches are worked in back loop only unless otherwise stated in the brim of the hat.
- Stitches are worked through both loops unless otherwise stated in the body of the hat.
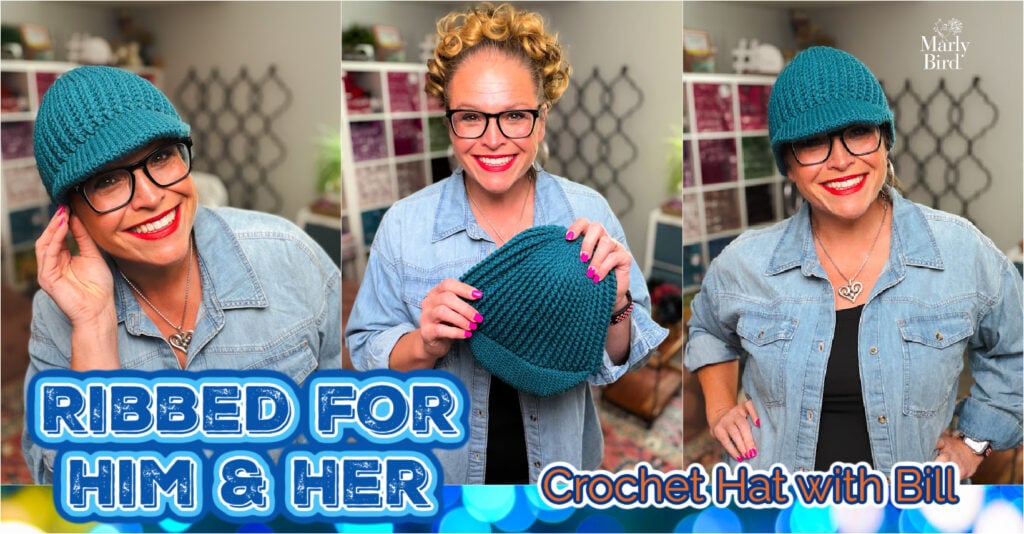
Ribbed for Him & Her Hat || Pattern Instructions
Row 1: Ch 6, sl st in the BLO of 2nd ch from hook and in each ch to end, ch 1, turn –5 sl sts.
Place a marker in the middle stitch
Row 2 (increase row): Sl st in BLO of each st until 1 st BEFORE the marker, sl st in BLO of next st TWICE (this is the stitch before marker), sl st in BLO of marked st, move marker to st just made, sl st in BLO of next st TWICE, sl st in BLO of each st to end, ch 1, turn–2 sts increased.
Row 3: Sl st in BLO of each st to marked st, sl st in BLO of marked st, move marker to st just made, sl st in BLO of each st to end, ch 1, turn.
Repeat Rows 2 and 3 until there are 21 sts total.
Use a second marker, place it at the end of the last row 2 you completed. This will help you know where you need to measure from for the next part.
Work Row 3 only until the piece measures 5” [12.5 cm] from the 2nd marker then remove the 2nd marker.
Row 1 (decrease): Sl st in BLO of each st until 1 st BEFORE the center marker, skip st, sl st in BLO of marked st, move marker to st just made, skip next st, sl st in BLO of each st to end, ch 1, turn–2 sts decreased.
Row 2: Sl st in BLO of each st to marked st, sl st in BLO of marked st, move marker to st just made, sl st in BLO of each st to end, ch 1, turn.
Repeat Rows 1 and 2 until 5 stitches remain ending after a Row 2. Do NOT fasten off.
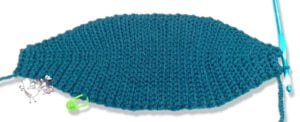
1st Finishing
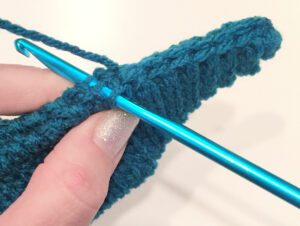
Fold piece in half, working only into edge of every other row, sl st to close piece. You need an even number at the end of the row. I had a total of 34 total stitches.
Optional: I've discovered doing an additional row of slip stitches on top of the row just completed for the join will help the bill stand out from the forehead even more. After completing the hat: add another row of slip stitches to the inside of the hat along these slip stitches you just made.
Body of Hat

GROW
To Unlock Exclusive Subscriber Content click the Box below and join for free by simply adding your email and creating a password! If you are having troubles, clear your cache or reset your password or login to the Grow Publisher Portal.
>> Learn More About Grow Here <<
I'm thrilled to share this amazing pattern with you, many patterns on my blog are absolutely free! I kindly request that you don't copy and paste or distribute this pattern. Prefer an ad-free experience? Buy a digital PDF pattern for a small fee from one of my online stores for a seamless crafting journey.
I appreciate your support and readership. You are the reason I can keep doing what I love and sharing it with others. So, thank you from the bottom of my yarn-loving heart! Disclosure: This post contains affiliate links, meaning I get a commission if you decide to make a purchase through my links at no cost to you.
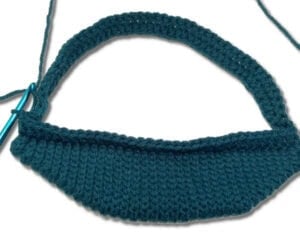
Rnd 1: Continue working from the slip stitches used to fold bill, insert hook into the last slip stitch made on bill and begin to work 46 foundation double crochet, then, working into the first slip stitch of the bill (on the opposite side of where you began this round), join to work in the round by doing a double crochet through front loop only (TFLO) of the sl sts that closed the brim to the end, join with a slip stitch into the first foundation double crochet. Do Not Turn—You need a total of 80 dc at the end of this round. If the number of slip stitches after the 1st finishing is not 34 then you should alter the number of foundation double crochet you do to get to the 80 total dc needed.
Yes, at the point where the foundation double crochet joins the slip stitches on brim it will be separated; that will be seamed closed later.
Rnd 2: Ch 2 (does not count as a stitch), front post double crochet (FPDC) into the first stitch (this is the stitch you just joined to with a slip stitch), back post double crochet (BPDC) into the next stitch, * FPDC, BPDC; repeat from * to end of the rnd, join with a slip stitch into the first FPDC. Do Not Turn.
Repeat rnd 2 until body of hat measures 6″ from rnd 1 of the body of hat.
CROWN SHAPING
Rnd 1: Ch 2 (does not count as a stitch), FPDC around the first st, skip the next BPDC, *FPDC around the next st, skip the next BPDC; repeat from * to end of the rnd, join with a sl st into the first FPDC. Do Not Turn. –40 FPDC remaining.
Rnd 2: Ch 2 (does not count as a stitch), FPDC around the first st and each stitch to end, join with a sl st to first FPDC. Do Not Turn.
Rnd 3: Ch 2 (does not count as a stitch), *FPDC2tog over next two stitches; repeat from * to end of rnd, join with a sl st to the first FPDC2tog. Do Not Turn. –20 FPDC2Tog
Rnd 4: Ch 2 (does not count as a stitch), FPDC around the first st and each stitch to end, join with a sl st to first FPDC. Do Not Turn.
***NOTE: For Messy Bun Hat – Fasten off leaving long tail. Continue to Body Finishing. ***
Rnd 5: Ch 2 (does not count as a stitch), *FPDC2tog over next two stitches; repeat from * to end of rnd, join with a sl st to the first FPDC2tog. Fasten off leaving long tail. –10 FPDC2Tog.
BODY FINISHING
Closed Hat: Thread the tail of the yarn into a Bent Tip Tapestry Needle. Thread the needle through the FRONT LOOP ONLY of all stitches on the last row completed, pull together like a drawstring. Push needle to the inside of hat weave the tail in on the wrong side of the crochet hat to secure.
Messy Bun Hat: Thread the tail of the yarn iton a Bent Tip Tapestry Needle and weave the tail in on the wrong side of the crochet hat to secure.
Use another length of yarn to seam the edges of the brim to the base of the hat. Weave in any remaining tails on wrong side of crochet hat.
🎉 Love making crochet hats and accessories?
Check out the Marly Bird House Crochet Collection — a growing library of premium crochet courses and patterns. 💛
More Free Crochet Hat Patterns You'll Love
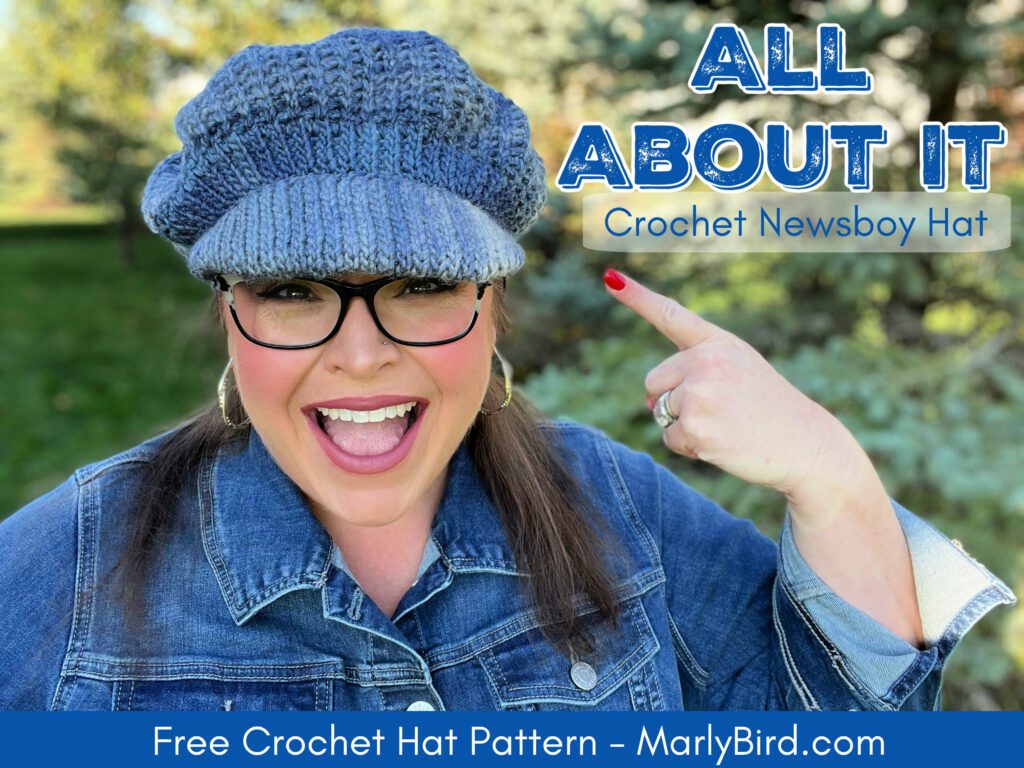
Love This Yarn? More Patterns Using Red Heart® With Love™
Red Heart With Love is a workhorse worsted… thick, sturdy, machine washable, and available everywhere. These Marly Bird patterns all shine in a solid worsted weight:
Frequently Asked Questions
What is a messy bun hat?
A messy bun hat (also called a ponytail hat or topknot hat) has an opening at the crown instead of a closed top. You wear it with your hair pulled up through that opening in a bun, ponytail, or high pony. It's incredibly practical… slide the hat on, pull your hair through the opening, and you're warm AND your hair is still up. They've been hugely popular because they solve a real everyday problem in such a satisfying way.
Is the Ribbed for Him and Her pattern really for everyone?
Yes! The title captures the unisex design intent… a classic ribbed hat that doesn't lean heavily masculine or feminine. The messy bun opening works for anyone with hair long enough to pull through. The closed crown works for anyone at all. Make it in whatever color makes you happy.
How does the messy bun opening work construction-wise?
The hat is worked in the round, but instead of decreasing all the way to a closed crown, you work to a certain stitch count and fasten off, leaving an opening. At Round 4 of the crown you have 20 stitches remaining… for the messy bun version, fasten off here. The ribbing gives natural stretch that accommodates different bun sizes comfortably.
What yarn is best for a ribbed messy bun hat?
Worsted weight yarn with good stitch definition works beautifully for ribbing… smooth yarn lets the front/back post texture show clearly. For a practical everyday hat, machine washable worsted like Red Heart With Love is ideal. It holds its shape and the ribbing stays defined wash after wash.
How long does it take to crochet a messy bun hat?
Most crocheters finish this hat in 2 to 4 hours… a very satisfying one-evening project! The messy bun version takes the same amount of time or slightly less since you don't decrease all the way to close the crown. These make excellent last-minute gifts.
What size head does this hat fit?
The finished circumference is 20″ unstretched. The ribbed construction gives this hat significant stretch, so it comfortably fits most adult heads (typically 21-23″). Adjust your hook size up or down to hit the correct gauge for different head sizes.
Can I add a pom pom to this hat?
Absolutely! The closed crown version is a perfect candidate for a pom pom. The pattern includes an optional pom pom in the notions list. The messy bun version doesn't get a pom (the opening is the whole point!), but you could add one to the bill instead for a fun touch.
Final Thoughts
The Ribbed for Him and Her Hat is one of those patterns that just keeps giving… unisex, versatile, fast, and practical. Whether you're making the messy bun version for the person in your life who never takes their hair down, or the classic beanie for yourself, this one delivers every time. The bill is genuinely fun to make once you've done it once… and then you'll want to put it on everything. 😄
If you make this hat, please please PLEASE share it with me! Tag me @marlybird on Instagram or Facebook and use #MMMDI (Marly Made Me Do It), #MarlyBird, or #RibbedForHimAndHer so I can see your version. I love seeing every single one. 💛
Categories: Crochet, Our Free Patterns, Pattern


Can’t wait to try this! I love that brim construction!
THIS IS FANTASTIC.
I just about choked to death from laughing at the title. This is now my favorite pattern EVER. xD
You, Marly Bird, are simply awesome. 🙂
Thank you so much for the free pattern Ribbed for Him and Her Hat Pattern. I am a disabled veteran so my funds are limited. Thank you for providing me a way to keep me crocheting. I enjoy making things for those at the VA hospital. I truly appreciate your kindness. Wishing you much success and a blessed Christmas.
When will you do a video tutorial on this beautiful hat? I learn better from your videos than I do reading a pattern. But I really appreciate you posting the pattern. You are such a great teacher. Thanks for all your videos and patterns. shirleycarroll0@gmail.com
AWESOME!! Thank you Marly!
Beautiful and thanks for the written pattern.
Best crochet hat ever! Thank you Marly!
Nice design!
I can’t wait to try this beautiful pattern Thank you for sharing~
Hi Marly ~ in the beginning of your video for the brim of the “Ribbed for Him & Her” you show the pink hat. Do you have a pattern for that one? I’ve done some searching, but have not found it. That hat just looks more feminine and pretty. I’d love to make that one. Thank you . . .
that is the blossom hat: https://marlybird.com/free-crochet-patterns/blossom-crochet-hat-crochet-hat-with-bill/
Marley, thank you so much for the fantastic video of how to crochet a brim! Looking forward to more of your videos!
I am SOOOOO excited!!!! This is/was my FIRST-ever crochet project. I just started trying to teach myself to crochet within the last 3 weeks or so (as a new and creative way to avoid my graduate school workload >_<)… I made repeated attempts at different patterns using the yarn I bought, getting only so far before getting frustrated and undoing the whole thing. I probably did and undid this pattern 8 times too. But I kept at it (I just loved the brim!), continued googling, looking at stitch diagrams, and watching YouTube videos until I understood what I was doing, felt I was getting it right, and liked the look of my work.
I couldn't be more pleased! I wish I could upload a photo for you. (I can't share on Facebook, since, in an act of self-care, I deactivated a few months ago.) Is my hat perfect? Nope, of course not. But it's mine; I made it. Woot! I had to make some modifications since I used a bulky yarn, and I undoubtedly messed up a few stitches. But isn't there a spiritual thing about intentional imperfections? haha.
This hat is EXACTLY what I need/ed it to be! THANK YOU, Marly, for helping me become a crocheter! Your tutorials, patterns, explanations, descriptions, and photos are/have been invaluable! Thank you, thank you, THANK YOU!!!
Look up foundation double crochet. There are a few lessons on how to do it. I made several of these hats for Christmas and was confused in how to start after the brim. I did chain 46 then went back and did double crochet into the foundation. I them attached it to the opposite side and then continued the pattern from there. This hat is beautiful. However when I came back to do another hat a month later I found myself just as confused. Then I looked up foundation double crochet! Never heard of it until this pattern. It makes so much more sense now!! Good luck everyone on this awesome well loved pattern. Thank you Madly for the pattern!!!
I made one similar a long time ago. And I forgot to write it down.
Love your patterns thank you for the free ones and your hard work and dedication.