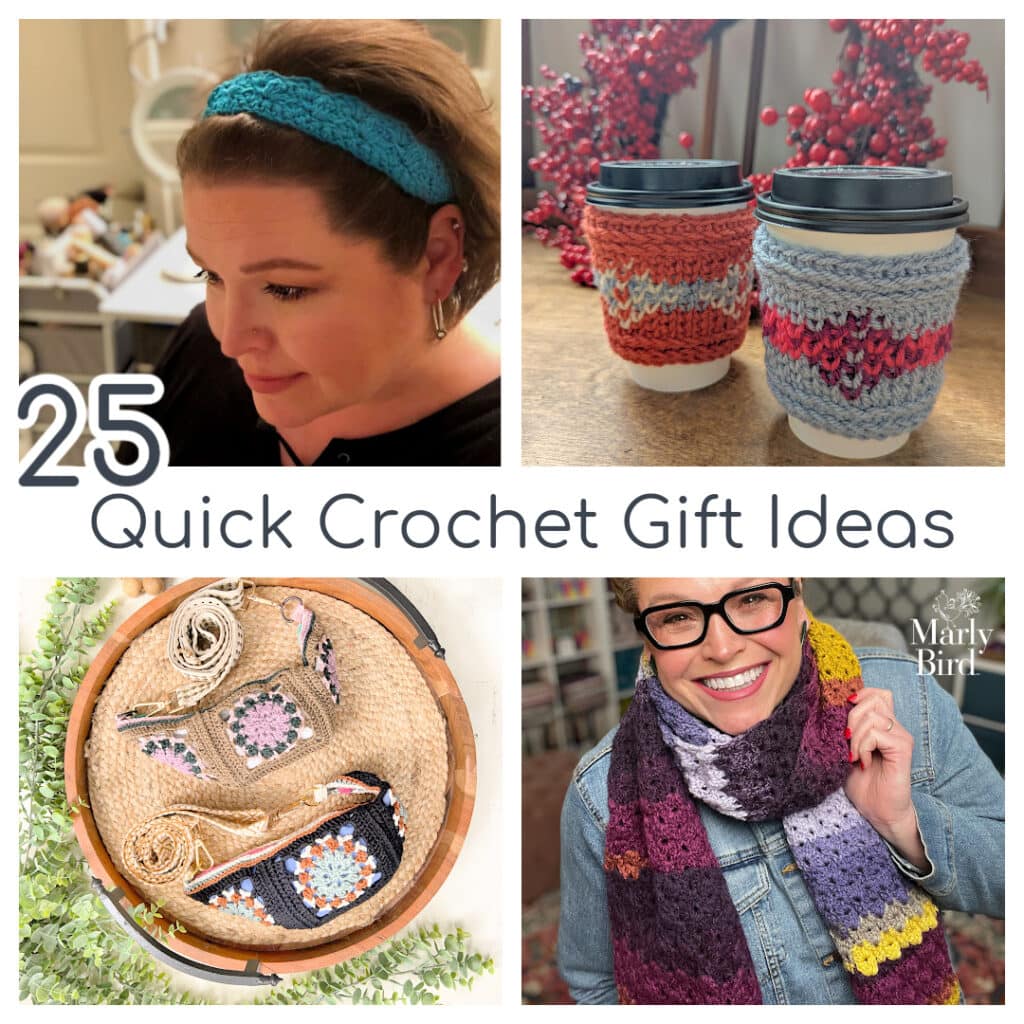
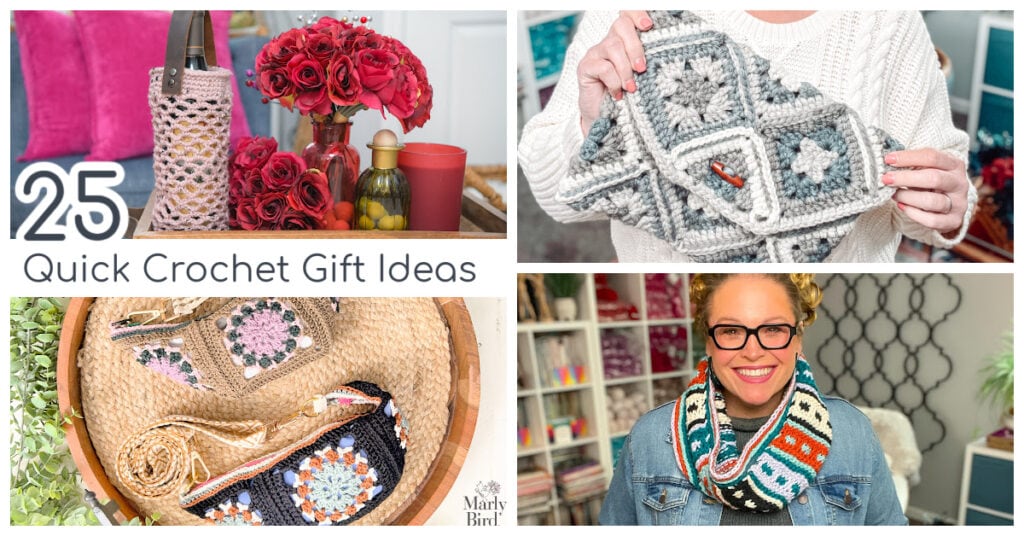
Looking for quick crochet gift ideas that are thoughtful, handmade, and actually doable—even when you’re short on time? You’re in the right place, friend 💕
This curated list is packed with easy crochet gifts you can make fast, whether you need a last-minute present, a stash-busting project, or just something fun to create and give. From cozy accessories to practical everyday items, these are the kinds of gifts people actually use and love.
Affiliate Disclosure: This post contains affiliate links. To learn more please visit my privacy policy here💖
✨ This post was updated in April 2026 with fresh patterns, new ideas, and even more quick crochet gift inspiration!
🎁 What You Will Love About These Crochet Gift Ideas
- ✔️ Quick to make (many in one evening!)
- ✔️ Beginner-friendly options included
- ✔️ Perfect for stash busting
- ✔️ Great for year-round gifting
- ✔️ Mix of free + premium patterns worth every stitch
- ✔️ Thoughtful handmade gifts people actually use
🧶 Why Crochet Gifts Are Always a Good Idea
There’s just something special about giving a handmade gift…you know?
It says: “I took the time to make this just for you.”
And the best part? Crochet gifts don’t have to take weeks to complete. With the right patterns, you can whip up something beautiful in just a few hours.
⚡ What Makes a Great Quick Crochet Gift?
When you’re short on time (or patience 😉), look for patterns that:
- Use simple stitches
- Have minimal shaping
- Work up quickly
- Use small amounts of yarn
- Don’t require complicated finishing
⚡ Ultra-Fast Crochet Gifts (Under 1 Hour)
Short on time? These are your go-to lifesavers 🙌
- Scrunchies – these are fun from RepeatCrafterMe
- Simple coffee cozy – free pattern
- Chapstick holders – everybody loves these
- Mini pouches – great to store crochet hooks or pencils
These are perfect for beginner crocheters and ideal when you need a last-minute gift that still feels thoughtful and handmade.
🧶 Quick Crochet Gift Ideas You Can Make Today
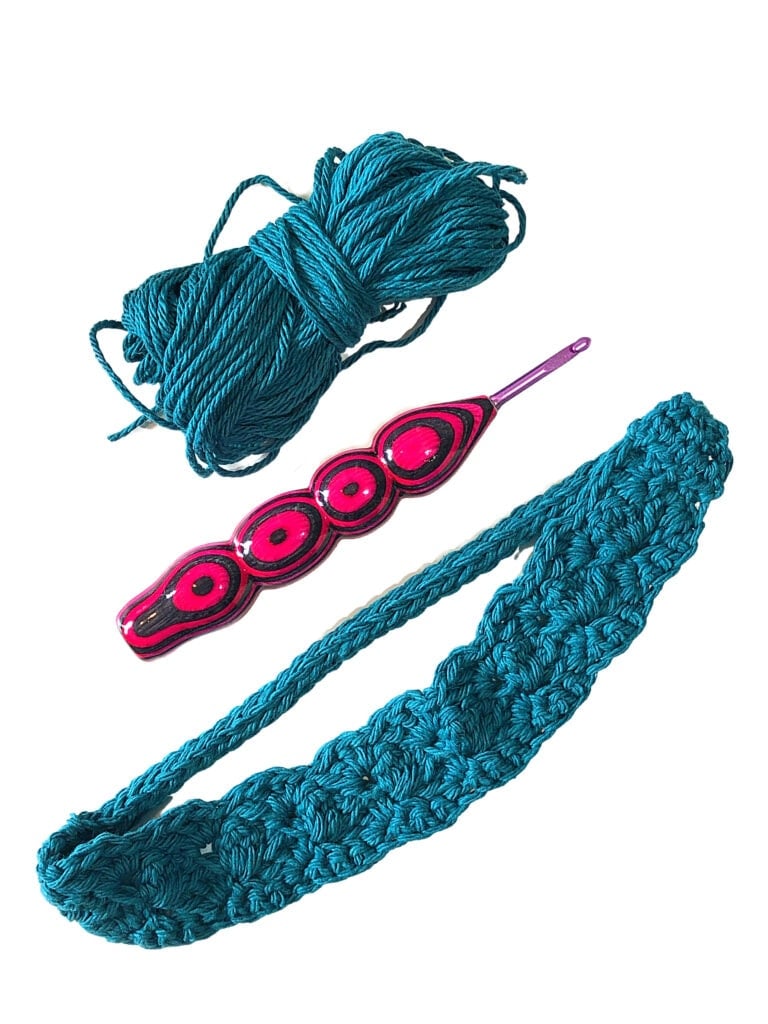
🧣 Bumpy Road Headband – Marly Bird Free Pattern
👉 Pin this idea for later!
A cozy, stylish headband that’s perfect for beginner crocheters and quick last-minute gifts. This is a go-to project when you want something wearable that works up fast. Get the free headband pattern here.
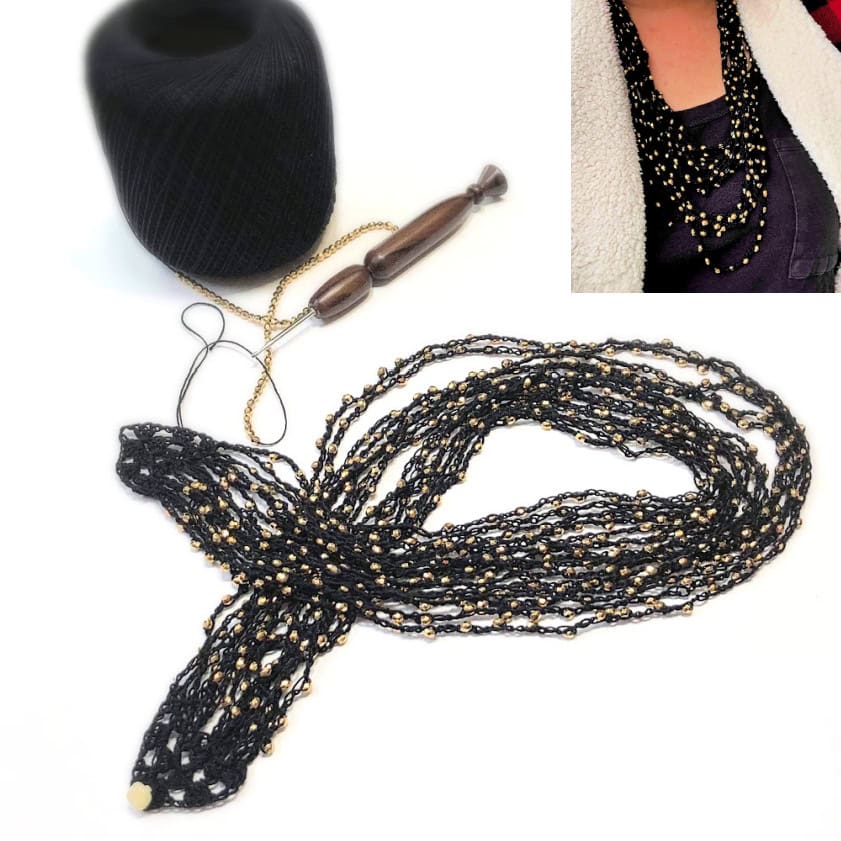
💎 Spectacular Spectacular Necklace – Marly Bird Free Pattern
👉 Pin this idea for later!
A lightweight crochet jewelry piece that’s perfect for gifting something unique and handmade without spending hours. Get the crochet necklace pattern here.
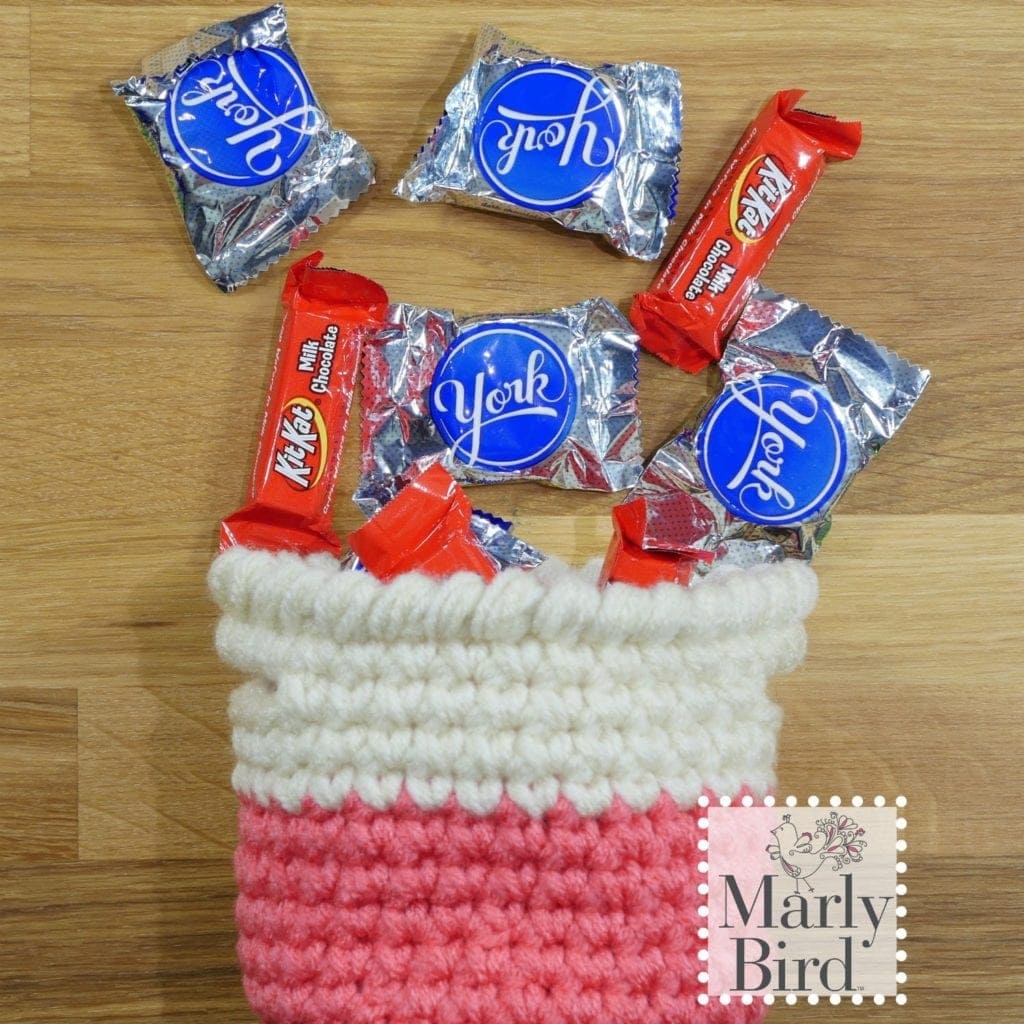
🧺 Hygge Mini Candy Basket – Marly Bird Free Pattern + Video Tutorial
👉 Pin this idea for later!
This adorable basket is perfect for building a gift set—just add treats, yarn, or self-care goodies. Get the mini basket pattern here.
🧼 Bright Crochet Dishcloth – MooglyBlog Free Pattern
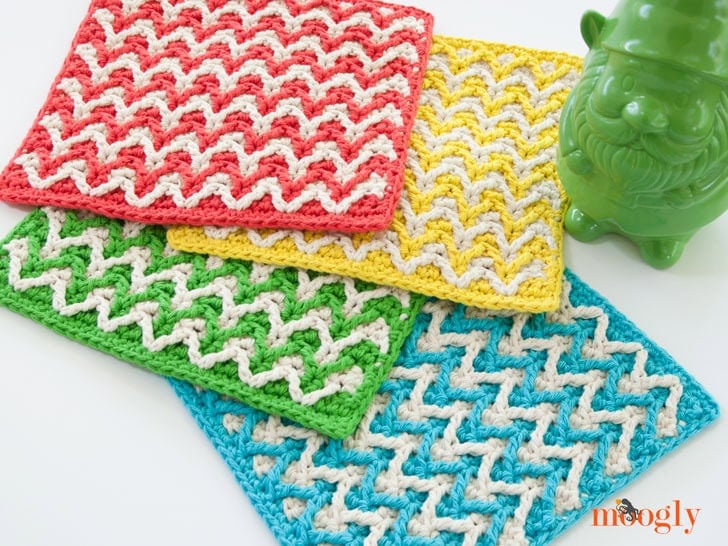
Perfect for housewarming gifts or eco-conscious friends, this quick project is both practical and thoughtful. Get the crochet dishcloth pattern here.
☕ Yule Fuel Coffee Cozy – Marly Bird Free Pattern
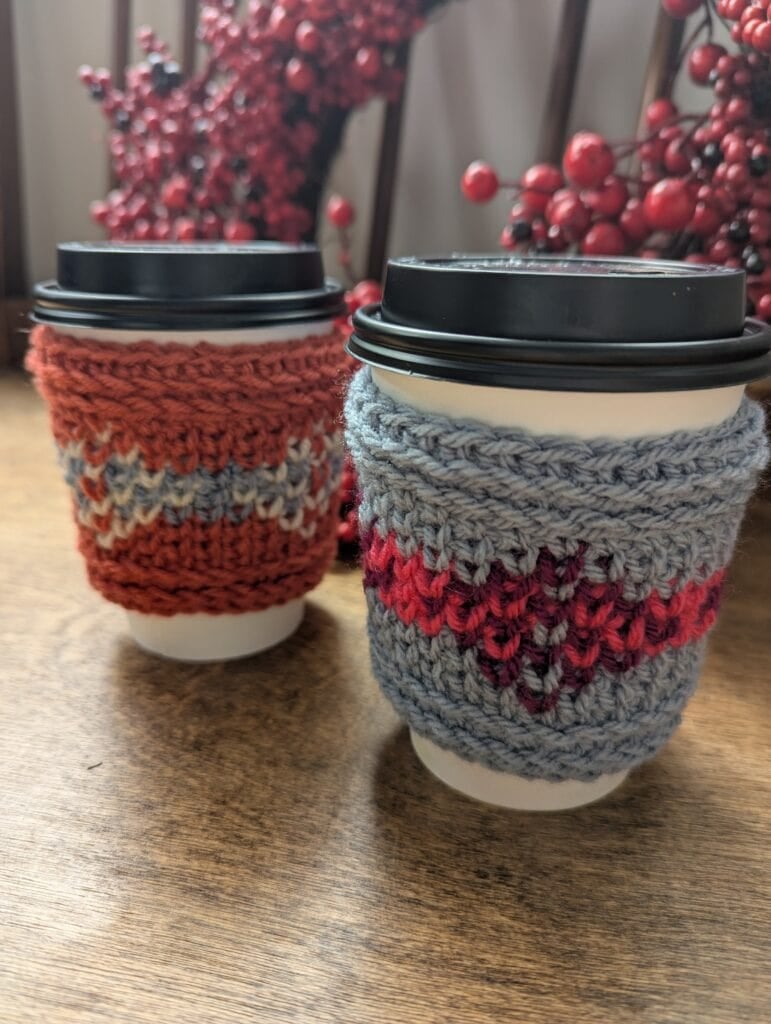
👉 Pin this idea for later!
A quick and textured project that’s perfect for teachers, coworkers, and anyone who loves their daily cup. Get the free pattern here.
🍷 Wine Cozy Collection – Marly Bird
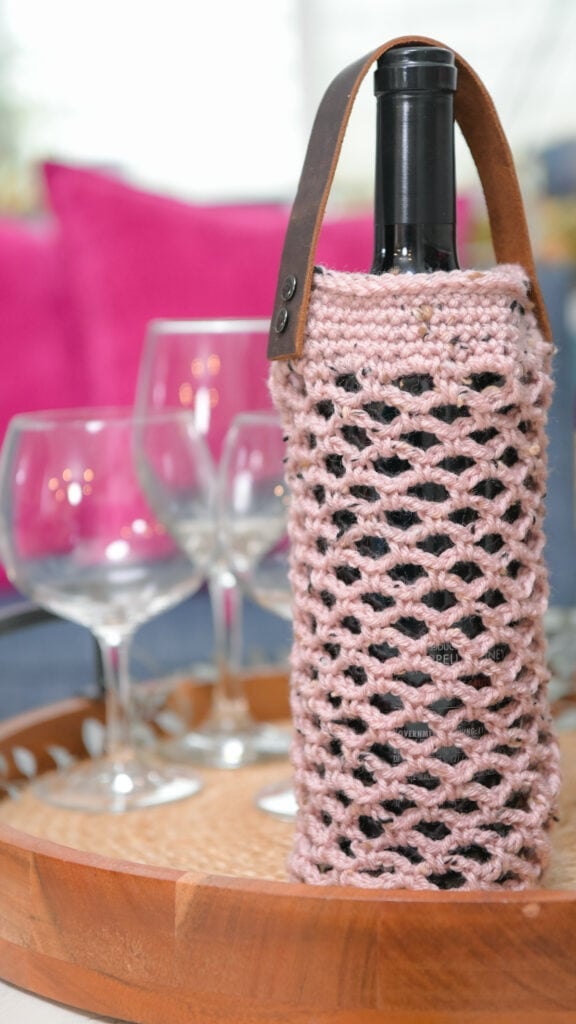
👉 Pin this idea for later!
Turn a simple bottle into a standout handmade gift—perfect for hostess gifts, dinner parties, or celebrations. Get the pattern here.
💍 Super Simple Beaded Necklace – Marly Bird Free Pattern

Elegant and fast—perfect for bundling into gift sets or gifting solo. Click here for the pattern.
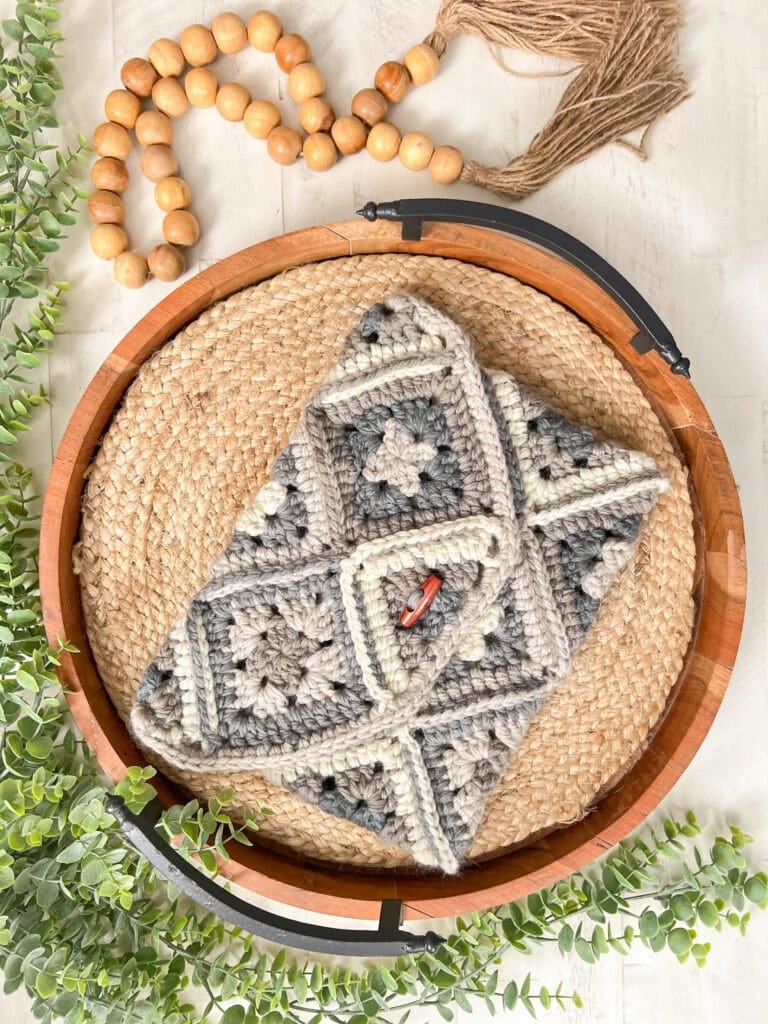
👜 Ramble and Rue Crochet Sling Bag – Marly Bird Free Pattern
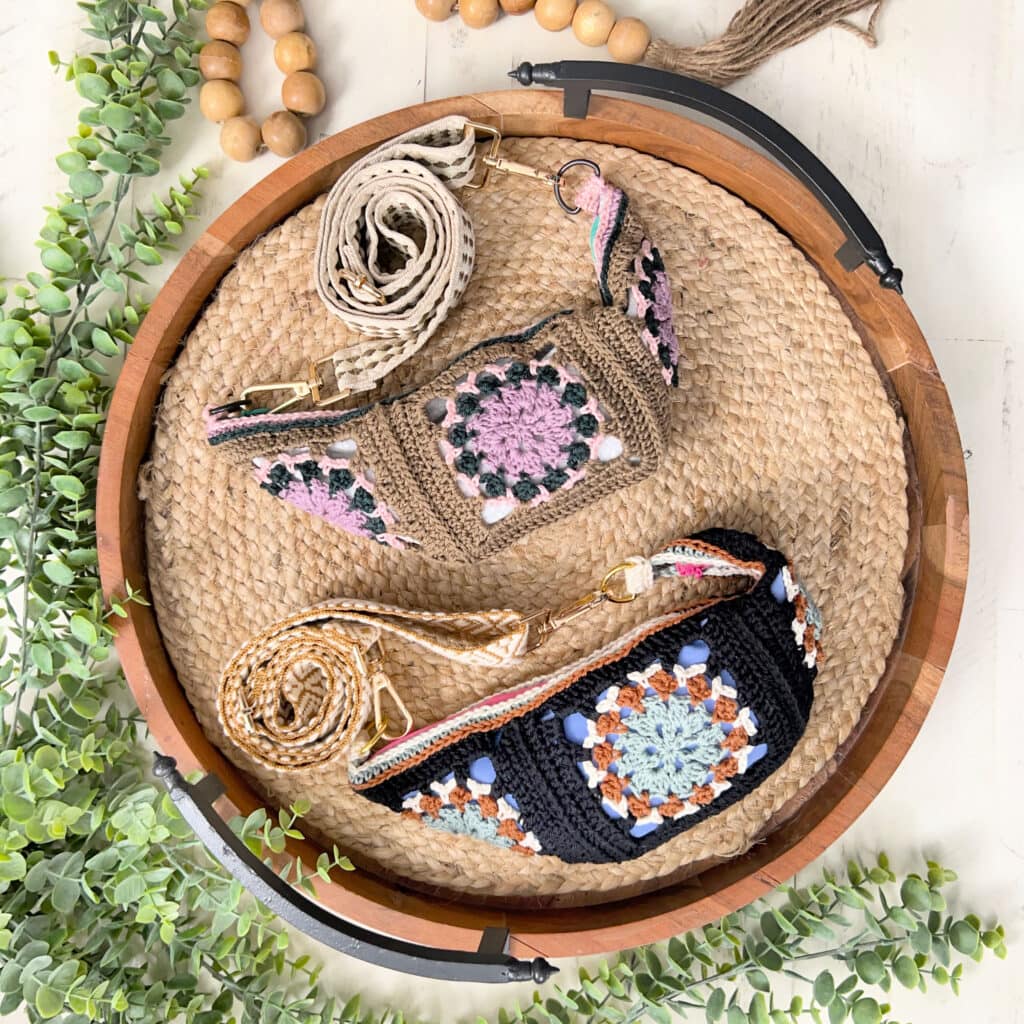
A practical and stylish gift for everyday use—great for sustainable living lovers. Get the pattern here.
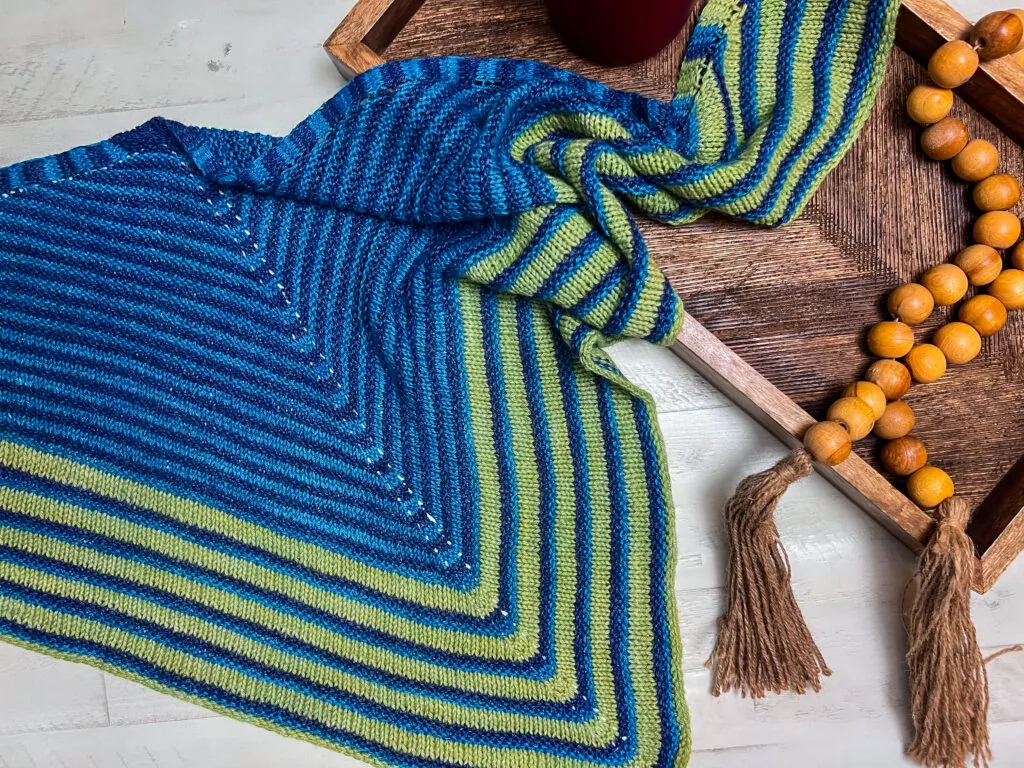
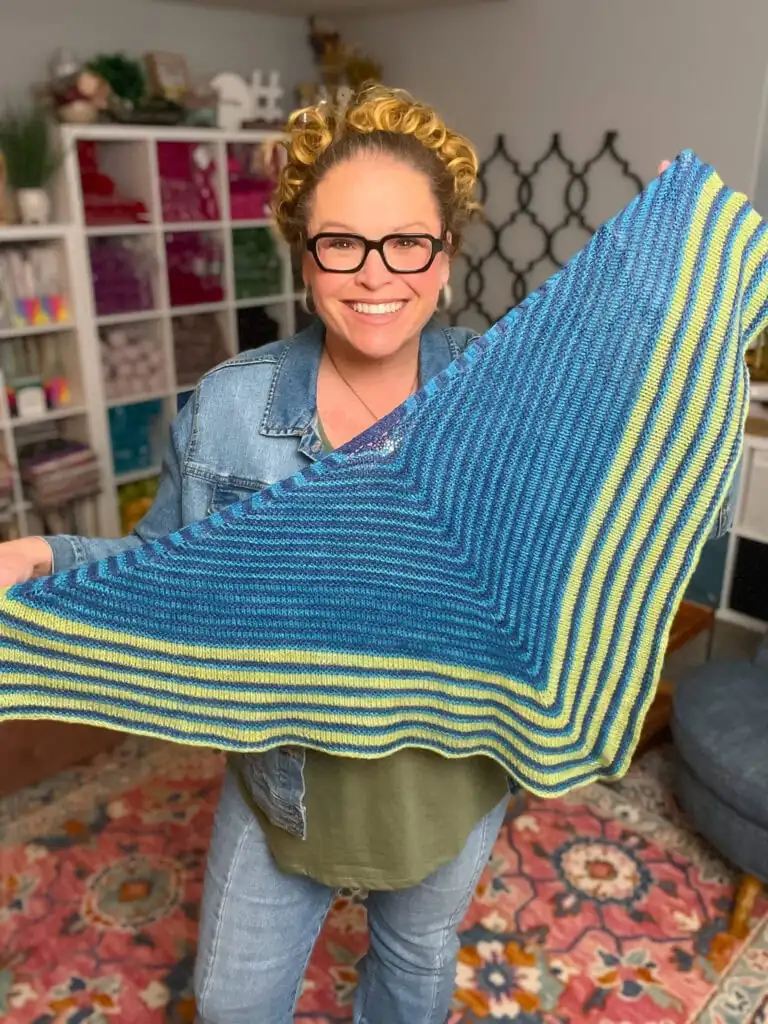
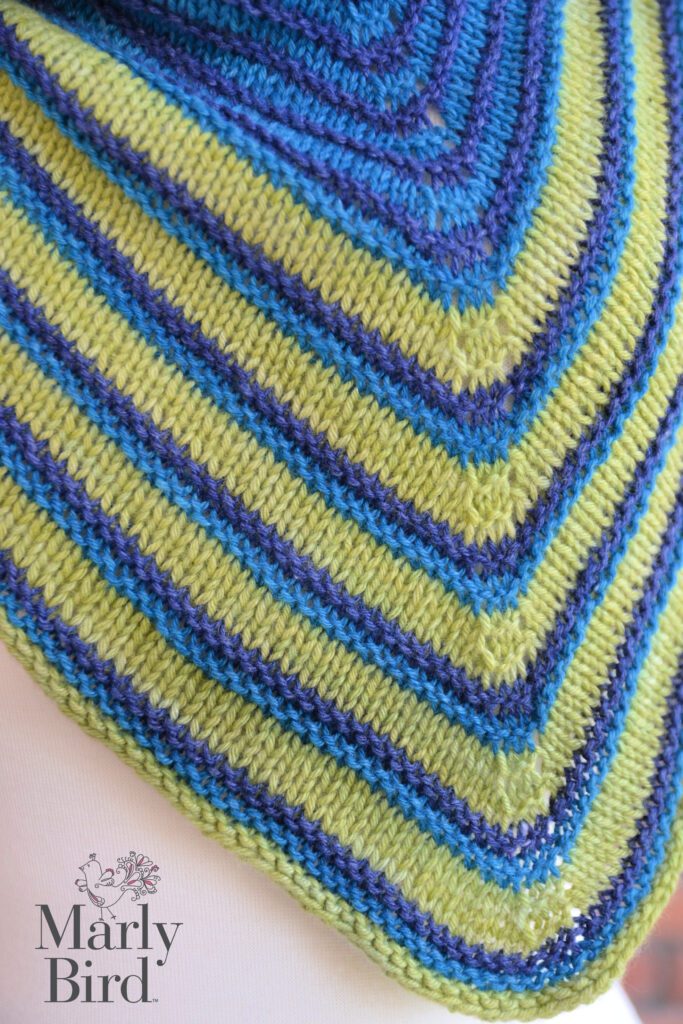
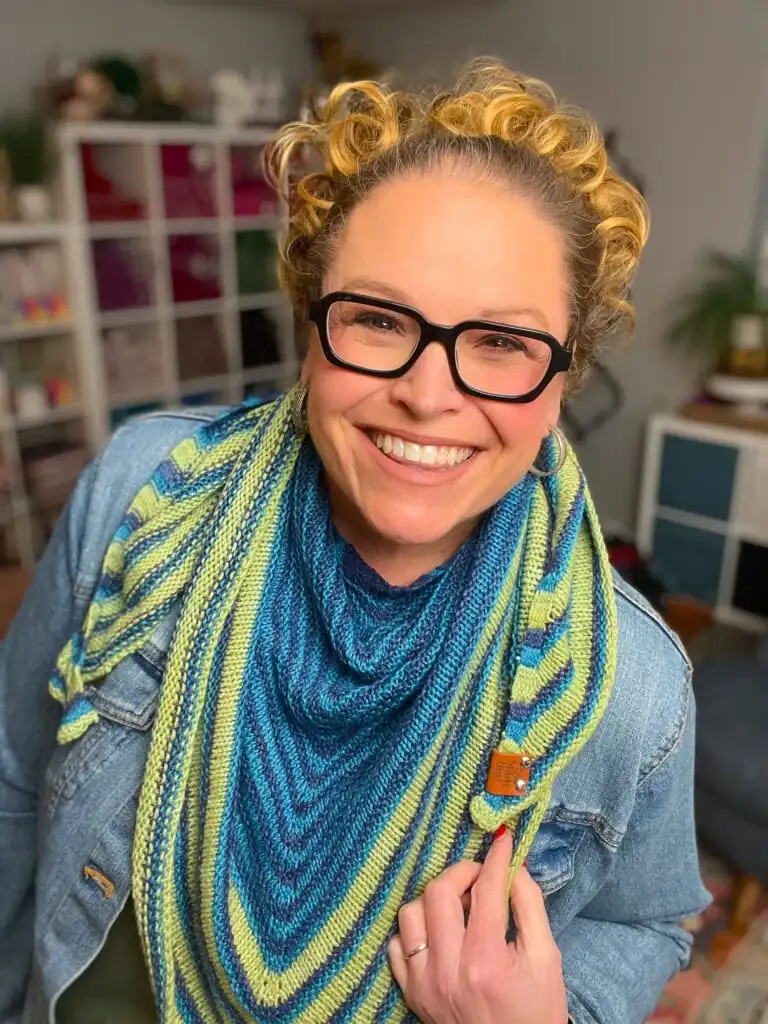
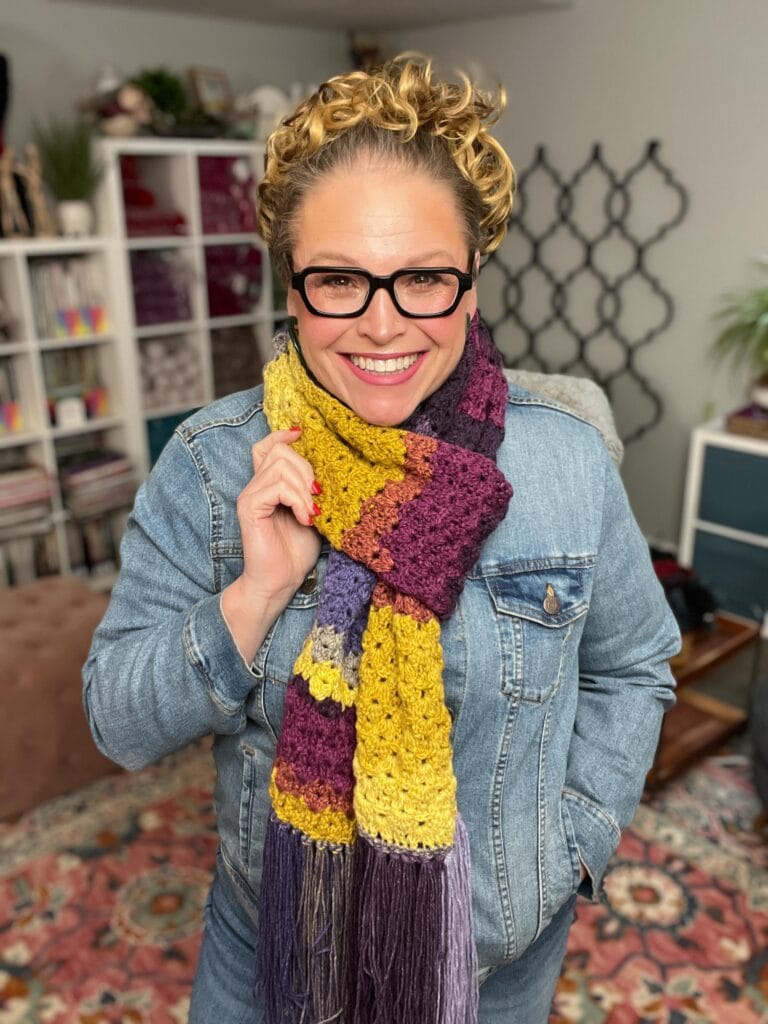
🍐Petal Link Crochet Scarf with Fringe – Marly Bird Free Pattern
🛋️ Cover Story Crochet Cover Cozy – Marly Bird Free Pattern
A statement piece that works up quickly and makes a meaningful home decor gift. Get the pattern here.
👩🍳 Tunisian Crochet Potholders – Marly Bird Free Pattern
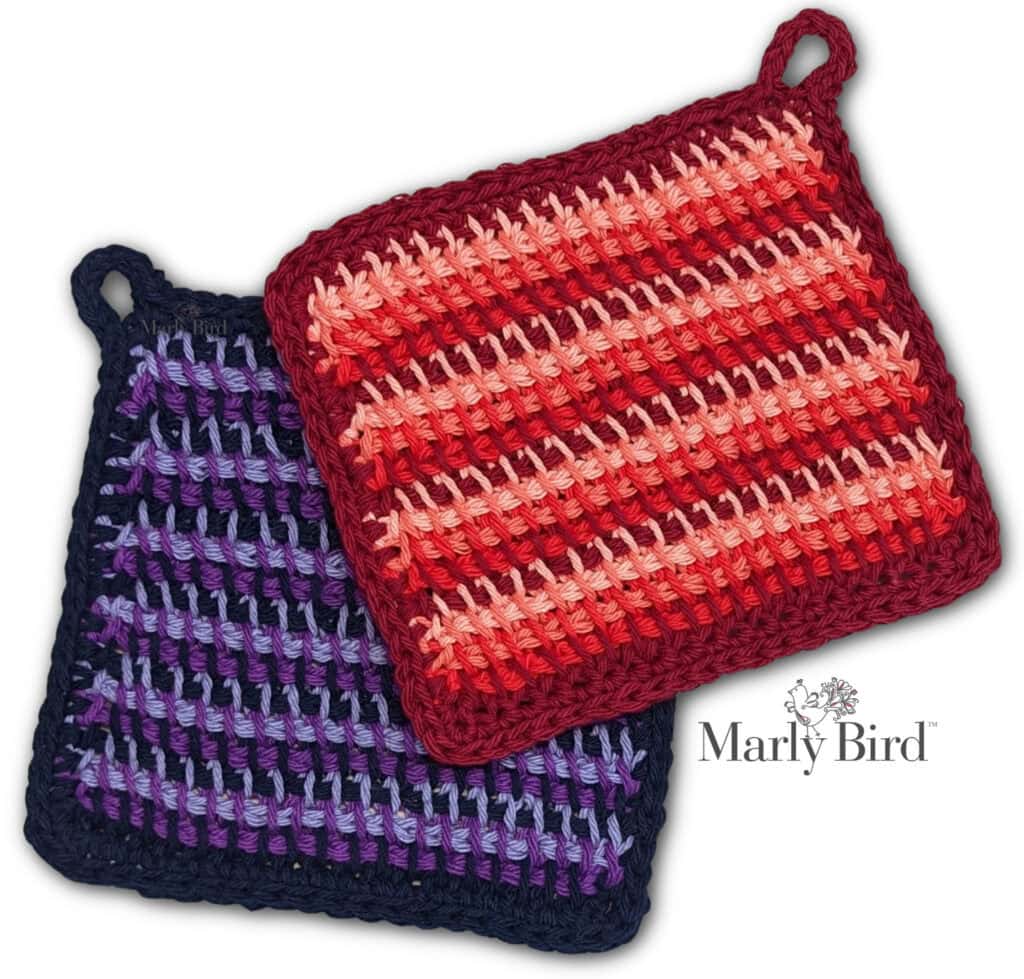
A standout handmade gift for cooks, bakers, and entertainers. Get the free potholder pattern here.
🎯 Who These Crochet Gifts Are Perfect For
- Teachers
- Friends
- Coworkers
- Neighbors
- Hostess gifts
- Market prep
- Last-minute gifting
🌟 If You Want a Showstopper Gift…
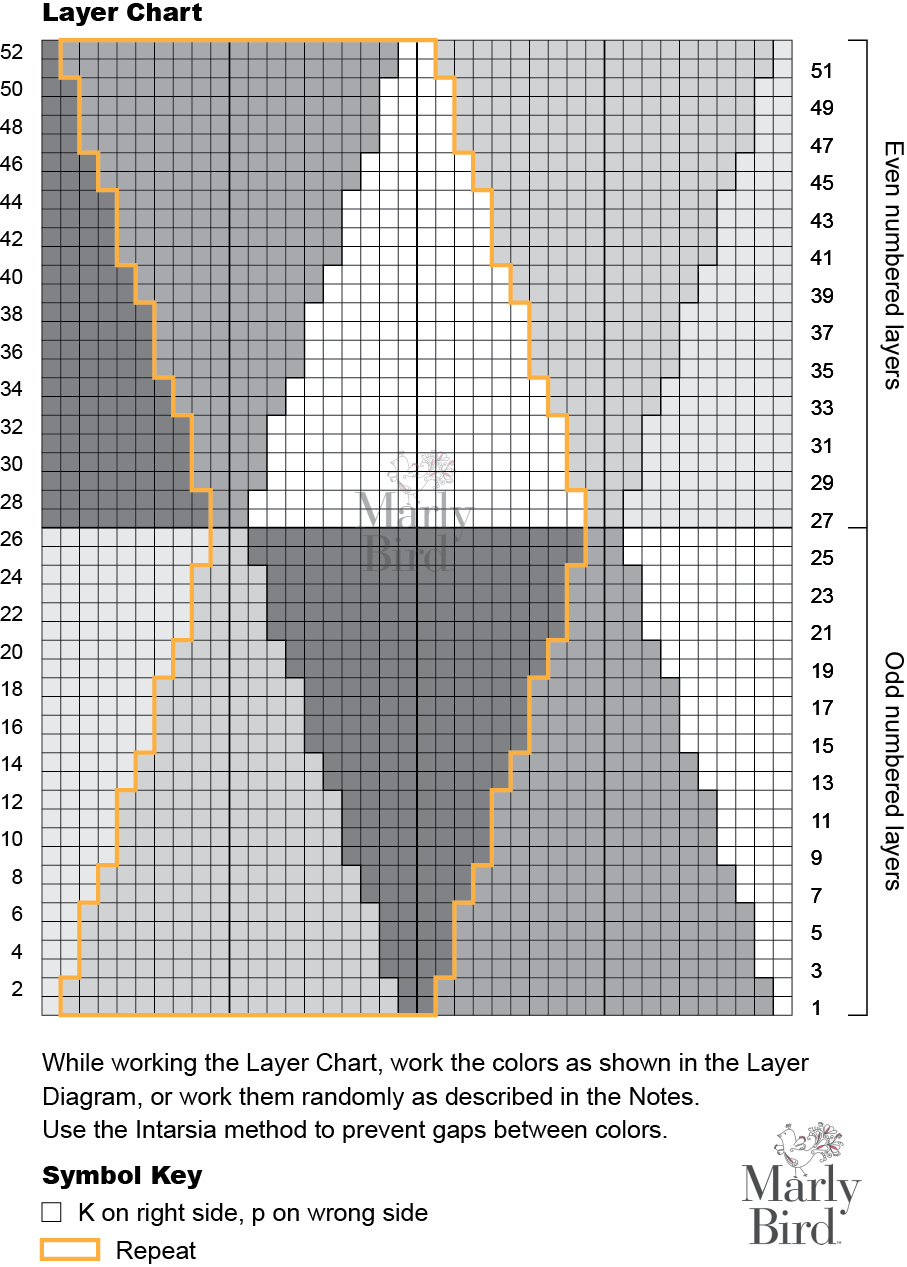
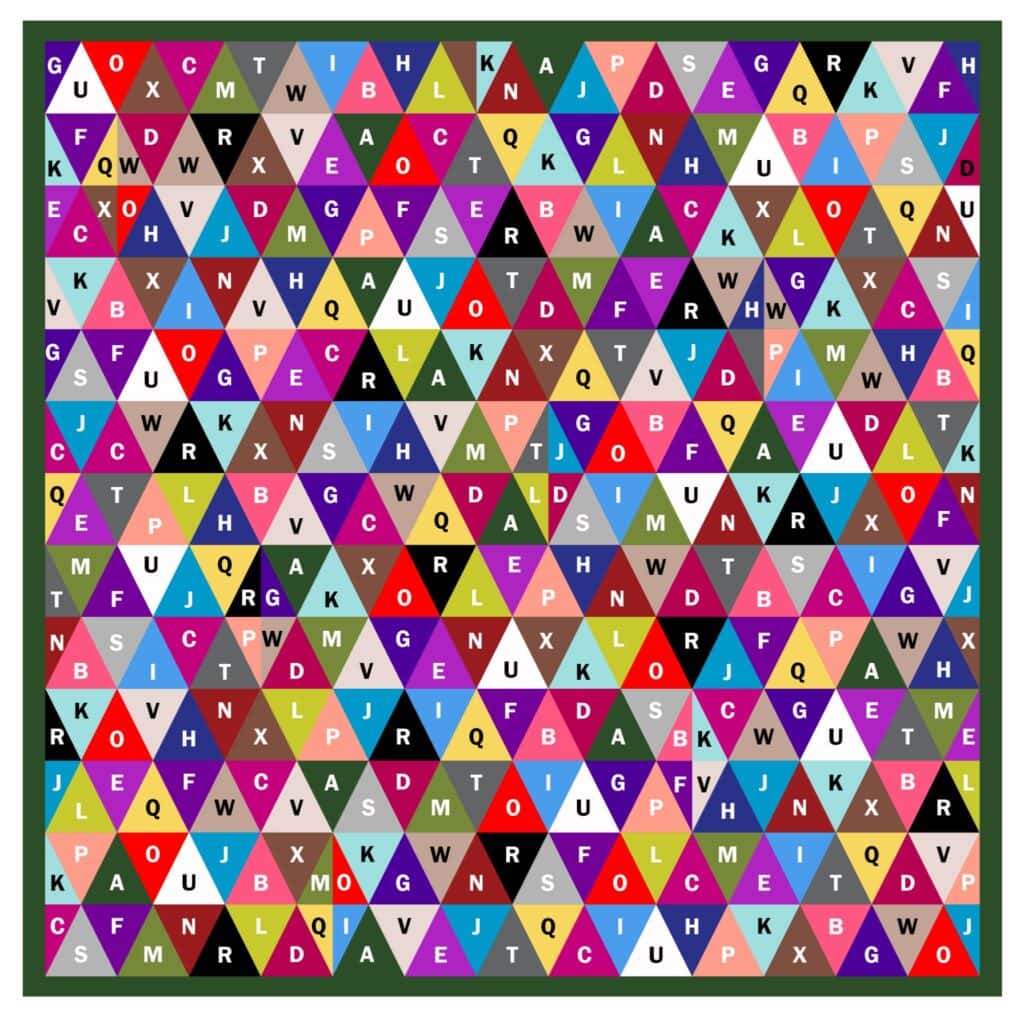
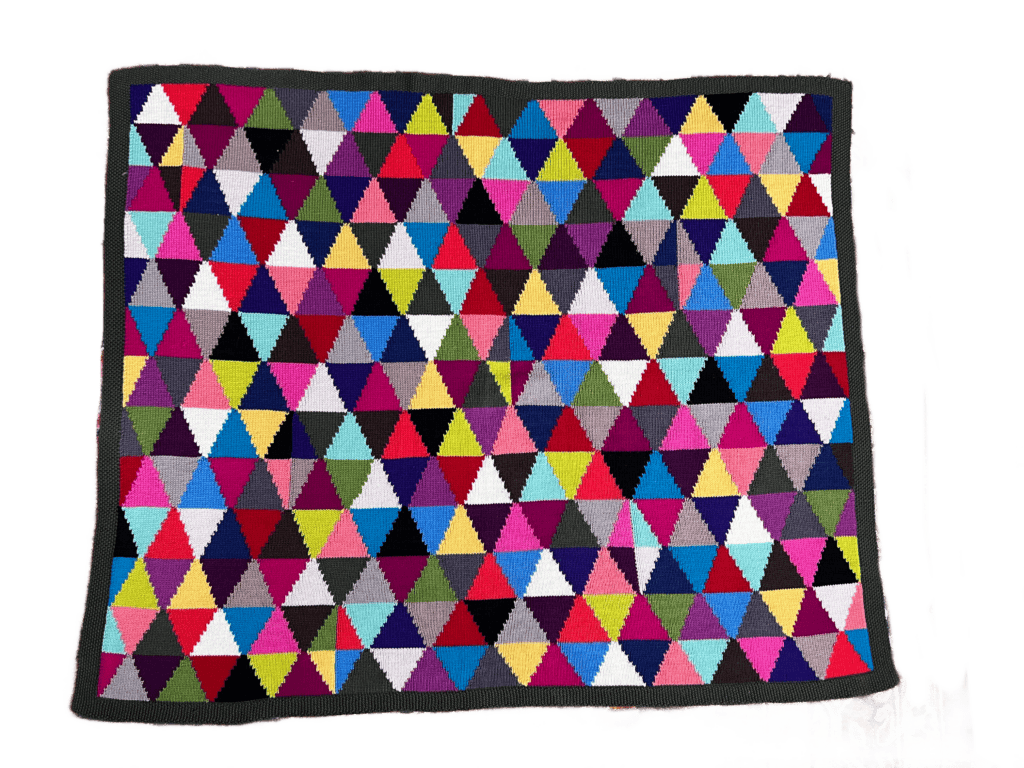
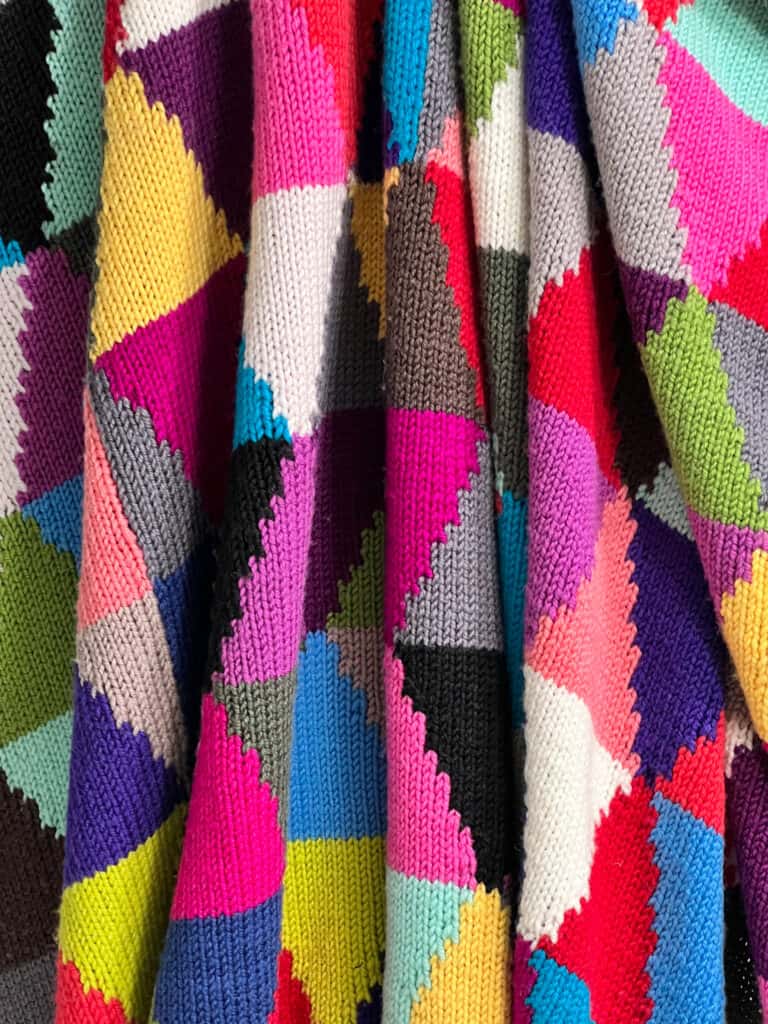
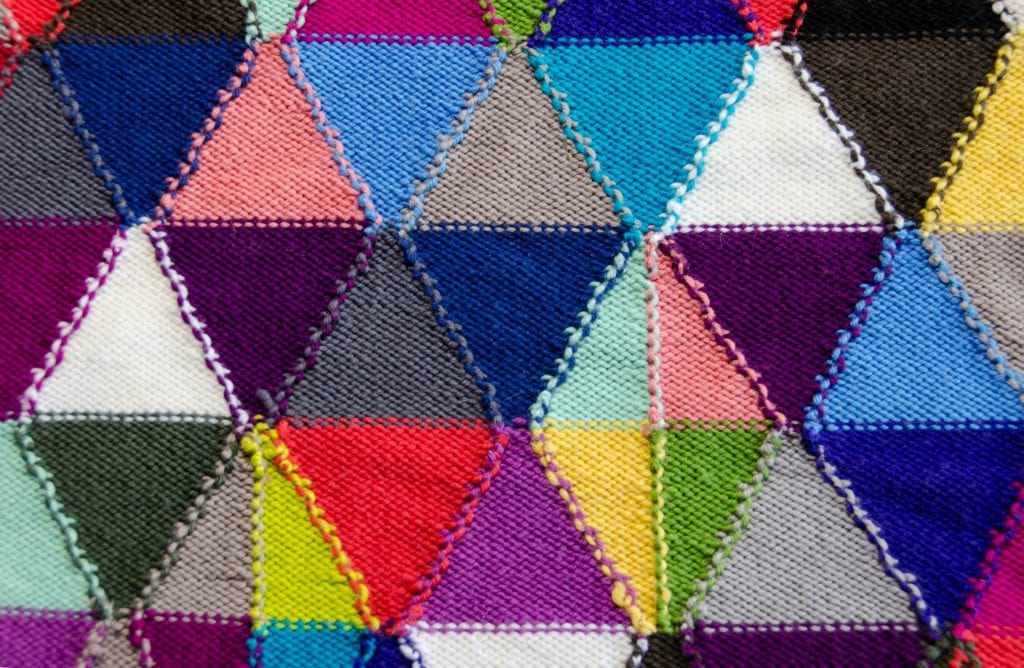
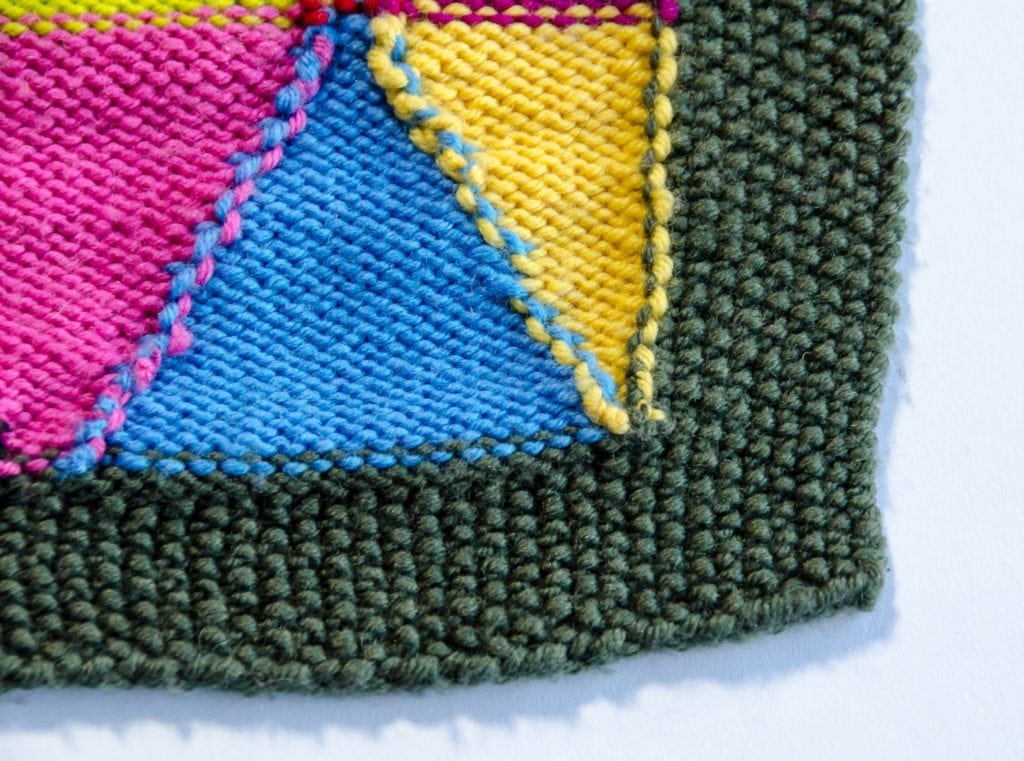
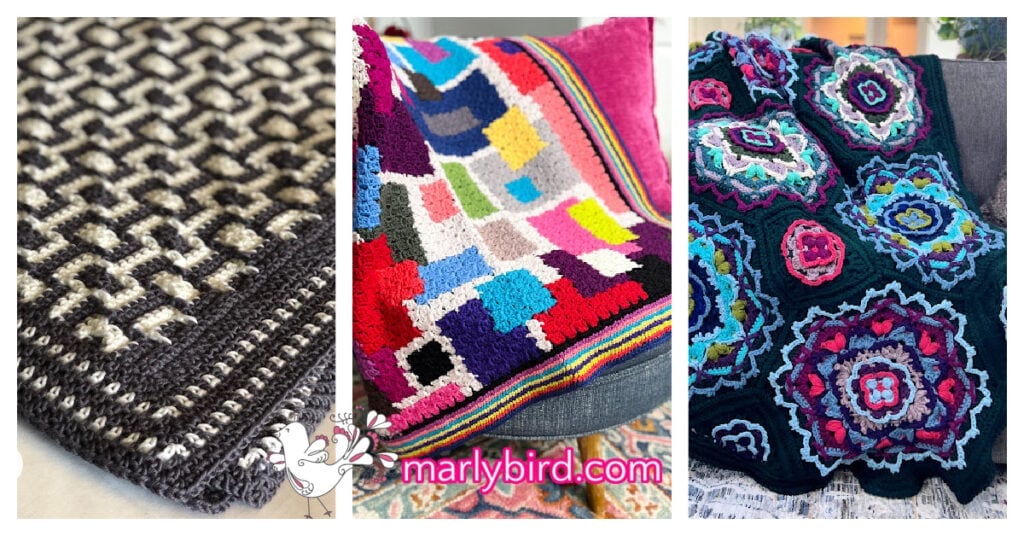
- Modern Mosaic Crochet Blanket – Free Crochet Blanket Pattern
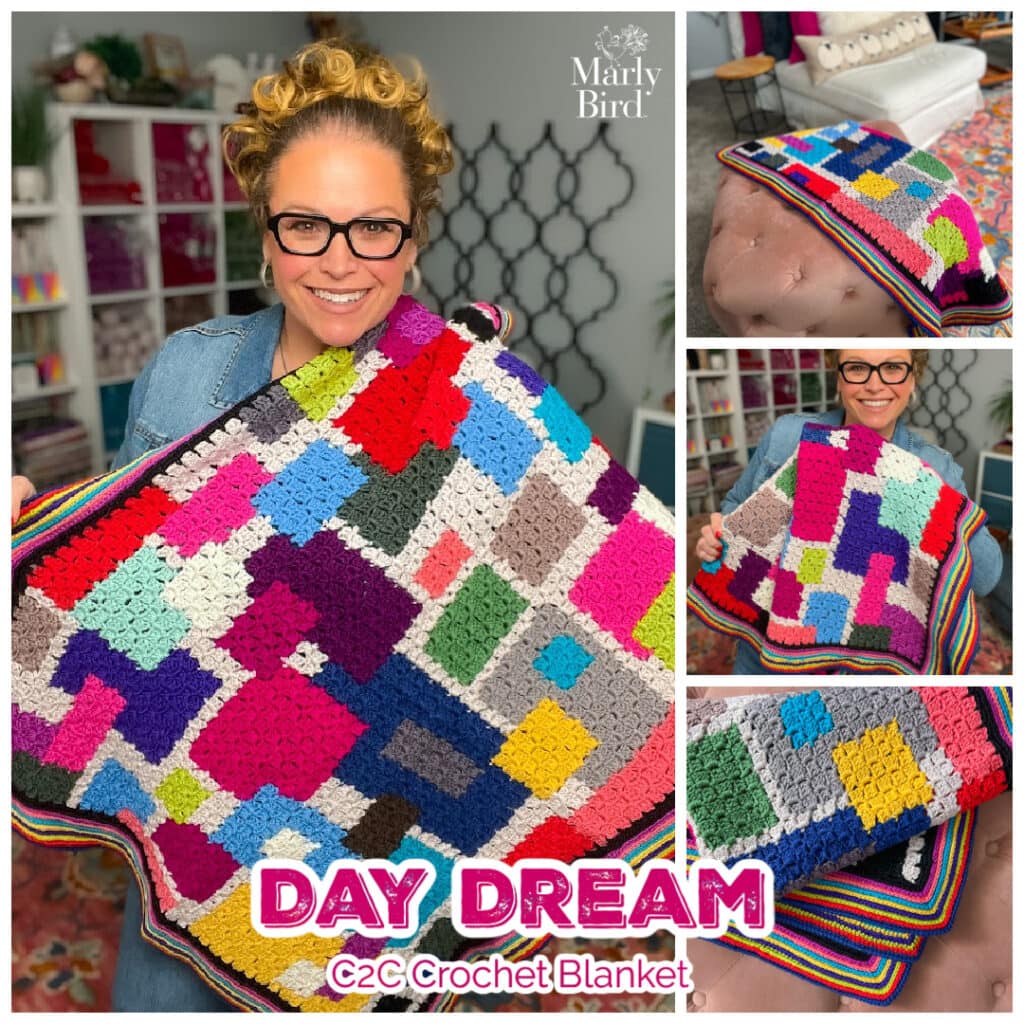
- Day Dream C2C Blanket – Free Corner to Corner Crochet Blanket Pattern
- Monet Crochet Mosaic Throw – 50% off the Pattern + Full Course in the Marly Bird House
These are perfect for milestone gifts or heirloom-quality pieces.
Join our Newsletter
Get Free Crochet & Knitting
Pattern Links & Coupons!

🧵 Best Yarn Choices for Quick Crochet Gifts
- Cotton → dishcloths, spa items
- Acrylic → budget-friendly gifts
- Blends → wearables and cozy items
- Comfy Worsted Weight
- DillyDally Yarn
- Memento Yarn – not a blend but a good choice
✨ Designer Tip: Keep cotton and worsted yarn in your stash—you’ll always be ready for a last-minute gift!
⏱️ How Long Do These Crochet Gifts Take?
- 1–2 hours → scrubbies, jewelry
- 2–4 hours → headbands, cozies
- 1–2 days → bags, pillows
- 2-4 weeks → blankets
❓ Frequently Asked Questions About Quick Crochet Gifts
What are the fastest crochet gifts to make?
Dishcloths, scrubbies, coasters, and coffee cozies are some of the fastest crochet gifts you can make.
Are crochet gifts beginner-friendly?
Yes! Many patterns use simple stitches and are perfect for beginners.
What can I crochet in one evening?
Headbands, wine cozies, jewelry, and small baskets are great one-evening projects.
What yarn is best for crochet gifts?
Cotton for practical items, acrylic or blends for wearables.
Are handmade crochet gifts still popular?
Absolutely. Handmade gifts are meaningful and widely appreciated.
Can I sell items made from these patterns?
In many cases yes, but always check pattern permissions.
How do I make crochet gifts look professional?
Use quality yarn, block your items, and add finishing touches like tags.
What are good crochet gifts for people who have everything?
Practical items like dishcloths, baskets, and cozies are always appreciated.
💕 Final Thoughts
Crochet gifts don’t have to be complicated to be meaningful.
With just a bit of yarn and time, you can create something thoughtful, useful, and truly one-of-a-kind 💛
🔍 SEO + DISCOVERY PACKAGE
SEO Title: Quick Crochet Gift Ideas – 25 Easy & Fast Handmade Gifts
SEO Slug: quick-crochet-gift-ideas
Meta Description: Discover quick crochet gift ideas that are easy, fast, and perfect for handmade gifting year-round.
Focus Keywords:
quick crochet gift ideas
easy crochet gifts
fast crochet projects
crochet gifts to make
last minute crochet gifts
Social Title: 25 Quick Crochet Gift Ideas You’ll Love
Social Description: Need a quick handmade gift? These crochet ideas are fast, easy, and perfect for any occasion.