BiCrafty Bootcamp Beginner Crochet Lessons for Knitters: Lesson 5
Welcome back to BiCrafty Bootcamp: Beginner Crochet Lessons for Knitters. Did you enjoy your week off? Did you use it to make the crochet baby blanket pattern that we suggested for extra credit practice? If so, then your crochet muscle memory should be getting pretty good by now. Either way, you’re ready to put some stitch patterns you already know together with some new skills as we advance further with lesson five. You’ll learn how to crochet edgings for beginners. Additionally, you’ll begin to learn about working in the round. This week’s pattern is a bandana-style triangle shawl.
It’s not too late to join BiCrafty Bootcamp. Sign up free here.

Skill-Building: Granny Stitch and Shell Stitch
In this week’s pattern, you’ll have the opportunity to continue working with some of the crochet stitches that you’ve already learned and learn a few new ones to add to your growing dictionary of stitches.
In this lesson, we will learn key tips for crochet edgings, how to read an edging chart and plan for the multiples, how to work the shell stitch crochet edging (which is ideal for beginners), moss stitch crochet edging, and
We’re going to create a granny stitch triangle shawl. Then we’re going to add crochet shell stitch edging to it. You learned these stitches in Lesson 3.
This pattern lets you practice what you’ve learned while adding new skills. Your comfort with the stitches themselves provides a solid platform for the skill-building part.
Crochet Edgings for Beginners
There are many, many, many crochet edgings out there for crocheters, and most are easy enough to apply to just about any item. The trick is understanding how it all works with the math and how it relates to your fabric.
Ideally, you’ll always have a pattern where the stitch count math has already been done for you by the designer. However, there are so many great crochet edgings for beginners, and you might want to choose a different one than the designer intended. Therefore, we have listed 11 key tips for adding crochet edgings to crochet below.
11 Key Tips for Adding Crochet Edgings to Crochet
When working edgings on crochet, there are some key points to consider:
- Working an edging is easier when you have a solid base of stitches to begin. For that reason, you will find that many patterns will have you begin with a row or round of single crochet or half double crochet evenly spaced out along the stitch edge or row edge. This is not absolutely necessary (as you will see in the project for this week), but it does make for an easier transition to the edging, and it also makes for a cleaner look. Note: You can crochet more than one row or round of these base stitches.
- Work the first row or round of base edging on an item in the main color for a cleaner look. This helps hide any unsightly stitches you might have along the fabric. It will also help hide any floats you might have along the edge when changing colors.
- These base edge rows or rounds should be made with the right side of the fabric facing.
- When working along the crochet stitch edge, it is necessary to work under both loops of the crochet stitch.
- When working along the crochet row edge, you can work around the post or tch of the first/last stitch of the row OR work into the post or tch like you do when working into a foundation chain. Choose what looks best for the piece you are crocheting.
- When working along the crochet row edge, it is necessary to space the stitches evenly as best you can to prevent the fabric from pulling in too much due to too few stitches or rippling because there are too many stitches. Use stitch markers to divide each side into sections or quadrants to help with this.
- General rule of thumb for stitch spacing ratio, 1 single crochet edge stitch for each single crochet row, 3 single crochet edge stitch worked around every 2 rows of double crochet. But remember, these rules are meant to be broken, and you should adjust them as necessary for the item you are making.
- When working around a corner, you must make room for the turn in the fabric by adding a stitch or chain at each corner. This is why you will often see corner stitches written as 3 stitches in a corner or (stitch, ch 1, stitch) in a corner.
- Remember to maintain the stitch count multiple when making stitch count adjustments to fit your fabric.
- Crochet edgings can be made flat in back-and-forth rows, in the round with joined rounds that do not turn, or in the round with joined rounds that turn. Make sure you know what is best for your project.
- Last but not least, a little tweak or fudge here and there to make an edging stitch count work for your fabric will blend right into the fabric. For example, if you are supposed to skip a stitch to make the stitch count work and for some reason you get to the end, and you have 1 extra stitch…then skip 2 stitches instead…or work a -2tog over the extra stitch and the one you are supposed to work into to close any possible hole and get to the right stitch count. DON’T STRESS TOO MUCH OVER THE SMALL STUFF!
Don’t be scared! You’ve actually already learned a little bit of this if you’ve been following along with all of the BiCrafty Bootcamp crochet lessons. Remember when we added the ties to both of our headbands? As part of that lesson, we showed you how to crochet evenly along the short edges. However, now you’ll have the opportunity to go in-depth with this important lesson in crochet edgings for beginners.
What About Working in the Round with Edgings?
As mentioned already, you can do edgings in rows or rounds. For this lesson, we will be focusing on rows. In lesson 6, we’ll work with motifs created in the round and, thus, crochet edging in the round. This week’s lesson teaches you what you need to know.
???? Do put a pin in that one for right now.
Crochet Edgings on Knitted Fabric
You read that correctly; adding crochet edgings to knit fabric is possible. Mostly, the tips for doing that are the same as for crocheters with a few specific changes because you are working into knit stitches and rows, not crochet.
12 Key Tips for Adding Crochet Edgings to Knitting
When working crochet edgings on knitting, there are some key points to consider:
- Working a crochet edging around knitted stockinette stitch helps prevent curling.
- Although it is possible to work the crochet edging stitch pattern directly into the knit stitches or knit rows, it is easier when you have a solid base of crochet stitches to work into first. For that reason, you will find that many patterns will have you begin with a row or round of single crochet or half double crochet evenly spaced out along the stitch edge or row edge. This is not absolutely necessary, but it does make for an easier transition to the edging, and it also makes for a cleaner look. Note: You can crochet more than one row or round of these base stitches.
- Work the first row or round of base edging on an item on the right side and in the main color for a cleaner look. This helps hide any unsightly stitches you might have along the fabric. It will also help hide any floats you might have along the edge when changing colors.
- When working along the knit bind off edge, work under both loops or legs of the V.
- Work into each cast on stitch when working along the knit cast on edge.
- Staying in one column of stitches is essential to keep a consistent distance from the edge when working along the knit row edge.
- When working along the knit row edge, evenly space the stitches as best you can to prevent the fabric from pulling in too much due to too few stitches or rippling because there are too many stitches. Use stitch markers to divide each side into sections or quadrants to help with this.
- A general rule of thumb for stitch spacing ratio: 2 sc for every 3 rows of knitting, or 3 sc for every 4 rows of knitting. It is important to note that knitting is not square like single crochet; thus, it takes more rows of knitting per inch than it takes for crochet stitches per inch. Therefore, you will do fewer crochet stitches when working along rows of knitting. But the overall takeaway is this: do what works best for your fabric. These rules are meant to be broken. And remember, crochet is easy to rip out and start over if you don’t like the spacing.
- When working around a corner, you must make room for the turn in the fabric by adding a stitch or chain at each corner. This is why you will often see corner stitches written as 3 stitches in a corner or (stitch, ch 1, stitch) in a corner. Think of this like what you do when you work the center point on a knit shawl. It has to have the increase to allow the fabric to lay flat and not cup.
- Remember to maintain the stitch count multiple when making stitch count adjustments to fit your fabric.
- Crochet edgings can be made flat in back-and-forth rows, in the round with joined rounds that do not turn, or in the round with joined rounds that turn. Make sure you know what is best for your project.
- Last but not least, a little tweak or fudge here and there to make an edging stitch count work for your fabric will blend right into the fabric. For example, if you are supposed to skip a stitch to make the stitch count work and for some reason you get to the end, and you have 1 extra stitch…then skip 2 stitches instead…or work a -2tog over the extra stitch and the one you are supposed to work into to close any possible hole and get to the right stitch count. DON’T STRESS TOO MUCH OVER THE SMALL STUFF!
Must-Have Crochet Edgings for Beginners Books
Most of you are knitters and understand the importance of filling your library with great instructional books like  Elizabeth Zimmermann’s “The Knitter’s Almanac“, Ann Budd’s collection of books “The Knitter’s Handy Book of Patterns”, “The Knitter’s Handy Book of Top Down Sweater”, “The Knitter’s Handy Book of Sweaters”, and Clara Parks’ “Knitter’s Book of Yarn”, “Knitter’s Book of Wool”, “Knitter’s Book of Socks” (I have a pattern in the sock book).
Well, in crochet, there are those must-have books as well. Since we are focusing on crochet edgings this week, I feel as if I absolutely MUST tell you about my favorite edging books. And when I tell you I love these, I am not lying. I own 2 copies of each one in hardback, and I have a Kindle version of all of them. They are my go-to edging books!
All these books are by the amazing Edie Eckman. Crochet Borders Every Which Way Crochet Borders. You can not go wrong with ANY of Edie’s books, so take a look and begin to stock your crochet library.
Other Things We’ll Learn and Practice This Week
Here are some of the other things we’ll go over as we work on this week’s pattern and our lesson on crochet edgings for beginners:
- Continue reading charts as well as written patterns. Keep building both skills.
- Joining yarn for edging with slip stitch, standing stitch (or chainless stitch), and stacked stitches. Let’s get clear on the difference and when to use each. Remember we learned stacked double crochet in Lesson 4.
- Working with new yarn. This week, we’re working with Chroma Worsted yarn, which means we’re working with a roving type wool. To date, we’ve only worked with cotton unless you did last week’s extra credit project, which was acrylic yarn. What are some things to consider when working with a yarn like this?
When possible, we have provided affiliate links for items. Using these links does not cost you anything more, but it does let the company know you came there from us, and we get a portion of the sale.
????TIP: If you haven’t bought the yarn you need for the next few lessons yet, check out the WeCrochet / KnitPicks sale for I Love Yarn Day. They have 20% off all yarn October 7 – 11, 2021.????
LESSON 5: BEGINNER BANDANA-STYLE TRIANGLE SHAWL
Designed by Marly Bird
SKILL LEVEL
Adventurous Beginner
MEASUREMENTS
Finished Measurements
Completely Customizable
Gauge
4 st pattern repeats (ch 1, dc) and 7 rows = 4” [10 cm]; use any size hook to obtain the gauge.
MATERIALS
Yarn
WeCrochet Chroma (70% Superwash Wool, 30% Nylon, 198 yds / 100 g, CYCA 4, worsted)
#28050, Pixie, 2 balls (sample color)
Hook
Size H (5 mm) or any size hook to obtain the gauge. (WeCrochet Hook, TooShay Crochet Hook)
Notions
Locking stitch markers from WeCrochet (optional), Chenille and tapestry needles for weaving in ends
ABBREVIATIONS
Ch – Chain(s)
Dc – Double Crochet
RS – Right Side
Sc – Single Crochet
Sp(s) – Space(s)
St(s) – Stitch(es)
Tc – Treble Crochet
Tch – Turning Chain
WS – Wrong Side
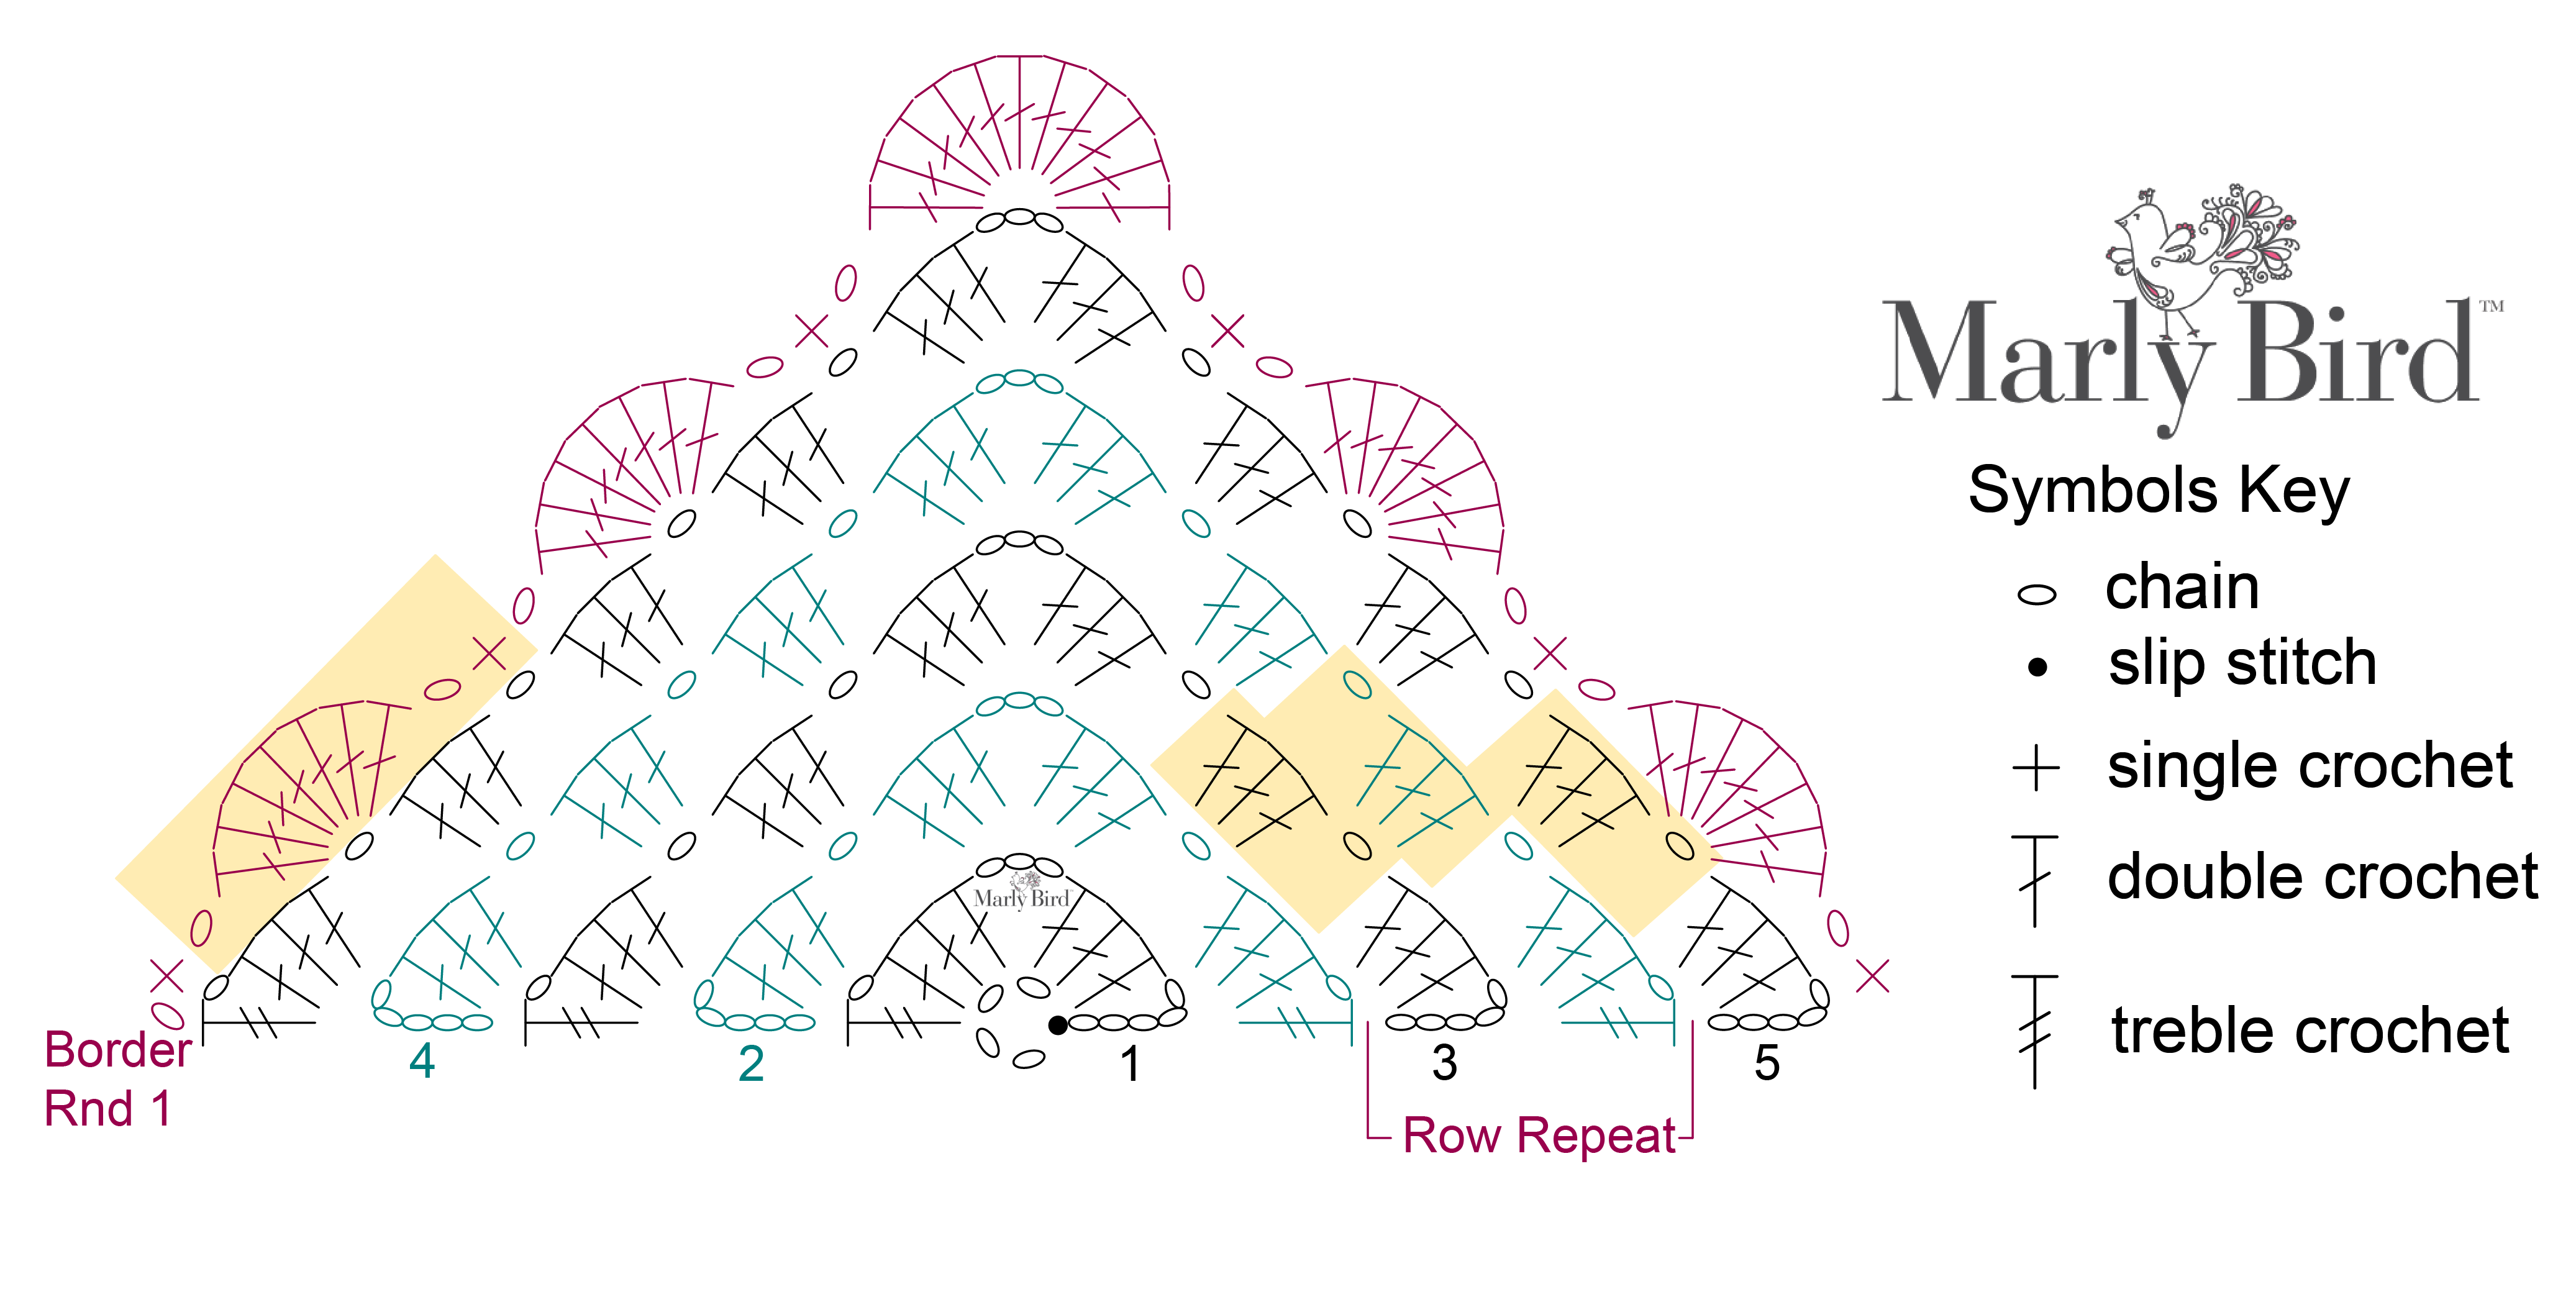
DIAGRAM
NOTES
- The bandana-style triangle shawl begins with a ring but is not made in the round.
- When changing to new balls of yarn, start where you left off to continue the color flow.
- This shawl size is completely customizable. Make it as large as you want; just be aware of how much yarn you have available.
VIDEO TUTORIAL
- Coming Soon
BEGINNER BANDANA-STYLE TRIANGLE SHAWL PATTERN
SHAWL BODY
Chain 4, sl st into first chain to form a ring, turn.
Row 1 (WS): Ch 5 (counts as tc, ch 1 now and throughout), (3 dc, ch 3, 3 dc, ch 1,tc) into ring, turn.
Row 2 (RS): Ch 5, 3 dc in first ch-1 sp, ch 1, (3 dc, ch 3, 3 dc) in ch-3 space, ch 1, 3 dc in next ch-1 sp, ch 1, tc in 4th ch of tch, turn.
Row 3 (WS): Ch 5, 3 dc in first ch-1 sp, * ch 1, 3 dc in next ch-1 sp; repeat from * to center ch-3 sp, ch 1, (3 dc, ch 3, 3 dc) in ch-3 sp, ** ch 1, 3 dc in next ch-1 sp; repeat from ** to last ch-1 sp, ch 1, 3 dc in last ch-1 sp, ch 1, tc in 4th ch of tch, turn.
Row 4 (RS): Ch 5, 3 dc in first ch-1 sp, * ch 1, 3 dc in next ch-1 sp; repeat from * to center ch-3 sp, ch 1, (3 dc, ch 3, 3 dc) in ch-3 sp, ** ch 1, 3 dc in next ch-1 sp; repeat from ** to last ch-1 sp, ch 1, 3 dc in last ch-1 sp, ch 1, tc in 4th ch of tch, turn.
Repeat rows 3 and 4 to desired size or until about 1 ⅓ of the yarn has been used, ending after a row 3.
BORDER
Row 1 (RS): Ch 1, sc in tc, skip first ch-1 sp, * ch 1, 7 dc in next ch-1 sp, ch 1, sc in next ch-1 sp; repeat from * to center ch-3 sp, ch 1, 11 dc in ch-3 sp, ch 1, sc in next ch-1 sp, ** ch 1, 7 dc in next ch-1 sp, ch 1, sc in next ch-1 sp; repeat from ** to end placing the last sc in 4th ch of tch. Fasten off.
FINISHING
Fasten off. Weave in all ends.
Lesson 5 Video Instruction
Great Patterns and Classes from My Friends!
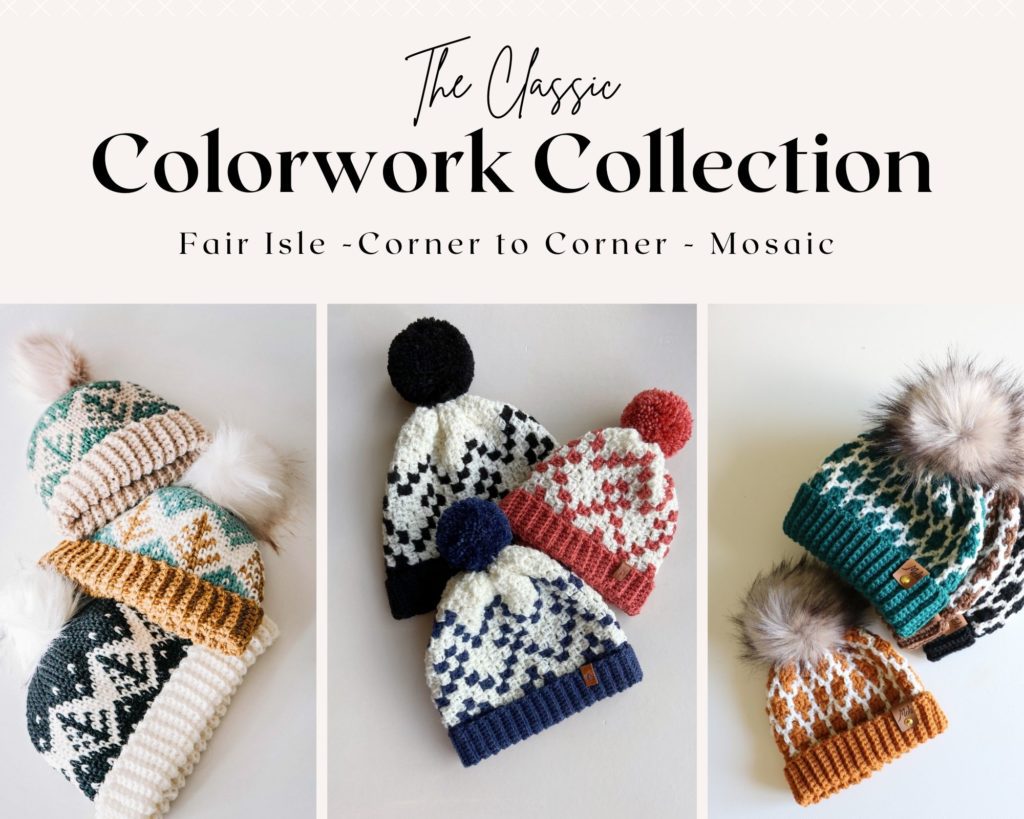
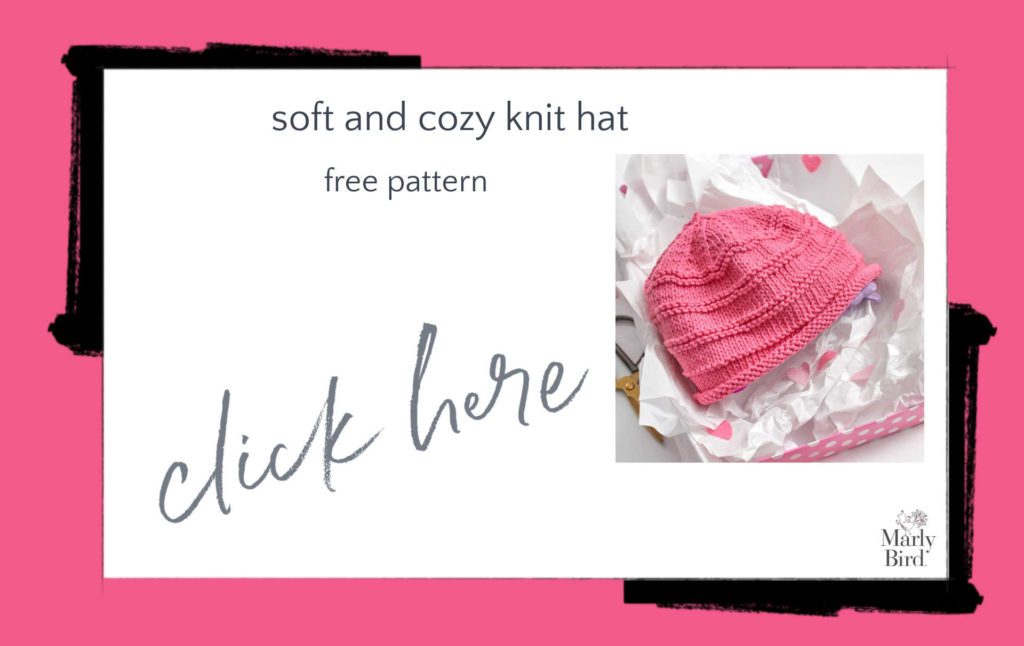
Three of my friends have collaborated together on an amazing e-book! These hats are the perfect addition to any pattern collection and accessory closet.
The patterns come with video tutorials, and I tell you this honestly. These three women are very good at teaching, and I know you can work on these projects with their help.
If you are looking for something unique and fun, be sure to check these out before they are gone.
Additional Videos and Patterns You Might Like:
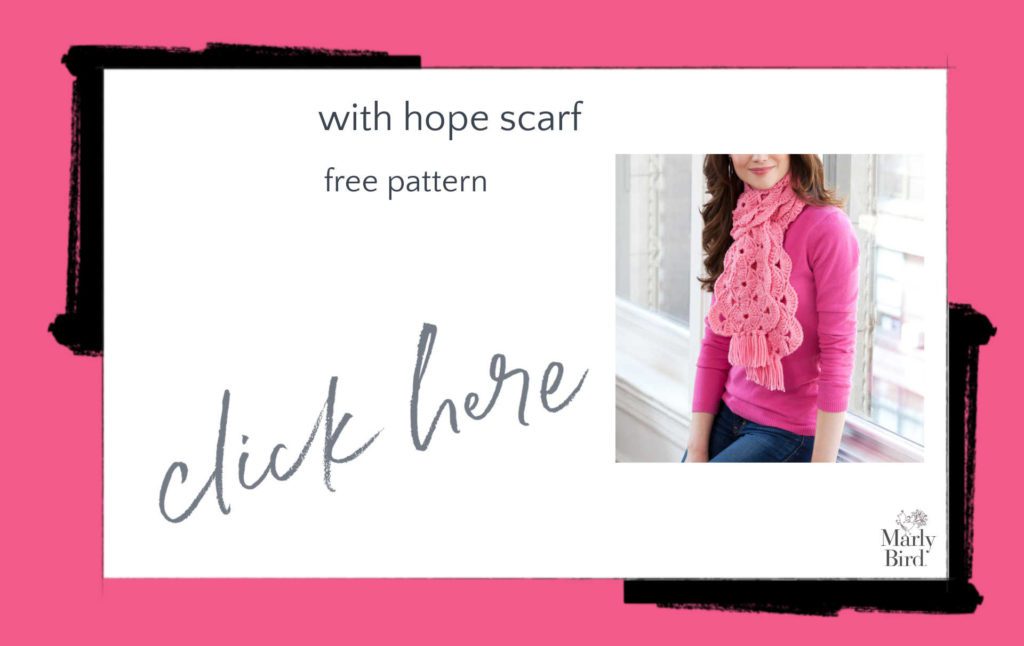
- Beginner Lace Border Crochet Shawl Pattern. This is another beginner crochet shawl pattern with a simple edging.
- Paton’s Grace Stocking Edging. Free pattern to add a simple border to a premade stocking.
- Granny Square Cardigan Edging Video. Although you’re not quite ready for the full cardigan pattern yet, watching this 9-minute video can give you more tips about crochet edgings for beginners.
- Crochet Stitch Sampler Blanket Edging Video. We’ve recommended this pattern as a good one to work as you develop your skills. The video will teach you more about crochet edgings.
- Scalloped Edge Crochet Washcloth Pattern. This free pattern teaches you the cluster stitch. Moreover, it shows you how to work an easy edging.
You might also consider purchasing a book like The New Crochet Stitch Dictionary. This has many different stitch techniques, including crochet edgings for beginners and advanced crocheters. It’s a terrific resource.