
Big Teddy Bear || Free Crochet Stuffed Animal Pattern
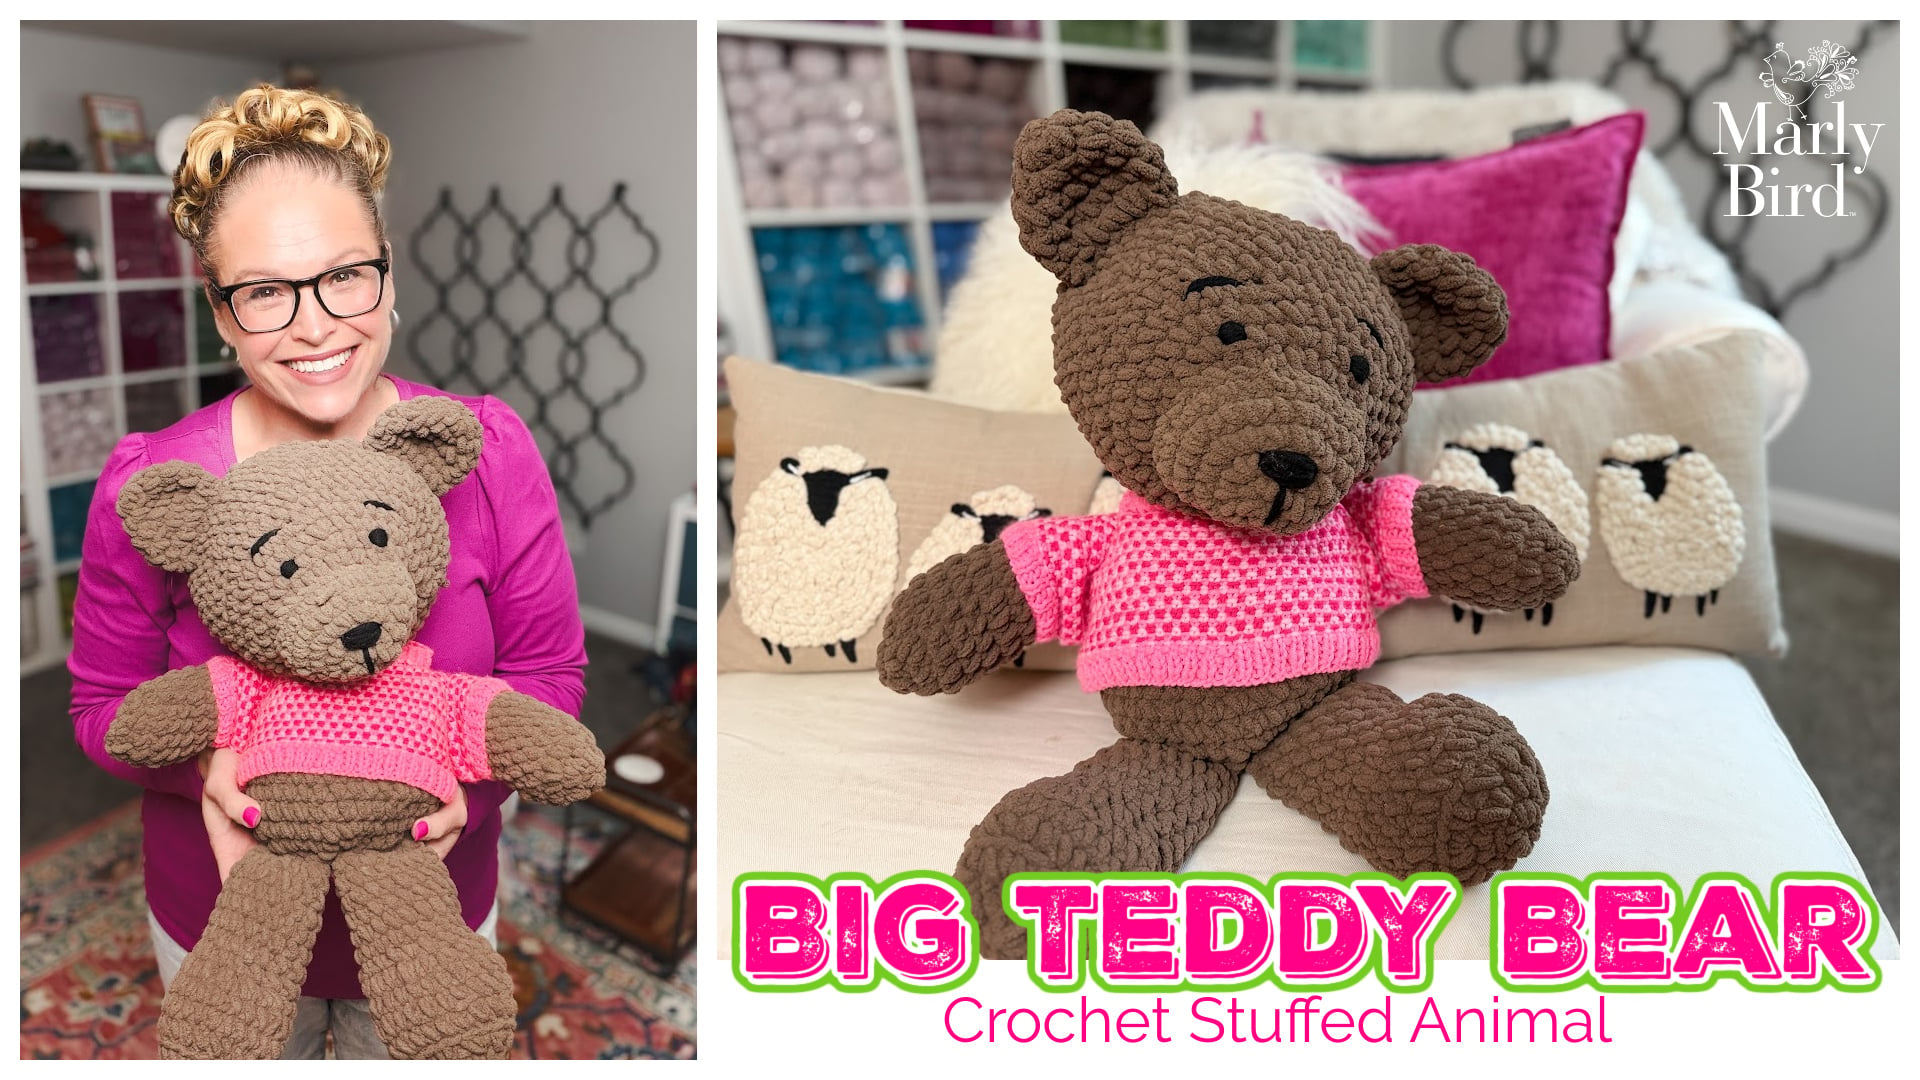
The Big Bear is a free crochet stuffed animal pattern designed by Michele Wilcox for MarlyBird.com. Using super bulky Bernat Blanket yarn and a size L/11 hook, it works up to 19 inches tall — a genuinely big, squishable cuddle buddy that's perfect for adventurous beginners and a wonderful handmade gift.
⚡ Quick Answer:
This free beginner amigurumi pattern uses CYCA #6 super bulky yarn (Bernat Blanket) and a size L/11 (8.0mm) hook. The finished bear is 10″ wide × 19″ tall — big enough to be a real cuddle buddy. You'll single crochet all pieces in continuous spiral rounds, seam them together, and embroider the face. The complete free pattern is right here on this page.
Hey, bestie 💛 If you've been wanting to try amigurumi but felt intimidated by those tiny, fiddly stitches… this Big Bear is your answer. Chunky yarn + a big hook = you can actually SEE what you're doing. Nothing about this pattern is fiddly. The stitches are big, the pieces are satisfying, and the finished bear is SO huggable. Let's make one!
⬇ Jump to the pattern details →
🧶 Free Bonus: Knit a Sweater for Your Bear!
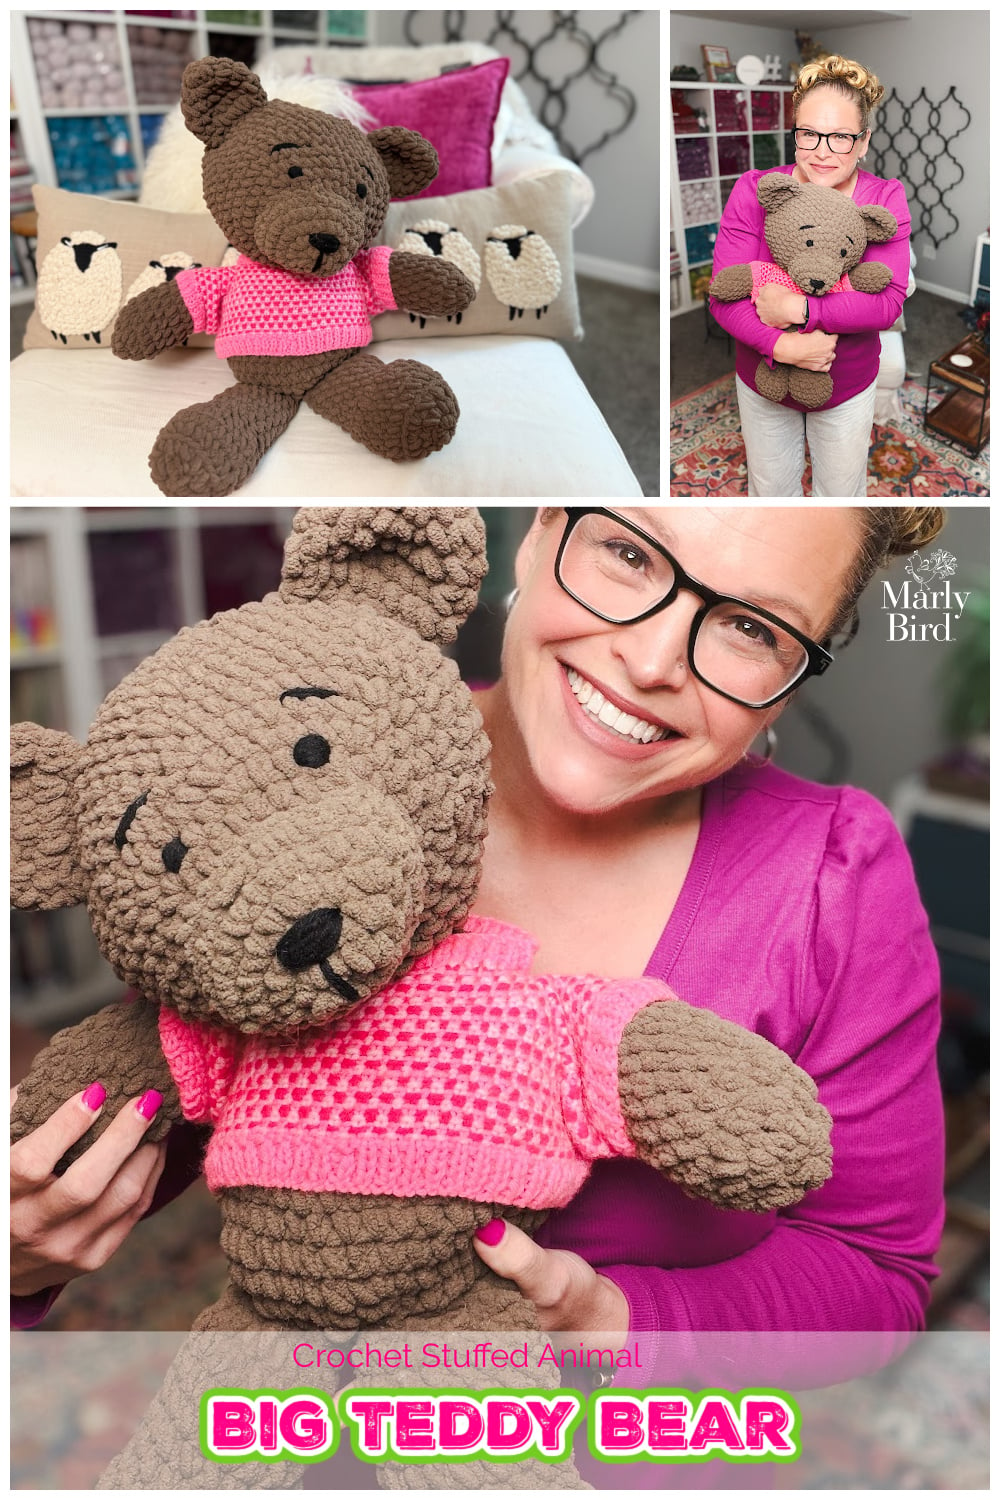
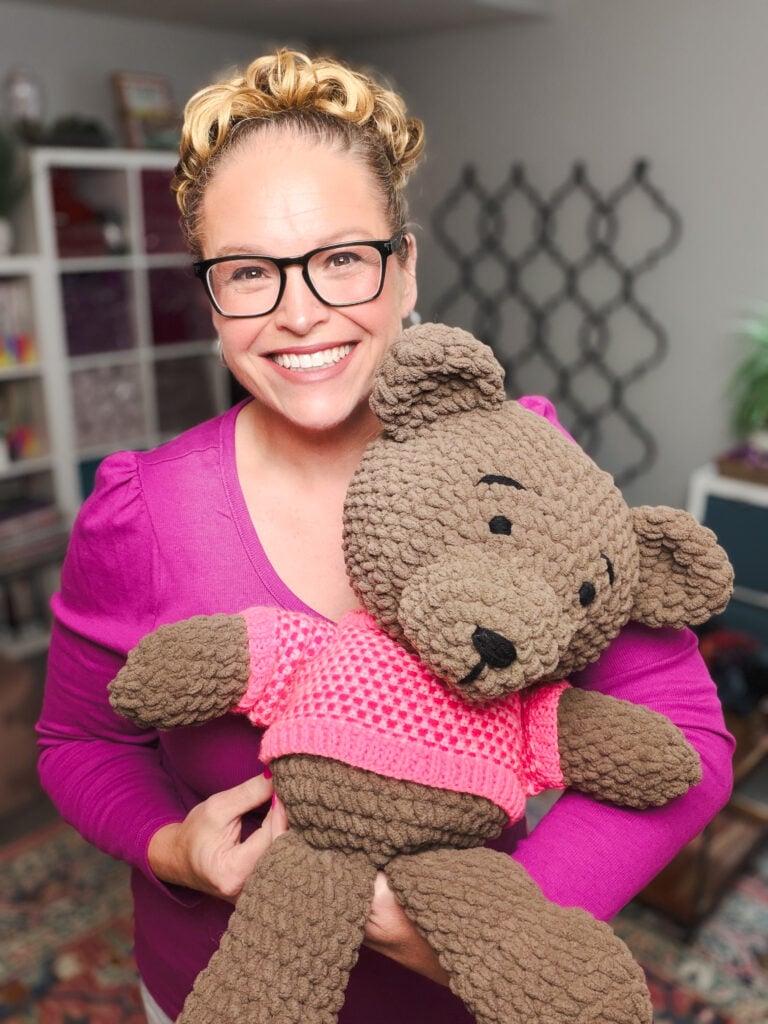
See that cute little sweater your Big Bear is wearing in the photos? You can make it! Sign up to get the Big Teddy Bear Knit Sweater Pattern PDF delivered straight to your inbox — absolutely free.
⚠️ Heads up: this is a KNITTING pattern — you'll need knitting needles for this one. The crochet bear pattern is right here on this page!
Why You'll Love This Pattern 💖
🐻 It's genuinely big — and that's the whole point. Most amigurumi patterns are tiny. This bear is 19 inches tall, which means it has real huggability. Kids and adults both want to pick it up and squeeze it.
🧶 Chunky yarn is the secret weapon for beginner amigurumi. With super bulky yarn and a big hook, your stitches are easy to see, easy to count, and easy to correct. No magnifying glass required.
🎁 It's the handmade gift that gets remembered. A 19-inch handmade stuffed bear is unforgettable. When you give this to a kid, you become the person who made the bear. That's the best kind of gift.
This is your pattern if you've done basic crochet but haven't tried amigurumi yet… if you want something that works up faster than tiny stuffies… or if you need a meaningful handmade gift that doesn't require an advanced skill level.
Quick Pattern Overview
📐 Size: 10″ wide × 19″ tall from foot to head — a genuinely big bear
🧶 Yarn: CYCA #6 super bulky (Bernat Blanket recommended), Color A: Taupe + a tiny bit of worsted black for embroidery
🪝 Hook: Size L/11 (8.0 mm)
🎓 Skill Level: Adventurous Beginner — single crochet, crocheting in the round, basic increases/decreases
⏱️ Time: Plan for a week or two of stitching sessions; the big pieces go faster than you'd expect
🧸 Construction: Worked in pieces (head, body, ears, arms, legs, muzzle) in continuous spiral rounds, then seamed together
Your First Amigurumi? Start Here — Not With a Tiny One
If you're thinking about trying amigurumi for the first time, starting with a big project is actually the smart move. Here's why: when you work with chunky yarn and a big hook, every stitch is visible and countable. Mistakes are easier to spot and fix before they snowball. You're not squinting at dozens of tiny stitches with a size F hook, wondering if you miscounted.
Small amigurumi requires precision because every stitch shows up in the final product. Big amigurumi forgives you. The pieces go faster, assembly is less fiddly, and the reward — an actual huggable bear — arrives sooner. You get to feel success instead of frustration.
Once you nail this Big Bear, you'll understand the technique well enough to tackle smaller stuffies or more complex designs. But there's no law that says you have to start small. Check out Easy Amigurumi for Beginners for more beginner-friendly projects, and browse Why Is Amigurumi So Popular? to understand what makes amigurumi so satisfying to make.
What to Know Before You Stuff and Seam
Fiberfill goes a long way — but you'll need more than you think. Most beginners underestimate how much stuffing a 19-inch bear takes. Don't skimp; buy a large bag. Stuff each piece firmly but not so tight that the fiberfill shows through your stitches. The goal is a squishy, huggable bear, not a rock-hard sculpture.
Eyes are a design choice with a safety implication. Plastic safety eyes are appropriate for children 3 and older — the backing clicks on tight enough that they shouldn't come loose with normal play. For babies and toddlers (or if you're just nervous), embroider the eyes with yarn instead. It's completely safe and looks just as adorable in photos.
Pin before you sew, and attach matching pieces simultaneously. Use straight pins or stitch markers to hold the arms in place before you sew. Do both arms at the same time rather than finishing one and then the other — this helps them line up evenly and stay symmetrical. Same with the legs. The ears are more forgiving, but symmetry still matters for the final look.
This bear makes an unforgettable gift at any age. A 19-inch handmade bear is substantial and real — not a decorative object, but a genuine cuddle buddy. Kids remember who made their bear. As a gift for a baby or toddler, use embroidered eyes and you're good to go. For kids 3+, safety eyes are totally fine.
Yarn & Materials
This pattern calls for Bernat Blanket yarn (100% Polyester, 220 yds/201 m, 10.5 oz/300 g, CYCA #6 super bulky) — a smooth, plush yarn that's perfect for amigurumi. The super bulky weight means your stitches are big and easy to see, and the finished bear is genuinely soft and huggable. You'll need 2 skeins in Taupe for Color A, plus just 5 yards of worsted-weight black yarn for embroidering the face.
Yarn Alternatives
💡 Good to Know — Yarn Alternatives: Any soft, smooth super bulky or chunky yarn works for Color A. Here are some great options:
- Premier Parfait Chunky — super soft polyester chenille, dreamy for stuffed animals
- Demi Purl by Loops & Threads — smooth and soft, great value at Michaels
- Bernat Baby Blanket — incredibly soft polyester, perfect for a gift bear
- Sweet Snuggles by Loops & Threads — chenille feel, ultra cozy, a reader favorite for amigurumi
- Premier Basix Chenille Brights — great color variety if you want a non-brown bear!
Avoid fuzzy or textured yarns — smooth yarn makes stitches much easier to see and count.
For Color B (the 5 yards of black for embroidery), use any worsted-weight black yarn from your stash.
Notions
- Large steel tapestry needle
- Polyester fiberfill (buy a big bag — you'll need more than you think!)
- Straight pins (to hold pieces in place while sewing)
- Stitch markers
Big Bear || Pattern Details
Skill Level
Adventurous Beginner
Finished Measurements
Teddy Bear is 10″ [25.5 cm] wide by 19″ [48.5 cm] tall from bottom of foot to top of head.
Gauge
8 sc by 8 rounds = 4″ [10 cm] x 4″[10 cm]; use any size hook to obtain the gauge.
Materials
Yarn
Bernat, Blanket (100% Polyester, 220 yds / 201 m, 10.5 oz/ 300 g, CYCA# 6 super bulky)
Color A: Taupe, 2 skeins
Red Heart Super Saver (100% acrylic, 364 yds / 333 m, 7 oz/ 198 g, CYCA# 4 worsted)
Color B: Black, 5 yds for embroidery
Hook
Size L/11 (8.0 mm)
Notions
- Large Steel Tapestry Needle
- Polyester Fiberfill
- Straight Pins (to hold pieces while sewing to body)
- Stitch markers
Abbreviations
Ch – Chain(s)
RS – Right Side
Sc – Single Crochet
Sc2tog – Single Crochet Two Together
Sl st – Slip Stitch
Sp(s) – Space(s)
St(s) – Stitch(es)
Tch – Turning Chain
WS – Wrong Side
Yo – yarn over
Special Stitches
Single Crochet 2 Together (sc2tog): *Insert hook into indicated stitch, yarn over and pull up a loop; repeat from * in next stitch indicated, yarn over and draw through all 3 loops on hook. (1 decrease)
Notes
- Teddy bear is worked in pieces and seamed together. Details are added last.
- Body parts are worked in continuous spiral rounds that are not joined at the end of the round.
- Use a stitch marker to mark the first stitch of each new round throughout project.

GROW
To Unlock Exclusive Subscriber Content click the Box below and join for free by simply adding your email and creating a password! If you are having troubles, clear your cache or reset your password or login to the Grow Publisher Portal.
>> Learn More About Grow Here <<
I'm thrilled to share this amazing pattern with you, many patterns on my blog are absolutely free! I kindly request that you don't copy and paste or distribute this pattern. Prefer an ad-free experience? Buy a digital PDF pattern for a small fee from one of my online stores for a seamless crafting journey.
I appreciate your support and readership. You are the reason I can keep doing what I love and sharing it with others. So, thank you from the bottom of my yarn-loving heart! Disclosure: This post contains affiliate links, meaning I get a commission if you decide to make a purchase through my links at no cost to you.
Big Bear || Free Crochet Stuffed Animal Pattern Instructions
HEAD
Note: The head is worked from the nose at the increasing rounds and through the back of the head while decreasing.
With A, ch 2.
Round 1: 6 sc in 2nd ch from hook, do not turn–6sc.
Round 2: 2 sc in each sc around, do not turn– 12 sc.
Round 3: 2 sc in each sc around, do not turn– 24 sc.
Round 4: *2 sc in next sc, sc in next 3 sc; repeat from * around, do not turn– 30 sc
Round 5: Sc in next 2 sc, *2 sc in next sc, sc in next 4 sc; repeat from * around to last 2 sc, sc in last 2 sc, do not turn– 36 sc
Round 6: *2 sc in next sc, sc in next 5 sc; repeat from * around, do not turn– 42 sc
Round 7: Sc in next 3 sc, *2 sc in next sc, sc in next 6 sc; repeat from * around to last 3 sc, sc in last 3 sc, do not turn– 48 sc
Round 8: Sc in each sc around, do not turn.
Round 9: *2 sc in next sc, sc in next 7 sc; repeat from * around, do not turn– 54 sc
Rounds 10-15: Sc in each sc around, do not turn.
Round 16: *Sc2tog over next 2 sc, sc in next 7 sc; repeat from * around, do not turn– 48 sc.
Round 17: Sc in next 3 sc, *sc2tog over next 2 sc, sc in next 6 sc; repeat from * around to last 3 sc, sc in last 3 sc, do not turn– 42 sc.
Round 18: *Sc2tog over next 2 sc, sc in next 5 sc; repeat from * around, do not turn– 36 sc.
Round 19: Sc in next 2 sc, *sc2tog over next 2 sc, sc in next 4 sc; repeat from * around to last 2 sc, sc in last 2 sc, do not turn– 30 sc.
Round 20: *Sc2tog over next 2 sc, sc in next 3 sc; repeat from * around, do not turn– 24 sc.
Round 21: Sc in next sc, *sc2tog over next 2 sc, sc in next 2 sc; repeat from * around to last sc, sc in last sc, do not turn– 18 sc.
Stuff the teddy bear's head with fiberfill.
Round 22: *Sc2tog over next 2 sc, sc in next sc; repeat from * around, do not turn– 12 sc.
Round 23: *Sc2tog over next 2 sc; repeat from * around, do not turn, fasten off leaving long tail– 6 sc.
Weave tail through the stitch on the last round, pull tight to close hole. Weave in ends.
BODY
Note: Body is worked from the bottom at the increasing rounds through the top while decreasing.
With A, ch 2.
Round 1: 6 sc in 2nd ch from hook, do not turn–6sc.
Round 2: 2 sc in each sc around, do not turn– 12 sc.
Round 3: 2 sc in each sc around, do not turn– 24 sc.
Round 4: *2 sc in next sc, sc in next 3 sc; repeat from * around, do not turn– 30 sc
Round 5: Sc in next 2 sc, *2 sc in next sc, sc in next 4 sc; repeat from * around to last 2 sc, sc in last 2 sc, do not turn– 36 sc
Round 6: *2 sc in next sc, sc in next 5 sc; repeat from * around, do not turn– 42 sc
Rounds 7-14: Sc in each sc around, do not turn.
Round 15: *Sc2tog over next 2 sc, sc in next 5 sc; repeat from * around, do not turn– 36 sc.
Round 16: Sc in next 2 sc, *sc2tog over next 2 sc, sc in next 4 sc; repeat from * around to last 2 sc, sc in last 2 sc, do not turn– 30 sc.
Round 17: *Sc2tog over next 2 sc, sc in next 3 sc; repeat from * around, do not turn– 24 sc.
Round 18: Sc in next sc, *sc2tog over next 2 sc, sc in next 2 sc; repeat from * around to last sc, sc in last sc, do not turn– 18 sc.
Stuff teddy bear's body with fiberfill.
Round 19: *Sc2tog over next 2 sc, sc in next sc; repeat from * around, do not turn– 12 sc.
Round 20: *Sc2tog over next 2 sc; repeat from * around, do not turn, fasten off leaving long tail– 6 sc.
Weave tail through the stitch on the last round, pull tight to close hole. Weave in ends.
Sew body to head firmly by whipstitching around head twice. Make head floppy or firm as desired.
EARS
Make 2
With A, ch 2.
Round 1: 6 sc in 2nd ch from hook, do not turn–6sc.
Round 2: 2 sc in each sc around, do not turn– 12 sc.
Round 3: *2 sc in next sc, sc in next sc; repeat from * around, do not turn– 18 sc.
Rounds 4 – 5: Sc in each sc around, do not turn.
Round 6: *Sc2tog over next 2 sc, sc in next sc; repeat from * around, fasten off– 12 sc.
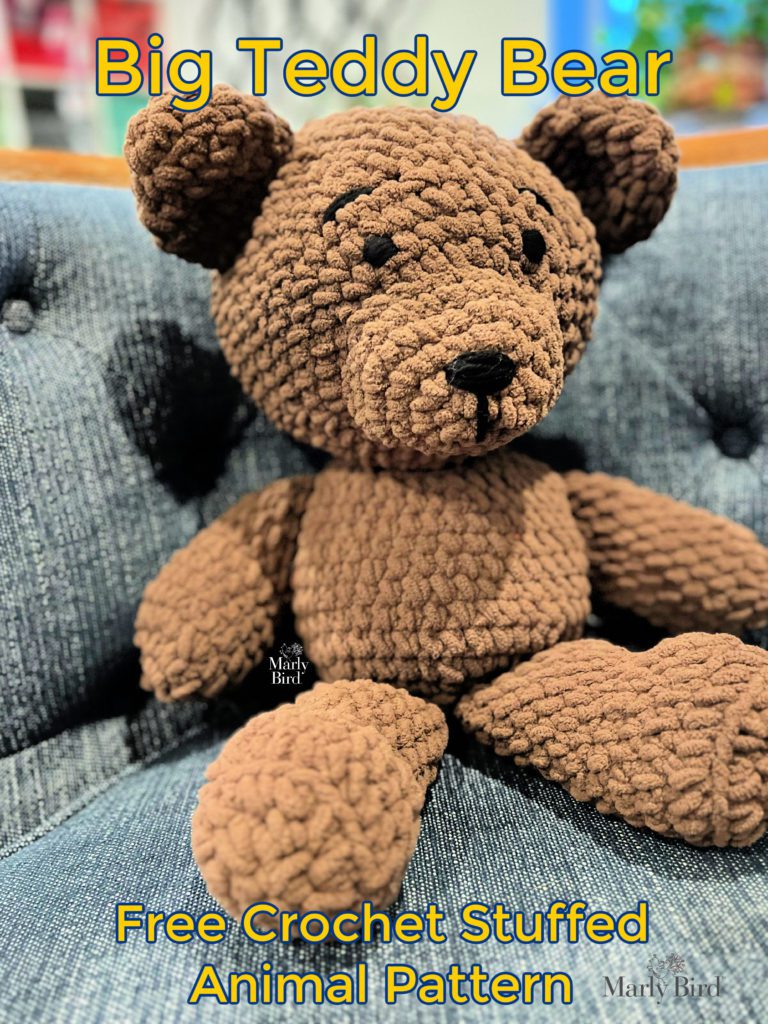
Do not stuff; flatten ear. Sew ear bottom closed. Using photo as a guide, sew ears to head.
ARMS
Make 2
With A, ch 2.
Round 1: 6 sc in 2nd ch from hook, do not turn–6sc.
Round 2: 2 sc in each sc around, do not turn– 12 sc.
Round 3: *2 sc in next sc, sc in next sc; repeat from * around, do not turn– 18 sc.
Rounds 4 – 11: Sc in each sc around, do not turn.
Stuff arm. Pinch opening closed and whipstitch. Using photo as a guide, sew arms to body.
LEGS
With A, ch 2.
Round 1: 6 sc in 2nd ch from hook, do not turn–6sc.
Round 2: 2 sc in each sc around, do not turn– 12 sc.
Round 3: 2 sc in each sc around, do not turn– 24 sc.
Round 4: Sc in back loop of each sc around, do not turn.
Rounds 5-6: Sc in each sc around, do not turn.
Round 7: [Sc2tog over next 2 sc] 6 times, sc in each sc around, do not turn– 18 sc.
Rounds 8-14: Sc in each sc around, do not turn.
FINISHING
Fasten off. Stuff leg. Pinch leg closed and whip stitch. Using photo as guide, sew legs to body.

Join our Newsletter
Get Free Crochet & Knitting
Pattern Links & Coupons!


More Marly Bird Stuffed Animal Patterns 🧸
Want to expand your stuffed animal collection? Here are more free patterns and guides to explore from Marly Bird:
Blossom the Elephant — Free Crochet Elephant Stuffed Animal Pattern. A sweet elephant friend with big ears and an easy construction that's similar to this bear.
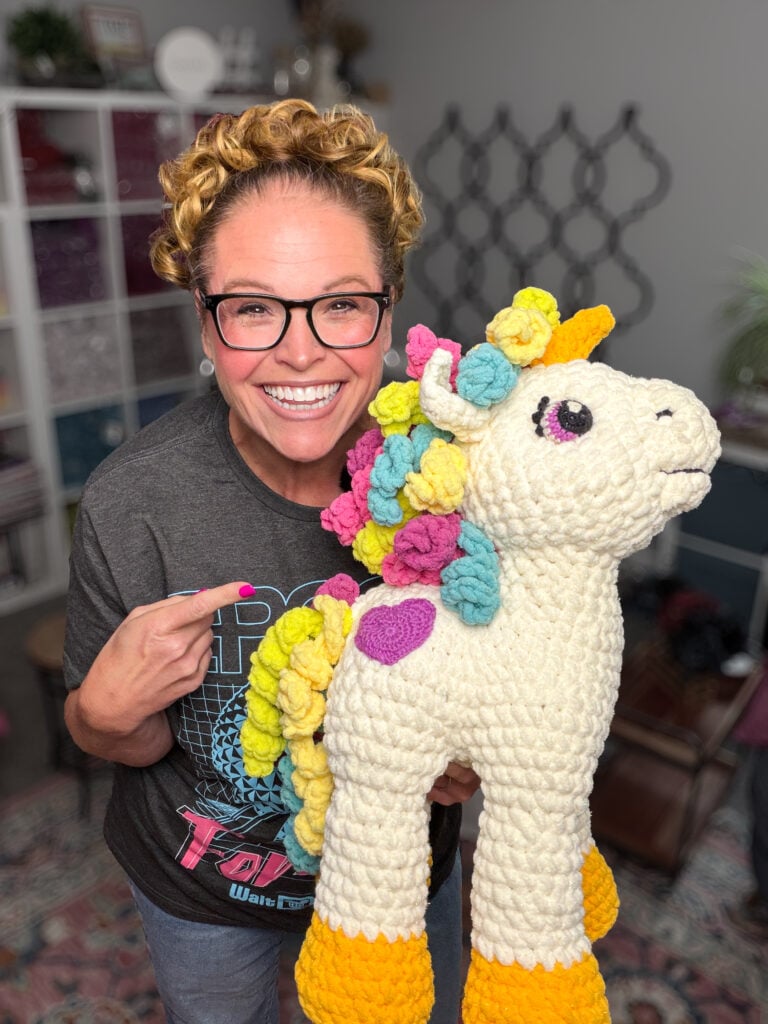
Sparkle the Unicorn — Free Crochet Unicorn Pattern. Perfect for kids who love magical creatures; chunky yarn makes it beginner-friendly.
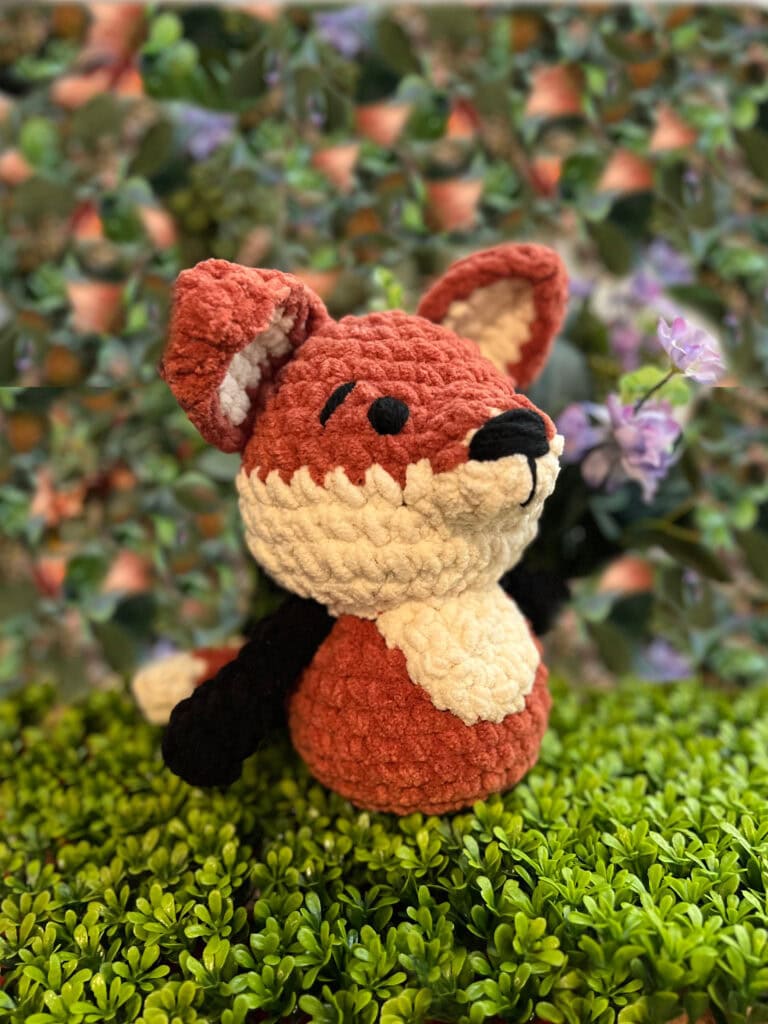
Felix the Fox — Free Fox Amigurumi Crochet Pattern. A clever little fox with personality, great for practicing intermediate amigurumi techniques.
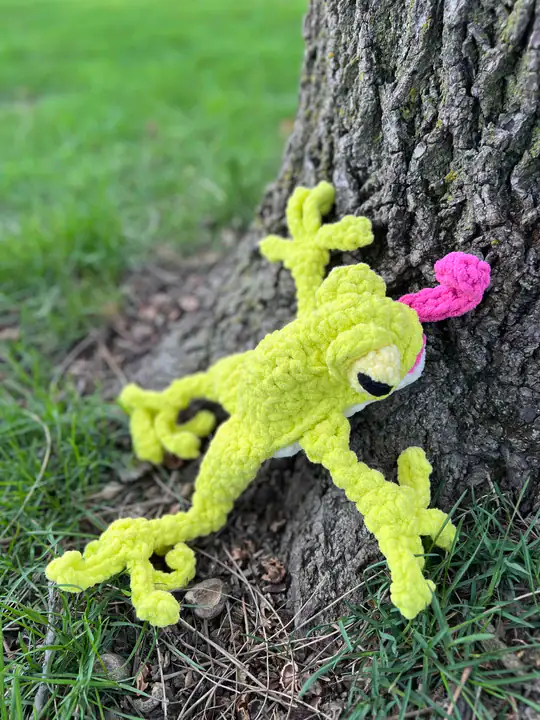
Leap the Tree Frog — Leggy Frog Crochet Pattern. Adorable oversized legs make this frog instantly recognizable — kids love it.
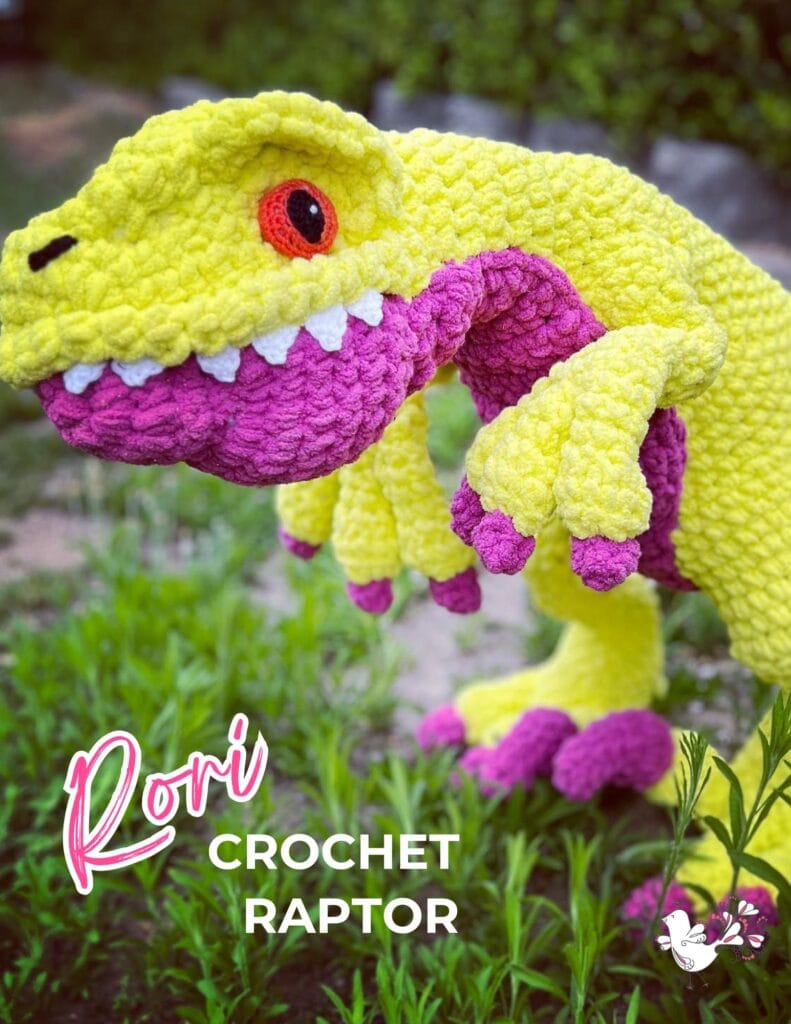
Rori the Raptor — Dinosaur Plush Crochet Pattern. A T-Rex with personality; perfect for dinosaur-loving kids and adults.
Alden the Owl — Apricot Lane Amigurumi. A wise little owl with tons of character.
57 Free Teddy Bear Crochet & Knit Projects — The ultimate roundup of bear patterns for every skill level and yarn choice.
58 Free Bunny Rabbit Patterns — Everything from tiny amigurumi bunnies to larger stuffed rabbits.
30+ Free Christmas Amigurumi Patterns — Seasonal stuffed animals perfect for gifts and holiday decor.
Easy Amigurumi for Beginners — Your complete guide to starting with amigurumi, including tips and tricks.
Why Is Amigurumi So Popular? — Discover what makes amigurumi the perfect craft for creators of all levels.
Crochet Amigurumi Tips & Tricks — Pro tips for cleaner seams, better shaping, and neater finishes.
Frequently Asked Questions
How big is the finished Big Bear crochet stuffed animal?
The finished bear is 10 inches wide by 19 inches tall from the bottom of the feet to the top of the head, using the recommended Bernat Blanket super bulky yarn and a size L/11 (8.0mm) hook. That makes it a genuinely huggable size — big enough to be a real cuddle buddy for kids and adults.
What yarn do I need for this crochet teddy bear pattern?
The pattern uses Bernat Blanket yarn (CYCA #6 super bulky, 100% polyester) in Taupe — 2 skeins. A small amount of worsted weight black yarn is needed for the embroidered face. Great substitutes: Premier Parfait Chunky, Demi Purl by Loops & Threads, Bernat Baby Blanket, or Sweet Snuggles by Loops & Threads. Avoid fuzzy or textured yarns — smooth yarn makes stitches much easier to see and count.
Is this crochet bear pattern good for beginners?
Yes — it's rated Adventurous Beginner. The super bulky yarn and large hook make stitches easy to see and count. You need to know single crochet, crocheting in the round, and basic increases/decreases. It's an excellent first amigurumi because the large pieces are much easier to work with than tiny, detailed amigurumi.
What stuffing should I use for a big crochet bear?
Use polyester fiberfill — it's lightweight, hypoallergenic, washable, and holds its shape. Buy a large bag because a 19-inch bear takes more stuffing than expected. Stuff firmly but not so tight that the fiberfill shows through your stitches.
Are safety eyes safe for babies and small children?
Plastic safety eyes are appropriate for children 3 and older. For babies and toddlers, embroider the eyes with yarn instead — it's safer and still looks adorable. The embroidered eyes are actually what the original pattern shows in the photos.
How do I attach the arms, legs, and ears to the bear?
Leave a 12–18 inch yarn tail when finishing each piece. Use a yarn needle to sew each piece using whip stitch or mattress stitch. Pin pieces in place first for symmetry, and attach both matching pieces at the same time rather than finishing one side completely before starting the other.
Can I make this bear in a different size?
Yes! Using lighter weight yarn (bulky or worsted instead of super bulky) with an appropriately sized hook will produce a smaller bear. Using a smaller hook with the same super bulky yarn creates a denser, slightly smaller bear. For a truly giant bear, hold two strands of bulky yarn together.
What crochet skills do I need for this stuffed animal pattern?
You need single crochet, magic ring (magic circle), crocheting in continuous spiral rounds, and basic increases (sc increase) and decreases (sc2tog). Basic seaming with a yarn needle is also required for assembly. If you're brand new to crochet, get comfortable with a flat project first.
Final Thoughts
This Big Bear is proof that amigurumi doesn't have to be tiny or complicated. Sometimes the best projects are the ones you can actually see and work with — where your hands feel proud at every step, and the finished product is memorable enough to become a cherished gift.
When you finish your bear, snap a photo and share it! Tag #marlybird or post in our free Marly Bird Facebook group — I'd love to see your creation. Tell me in the comments: who are you making yours for? A kid? A friend? Yourself?
❤️ Your BiCrafty Bestie,
Marly Bird

Categories: Crochet, Free Patterns, Marly Bird Premium Patterns, Our Free Patterns, Pattern



I’ve search for 2 days for the button that says “download pdf here” but came up empty both days. What did I do wrong?
It was only a free pdf for a limited time. Now it is only a free pattern on the website.
Going to give this a try . Thank you so much
Thank you for the teddy bear pattern. I’m an adventurous beginner in making stuffed animals. Can’t wait to try it.