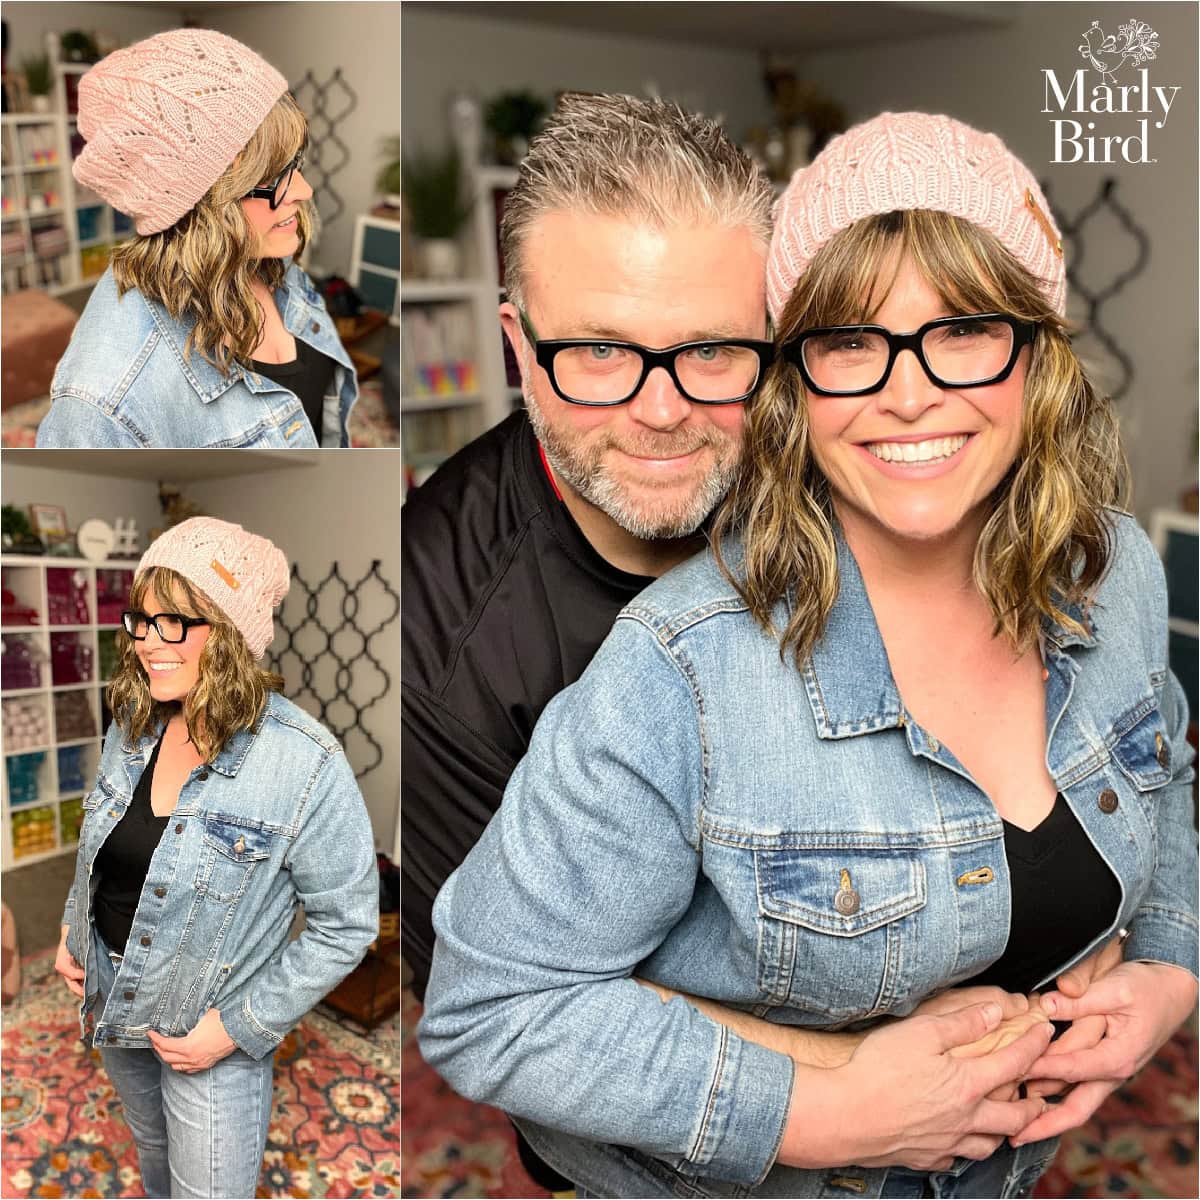
Bobble Crochet Hat Free Pattern
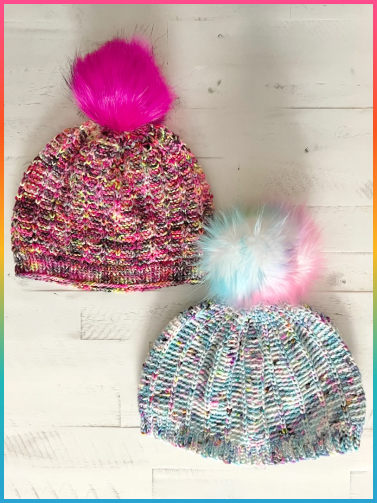
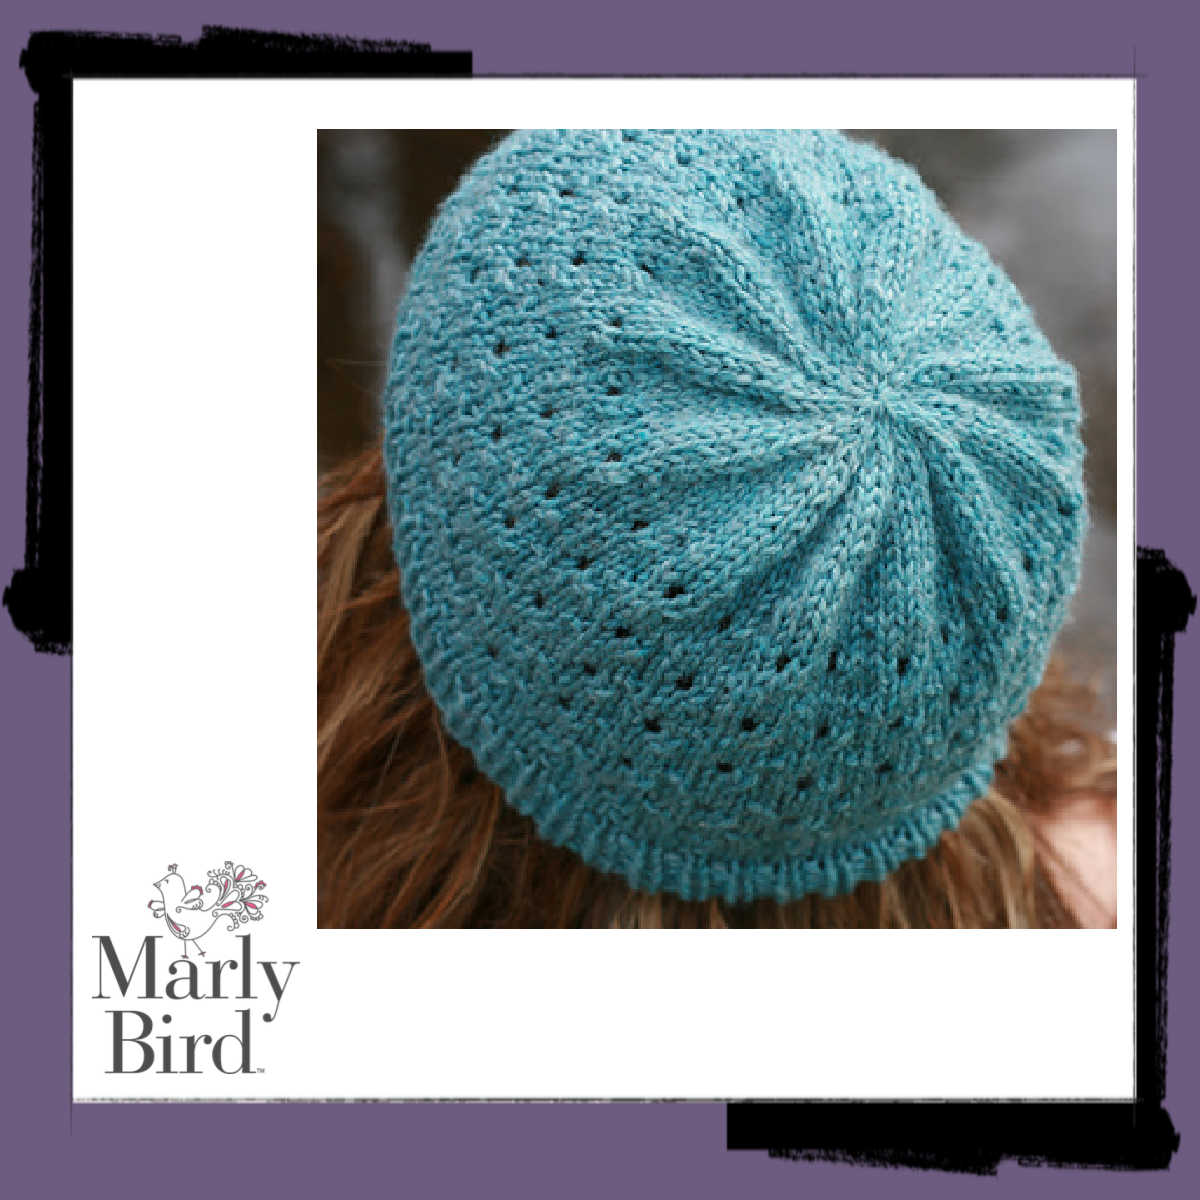
The Summit Chic Crochet Hat is a free crochet hat pattern designed by Marly Bird featuring the long double crochet bobble stitch and the 3rd loop camel stitch technique. This adventurous beginner hat has a ribbed brim worked flat, a textured bobble body worked in the round, and fits most adults. G/7 hook, almost one skein of worsted weight yarn.
⚡ Quick Answer:
The Summit Chic is a free bobble crochet hat pattern for adventurous beginners. You'll need a G/7 (4.5mm) hook and almost one skein of worsted weight yarn (about 186 yards). It features alternating rounds of the long double crochet bobble and the 3rd loop camel stitch for bold texture. Get the full pattern free below.
Hey, BiCrafty Bestie! 💛 Do you know what happens when you learn a new stitch and immediately have to use it in a pattern? You get the Summit Chic Crochet Hat. I fell in love with the front post long bobble the moment I figured it out… and I couldn't wait to see it alternating with the camel stitch in a squishy, textured beanie. Spoiler: it's even more satisfying to make than it looks.
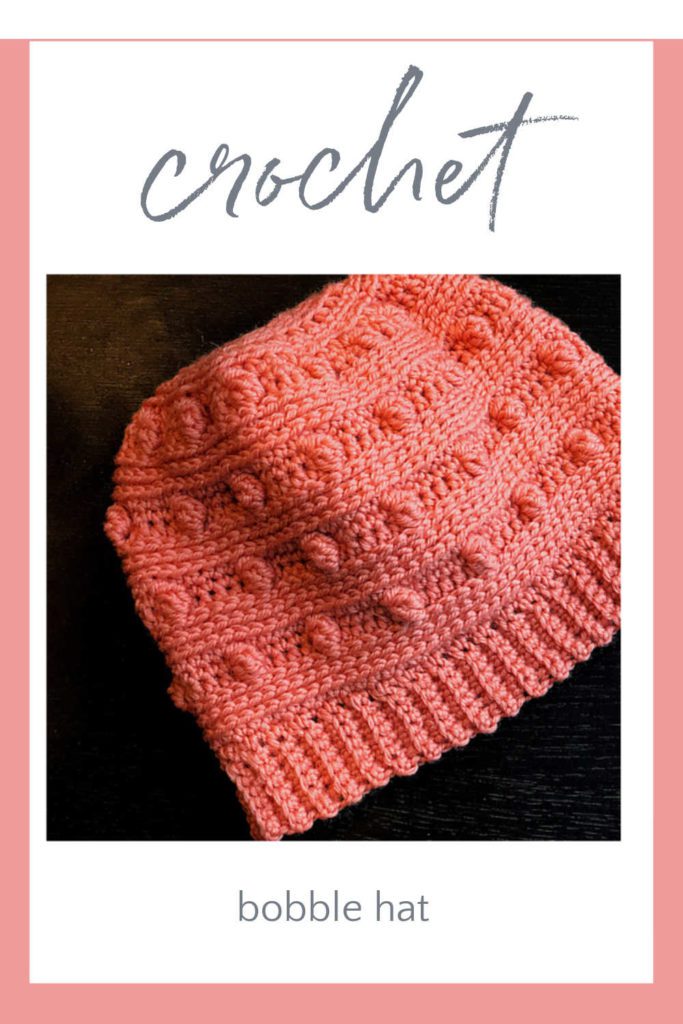
Why You'll Love This Pattern 💖
✨ Learn a new stitch that looks WAY more impressive than it is — the front post long bobble creates stunning three-dimensional texture that makes this pattern feel like something from a boutique yarn shop, not your hook. Pair it with the 3rd loop camel stitch and you're looking at a hat that photographs beautifully and feels fantastic to wear.
💙 Almost one skein means almost zero guilt — this is that quick-win pattern you cast on during the evening and finish by next week. With three balls of yarn, you can whip out two adult-size hats, so it's perfect for gift-making season or just stocking your favorites in every color.
🎩 Customize the fit in three directions — work it as a classic beanie, add multiples of 6 stitches for a slouch, or even stop at Round 5 of the crown for a messy-bun-friendly opening. Same pattern, totally different vibes.
This is your pattern if you're ready to learn techniques that feel new but build on skills you already have… if you love hats that get complimented every single time you wear them… or if you want to make gifts that look handmade (because they are).
You'll come away knowing two stitch techniques that will open up dozens of patterns in your future: the front post long bobble (workable in any project) and the 3rd loop or camel stitch (that sophisticated line of Vs). Once you see it, you'll want to use it everywhere.
Love the Pattern but Want an Ad-Free PDF? ⭐
The full pattern is always free here on the blog. If you'd rather have a clean, printable, ad-free copy, you can grab it on Ravelry, Etsy, or Shopify. And if you love getting free patterns straight to your inbox plus inside tips on new stitches… stay a moment and grab the Kit newsletter form right below.
Join our Newsletter
Get Free Crochet & Knitting
Pattern Links & Coupons!


What Is the Long Double Crochet Bobble Stitch? 🌀
The long bobble is worked AROUND a stitch's post, not into its top, creating a raised, three-dimensional pop of texture that's instantly recognizable.
A regular bobble (whether it's half double crochet or double crochet) sits IN the top of a stitch, puffing upward but staying relatively flat against the fabric. A long bobble? It wraps around the post of the stitch underneath, creating multiple loops that finish together in one satisfying yarn-through. The result: a textured nub that stands out in relief, catching light and creating that sophisticated three-dimensional surface you see on this hat.
The 3rd Loop or Camel Stitch — Sophistication from One Shift
The 3rd loop (sometimes called the camel stitch) is a small adjustment that makes a HUGE visual difference. When you complete a half double crochet stitch, you're working into the top two loops. The 3rd loop? It's that horizontal bar sitting on the wrong side of the stitch — created by the yarn over from the previous stitch. Crocheting into the 3rd loop instead of the top two shifts those top loops forward, creating a line of “Vs” that look like surface slip stitches. It's sleek, modern, and looks like you spent way more time than you actually did.
Watch my Front Post Stitch tutorial on YouTube → (The bobble mechanics apply to any post stitch, and the movement is the same.)
Beanie or Slouchy — Your Call 🎩
The Summit Chic is designed as a classic beanie — but you have total control over how slouchy you want it to be. Here's how.
For a slouchy crown: Add multiples of 6 stitches in the Body Set-up Round. So instead of 84 hdc, work 90 hdc around (or 96 for extra slouch). Just make sure you stick with the stitch multiple of 6 — the pattern is built on it. Then work the body the same way, and you'll end up with a softer, more relaxed silhouette.
For a bun-hole opening: The pattern includes a note — if you want a messy bun crochet hat, stop at Round 5 of the crown shaping. Skip Round 6 entirely, weave in your ends, and you've got an open top perfect for pulling hair through. Same yarn investment, totally different purpose.
Length before the crown: You can also add extra rows to the body section (before Rounds 11-20 start the crown shaping) if you want a slouch that drops lower on the back of your head. Fair warning: it'll use more yarn, so test your yardage first.
Yarn & Materials 🧶
A note on the original yarn: Red Heart Chic Sheep by Marly Bird™ — the yarn this pattern was designed for — has been discontinued. But the good news? Any worsted weight wool with approximately 186 yards per 100g ball will work beautifully with this pattern. The 3rd loop stitch and long bobbles show best in a yarn with good stitch definition, so look for wools or wool blends rather than 100% acrylic if you can.
Since Chic Sheep is no longer available, I recommend these worsted weight substitutes. KnitPicks Wool of the Andes Worsted is a fantastic option — 100% Peruvian Highland wool, similar yardage, and beautiful stitch definition. Patons Classic Wool Worsted is widely available and hits that spot perfectly — you can find it at Michaels and most craft stores. For something special, Cascade 220 Superwash is machine washable and comes in a gorgeous range of colors.
If you want to treat yourself, Malabrigo Rios is hand-dyed superwash merino — it's pure luxury and the stitch definition on this pattern is INCREDIBLE in this yarn. Budget-friendly options include WeCrochet Mighty Stitch Worsted (80% acrylic/20% superwash wool blend) or Berroco Vintage Worsted (wool/acrylic blend, machine washable).
Notions
- Stitch markers
- Tapestry needle for weaving in ends
Summit Chic Crochet Hat || Pattern Details
Skill Level
Easy / Adventurous Beginner. You should be comfortable with basic stitches (single crochet, half double crochet, slip stitch) and have made at least one hat before. The special stitches are explained, and the construction follows a classic round-and-round hat pattern.
Measurements
Brim to top: 8.5″ | Circumference: 20″ around brim, 21″ around body (after blocking)
Gauge
16 hdc in the 3rd loop = 4″ [10 cm]. Make a gauge swatch before starting — use any hook size to obtain gauge.
Materials
Yarn: Red Heart Chic Sheep by Marly Bird™ [DISCONTINUED — see yarn substitutes above], 100% Merino Wool, 186 yd / 170 m per 3.5 oz / 100 g ball, CYCA #4 worsted. 2 balls. (Note: 3 balls = 2 adult hats.)
Hook: G/7 [4.5mm]
Abbreviations
Ch = Chain | Hdc = Half double crochet | Hdc2tog = Half double crochet 2 together | Sc = Single crochet | Sl st = Slip stitch | St(s) = Stitch(es) | BLO = Back loop only
Special Stitches
3rd Loop of Hdc: This horizontal bar is located on the wrong side of the stitch, directly under the top 2 loops. It is created by the yarn over when making the stitch previously. Crocheting in the 3rd loop shifts the top two loops forward, creating a line of “v” that look like surface slip stitches.
Front Post Long Bobble: Yarn over hook, insert hook around the post of the indicated stitch from the front, yarn over and pull up a loop (3 loops on hook), yarn over and draw through 2 loops (2 loops on hook), [yarn over hook, insert hook around the post of the same stitch under the partial stitch just made, yarn over and pull up a loop, yarn over and draw through 2 loops] 3 more times, yarn over and pull through all loops on hook.
Hdc2tog: *Yarn over hook, insert hook into next stitch, yarn over and pull up a loop (3 loops on hook); repeat from * once more in next stitch, yarn over and draw through all 5 loops on hook.
Notes
- You do not use much of the second ball of yarn; 3 balls = 2 hats.
- Brim is worked in short rows, flat (back and forth).
- Body of hat is worked in the round, along the side edge of the brim. Stitch multiple of the body is 6 — can add 6 sts for a slouchier hat.
Add the Grow paywall START shortcode here to require email signup for the full pattern. Delete this box when done.
Summit Chic Crochet Hat || Pattern Instructions
Brim
Chain 8.
Row 1: Sc in 2nd ch from hook and in each ch across, ch 1, turn — 7 sc.
Row 2: Sc in the back loop only of each sc across, ch 1, turn. Repeat row 2 86 more times — (44 ridges).
Body
Note from Marly: The stitch multiple for the body of the crochet beanie hat is 6. If you are an experienced crocheter or want to make a super slouchy crochet hat from the brim to the crown, you can increase the number of stitches you work evenly around the crochet brim by 6 stitches. Remember that will increase the final number of stitches at the end of each round and will require more yarn. But it can be done.
Turn to begin working on long edge of brim (around the row ends).
Set-up round: Evenly place 84 hdc along long side of brim, join with a slip stitch to first hdc, ch 1, do not turn.
Round 1: Hdc in each st around, join with a slip stitch to first hdc, ch 1, do not turn.
Rounds 2, 3, 4: Hdc in the 3rd loop of each hdc around, join with a slip stitch to 3rd loop of first hdc, ch 1, do not turn.
Round 5: *Front post long bobble in first hdc, skip the hdc behind the long bobble just made, sc in each of the next 5 hdc; repeat from * around, join with a slip stitch to first front post long bobble, ch 1, do not turn — 14 front post long bobbles.
Round 6: Hdc in each st around, join with a slip stitch to first hdc, ch 1, do not turn — 84 hdc.
Rounds 7, 8, 9: Hdc in the 3rd loop of each hdc around, join with a slip stitch to 3rd loop of first hdc, ch 1, do not turn.
Round 10: *3 sc, front post long bobble in next hdc, skip the hdc behind the long bobble just made, 2 sc; repeat from * around, join with a slip stitch to first sc, ch 1, do not turn — 14 front post long bobbles.
Rounds 11–20: Repeat rounds 1–10 once more.
Note from Marly: If you want to make the hat more slouchy at the top and did not add more stitches after the crochet brim, you can still add more length before you start the crown shaping. Remember that will require more yarn.
Crown
Round 1: Hdc in each st around, join with a slip stitch to first hdc, ch 1, do not turn.
Round 2: Hdc in the 3rd loop of each hdc around, join with a slip stitch to 3rd loop of first hdc, ch 1, do not turn.
Round 3: *Hdc2tog in the 3rd loop over the next 2 hdc; repeat from * around, join with a slip stitch to the 3rd loop of first st, ch 1, do not turn — 42 hdc.
Round 4: *Hdc2tog in the 3rd loop over the next 2 hdc; repeat from * around, join with a slip stitch to the 3rd loop of first hdc, ch 1, do not turn — 21 hdc.
Round 5: Hdc in first st, *Hdc2tog in the 3rd loop over the next 2 hdc; repeat from * around, join with a slip stitch to the 3rd loop of first hdc, ch 1, do not turn — 11 hdc.
Note from Marly: If you want to make this crochet hat into a messy bun crochet hat, stop working in rounds at this point and weave in your ends.
Round 6: Hdc in first st, *Hdc2tog in the 3rd loop over the next 2 hdc; repeat from * around, join with a slip stitch to the 3rd loop of first hdc, ch 1, do not turn — 6 hdc.
Finishing
Cut yarn leaving a 6″ tail to sew the top of hat.
Fasten off.
Sew closed the top of hat.
Sew the brim closed.
Weave in tails.
Wash and block hat to final measurements.
Add the Grow paywall END shortcode here. Delete this box when done.
More Free Crochet Hat Patterns 🧢
If you loved making the Summit Chic, check out the Free Crochet Hat Patterns hub — it's your one-stop shop for everything from beanies to slouchy beanies to hats with bills. You'll also love the All About It Newsboy Hat, which uses a similar construction on the body but adds a fun bill in front. And if textured stitches are your jam, the Warm and Cozy Cowl uses the same long bobble technique in a totally different shape.
Frequently Asked Questions ❓
What is the long bobble stitch in crochet?
The long bobble stitch is worked around the post (the vertical part) of a stitch below, rather than into the top of a stitch. You yarn over multiple times and insert the hook around the post, pulling up loops each time, then draw through all loops at once. The result is a raised, three-dimensional texture that pops out from the fabric.
Can I make this hat slouchy?
Absolutely! Add multiples of 6 stitches to your Set-up Round (the pattern calls for 84 — try 90 or 96 for slouch). Just make sure you stick with the stitch multiple of 6, then work the rest of the pattern as written. You'll get a softer, more relaxed silhouette. Keep in mind it will use a bit more yarn.
How much yarn do I need for this crochet hat?
The pattern calls for 2 balls of yarn, and you'll barely use much of the second ball — it's truly almost a one-ball project. If you have 3 balls, you can make 2 adult hats comfortably. Perfect for gift-giving!
What yarn can I use instead of Chic Sheep?
Any worsted weight yarn with approximately 186 yards per 100g works beautifully. I recommend wool or wool blends for the best stitch definition — try KnitPicks Wool of the Andes, Patons Classic Wool, Cascade 220 Superwash, or Malabrigo Rios. See the full Yarn & Materials section above for all the options and links.
Is this pattern good for beginners?
Yes, with a catch — you should be comfortable with basic stitches and ideally have made at least one hat before. The special stitches (long bobble and 3rd loop) are explained, but they're a step up from true beginner territory. I'd call it “Adventurous Beginner” — you're ready to stretch beyond the basics but not quite intermediate. The construction itself is straightforward: make a brim, work in the round, shape the crown.
What does “3rd loop” or “camel stitch” mean in crochet?
When you finish a half double crochet stitch, you normally work into the top two loops of the next stitch. The 3rd loop is that horizontal bar sitting on the wrong side of the stitch — it's created by the yarn over from the previous row. Crocheting into the 3rd loop instead shifts those top two loops forward, creating a line of decorative “Vs.” It's sometimes called the camel stitch, and it looks way fancier than the simple technique it actually is.
Final Thoughts 💛
The Summit Chic Crochet Hat is one of those patterns that feels way more complex than it actually is — and that's the whole joy of it. Your hands learn the rhythm of the bobble, your eyes watch the texture bloom with each round, and suddenly you're wearing a hat that looks like it came from a designer studio (but you made it). That's the magic of understanding the WHY behind every stitch.
If you make this hat, I would LOVE to see it. Seriously. Grab a photo of you in your Summit Chic, tag me @marlybird on Instagram or Facebook, and use #MMMDI (Marly Made Me Do It), #MarlyBird, or #SummitChicHat so I can see your finished project and celebrate with you. 💛
❤️ Your BiCrafty Bestie,
Marly Bird

Categories: Crochet, Free Patterns, Pattern