Knit-Look with a Crochet Hook – Free Pattern
We all love the rich textures and endless possibilities of crochet granny squares, but sometimes, we crave the smooth, uniform look of knitting. Guess what? You can achieve that knit-look with a crochet hook! It’s not as hard as you might think. Whether you’re making a cozy hat with a bill, fair isle sweater, or a plush blanket, let’s dive into how you can transform your crochet projects to have that seamless knit-like appearance.
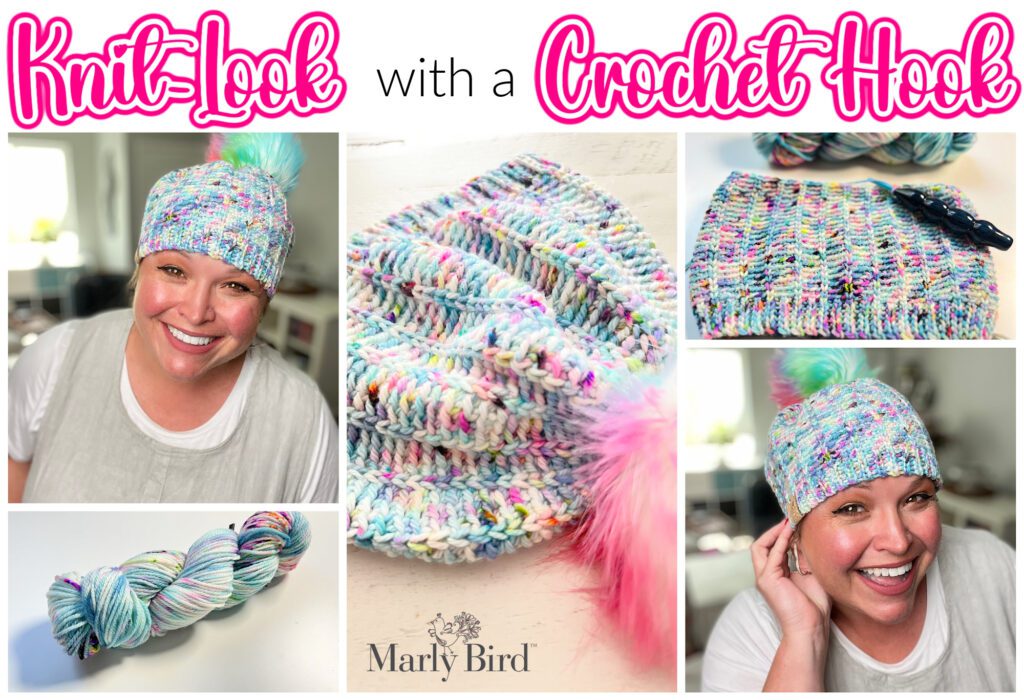
Plus, free crochet hat pattern with video tutorial. The Celebration Crochet Hat (linked to the ad-free pdf available for purchase) is the sister to the Jubilee Knit Hat!
Affiliate Disclosure: This post contains affiliate links. To learn more please visit my privacy policy here💖
Is it possible to crochet a hat with a knitted appearance?
Absolutely! You can crochet a hat with a knitted look by choosing specific crochet stitches that mimic the smooth, continuous texture of knitting. The waistcoat stitch, also known as split single crochet, combined with slip stitch crochet worked in the back loops, can give you that perfect knit-like effect.
As a BiCrafty designer, I’ve crocheted several hats that utilize these knit-look stitches to bring the best of both worlds to your crochet projects. I’m thrilled to share one of these designs with you today. Keep reading to get the free pattern for the Celebration Crochet Hat, and discover how you can achieve that polished, knit-like finish in your own creations!
Can The Knit-Look Crochet Techniques Discussed Be Used For Projects Other Than Hats?
Certainly! These techniques can be adapted to suit a variety of projects, not just hats. They’re versatile and can be creatively applied to accessories or garment creation.
During BiCrafty Bootcamp: Crochet for Knitters, we learned how to do the split single crochet by making MARLY’S COLORFUL CROCHET MARKET BAG – free pattern. This knit-look crochet pattern was fun to make and even more fun to use. I get compliments on it all the time. Did you make one?
But I have to mention this, some of my favorite patterns are designed by my friend BrianaK. As a matter of fact, her Fireside Chat Collection is wonderful. Check it out!
Which crochet stitch can mimic the look of knitting?
As a passionate crocheter, I often find myself wanting that classic, clean look of knit fabric but I want to use my crochet hook. Do you find yourself feeling the same?
Among all the wonderful stitches we can use, three stand out for their knit-like appearance: the split single crochet, also known as the waistcoat stitch, the Tunisian knit stitch, and slip stitches. Let’s explore these stitches and see how they can bring a knit-like feel to your crochet projects.
Split Single Crochet or Waistcoat Stitch – Knit-Look Stitch
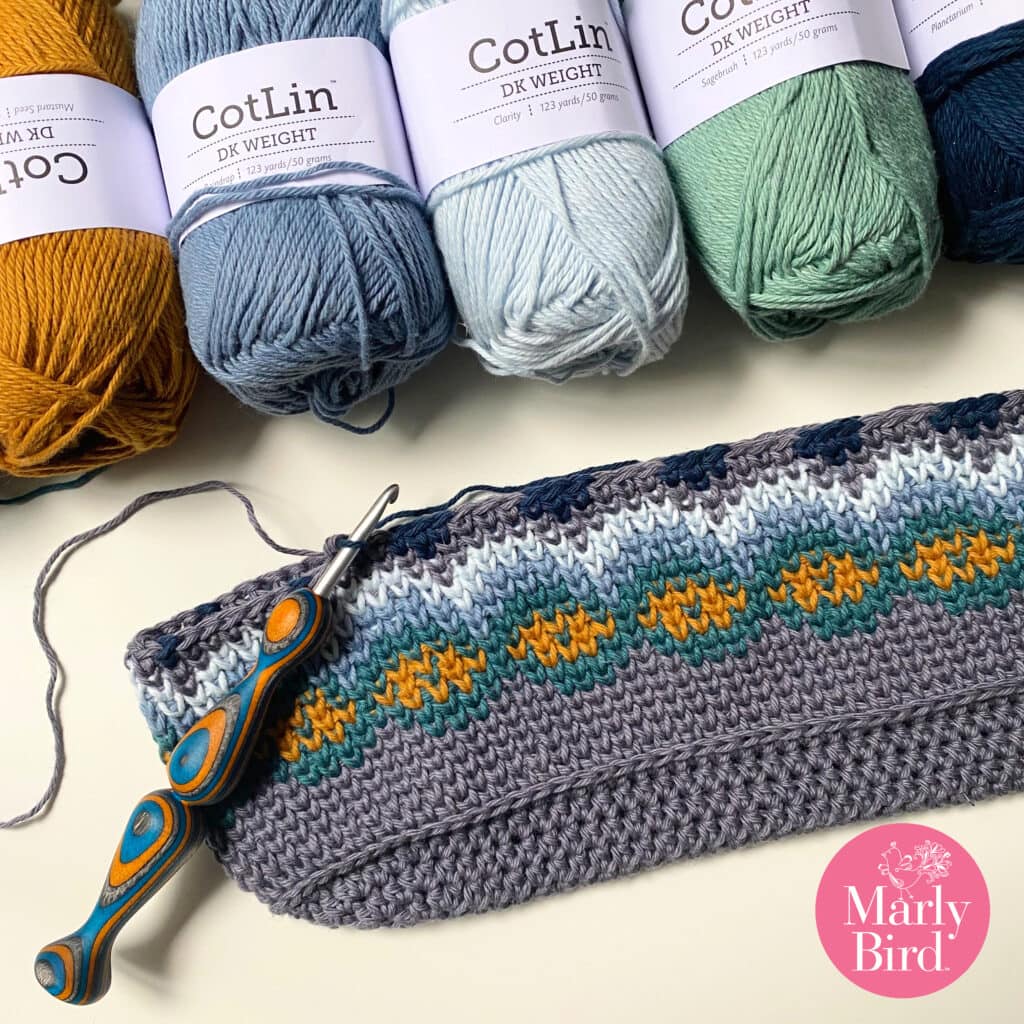
One of my favorite hidden gems in the crochet world is the split single crochet, which we lovingly call the waistcoat stitch. Instead of inserting your hook through the top loops like we usually do, you insert it through the center of the stitch from the previous row. The result is a dense texture that looks remarkably like knit fabric.
I love using the waistcoat stitch when I want my projects to have that knit-look appeal but still enjoy the ease of crochet. It does take some patience to master, as precise hook placement and keeping the loop that is pulled up from the stitch loose is crucial. But trust me, the effort is worth it! This stitch not only makes your projects look sophisticated but also adds a comforting, tactile quality that lasts.
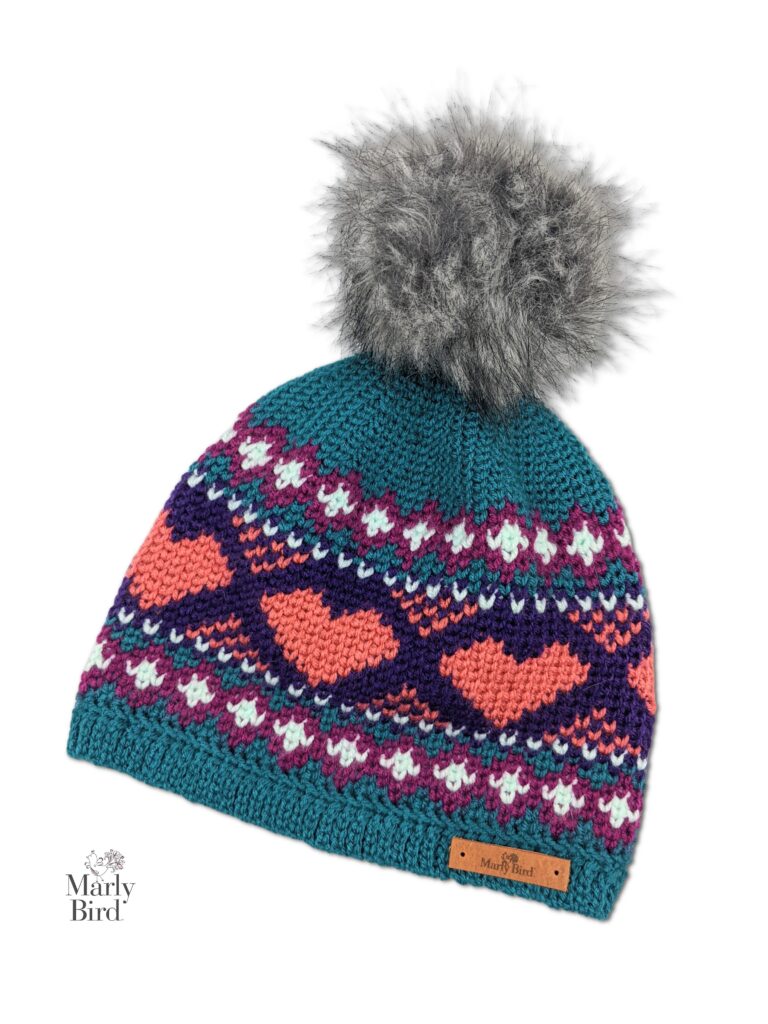
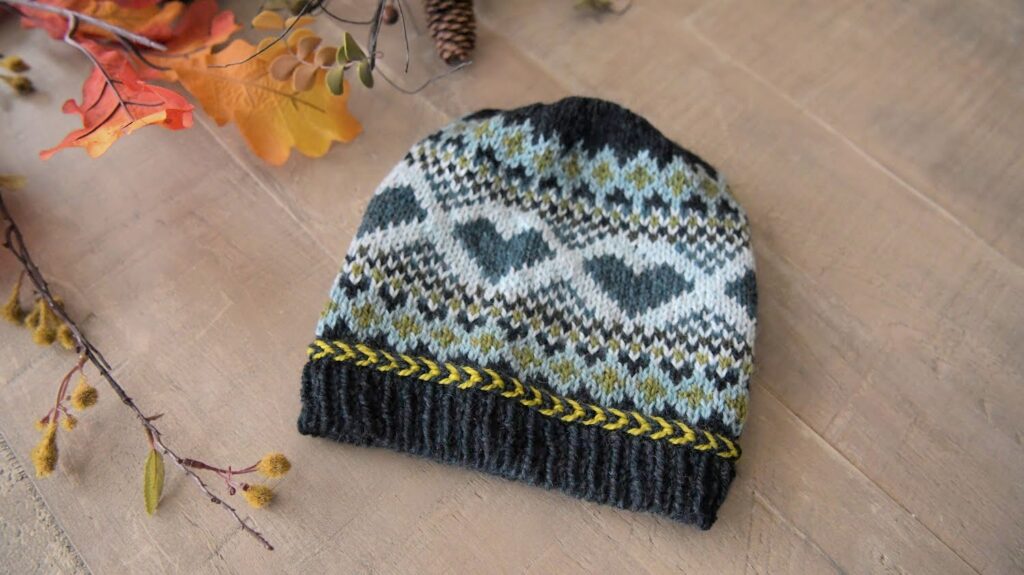
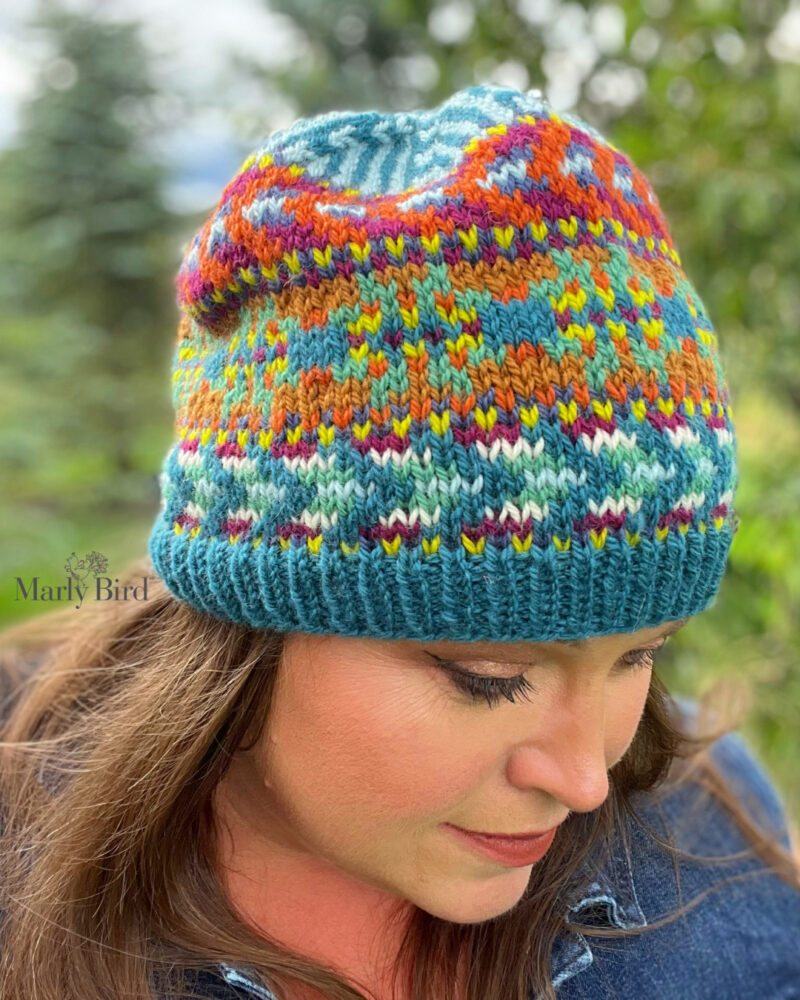
It’s also a great way to get a knit stranded or fair isle look with crochet stitches like in the Cinnamon Hearts Crochet Hat. You can see it looks just like its sister the Chocolate Heart Knit Hat
Tunisian Knit Stitch – Knit-Look Stitch
Another fantastic technique that bridges the gap between crochet and knitting is the Tunisian knit stitch. This stitch involves collecting loops on your hook as you go forward and then working them off on the return pass. It creates a fabric that closely resembles the cozy knit textures we adore.
The Tunisian knit stitch has a rhythmic motion that I find almost meditative. It forms a series of warm, interlocking ‘v’ patterns, just like the stockinette stitch in knitting. With some practice, this stitch can help you craft projects that look and feel like they were knitted, but with the distinct touch of crochet.
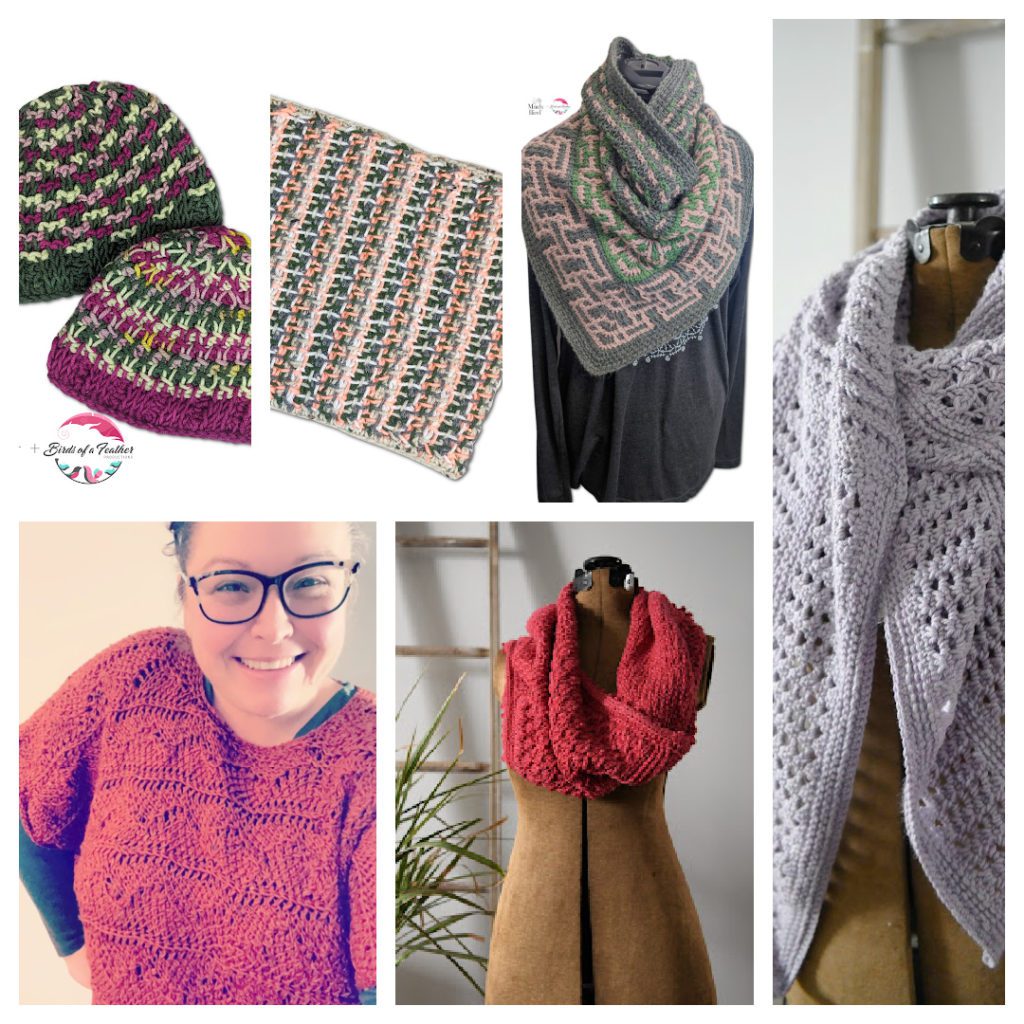
Here is a collage of just a few of the Tunisian Crochet projects designed by Robyn Chachula for MarlyBird.com. Do you have a favorite?
Names in order from top left to right:
- Beehner Tunisian Crochet Hat
- Kirkton Tunisian Crochet Cowl – free pattern
- Turkey Trot Tunisian Crochet Pullover Shawl / Cowl – available in the Marly Bird House
- Amethyst Puff Tunisian Crochet Shawl – coming soon
- Poplar Tunisian Crochet Poncho – unbelievably comfortable
- Garter Star Tunisian Crochet Cowl – coming soon
🌟 Want to learn more about Tunisian Crochet? Check out the BiCrafty Bootcamp: Triple Threat Tunisian Crochet for Beginner series taught by renowned designer, Robyn Chachula.
Crochet Slip Stitch – Knit-Look Stitch
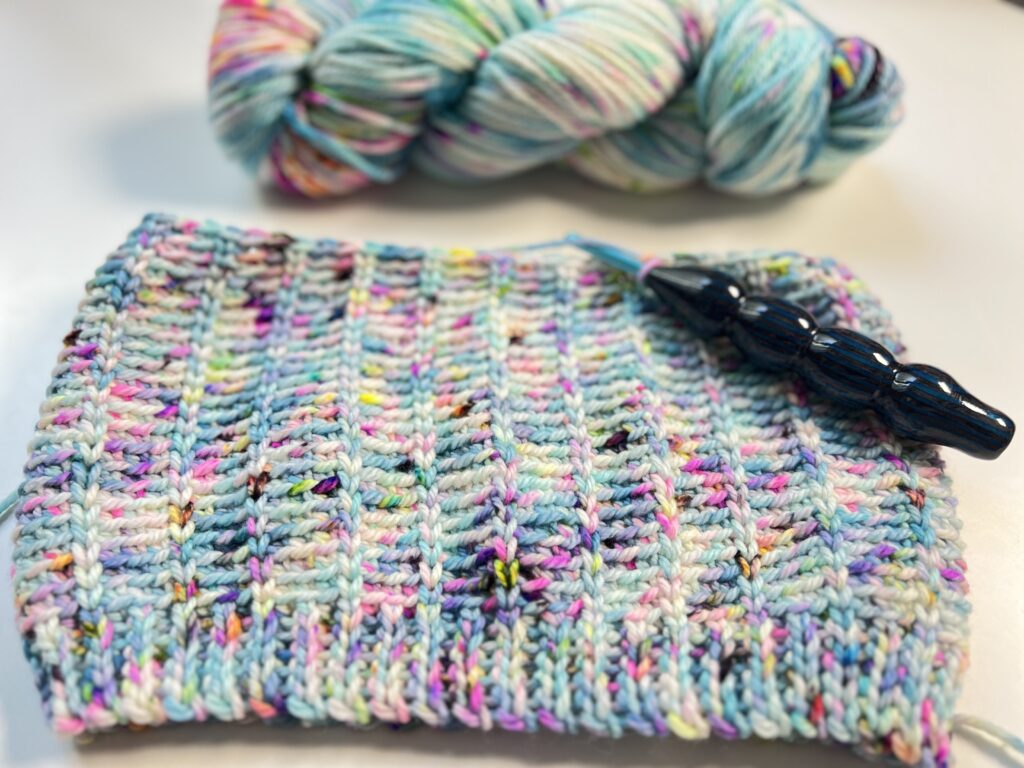
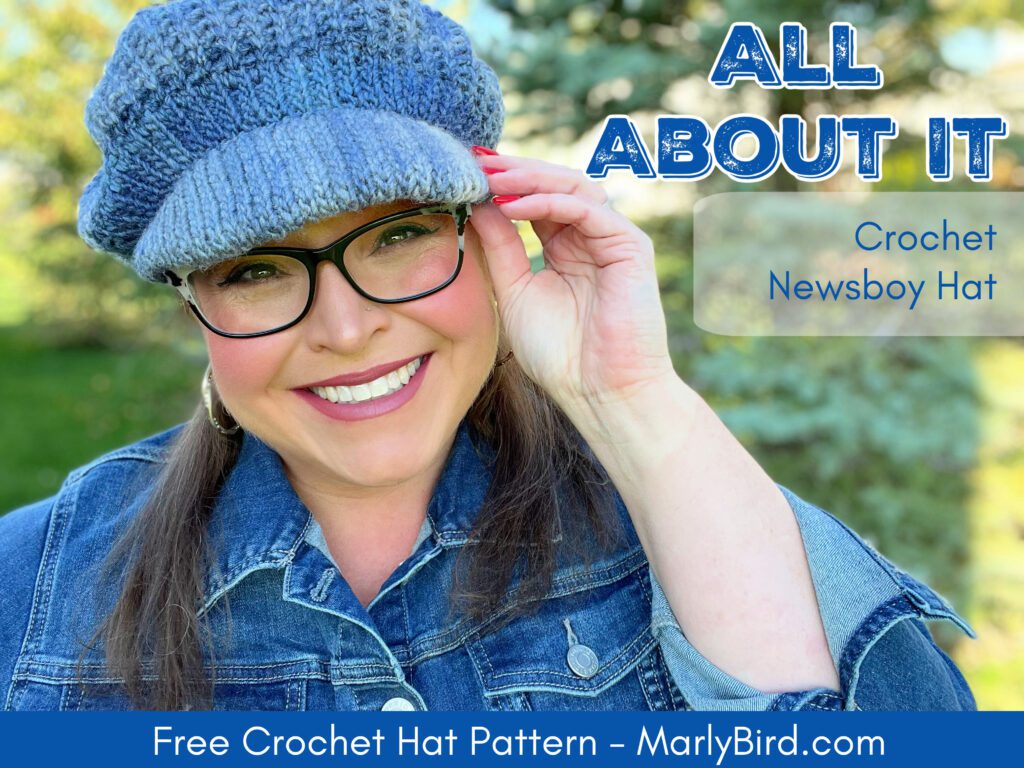
Another fantastic stitch that can give you a knit-look is the slip stitch. Don’t let this little stitch fool you—it’s more powerful than it seems! When you work slip stitches through the back loop, it creates a beautiful knit ribbing effect. This technique is perfect for cuffs and brims or even the bills of crochet hats, adding that polished, knit-like finish to your projects.
Honorable Mention Knit-Look Stitch – Half Double Crochet Through the Third Loop & Single Crochet Post Stitches
I couldn’t talk about knit-look stitches without mentioning the half double crochet through the third loop and single crochet post stitches. These stitches deserves an honorable mention for their unique ability to create a knit-like texture.
By working the half double crochet into the third loop, which is located behind the top loops, you achieve a wonderful horizontal knit-like ridge. Same thing happens with you work a single crochet post stitch. Depending if you work it as a front or a back post stitch, the ‘v’ at the top of the stitch is pushed toward the outer part of the fabric thus giving a horizontal knit-like ridge.
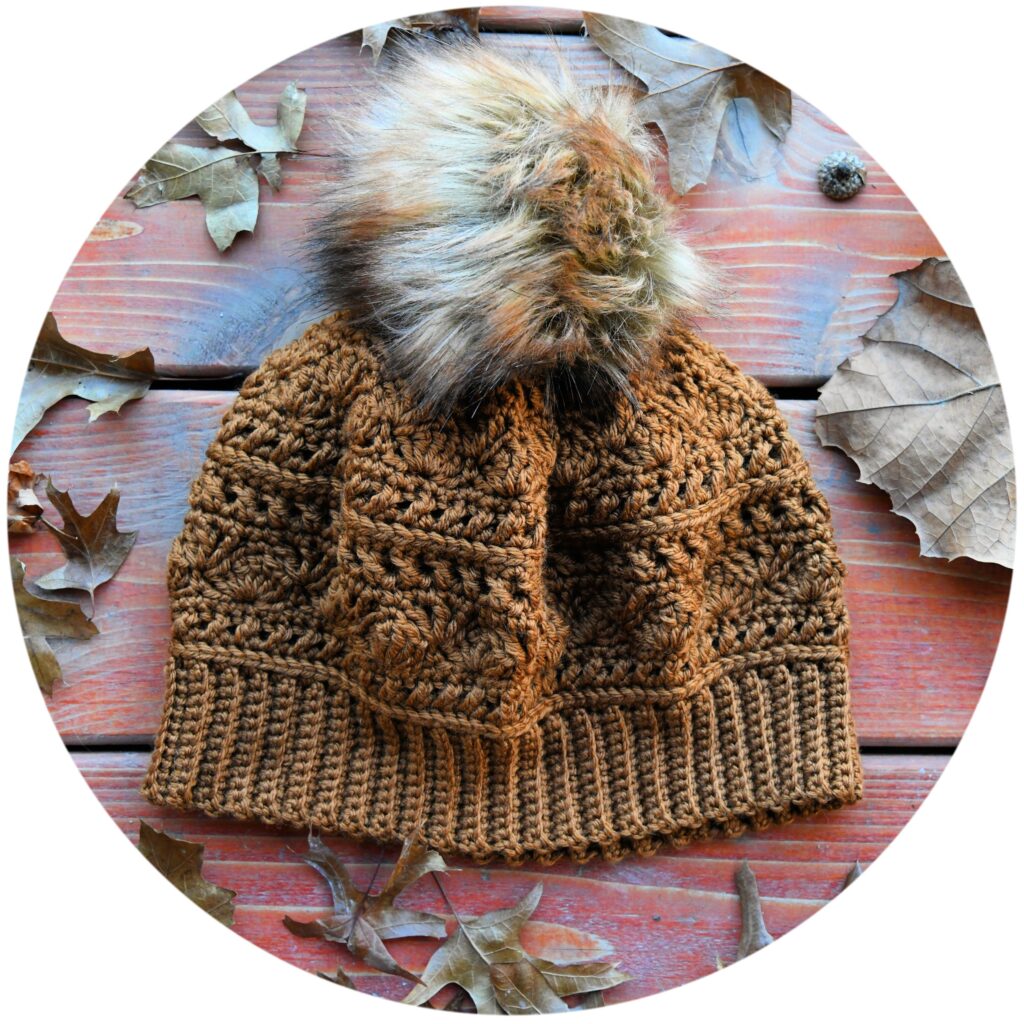
Both techniques are perfect for adding subtle, sophisticated texture to your crochet projects, making them a great choice for sweaters, scarves, and more.
🌟 Take a look at this Creekside Crochet Ruana or this pocket shawl, can you see the knit-like stitches I used?
Give it a try and see how it transforms your crochet pieces into elegant, knit-look creations!
What Type of Tarn Works Best For Creating a Knit-Look with Crochet?
Smooth, non-splitting yarns like worsted or Aran weight work exceptionally well. These yarns highlight the intricacy of crochet stitches and offer a knit-like appearance. Tighter spun yarns enhance stitch definition, making the crochet fabric resemble something you might have achieved with knitting needles.
Solid colors will of course show the work better than a speckled or variegated yarn but that doesn’t mean those yarns will now work for the desired look. As a matter of fact, using a combination of split single crochet stitches and single crochet through the back look together can give a wonderful contrast between stitch texture and highlight a hand dyed or variegated yarn (just like in the Celebration Crochet Hat pattern given below).
What Size Crochet Hook Works Best for Creating a Knit-Look with Crochet?
When creating a knit-look with crochet, it’s best to start with the recommended hook size for the yarn you’ve chosen. However, if you find that your split single crochet stitches are coming out too snug, don’t hesitate to go up a hook size. This can help you achieve the right texture and look without making your stitches too tight.
Personally, I prefer a hook with a pointier tip, like a Susan Bates hook. These hooks, especially the ones with a big sturdy handle, give me better control over my stitches and make it easier to work through the tighter spaces created by knit-look techniques.
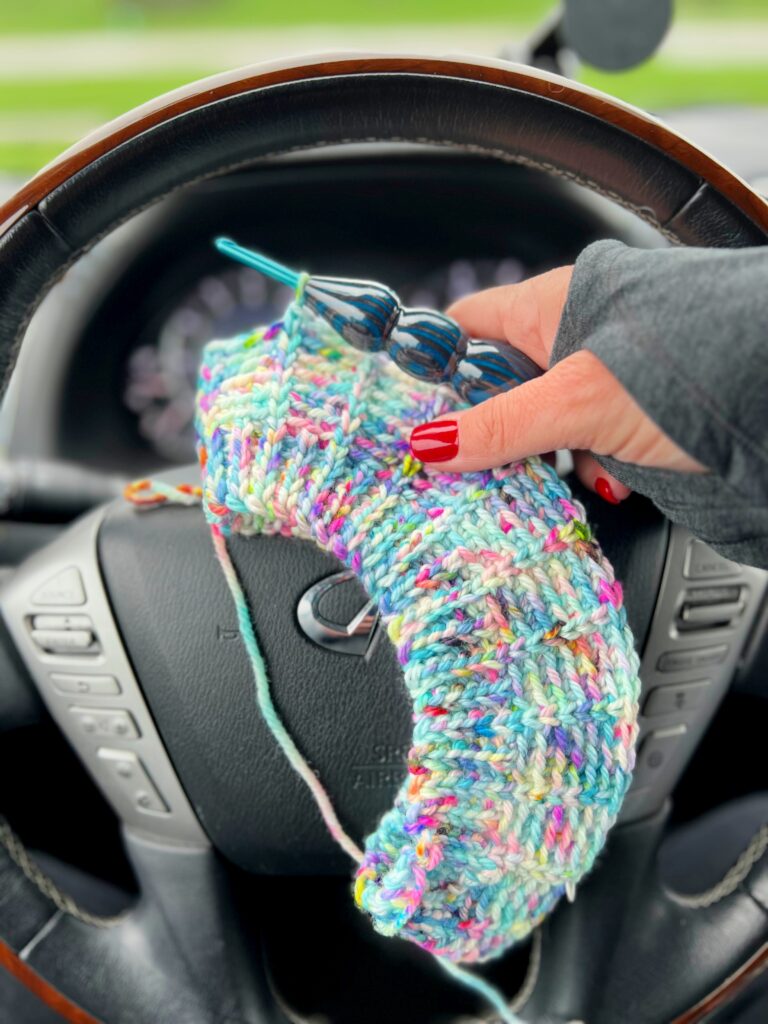
Overall, the key is to choose a hook that allows you to complete the stitch pattern comfortably and achieve the correct gauge. Finding the right balance between hook size and stitch tension will help you create beautiful, knit-look crochet projects.
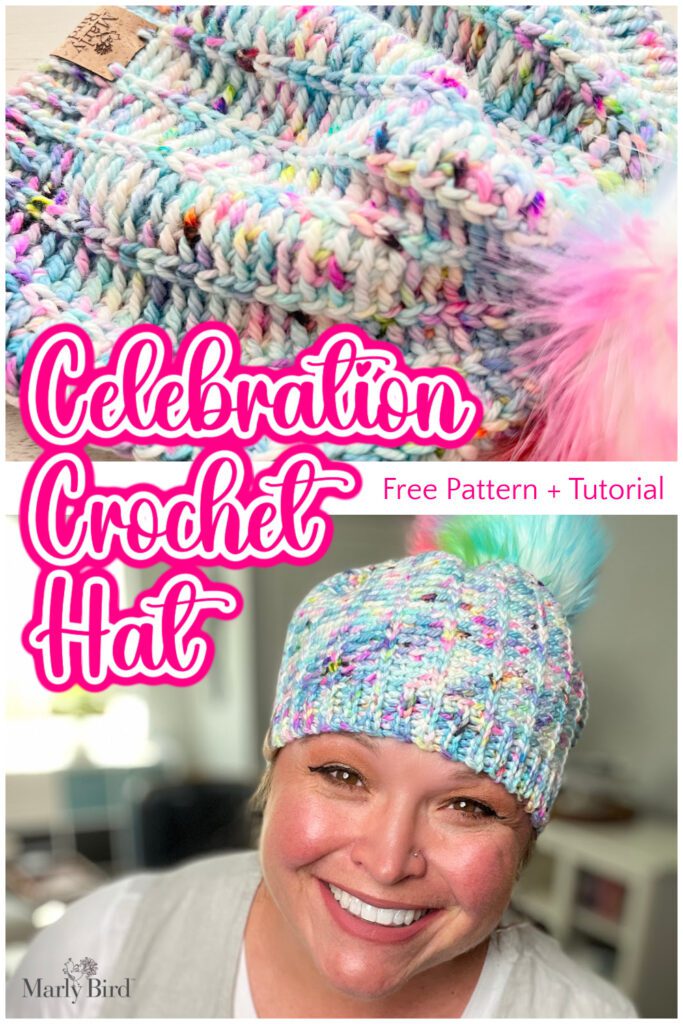
Celebration Crochet Beanie Pattern by Marly Bird
I’m thrilled to talk about my Celebration Crochet Hat Pattern! This design fully embraces the knit-look crochet with its clever use of textured stitches. It’s a reflection of my love for both knit and crochet techniques, creating a hat that looks knitted but is crafted entirely with a crochet hook.
When I designed this pattern, I wanted to combine the ease of crochet with the polished look of knitting. The guidance provided is straightforward, allowing you to focus on each stitch without hesitation. The finished hat showcases how crochet can mimic the beauty of knitting, offering a warm and stylish accessory.
SKILL LEVEL
Adventurous Beginner
CROCHET HAT MEASUREMENTS FOR THE FAMILY
To Fit Sizes
Toddler (Kid, Adult Small, Adult Medium, Adult Large)
Finished Measurements of the Crochet Hat
| To Fit Size | Toddler | Kids | Adult Small | Adult Medium | Adult Large |
| Finished Head Circumference | 18” (46 cm) | 19” (48 cm) | 21” (53.5 cm) | 23” (58.5 cm) | 25” (63.5 cm) |
| Finished Height | 7.5” (19 cm) | 7.5” (19 cm) | 8” (20.5 cm) | 8” (20.5 cm) | 8.5” (21.5 cm) |
Knit-Look Stitch Gauge
16 sts by 17 rounds in stitch pattern = 4” [10 cm] by 4” [10 cm]; use any size hook to obtain the gauge.
MATERIALS
Yarn
Sample Made with Sock Obsession Yarns, Aran Yarn Weight (100% superwash merino, 181 yds / 166 m, 3.53 oz/ 100 g, CYCA #4 worsted) – 1 (1, 1, 1, 2) hanks. Sample color – Tiny River
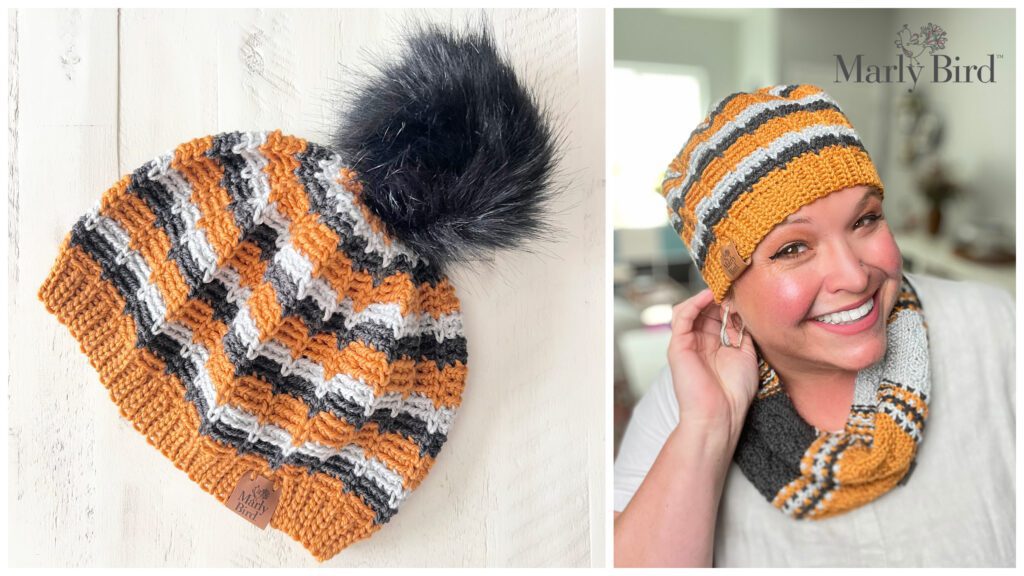
Sample Made in video We Crochet, Twill Worsted Yarn Weight (100% superwash merino wool, 149 yds / 136 m, 3.5 oz/ 100 g, CYCA# 4 worsted)
- Color A: #27934 Gold Rush, 1 hank
- Color B: #28533 Sea Salt Heather, 1 hank
- Color B: #27927 Graphite Heather, 1 hank
Crochet Hook
Size H/8 [5.0 mm]
Notions
Stitch Markers, Tapestry needle, Scissors, optional pom pom
ABBREVIATIONS
Ch – Chain(s)
PM – Place Marker
RS – Right Side
Sc – Single Crochet
Sl st – Slip Stitch
Sp(s) – Space(s)
Split Sc – Split Single Crochet
St(s) – Stitch(es)
WS – Wrong Side
SPECIAL STITCHES
⭐Back Loop Only: This is the furthest loop to you of the top 2 loops of the stitch indicated, regardless if you are on the RS or WS.
⭐️Chain (Ch): With slip knot or free loop on hook, yarn over hook and pull through loop on hook.
⭐️Single Crochet (Sc): Insert hook into indicated stitch, yarn over and pull up a loop, yarn over and draw through 2 loops on hook.
⭐️Slip Stitch (Sl st): Insert hook into indicated stitch, yarn over and pull up a loop and draw through loop on hook.
⭐️Split Single Crochet (Split Sc): Insert hook into indicated titch between the two legs of the stitch, yarn over and pull up a loop, yarn over and draw through both loops on hook.
⭐️Split Single Crochet/Single Crochet Decrease (Split Sc/Sc dec): Insert hook into indicated stitch between the two legs of the stitch, yarn over and pull up a loop, insert hook into the back loop of the next indicated st, yarn over and pull up a loop, yarn over and draw through all loops on hook – 1 stitch decreased.
⭐️Split Single Crochet Two Together (Split Sc2tog): Insert hook into indicated stitch between the two legs of the stitch, yarn over and pull up a loop, insert hook into next stitch between the two legs of the stitch, yarn over and pull up a loop yarn over and draw through all loops on hook – 1 stitch decreased.
STITCH DIAGRAM
Only available in ad-free PDF
Get the Ad-Free PDF
Purchasing the ad-free PDF of the Celebration Crochet Hat Pattern is a fantastic option for those who want a seamless, uninterrupted crafting experience. This convenient format allows you to easily follow along without distractions, and it’s perfect for printing out and taking on-the-go for your crochet projects.
The PDF includes fully formatted pattern with written instructions, crochet stitch diagrams, and video tutorial links.
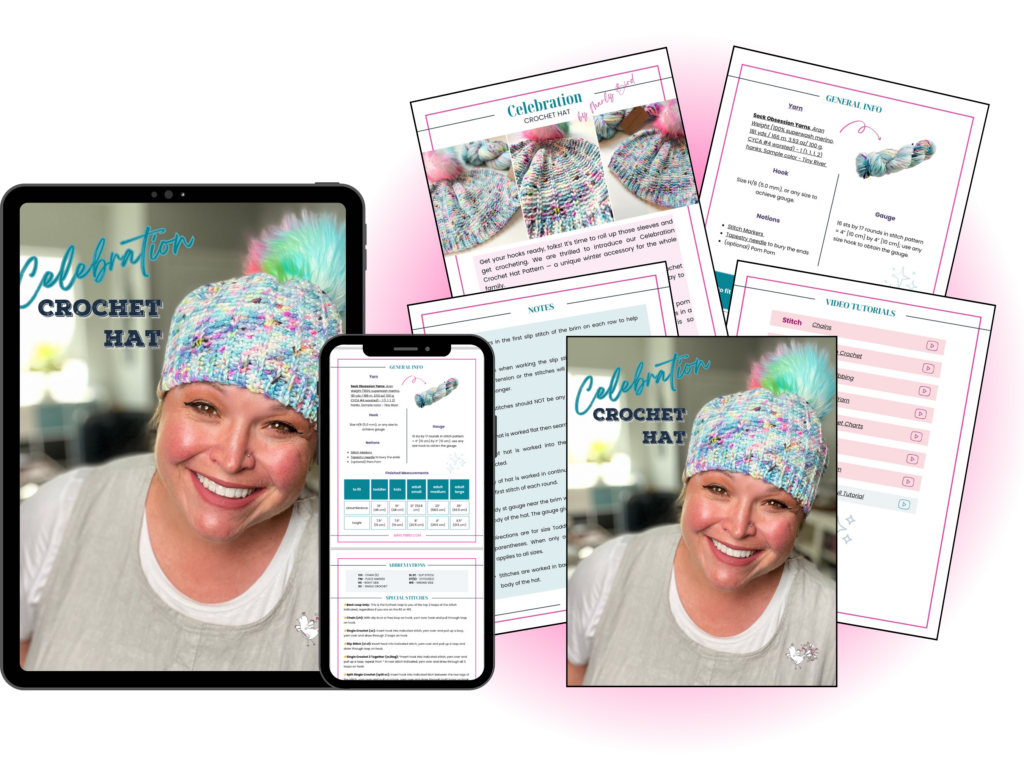
NOTES
- Use markers in the first slip stitch of the brim on each row to help keep count.
- Be cautious when working the slip stitches on th brim, maintain consistent tension or the stitches will begin to get too tight as the brim gets longer.
- The slip stitches should NOT be any more snug than the size of the hook.
- Brim of hat is worked flat then seamed together.
- Body of hat is worked into the long side edge of the brim as instructed.
- Body of hat is worked in continuous rounds. Use a marker to identify the first stitch of each round.
- Body st gauge near the brim will be a little more snug than it is in the body of the hat. The gauge given is in the body of hat.
- Directions are for size Toddler; changes for sizes Kid, S, M, L are in parentheses. When only one number is given then that number applies to all sizes.
- Stitches are worked in back loop only unless otherwise stated in the body of the hat.
VIDEO TUTORIALS
- How to wind yarn >> Click Here for Video Help <<
- How to Crochet the >> Celebration Crochet Hat <<
- How to Bury Ends >> Click Here for Video Help <<
- How to add a Removable Faux Fur pom >> Click Here for Video Help <<

GROW
To Unlock Exclusive Subscriber Content click the Box below and join for free by simply adding your email and creating a password! If you are having troubles, clear your cache or reset your password or login to the Grow Publisher Portal.
>> Learn More About Grow Here <<
I’m thrilled to share this amazing pattern with you, many patterns on my blog are absolutely free! I kindly request that you don’t copy and paste or distribute this pattern. Prefer an ad-free experience? Buy a digital PDF pattern for a small fee from one of my online stores for a seamless crafting journey.
I appreciate your support and readership. You are the reason I can keep doing what I love and sharing it with others. So, thank you from the bottom of my yarn-loving heart! Disclosure: This post contains affiliate links, meaning I get a commission if you decide to make a purchase through my links at no cost to you.
CELEBRATION CROCHET HAT Free Pattern
BRIM
FINISHING
No sewing! With the tail thread through a tapestry needle, weave the top closed.
Weave in all ends
Add pom pom Optional
Get a completely different look by working stripes just like I did in the video tutorial!
Knit-Look with a Crochet Hook – Final Thoughts
As a BiCrafty person, meaning I’m both a knitter and a crocheter, I understand the unique charms and challenges of each craft. I also know that not everyone can wrangle two needles, and sometimes a crocheter really wants that sleek, knitted look. That’s why offering patterns that achieve a knit-look with a crochet hook is so important to me.
Crochet offers an incredible way to mimic the polished appearance of knitting. Techniques like the split single crochet, half double crochet through the third loop, single crochet post stitch, and slip stitch have become my go-to stitches for achieving that knit texture. Pairing these stitches with the right yarn brings out the best in crochet, creating projects that look knitted but have the unique touch of crochet.
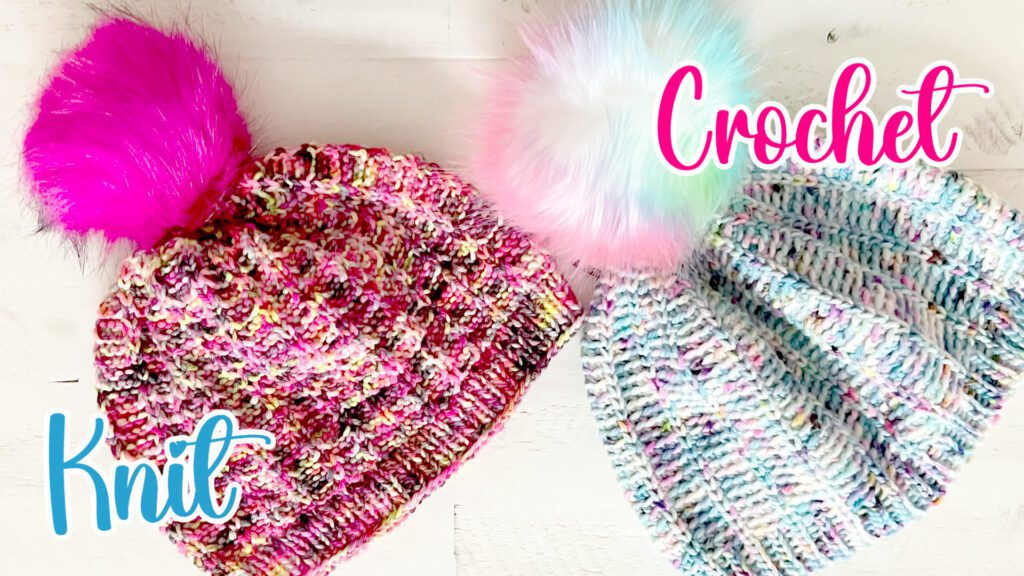
The Celebration Crochet Hat Pattern is a perfect example of how crochet can break boundaries and mirror the elegance of knitting. It’s more than just a pattern; it’s an inspiring journey that pushes the boundaries of crochet skills. The resulting hat is a wearable piece of art, blending the warmth and style of knitting with the charm of crochet.
Thank you for joining me on this exploration of knit-look crochet techniques. I can’t want to see your crochet knit-look hat! Be sure to share pictures with me on social media and I will be sure to give you a thumbs up!
Happy crocheting!


An alternative to knitting and bringing me out of my crojo. Thanks so much! 😊👍