Learn How to Knit For Crocheters (BiCrafty Boot Camp,…
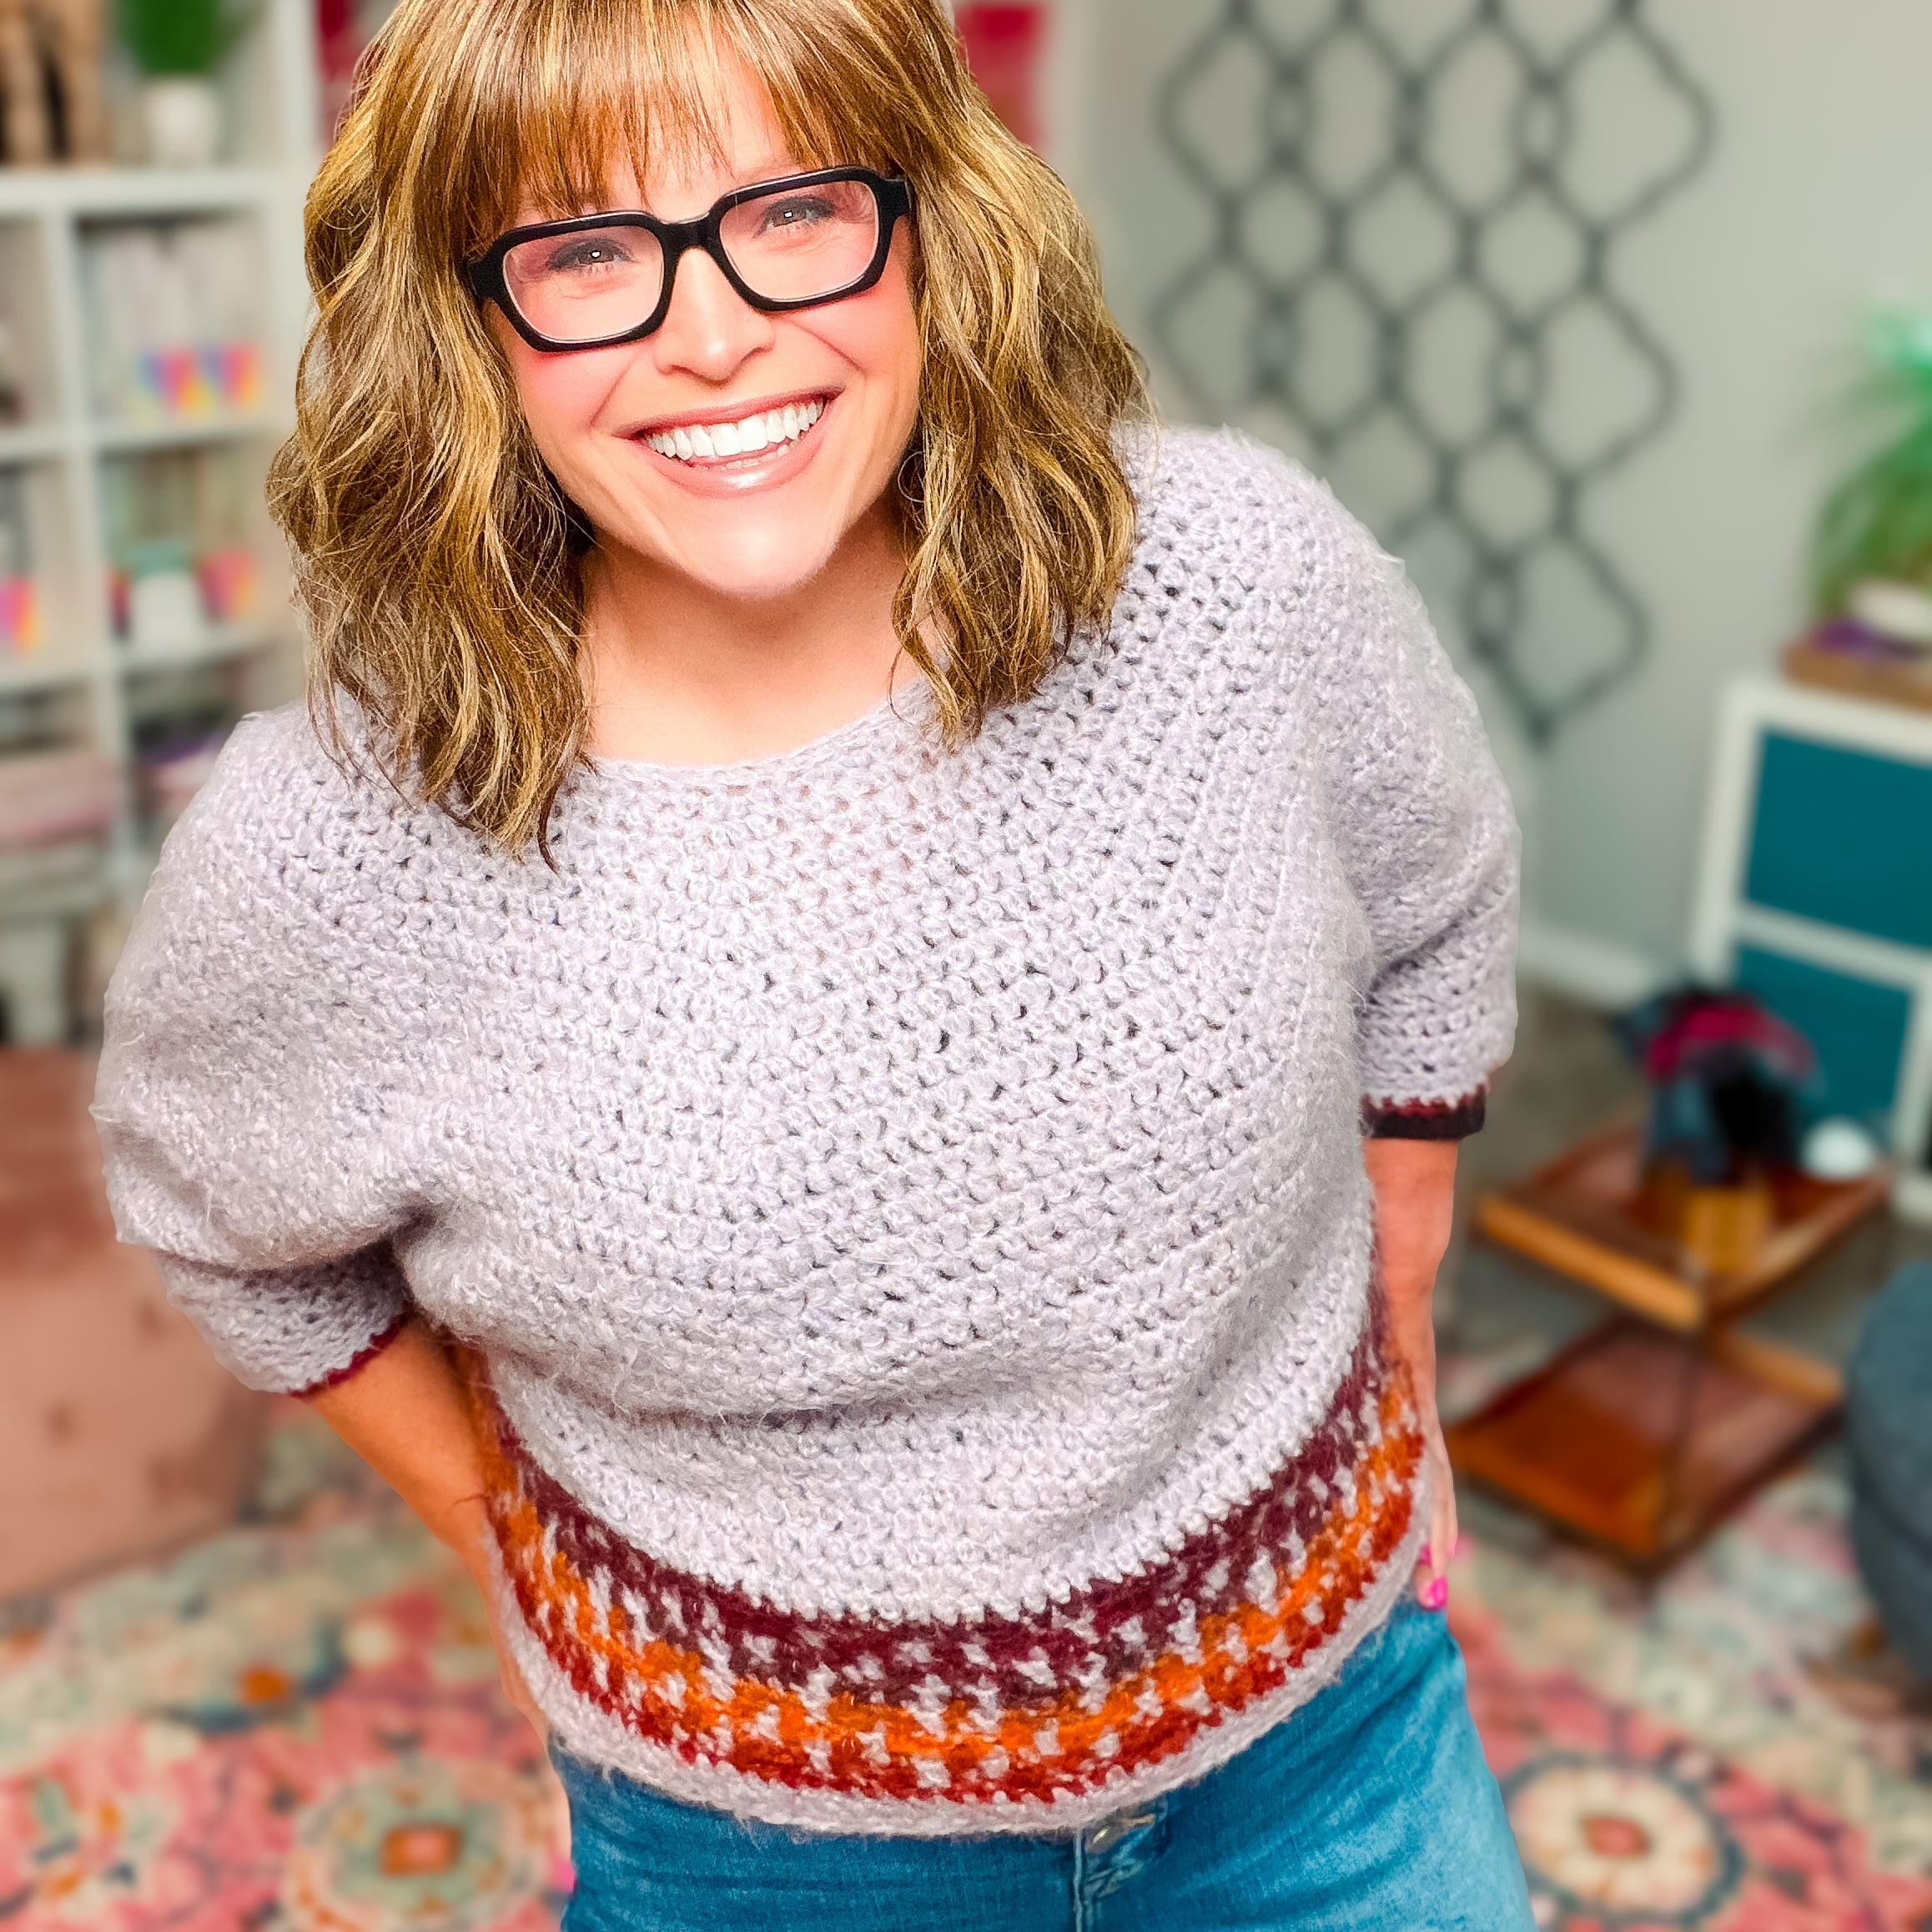
Welcome to Lesson 1 here at BiCrafty Boot Camp: Knitting Lessons for Crocheters. As you’ll see below, anyone can use these weekly step-by-step lessons to learn how to knit. However, the lessons are especially geared towards crocheters who are ready to become bicrafty. In this first lesson, we’ll look at what crocheters already know that will help them get started, including the slip knot. Plus, we’ll learn one way to cast on and how to do the knit stitch continental style.
BiCrafty Boot Camp is FREE. Enlist here today. We’ll have lessons, tips, social media lives and giveaways.
These posts may include affiliate links. If you click one and make a purchase, I get a percentage of the sale. Your price never changes. Thank you for your support.
Crocheters’ Edge: Getting Started
Here are some of the things that make it easier to learn how to knit for crocheters as opposed to brand-new beginners to either craft:
- Crocheters already know the slip knot.
- Most crocheters already understand what gauge is, why it’s important, and how to figure it out.
- Additionally, crocheters understand that tension affects your work.
- Knowledge of yarn will help in choosing yarn for knitting projects. You already know about yarn weight and fiber. Do note, however, that yarn behaves differently on needles than on hooks. Therefore, just because something works for you in crochet doesn’t always mean it’ll be the top choice for knitting. Don’t worry; you’ll figure it out!
- Although knitting needles are different from crochet hooks, you might have some familiarity with the feel of the tools in your hand.
- You know how to count stitches. It’s really easy to count your stitches in knitting but it is very crucial to do so, just like in crochet, so you can make sure you’re keeping the sides even if you’re doing plain knitting or that you’re following the pattern you’re making. So you’ll definitely put this crochet skill to use as a knitter.
- You have some familiarity with the language. Remember when you first looked at a crochet pattern and it was all gibberish to you? While you might not be familiar with knitting abbreviations, yet, you do have a basic working knowledge of how a pattern reads.
If you’re not a crocheter, don’t worry. We’ll cover these things for you. But if you are a crocheter, then take a moment to appreciate how much you already know!
Knitting for Beginners: Yarn and Needles
There are a few things that beginners need to learn about materials. Luckily, crocheters already know a lot of this stuff.
Learn About Yarn
If you’re brand new to yarn crafts, then you’re going to need to learn about yarn. Don’t worry; although there is a lot to learn, you can get started with a little bit of basic knowledge.
All you really need to know to start is that you can start this series by working with our chosen yarn: Chic Sheep, which is a 100% Merino Wool worsted weight yarn. Yarn weights range from 0 (lace weight) to 7 (jumbo) which just refers to how thick yarn is. Find a lot more info, along with recommended yarns, in our yarn weight chart.
As you continue with BiCrafty Boot Camp, you might want to learn more about fiber types, plies, twists and other yarn details. And we’ll be sharing more info as we go along. But for now, know that yarn has a label on it and if you look at the label, it has a number, and the number will be from 0 – 7. Right now you want a #4.
Learn About Knitting Needles
And whether you’re new to yarn crafts entirely or you are learning how to knit for crocheters, you’ll need to learn a little bit about knitting needles.
There are different types of knitting needles: straight, circular, and double-point. And they come in different sizes, different lengths, and different materials. We are excited to work with sponsors including Signature Needle Arts, ChiaoGoo, Prym, and Jimmy Beans Wool to share a variety of different knitting needles with you throughout the course of BiCrafty Boot Camp: Knitting Lessons for Crocheters.
All of the options can be a little bit overwhelming. Just remember that, similar to with crochet hooks, you only need to try a few to get started. Over time you might discover you like different styles, materials, sizes, etc. But don’t let the myriad of options overwhelm you. Just begin! We’ve created an ultimate guide to knitting needles for crocheters to get you started.
As you begin, we recommend that you choose 24″ circular knitting needles. If you’re working with Chic Sheep yarn, then choose size 5 mm US 8 knitting needles. If you are using different yarn, check the label for recommended needle size.
Knitting for Beginners: Additional Information
If you’re a crocheter, then you already know about things like tension and gauge. You’ll learn to adjust to how they work in knitting as contrasted with crochet. Over time, you might want to learn more about reading a knitting pattern and other information. But for now, the main beginner information you’ll need to know is that you’ll probably want to try continental knitting first.
Continental Knitting for Right-Handed Crocheters
It’s important to note that there are different approaches to knitting. In other words, there are different ways to knit. The two most popular styles are continental knitting and English knitting, although there are other options as well.
The primary difference between the two is where the yarn is held. In continental knitting, the left hand holds the yarn. In contrast, the right hand holds the yarn in English knitting.
Since both of our team’s crocheters are right-handed, they’re already used to holding their yarn in the left hand. Therefore, they both opted to start their lessons in learning how to knit for crocheters by learning continental style knitting.
That’s what we’ll start with here. Further along in the series, we’ll discuss English knitting.
Pickers and Throwers
Learning knitting means learning a whole new language. Of course, you already know a lot of it from crochet. However, you’ll have to pick up other terminology on the way. Therefore, let’s introduce you to the slang terms “picker” and “thrower.” These are just another way of saying continental and English knitting. In continental knitting, which we’ll be doing, you kind of “pick” the yarn with the tip of your needle. In contrast, you kind of “throw” the yarn around the needle in English knitting. So, we’ll start off by being pickers, using continental knitting.
Knitting Lesson One: Slip Knot, Cast On, and Knit Stitch
The very first lesson in learning how to knit for crocheters is a three-part lesson: reviewing the slip knot, learning the cast on, and finally, the knit stitch. Although these are three distinct parts, they are also all the first part of learning how to knit. In crochet, you would make a slip knot then chain a foundation, and then start working single crochet or whatever stitch you are using. In knitting, you’ll slip knot, cast on, and then begin to knit stitch.
How to Make a Slip Knot
As a crocheter, you already know how to make a slip knot. You start the same way in knitting. Note that we’re going to learn a long-tail cast on, which means that you need to leave a longer tail than usual at the beginning when you make your slip knot. So as you make this slip knot, be sure to leave a long tail before you create the slip knot.
Here are the written instructions for how to make a slip knot:
- Hold your left hand palm up with your forefinger and middle finger extended.
- Rest the tail of the yarn in the palm of your left hand. Note that for the long tail cast on your tail should be at least three times the width of the finished product.
- Wrap the working yarn around both your forefinger and middle finger. Bring it all the way around and cross the yarn over itself.
- Turn your hand palm down. You should see two yarn pieces crossing your middle and forefinger.
- Using your right hand, go underneath the top yarn piece and pinch the yarn piece that’s closer to your wrist.
- Pull it all the way through, pulling all of the yarn off of your hand. You have a slip knot! The knot is adjustable.
How to Cast On for Knitting
Now you’re ready to cast on stitches to the knitting needle. Casting on simply refers to putting stitches on the needles to begin knitting. Think of it as your starting chain…only it isn’t a chain.
See, the big difference between crochet and knitting (besides the one hook, two needles thing) is that in crochet you build stitches on a row of chains (for most patterns) and you will finish off or “bind off” each stitch as you create it. In knitting you build stitches on a cast on row and as you work along the row of stitches with a knit or purl the result is a loop on your needle. These loops are not finished off, yet, that happens at the bind off. But they are considered “live”.
So in just as you learn to chain in crochet to start a project, for knitting you have to learn how to cast on.
There are many different ways to cast on in knitting. My favorite cast on method is the long-tail cast on. It’s a good choice for beginners, and it’s what we’ll use in this first lesson of how to knit for crocheters.
Here are the written instructions for how to do the long-tail cast on:
- Leave a yarn tail that’s at least three times the width of your finished project.
- Make a slip knot at that point as shown above.
- Place the slip knot onto your needle. Hold your needle in your right hand, pointing to the left. Your yarn tail will be towards the left side of your needle and the working yarn towards the right side.
- Position your left hand with your fingers together, pinching closed with your thumb. (I call this the “quacker” because it looks like a duck bill.) Place the quacker under the needle between the two strands of yarn.
- Open your hand, creating an L shape with thumb and forefinger.
- When you look at the yarn strands now, you should see a sort of M shape with the yarn, where the slip knot on the needle is the center of the M. Pull the two legs of the M in towards each other, holding them in the palm of your hand using your three fingers. So you have the tail wrapped around your thumb, the working yarn wrapped around your forefinger, and the legs of the yarn “M” held beneath your three fingers on your palm.
- You’re holding the yarn in your left hand and the needle in your right hand. Grab the needle with your right index finger atop the slip stitch. If you pull it back a little, it looks like you have a slingshot.
- Take your needle and place it at the base of your thumb on the palm of your left hand. Move the needle up your thumb, underneath that first yarn strand.
- Going across the next part of the yarn, move your needle over to the tip of the index finger on your left hand.
- Go down your finger to go underneath the yarn on that side, bringing the needle back through the yarn and back to the base of the thumb at the palm.
- Let the yarn fall off your thumb.
- Pull the yarn tail to pull the stitch tight onto the needle.
That’s the start of your cast on. Repeat it again and again to keep adding stitches onto the first row, or the cast on row.
If you are struggling with this cast on, another great beginner cast on is the knitted cast on. Here is a video demonstrating how to do the knitted cast on.
How to Knit Stitch
Once you’ve cast on, you’re ready to begin knitting. Actually, you’ve already begun knitting. That’s because the long tail cast on creates the first knit row! That’s one of the great things about that cast on. So, now we begin with knit stitch:
Here are the written instructions for how to knit stitch.
- You’ll have your first row of knit stitches on the needle from your cast on. Hold that needle and the yarn in your left hand.
- Place the tip of the needle that is in your right hand just to the left of the first knit stitch that’s on the left hand needle.
- Insert the needle from that left side towards the right side, through the stitch.
- Yarn over the needle with the working yarn, from left around to the right of the needle.
- Bring the needle down, coming out of that stitch, and slipping that first stitch off the left needle onto the right side.
Keep repeating that all the way across the row. You’re knitting!!
Knitter’s Tip for Crocheters
When you pick up your work, the needle with the stitches on it should be in the left hand and when you knit the new stitches will be on the right hand needle. Which means, as you work along the row, the working yarn will be attached to the stitch closest to the tip of the right hand needle.
This is important to remember incase you must put your work down mid row, then pick is up and can’t remember where you are. First thing you should do if you find yourself in that situation is to make sure the needle with the working yarn attached to it is in the right hand.
Which leads me to my next tip. Do not stop in the middle of the row! Always finish the row before putting your work down. Crocheters who become knitters sometimes forget about this in the beginning. After all, with crocheting you can put your work down at any point and easily pick it back up again. With knitting, though, you could accidentally start to work in the wrong direction or the live stitches could fall off the needles and you will have a mess. Therefore, you should always work to the end of the row before pausing, especially to put away your work.
Lastly, give yourself some patience and grace. It is NOT going to be perfect the first time. It will take practice to develop muscle memory. But I KNOW YOU CAN DO THIS!
Homework!!
Each week, we’ll apply what we learned in the lessons to make a sampler pattern. This week, we want you to focus on practicing your slip knot, cast on, and knit stitch. This will help you to feel a little more confident, begin to adjust to the feel of the needles in your hands, and hopefully help you with your tension. Next week we will begin working on our pattern!
Additional Information For Learning How to Knit for Crocheters
If you want to watch additional videos for how to work on these beginner skills, then check out Beginner Knitting With Marly Bird and Marly’s Mom.
We will learn about how to knit English style later on, but if you’re curious about it, then check out this video.
Frequently Asked Questions
As a crocheter, what advantages do I have when learning to knit?
So many! You already understand yarn tension, fiber properties, gauge, how patterns are written, stitch anatomy, and how to read and follow instructions. You have a yarn stash and know what different weights feel like. You understand the concept of working from a written or charted pattern. What you’re learning is just a new set of hand movements and a different tool… the foundational knowledge transfers completely. Most experienced crocheters are surprised by how quickly knitting clicks once they accept that it’s a genuinely different physical technique rather than a harder version of crochet.
What’s the hardest part of learning to knit if you already crochet?
Keeping stitches on the needles! Crochet keeps one active stitch on your hook… all other stitches are locked in the fabric. Knitting keeps ALL current row stitches on the needle simultaneously, and they can slide off if you’re not careful. This feels precarious at first. Also: the yarn position is different (held in your non-dominant hand or at the back vs. front depending on the stitch), and purl stitches require a specific hand movement that many people find awkward at first. These challenges all resolve with a few hours of practice.
Should I learn Continental or English style knitting?
Try both and see which feels natural! Continental style (yarn in left hand) is very similar to how many crocheters hold yarn… which means many crocheters find Continental knitting clicks faster. English style (yarn in right hand) is the traditional “throwing” method many Americans learned. There’s no wrong choice… both produce identical fabric. Marly’s BiCrafty Bootcamp teaches both so you can experiment. Some BiCrafty crafters use one style for knit stitches and another for purl stitches… whatever combination gives you the smoothest rhythm.
What’s the best first project for a crocheter learning to knit?
A simple dishcloth or small swatch in garter stitch (all knit stitches)! Garter stitch only uses one stitch type, creates a flat non-rolling fabric, and shows clear visible progress quickly. The first project should be small (finish quickly and feel accomplished), simple (minimal technique), and functional (making something useful is motivating). After a successful garter stitch swatch, a basic ribbed hat or simple scarf gives you practice with both knit and purl. Marly’s BiCrafty Bootcamp series is specifically structured for this learning path.
Will learning to knit make me a better crocheter?
Many people say yes! Understanding both crafts deepens your appreciation for fiber construction and expands your vocabulary of techniques. You develop more nuanced understanding of tension and gauge. You can follow patterns and references from both traditions. You can choose the best tool for each specific project rather than being limited to one approach. And you become part of the full yarn crafting community rather than just one side of it. BiCrafty is genuinely more satisfying than mastery of one craft alone… Marly has built her whole brand on this truth.