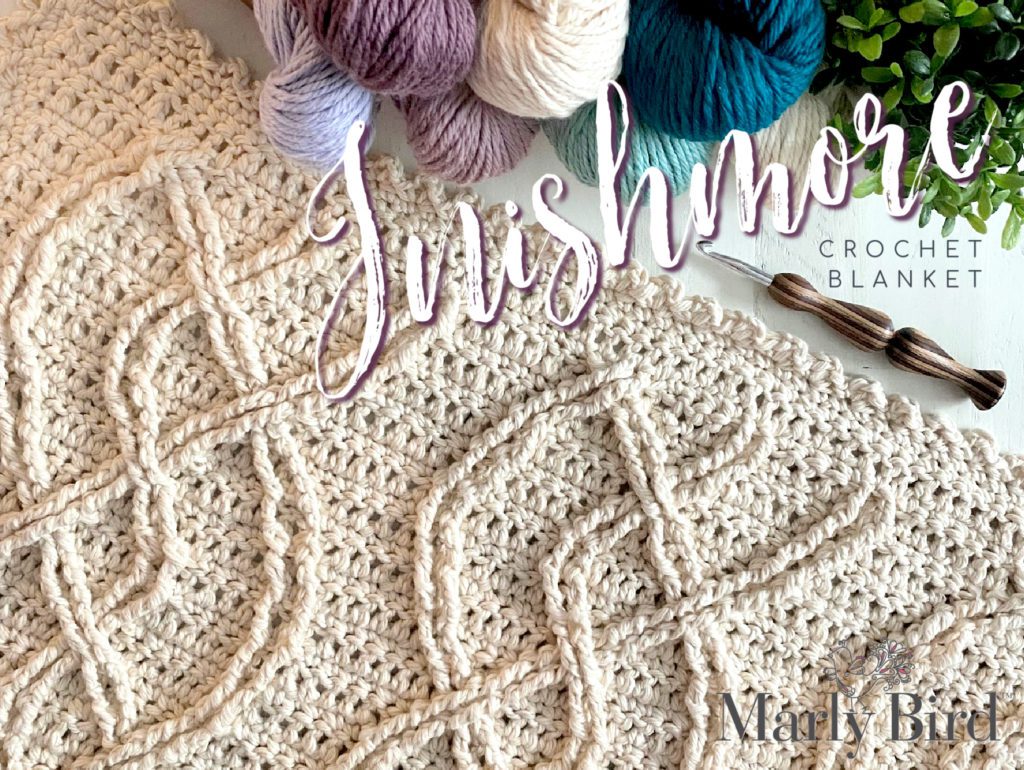
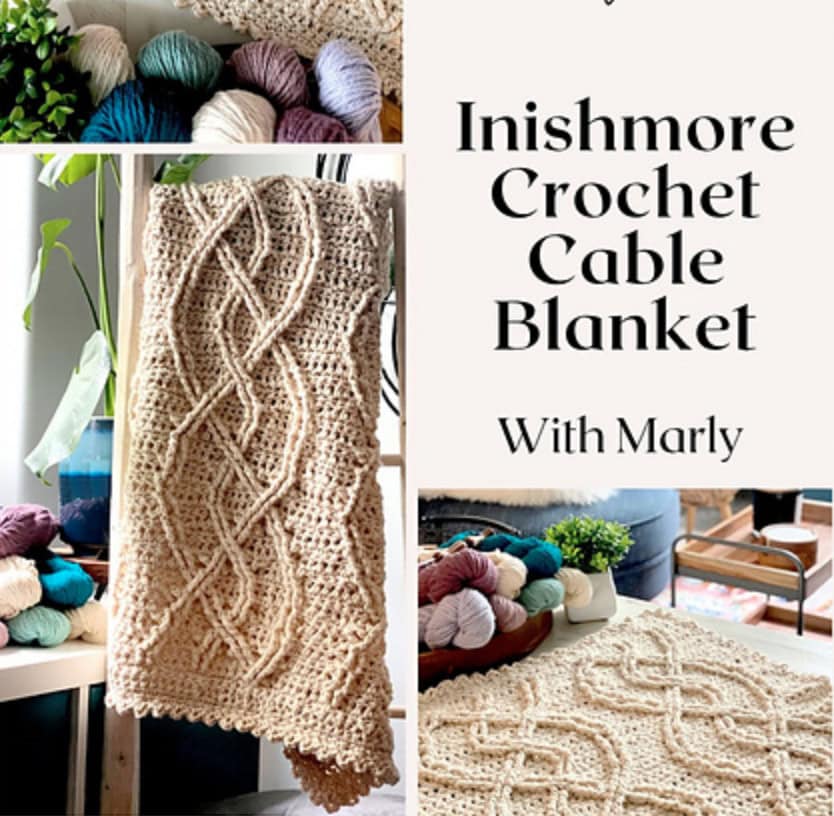
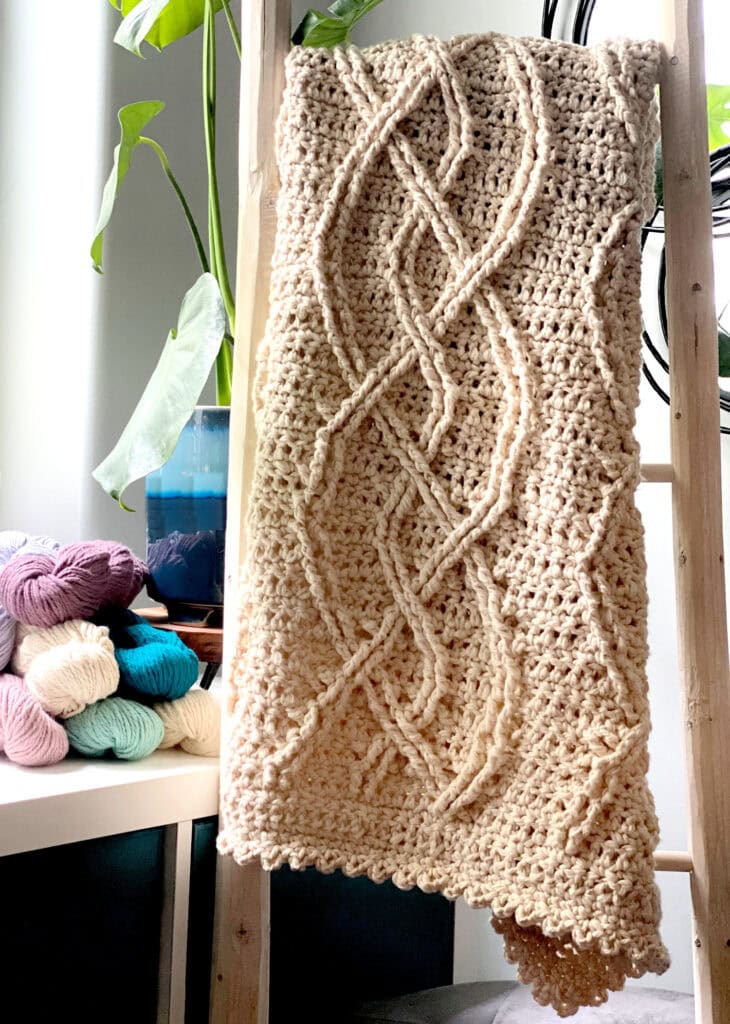
Inishmore Crochet Cable Blanket Pattern | Discover Hidden Cables and Cozy Comfort
Hey crochet pals! It’s Marly Bird here, and I've got something super special for you. It's our Inishmore Crochet Cable Blanket pattern, and it's all about getting that cozy, comfy vibe in your home. Big or small, this blanket is perfect for cuddling or gifting. If you love crochet cables also check out Billow Crochet Cable Pillow, and also, knowing the best size to make a blanket will come in handy. Ready to get started with some squishy, bulky yarn?
Disclosure: This post contains affiliate links, meaning I get a commission if you decide to make a purchase through my links, at no cost to you.
What Makes the Inishmore Blanket Special?
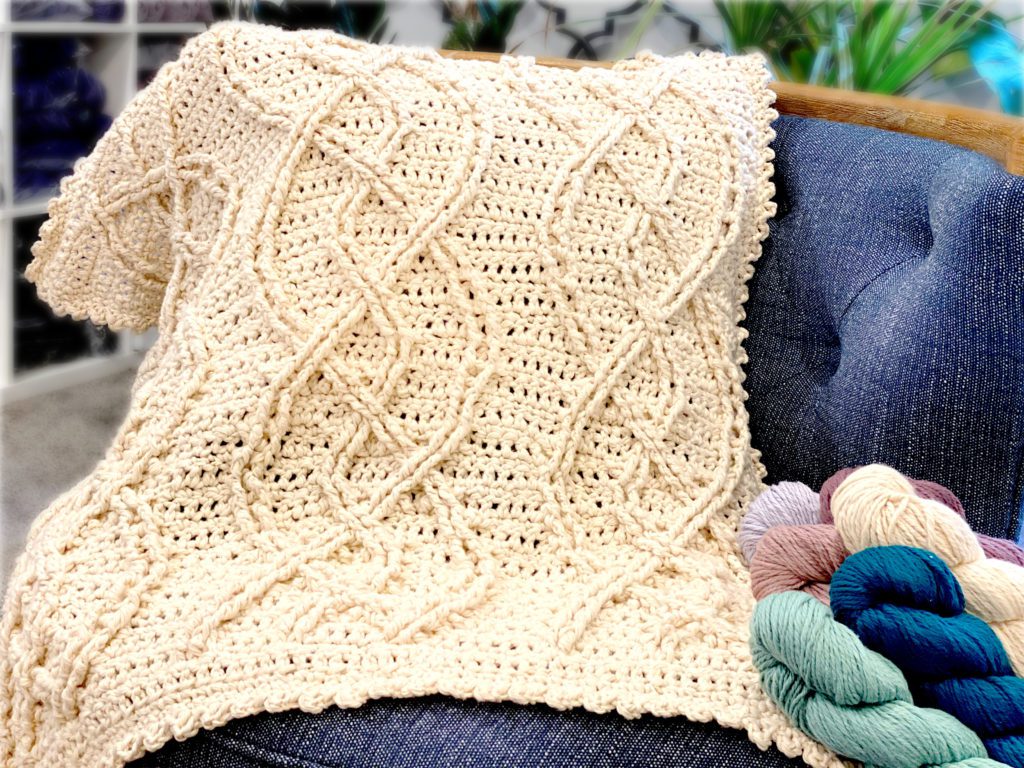
You've probably seen lots of crochet cables, but the Inishmore has a neat little secret. It uses hidden crochet cables that pop out beautifully without leaving any gaps! It’s all about that clean, finished look that works great on both sides of the blanket.
Dive into the Fun of Crochet Cables
Cables can seem tricky, but they're really just yarn doing a happy dance! And the hidden cables? Oh, they're a game-changer. I've picked this technique especially for the Inishmore blanket because it's fun, simple, and gives you that awesome reversible fabric. You'll love it, promise!
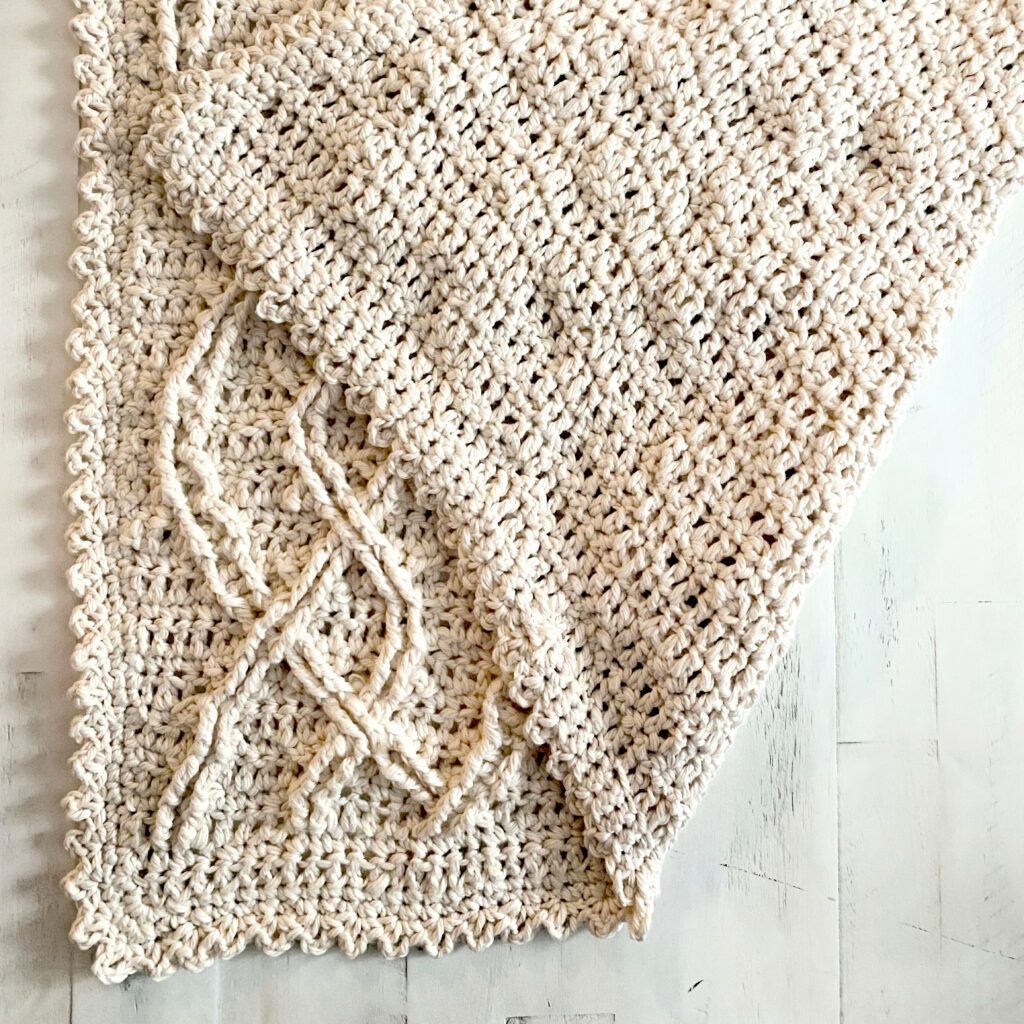
Crochet cables are typically created by working a series of front post crochet stitches and back post crochet stitches on both sides of the fabric (if working flat). With the hidden crochet cable technique in this crochet cable blanket you will only work the crochet post stitches on the right side of the fabric. That means when you are on the wrong side you get to relax and just create basic double crochet stitches.
This also means, that the right side of the crochet cable blanket is textured and distinctly different than the wrong side which is nice and smooth.
⭐️ Bonus ⭐️ to keep the edges straight and even on this crochet blanket you use the stacked double crochet (sometimes called stacked single crochet) at the start of each row. If you've never tried it before, and you are sick of starting with a ch-3 turning chain for a dc, you are going to love this.
Your Guide to Crocheting the Perfect Cable Blanket
Whether you're a beginner or a hook-wielding wizard, this pattern's for you. Just fill yourself with confidence, watch the crochet cable blanket video tutorial and you will be a-ok! Honestly, take a few moments and work up a swatch for the blanket before you tackle the entire chain amount for the various blanket sizes. That way you will become familiar with the different stitch techniques used and you will feel comfortable with the yarn and hook you choose (more about that later).
You'll see this blanket come to life in no time with the bulky weight yarn. Plus, this pattern is free so you can come back to this blog post anytime. However, because I know there are those who prefer the ad-free experience, PDF is available on Etsy, Ravelry, and Shopify. PLUS, the PDF includes stitch diagrams!
Why Choose Bulky Yarn for Your Crochet Cable Blanket?
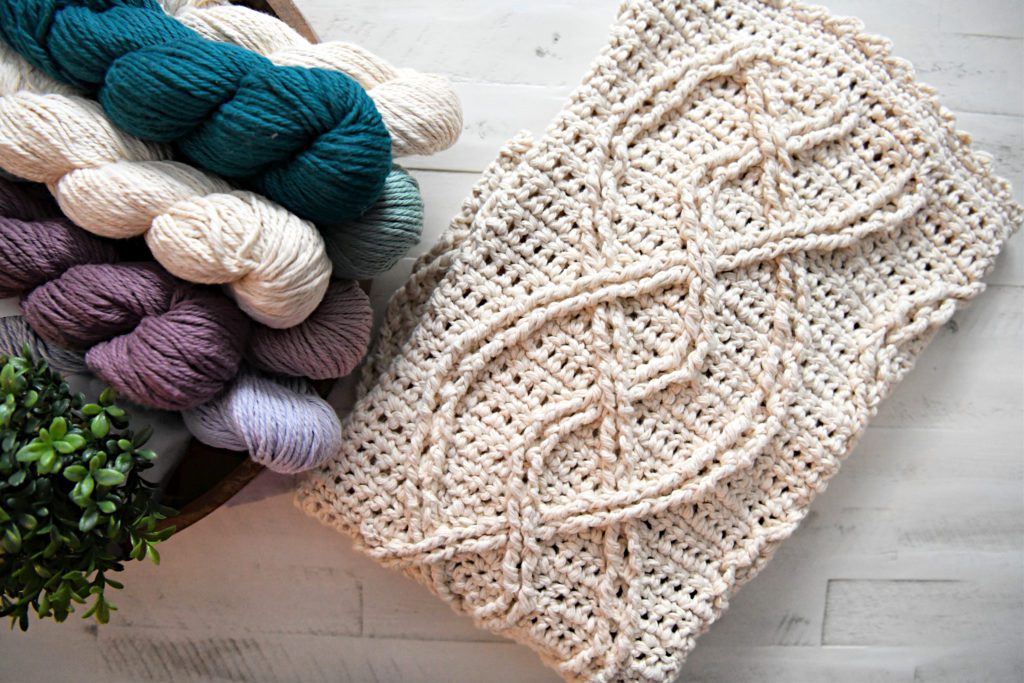
The truth is you can make this blanket with any bulky weight yarn. But because I wanted to have a all natural yarn blanket that is washable (for the new mom who doesn't have time to handwash) I chose to use the WeCrochet Billow bulky yarn. Chunky yarn equals cozy times, fast! It works up quick, making your crochet cable adventure a breeze. Plus, bulky yarn makes those cables stand out for all to admire.
Some other yarns we like for this project include Wonderfluff Bulky, Swish Bulky (this would be a dream to work with and to wrap up in), or if you are looking for a premium acrylic yarn we love Brava Bulky. All these yarns are CYCA size 5 weight yarn.
Best Crochet Hooks for Bulky size 5 Weight Yarn
Now let’s talk about crochet hooks. Metal hooks are smooth and let your yarn slide easily, but they might not be the comfiest for everyone, especially if you're using thicker yarn. Hooks made from bamboo or plastic are less slippery, which can be helpful, but they might make your hands tired if you crochet for a long time. That’s why hooks with special handles, like the Too Shay Crochet Hooks, are awesome. They're made to fit your hand just right, which means you can crochet for a longer time without your hands getting sore.
In the end, picking the right yarn and crochet hook is about what works best for you. You want yarn that looks good with your stitches and a hook that feels good in your hand. The best yarn for your project will tick all these boxes and make crocheting your big, comfy blanket fun and easy.
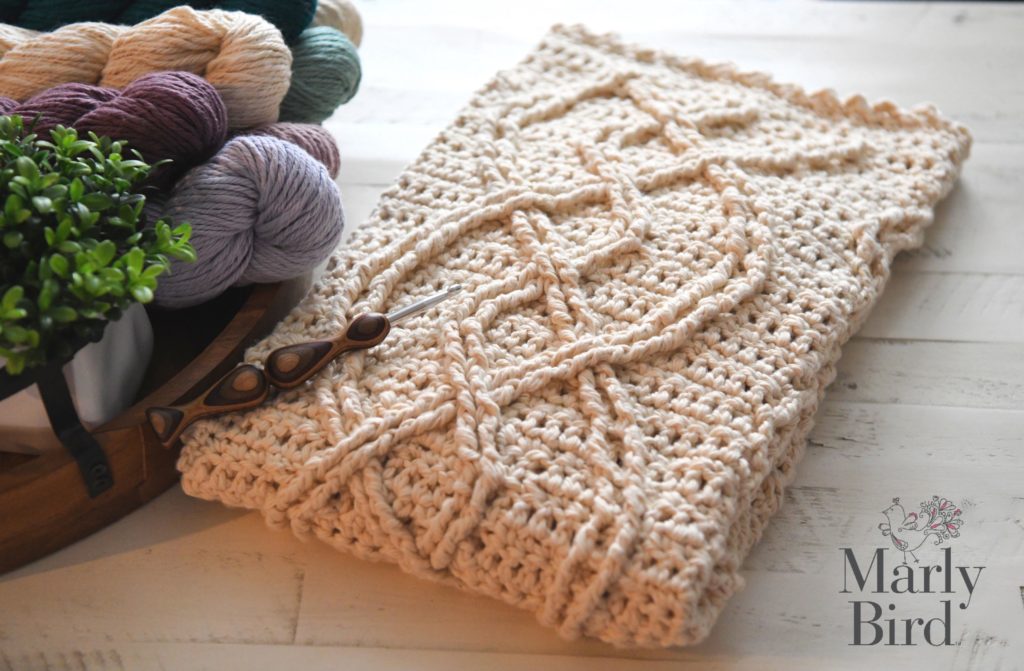
Show Off Your Crafty Side with Home Decor Crochet
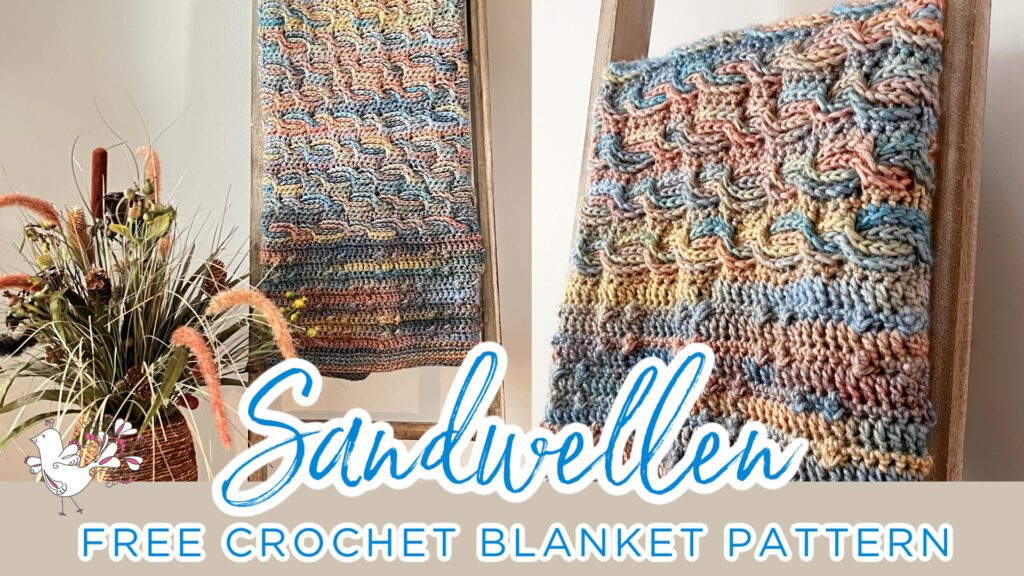
This blanket isn't just warm; it’s a statement piece for your home. It shouts (in a very comfy way) that you're a maker, a creator, a doer. Drape it, fold it, love it – your Inishmore blanket is the perfect touch for any room. If you like this type of blanket and you are looking for other cable crochet blankets, take a look at the Sandwellen Horizontal Cable blanket or the Bonny Billow Crochet Cable Pillow to coordinate with the Inishmore. Also, do you need help choosing the right blanket size for your next project? Take a peek at this blog post and I bet it will help.
Share Your Crochet Cable Blanket Creations!
After you've finished your Inishmore blanket, don't be shy. Flaunt it on social media and tag me! Your work could inspire the whole community to pick up their hooks. Use #mmmdi or #marlybird and I will be sure to smash your like button 🙂
Begin Your First or Your Next Crochet Cable Blanket
Ready to start this cozy crochet journey? Your next favorite blanket is just a few clicks and stitches away. Let's make something amazing together – stitch by stitch, cable by cable!
INISHMORE CROCHET CABLE BLANKET DETAILS
Designed by Marly Bird
Skill Level
Intermediate
Measurements
Finished Measurements
Baby Blanket is 32” [81.5 cm] wide by 34” [86.5 cm] long.
Throw Blanket is 52” [132 cm] wide by 62” [157.5 cm] long.
Gauge
9 sts x 10 rows in stitch pattern = 4” [10 cm] x 5.5 [14 cm]; use any size hook to obtain the gauge.
Materials
Yarn
WeCrochet Billow (100% pima cotton, 120 yds / 110 m, 3.5 oz/ 100 g, CYCA# 5 bulky): #26222 Natural Billow, 9 (20) balls
Crochet Hook Size
Size K/10.5 (6.5 mm) – or size to obtain gauge
Notions
- A tape measure – to measure your gauge in the crochet cable pattern.
- A pair of scissors – to cut the yarn. Make sure you always leave 4 – 6 inches of tail to weave in later.
- Speaking of weaving in, you need darning needle – do not just crochet over your ends or you will be very disappointed in the results after you wash and wear your garment. Weaving in ends is crucial for finishing touches.
- As always, a set of stitch markers will come in handy – use these markers to keep the edges of your blanket straight. These Clover locking stitch markers are Marly's favorites.
- Blocking Materials – to get the finished fabric of the crochet cables to settle in place and really pop, I find that blocking your blanket helps. This blog post is full of information about blocking supplies that are Marly's favorites.
Crochet Abbreviations
Ch – Chain(s)
Dc – Double Crochet
Fdc – Foundation Double Crochet (see special stitches)
Fpdtr – Front Post Double Treble Crochet (see special stitches)
Fptr – Front Post Treble Crochet (see special stitches)
PM – Place Marker
RS – Right Side
Sc – Single Crochet
Sp(s) – Space(s)
St(s) – Stitch(es)
Stacked Dc – Stacked Double Crochet (see special stitches)
Tch – Turning Chain
WS – Wrong Side
Yo – yarn over
SPECIAL STITCHES
⭐️ Foundation Double Crochet (fdc):
First fdc: Ch 3, yarn over hook, insert hook into 3nd ch from hook, yarn over and pull up a loop, yarn over and draw through 1 loop on hook (forming a chain),[ yarn over and draw through 2 loops on hook] twice (forming the double crochet)
Next fdc: Yarn over hook, insert hook into base of previous stitch (in the “chain” space), yarn over and pull up a loop, yarn over and draw through 1 loop on hook (forming a chain), [yarn over and draw through 2 loops on hook] twice (forming the next double crochet).
Repeat directions for desired amount of sts.
⭐️ Front Post Double Treble Crochet (fpdtr): Yarn over hook 3 times, insert hook from front to back to front around the post of the stitch indicated, yarn over and pull up a loop, [yarn over and pull through 2 loops on hook] four times.
⭐️ Front Post Treble Crochet (fptr): Yarn over twice, insert hook from front to back to front around the post of the stitch indicated, yarn over and pull up a loop, [yarn over and pull through 2 loops on hook] three times.
⭐️ 2/2 Left fpdtr Cable (2/2LC): skip next 2 dc, [fpdtr around post of next st 2 rows below] twice, [fpdtr around post of skipped st 2 rows below (working in front of fpdtr just made)] twice. (skip 4 dc for cable)
⭐️ 2/2 Right fpdtr Cable (2/2RC): skip next 2 dc, [fpdtr around post of next st 2 rows below] twice, [fpdtr around post of skipped st 2 rows below (working in back of fpdtr just made)] twice. (skip 4 dc for cable)
⭐️ Stacked Double Crochet (Stacked Dc): (Do not ch 1 prior to making the first sc) Sc in first stitch, insert hook in between two legs of the base, yarn over and pull up a loop, yarn over and draw through 2 loops on hook.
DIAGRAM
STITCH DIAGRAM IS ONLY AVAILABLE IN THE AD-FREE PDF.
NOTES
- Directions are for size baby blanket size; changes for throw blanket size are in parentheses.
- When only one number is given then that number applies to all sizes.
- Place a marker at the beginning of each stitch repeat (at the * in the row) to help keep track of where you are in the pattern.
- Skip dc behind post stitches throughout.
- Cable stitches are only worked on the right side rows.
- Cable stitches are only worked around the single crochet or post stitch two rows below, never into the double crochet of the previous row.
- Wrong side rows are made up of double crochets. When applicable, work the double crochet through both the top of the skipped double crochet stitch and the top of the post stitch from the previous row.
VIDEO TUTORIAL
The video tutorial is available on the Marly Bird YouTube Channel https://youtu.be/sVio6SAE6tM
INISHMORE CROCHET CABLE BLANKET PATTERN
Set-Up Row (WS): 68 (112) fdc
Row 1: Ch 1, sc in each dc across, turn.
Row 2 and every WS row: Stacked dc in first sc, dc in each sc across, turn.
–See Notes about WS rows–
Row 3: Ch 1, *sc in next 6 dc, 2/2RC over next 4 sts, [sc in next 4 dc, fptr in next 2 sts 2 rows below] twice; repeat from * across to last 2 sts, sc in last 2 sts, turn.
Row 5: Ch 1, sc in next 4 sts, *fpdtr in next 2 post sts 2 rows below, sc in next 4 sts, fpdtr in next 4 post sts 2 rows below, sc in next 5 sts, fpdtr in next 2 post sts 2 rows below**, sc in next 5 sts; repeat from * across ending at ** 3 sts left, sc in last 3 sts, turn.
Row 7: Ch 1, sc in next 3 sts, *fpdtr in next 2 post sts 2 rows below, sc in next 5 sts, 2/2LC over next 4 sts, sc in next 4 sts, fpdtr in next 2 post sts 2 rows below**, sc in next 5 sts; repeat from * across ending at ** 4 sts left, sc in last 4 sts, turn.
Row 9: Ch 1, sc in next 2 sts, *fpdtr in next 2 post sts 2 rows below, sc in next 4 sts, fpdtr in next 2 post sts 2 rows below, sc in next 4 sts, fpdtr in next 4 post sts 2 rows below, sc in next 6 sts; repeat from * across, turn.
Row 11: Ch 1, sc in next 2 sts, *[fptr in next 2 post sts 2 rows below, sc in next 4 sts] twice, 2/2RC over next 4 sts, sc in next 6 sts; repeat from * across, turn. *corrected the # of sc inside the parentheses from 2 to 4: May 24-2022
Row 13: Ch 1, sc in next 3 sts, *fpdtr in next 2 post sts 2 rows below, sc in next 5 sts, fpdtr in next 4 post sts 2 rows below, sc in next 4 sts, fpdtr in next 2 post sts 2 rows below**, sc in next 5 sts; repeat from * across ending at ** 4 sts left, sc in last 4 sts, turn.
Row 15: Ch 1, sc in next 4 sts, *fpdtr in next 2 post sts 2 rows below, sc in next 4 sts, 2/2LC over next 4 sts, sc in next 5 sts, fpdtr in next 2 post sts 2 rows below**, sc in next 5 sts; repeat from * across ending at ** 3 sts left, sc in last 3 sts, turn.
Row 17: Ch 1, *sc in next 6 sts, fpdtr in next 4 post sts 2 rows below, sc in next 4 sts, fpdtr in next 2 post sts 2 rows below, sc in next 4 sts, fpdtr in next 2 post sts 2 rows below; repeat from * across to last 2 sts, sc in last 2 sts, turn.
Row 19: Ch 1, *sc in next 6 sts, 2/2RC over next 4 sts, [sc in next 4 sts, fptr in next 2 post sts 2 rows below] twice; repeat from * across to last 2 sts, sc in last 2 sts, turn.
Rows 20-51 (83): Repeat Rows 4-19 twice (4 times)
Rows 52-60 (84-92): Repeat Rows 4-12
Fasten off, weave in ends.
FINISHING
Border
Round 1: Join yarn to the right bottom corner of blanket with sl st, ch 1, 2 sc in corner, sc an odd number of stitches up edge of the blanket (working over row ends) to corner, 3 sc in corner, turn to work on last row of blanket, skip next st on last row, sc in each st across row to last st, 3 sc in last st, turn to work on blanket edge, sc an odd number of stitches down edge of blanket to corner, 3 sc in corner, turn to work on set-up row, skip next st on set-up row, sc in each st across set-up row to corner, sc in first corner, sl st to first sc, do not turn.
Round 2: Ch 1, 2 sc in first sc, *sc in each sc to corner (middle sc of 3 sc group), 3 sc in corner sc; repeat from * around to last side, sc in each sc to corner on last side, sc in first corner, sl st to first sc, do not turn.
Round 3: Ch 1, *(sc, ch 3, sc) in next sc, skip next sc; repeat from * around, sl st to first sc, fasten off, weave in ends.
Final Thoughts and More Crochet Cable Patterns
And there you have it—you now have all the tools you need to create your very own Inishmore Crochet Cable Blanket with the perfect bulky size 5 yarn and the most comfortable hook is complete! Now, with the free pattern in hand, you're all set to transform your yarn into a masterpiece of coziness.
If you are looking for more fantastic crochet cable projects, here re a few from my friends!
Remember, each stitch you crochet is more than just yarn and hooks; it's a piece of your heart and a slice of home that you're bringing to life. Share your finished blankets, your proud moments, and your cozy corners with us—we can't wait to see the warmth you've crafted. Keep your hooks flying, your stitches even, and your hearts warm.
Happy crocheting!
Marly Bird ~ Your BiCrafty Bestie