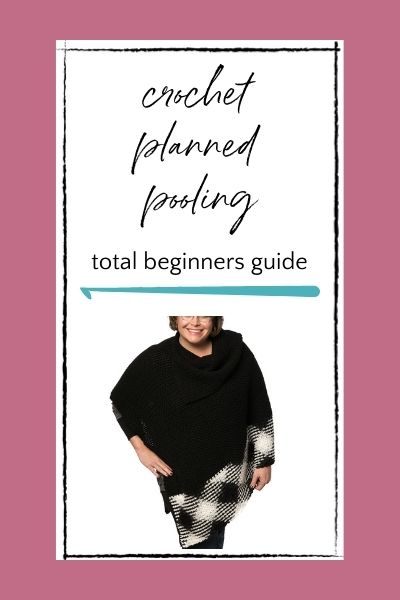
Total Beginner’s Guide to Crochet Planned Pooling
Crochet planned pooling is a fun technique that many people think is much harder than it is. That's because it looks so amazing. You use multicolored / variegated / self-striping yarn to create intentional patterns of color pooling within a project. The result s a beautiful, colorful, geometric design that really makes a statement when you look at it. And yet, because it uses basic crochet stitches, it's actually a lot easier than you might think. I've done a lot of posts, patterns, and even a book about crochet planned pooling, so I wanted to round them all up here for you. Follow the links to all of the resources that you need to learn yarn pooling from start to finished product.
Fun Fact: Planned pooling turns a negative into a positive. Historically, knitters and crocheters would complain about color pooling – the effect of blotchy spots of color in their work caused by multicolored yarn. However, planned pooling harnesses the power of that yarn glitch as a unique design tool in creating original work.
Note: This post may include affiliate links. If you click one and then buy something, you support my work because I get a small portion of the sale. Your price does not increase at all.
Yarn Pooling Made Easy: The Book
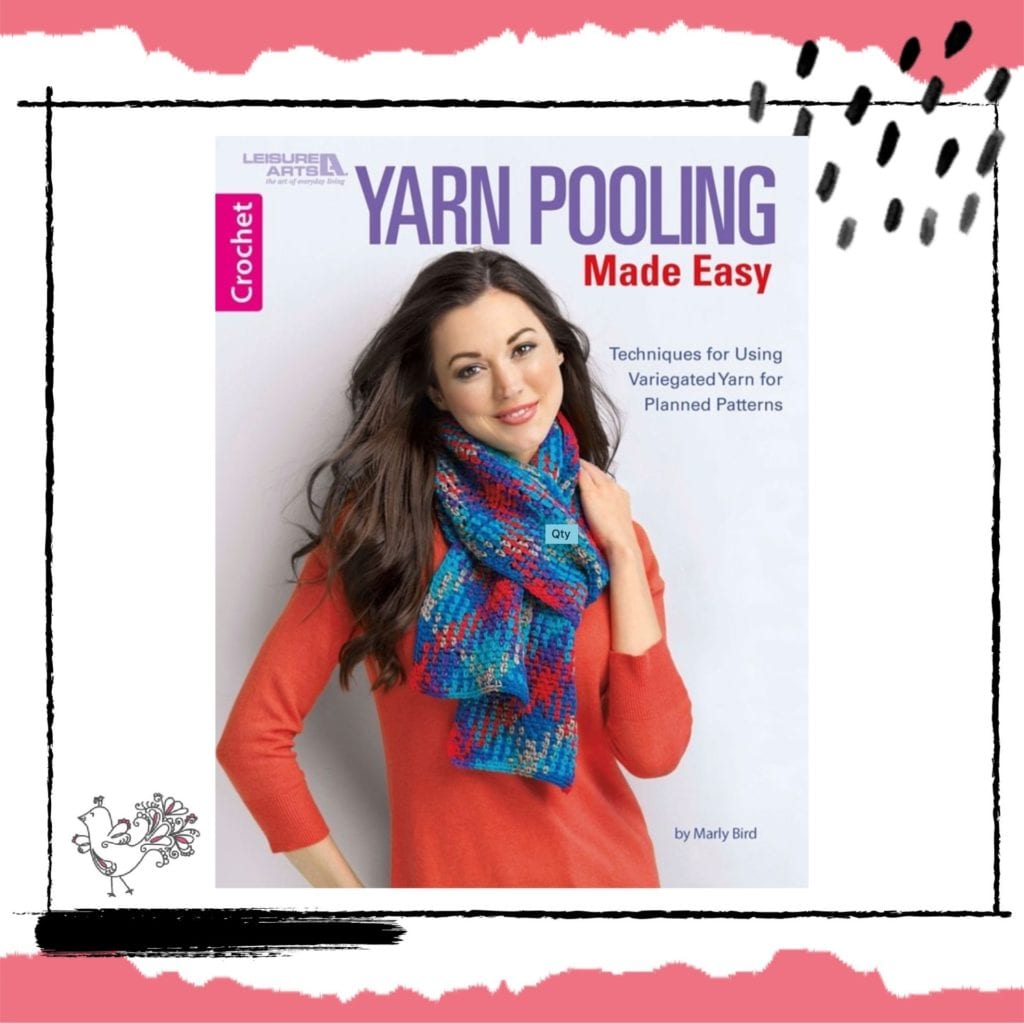
Below you'll find lots of different posts that will teach you all about crochet planned pooling. But if you're really serious about wanting to learn, then it might be worth it to you to check out my Yarn Pooling Made Easy book. It's one of the most popular Marly Bird knit and crochet books at Leisure Arts. The ebook is $7.99; the paperback is $9.99. You can go from not knowing anything about this technique to making a variety of colorful accessories in no time by following this book. If you want to learn more about this book, including behind-the-scenes info about each of the patterns in it, then check out this blog post about the original blog tour.
So, What is Crochet Planned Pooling All About?
You work with a variegated yarn, use some math, and adjust your tension or crochet hook size to create a specific color pattern for your design. It's often used to create an argyle pattern (or its variations: tartan and harlequin designs). However, you can also create other color patterns, especially if you learn to work this technique in the round.
- Start here with this post about planned pooling. It links to a video tutorial that shows you what planned pooling is.
- Here's another post that provides basics of planned pooling crochet.
- Finally, here's a comprehensive Quick Guide to Color Pooling that includes video tutorials and additional helpful links.
Getting Started: What You Need to Know
There are a few key things that you need to know as you get started with planned yarn pooling. One thing not to ignore is the “planned” part of “planned pooling.” In other words, take the time at the beginning to put everything in order for the project. Work out the details of the yarn, including where to start in its changing color sequence, in advance. The more prep work you do, the easier this technique will go. If you're familiar with the term mise-en-place in the kitchen then you can apply that mentality to your crochet.
Yarn for Crochet Planned Pooling
The most important thing that you need to know when it comes to planned pooling is that it's all about the yarn. You have to choose the right yarn or you simply can't do planned pooling. After all, the technique is designed to use the color changes in a multi-colored yarn in a strategic way so that you get the color placement that you want.
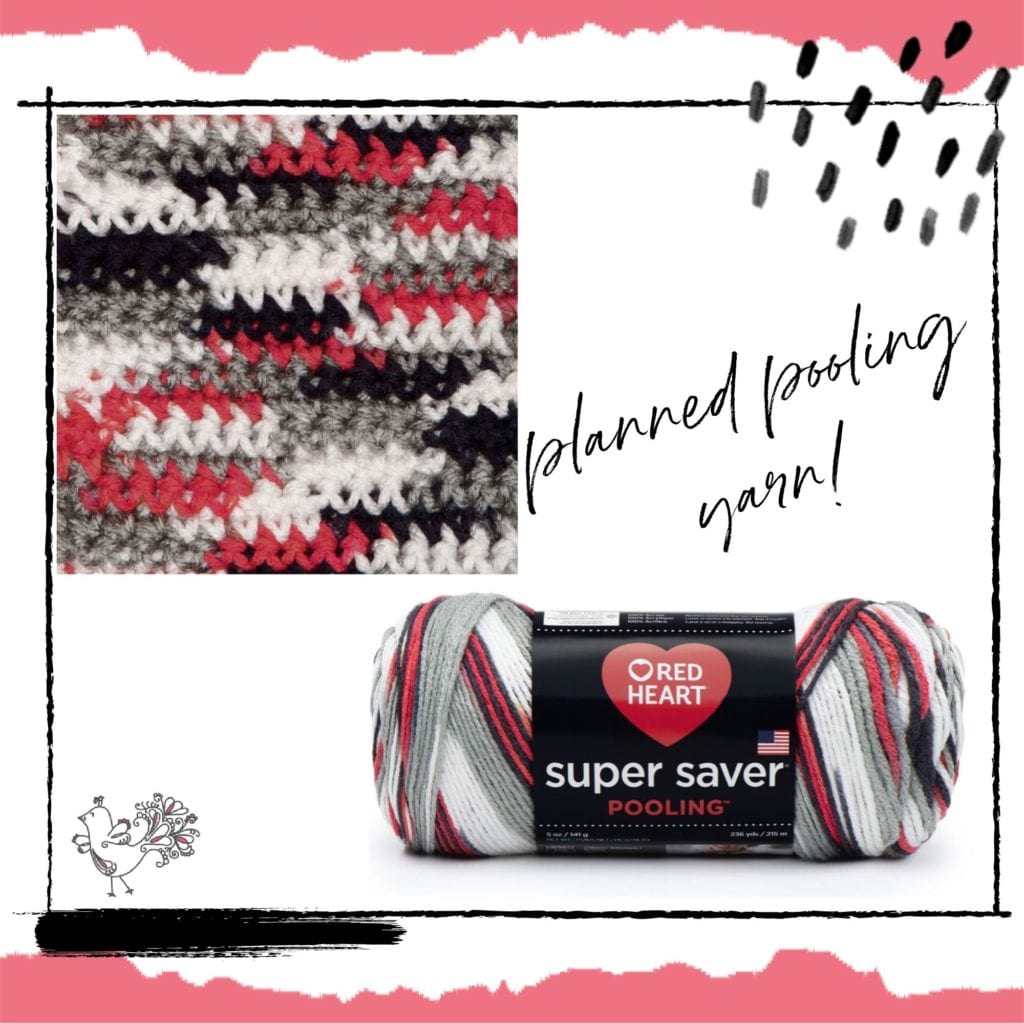
There are a lot of tips and guides to working with the yarn that you choose. But before you get too far into those, there's a little secret that you should know: Red Heart Has Yarn Specifically For Planned Pooling!! When I started sharing crochet planned pooling with others, I quickly realized that people often gave up on the projects early because they couldn't get the yarn to work out right. I worked directly with Red Heart to create a yarn that would limit these frustrations. Thus, Red Heart Super Saving Pooling Yarn was born.
Tips for Choosing Your Yarn
Of course, if you want to use a different yarn option, you can, especially as you get more and more comfortable with figuring out planned pooling. Here are some tips:
- Consistent color length; look for yarn that has color changes at the same distance each time. Super Saving Pooling Yarn has 12″ color lengths, but the length itself matters less than consistency in length. That said, short color changes (less than 6″ won't work well.)
- Consistent color repeat; the colors in the yarn should repeat in the same order over and over again. They should not repeat in random order.
- Make sure that you have enough balls of yarn that are all in the same dye lot. It matters more with planned pooling than in other versions of the craft.
Crochet Stitches for Planned Pooling
You can use a few different stitches for this technique. The more you practice and understand the math behind the designs, the more you can play around with this. But when you're getting started, I highly recommend moss stitch. Single crochet and half double crochet also work well for this technique.
Additional Beginner Tips
Most of the time with a new crochet technique, you want to just dive in. But with planned pooling, the more you learn in advance, the better off you're going to be. So, before you get too far into it, make sure that you read my 10 Secrets to Perfect Planned Pooling for some important tips. Also, although it's not here on my site, A Pattern to Follow learned crochet planned pooling from me and offers another 10 Tips for Conquering The Technique.
One thing that you'll learn that might surprise you is that the color of your stitch matters more than the stitch tension or even the hook that you use! In fact, you might switch crochet hooks mid-row. Here's what you need to know about choosing your crochet hook for planned pooling.
One thing you'll need to learn as a beginner is how to create an offset stitch. In other words, how to make the colors go where you want them to go. Here's the info on how to do that. Related to that, here's a beginner post on Planned Pooling Color Placement.
Oh, and one more thing. Because of the way that you work the color placement, you might have unused starting chains left in your project. Here's all about what to do with them.
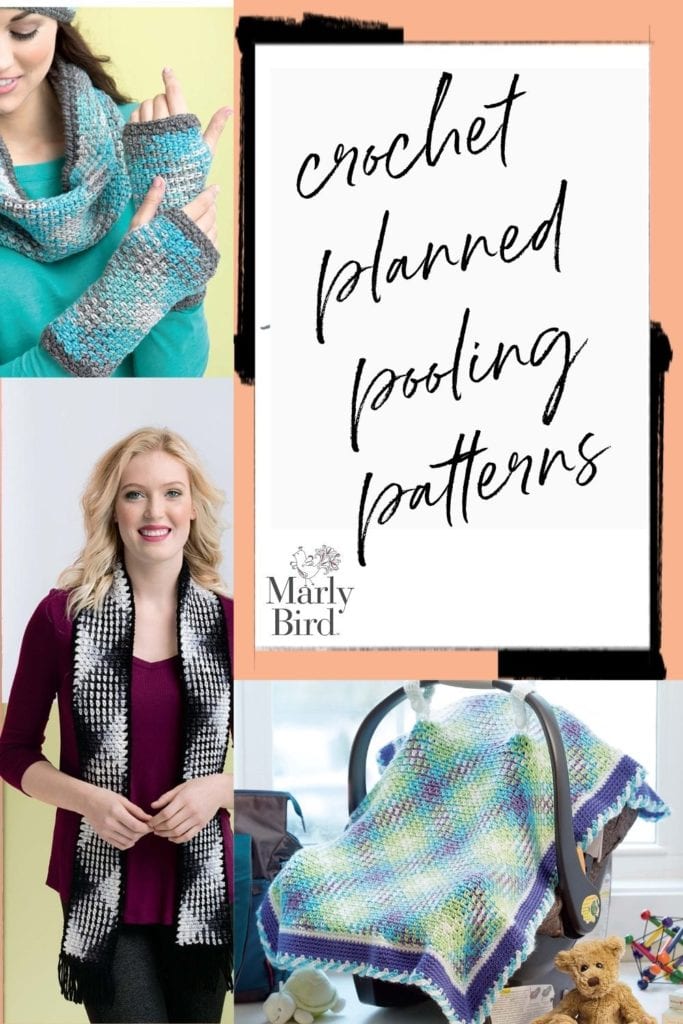
Crochet Planned Pooling Patterns
Here are some patterns to work through as you learn about this technique:
Basic Criss-Cross Argyle Pattern
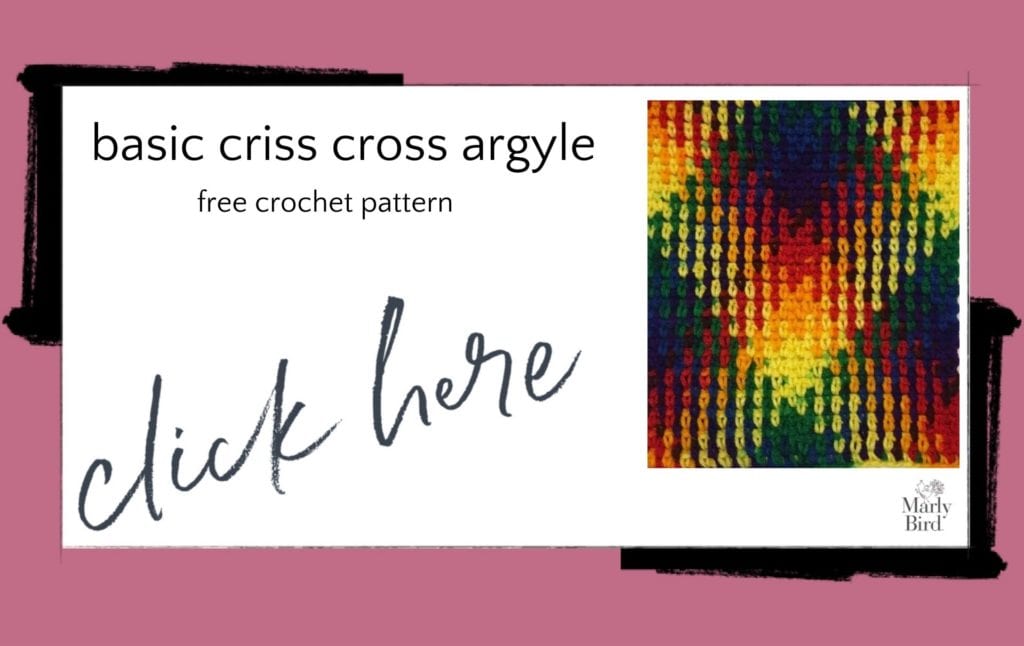
This is a good place to start if you just want to make a swatch to see what yarn pooling is all about.
Planned Pooling Crochet Throw Free Pattern

If you're ready to start your first color pooling project, then this is a good free pattern to begin with.
Argyle Poncho Free Crochet Pattern
I made this as part of the My First series. In other words, it's a great beginner pattern if you're new to crocheting argyle using the planned pooling techniques.
Granny Stitch Planned Pooling Crochet Blanket Pattern

You can use different types of stitches in color pooling. However, taller ones like the granny stitch have their own tips. Before you work on this pretty blanket pattern, check out the section on the granny stitch in the “advanced crochet planned pooling techniques” outlined below.
C2C Planned Pooling Chevron Crochet Blanket Pattern
This unique crochet pattern incorporates three different techniques: corner-to-corner crochet, chevron striping, and color pooling.
Advanced Crochet Planned Pooling
Once you know the basics of the technique, there are more things you can learn. Here are some of those things:
Multiple Sequence Planned Pooling Crochet
When you first start out, you'll likely work with crochet projects that begin with a starting chain between 24 and 36 inches long. That will be one color sequence. However, if you want to make wider crochet projects, then you'll need to know how to work with multiple sequences. Sometimes, it's straightforward, but this post will provide tips for the times when it's not working right.
Hidden Starting Chain Technique
You can crochet on the opposite side of your starting chain. This hides the chain in the work. Here's how to do that in crochet planned pooling.
Granny Stitch Planned Pooling Crochet
Yarn pooling doesn't work out as easily with tall stitches, even the double crochet height used to make the granny stitch. However, you can do it if you make some adjustments. This post explains how that works.
How to Create Crochet Planned Pooling Charts
You don't have to rely on other people's patterns to make beautiful. crochet projects. Instead, make your own. This post explains how to create your own charts so that you know in advance how the color design will turn out.
Summary of All Planned Pooling Posts
Here's an alphabetical list of all of the related posts linked to in this article so that you can easily find everything that you might want to know about this fun, graphic crochet technique.
- 10 Secrets to Perfect Planned Pooling
- Basic Criss Cross Argyle Pattern
- Basics of Planned Pooling
- C2C Planned Pooling Chevron Crochet Blanket Pattern
- Deciding Where to Create Your Offset Stitch for Color Placement
- Granny Stitch Planned Pooling Crochet
- Granny Stitch Planned Pooling Crochet Blanket Pattern
- Hidden Starting Chain Technique
- How to Create Crochet Planned Pooling Charts
- How to Deal with Unused Starting Chains in Planned Pooling Crochet
- How to Pick the Best Crochet Hook for Planned Pooling
- Marly Bird's Knit and Crochet Books Including Yarn Pooling Made Easy
- Multiple Sequence Planned Pooling Crochet
- Planned Pooling Color Placement
- Planned Pooling Made Easy Book Blog Tour and behind-the-scenes of the patterns
- Planned Pooling Poncho Crochet Pattern
- Planned Pooling Crochet Throw Free Pattern
- Red Heart Super Saver Planned Pooling Yarn
- START HERE: Best Planned Pooling Tutorial Video
Frequently Asked Questions
What is planned pooling in crochet?
Planned pooling is a technique where you use the color repeats in a variegated yarn and pair them with a specific stitch count to create an intentional plaid or argyle-like pattern. Instead of letting a variegated yarn stripe randomly, you engineer the color placement to align across rows… creating that cool graphic effect that looks like so much more work than it is. The key is finding the right combination of yarn, stitch count, and gauge to get the colors to “pool” where you want them.
Is planned pooling hard to learn?
It takes some setup, but once you figure out your magic number (the stitch count that makes the colors align), the actual crocheting is pretty simple. The trickiest part is the math and the swatching at the beginning. You need to swatch to find the exact stitch count that lines up your color repeats. This post walks you through the whole process step by step, and Marly has a video tutorial to show you exactly how to find your magic number.
What yarn works for planned pooling?
You need a self-striping or variegated yarn with long, consistent color repeats. The key word is CONSISTENT… the color changes need to happen at predictable intervals so the math works. Some yarns are specifically designed for planned pooling and label the repeat length. Check your yarn's color repeat length before you start so you can do the calculations. Short, random color changes in a variegated yarn won't give you that clean pooling effect.
What stitch patterns work for planned pooling?
The moss stitch (also called the granite stitch) is the most popular for planned pooling because the stitch structure works perfectly with the yarn color alignment. You alternate single crochet and chain stitches in a specific way that places colors where you want them. It's actually pretty simple once you understand the mechanics! Some crafters have also figured out planned pooling with other stitches, but if you're new to it, start with the moss stitch as your introduction.
Can I plan out my pooling before I start crocheting?
Yes! Many crafters use graph paper or a spreadsheet to map out what the pattern will look like before they start. You can also use apps designed to visualize crochet pooling. But honestly… the real planning happens in your swatch. Work a test swatch, adjust your stitch count until the colors line up the way you want, and THEN start your project. Don't skip the swatch on this one. It'll save you a lot of frogging later.
Categories: Crochet, Planned Pooling Crochet