Corner-to-Corner Rectangle Using Half Double Crochet
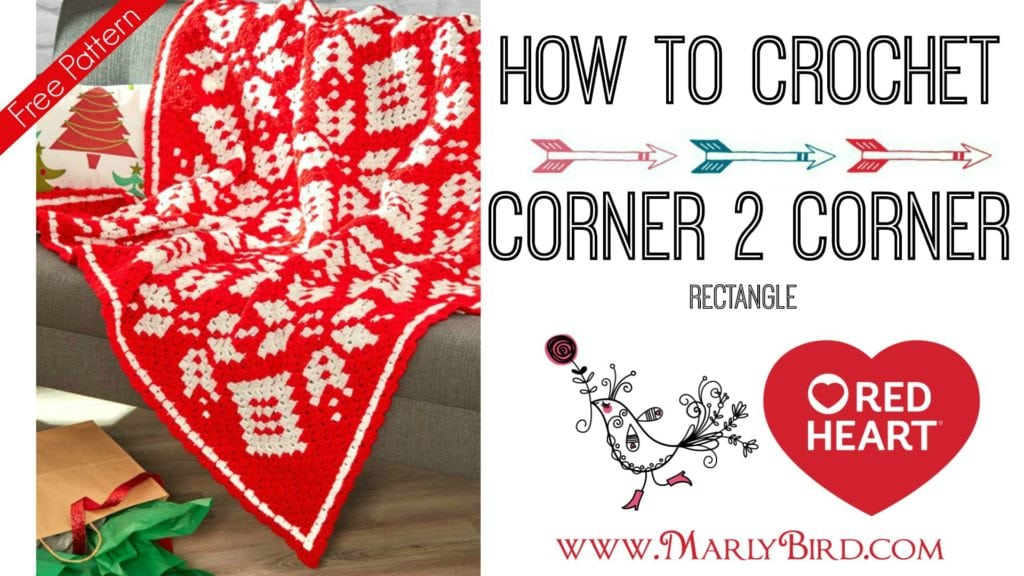 Not too long ago I shared with you the corner to corner concept as a square using half double crochet, today I want to share with you how to do corner to corner rectangle using half double crochet. I just posted a brand new YouTube video to show you how to read a corner-to-corner chart and walk you through the concept.
Remember that I am showing you in half double crochet stitches, since that is how I designed my patterns. Most C2C patterns are written for double crochet stitches. Fear not, the technique is the same just the stitch size changes.
Both the rectangle and square increase and decrease the same, it is the middle that is different and makes the shape different. When crocheting the rectangle you will continue the max width for a longer period of time before starting your decrease. I show you exactly how to do this in the video below.
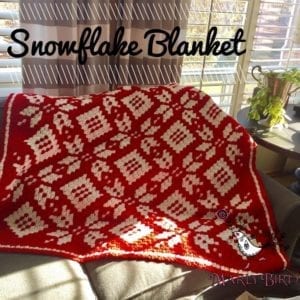 If you are looking for a pattern to test out this technique check out my NEW Snowflake Corner-to-Corner Blanket which is a FREE pattern on Red Heart's Website. The Snowflake Corner-to-Corner blanket also comes with its own video tutorial.
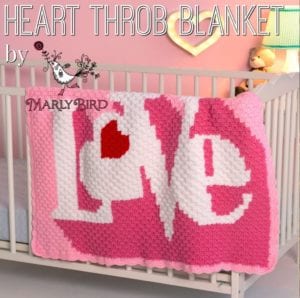 Then there is the Heart Throb Blanket, another FREE pattern from Red Heart. You can see all of the FREE Corner-to-Corner patterns that Red Heart has on their website.
Grab some worsted weight yarn, your hook and the chart below to get started!
*affiliate links in post*
Corner to Corner Rectangle Using Half Double Crochet
Pattern Instructions:
Row 1 (right side): Ch 6, hdc in 4th ch from hook and in each of 2 remaining ch, turn – 1 square made.
Row 2 (wrong side): Ch 6, hdc in 4th ch from hook and in each of next 2 ch, (sc, ch 3, 3 hdc) in ch-3 space of Row 1, turn – 2 squares.
Row 3: Ch 6, skip 3 ch, hdc in 4th ch from hook and in each of next 2 ch, (sc, ch 3, 3 hdc) in each ch-3 space of previous row, turn – 3 squares.

Row 4: Slip st to ch-3 space, (sc, ch 3, 3 hdc) in each ch-3 space of previous row, including last space, turn – 3 squares.
Row 5: Repeat row 3
Row 6: Slip st to ch-3 space, ch 1, (sc, ch 3, 3 hdc) in each ch-3 space of previous row to last space, slip st in last space, turn – 2 squares.
Row 7: Slip st to ch-3 space, ch 1, (sc, ch 3, 3 hdc) in ch-3 space of previous row, slip st in last space, turn – 1 square.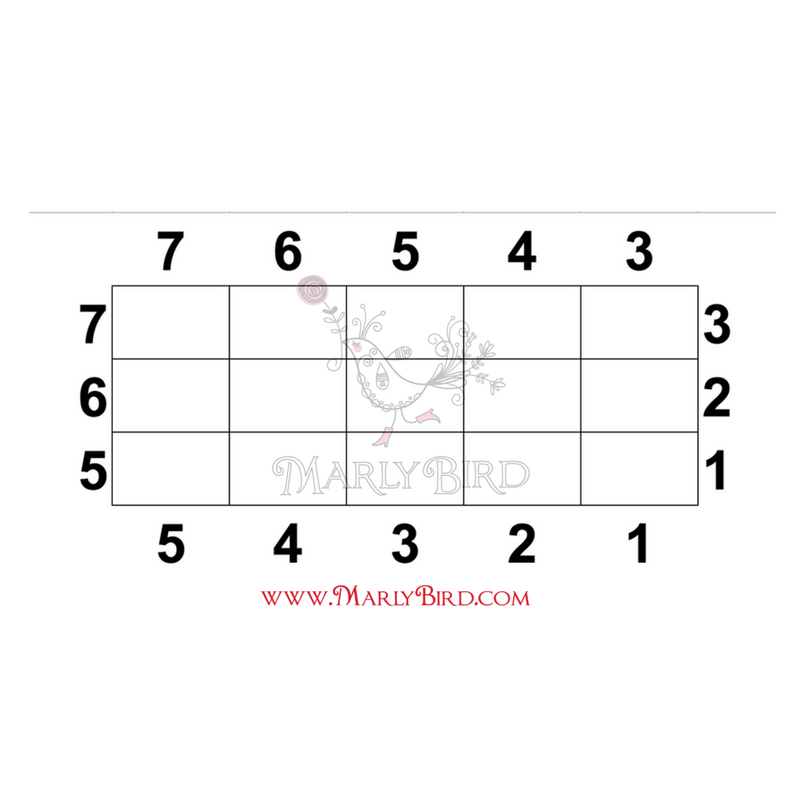
If you are interested in learning more about Corner-to-Corner you can check out Sarah Zimmerman's (aka Repeat Crafter Me) Corner-to-Corner class on Annie's.
Frequently Asked Questions
Can I do this rectangle pattern with double crochet instead of half double crochet?
Honestly… yes! The technique is exactly the same, you'll just be using double crochet stitches instead of half double crochet. The stitch size changes, but the way you build the rectangle stays consistent.
What's the big difference between the corner-to-corner square and rectangle?
So here's the thing… both the square and rectangle increase and decrease the same way. The middle part is what makes them different shapes. For the rectangle, you just keep building out the maximum width for a longer period before you start decreasing.
Are there any free patterns I can try this technique with?
Yes! Marly mentions her FREE Snowflake Corner-to-Corner Blanket pattern available on Red Heart's website, and also the Heart Throb Blanket, which is another free pattern from Red Heart.
How do I make the rectangle shape instead of a square?
You'll need to continue the increasing part of the pattern for a longer duration to create the width of the rectangle… before you start the decreasing rows. The video tutorial shows exactly how to do this!
What yarn weight should I use for this technique?
Grab some worsted weight yarn… that's what Marly suggests to get started with this technique!