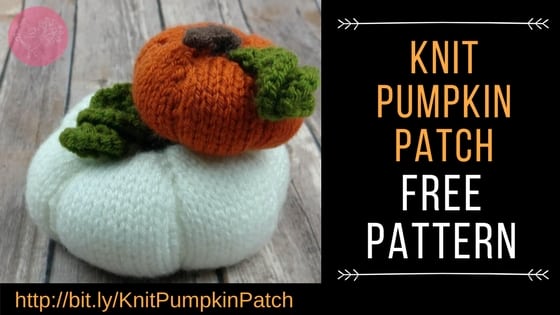
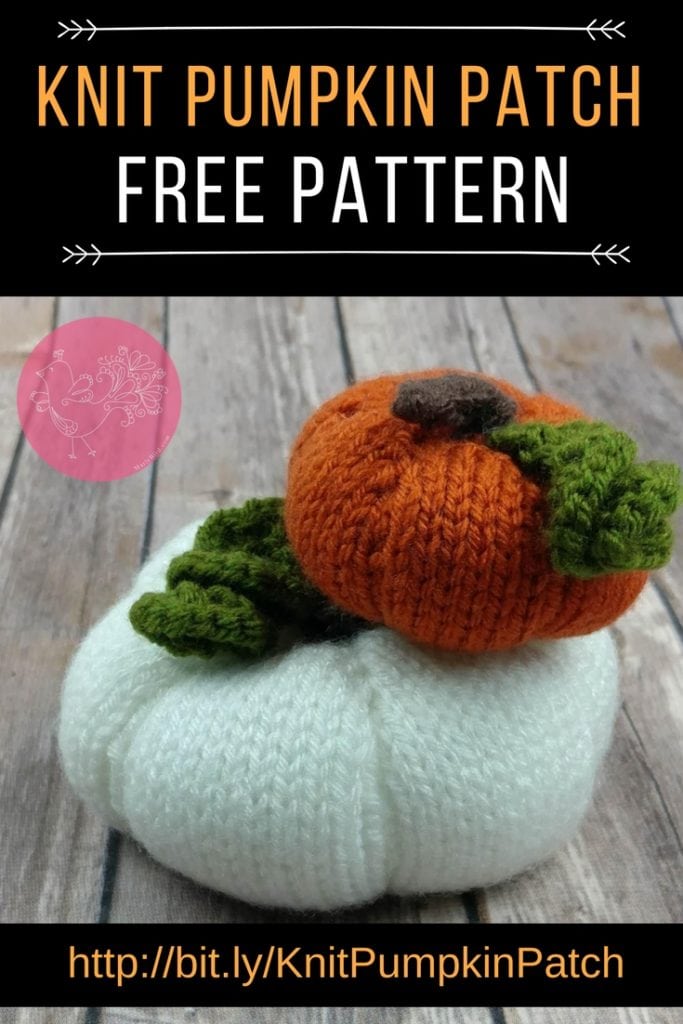
Your Own Knit Pumpkin Patch
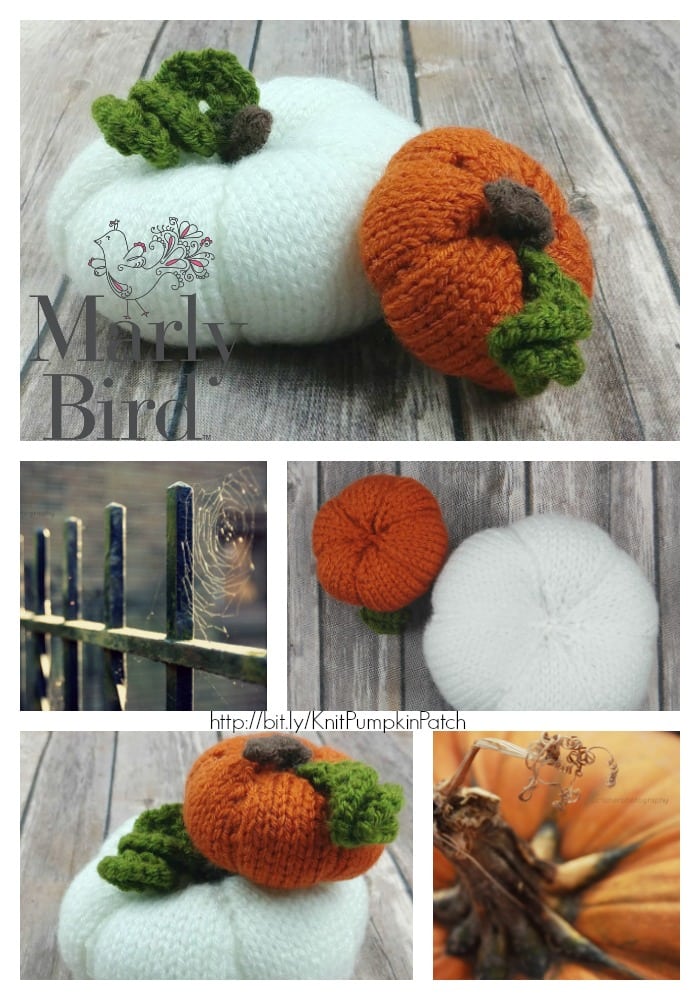
For some of us Fall has arrived, while others are still waiting. As we get ready for Halloween and Thanksgiving it is the perfect time to have your very own knit pumpkin patch. Enjoy this FREE pattern and a pumpkin patch you and enjoy for years to come.
![]()
Queue it up and Like the Pattern on Ravelry
*This post contains affiliate links. By clicking one of these links and making a purchase a portion will go to support the blog. The price you pay will not change. Thank you for your support.*
Knit Pumpkin Materials:
- Red Heart Super Saver–White (MC), Carrot (CA), Medium Thyme (CB), Coffee (CC)
- Size 8 (5 mm) set of 4 double pointed needles
- tapestry needle
- fiberfill
Knit Pumpkin Notes:
Size XS (S, M, L)
Gauge: 18 sts and 20 rows = 4″ (10 cm) in St sts
Pumpkins are made top down beginning with the stem
Stitch Guide:
Stockinette Stitch (St st) in the round
Row 1: (RS) Knit.
Row 2: (RS) Knit.
Rep Rows 1 – 2 for pattern.
 Abbreviations:
- RS-right side
- WS-wrong side
- CO-Cast on
- St(s)-stitch(es)
- KFBF-Knit Front, Back and Front
- rnd(s)- round(s)
- kfb-Knit front and back
- k-Knit
- p-purl
- M1-Make one
- ssk-slip slip knit
- k2tog-knit 2 together
- rep-repeat
Pumpkin Vine:
With CB and only two needles, CO 10 (13, 15, 17) sts.
Row 1: KFBF in each stitch. This will create 3 stitches in each stitch.
Bind off as if to purl all stitches.
Pumpkin Stem:
With CC, and only two needles CO 3 sts. Work an i-cord until it measures approx. 1” [2.54 cm].
Next rnd: kfb in each stitch (6 sts.)
Divide the stitches between 3 needles.
 Body of Pumpkin:
Change to MC or CA depending on color the pumpkin.
Begin Increases
Rnd 2: Kfb each stitch—12 sts.
Rnd 3: *K1, p1; rep from * around.
Rnd 4: *M1, knit to the purl, M1, p1; rep from * around—12 sts increased.
Rnd 5: Work the stitches as presented.
Take the time to sew the vine next to the stem and weave the ends in on the WS of the pumpkin.
Repeat rnds 4 and 5 until there are 7 (9, 11, 13, 17) knits between the purls.
Work evenly in pattern for 11 (13, 17, 21) rnds.
Begin Decreases
Rnd 1: *Ssk, knit to 2 sts before the purl, k2tog, p1; rep from * around—12 sts decreased.
Rnd 2: Work the stitches as presented.
Repeat rnds 1 and 2 until there are 24 sts.
Nxt Rnd: *Ssk, P2tog; rep from * around.
Last Rnd: *K1, P1; rep from * around.
Cut the yarn leaving a 30” or longer tail. Using a tapestry needle, thread the tail through the remaining stitches on the needle and off.
Stuff the pumpkins full of fiberfill. Pull the tail tight like a drawstring and push the tapestry needle through the center of the pumpkin back to the top to the stem.
Pumpkin Ridges:
Insert the tapestry needle back into the bottom of the pumpkin and back up through the center of the pumpkin and pull the thread tight following along the purl ridge on the outside of pumpkin to create the ridges.
Repeat for each purl ridge.
Weave in ends.
Also on the Blog:
Frequently Asked Questions
What yarn do I need for the knit pumpkins?
Honestly… you’ll need Red Heart Super Saver yarn in White (MC), Carrot (CA), Medium Thyme (CB), and Coffee (CC). That’s what I used for mine!
Can you tell me what size needles to use for this project?
So here’s the thing… the pattern calls for a set of 4 double pointed needles in size 8 (5 mm). It’s pretty standard for this kind of project!
I’m a beginner, is this pattern going to be too hard?
Yes! This pattern is rated for beginners. We start with the vine and stem, then work into the body of the pumpkin using increases and decreases… you’ve got this!
How do I get the pumpkin to have those cute ridges?
It’s super easy! Once you’ve stuffed the pumpkin and pulled the yarn tail tight like a drawstring, you just use your tapestry needle to go back into the bottom and up through the center, pulling tight along a purl ridge… it really makes them pop!
What do I do after I finish knitting the pumpkin body?
After you finish knitting the body and begin the decreases, you’ll cut the yarn and thread it through the remaining stitches. Then you stuff it with fiberfill, pull the yarn tight to close it, and then create those lovely ridges!
Categories: Our Free Patterns, Pattern, Uncategorized