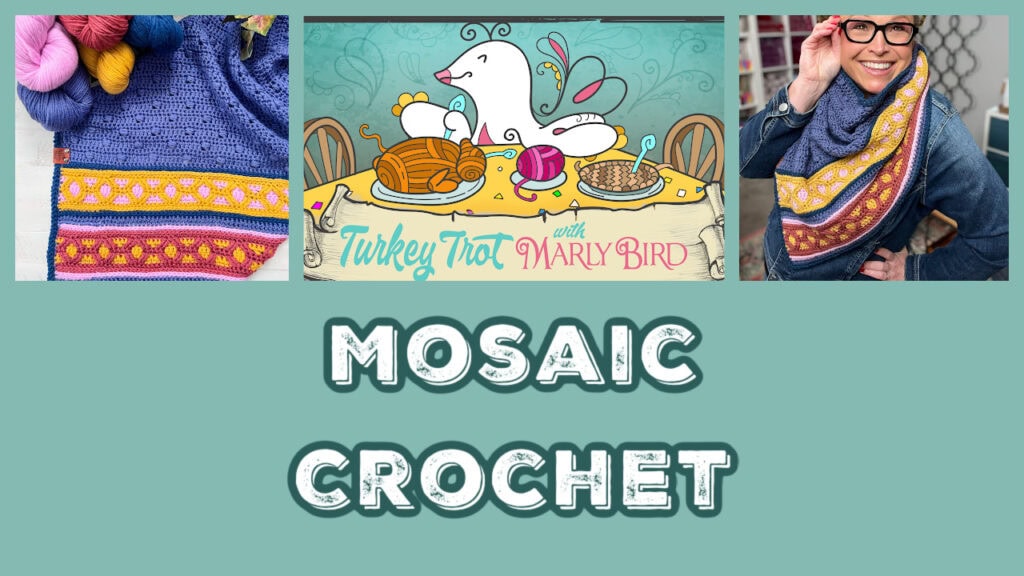
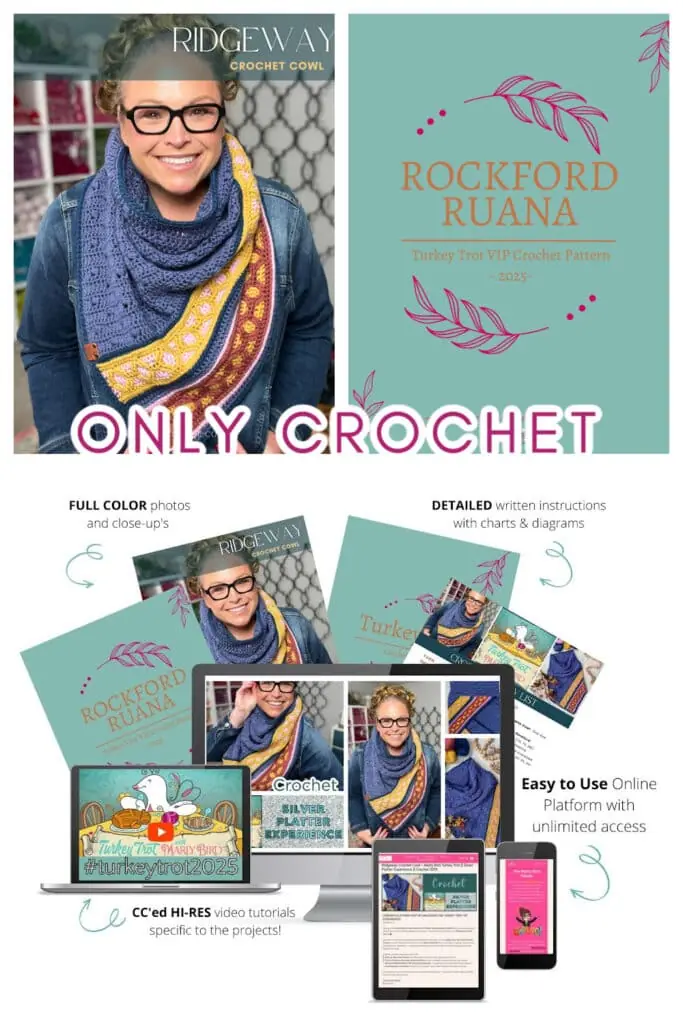
Turkey Trot 2025 | Ridgeway Crochet Cowl | Day 1
Hey BiCrafty Besties! Welcome to Day 1 of the Ridgeway Crochet Cowl for the 7th Annual Marly Bird Turkey Trot Make-Along 2025. Woot woot! 🎉
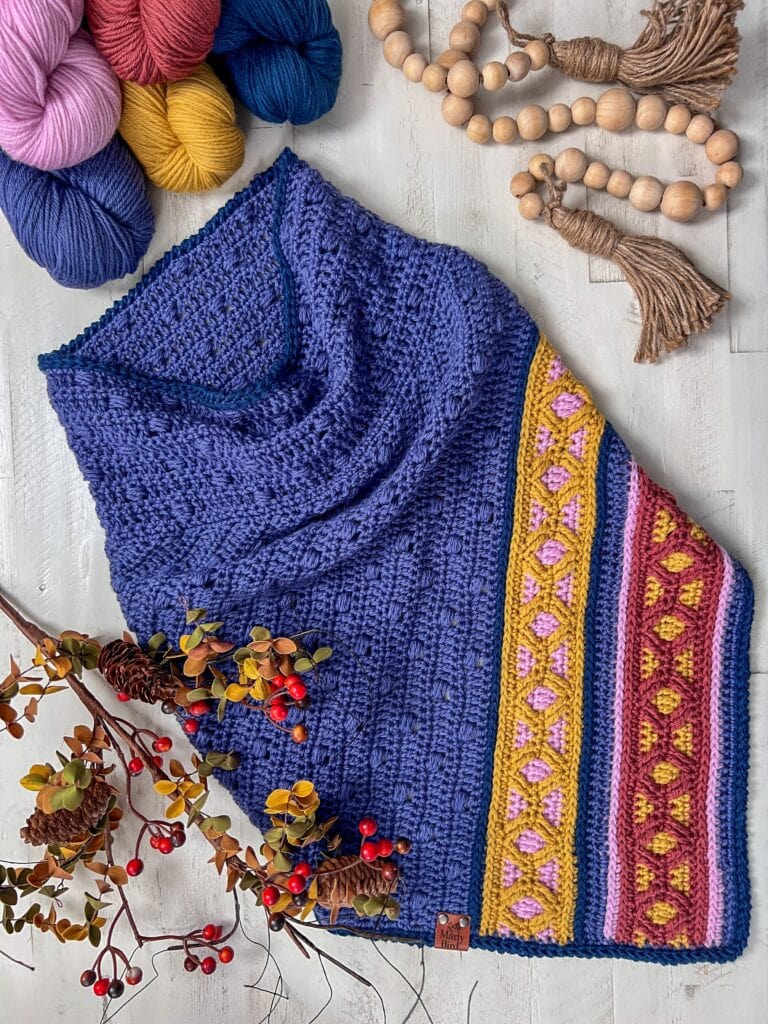
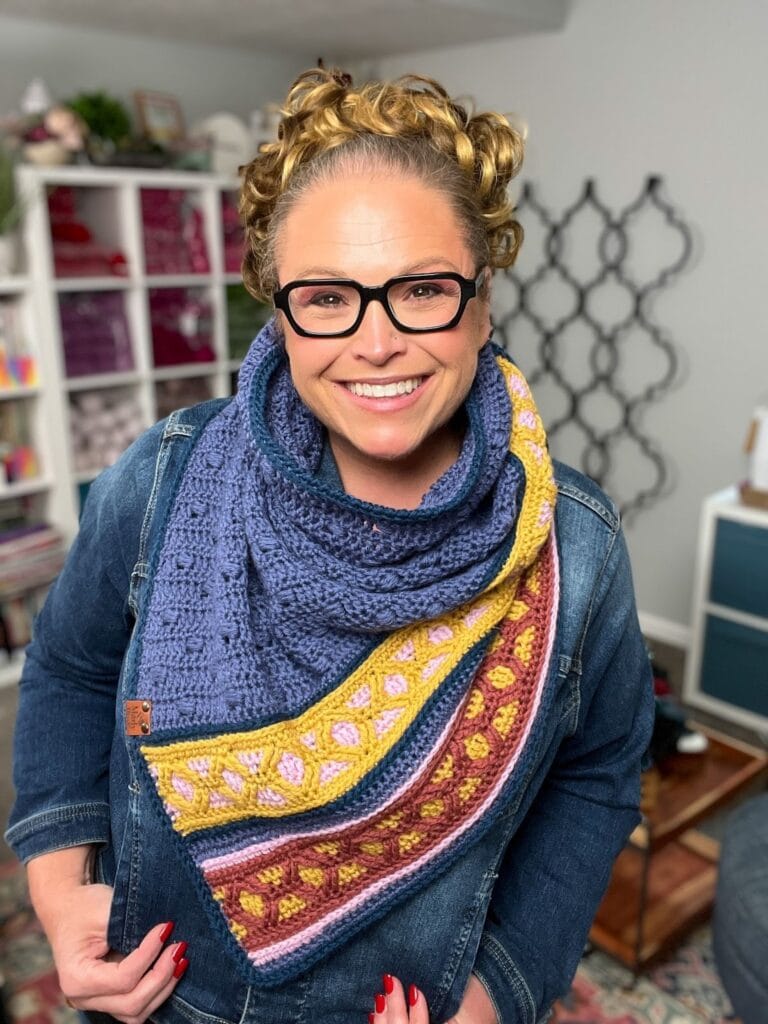
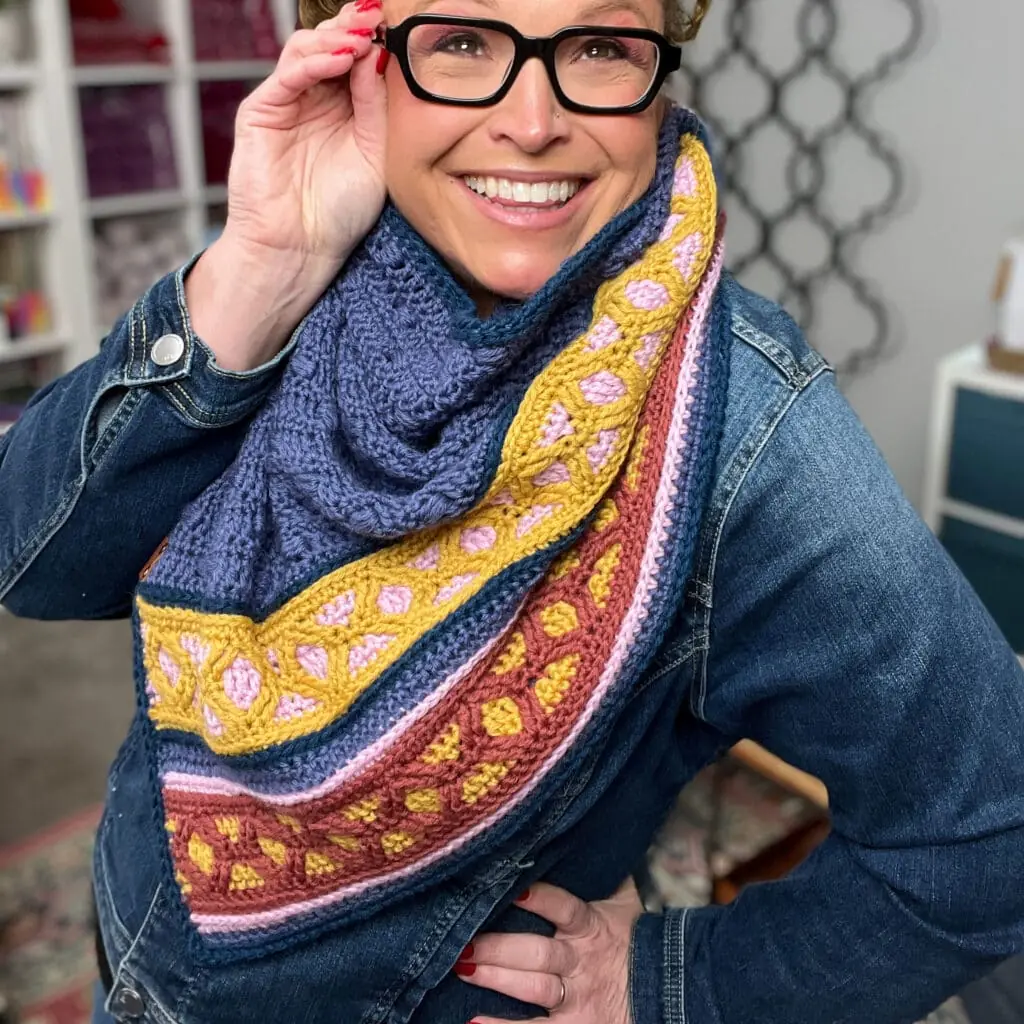
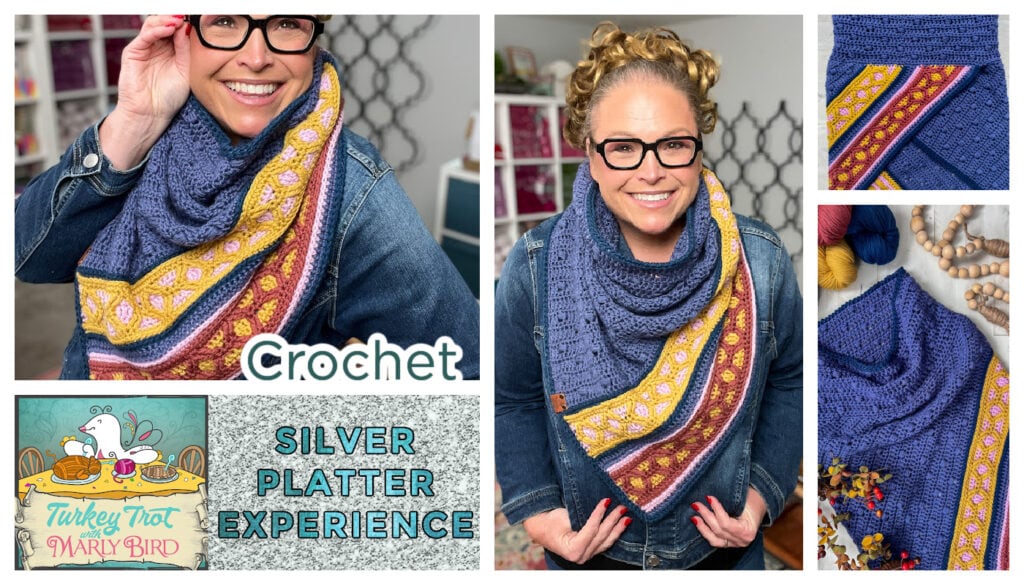
If you’re joining me for this crochet adventure, you’re in exactly the right spot. Today we’re kicking things off with the mosaic section of the triangular shawl that becomes part of this stunning cowl. You’ll be working foundational rows and starting the mosaic rhythm that gives Ridgeway its bold, modern, chef’s kiss texture.
Affiliate Disclosure: This post contains affiliate links. To learn more please visit my privacy policy here💖
Need the big picture or the link to the next day later? The Turkey Trot hub post is your home base. All daily links for every project live right there:
https://marlybird.com/blog/7th-annual-marly-bird-turkey-trot-make-along-2025/
Mosaic Shawl Setup + First Rows (let’s get this beauty started!) 🦃🧶
Day 1 is all about:
- setting up the shawl with the foundation and early mosaic rows
- getting comfortable with the color changes
- establishing the stitch pattern rhythm
You’re laying the groundwork for everything that follows — so go slow, enjoy the stitches, and trust the process.

Quick Supplies Reminder
Before you jump in, make sure you’ve got:
- your yarn colors A–E ready to roll
- your crochet hook (size listed in pattern below)
- stitch markers (super helpful for row confidence)
- tapestry needle + scissors nearby
Pro tip: wind your yarn or make little butterflies/bobbins now. Mosaic is way happier when yarn isn’t tangling itself into a drama llama.
Read This Before You Start (Robyn’s Notes)
A few things to keep in mind while you crochet today:
- This project is intermediate, but I’ll walk you through it step-by-step.
- The triangular shawl portion decreases on one edge only.
- The mosaic fabric is magic, but it loves consistency — so focus on smooth tension and clean color joins.
- If you ever feel unsure, pause and check your stitch diagram. It’s your map.
And remember: you don’t have to be perfect to be successful. You just have to keep going. 💛
Day 1 Pattern Instructions
Designed by Robyn Chachula for Marlybird.com
SKILL LEVEL
Intermediate
MEASUREMENTS
Finished Measurements
Triangular Shawl is 29.5” [75 cm] wide by 35.5” [90 cm] long,
Cowl is 6” [15 cm] deep.
Gauge
15 sts by 10 rows= 4.25” [11 cm] by 4.5” [11.5 cm] in BLOCKED body stitch pattern; use any size hook to obtain the gauge.
16 sts= 4.5” [11.5 cm] in BLOCKED mosaic stitch pattern
MATERIALS
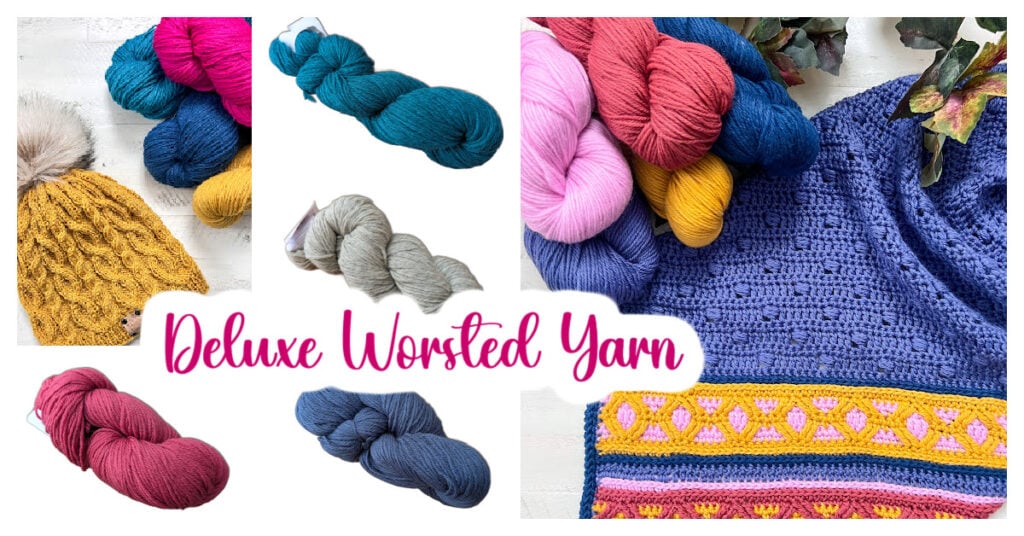
Crochet Yarn
Universal Yarn, Deluxe Worsted (100% wool, 220 yds / 200 m, 3.5 oz/ 100 g, CYCA# 4 worsted)
Color A: #14007 Indigo, 2 hanks
Color B: #12144 Starfish, 25g
Color C: #12281 Clay, 25g
Color D: #12174 Ginseng, 25g
Color E: #12278 Mallard, 35g
Crochet Hook
Size I/9 [5.5 mm]
Notions
- Stitch Markers
- Tapestry Needle
- Scissors
- Tape Measure
- Leather tag (optional)
- Leather rivets (optional)
- Blocking Squares
- Blocking Pins
- Soaking Basin
- Eucalan Wool Wash
- Ball Winder and Swift
ABBREVIATIONS
BLO – Back Loop Only
Ch – Chain(s)
Dc – Double Crochet
FP – Front Post
Hdc – Half Double Crochet
PM – Place Marker
RS – Right Side
Sc – Single Crochet
Sl st – Slip Stitch
Sp(s) – Space(s)
St(s) – Stitch(es)
Tch – Turning Chain
Tr – Treble Crochet
WS – Wrong Side
SPECIAL STITCHES
⭐️3 Half Double Crochet Cluster (3 hdc-cl): *Yarn over hook, insert hook around the vertical leg (“the post”) of previous st, yarn over and pull up a loop; repeat from * twice more around same post, yarn over and draw through all 7 loops on hook.
⭐️Double Crochet 2 Together (Dc2tog): *Yarn over hook, insert hook into indicated st, yarn over and pull up a loop, yarn over and draw through 2 loops on hook; repeat from * in next indicated st, yarn over and draw through all 3 loops on hook. (1 st decreased)
⭐️ Foundation Single Crochet (fsc):
First fsc: Ch 2, insert hook into 2nd ch from hook, yarn over and pull up a loop, yarn over and draw through 1 loop on hook (forming a chain), yarn over and draw through 2 loops on hook (forming the single crochet)
Next fsc: Insert hook into base of previous stitch (in the “chain” space), yarn over and pull up a loop, yarn over and draw through 1 loop on hook (forming a chain), yarn over and draw through 2 loops on hook (forming the next single crochet). Repeat directions for desired amount of sts.
⭐️Half Double Crochet 2 Together (Hdc2tog): Yarn over hook, insert hook into indicated st, yarn over and pull up a loop, yarn over hook, insert hook into next indicated st, yarn over and pull up a loop, yarn over and draw through all 4 loops on hook. (1 st decreased)
⭐️Reverse Single Crochet (reverse sc): Also known as a Crab Stitch; working from left to right, insert hook from front to back in next stitch to the right, yarn over and pull up a loop, yarn over and draw through 2 loops on hook.
⭐️ Single Crochet 2 Together (sc2tog): *Insert hook into indicated stitch, yarn over and pull up a loop; repeat from * in next stitch indicated, yarn over and draw through all 3 loops on hook. (1 st decreased)
⭐️ Stacked Double Crochet (Stacked Dc): (Do not ch 1 prior to making the first sc) Sc in first stitch, insert hook in between two legs of the base, yarn over and pull up a loop, yarn over and draw through 2 loops on hook.
⭐️Standing Half Double Crochet 2 Together (Standing Hdc2tog): With slip knot on hook, yarn over hook (use finger to hold yarn over in place), insert hook into indicated st, yarn over and pull up a loop, yarn over hook, insert hook into next indicated st, yarn over and pull up a loop, yarn over and draw through all 4 loops on hook. (1 st decreased)
⭐️Third Loop: Also known as middle or back bar. Horizontal strand located under the top 2 loops.. When working from the WS, the third loop is on the front side of the fabric facing you. When working from the RS, the third loop is on the back side of the fabric away from you.
⭐️Treble Crochet 2 Together (tr2tog): *Yarn over hook twice, insert hook into indicated st, yarn over and pull up a loop, [yarn over and draw through 2 loops on hook] twice; repeat from * in next indicated st, yarn over and draw through all 3 loops on hook. (1 st decreased)
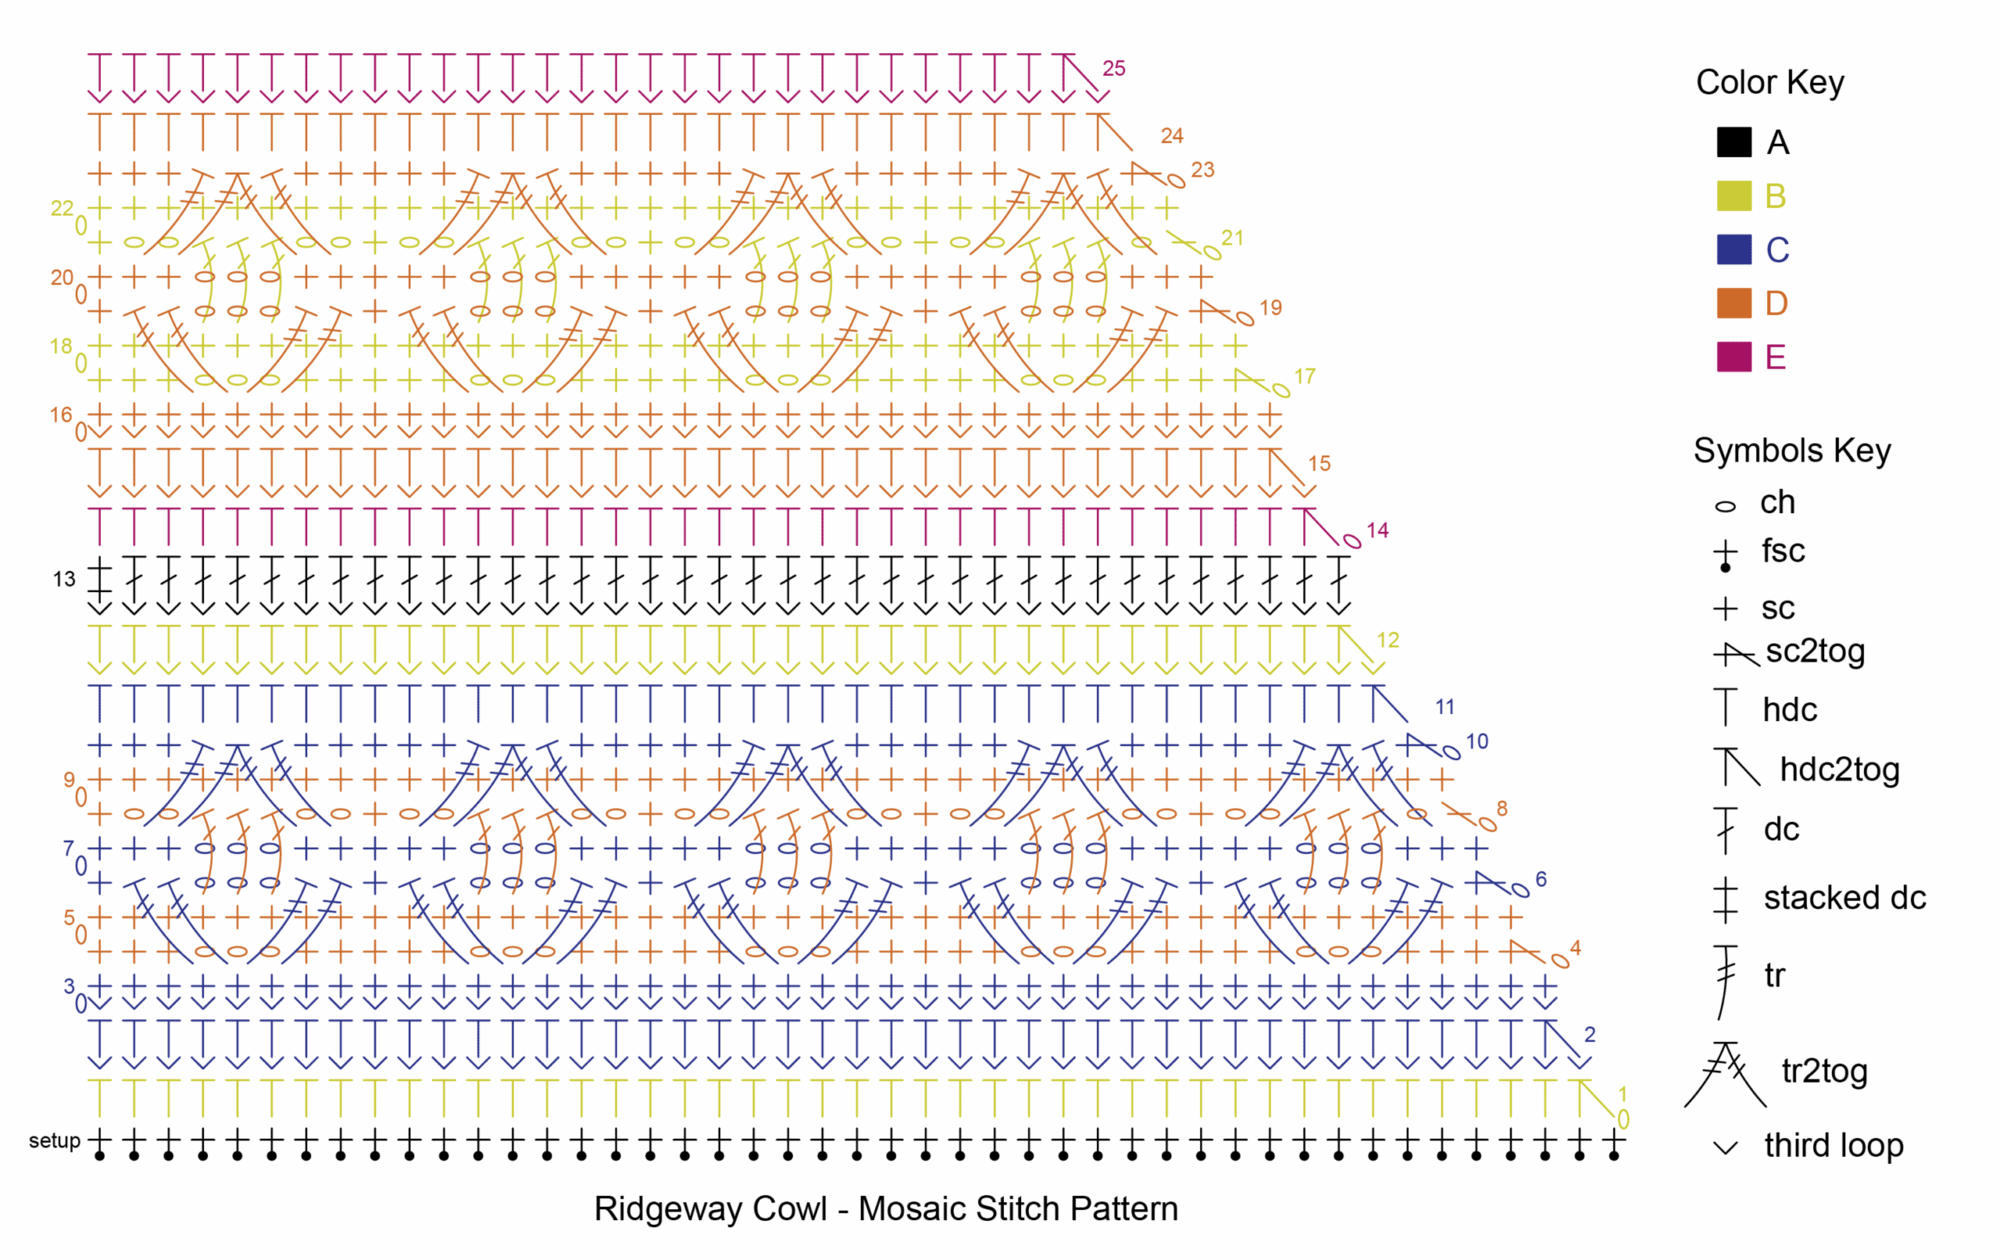
CROCHET STITCH DIAGRAMS
NOTES
- You can substitute chains and single crochets for the set-up row of foundation single crochets
- The triangular shawl portion decreases on one edge only.
- Cowl is worked in turned rounds with the dc rounds on the RS.
- You can substitute joining your new color with a sl st, ch 1, and hdc2tog instead of a standing hdc2tog.
- You can substitute a ch 3 instead of a stacked dc.
VIDEO TIPS
- How to Wind Yarn >> Click Here for Video Help <<
- Foundation Single Crochet >> Click Here for Video Help <<
- How to Bury Ends >> Click Here for Video Help <<
- Stacked Double Crochet >> Click Here for Video Help <<
VIDEO TUTORIAL OF MOSAIC SECTION
Click to watch on YouTube: https://youtu.be/Hqpz4CsJeOc
RIDGEWAY CROCHET COWL PATTERN
MOSAIC SECTION OF TRIANGULAR SHAWL
Set-up Row: With color A, 101 fsc, change color to B, turn.
Row 1 (RS): Ch 1, hdc2tog over first 2 sc, hdc in each remaining sc across, fasten off, DO NOT TURN- 100 hdc.
Row 2 (RS): Join color C with a standing hdc2tog in third loop of first 2 sts, hdc in third loop of each hdc across, turn – 99 hdc.
Row 3: Ch 1, sc in third loop of each hdc across, change color to D, turn.
Row 4: Ch 1, sc2tog over first 2 sc, sc in next 3 sc, *ch 3, skip 3 sc, sc in next 5 sc; repeat from * across to last 6 sc, ch 3, skip 3 sc, sc in last 3 sc, turn – 98 sts.
Row 5: Ch 1, sc in next 3 sc, *3 sc in next ch-3 sp, sc in next 5 sc; repeat from * across to last ch-sp, 3 sc in last ch-3 sp, sc in last 4 sc, change color to C, turn.
Row 6: Ch 1, sc2tog over first 2 sc, *tr in first skipped sc located under next ch-sp 2 rows below (note: work all tr in front of previous 2 rows), (tr, ch 3, tr) in next skipped sc 2 rows below, tr in third skipped sc 2 rows below, skip 7 sc, sc in next sc; repeat from * across, turn- 97 sts.
Row 7: Ch 1, sc in first 3 sts, *ch 3, skip ch-3 sp, sc in next 5 sts; repeat from * across to last ch-3 sp, ch 3, skip ch-3 sp, sc in last 3 sts, change color to D, turn.
Row 8: Ch 1, sc in first sc, ch 1, skip 2 sc, *skip 2 sc 2 rows below, dc in next 3 sc 2 rows below (work in front of previous 2 rows), ch 2, skip 2 sc, sc in next sc**, ch 2, skip 2 sc; repeat from * across ending at **, turn – 96 sts.
Row 9: Ch 1, sc in first sc, *2 sc in next ch-2 sp, sc in next 3 dc, 2 sc in next ch-2 sp, sc in next sc; repeat from * across to last ch-2 sp, 2 sc in last ch-2 sp, sc in next 3 dc, sc in last ch-1 sp, sc in last sc, change color to C, turn.
Row 10 (RS): Ch 1, sc2tog over first 2 sc, *tr in next skipped sc 2 rows below (working in front of previous 2 rows), tr2tog in next 2 skipped sc 2 rows below, tr in next skipped sc 2 rows below, skip 3 sc**, sc in next 5 sc; repeat from * across ending at ** with 3 sc left, sc in last 3 sc, fasten off, DO NOT TURN- 95 sts.
Row 11 (RS): Join color C with standing hdc2tog in first 2 sts, hdc in each st across, fasten off, DO NOT TURN- 94 sts.
Row 12 (RS): Join color B with standing hdc2tog in third loop of first 2 sts, hdc in third loop of each hdc across, change color to A, turn- 93 sts.
Row 13: Stacked dc in third loop of first hdc, dc in third loop of each hdc across, change color to E, turn.
Row 14 (RS): Ch 1, hdc2tog over first 2 dc, hdc in each remaining dc across, fasten off, DO NOT TURN- 92 hdc.
Row 15 (RS): Join color D with a standing hdc2tog in third loop of first 2 sts, hdc in third loop of each hdc across, turn – 91 hdc.
Row 16: Ch 1, sc in third loop of each hdc across, change color to B, turn.
Row 17: Ch 1, sc2tog over first 2 sc, sc in next 3 sc, *ch 3, skip 3 sc, sc in next 5 sc; repeat from * across to last 6 sc, ch 3, skip 3 sc, sc in last 3 sc, turn – 90 sts.
Row 18: Ch 1, sc in next 3 sc, *3 sc in next ch-3 sp, sc in next 5 sc; repeat from * across to last ch-sp, 3 sc in last ch-3 sp, sc in last 4 sc, change color to D, turn.
Row 19: Ch 1, sc2tog over first 2 sc, *tr in first skipped sc located under next ch-sp 2 rows below (note: work all tr in front of previous 2 rows), (tr, ch 3, tr) in next skipped sc 2 rows below, tr in third skipped sc 2 rows below, skip 7 sc, sc in next sc; repeat from * across, turn- 89 sts.
Row 20: Ch 1, sc in first 3 sts, *ch 3, skip ch-3 sp, sc in next 5 sts; repeat from * across to last ch-3 sp, ch 3, skip ch-3 sp, sc in last 3 sts, change color to B, turn.
Row 21: Ch 1, sc in first sc, ch 1, skip 2 sc, *skip 2 sc 2 rows below, dc in next 3 sc 2 rows below (work in front of previous 2 rows), ch 2, skip 2 sc, sc in next sc**, ch 2, skip 2 sc; repeat from * across ending at **, turn – 88 sts.
Row 22: Ch 1, sc in first sc, *2 sc in next ch-2 sp, sc in next 3 dc, 2 sc in next ch-2 sp, sc in next sc; repeat from * across to last ch-2 sp, 2 sc in last ch-2 sp, sc in next 3 dc, sc in last ch-1 sp, sc in last sc, change color to D, turn.
Row 23 (RS): Ch 1, sc2tog over first 2 sc, *tr in next skipped sc 2 rows below (working in front of previous 2 rows), tr2tog in next 2 skipped sc 2 rows below, tr in next skipped sc 2 rows below, skip 3 sc**, sc in next 5 sc; repeat from * across ending at ** with 3 sc left, sc in last 3 sc, fasten off, DO NOT TURN- 87 sts.
Row 24 (RS): Join color D with standing hdc2tog in first 2 sts, hdc in each st across, fasten off, DO NOT TURN- 86 sts.
Row 25 (RS): Join color E with standing hdc2tog in third loop of first 2 sts, hdc in third loop of each hdc across, change color to A, turn- 85 sts.
➡️ Continue to Day 2 Instructions
Troubleshooting Quickies
If anything feels funky today, here are the most common fixes:
- My edges look wavy.
Double-check stitch counts and make sure decreases are happening only on the correct edge. Check out Robyn’s in her video, especially if you are using wool yarn. Blocking might be all yours needs to make it look perfect. - My tension changed after a color swap.
Super normal. Take a breath, reset your hands, and keep your loops the same height. - I feel lost in the diagram.
Read the row slowly, one symbol group at a time. Mark off rows as you go.
We’ll keep building confidence together all week.
VIP Reminder (Best Value + All the Extras)
If you want everything ad-free, organized, and supported with bonus help, Turkey Trot VIP is still open and truly the best value.
✅ ad-free videos
✅ downloadable PDFs + handouts
✅ extra lessons and technique support
✅ unlimited access inside Marly Bird House
✅ all resources in one tidy place
FAQ: Ridgeway Crochet Cowl Day 1
➡️ What if I don’t know mosaic crochet yet?
You’re still welcome here! The stitch diagram and videos will guide you. Take it row by row — mosaic builds confidence fast once you see the pattern repeat.
➡️ Do I have to use foundation single crochet?
Nope. The notes say you can substitute chains + single crochet for the set-up row if that feels better in your hands. Choose what gives you the neatest start.
➡️ Why are some rows RS even though I’m turning?
This project keeps you on your toes! Not every row you will turn at the end. Sometimes you will get to the end of the row, fasten off; and then join your new color to the beginning of the row you just crocheted. Check out the video for even more details.
➡️ My stitch count is off — should I keep going?
Pause and fix it now. Early row mistakes are easiest to correct right away, and a clean foundation makes the rest of the shawl flow.
➡️ Where do I find Day 2?
All daily links are in the main Turkey Trot hub post:
https://marlybird.com/blog/7th-annual-marly-bird-turkey-trot-make-along-2025/
Final Pep Talk
You just started something really special. This fabric is going to grow into a bold, colorful, textured show-stopper — and today you planted the seed. Keep your tension steady, enjoy those color pops, and let the mosaic rhythm carry you.
You’re doing AMAZING. See you tomorrow for Day 2! 💕
— Robyn Chachula, Unicorn Wrangler 🦄