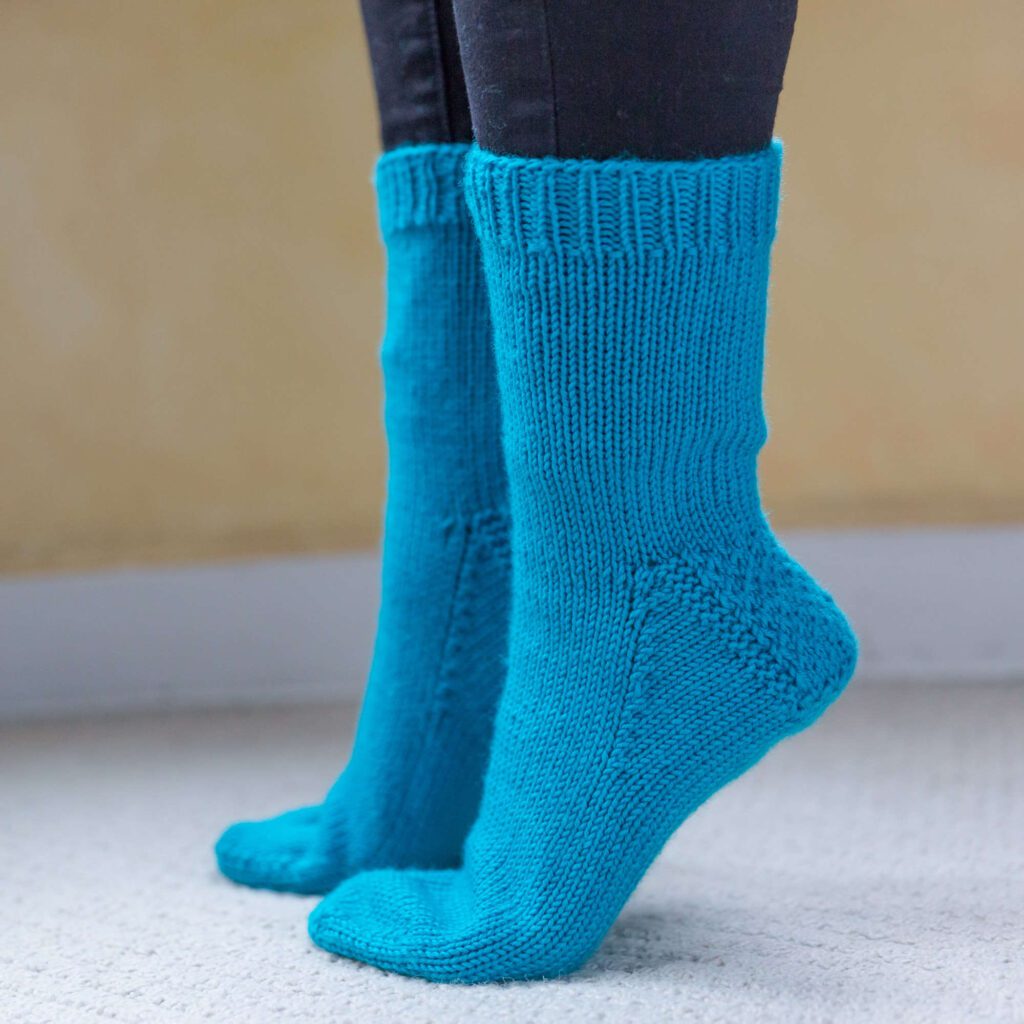
My First Toe Up Knit Sock Part 1 of 3
Master the Art of Toe-Up Knit Socks 🧦✨
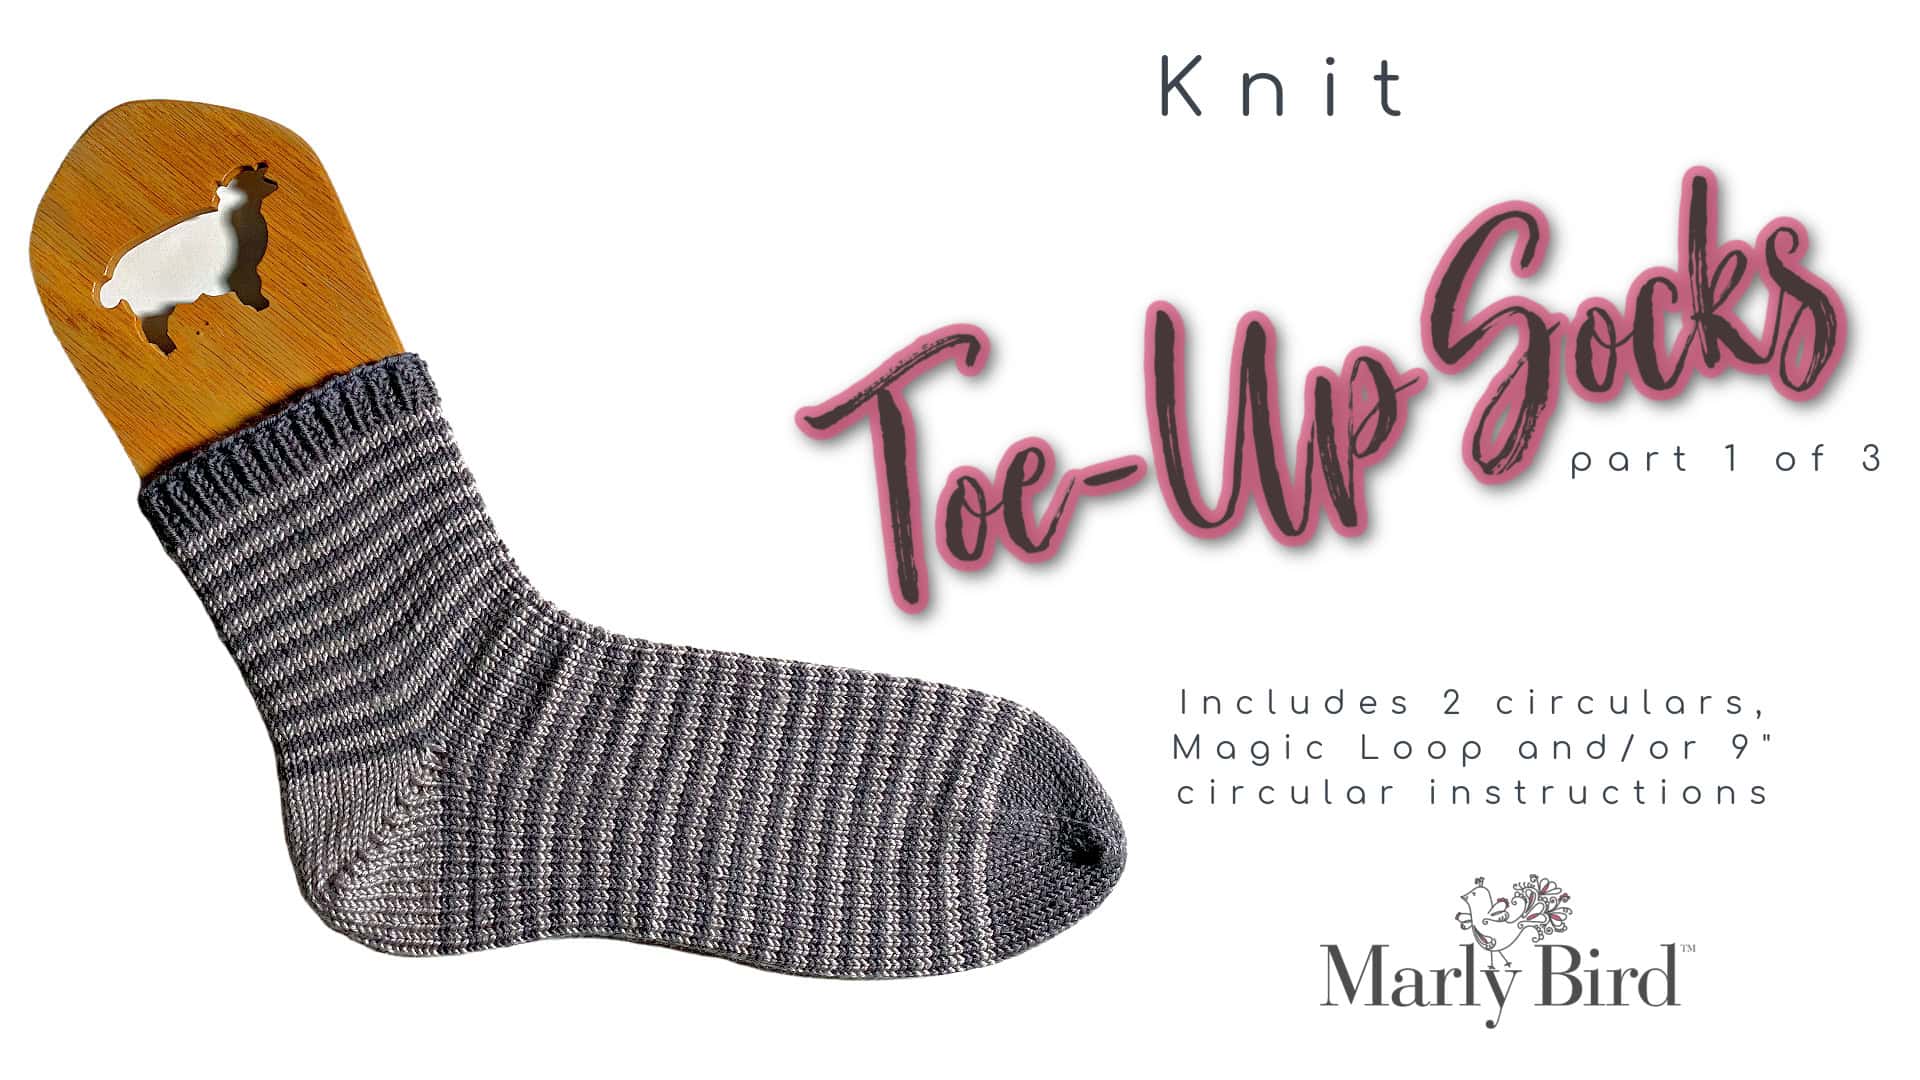
Are you ready to unlock the magic of knitting socks from the toe up? Whether you’re new to sock knitting or looking to add a new technique to your repertoire, toe-up socks are a game-changer! This versatile method allows for a fully customizable fit and lets you make the most of your yarn—no leftover scraps or running out mid-sock.
Are you looking for a crochet sock course? Check out the Classic and Colorful Crochet sock course here. Or, you can follow along with Rohn Strong as he teaches the toe up crochet socks pattern here.
Why Toe-Up Socks Are the Best
- Custom Fit Every Time: Start at the toe and knit upwards, so you can try on your sock as you go. Say goodbye to ill-fitting socks forever!
- Efficient Yarn Use: This method ensures you’ll never worry about running out of yarn for the second sock. Simply knit until the yarn is gone for perfectly matched pairs.
- No Kitchener Stitch Required: For those who aren’t fans of grafting toes, this method eliminates the need for Kitchener stitch.
- Flexible Designs: From simple stockinette to intricate lace or cables, toe-up socks work beautifully with all kinds of stitch patterns.
Key Techniques You’ll Learn in Toe Up Knit Sock Part 1
- Toe Cast-On Options: Master popular cast-on methods like Judy’s Magic Cast-On for seamless and professional-looking toes.
- Short Row or Gusset Heels: Create a perfectly fitted heel using the technique that suits your style.
- Stretchy Bind-Off: Finish your socks with a bind-off that keeps the cuff stretchy yet sturdy.
Toe Up Knit Sock Part 1 = Perfect for All Levels 🧶
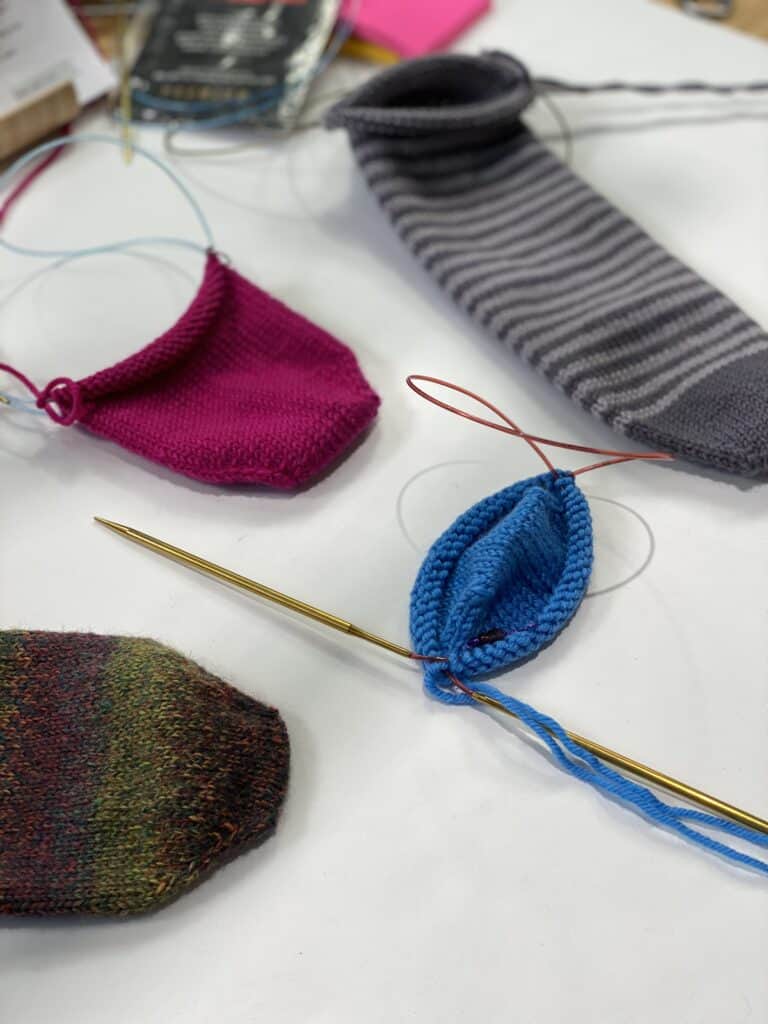
Toe-up sock knitting is approachable for beginners and exciting for experienced knitters. Whether you prefer circular needles, magic loop, or double-pointed needles, this method works with your favorite tools.
Make Your Next Pair of Socks Extra Special
Imagine cozying up in socks that fit like a dream—made by you, for you! 🧦 This method is also perfect for gifting since you can easily adapt the fit for loved ones.
More Socks To Check Out
Looking for more sock patterns by Marly Bird? Here are a variety of patterns that are available for purchase or for free from Marly Bird
My First Toe Up Knit Socks Part 1 of 3 Pattern
MEASUREMENTS
FINISHED MEASUREMENTS
To Fit Size
Foot Circumference: 6 (7, 8, 9, 10, 11) inches (measure around ball of foot)
Foot Length: Adjustable (measure from heel to toe)
Sock Height: 5 inches from top of heel (adjustable)
Actual Sock Measurements
Foot Circumference: 5.5 (6.5, 7.5, 8.5, 9.5, 10.5) inches
Foot Length: Adjustable
Sock Height: 5 inches from top of heel
Recommended Gauge
32 stitches / 42 rows = 4 inches in stockinette stitch in the round (you want tight stitches for socks as it helps with the wear of them)
MATERIALS
YARN
Patons Kroy Socks (75% washable wool, 25% nylon super fine weight yarn; 1.75oz/50g; 166yds/152m) 2 (2, 2, 2, 3, 3) balls OR ANY SOCK WEIGHT YARN
Other yarns that would work as well are:
- Stroll – a super-soft, affordable, washable treat for your feet.
- Stroll Tweed – Stroll Tweed is perfect for gift socks because of its machine washable convenience, not requiring special care on the part of the recipient.
- Hawthorne Fingering – sturdy, colorful, superwash sock yarn is made up of a blend of superwash wool for comfort and warmth and nylon for strength.
- Muse Fingering – artfully crafted yarn from Japan, shines on a sock yarn base.
- Capretta Superwash – great for soft use or bed socks as it is a delicate yarn with cashmere!
NOTE: we will talk about how to make the socks the same size and Marly wants to make sure the larger sizes have a nice length at the leg which is why they require 1 ball more.
KNITTING NEEDLES
US 2 [2.75 mm] or size to obtain gauge
Depending on what tools you want to use to make socks you will need the following.
- To make socks with 2 circulars: 2 needles, 1 24″ and the other longer than 24″
- To make socks with magic loop: 1 circular longer than 24″
- To make socks with a 9″ circular needle on foot and leg: a 9″ circular needle and you also need a longer than 24″ circular at the toe and heel.
NOTIONS
Tapestry Needle, Stitch markers–both removable and nonremovable. Sock Ruler (optional)
Check out special deals and great items in our Sock Must Have Round Up
SPECIAL ABBREVIATIONS
GSR: German Short Row
LLM1: Left Lifted make-one (M1) increase
PM: place marker
RLM1: Right Lifted make-one (M1) increase
SM: slip marker
SPECIAL STITCHES
GSR: these short rows are worked in such a way that you get a ‘double stitch’ in place of a traditional w&t short row.
- GSR Right side: bring the yarn to the front BETWEEN the needles, slip the stitch from the left needle to the right needle purlwise with the yarn in front pull the yarn to the back of the work OVER top of the right needle. This will distort the stitch making it look as if there are 2 stitches instead of 1. This is called the ‘double stitch’. With yarn in back begin knitting.
- GSR Wrong side: Slip the stitch from the left needle to the right needle purlwise with yarn in front, pull the yarn to the back of the work OVER TOP of the right needle. This will distort the stitch, making it look as if there are 2 stitches instead of 1. This is called the ‘double stitch’. Don’t forget to bring the yarn to the front BETWEEN the needles to begin purling.
Continue in this fashion as specified in your pattern, creating your ‘doubled’ stitches.
To finish the short rows simply knit or purl the double stitch together.
LLM1: Insert left needle tip into the left leg of the second stitch directly under the stitch on the right hand needle (the grandmother stitch), knit it through the back leg. (1 stitch increased)
RLM1: Insert right needle tip into the right leg of the stitch directly under the stitch on the left hand needle (the mother stitch), lift the leg onto the left hand needle and knit it. (1 stitch increased)
NOTES
Whether working on 2 circulars or on magic loop, the stitches are always divided on two needles. Needle 1: instep stitches; Needle 2: sole stitches. When the end of one needle has been reached, rotate the work so the stitches just worked are on the bottom. Move the bottom stitches to the cord and the unworked stitches to the next needle and continue on to work in the round.
⭐️ indicates extra explanation of instructions

GROW
To Unlock Exclusive Subscriber Content click the Box below and join for free by simply adding your email and creating a password! If you are having troubles, clear your cache or reset your password or login to the Grow Publisher Portal.
>> Learn More About Grow Here <<
I’m thrilled to share this amazing pattern with you, many patterns on my blog are absolutely free! I kindly request that you don’t copy and paste or distribute this pattern. Prefer an ad-free experience? Buy a digital PDF pattern for a small fee from one of my online stores for a seamless crafting journey.
I appreciate your support and readership. You are the reason I can keep doing what I love and sharing it with others. So, thank you from the bottom of my yarn-loving heart! Disclosure: This post contains affiliate links, meaning I get a commission if you decide to make a purchase through my links at no cost to you.
⭐️If you switched to a 9 inch circular needle, now is the time to transfer the sole stitches onto another circular needle. The 9 inch needle will remain in place acting as a stitch holder for the instep stitches (keep the marker in place to indicate the start of the rounds), and the new needle will act as needle 2 and will have the sole stitches worked on it.
⭐️Before continuing, use another removable stitch marker to mark an actual stitch in the center of the sole (needle 2). This will insure a perfectly matching second sock.
⭐️This is a great place to add a life line.
Watch video for how to do a lifeline: https://youtu.be/FiqYUE_aHAw
Get Part 2 of the 3 — click here
Get Part 3 of the 3 — click here

