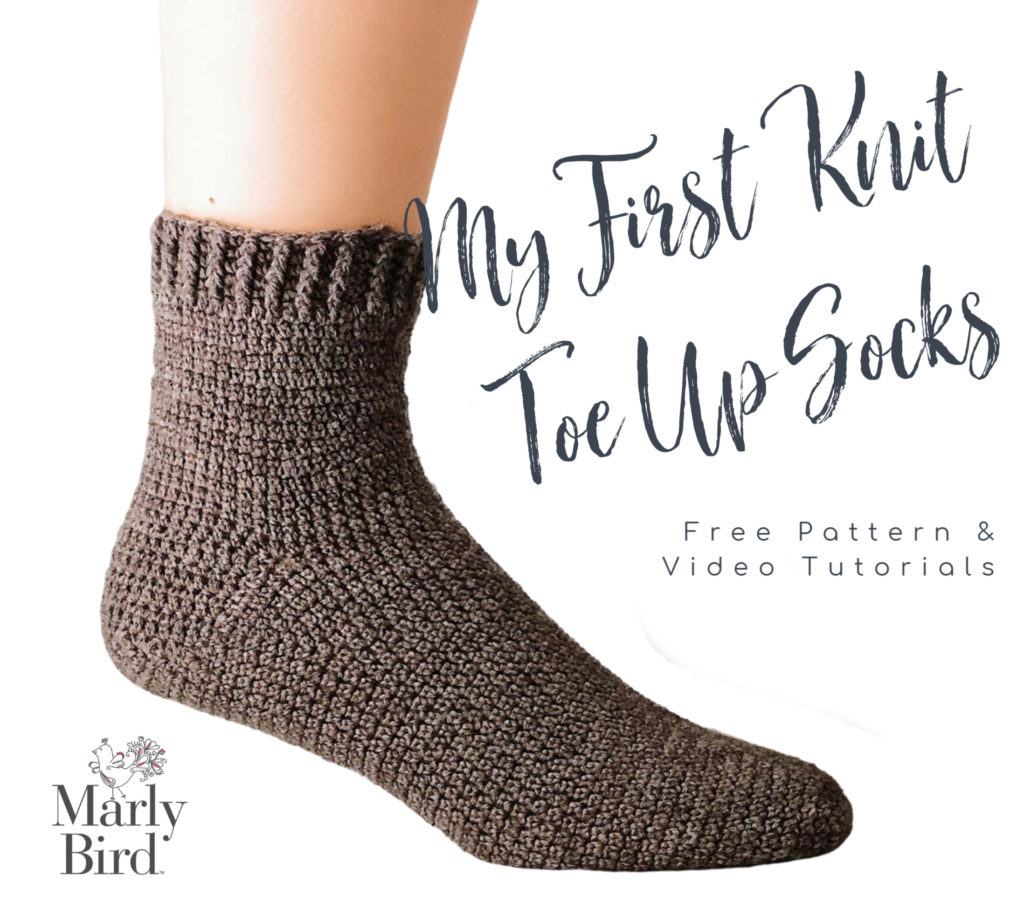
My First Toe Up Crochet Sock Part 1: Getting Started with the Toe-Up Method
Let’s make your first toe up crochet socks with part one of a three part pattern by Rohn Strong. This is a free crochet sock pattern or you can get the ad-free pdf.
In the first video for this My First Sock Series, Rohn introduces the toe-up method, a popular technique in sock-making. This approach allows for a customizable fit and efficient use of yarn. You’ll learn how to begin your sock at the toe, ensuring a perfect start to your project.
If you’re looking for your first knit socks, check these out here! Or maybe you want toe up knit socks, check these out here.
Key Techniques Covered:
Extended Single Crochet (ESC): This stitch provides the necessary flexibility and texture for comfortable socks. Mastering ESC is essential for achieving the correct gauge and fit.
Toe Shaping: Learn how to shape the toe area to ensure a snug and comfortable fit. Proper toe shaping is vital for the overall comfort of the sock.
By the end of Part 1, you’ll have a solid foundation for your crochet socks, ready to progress to the foot and heel sections.est designer Rohn Strong.
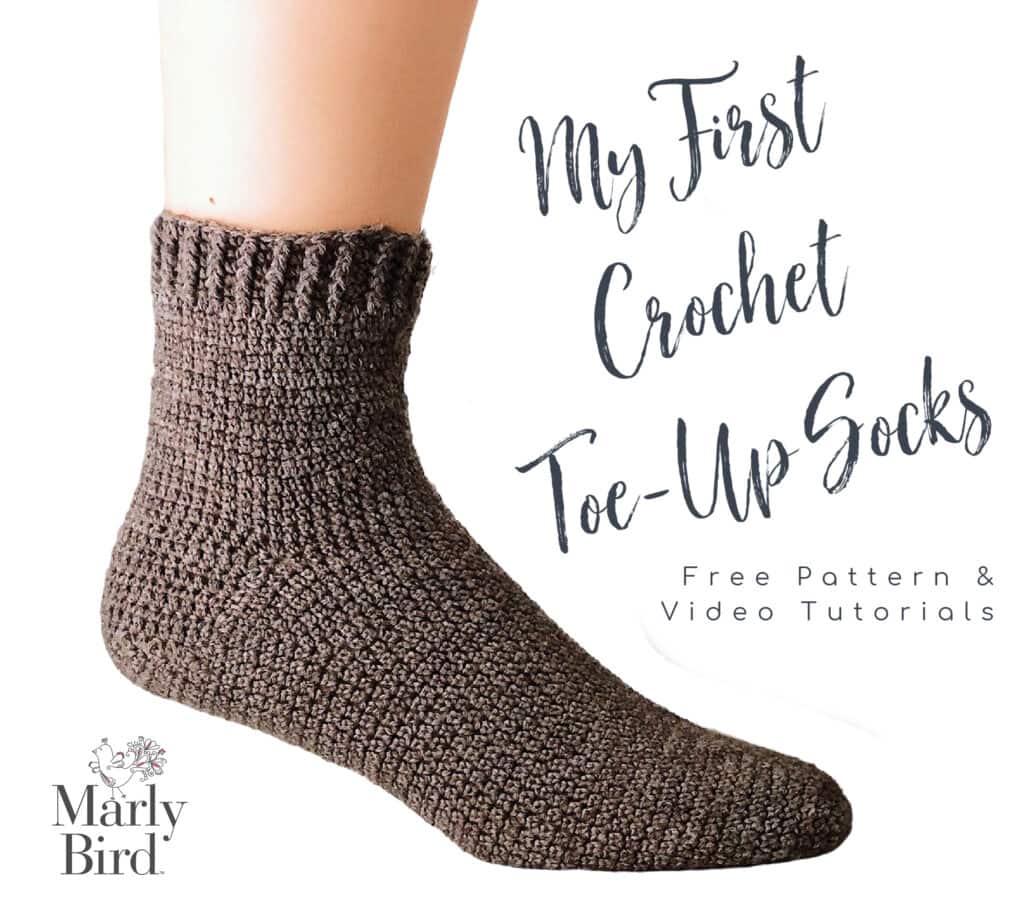
Beginner Toe Up Crochet Socks
These socks are the perfect toe-up pattern for the adventurous Crocheter! An easy square toe, gusset increases, and wedge heel provide a super fit and feel!
PURCHASE THE AD FREE PDF
I usually don’t make the Ad Free PDF available for purchase until an event is over. But many of you have asked for it to be provided early so… here it is!!
Just a reminder, the pattern will always remain free here on my website and you do not need to purchase the Ad Free PDF to participate in the sock-along or to get the pattern. But I understand having it makes it easier to follow along.

Discover the Classic and Colorful Crochet Sock Workshop with Robyn Chachula! 🎉🧦
Ready to take your crochet socks to the next level? The Classic and Colorful Crochet Sock Workshop by Robyn Chachula is your ultimate guide to crafting perfectly fitting, stylish, and durable crochet socks. Whether you’re looking to elevate your skills or start your first sock project, this course has everything you need to succeed.
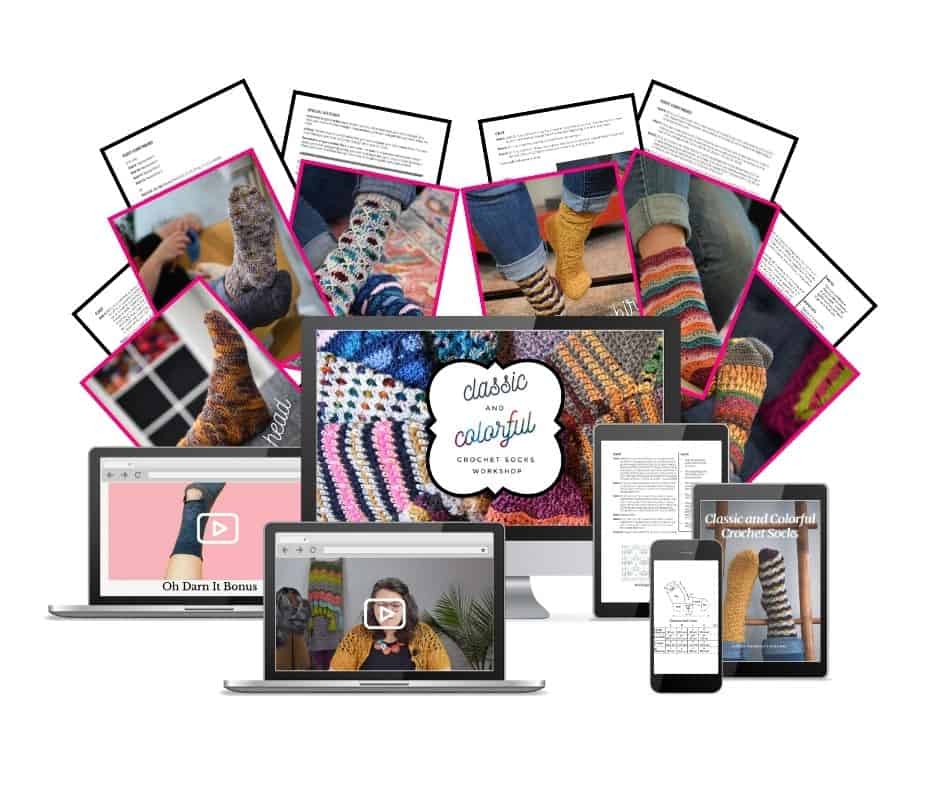
Why You’ll Love This Workshop:
- Expert Instruction: Robyn Chachula, a renowned crochet designer, walks you through the essentials of sock construction, from choosing the right yarn and hook to mastering shaping techniques.
- Customizable Fit: Learn how to create socks that are tailored to your foot size and shape for maximum comfort.
- Color and Style: Explore vibrant colorwork techniques that bring a unique flair to your projects. From subtle stripes to bold patterns, you’ll find endless inspiration.
- Step-by-Step Guidance: With clear video tutorials, downloadable PDFs, and Robyn’s expert tips, you’ll feel confident at every stage of your sock-making journey.
- Perfect for All Levels: This workshop is designed to support both beginners and seasoned crocheters. If you’ve ever thought socks were too challenging, think again!
What’s Included in the Workshop:
- Comprehensive video lessons that break down each step of sock construction.
- Downloadable patterns for multiple sock styles, perfect for any wardrobe.
- A supportive community where you can ask questions and share your progress.
- Lifetime access to the course materials so you can learn at your own pace.
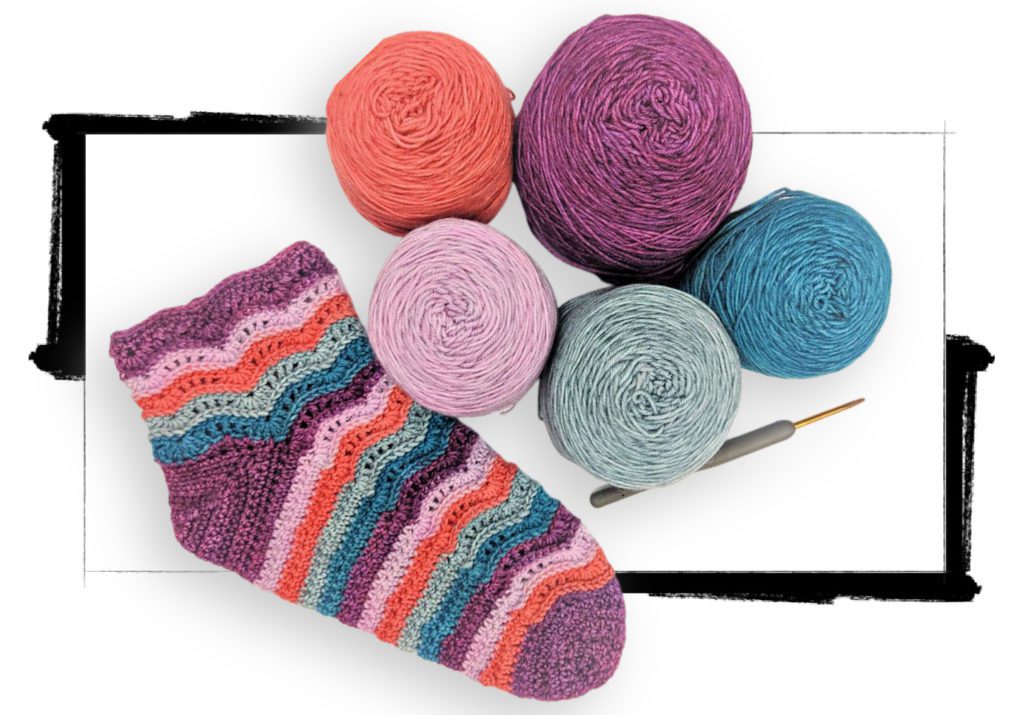
Make Crochet Socks Your Next Big Win! 🏆
The Classic and Colorful Crochet Sock Workshop is more than just a course—it’s an opportunity to expand your skills and create something truly special. Imagine the joy of slipping on a pair of custom-fit, beautifully crocheted socks made by you! 🧶✨
Sign up now and start creating socks you’ll be proud to show off or gift. Head over to the Classic and Colorful Crochet Sock Workshop page to learn more and enroll today!
💬 Don’t forget to share your progress with us using #marlybird and #crochetsocks! Your BiCrafty Bestie, Marly Bird, and Robyn can’t wait to cheer you on! 🎉
Affiliate Disclosure: This post contains affiliate links. To learn more please visit my privacy policy here💖
My First Toe Up Crochet Socks Pattern
Find My Complete Guide to Learning How to Knit Socks Here.
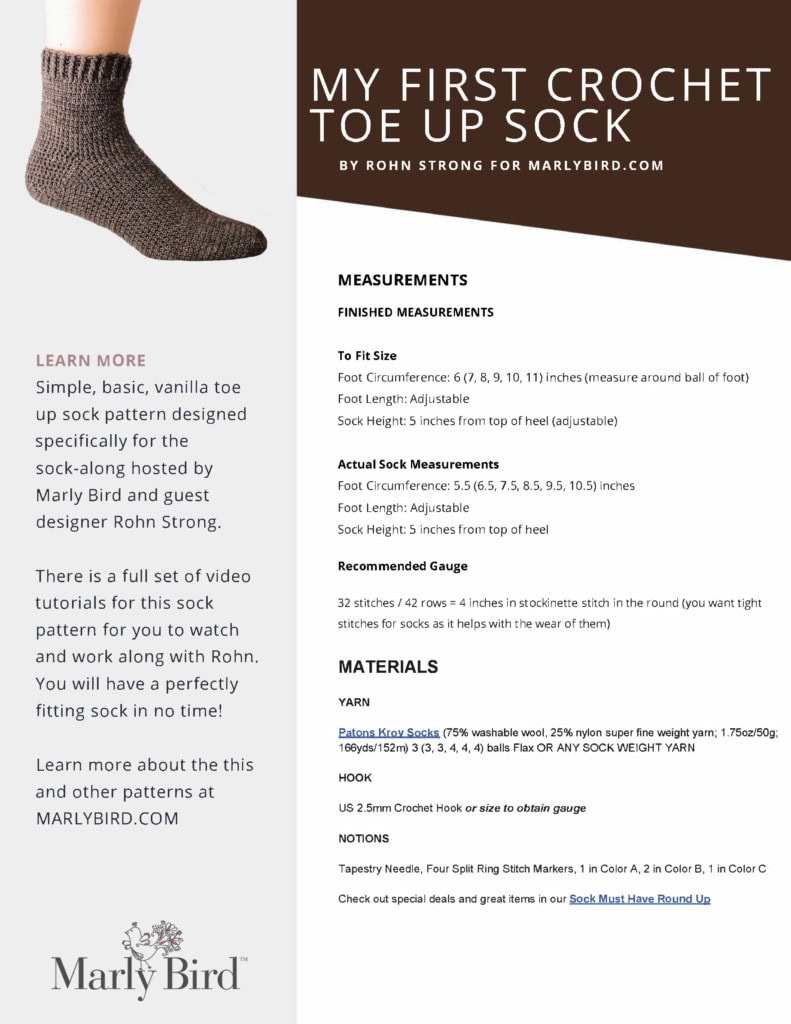
MEASUREMENTS
To Fit Size
Foot Circumference: 6 (7, 8, 9, 10, 11) inches
Foot Length: Adjustable
Sock Height: 5 inches from top of heel
Actual Sock Measurements
Foot Circumference: 5.5 (6.5, 7.5, 8.5, 9.5, 10.5) inches
Foot Length: Adjustable
Sock Height: 5 inches from top of heel
Sample Sock is show with a finished foot circumference of 7.5 inches, a finished foot length of 9 inches, and a finished sock height of 5 inches.
Recommended Gauge
24 stitches and 20 rows = 4 inches in Extended Single Crochet making a gauge swatch is a must! Follow the gauge swatch instructions below.
A Note on Sizing (Don’t skip this step!)
Crochet socks are notoriously difficult to size and often crocheters give up making socks because of this. Here’s the deal, it’s only difficult if you don’t understand the measurements above and your own personal measurements.
First things first, you should never choose a sock size based on your shoe size. This is primarily because shoes aren’t designed to stretch over our ankles, socks are. The measurement around the heel and ankle is the widest part of our foot and this, my friends, is where so many crochet socks go wrong. We have to juggle the overall fit of the sock while ensuring the sock can stretch over the ankle. We do this by crocheting a sock that is the proper size and using a stitch that provides the most stretch of any crochet stitch, extended single crochet.
Take a moment and measure your foot. You’ll measure what’s called the ‘foot pad’ or the area just below the toes. Now, if you have any bunions, you’ll want to avoid these as they’re often temporary and your sock will stretch to accommodate.
Next measure your foot length by stepping on the ground and measuring from the back of your heel to the tip of your longest toe. For me, that’s the second toe next to the big one.
This will give you your foot circumference and foot length. From these measurements, you can choose a size listed above. If you fall in between a size, choose the closest next size down. Don’t choose a larger size. We want to avoid the sock being too large.
Let’s use me as an example:
My measured foot circumference is 10.75 inches and my foot length is 11 inches. That means I’m going to need to choose the largest size, a finished measurement of 10.5 inches. Because I can adjust the foot length and the sock height, I’ll do that as I work.
MATERIALS
YARN
Patons Kroy Socks (75% washable wool, 25% nylon super fine weight yarn; 1.75oz/50g; 166yds/152m) 3 (3, 3, 4, 4, 4) balls Flax OR ANY SOCK WEIGHT YARN
Other yarns that would work as well are:
- Stroll – a super-soft, affordable, washable treat for your feet.
- Stroll Tweed – Stroll Tweed is perfect for gift socks because of its machine washable convenience, not requiring special care on the part of the recipient.
- Hawthorne Fingering – sturdy, colorful, superwash sock yarn is made up of a blend of superwash wool for comfort and warmth and nylon for strength.
- Muse Fingering – artfully crafted yarn from Japan, shines on a sock yarn base.
- Capretta Superwash – great for soft use or bed socks as it is a delicate yarn with cashmere!
HOOK
US 2.5mm Crochet Hook or size to obtain gauge
NOTIONS
Tapestry Needle, Four Split Ring Stitch Markers, 1 in Color A, 2 in Color B, 1 in Color C
Check out special deals and great items in our Sock Must Have Round Up
NOTES
Weave in loose ends as work progresses.
Sock is worked in spiral rounds unless otherwise stated.
Sock is worked as follows:
- Toe
- Foot
- Gusset
- Heel Wedge
- Heel
- Leg
- Cuff
SPECIAL ABBREVIATIONS
Esc- Extended Single Crochet: Insert hook into next stitch indicated, yarn over and pull up a loop, yarn over and draw through 1 loop on hook, yarn over and draw through last 2 loops on hook.
Esc2tog- Extended Single Crochet 2 Together: Insert hook into next indicated st and pull up a loop, yarn over and draw through 1 loop on hook, insert hook into next indicated st and pull up a loop, yarn over and draw through 1 loop on hook, yarn over and draw through last 3 loops on hook
Inc’d- Increased
Ch- Chain
Sc– Single Crochet
Sl St- Slip Stitch
St(s)- Stitch(es)
Dc– double crochet
Fpdc– Front Post Double Crochet
GAUGE SWATCH INSTRUCTIONS
Chain 30 sts, join to work in the round being careful not to twist your chain.
Round 1: Ch 1, esc in first chain and in each chain around to end, join with a slip stitch to first esc.
Round 2: Ch 1, esc in each stitch around, join with a slip stitch to first esc.
Repeat round 2 until the swatch measures approximately 4 inches.
Then measure the stitch and row gauge per inch. If you have MORE stitches per inch than 6 you need a bigger hook. If you have FEWER stitches per inch than 6 you need a smaller hook. You should use the hook YOU need to get the correct gauge.
GROW
To Unlock Exclusive Subscriber Content click the Box below and join for free by simply adding your email and creating a password! If you are having troubles, clear your cache or reset your password or login to the Grow Publisher Portal.
>> Learn More About Grow Here <<
I’m thrilled to share this amazing pattern with you, many patterns on my blog are absolutely free! I kindly request that you don’t copy and paste or distribute this pattern. Prefer an ad-free experience? Buy a digital PDF pattern for a small fee from one of my online stores for a seamless crafting journey.
I appreciate your support and readership. You are the reason I can keep doing what I love and sharing it with others. So, thank you from the bottom of my yarn-loving heart! Disclosure: This post contains affiliate links, meaning I get a commission if you decide to make a purchase through my links at no cost to you.

