
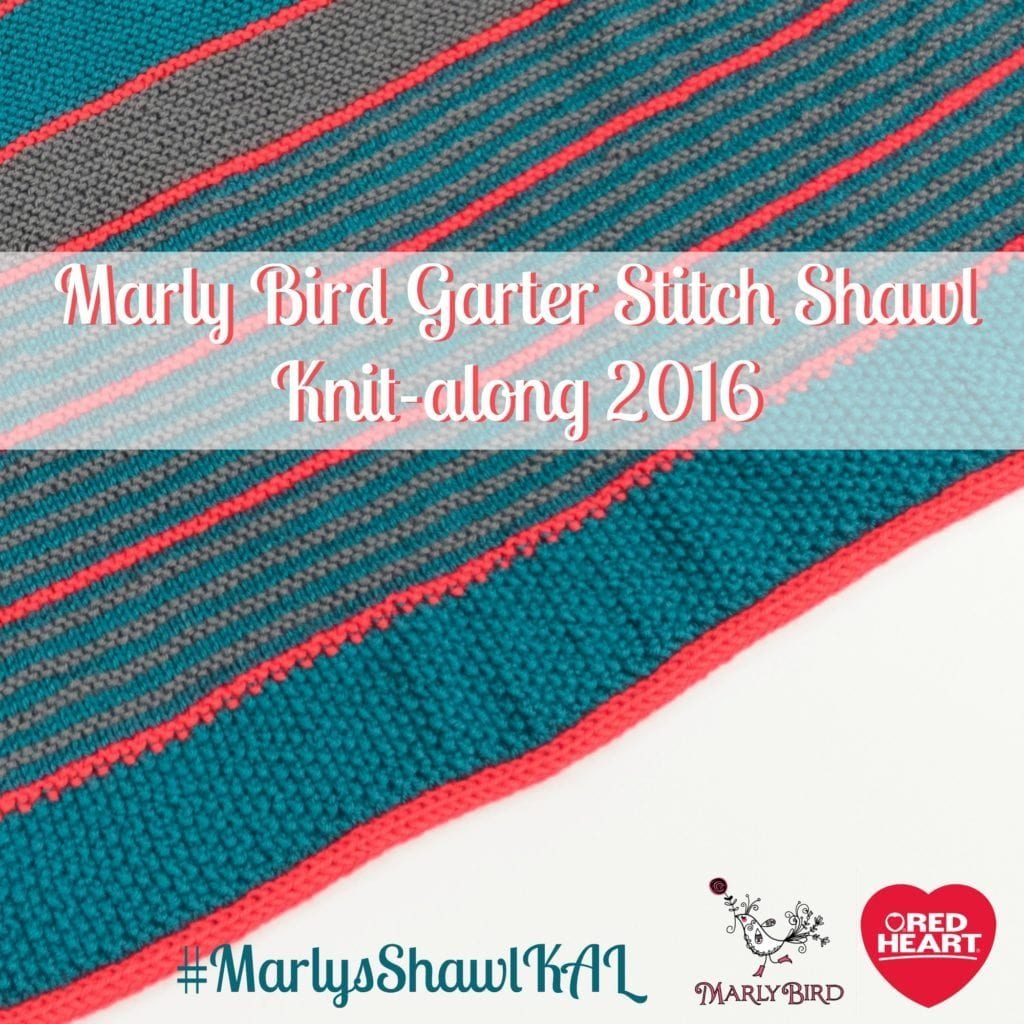
Marly Bird Garter Stitch Shawl Knit-along Section 3
The Marly Bird Garter Stitch Shawl Knit-along Section 3 is sponsored by Red Heart.
This is the very first KAL I’ve hosted that is based on my own pattern and includes a full set of HD videos of me demonstrating how to do each step of the shawl! Click HERE for Section 1, Click HERE for Section 2; you will find the full instructions for SECTION 3 below.
Once the KAL is complete the full pattern will be available at MarlyBird.com.
![]()
Queue it up and Like the Pattern on Ravelry
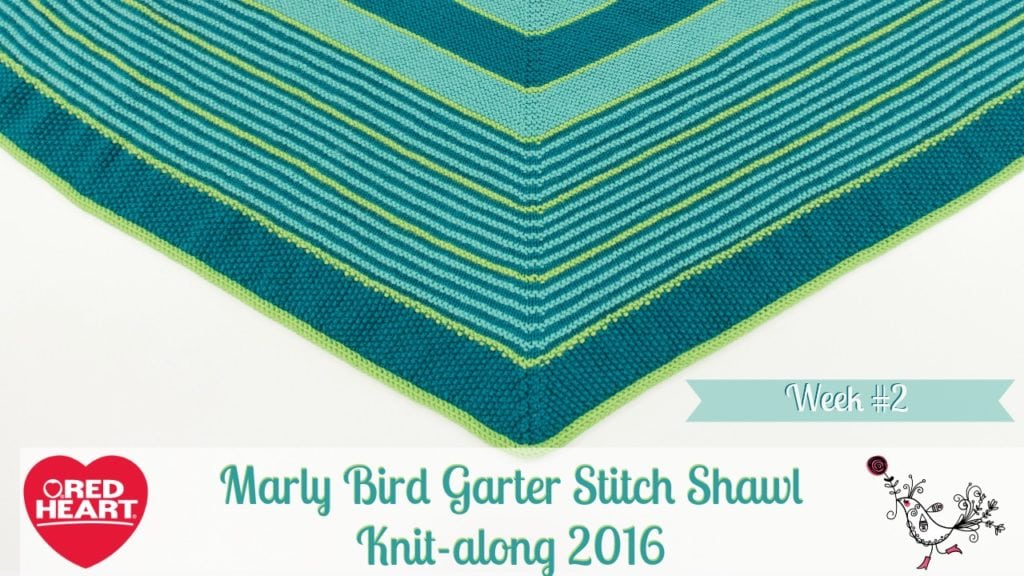
THE PROJECT
A SHAWL! Something that is rather simple, uncomplicated and gauge isn’t something that is super important. The project for this KAL is a rather easy shawl but it packs a lot of punch. There are many learning opportunities for me to teach you while you make this garter stitch shawl.
THE DATE
The official start date is March. 30, 2016 – April. 27, 2016. There will be one video released each week along with the pattern instructions for that section. You will find a full schedule at the end of this post with links as they are available.
THE COMMUNITY
There is a dedicated Facebook group for this KAL that is monitored by me and several of the WONDERFUL sampler knitters who tested this pattern for me. We are all there to help you with this project. Please join us!
THE PATTERN
Below you will find the instructions for SECTION 3 of the Marly Bird Garter Stitch Shawl.
THE MATERIALS NEEDED ETA 4-3-16: please note the yarn amount required for Color C has been changed to 2 balls.
THE GAUGE: 17 sts = 4″ (10 cm); 36 rows = 4″ (10 cm) in Garter st. CHECK YOUR GAUGE. Use any size needles to obtain the gauge.
SPECIAL STITCHES
(K1, P1) = Knit 1 and purl 1 into the same leg of a stitch. (1 increase made and seed stitch pattern is maintained)
(P1, K1) = Purl 1 and knit 1 into the same leg of a stitch. (1 increase made and seed stitch pattern is maintained)
Let’s Begin
NOTES
You can use either Color C or Color A for the body of the Seed Stitch Section.
Reminder: you should have a total of 305 sts on your needles after Stripes Stitch Section…
SEED STITCH SECTION
Row 1 (right side): (K1, p1) [see special stitches] in first st, k1, * p1, k1; repeat from * to marker, slip marker, k1, slip marker, k1, ** p1, k1; repeat from ** to last st, (p1, k1) [see special stitches] in last st – 307 sts.
Row 2: (P1, k1) in first st, * p1, k1; repeat from * to marker, slip marker, k1, slip marker, k1, p1, ** k1, p1; repeat from ** to last st, (k1, p1) in last st – 309 sts.
Row 3 (center increase row): (K1, p1) in first st, * k1, p1; repeat from * to last st before marker, (k1, p1) in next st, slip marker, k1, slip marker, (p1, k1) in next st, ** p1, k1; repeat from ** to last st, (p1, k1) in last st – 313 sts.
Row 4: (P1, k1) in first st, p1, * k1, p1; repeat from * to marker, slip marker, k1, slip marker, p1 ** k1, p1; repeat from ** to last st, (k1, p1) in last st – 315 sts.
Row 5: (K1, p1) in first st, * k1, p1; repeat from * to marker, slip marker, k1, slip marker, ** p1, k1; repeat from ** to last st, (p1, k1) in last st – 317 sts.
Row 6: (P1, k1) in first st, p1, * k1, p1; repeat from * to marker, slip marker, k1, slip marker, p1, ** k1, p1; repeat from ** to last st, (k1, p1) in last st – 319 sts.
Row 7 (center increase row): (K1, p1) in first st, k1, * p1, k1; repeat from * to last st before marker, (p1, k1) in next st, slip marker, k1, slip marker, (k1, p1) in next st, k1, ** p1, k1; repeat from ** to last st, (p1, k1) in last st – 323 sts.
Row 8: (P1, k1) in first st, * p1, k1; repeat from * to marker, slip marker, k1, slip marker, ** k1, p1; repeat from ** to last st, (k1, p1) in last st – 325 sts.
You’re halfway there!
Repeat the last 8 rows once more, then Rows 1 and 2 only once more – 349 sts.
With B, repeat Rows 3 and 4 – 355 sts.
Do not bind off.
If you like to have the rows written out for you row for row…
guess what
…I’ve done that for you.
Click here to get the pattern instruction written out row for row.
Click here for chart of this section (coming soon)
Video
Homework
Finish section 3 and be ready to start section four on April 20th, 2016.
Once you finish your section be sure to post pictures to the facebook group as there will be a prize given away from RedHeart.com to one lucky person (who is randomly chosen) that has finished his or her homework during the week of April 13, 2016 – April 19, 2016 @ 11:59pm. Goodluck!

OH, One last thing!
Be sure to use the hashtag #MarlysShawlKAL when you post about it on social media
so we can find what you are saying 🙂
THE SECTION SCHEDULE


New Knitter and want a little class? Well, check this out:
Frequently Asked Questions
Can I still join the KAL even though it started already?
Honestly… yes! The KAL goes until April 27, 2016, and you can find all the sections on MarlyBird.com. You can also join the Facebook group to get support from Marly and other knitters.
What yarn amount do I need for Color C?
So here’s the thing… the yarn amount required for Color C has been changed to 2 balls. Always double check the materials needed if you’re unsure!
What is the gauge for this shawl?
Yes! The gauge is 17 sts = 4″ (10 cm) and 36 rows = 4″ (10 cm) in Garter st. Make sure to check your gauge before you start so your shawl comes out the size you expect.
I’m confused about the special stitches mentioned, like (K1, P1)…
Oh, that’s totally understandable! The special stitches section explains that (K1, P1) means to knit 1 and purl 1 into the same leg of a stitch, which makes 1 increase and keeps the seed stitch pattern going. It’s pretty neat!
Is there a video for Section 3?
While the page mentions a video playlist for the KAL, it doesn’t explicitly state there’s a separate video for Section 3. But you can find the full instructions for Section 3 written out below, and there’s a link to a detailed row-by-row instruction page!
Categories: Knitting, Make-Alongs, Pattern, Uncategorized, YouTube Video Tutorial


This is a wonderful informative video
I’m confused. I ended section 2 with color B and no center increases. Therefore, shouldn’t the first row of seed stitch include the center increases to keep the pattern of increases consistent?
Learning how to correct a problem stitch, unravel and pick up with a crochet needle is worth it for me. I have been doing it without information. Now I know about the ladder stitches front and back–priceless.