Mangrove Crochet Shawl Pattern
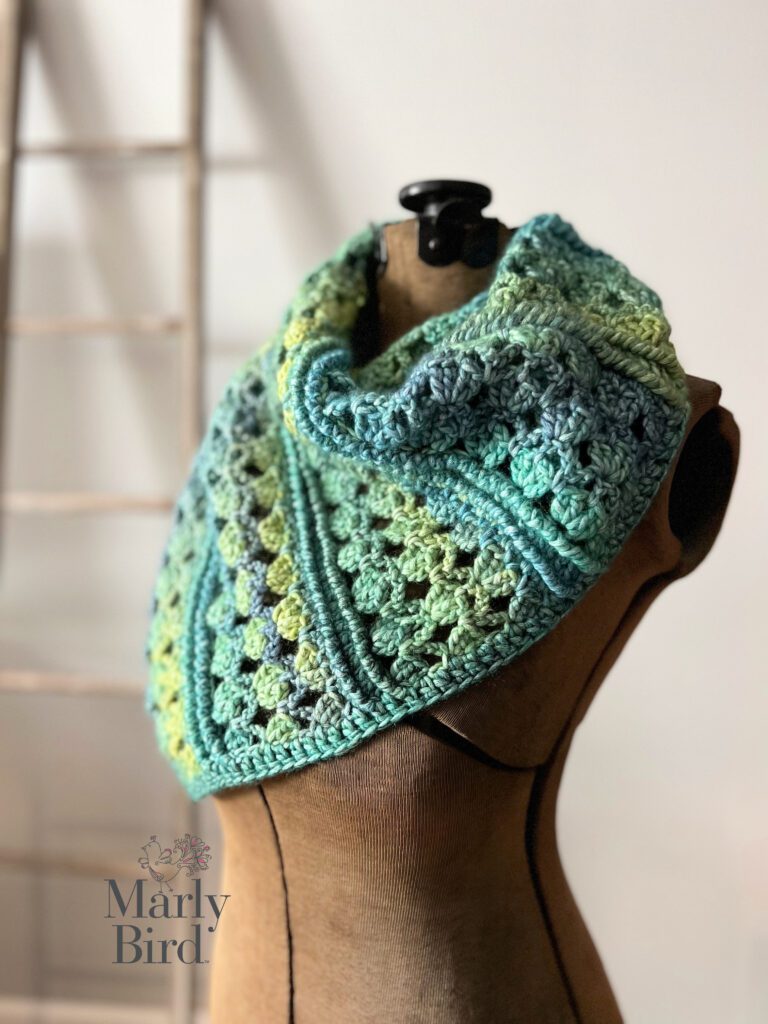
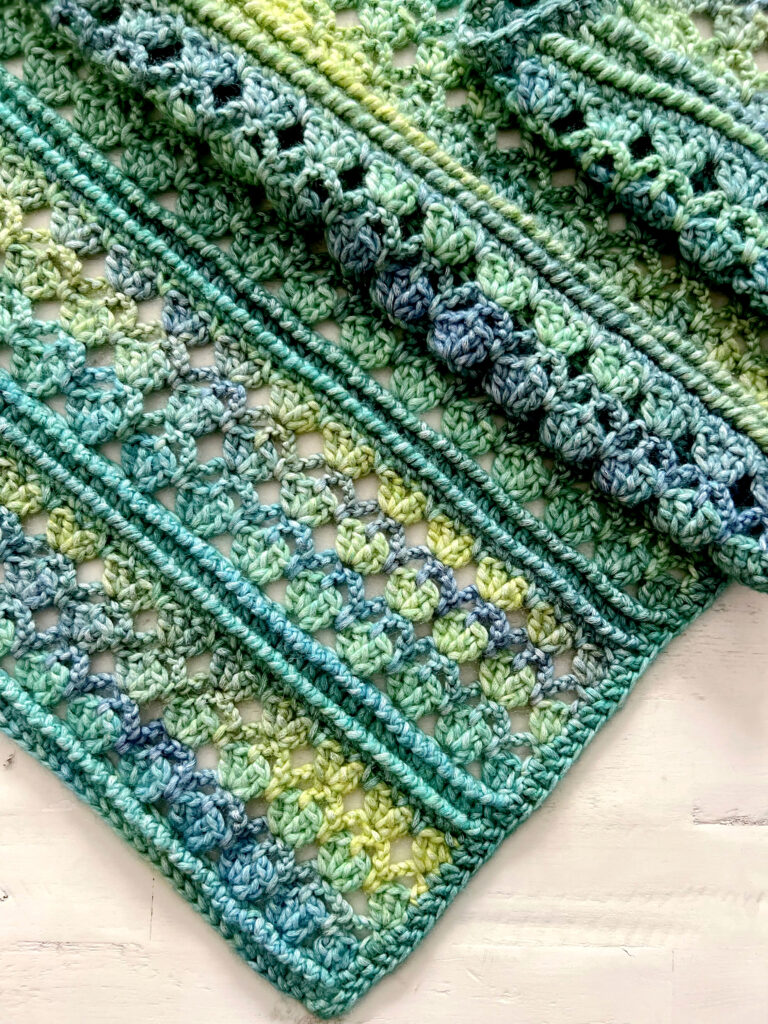
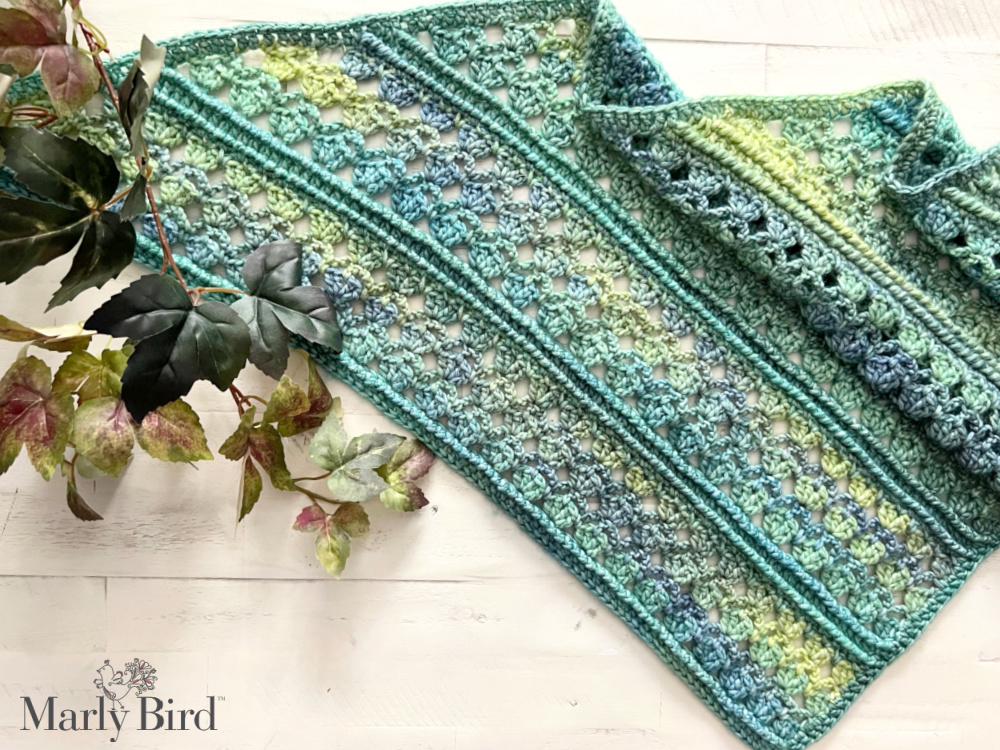
Introducing the beautiful Mangrove Crochet Shawl Pattern perfect for adding a little flair and personality to any look. Show off your crafty side with this stunning shawlette, and you’ll be sure to get plenty of compliments on your fashionable look!
Caron Blossom Cakes yarn allows the openwork and texture that really stands out. One ball will give you a stylish shawlette, but use two balls for a larger shoulder wrap that’s perfect for layering. Don’t worry if you’re new to crocheting – the pattern is easy to follow and perfect for beginners!
So go ahead and express yourself with the Mangrove Crochet Shawl Free Crochet Pattern – you’ll love how it looks on you!
*This is a free pattern but you can purchase the ad-free pdf*
Designed by Robyn Chachula and Marly Bird
SKILL LEVEL
Intermediate
MEASUREMENTS
Finished Measurements
Shawlette is 34” [86.5 cm] wide by 40” [101.5 cm] long.
Shawl is 46” [117 cm] wide by 53.5” [136 cm] long.
Gauge
3 shells x 10 rows in stitch pattern= 4” [10 cm] x 4.5” [11.5 cm]; use any size hook to obtain the gauge.
MATERIALS
Yarn
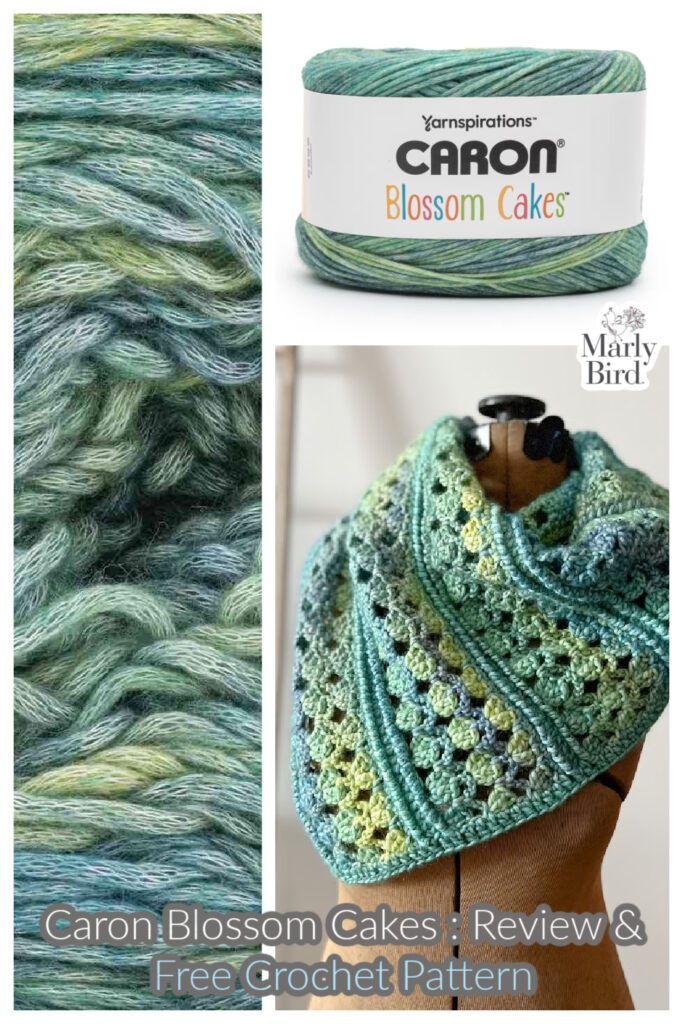
Caron, Blossom Cakes (61% Cotton/ 39% Acrylic, 481 yds / 440 m, 8 oz/ 227 g, CYCA# 4 worsted): #37007 Tidepool, 1 (2) cakes
📌 Tip: Click Here and learn more about Blossom Cakes!
Hook
Size I/9 [5.5 mm]
Notions
Tapestry needle, Stitch Markers
ABBREVIATIONS
Ch – Chain(s)
Dc – Double Crochet
Dc2tog – Double Crochet Two Together
Dc3tog – Double Crochet Three Together
Fdc – Foundation Double Crochet (see special stitches)
PM – Place Marker
Rev sc – Reverse Single Crochet
RS – Right Side
Sc – Single Crochet
Sl st – Slip Stitch
Sp(s) – Space(s)
St(s) – Stitch(es)
Stacked Dc – Stacked Double Crochet
Tch – Turning Chain
WS – Wrong Side
Yo – yarn over
SPECIAL STITCHES
⭐️ Foundation Double Crochet (fdc):
First fdc: Ch 3 (does not count as a st), yarn over hook, insert hook into 3nd ch from hook, yarn over and pull up a loop, yarn over and draw through 1 loop on hook (forming a chain),[ yarn over and draw through 2 loops on hook] twice (forming the double crochet)
Next fdc: Yarn over hook, insert hook into base of previous stitch (in the “chain” space), yarn over and pull up a loop, yarn over and draw through 1 loop on hook (forming a chain), [yarn over and draw through 2 loops on hook] twice (forming the next double crochet).
Repeat directions for desired amount of sts.
⭐️ Stacked Double Crochet (Stacked Dc): (Do not ch 1 prior to making the first sc) Sc in first stitch, insert hook in between two legs of the base, yarn over and pull up a loop, yarn over and draw through 2 loops on hook.
⭐️Double Crochet 2 Together (Dc2tog): *Yarn over hook, insert hook into indicated st, yarn over and pull up a loop, yarn over and draw through 2 loops on hook; repeat from * in next st, yarn over and draw through all 3 loops on hook.
⭐️Double Crochet 3 Together (Dc3tog): *Yarn over hook, insert hook into indicated st, yarn over and pull up a loop, yarn over and draw through 2 loops on hook; repeat from * in next 2 sts, yarn over and draw through all 4 loops on hook.
⭐️Reverse Single Crochet (rev sc): Also known as a Crab Stitch; working from left to right, insert hook from front to back in next stitch to the right, yarn over and pull up a loop, yarn over and draw through 2 loops on hook.
CROCHET STITCH DIAGRAM
Only Available in the Ad-Free PDF
Relax & Crochet
Upgrade to the Printable PDF
Beautifully formatted to print and relax while crocheting. The paid pattern includes:
NOTES
- Directions are for shawlette size; changes for shawl size are in parentheses. When only one number is given then that number applies to all sizes.
- Not every row turns at the end of the row. Be sure to watch in the pattern when it tells you to turn and when not to turn.
- The shawl decreases on only one edge to create a triangle. The other edge will be straight with a 90 degree angle in the corner.
VIDEO TUTORIAL
- How to Read Crochet Diagrams >> Click Here for Video Help <<
- Weave in Ends >> Click Here for Video Help <<
- Wet Blocking >> Click Here for Video Help <<
- Reverse Single Crochet>> Click Here for Video Help <<
- Stacked Double Crochet >> Click Here for Video Help <<

GROW
To Unlock Exclusive Subscriber Content click the Box below and join for free by simply adding your email and creating a password! If you are having troubles, clear your cache or reset your password or login to the Grow Publisher Portal.
>> Learn More About Grow Here <<
I’m thrilled to share this amazing pattern with you, many patterns on my blog are absolutely free! I kindly request that you don’t copy and paste or distribute this pattern. Prefer an ad-free experience? Buy a digital PDF pattern for a small fee from one of my online stores for a seamless crafting journey.
I appreciate your support and readership. You are the reason I can keep doing what I love and sharing it with others. So, thank you from the bottom of my yarn-loving heart! Disclosure: This post contains affiliate links, meaning I get a commission if you decide to make a purchase through my links at no cost to you.

MANGROVE CROCHET SHAWL PATTERN
Row 1: 97 (133) fdc, do not turn.
Row 2: Ch 1, rev sc in front loop of each st across, do not turn.
Row 10: Ch 1, rev sc in front loop of each st across, do not turn.
Row 11: Stacked dc in back loop of first st 1 row below, dc in back loop of each st 1 row below across to last 3 sts, dc3tog in back loop of last 3 sts 1 row below, do not turn- (85, 121 sc)
Repeat Rows 2-11 six (nine) times
Repeat Rows 2-6 once more
Row 77 (107): (Stacked dc, 2 dc) in first dc, dc in last dc, turn– (4, 4 dc).
Row 78 (108): Ch 1, sc between first and second dc, ch 1, sc in last st, turn- (1, 1 ch-3 sp)
Row 79 (109): Ch 1, sc in first st, sc in next ch-1 sp, sc in last sc, do not turn. – (3, 3 sc)
Row 80 (110): Ch 1, rev sc in front loop of each st across, do not turn.
Row 81 (111): Ch 1, sc in back loop of first st 1 row below, dc2tog in back loop of last 2 sts 1 row below, fasten off.

FINISHING
Edging
Join yarn on RS at first st of Row 1 with sl st, ch 3 (does not count as a st), dc evenly up straight edge of shawl working around row ends to corner, 6 dc in corner of shawl, dc evenly down diagonal edge of shawl to corner, 6 dc in corner of shawl, sl st to last st on Row 1. Fasten off.
Blocking
Weave in all ends.
Option 1: Pin shawl to schematic size, spray with water and allow to dry.
Option 2: Wet block shawl as demonstrated in video tutorial. Pin to schematic size and allow to dry.
Get More Free Crochet Patterns for Cake Shop Yarn!
❤️ Your BiCrafty Bestie,
Marly Bird


