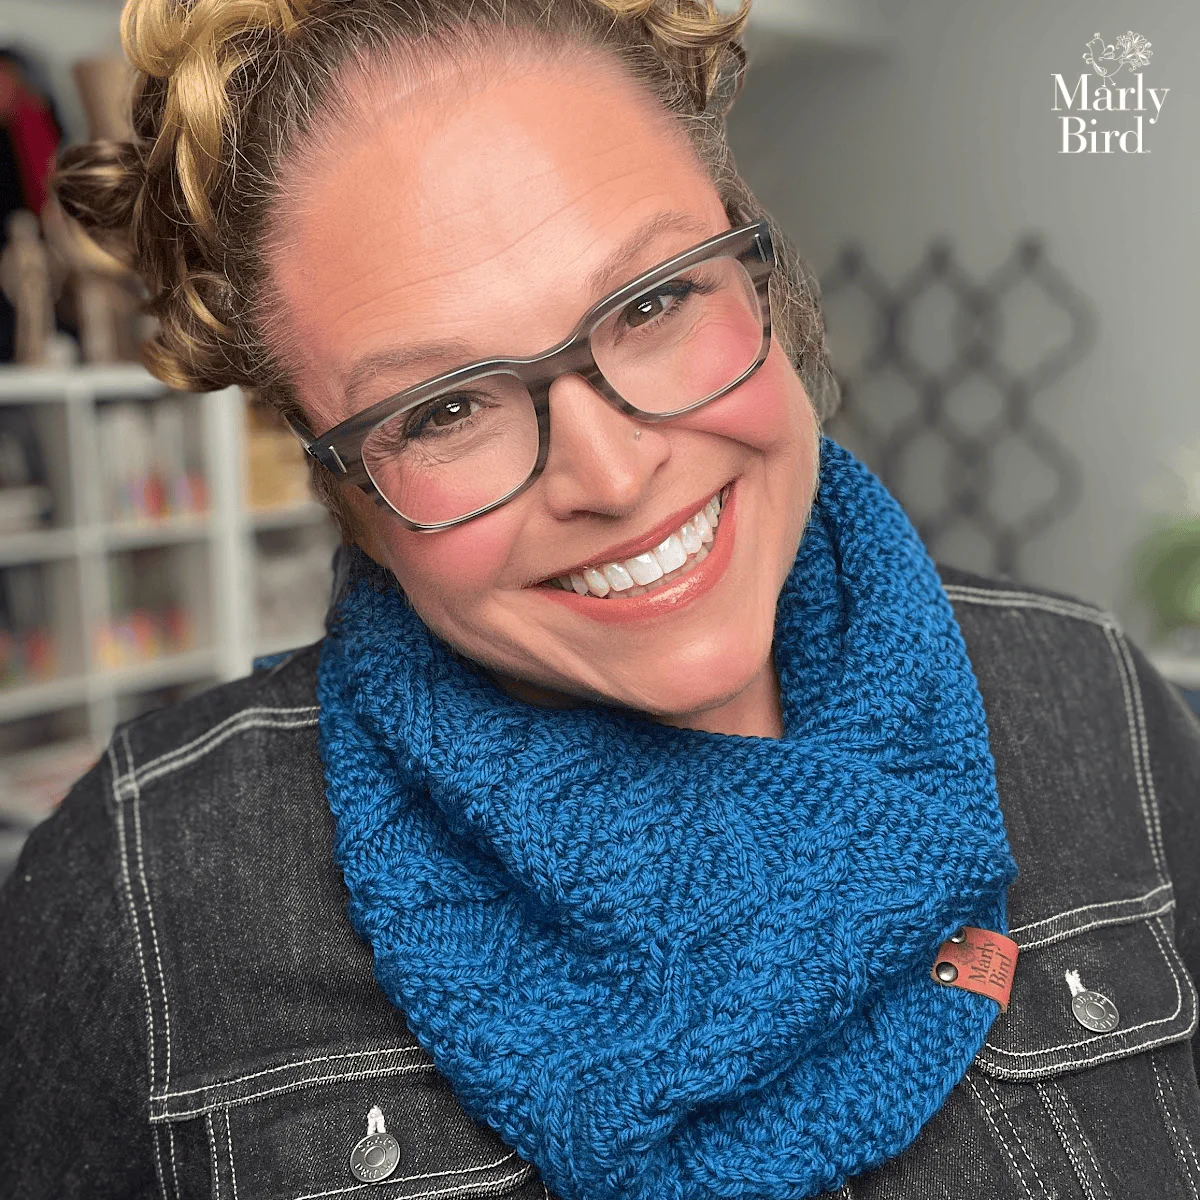
Loop-it Puffy Seed Stitch Cowl
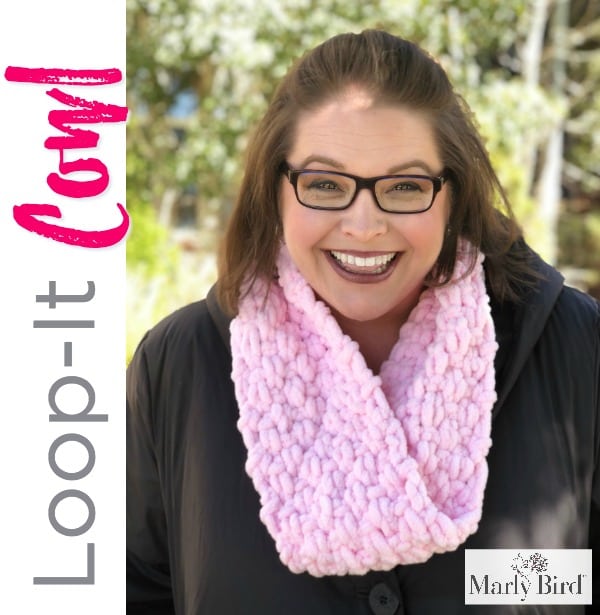
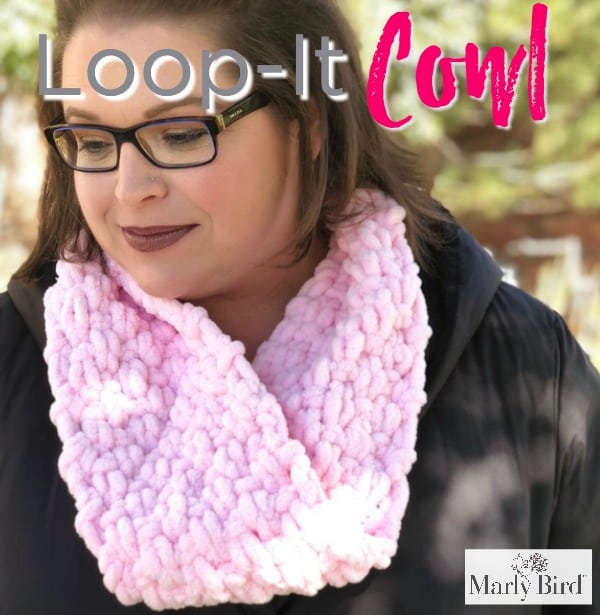
The Free Pattern Loop-It Puffy Seed Stitch Cowl uses a new yarn that is puffy, soft, and has the loops built into the yarn. No wonder the name is Loop-it™ as that is the perfect name for this fun finger knitting yarn.
UPDATE: It’s no longer as easy to find Loop It Yarn. However, you can use Bernat Alize Blanket – EZ yarn in exactly the same way. Feel free to substitute this yarn in any of the Loop It Free Patterns you want to use.
Queue it up and Like the Pattern on Ravelry
Disclosure: This page may contain affiliate links which help me cover the cost of publishing my blog. Should you choose to make a purchase, at no additional cost to you, I may earn a small percentage of the sale.
Free Pattern Loop-it Puffy Seed Stitch Cowl
by Marly Bird
Materials
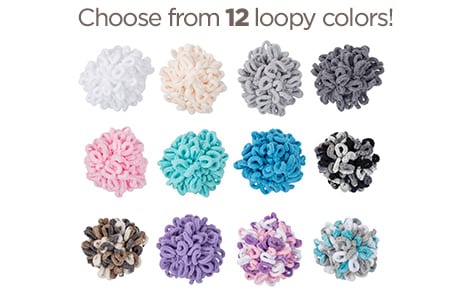
Yarn RED HEART® Loop-it™; 3.5oz. (100g) 7.6 yd (7m) 100% Polyester; 1 ball #0730 In The Pink
Needles/Hook NONE…only your fingers!
Notions NONE…you can weave in with your fingers!
Video Tutorials for Special Techniques for Loop-it Yarn
Loop-it Knit
Loop-it Purl
Loop-it Add New Yarn & Loop-it Bind Off…watch the FBLive Video showing how to do this for this project!
Note from Marly:
Well, I will tell you that writing this pattern is interesting as it is different than any other pattern I’ve ever written. I hope the manner in which I wrote it out works for all of you. Should you have any suggestions for additional instructions I would love to hear what you think. Be sure to leave a comment on this post!
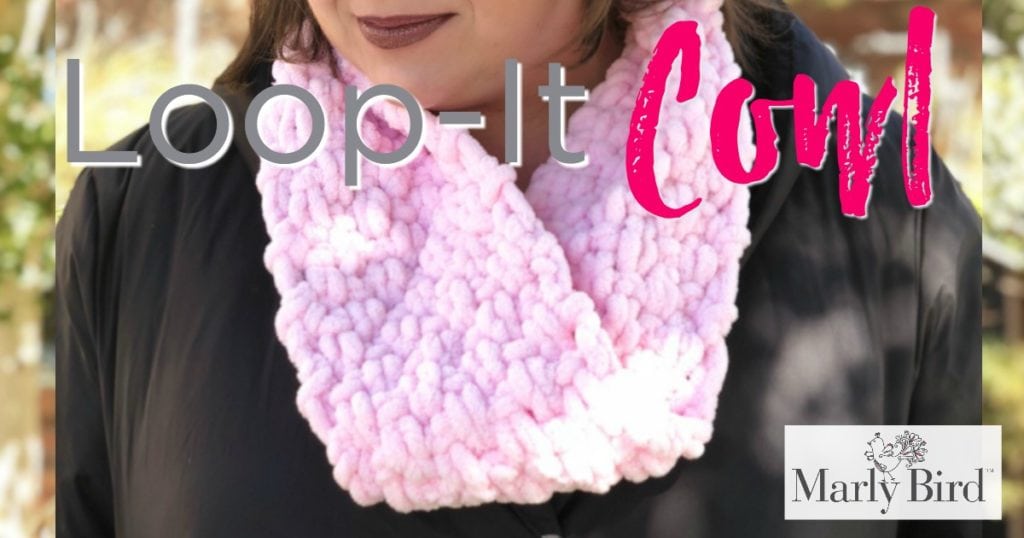
Loop-It Puffy Seed Stitch Cowl Pattern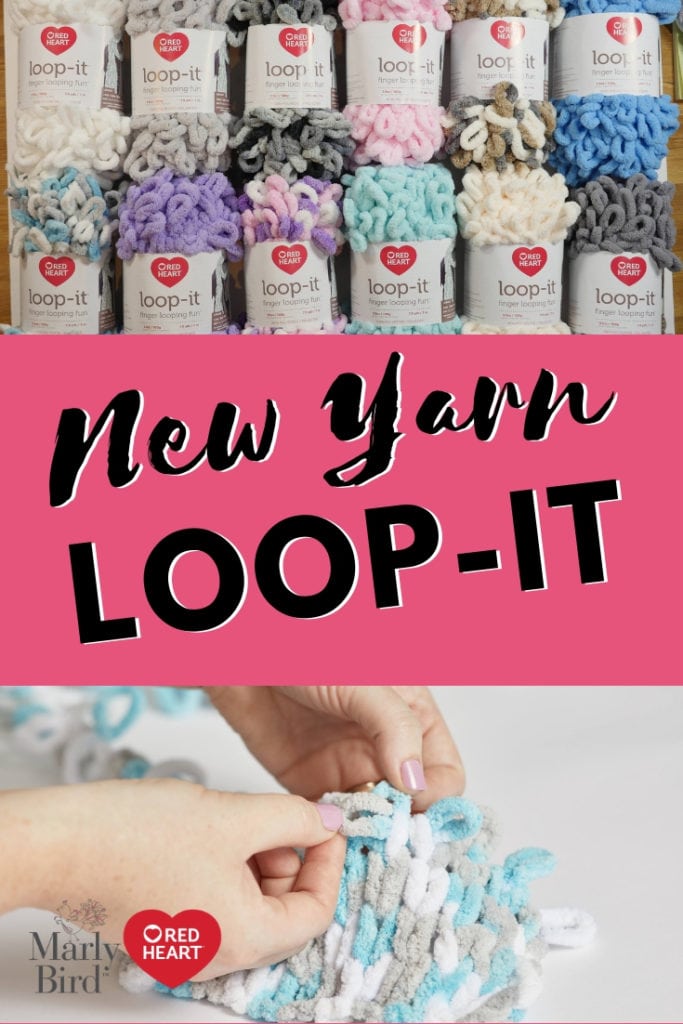
- Working from left to right,
- with the working yarn in back,
- *pull next available loop of working yarn through the next project loop as if to knit [see tutorial video for help],
- move the working yarn to the front,
- pull next available loop of working yarn through the next project loop as if to purl [see tutorial video for help]
- move the working yarn to the back,
- repeat from * to the last stitch
- This means at the end of the row you will have a knit stitch, purl stitch, knit stitch, purl stitch, knit stitch, purl stitch, knit stitch, purl stitch, knit stitch – 1 seed stitch row formed.
- Working from right to left,
- with the workin yarn in front,
- *pull next available loop of working yarn through the next project loop as if to purl [see tutorial video for help],
- move the working yarn to the back,
- pull next available loop of working yarn through the next project loop as if to knit[see tutorial video for help]
- move the working yarn to the front,
- repeat from * to the last stitch
- This means at the end of the row you will have a purl stitch, knit stitch, purl stitch, knit stitch, purl stitch, knit stitch, purl stitch, knit stitch, purl stitch – 1 seed stitch row formed.
Don’t forget to favorite this pattern on Ravelry and link to it when you make your scarf 🙂
Also on the Blog:
