Free Mosaic Knit Scarf Pattern – Stylish Colorwork for All Skill Levels
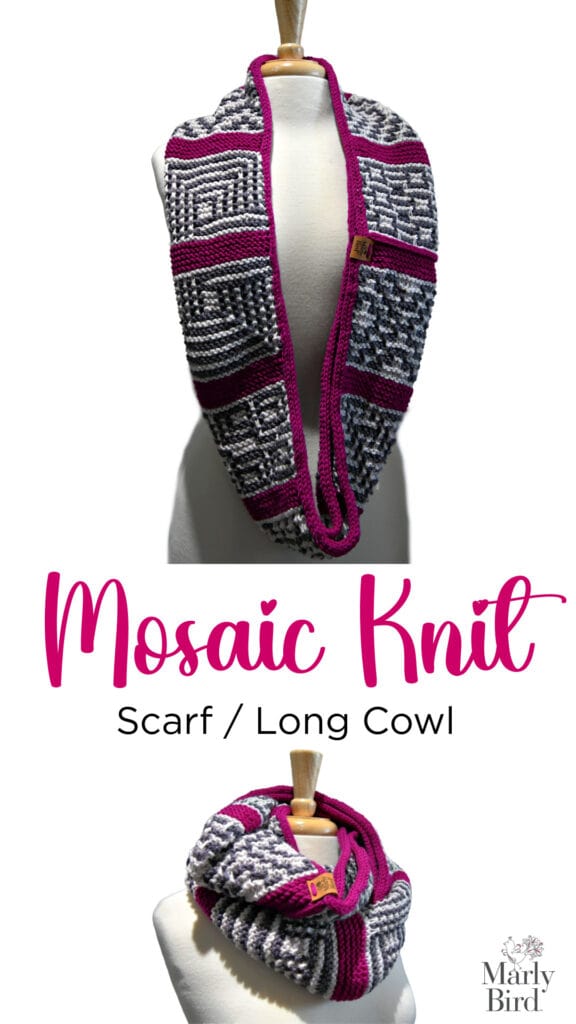
Mosaic Knit Scarf Pattern – Free Knitting Project for All Levels – Knit scarf or long cowl pattern
Welcome to your next exciting knitting adventure! 🧶 This free Mosaic Knit Scarf Pattern is perfect for knitters of all skill levels looking to try their hand at mosaic knitting, a colorwork technique that’s easier than it looks but creates stunning results.
Originally part of the Tournament of Stitches 2020, this free knitting pattern is now available as a standalone project, so you can create a beautiful scarf at your own pace. Whether you’re new to mosaic knitting or a seasoned pro, this project will leave you with a stylish, eye-catching accessory that’s perfect for gifting or keeping for yourself.
Affiliate Disclosure: This post contains affiliate links. To learn more please visit my privacy policy here💖
What Is Mosaic Knitting?
Mosaic knitting is a form of colorwork that uses slipped stitches to create intricate patterns with minimal effort. Unlike stranded colorwork or intarsia, mosaic knitting works with one color per row, making it more approachable for beginners while still being engaging for experienced knitters.
This scarf pattern showcases the magic of mosaic knitting by combining simple techniques with striking geometric designs. It’s a wonderful way to explore the world of colorwork without needing to juggle multiple strands at once.
Why You’ll Love This Free Mosaic Knit Scarf Pattern
What You Will Love
- Beginner-Friendly Colorwork: If you’ve been hesitant to try colorwork, this pattern is a great starting point. Mosaic knitting lets you achieve stunning results while only working with one color per row.
- Versatile Design: This scarf’s geometric patterns are both modern and timeless, making it a stylish accessory for any wardrobe.
- Customizable Length and Colors: Choose your favorite colors to create a scarf that’s uniquely yours. Whether you prefer bold contrasts or subtle tones, this pattern adapts beautifully to your vision.
- Free Pattern with Full Instructions: Everything you need is included in the pattern below, from step-by-step instructions to helpful tips for success.
Materials Needed for Your Free Mosaic Knit Scarf
Before you get started, gather these supplies:
- Yarn: Two contrasting colors of worsted weight yarn for a bold mosaic effect. We recommend Swish!
- Knitting Needles: Size US 8 (5mm) and size US 9 (5.5mm) or the size needed to achieve gauge.
- Tapestry Needle: For weaving in ends.
- Optional: Blocking tools to give your finished scarf a polished look.
Tips for Success with Mosaic Knitting
Mosaic knitting is a beginner-friendly colorwork technique, but like any skill, a few tips can help ensure your project turns out beautifully. Here are some key considerations to make your mosaic knit scarf a stunning success:
1. Choose High-Contrast Colors
One of the defining features of mosaic knitting is the striking contrast between two colors, which brings the geometric pattern to life. To achieve the best results:
- Opt for light and dark combinations that highlight the design. For example, pairing cream with navy or mustard with charcoal creates bold, eye-catching patterns.
- Experiment with complementary colors like blue and orange or purple and yellow for a more dynamic look.
- Avoid colors that are too similar in tone, as the pattern may become hard to distinguish.
High-contrast colors ensure your hard work stands out and gives your scarf a polished, professional look.
2. Practice Slipping Stitches
Mosaic knitting relies on slipped stitches to create intricate designs without the complexity of traditional colorwork. Mastering this technique is essential for clean and consistent results:
- Tension Matters: Keep your tension even when slipping stitches to prevent puckering or overly loose sections.
- Pay Attention to Position: Make sure to slip stitches with the yarn in the correct position—whether in front or back, as specified in the pattern.
- Work Slowly at First: If you’re new to mosaic knitting, take your time with the first few rows to get comfortable with the rhythm.
With a little practice, slipping stitches will become second nature, allowing you to focus on the beauty of the emerging pattern.
3. Block Your Scarf for a Professional Finish
Blocking is a crucial step in mosaic knitting, as it helps to open up the stitches and define the pattern. Here’s how to block your scarf effectively:
- Wet Blocking: Soak your finished scarf in lukewarm water with a gentle wool wash, then lay it flat on a towel to remove excess moisture.
- Pin It to Shape: Use blocking mats and rust-proof pins to stretch and shape the scarf, ensuring the geometric design looks sharp and even.
- Steam Blocking: For delicate yarns, use a handheld steamer or lightly steam with an iron (without touching the fabric) to set the stitches.
Blocking not only enhances the appearance of the mosaic pattern but also softens the fabric and improves drape, making your scarf even more enjoyable to wear.
4. Use Stitch Markers to Stay Organized
Mosaic knitting often involves repeating patterns, so using stitch markers can help you stay on track. Place markers between repeats to easily identify where each section begins and ends.
5. Read the Pattern Carefully
Mosaic knitting patterns often include specific instructions for slipping stitches, carrying yarn, and managing row repeats. Take the time to:
- Review the chart or written instructions thoroughly before starting.
- Highlight or make notes about color changes and special stitches.
- Check your work every few rows to catch mistakes early.
- Watching video tutorials when available with a pattern is very important.
6. Take Advantage of Swatching
Before diving into the full scarf, knit a small swatch of the mosaic pattern. This allows you to:
- Test your yarn choice and color contrast.
- It is also important to test colors for bleeding.
- Practice slipping stitches and maintaining tension.
- Adjust your needle size if necessary to match the recommended gauge.
By following these tips, you’ll be well on your way to creating a gorgeous mosaic knit scarf that showcases your skills and creativity. Remember, every project is an opportunity to learn and grow as a knitter. Enjoy the process, and have fun with this stunning colorwork technique!
More Free Mosaic Knitting Patterns to Try
If you enjoy this pattern, you’ll love exploring more mosaic knitting projects. Check out these free patterns for additional inspiration:
- Mosaic Knit Shawl
- Colorwork Knit Hat
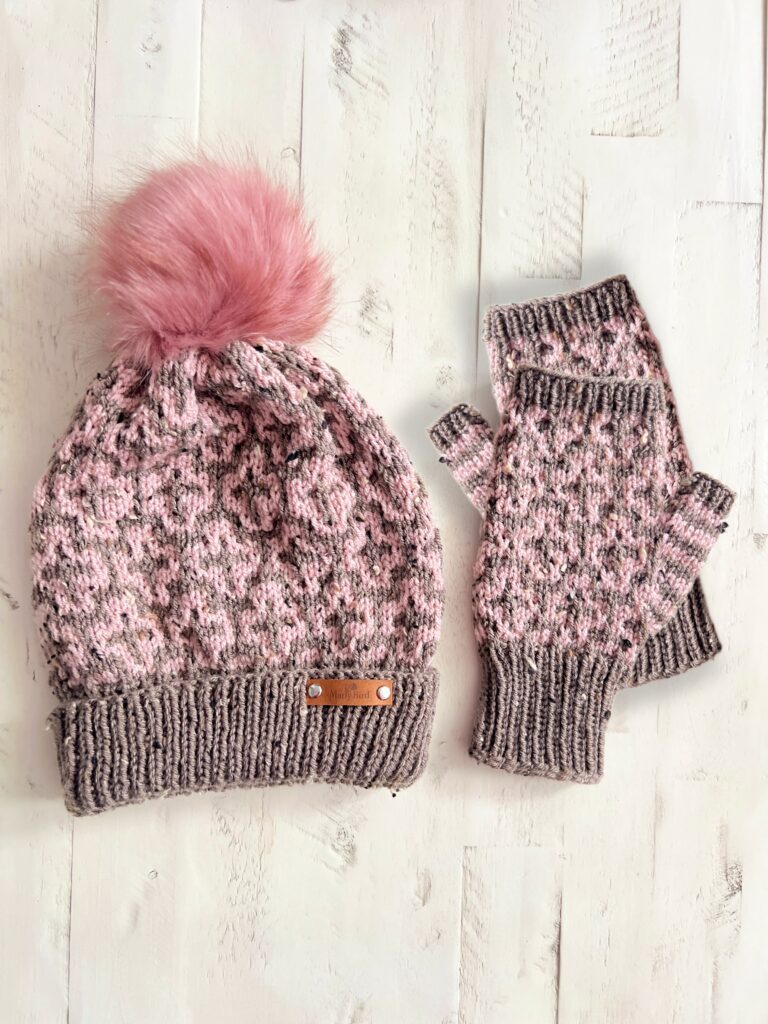
- Geometric Knit Fingerless Mittens
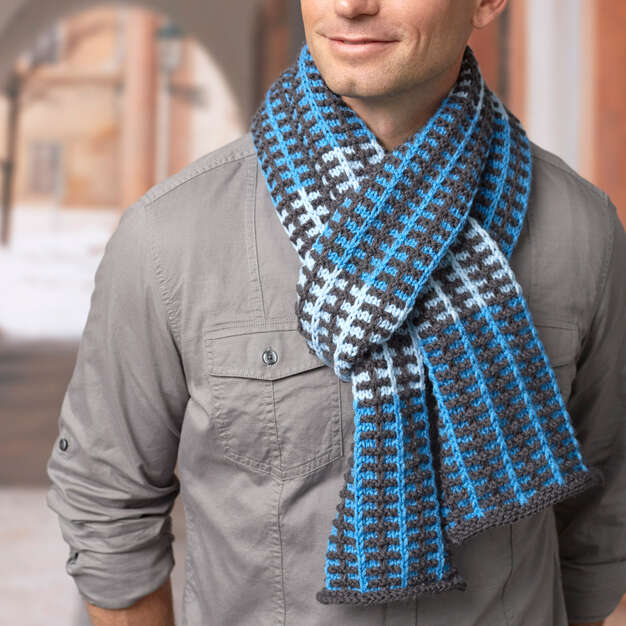
- Slipped Stitch Mosaic Scarf
- Dynamic Waves Mosaic Knit Hat
Each pattern offers a new way to use mosaic knitting to create beautiful, handmade items that are sure to impress.
Share Your Work and Join the Community
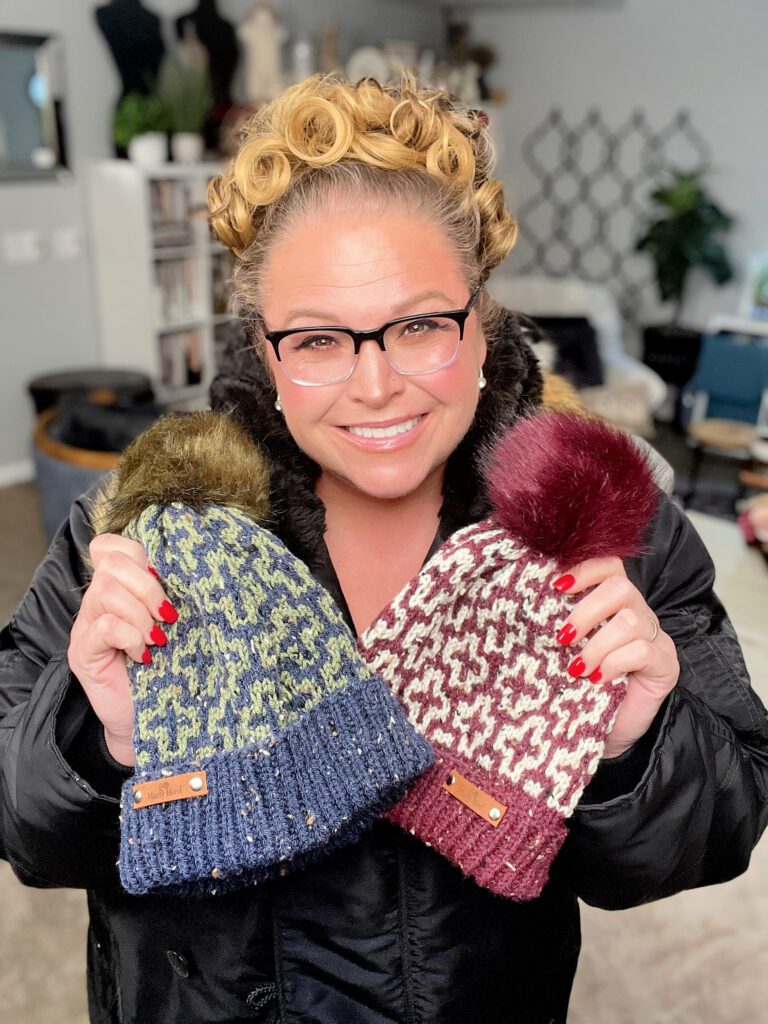
I can’t wait to see your finished mosaic knit scarf! Share your project on Instagram with #MarlyBird or in the Marly’s Minions BiCrafty Community on Facebook. Let’s inspire each other with our creativity and love for knitting!

Relax & Knit
Upgrade to the Printable PDF
While the free pattern is available online, the ad-free PDF version offers exclusive features designed to enhance your knitting experience. Here’s why the PDF is worth the investment:
With these added benefits, the ad-free PDF makes your crafting experience smoother and more enjoyable. Whether you’re new to mosaic knitting or a seasoned pro, this PDF is a handy resource you’ll appreciate.
Tournament of Stitches 2020 Free Mosaic Knit Scarf Pattern
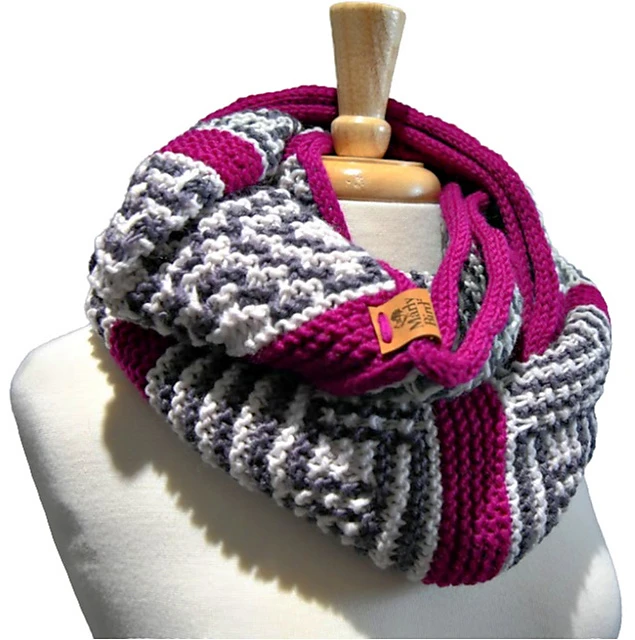
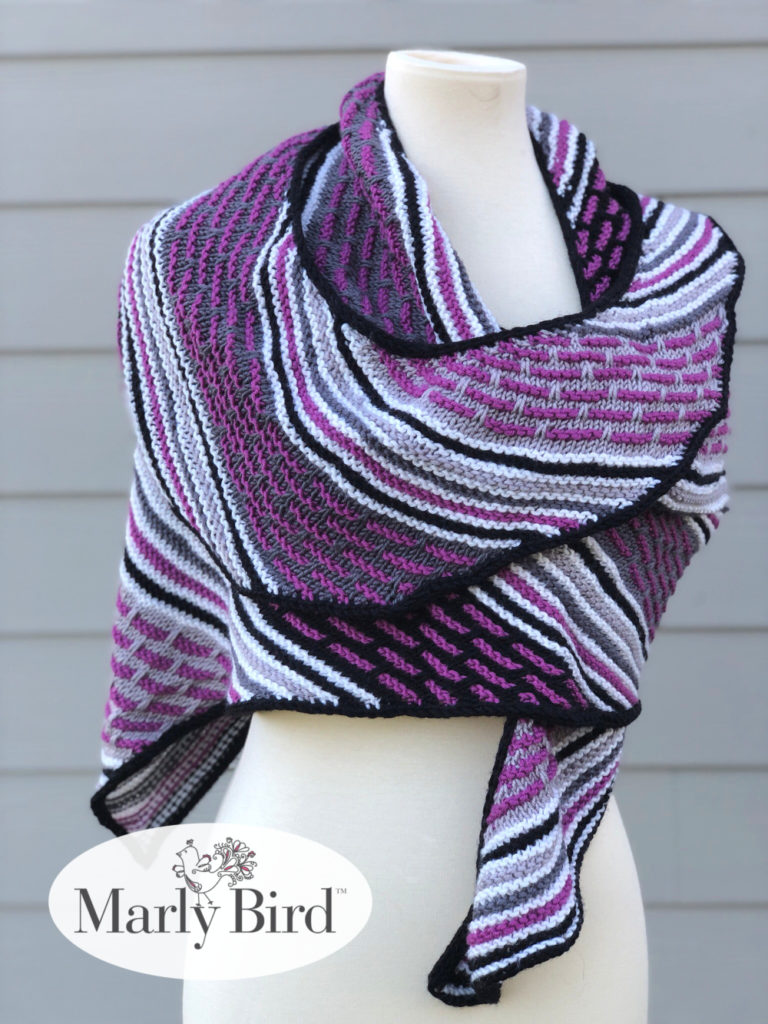
Yes, this pattern is written as a scarf, but as you can see from the images, I decided to turn mine into an infinity cowl. I absolutely love how the attached i-cord edging complements the mosaic knitting—it adds such a polished touch! I typically wear the cowl double-wrapped around my neck, and it’s not only stylish but also wonderfully cozy.
MEASUREMENTS
FINISHED MEASUREMENTS: 9.5” wide, 90” tall
GAUGE: 18 sts x 22 rows = 4” [10 cm] in garter stitch (knit on every row). Use any size needle to obtain the gauge. Exact gauge is not critical to this project.
MATERIALS
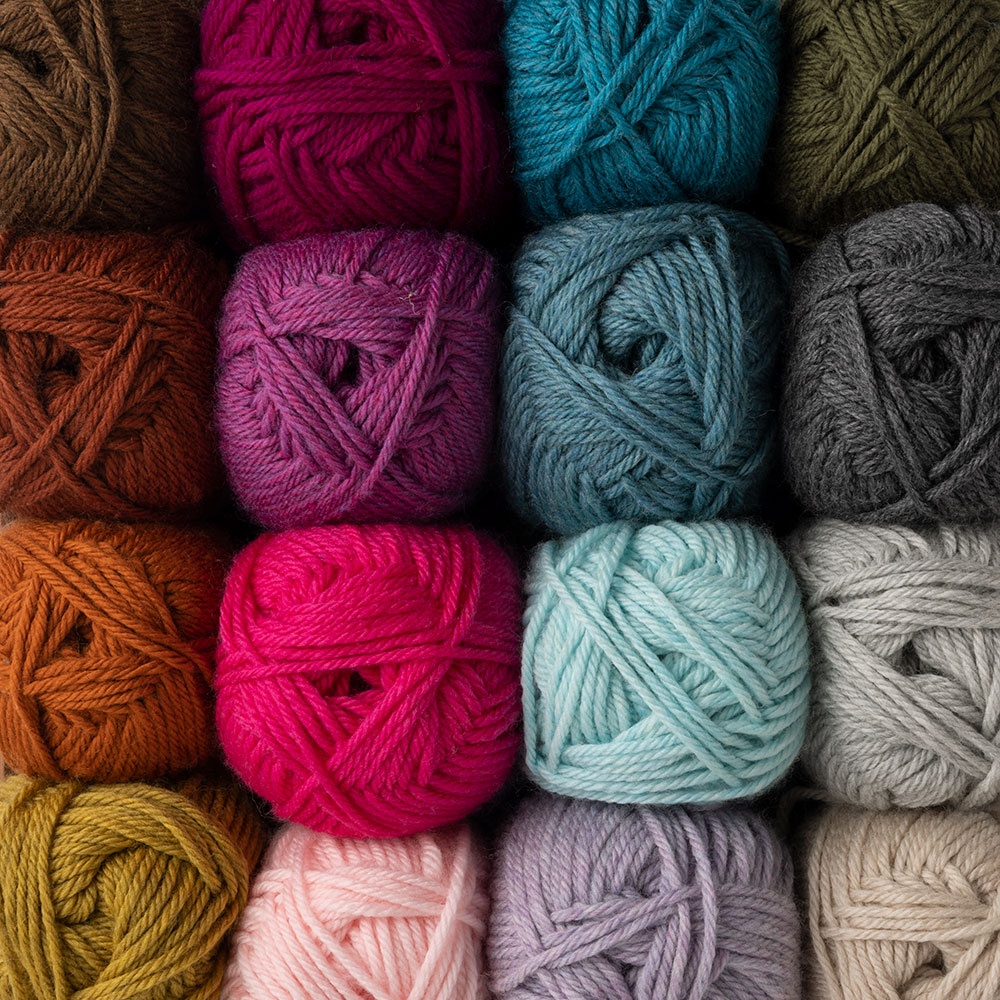
Yarn: Sample was made with Red Heart Chic Sheep by Marly Bird™ (100% wool, 3.5 oz / 100 g, 186 yd / 170 m)
- Color A: Dragon Fruit (1 ball)
- Color B: Linen (3 balls)
- Color C: Platinum (3 balls)
It is possible to choose any worsted weight yarn but I highly recommend that a solid color be used for color A and C, a long color changing or ombre yarn could be used for B if you wish. We recommend KnitPicks Swish Worsted.
Needles: Size 8 (5 mm) and 9 (5.5 mm) needles
Notions: Stitch markers, tapestry needle
SPECIAL STITCHES
Slip- Insert the tip of the right knitting needle in the next stitch on the left knitting needle from back to front as if to purl. Slide the stitch off the left knitting needle onto the right knitting needle. Make sure you are holding the yarn to the wrong side of the work when slipping. This means it needs to be held to the back when on a right side row and the yarn needs to be held to the front on a wrong side row.
NOTES
Mosaic Knitting is created by a combination knit and slip stitches. You use one color at a time for 2 rows then switch colors. In mosaic knit charts, there are two colors shown. For our project the white squares are color B and the gray squares are color C.
When reading a color B row (meaning you are currently using color B), you will knit when the square is white and you will slip the stitch purlwise when the square is gray. On a color C row, you will do the reverse and knit gray squares and slip white squares.
The first stitch helps to tell you if it is a color B or C row. Each line on the chart represents 2 rows in your work. So you read the chart from right to left for odd rows and left to right for even rows. When working an even row, you will knit all the stitches in the color you are currently using and slip the other color stitches. Just make sure on even rows that you move your yarn to the front before you slip your stitch.
To help alleviate tangles in your balls of yarn; always bring up your new color behind the previous color. When working the mosaic section, you will carry the yarn up the side of your work. When you get to the strip of 10 rows of garter stitch in color A, you will cut the yarn and join fresh for the next mosaic section.

GROW
To Unlock Exclusive Subscriber Content click the Box below and join for free by simply adding your email and creating a password! If you are having troubles, clear your cache or reset your password or login to the Grow Publisher Portal.
>> Learn More About Grow Here <<
I’m thrilled to share this amazing pattern with you, many patterns on my blog are absolutely free! I kindly request that you don’t copy and paste or distribute this pattern. Prefer an ad-free experience? Buy a digital PDF pattern for a small fee from one of my online stores for a seamless crafting journey.
I appreciate your support and readership. You are the reason I can keep doing what I love and sharing it with others. So, thank you from the bottom of my yarn-loving heart! Disclosure: This post contains affiliate links, meaning I get a commission if you decide to make a purchase through my links at no cost to you.
Tournament of Stitches 2020 Free Mosaic Knit Scarf Pattern – SECTION 1
Tournament of Stitches 2020 Free Mosaic Knit Scarf Pattern – BORDER
Video for Knit I-cord: https://youtu.be/miMbWk3FW4s
ATTACHED I-CORD BIND OFF
The applied i-cord bind off is a nice stretchy bind off that will give your scarf that little extra something.
IF MAKING A SCARF: use any color you wish for the final border of attached i-cord.
Cast on 4 stitches.
Row 1 (RS): Pick up and knit 1 stitch in the corner of the scarf (the same spot at the last stitch from bind off), slip the 5 stitches from the right hand needle back to the left hand needle (slip them through the back leg so you don’t change the orientation of the stitch). K3, ssk (1 stitch from the original 4 and the newly picked up and knit stitch).
Row 2 (RS): Pick up and knit 1 stitch along the edge of the scarf, slip the 5 stitches from the right hand needle back to the left hand needle (slip them through the back leg so you don’t change the orientation of the stitch). K3, ssk (1 stitch from the original 4 and the newly picked up and knit stitch).
Repeat row 2 to the corner of scarf.
1st, 2nd, and 3rd corner of applied i-cord
Row 1 (RS): Pick up and knit 1 stitch in the corner of the scarf, slip the 5 stitches from the right hand needle back to the left hand needle (slip them through the back leg so you don’t change the orientation of the stitch). K3, ssk (1 stitch from the original 4 and the newly picked up and knit stitch). Slip the 4 stitches from the right hand needle back to the left hand needle.
Row 2 (RS): K4 stitches.
Row 3 (RS): Pick up and knit 1 stitch in the SAME corner stitch of the scarf, slip the 5 stitches from the right hand needle back to the left hand needle (slip them through the back leg so you don’t change the orientation of the stitch). K3, ssk (1 stitch from the original 4 and the newly picked up and knit stitch).
Row 4 (RS): Pick up and knit 1 stitch along the edge of the scarf, slip the 5 stitches from the right hand needle back to the left hand needle (slip them through the back leg so you don’t change the orientation of the stitch). K3, ssk (1 stitch from the original 4 and the newly picked up and knit stitch).
*Repeat row 4 to the next corner, the repeat rows 1-3 at the corner; repeat from * 2 times more. This should bring you back to the start of the round.
IF MAKING A COWL: Work the following applied i-cord on both edges of the cowl. Use any color you wish; the cowl would look lovely with each edge a different color 🙂
Cast on 4 stitches.
Row 1 (RS): Pick up and knit 1 stitch in the seam point of the cowl, slip the 5 stitches from the right hand needle back to the left hand needle (slip them through the back leg so you don’t change the orientation of the stitch). K3, ssk (1 stitch from the original 4 and the newly picked up and knit stitch).
Row 2 (RS): Pick up and knit 1 stitch along the edge of the cowl, slip the 5 stitches from the right hand needle back to the left hand needle (slip them through the back leg so you don’t change the orientation of the stitch). K3, ssk (1 stitch from the original 4 and the newly picked up and knit stitch).
Repeat row 3 around.
Once the edge of the cowl has been worked with the applied i-cord you will have 4 stitches remaining on the needle.
Seam the 4 stitches of the i-cord you have on your knitting needle together with the cast on edge of the i-cord. The easiest way to do it is to use a simple overhand stitch.
The best way to do it is to graft the stitches so that the i-cord looks seamless.
Final Finishing Cowl: Once the edge of the cowl has been worked with the applied i-cord you will have 4 stitches remaining on the needle.
Seam the 4 stitches of the i-cord you have on your knitting needle together with the cast on edge of the i-cord. The easiest way to do it is to use a simple overhand stitch.
The best way to do it is to graft the stitches so that the i-cord looks seamless.
Finally, make sure you bury or WEAVE IN YOUR ENDS
If you missed any of the sections, go back to the original blog post and get all the details you need. You must complete each previous part of the mystery project before you can move on to the next.
Remember, should you have any questions about a Marly Bird pattern, you can ask in the Marly’s Minions Facebook Group!
Happy Knitting!
Your BiCrafty Bestie,
Marly Bird

