
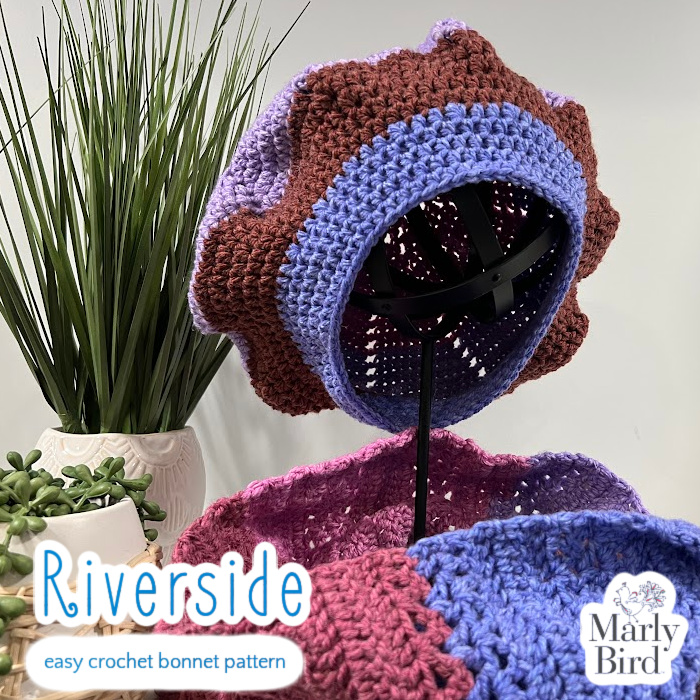
Easy Crochet Bonnet Pattern || Riverside
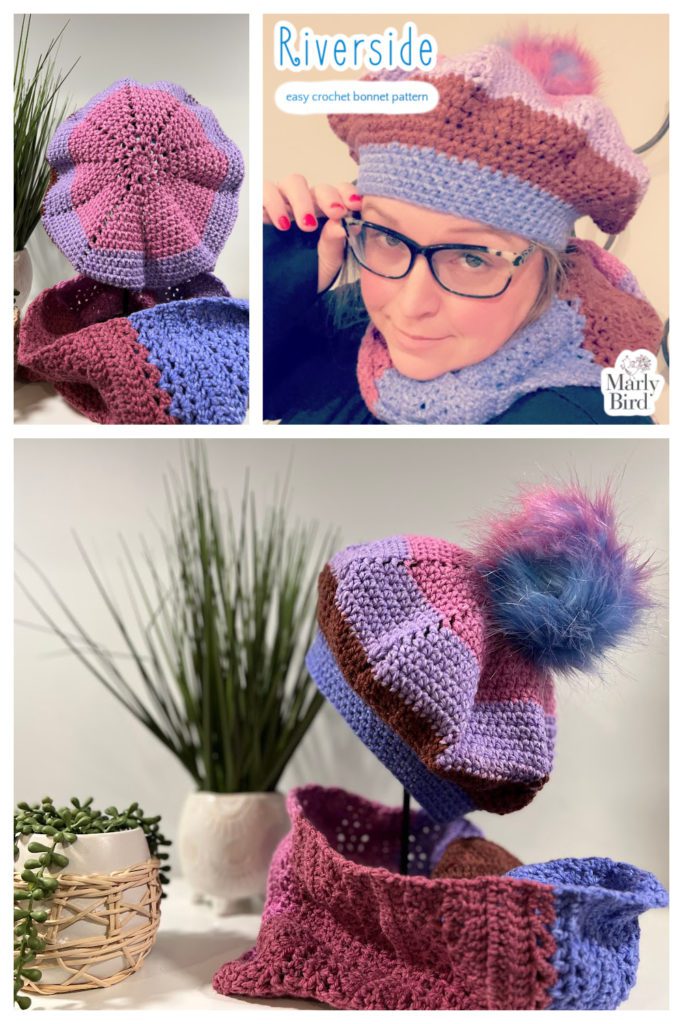
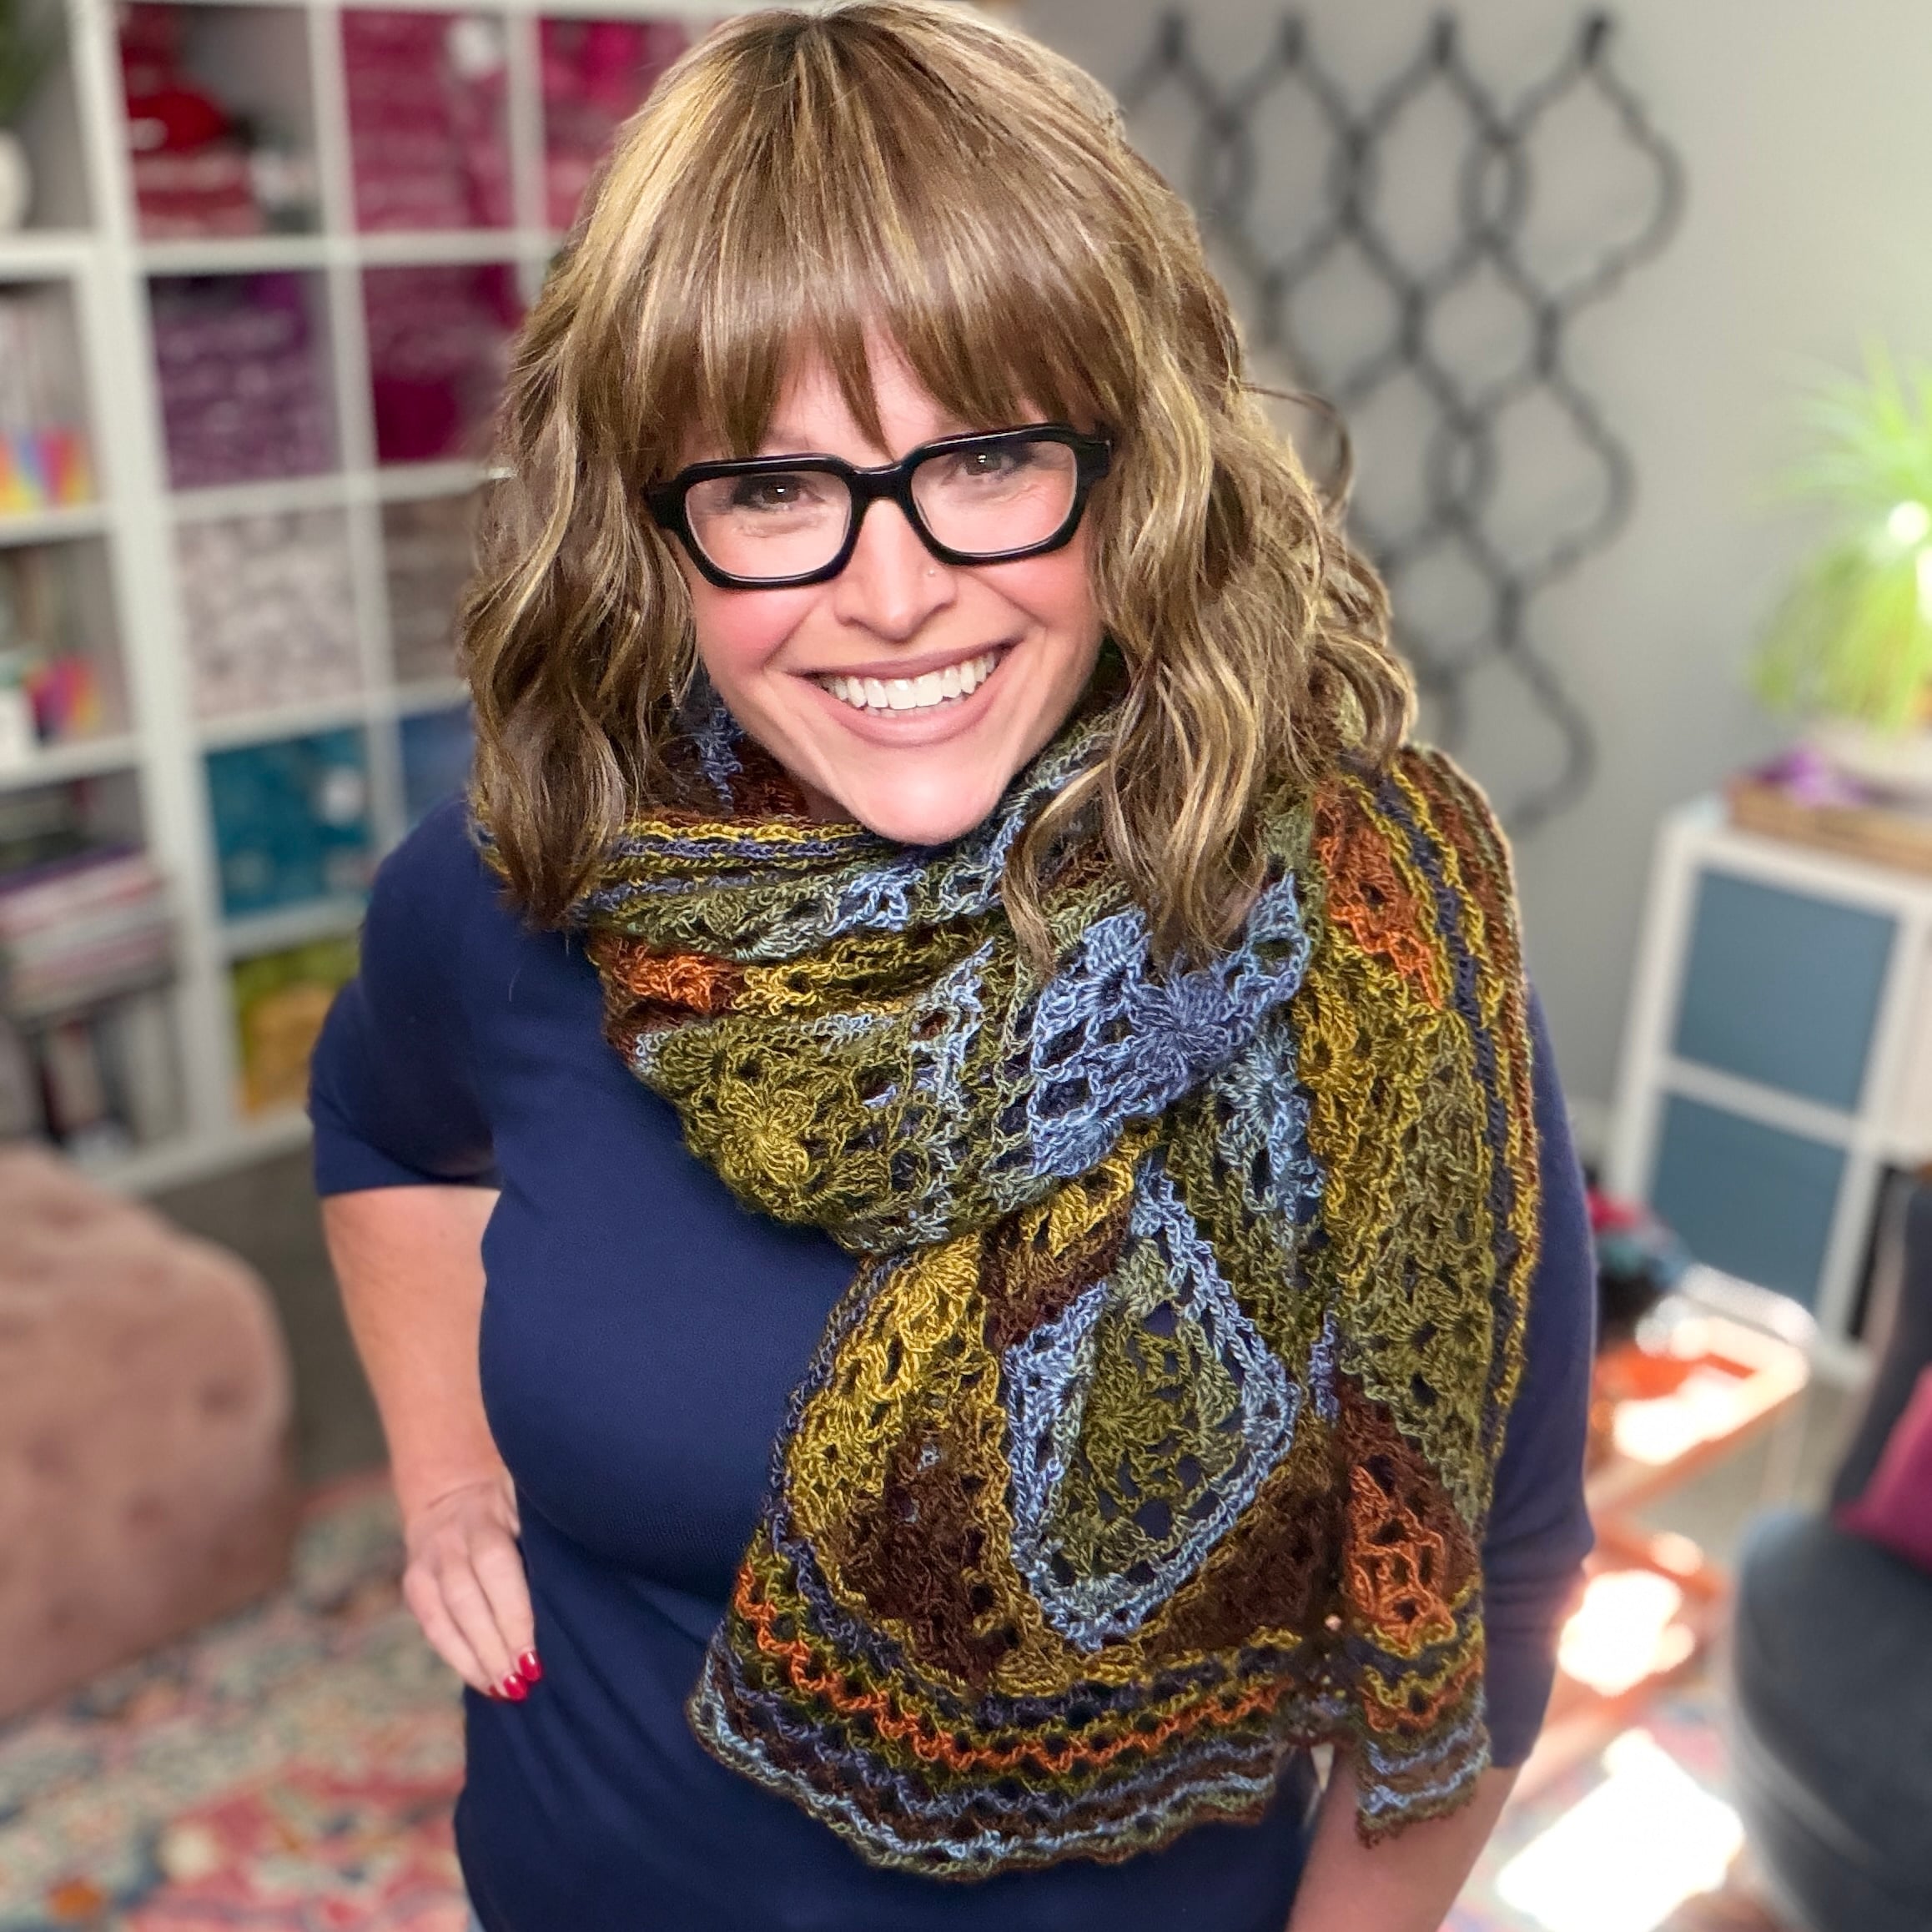
Looking for an easy crochet bonnet pattern you can wear and not worry about hat hair?? Seriously, you can wear this beret, tam, or bonnet over your updo and not have crushed hair! So, you can make this simple on-the-go pattern for beginner crocheters with less than one ball of Caron Cakes. It works up super quickly! Pair it with the easy crochet scarf/cowl pattern for a crochet accessory set!
Read more: Easy Crochet Bonnet Pattern || Riverside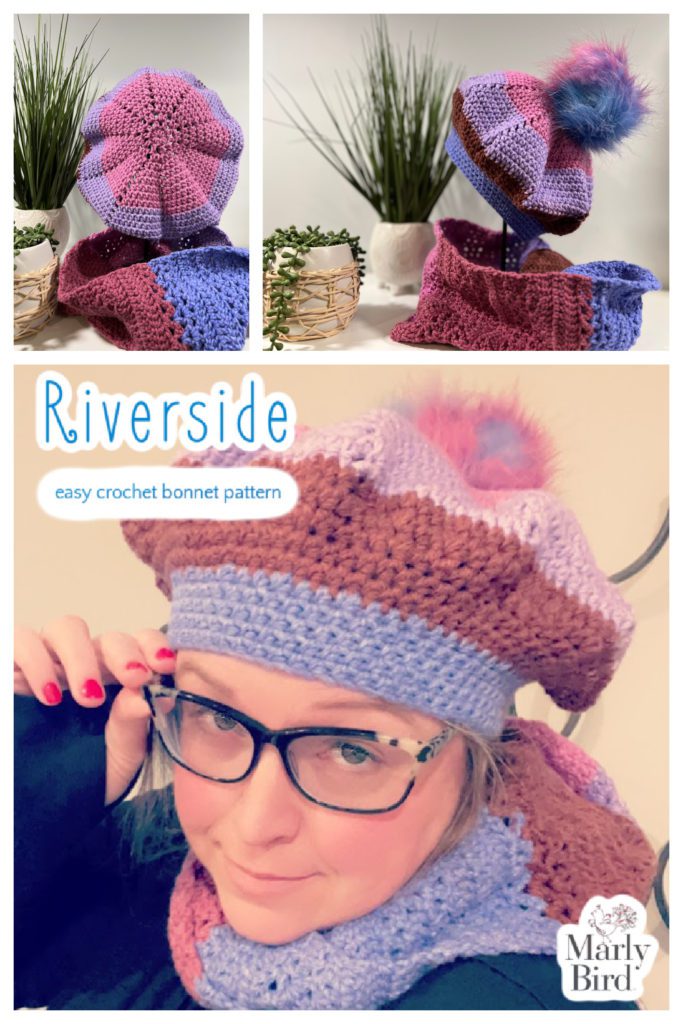
Oombawka Design Crochet and The Stitchin Mommy asked me to be a part of the #ScarfofTheMonth. I quickly said, “SURE!” As I knew I could get a new crochet design completed in time.
Well, time is a funny thing, and it completely sneaks up on you. Before I knew it, my scarf was due in less than a week and I’d soon be leaving for a trip to Florida. You can read all about that here.
Though I did manage to get that pattern completed in time, I had to have a hat done for the #HatofTheMonth too! I knew I wanted the hat and scarf to look somewhat alike, so I chose the same yarn and colorway.
Is this a Bonnet, a Beret, Or a Tam?
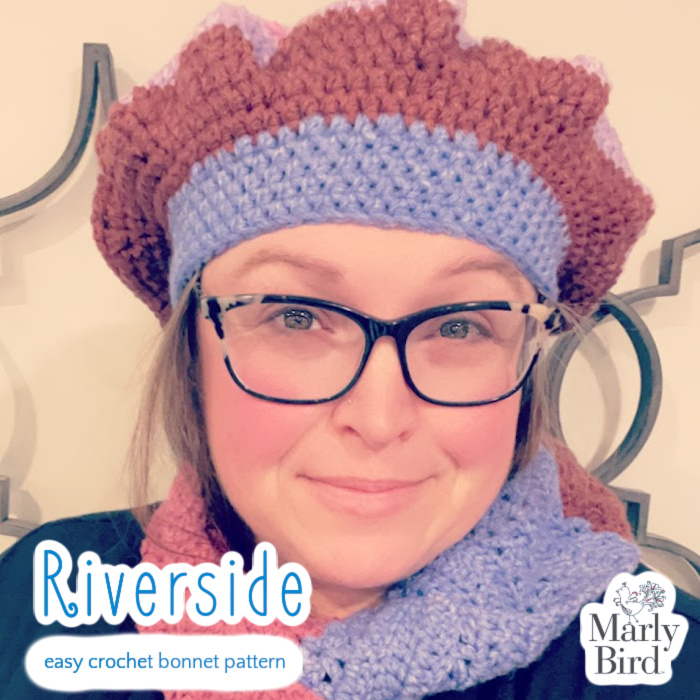
Well, to answer that, let’s have an understanding of the subtle differences between all of them. Sometimes, a crochet bonnet is a voluminous head covering that covers the top and sides of the head. It can have a brim that can be turned up or down.
A beret is typically a hat that’s a soft, visorless cap. It has a close-fitting headband and a wide, round top, often with a tab at its center.
A tam is a type of beret. It’s typically made with a more voluminous top. This gives it a slightly taller, rounder shape and a tighter fit around the head. But tams are often made with a thicker, more substantial fabric than traditional berets. They may have an additional band or ribbon around the base of the crown, helping keep it securely in place.
As you can see, you can call this headwear anything you want. But to me, it looks like a bonnet, so I am calling it the Riverside Bonnet.
What Makes This Crochet Bonnet Easy?
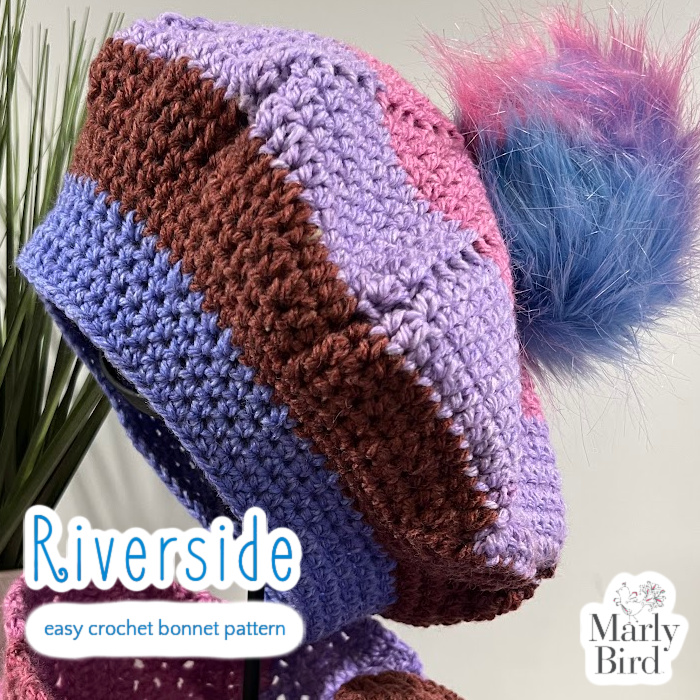
The pattern is not hard to follow and is super simple to memorize. It uses mainly one stitch, the half double crochet. As long as you keep track of your stitch count while working each round, it’ll be smooth sailing.
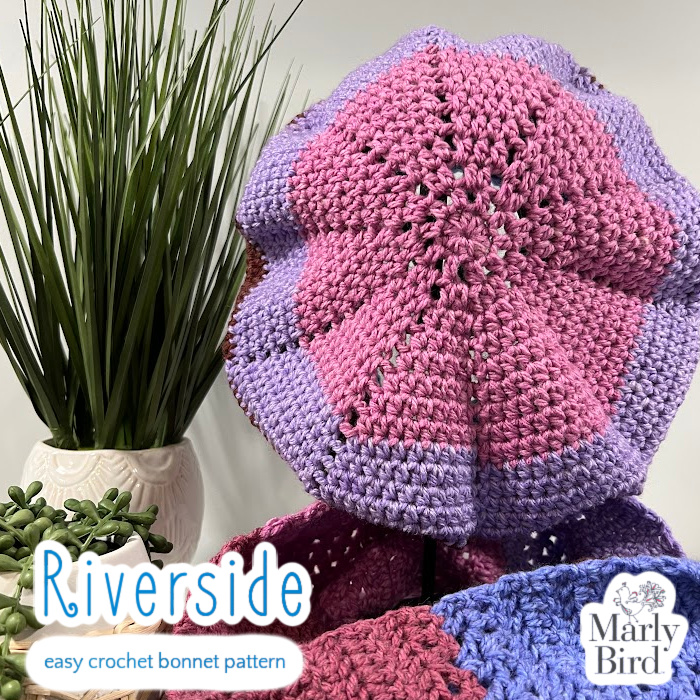
This hat is made from the top to the bottom. Work increases through the entire crown and then decreases to bring the circumference of the piece to a wearable size.
The only finishing on this easy crochet bonnet is to weave in the beginning and ending tail. That’s it!
See, EASY!
Hat of the Month Crochet-Along 2023 || Guest Designer Easy Crochet Bonnet Pattern January
The Riverside Crochet Bonnet is a free pattern here on the Marly Bird blog. Although you could easily refer to this as a beret or a tam, to me, it’s a bonnet.
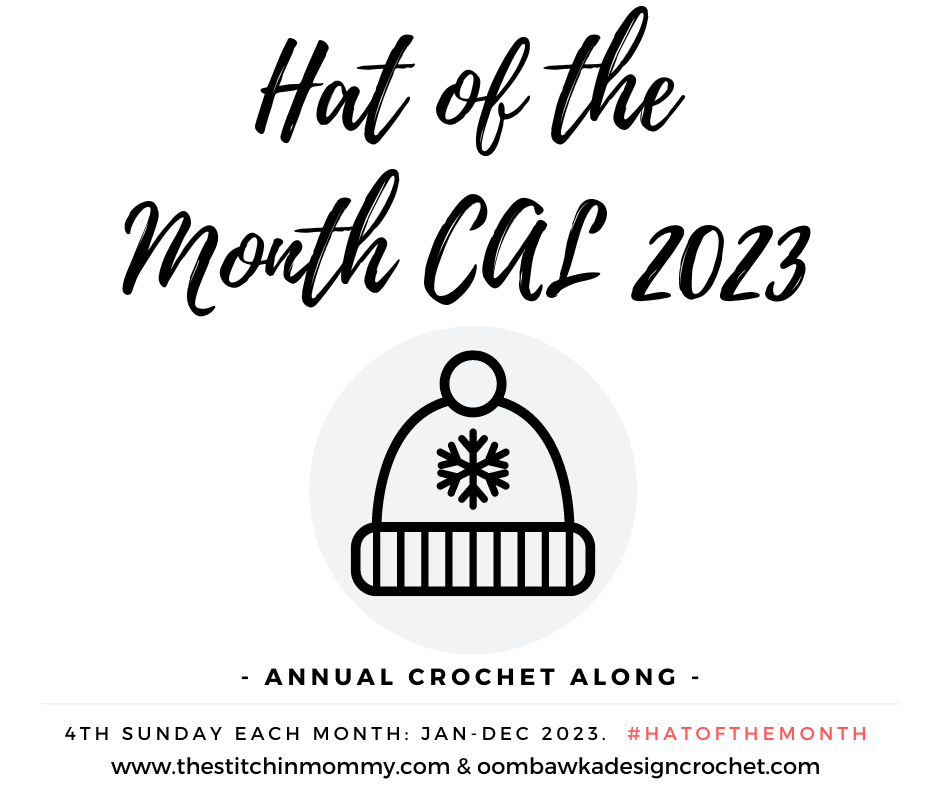
As mentioned, this is part of the Hat of the Month Crochet-Along 2023.
For the entire year of 2023, on the 4th Sunday of every month, you will get FOUR new hat patterns. One from Amy, one from Rhondda, and one from a guest designer (this month, it’s ME).
As you are working on your hats, be sure to add them to your projects on Ravelry. I’ve already listed this pattern there for your convenience. https://www.ravelry.com/patterns/library/riverside-9
Easy Crochet Bonnet Pattern || Riverside
RIVERSIDE EASY CROCHET BONNET
Designed by Marly Bird
SKILL LEVEL
Easy
MEASUREMENTS
To Fit
One Size to fit Adult
Finished Measurements
20” circumference
Gauge
31 dc = 9” [23 cm]; use any size ho13.25 hdc sts and 10 hdc rounds = 4” [10 cm]; use any size hook to obtain the gauge.ok to obtain the gauge.
MATERIALS
Yarn
Blackberry Jelly 1 ball
Hook
Size H/8 [5.0 mm]
Notions
Tapestry needle
ABBREVIATIONS
Ch – Chain(s)
Cont – Continue
Hdc – Half Double Crochet
Hdc2tog – Half Double Crochet Two Together (review modified stitch in special stitches)
RS – Right Side
Sc – Single Crochet
Sp(s) – Space(s)
St(s) – Stitch(es)
Stacked Dc – Stacked Double Crochet
Tch – Turning Chain
WS – Wrong Side
SPECIAL STITCHES
⭐️ Adjustable Ring: Make a large loop with the yarn leaving a 4” tail. With the hook, draw the working yarn through the loop; Ch 1, follow the pattern instructions from here. Once the first rnd of sts is complete, pull the tail snugly to close the ring.
⭐️ Half Double Crochet: Yarn over hook, insert hook into indicated stitch, yarn over and pull up a loop; yarn over and draw through all three loops on hook.
⭐️ Half Double Crochet Two Together: worked over two stitches total – [Yarn over, insert hook in next st or ch, yarn over and draw up a loop] twice, yarn over and draw through all 5 loops on hook.
⭐️ Half Double Crochet Two Together modified: worked over two stitches total – Yarn over hook, insert hook into next st or ch, yarn over and pull up a loop, do not yarn over hook before working into next stitch, insert hook into next st or ch, yarn over pull up a loop, yarn over and pull through all 4 loops on hook.
NOTES
- Crocheted from top to bottom.
- Crocheted in joined rounds throughout.
- Let the color change as it may.
VIDEO
- How to Make an Adjustable Ring >> Click for Video Help <<
- How to Weave in Tail of Adjustable Ring >> Click for Video Help <<
- How to Half Double Crochet >> Click for Video Help <<
- How to Add Faux Fur Pom >> Click for Video Help <<
RIVERSIDE EASY CROCHET BONNET PATTERN
GROW
To Unlock Exclusive Subscriber Content click the Box below and join for free by simply adding your email and creating a password! If you are having troubles, clear your cache or reset your password or login to the Grow Publisher Portal.
>> Learn More About Grow Here <<
I’m thrilled to share this amazing pattern with you, many patterns on my blog are absolutely free! I kindly request that you don’t copy and paste or distribute this pattern. Prefer an ad-free experience? Buy a digital PDF pattern for a small fee from one of my online stores for a seamless crafting journey.
I appreciate your support and readership. You are the reason I can keep doing what I love and sharing it with others. So, thank you from the bottom of my yarn-loving heart! Disclosure: This post contains affiliate links, meaning I get a commission if you decide to make a purchase through my links at no cost to you.
CROWN
Make an adjustable ring
10 sc in ring, join with a slip stitch to first sc to begin working in the round. Ch 1. Do not turn now and throughout.
Round 1: *Hdc in sc, (starting chain does NOT count as st), ch 1; repeat from * round, join with a slip stitch in first hdc, ch 1 — 10 hdc, 10 ch-1 sp’s.
Round 2: *Hdc in hdc, hdc in ch-1 space, ch 1; repeat from * around, join with a slip stitch in first hdc, ch 1 — 20 hdc, 10 ch-1 sp’s.
Round 3: *Hdc in 2 hdc, hdc in ch-1 space, ch 1; repeat from * around, join with a slip stitch in first hdc, ch 1 — 30 hdc, 10 ch-1 sp’s.
Round 4: *Hdc in 3 hdc, hdc in ch-1 space, ch 2; repeat from * around, join with a slip stitch in first hdc, ch 1 — 40 hdc, 10 ch-2 sp’s.
Round 5: *Hdc in 4 hdc, hdc in ch-2 space, ch 2; repeat from * around, join with a slip stitch in first hdc, ch 1 — 50 hdc, 10 ch-2 sp’s.
Round 6: *Hdc in 5 hdc, hdc in ch-2 space, ch 2; repeat from * around, join with a slip stitch in first hdc, ch 1 — 60 hdc, 10 ch-2 sp’s.
Round 7: *Hdc in 6 hdc, hdc in ch-2 space, ch 2; repeat from * around, join with a slip stitch in first hdc, ch 1 — 70 hdc, 10 ch-2 sp’s.
Round 8: *Hdc in 7 hdc, hdc in ch-2 space, ch 2; repeat from * around, join with a slip stitch in first hdc, ch 1 — 80 hdc, 10 ch-2 sp’s.
Round 9: *Hdc in 8 hdc, hdc in ch-2 space, ch 2; repeat from * around, join with a slip stitch in first hdc, ch 1 — 90 hdc, 10 ch-2 sp’s.
Round 10: *Hdc in 9 hdc, hdc in ch-2 space, ch 2; repeat from * around, join with a slip stitch in first hdc, ch 1 — 100 hdc, 10 ch-2 sp’s.
Round 11: *Hdc in 10 hdc, hdc in ch-2 space, ch 2; repeat from * around, join with a slip stitch in first hdc, ch 1 — 110 hdc, 10 ch-2 sp’s.
Round 12: *Hdc in 11 hdc, hdc in ch-2 space, ch 2; repeat from * around, join with a slip stitch in first hdc, ch 1 — 120 hdc, 10 ch-2 sp’s.
Round 13: *Hdc in 12 hdc, hdc in ch-2 space, ch 2; repeat from * around, join with a slip stitch in first hdc, ch 1 — 130 hdc, 10 ch-2 sp’s.
BODY
Rounds 14 & 15: *Hdc in 13 hdc, ch 1; repeat from * around, join with a slip stitch in first hdc, ch 1 — 130 hdc, 10 ch-1 sp’s.
Treat all ch-1 spaces as a stitch to be worked with a hdc or part of the hdc2tog continue to round 16.
Round 16: *Hdc in 2 sts, hdc2tog next two sts; repeat from * around, join with a slip stitch in first hdc, ch 1 — 105 hdc.
Round 17: *Hdc in 3 sts, hdc2tog next two sts; repeat from * around, join with a slip stitch in first hdc, ch 1 — 84 hdc.
Rounds 18 & 19: Hdc in each st around, join with a slip stitch in first hdc, ch 1.
BRIM
Round 20: *Hdc in 2 sts, hdc2tog next two sts; repeat from * around, join with a slip stitch in first hdc, ch 1 — 63 hdc.
Rounds 21- 23: Hdc in each st around, join with a slip stitch in first hdc, ch 1.
Round 24: Hdc in each st around, join with a slip stitch in first hdc.
Fasten off.
FINISHING
Fasten off, weave in ends.
Add optional Pom Pom
Frequently Asked Questions
What is the Riverside Crochet Bonnet?
The Riverside is a free easy crochet bonnet pattern by Marly Bird… a baby bonnet with that beautiful tied-under-the-chin style that makes babies look impossibly adorable. It’s designed for ease of construction and uses Caron Cakes yarn for its self-striping color magic. The bonnet is labeled “easy” which means if you can single crochet and follow basic shaping, you can make this. A perfectly sized handmade bonnet is one of the most beloved baby gifts in the yarn crafting world.
What yarn does the Riverside Bonnet use?
The pattern uses Caron Cakes… that beautiful self-striping yarn from Yarnspirations available at Michaels. The self-striping feature means the bonnet develops gorgeous color transitions automatically without any yarn changes. The worsted weight cotton-wool blend is soft against baby skin and the automatic color changes make an already charming project visually stunning. If you want to substitute, use a soft worsted weight yarn with around 383 yards… the self-striping effect won’t replicate exactly but any soft worsted will work beautifully.
Is this bonnet safe for newborns?
Check the pattern and yarn materials for specifics, but a few general safety principles for baby bonnets: use machine washable yarn so the hat can be cleaned frequently. The ties need to be securely attached and not so long that they become a hazard. Weave in all ends very firmly so nothing pulls loose. Choose soft yarn that won’t irritate a newborn’s sensitive skin. The bonnet style (fitted cap with ties) works from newborn through several months as the baby grows. Always follow safe sleep guidelines for head coverings on sleeping babies.
What sizes does the Riverside Bonnet come in?
Check the pattern for the specific size range! Baby bonnets typically cover newborn through 12 months or so with different stitch counts for different head sizes. The bonnet shape naturally adjusts somewhat based on how tightly the ties are secured. For the most accurate fit, measure the baby’s head circumference and compare to the pattern’s finished measurements. If making a gift without knowing the exact baby’s size, newborn to 3 months is a safe starting point for newborn gifts, or adjust up to 6 months if the baby is a bit older.
Can I make the Riverside Bonnet as a gift for a baby shower?
It’s a wonderful baby shower gift! A handmade bonnet has a timeless, heirloom quality that mass-produced baby accessories can’t match. The Caron Cakes coloring creates something visually beautiful that parents love displaying and photographing on their baby. Pair it with the matching Riverside Crochet Scarf/Cowl pattern for a complete parent-and-baby set. Bundle with a few other small handmade baby items… booties, a hat, a small blanket… for a complete gift that shows real thought and effort.
Categories: Crochet, Our Free Patterns, Pattern, Uncategorized


Link to the free pdf is not working.
the link works now (1-23-23 at 2:10 pm) I downloaded the Word doc file. Have fun.