23 Knit and Crochet Easter Decorations and Accessories
Easter is approaching! Make These Easter items for your house: wreaths, eggs, flowers, table decor, Easter hats, and more! Yarnspirations has these 23 patterns for knit and crochet Easter decorations, plus dozens more. Click on over and explore. Now's the time to get creative!
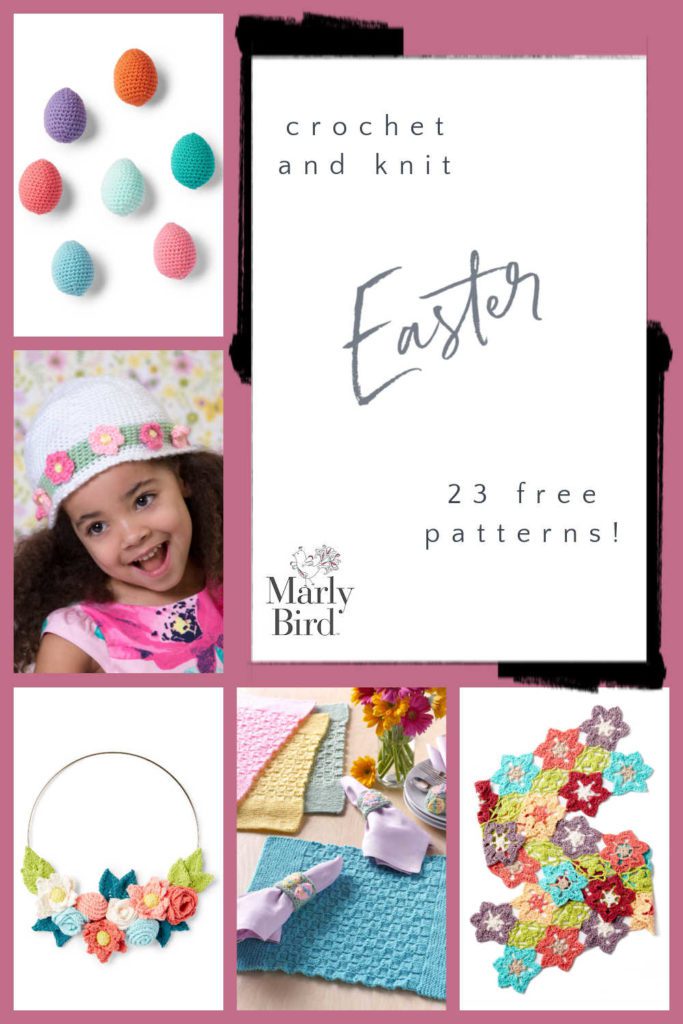
Wreaths, Eggs, and Flower Decorations
Lifelike flower bouquets complement spring wreaths and Easter eggs. Best of all, they'll last year after year, and you can keep adding to your collection of decorations!
- Celebrate Spring – Crochet butterflies, flowers, and leaves.
- Happy Easter Wreath – Crochet easter eggs and a beautiful edging.
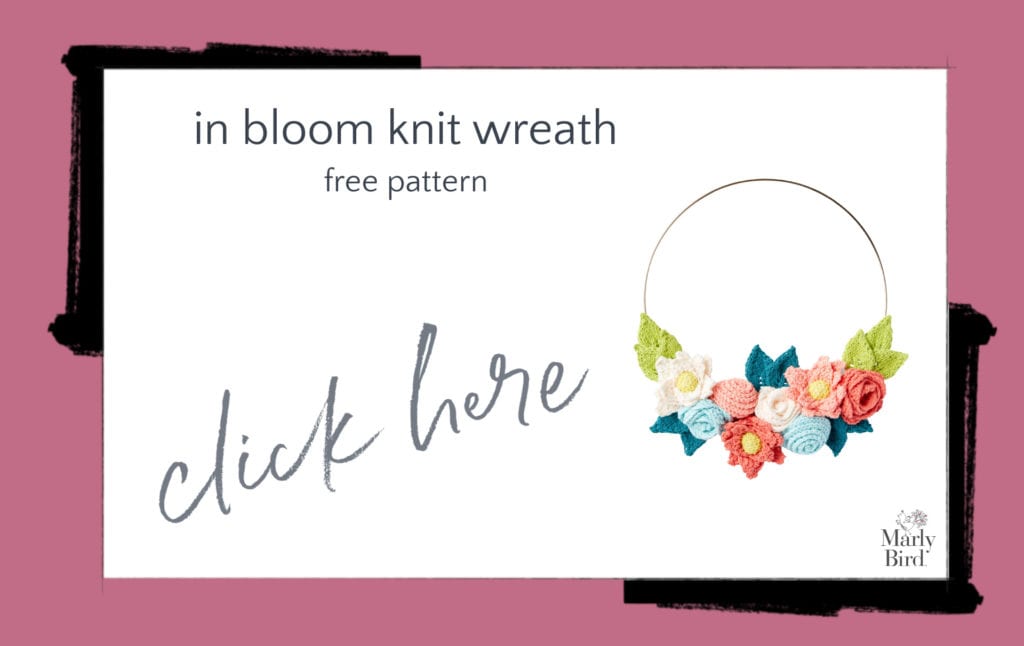
- In Bloom Knit Wreath – Knit flowers and leaves.
- Pompom Wreath – Fluffy pompoms for the Easter bunny!
- April Flowers Wreath – A yarn-wrapped base with crochet flowers and leaves.
- Celebration Doily Garland – Crpchet semi-circles and triangles for a fun garland.
- Easter Bunny Wreath – Lots of yarn wrapping with crochet accents.
- Easter Eggs – Easy to crochet.
- Springtime Easter Eggs – More simple crochet eggs.
- Daffodil Crochet Bouquet – Yellow and white crochet daffs with leaves,
- Pansy Bouquet – Pastel pansies, or choose your own colors.
- Daisy Bouquet – White and yellow daisies on stems.
- Rose Bouquet – Stemmed roses in shades of pink.
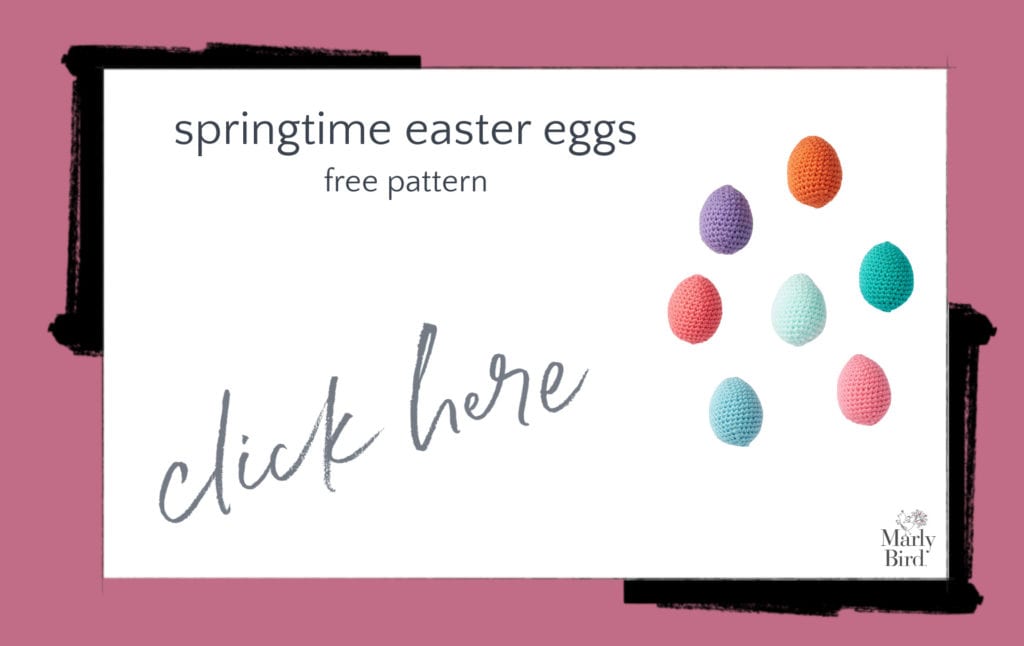
Table Decor
Decorate your table for Easter brunch with these beautiful pieces!
- Easter Placemats with Napkin Rings – Knit checkerboard placemats and Easter egg napkin rings.
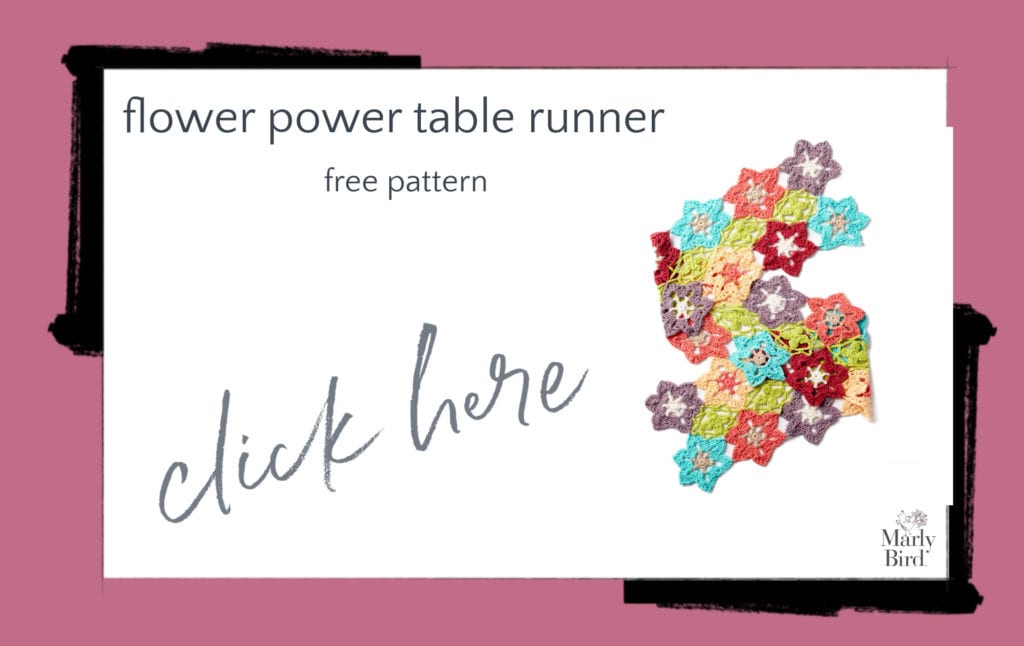
- Flower Power Table Runner – Colorful crochet floral table runner, or it could be a scarf!
- Spring Flower Coaster – Flat flower center with floral crochet edging.
- Exquisite Flower Doily – Pretty thread crochet patterns
- Flower and Fan Table Runner – Crochet hexagons make up this beautiful table runner!
- Too Cute Tulip Crochet Pot Holder – Crochet tulips with leaves.
Toys and Easter Hats
Flowers cover everything! A frock for a doll and hats for a little girl and her baby sister are perfect for Easter Day.
- My Doll's Easter Frock – Crochet for dolls.
- Easter Parade Hat – Crochet hat with a band of flowers.
- Pretty Enough for Easter Hat – Crochet ripple baby hat.
- Easter Lily Doll – Crochet Easter bunny doll.

Other Spring and Easter Patterns
- 58 Free Bunny Rabbit Patterns to Crochet and Knit
- 13 Free Chicks and Ducks Crochet and Knit Patterns
- 13 Free Sheep Patterns | Crochet and Kni
Frequently Asked Questions
What kind of Easter decorations can I make from this post?
Oh my goodness, so many fun things! You can whip up some adorable wreaths, cute little Easter eggs, pretty flowers, and even some sweet table decor. Honestly, there are 23 different patterns listed, so you're sure to find something you love!
Are these patterns for both knitting and crochet?
Yes! That's the best part… there's a great mix of both knit and crochet patterns in this roundup. So no matter your favorite craft, you can join in on the Easter fun!
Can I make any of these items for kids?
Absolutely! There are patterns for darling Easter hats and even a little frock for dolls that would be perfect for Easter day. Your little ones will look so festive!
Will these decorations last for a long time?
Yes! The great thing about making decorations like these flowers and eggs is that they'll last year after year. You can build up your collection and bring them out every spring!
Where do these patterns come from?
So glad you asked! Most of these patterns are from Yarnspirations. They have a huge collection of beautiful free patterns, and it's always fun to explore what they offer.
Categories: Round Ups