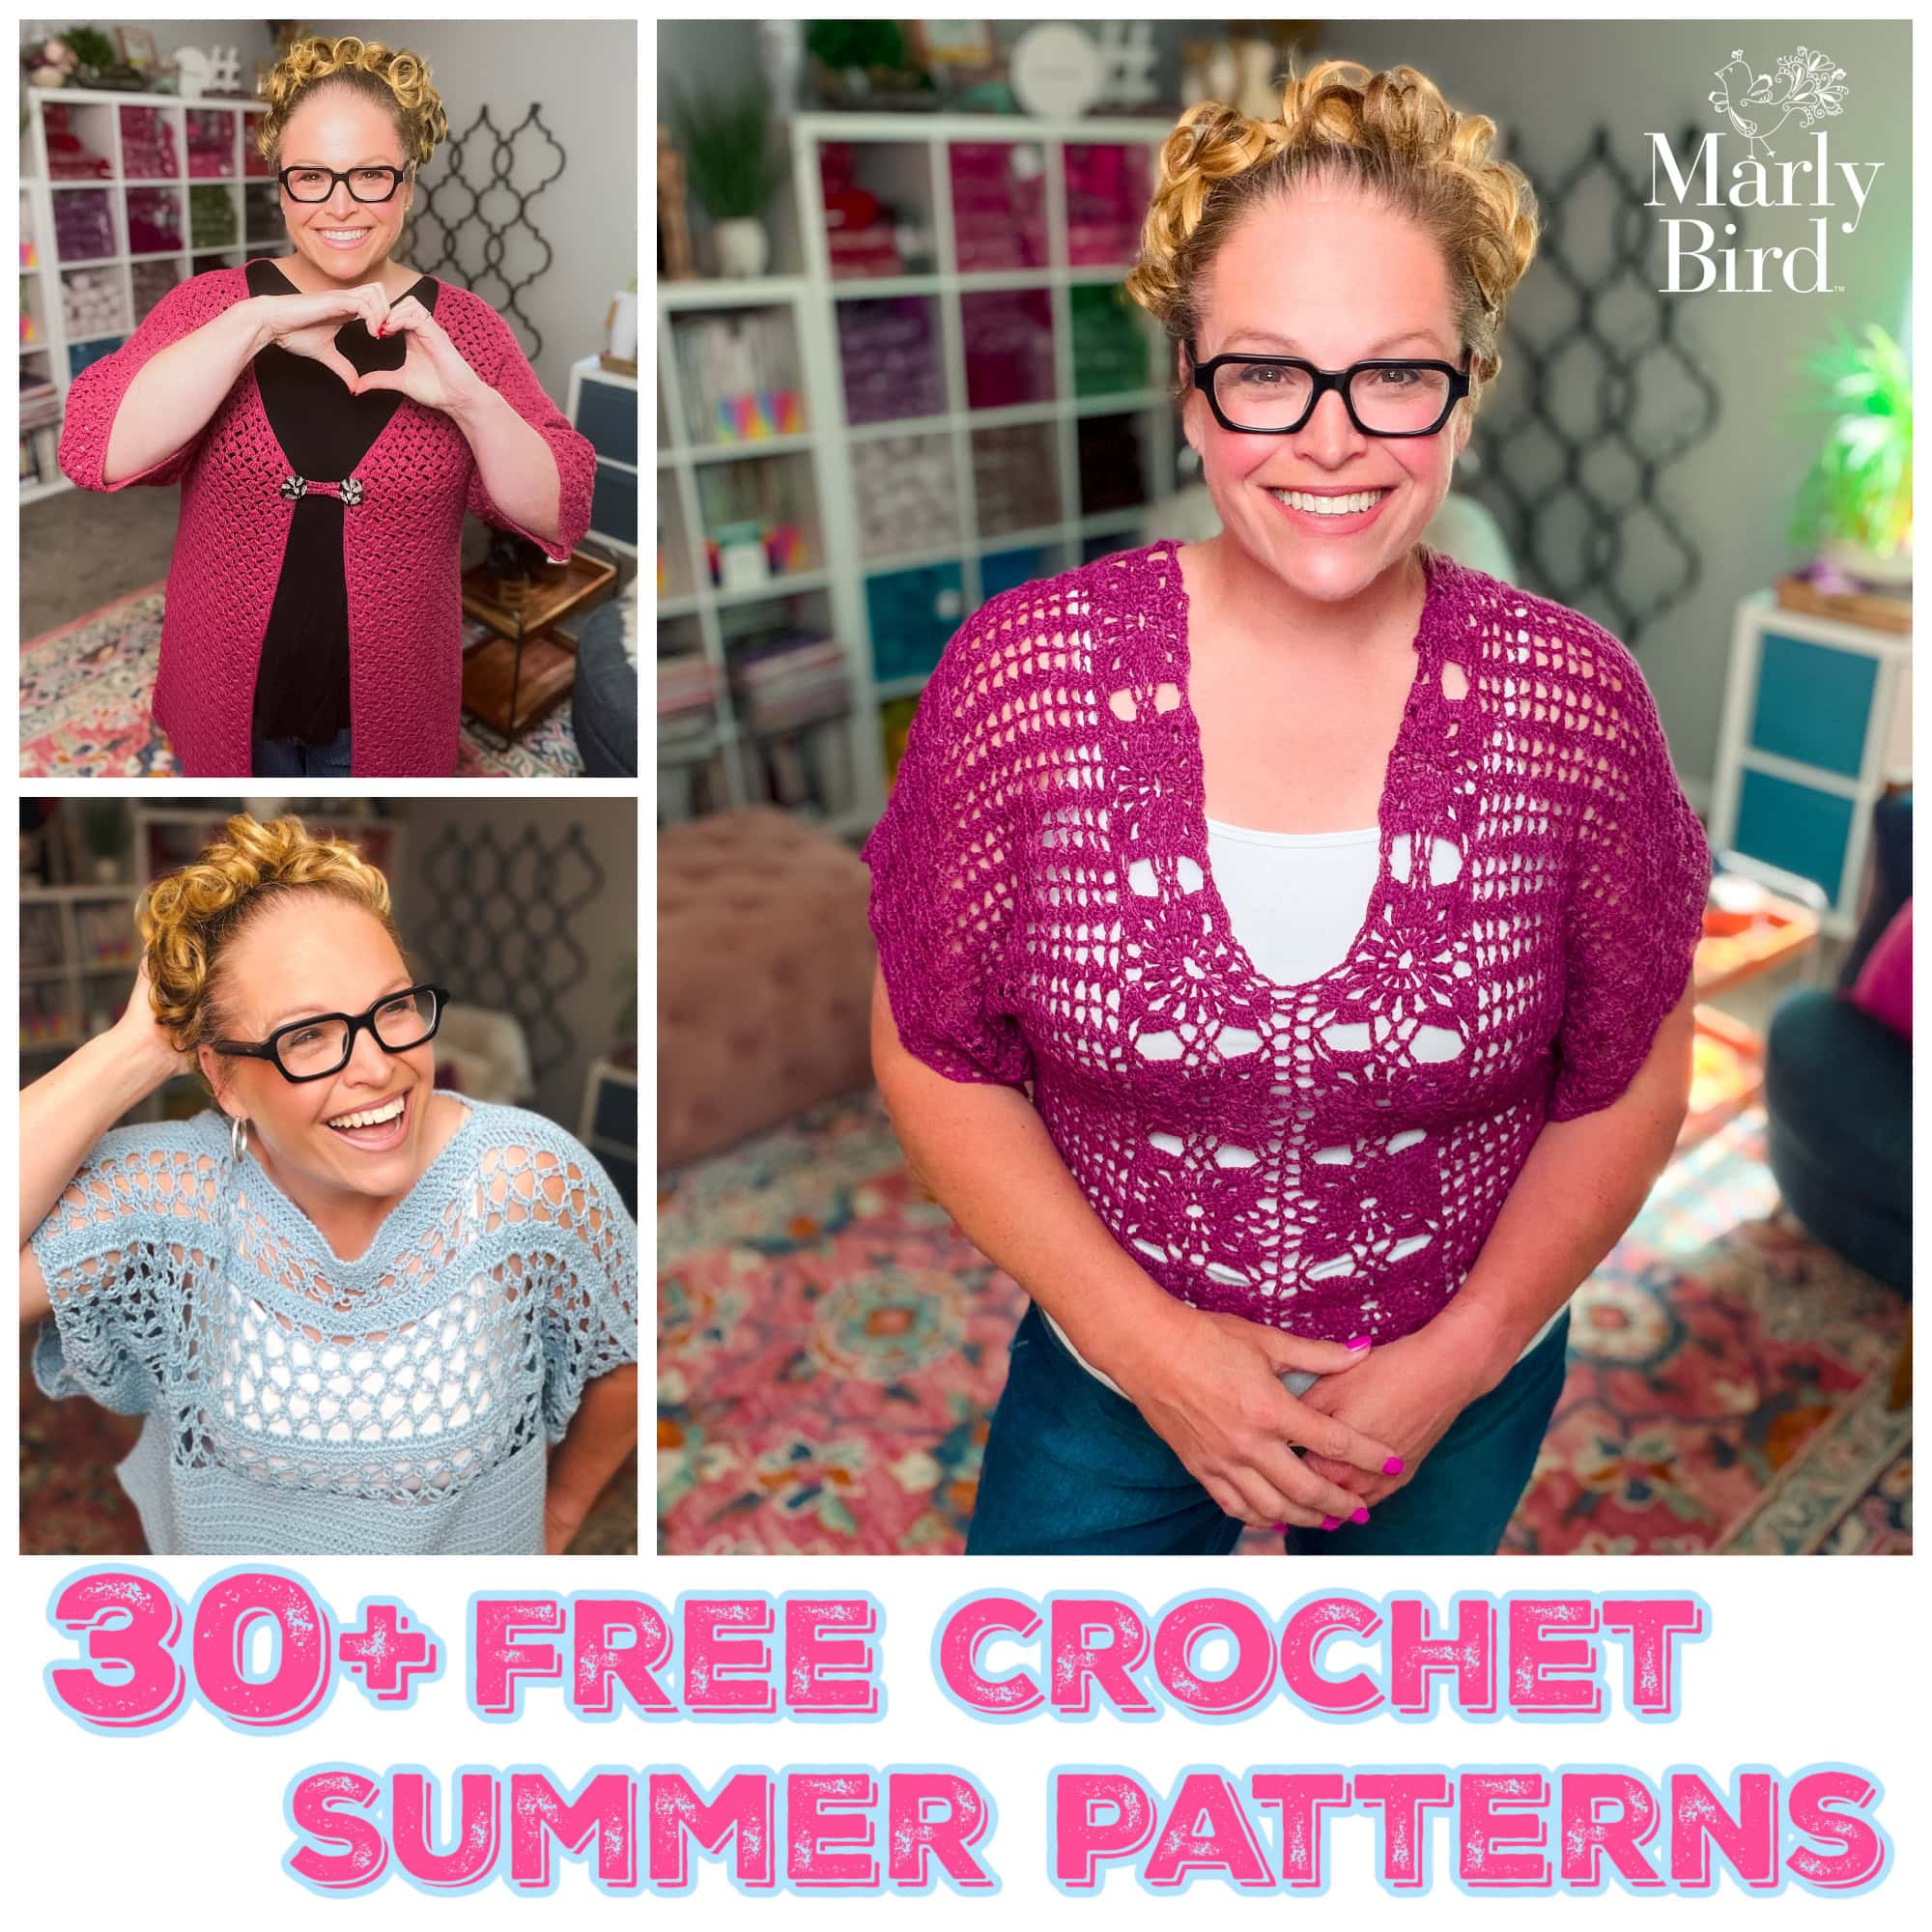
Seaming And Joining Knit And Crochet
If you craft with yarn long enough, you’re bound to have to get into seaming and joining knit and crochet. However, you can construct many accessories and garments in such a way that you don’t need to seam at all. But certain fibers absolutely beg for seams. They don’t lend themselves to seamless construction. Let’s take a look at a few different situations, garments, and techniques related to seaming and joining.
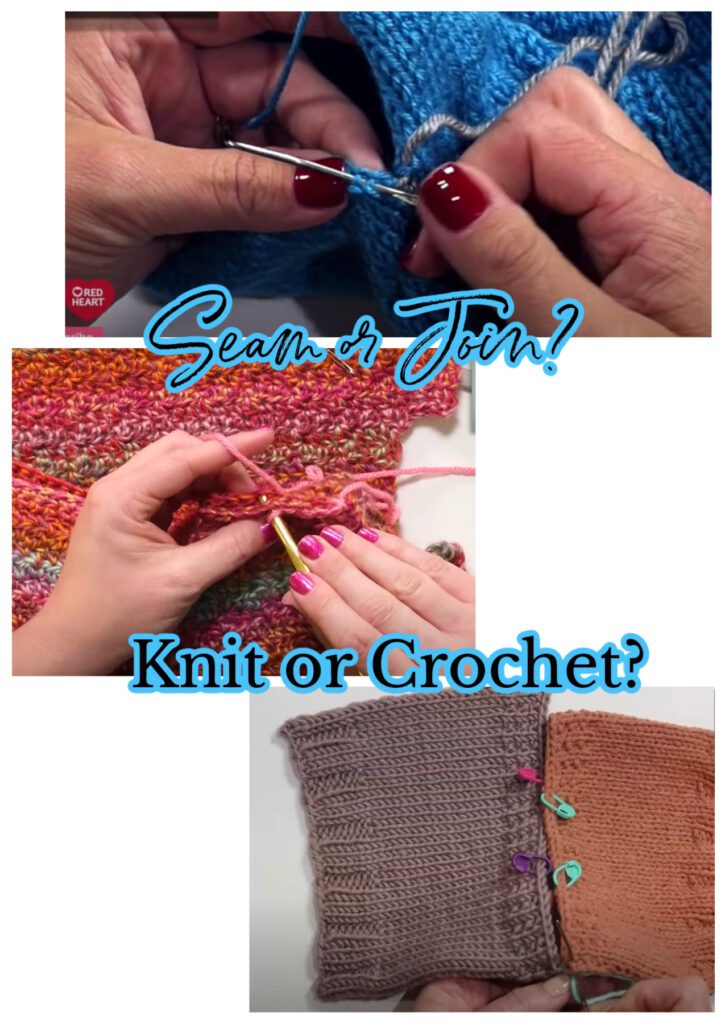
What Is The Difference Between Seaming And Joining?
Merriam-Webster dictionary definition of ‘seam’: “the fold, line, or groove made by sewing together or joining two edges or two pieces.” When machine or hand sewing a regular seam: hold or pin the right sides of the fabric together and sew on the wrong sides of the fabric. When this is turned right side out, the sewing is invisible, but there is a visible groove. Several types of seams are used in sewing, but let’s deal with knit and crochet.
Let’s face it: when you seam something, you’re joining 2 pieces together, which can also be called joining. But joining in knit and crochet is usually what you do as you create your piece. Joining normally refers to attaching two pieces together as you work one of them. Working this way means there’s no need for seaming.
Joining
So, joining in knitting might mean picking up stitches from the edge of one piece to begin to working the next. This is called modular knitting – knitting a larger item piece by piece and joining each new piece to a previous piece.)
When you join in crochet, it usually means connecting two or more motifs together. You usually achieve this by slip-stitching at strategic points during the final round of the second and future motifs. This gives a more open or lacy look to the joins. Sometimes it makes the joins completely invisible since other patterns seem to emerge.
Seaming
No matter which seaming method you use, you always will:
- Thread a tapestry needle with usually the same color yarn that matches the pieces you’re joining together.
- Hold the two pieces to be joined, right sides together.
- Secure seaming yarn by bringing needle from back to front through both pieces at right-hand end of work.
- Leave a 1” tail.
- Hold yarn tail behind seam, and bring needle from back to front in same place as before twice more. This secures the yarn so you can release the tail and trim later.
Whipstitch
Whipstitch is a go-to option for many knitters and crocheters. It’s very simple and probably the first seaming method everyone learns for knitwear or crochet home decor.
To work whipstitch:
- After securing tail of yarn in first stitch on the right, *move left to next stitch,
- Bring needle and yarn from back to front, pulling yarn all the way through, being careful to avoid knots. Pull yarn so it’s secure but not tight enough to gather the seam.
- Make sure your seam is flat.
- Repeat from * across to the end of the seam, and secure the yarn as at the beginning.
- Run yarn back through few stitches of whipstitched seam from left to right to hide end.
- Trim close.
This is probably the easiest of the seams, but it’s NOT invisible. These stitches form a diagonal line across the seam on the wrong side. When you open up the seam, you may see straight lines across the seam line. You don’t have to work into every single stitch. Every other stitch may work depending on what kind of item you’re seaming and the thickness of the yarn.
Mattress Stitch
Mattress stitch is a fantastic option, especially for garments. It gives a sturdy seam which helps support some of the more slippery yarns such as alpaca, bamboo, viscose, and silk. When worked correctly, this seam can be virtually invisible. You may find it a little more bulky on the inside of the garment. You’ll find detailed instructions and a helpful video tutorial in my how to seam crochet post.
Crochet Slip Stitch Seams And Single Crochet Seams
Crochet slip stitch is a great and simple option for seaming crochet garments quickly and easily. You can use single crochet seams for decorative joins on the right side of blankets. If you can work both seams neatly enough, they’ll look great in a contrasting color for seaming granny squares.
You’ll also find instructions for these seams on my how to seam crochet post.
What is the JAYGO method For Seaming And Joining Knit And Crochet?
JAYGO is a shortened version of Join-As-You-Go. You can join as you go in knitting, crochet, and Tunisian crochet. Here you’ll find a great selection of all 3 types of JAYGO blanket patterns.
How Do You Join Granny Squares As You Go?
In simple terms, wherever there is a ch-1 space on the outside round of a granny square, you can replace that ch on the next square with a slip stitch during the final round. You’ll work that replacement slip stitch into the corresponding ch-1 space on the already completed granny square. Check out his video for a very useful tutorial about joining granny squares (and more) as you go.
What Is The Most Secure Way To Join Granny Squares?
You’ll find the most secure (and fun) way to join granny squares is the join-as-you-go method above. It means you’ll have no pile of squares to join or seam at the end. All you’ll have to do when you’re done with your squares is weave in ends and work a border. Borders are a great way to finish blankets as they help prevent curling edges.
You could choose to seam granny squares with crochet slip stitch or single crochet. This gives a more textured look on the right side,
Should You Block Granny Squares Before Joining?
If you’re planning on seaming your squares when you have them all complete, then yes, block your squares. On the other hand, if you’re joining as you go, don’t block until the end. Joining as you go causes each new square to fit in with the previous squares anyway.
What Is The Difference Between Seaming And Sewing?
Seaming is joining two pieces of fabric together. Sewing is one of the processes which can be used to join these two pieces of fabric. Check out the whip stitch and mattress stitch sections above.
There are more options for seaming and joining knit and crochet, but those mentioned in this post are probably the most commonly used and useful. Anyone can be successful using these joining methods.
Be sure to check out the links above for in-depth videos and more information.
If you’re brand new to knitting and crochet, then you need to head here and see what amazing info we have for beginners!
Check out these beginner patterns to get you on the road to success!
And, here’s my YouTube channel where I have all kinds of knitting, crochet and Tunisian crochet tutorials.
Frequently Asked Questions
What’s the difference between seaming and joining in knit and crochet?
Seaming typically refers to sewing two finished pieces together using a tapestry needle and yarn… like sewing together the front and back of a sweater. Joining is more often used in crochet and refers to connecting pieces as you work (join-as-you-go on granny squares, for example) or attaching a new ball of yarn. The distinction is sometimes blurry in casual use, but generally seaming is a finishing technique with a needle, while joining can happen at any point in the making process. Both skills are essential for crafters who make anything in pieces.
What’s the most invisible seaming technique for knitting?
Mattress stitch is the gold standard for invisible seaming! You work from the right side of the fabric, weaving the tapestry needle between the edge stitches or row edges of both pieces. When pulled up snugly and done at the right tension, the seam becomes virtually invisible… the stitches from each piece nestle together and look continuous. It works beautifully for stockinette fabric on sweater side seams, shoulder seams, and sleeve seams. The technique is a bit fiddly to learn but the results are worth every bit of effort.
How do I choose which seaming method to use?
Consider three things: what type of edges you’re joining (side seams vs. shoulder seams vs. cast-on edges work differently), how visible the seam will be in the finished piece, and how much structure you need. Mattress stitch for side and sleeve seams where you want invisible joins. Three-needle bind-off for joining live stitches at shoulders (fast and neat). Whipstitch for casual seaming where visibility isn’t critical. Slip stitch join in crochet for a decorative visible seam or invisible seam depending on which direction you work. The right technique for the situation creates a better finished piece.
How do I keep my seams from being too tight or too loose?
Practice and tension awareness! The most common mistake is pulling seaming yarn too tightly… this puckers the fabric and creates a visible ridge. Match your seaming tension to the natural tension of the knit or crochet fabric. The seam should hold the pieces together firmly without stretching or gathering the fabric. Working a few stitches, then gently tugging the seam to check tension, then adjusting helps develop awareness. Blocking the finished garment evens out minor tension variations in seaming and helps everything settle naturally.
Can I use a sewing machine to seam handknit or crochet items?
You can for some applications… but it’s generally not recommended for most handknit/crochet seaming. Sewing machines can easily distort or damage the yarn fibers, create too stiff a seam, and don’t accommodate the stretchy nature of knit and crochet fabric well. A serger or overlock machine is occasionally used for high-production knitting but requires expertise. For most crafters and most projects, hand seaming with a tapestry needle gives you the most control, the best results, and the most flexibility to adjust tension as you go. The hand-seaming skills are worth learning!