
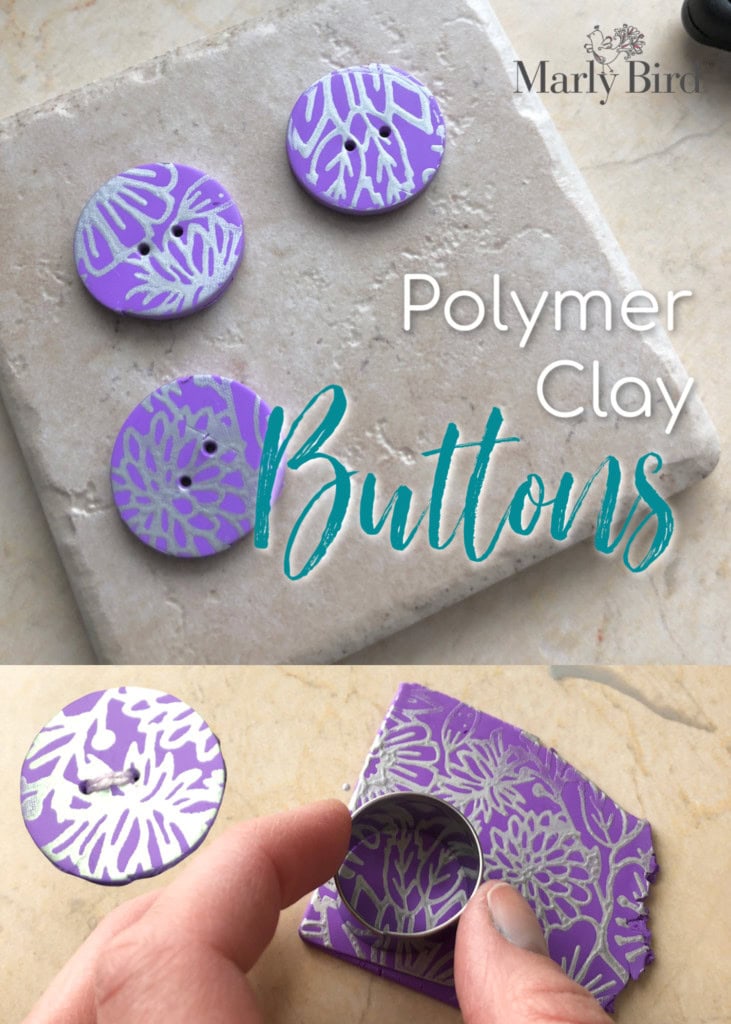
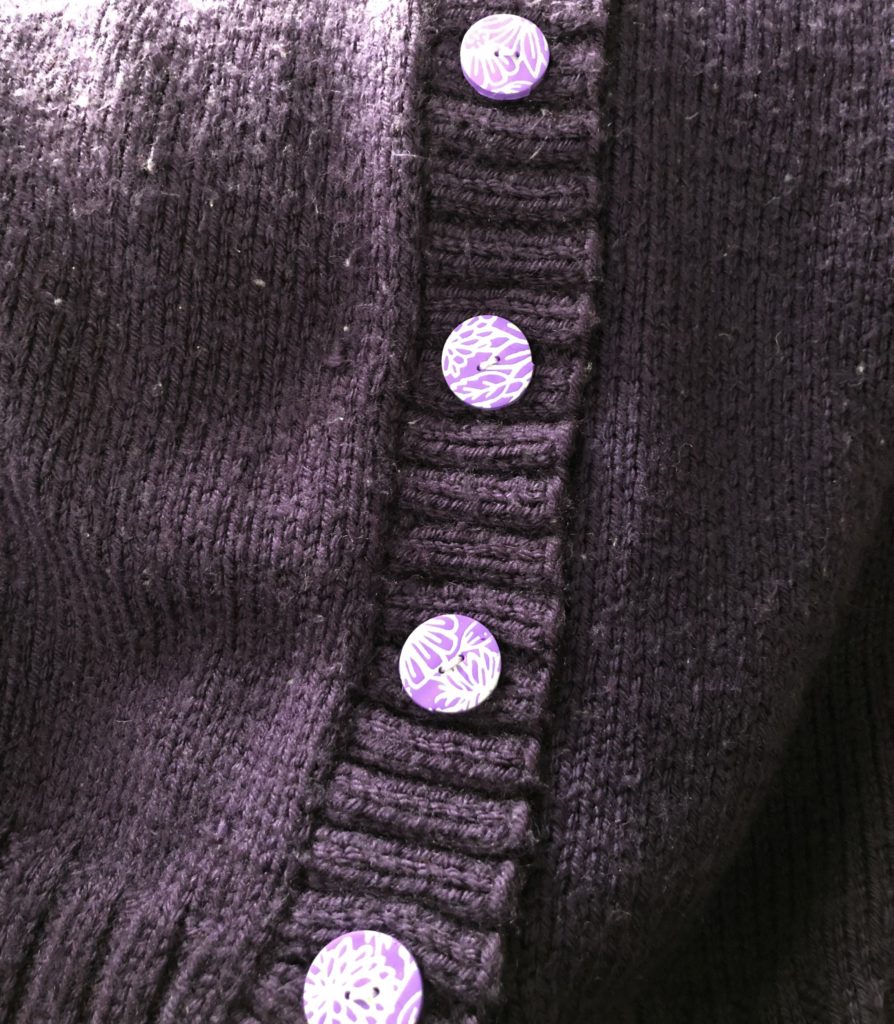
Polymer Clay Buttons || Silk Screen Technique
Have you ever finished a project and just couldn’t find the right buttons? It happens more than I would like to admit. I started to collect buttons as I found things that I like so that I would have a stash to pick from. That still hasn’t solved all of my problems! Katelyn told me about making polymer clay buttons that would match back to the pattern that I just finished. So what else was there to do? I put her on the job to teach us how to make them for ourself.

*THIS POST CONTAINS AFFILIATE LINKS. BY CLICKING ONE OF THESE LINKS AND MAKING A PURCHASE A SMALL PORTION COMES BACK TO THE BLOG. THE PRICE YOU PAY WILL NOT CHANGE. THANK YOU FOR YOUR SUPPORT OF THE BLOG.*
What is Polymer Clay?
Polymer Clay is an art medium that is oven baked to cure it. Known for its versatility, pliability and simplicity to work with, it makes a great material to make DIY buttons. Composed of polymers, resins, coloring agents and fillers the possibilities of what you can do with the clay are endless. This is a man made synthetic clay.
Tips for Working with Polymer Clay
- This is the MOST IMPORTANT TIP: Whatever tools you use for working with polymer clay should ONLY be used for polymer clay. If you use a knife to cut your clay it should NEVER go back into your silverware rotation.
- You don’t need to have ALL THE THINGS to get started with this craft/project. Read the materials list below for the tools you need, and alternatives that you might already have around the house.
- Clean up when you are done. When working with clay it can leave a residue on your skin and work surface when you are done. Clean your tools with baby wipes or soap and water. Be sure to wash your hands as well.
- If your oven temperature is right you won’t burn your clay even if you leave it in too long. We will talk about baking your clay below but I want to tell you that professions leave their clay baking for a long time as long as it is at the right temperature.
- If you mix colors together MAKE A RECIPE CARD so that you know exactly what you did. If you start your project and then need more clay you will have your measurements of what was used to get the same color again.
Materials
- Sculpey Souffle Polymer Clay
- Work surface (I will be using a ceramic tile but you can also use parchment paper taped to your table)
- Rolling Stick (I am using a pasta machine to help condition my clay and get it to the right thickness, you can use a glass/jar that is NOT tapered and playing cards)
- Cutting tool (I will be using a clay blade but you can use a butter knife as well)
- Baby Wipes (these are used for cleaning your tools and hands)
- Sculpey Silk Screens
- Acrylic Paint
- Toothpick
- 2 Foil baking tins-one to hold your pieces and one for the top (if you don’t have a tin you can use foil to tent your pieces before baking)
- Round cutter (or any shape that you would like) in the size of your button. I will be using a 1″ circle clay cutter.
- OPTIONAL: Pasta Machine for conditioning
Making Polymer Clay Buttons
Conditioning Your Clay
Start by gathering your materials and picking your colors for your buttons. You can choose one color, or you can mix two together.
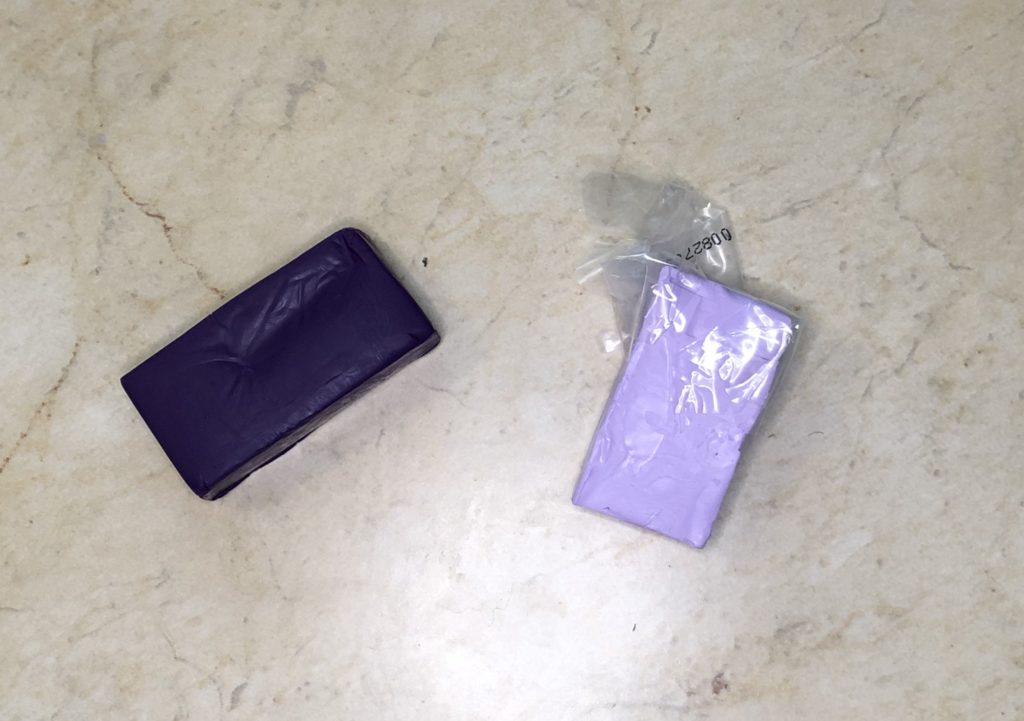
Cut your clay into a manageable amount and condition your clay by rolling it in your hand and squishing it together. This will warm up the clay making it easier to work with. I am using a quarter of a small bar of light purple and half a bar of dark purple clay to get the color that I want.
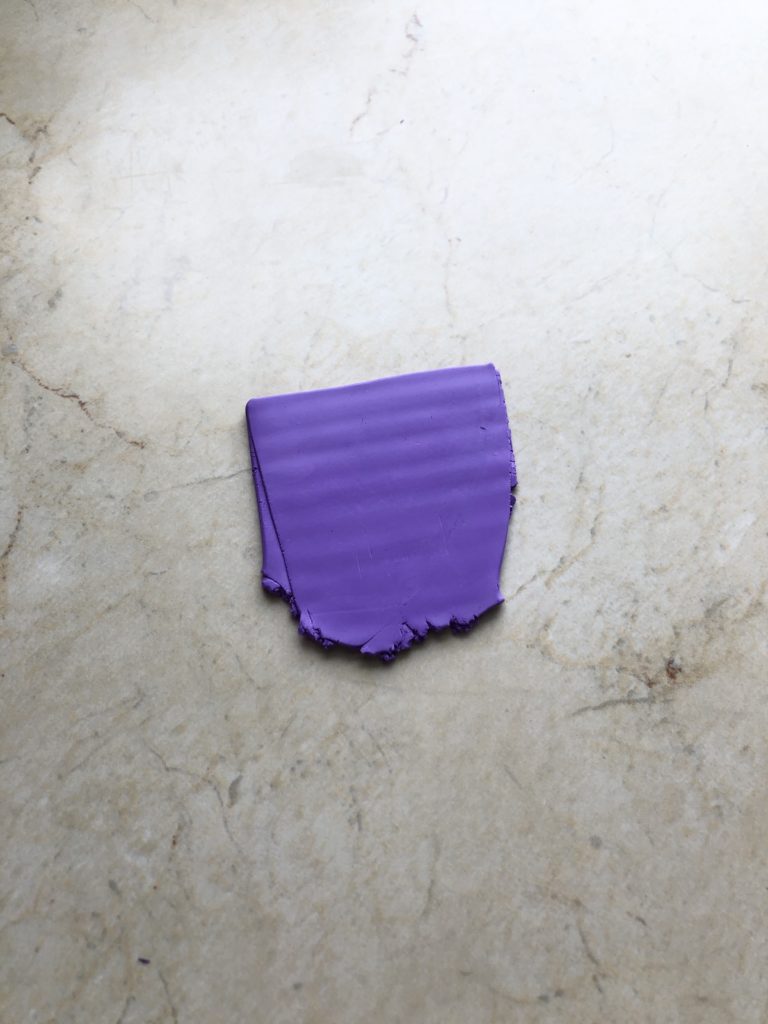
Roll the clay into the thickness that you need. For this project we will be making our buttons 1/4″ thick. I am using a pasta machine for this but you can stack playing cards to 1/4″ thick on both sides of your roller. TIP: Try to get your clay in a square/rectangle shape, this will help you get the most cuts out of your clay.
Decorating Your Clay
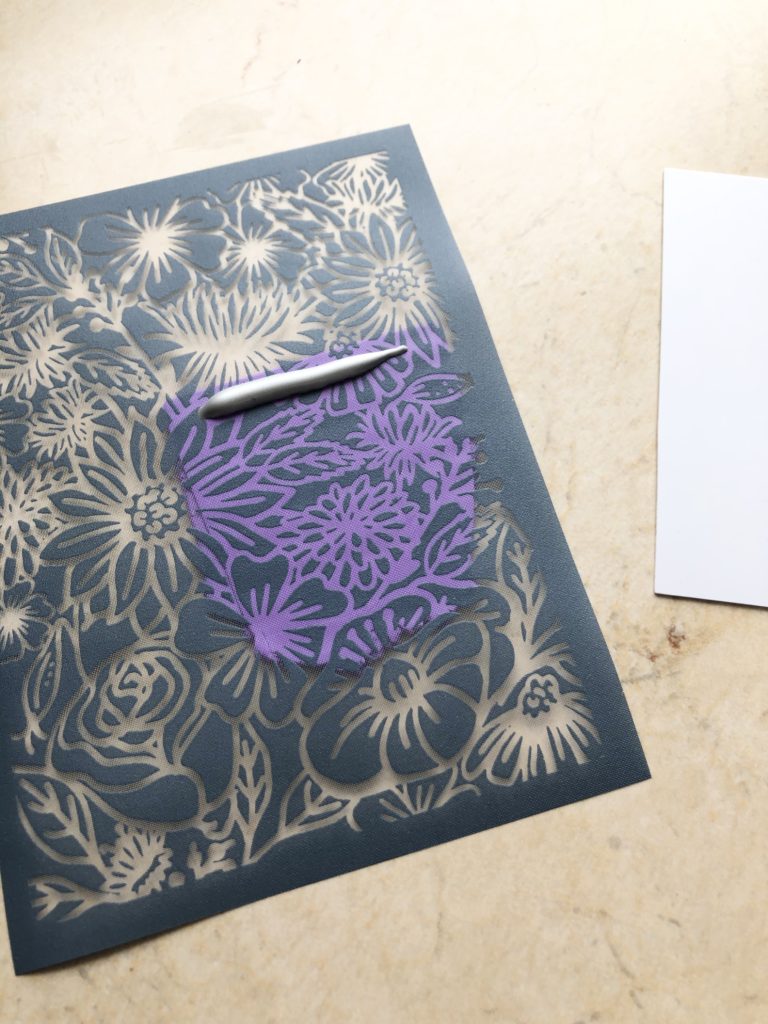
Using the silk screen of your choice lay it on your clay with the shiny side down. Gently rub your finger over the top to get a good connection with the clay.
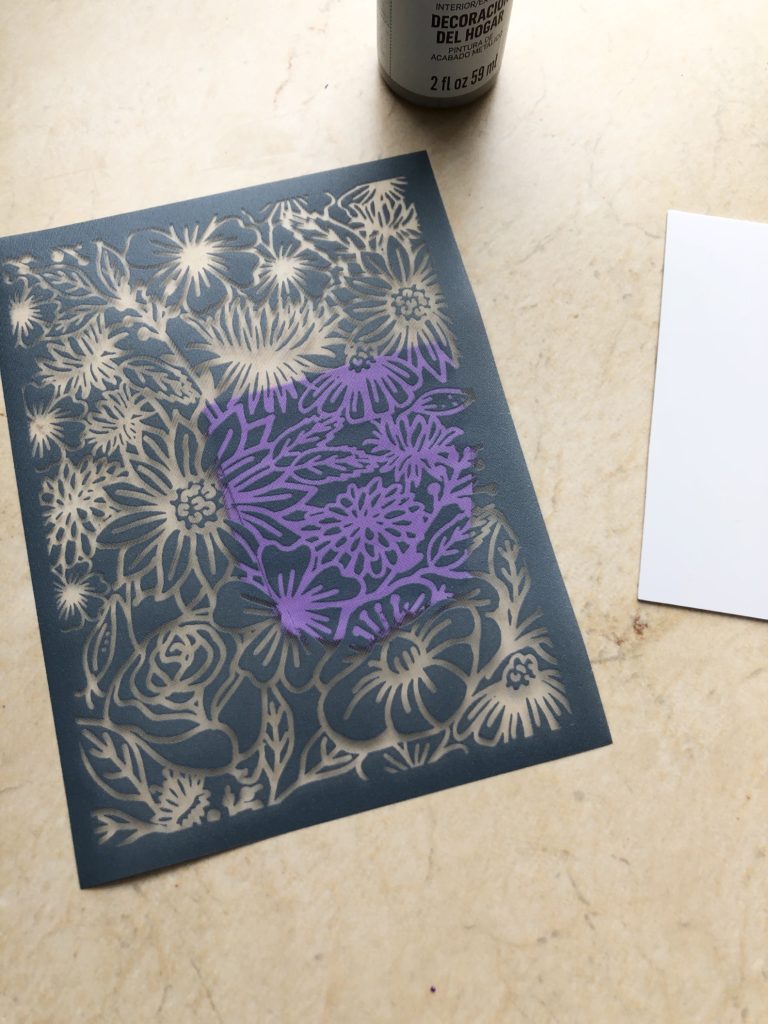
Put a thin line of paint across the top of the silk screen. Using the tool inside the set drag the paint over the screen at a 45 degree angle. Work the paint in multiple directions until it covers the screen over your clay completely.
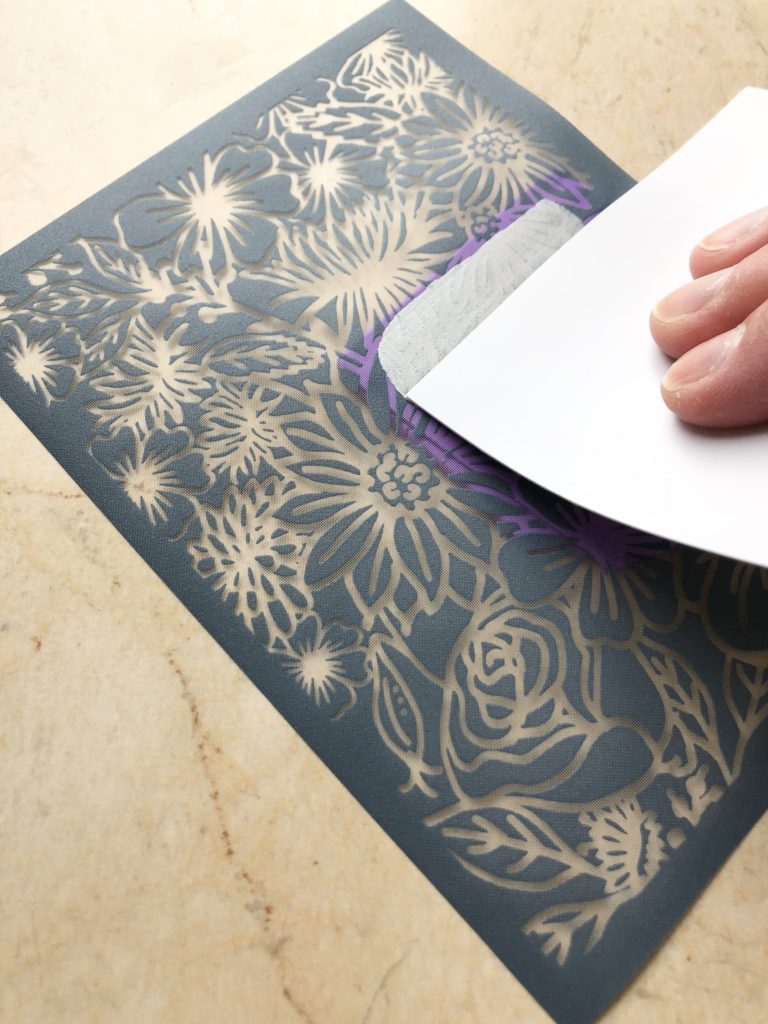
Gently pull the screen off of your clay at an angle and immediately place it in a container of warm soapy water. Gently, using your fingers, rub of the paint that is still on the silk screen. Dry your silk screen for your next job.
Cutting Your Clay
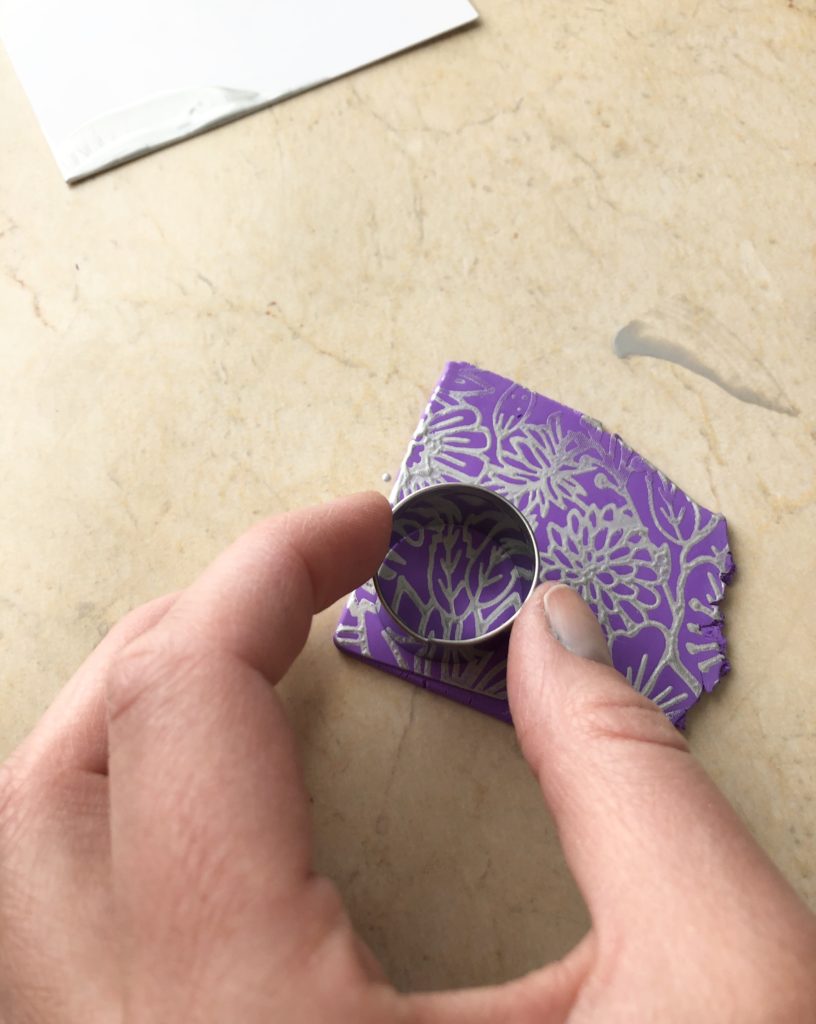
Position your cutter over the painted clay. Find the best spot that you would like for your button and press down your cutter. Gently twist the cutter to make sure that it cuts all the way through the clay.
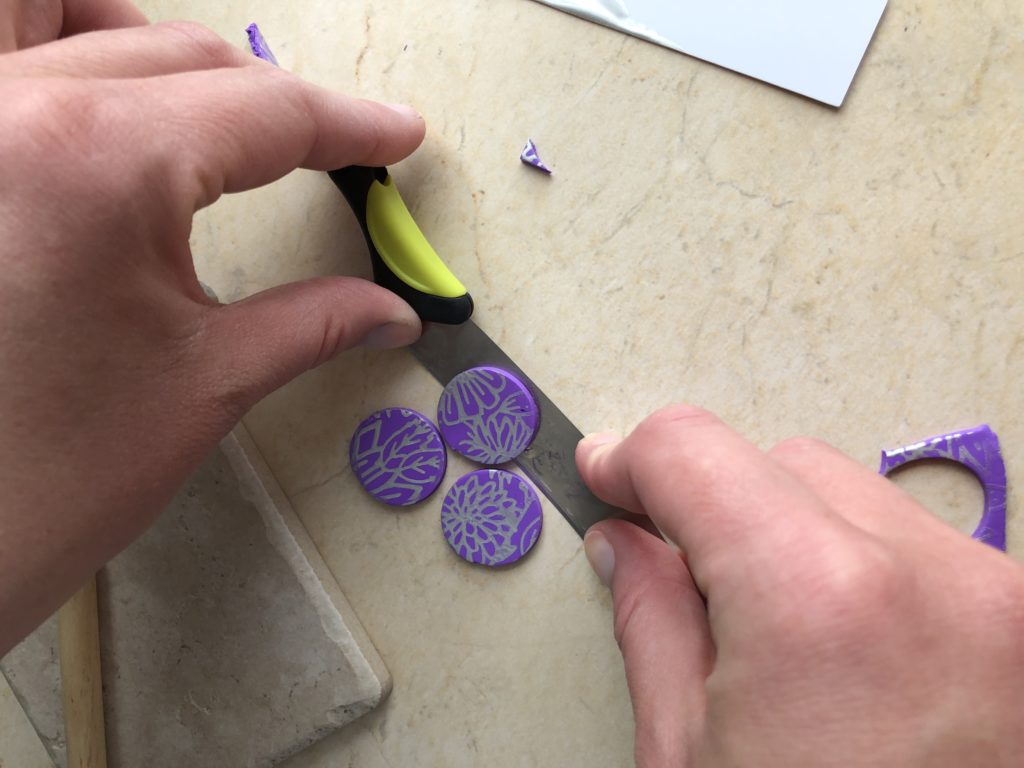
Pull up the left over pieces and save them. They can be used later on another project. Using a blade or knife scoop under the clay to release it from your work surface.
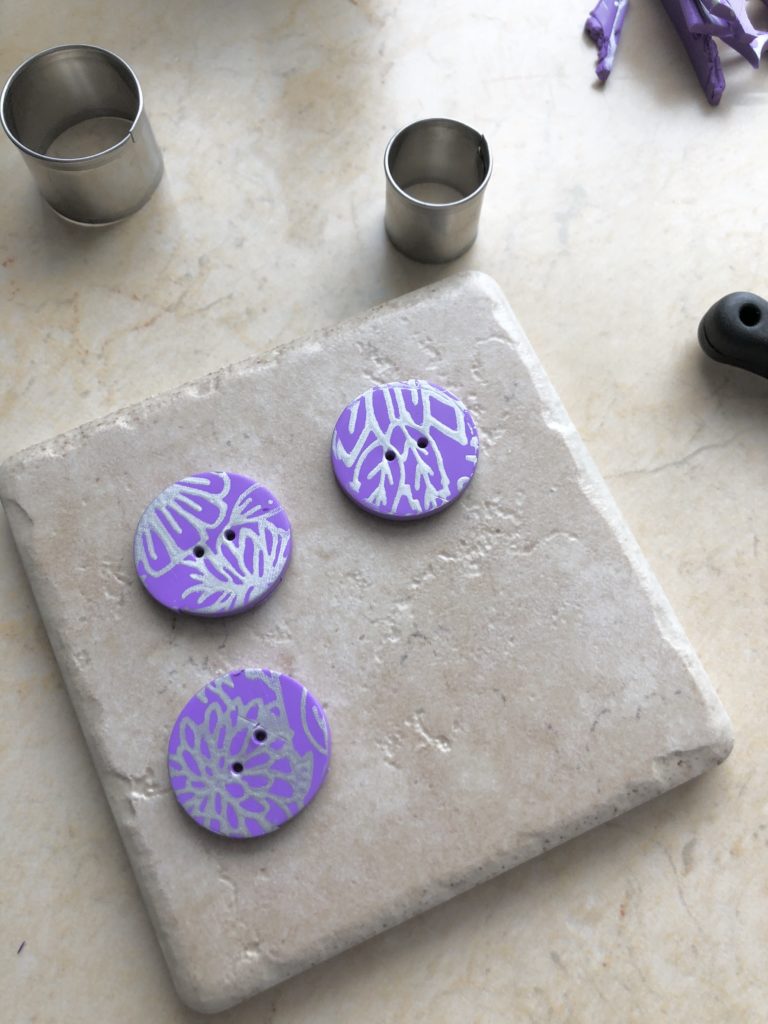
Turning Your Art Into Buttons
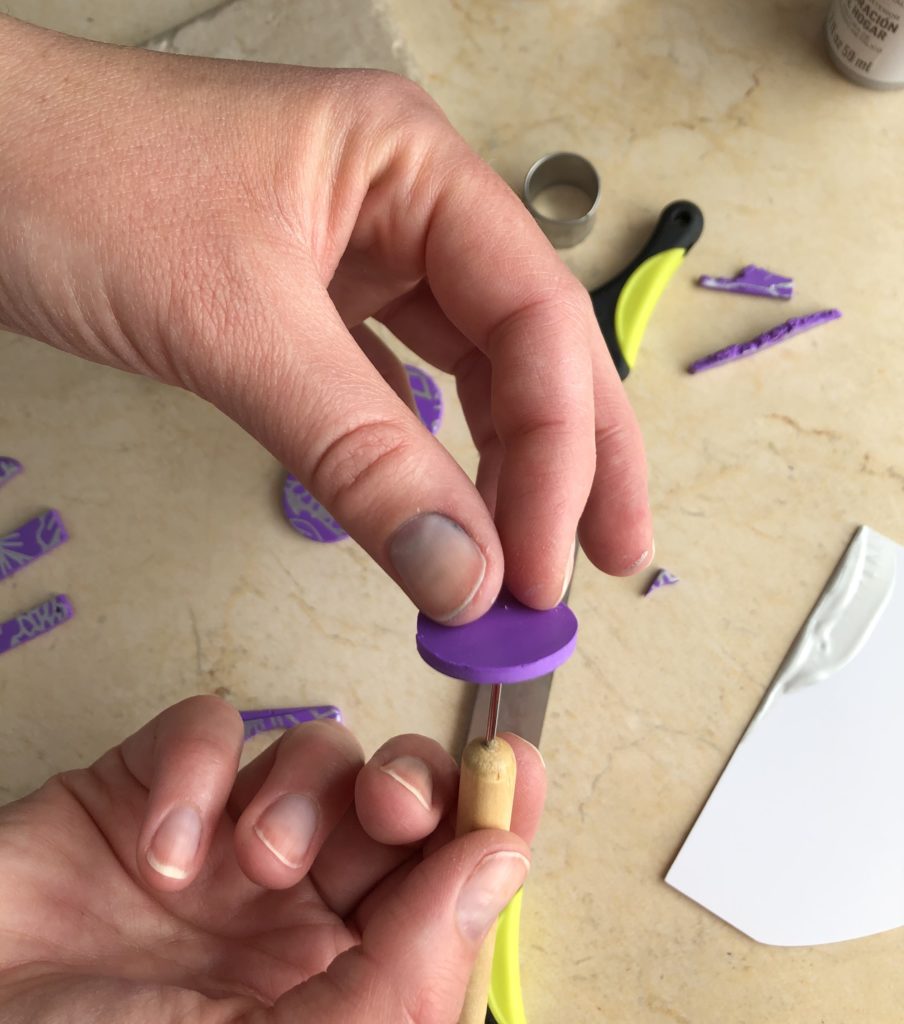
Using your toothpick, or other piercing tool, make two holes in your button. You could make four holes if you prefer that style. Make sure that you support the back of your clay as you make your holes. This will keep the shape from distorting too much.
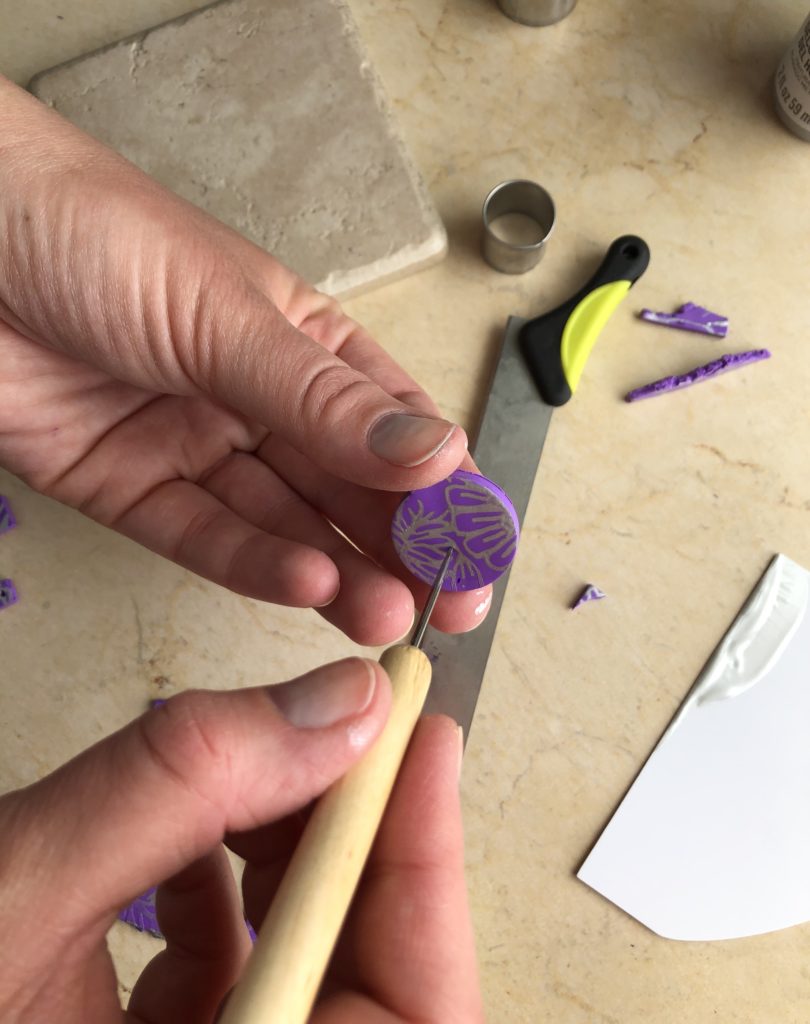
Turn your button over and make the holes from the back side as well. This will give you a more even hole all the way through.
Baking Your Buttons
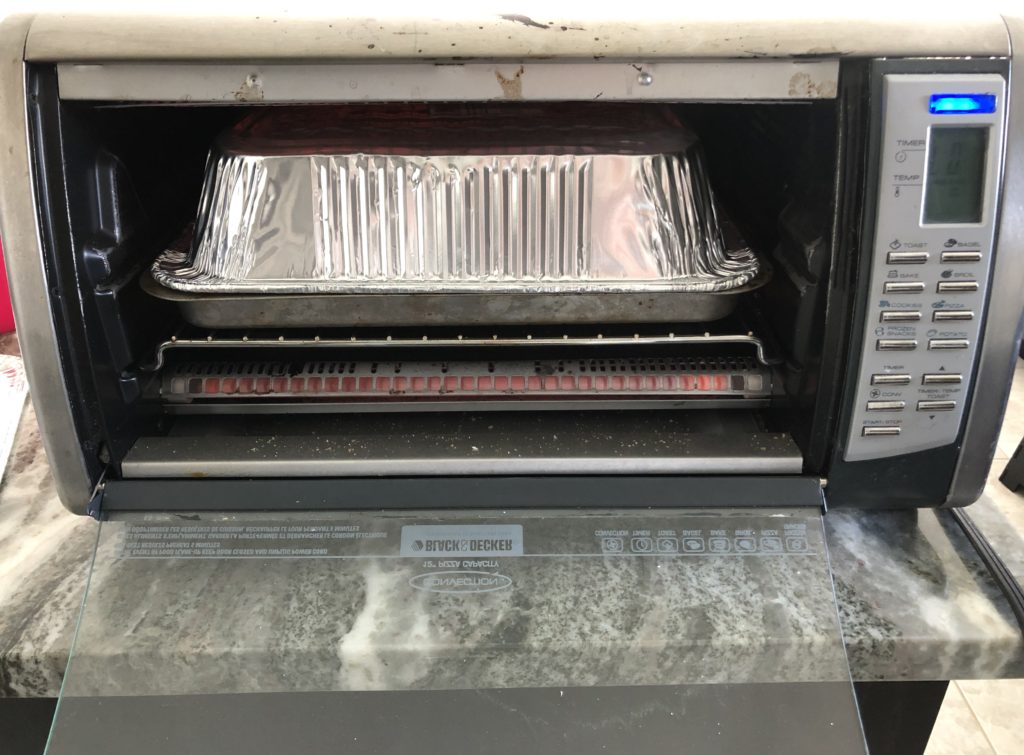
Put your buttons on a piece of paper or another tile inside your foil baking tins to bake. Using baking tins to hold your piece and on top will keep the clay from direct exposure from the elements of your oven. If you don’t have baking tins you can make a tent with foil.
Bake your buttons inside your foil baking tin at 275 degrees Fahrenheit for 60 minutes. TIP: I suggest putting a piece of scrap clay in for baking as well. This will allow you to test the clay without impacting your buttons. If the test piece comes out and it isn’t fully baked you can stick your buttons back into the over and bake them longer.
As long as the temperature is at 275 you won’t run the risk of burning your clay. Make sure that your oven is preheated before putting your clay inside. I am using a toaster oven that is just for crafting but you can use your regular oven.
Once your pieces are done baking allow them to cool completely. Then you can sew them onto your finished project.
12 Patterns That Use Buttons
- When We Were Young Hat
- Super Simples Rib and Lace Scarf
- School Days Raglan Pullover
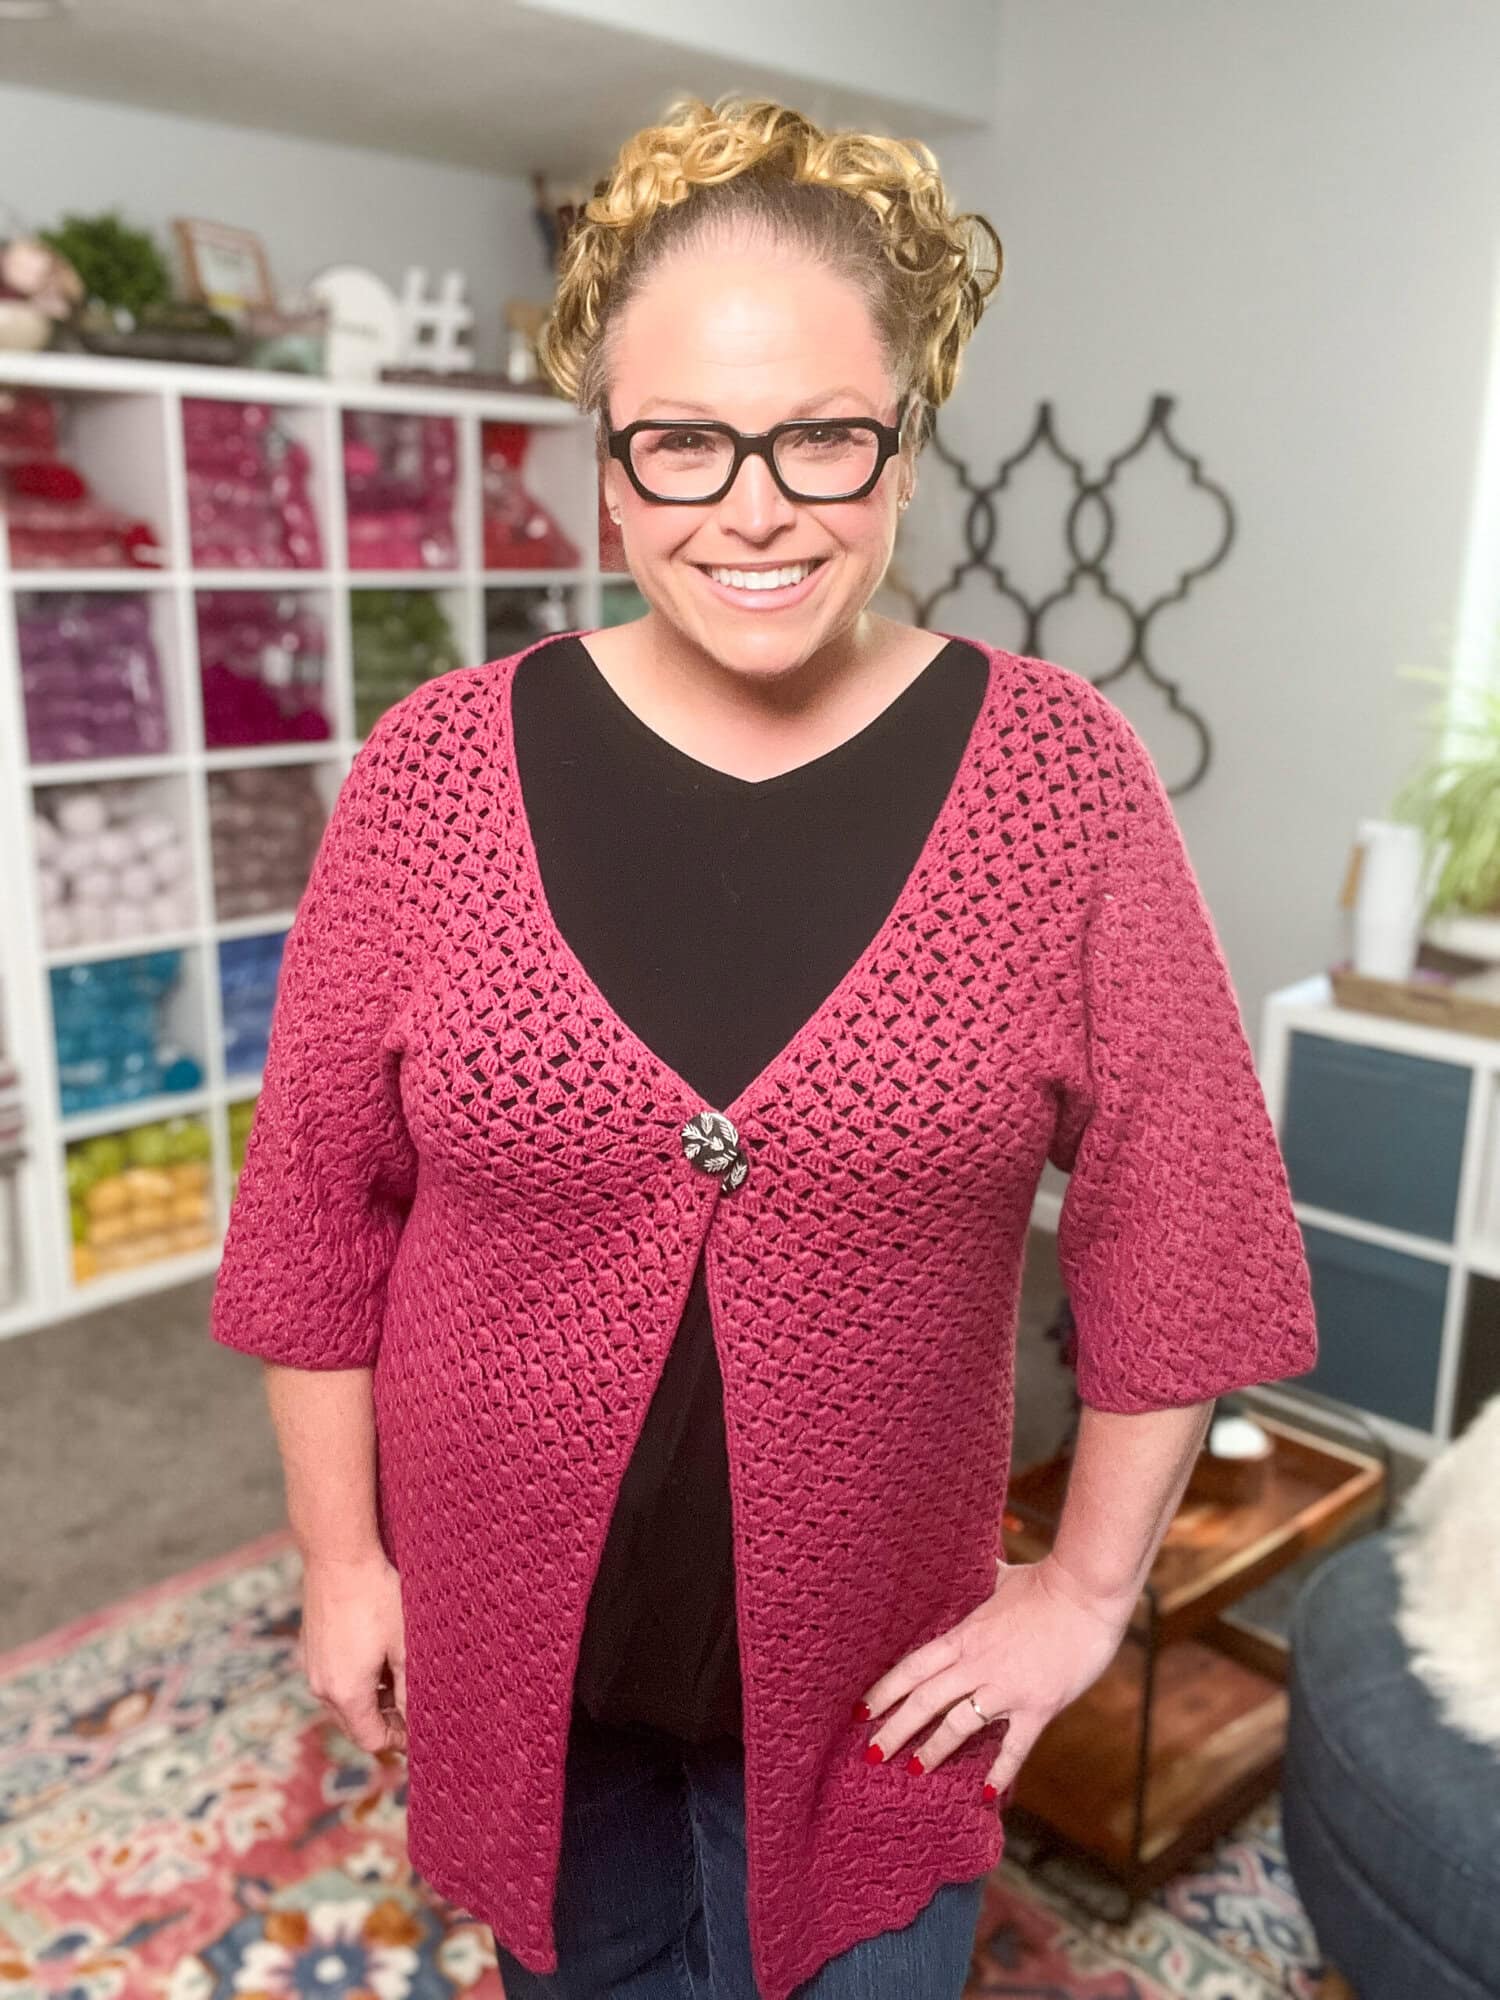
- Henly-ette Chic Sweater
- Super Simple Shawl
- Gobi Cowl
- Super Simple Lucky Stripes Shawl
- Catskills Cape
- All Buttoned Up Wine Cozy
- Mountain Mist Poncho
- Drew Sweater Vest
- Great Falls Poncho
Frequently Asked Questions
What are polymer clay buttons and why make them?
Polymer clay buttons are handmade buttons created from polymer clay (like Fimo or Sculpey) that you shape, decorate, and bake in a home oven. Making your own buttons means you can create buttons in exactly the right color, size, and design for your specific knitting or crochet project… no more hunting through button bins hoping to find something close enough. For handmade garments especially, a custom button elevates the whole piece. And honestly? The button-making process is a fun creative activity in its own right.
What is the silk screen technique for polymer clay buttons?
Silk screening on polymer clay uses a silk screen mesh (like those used for printing on fabric) to apply a design or texture onto the surface of unbaked polymer clay. You press the screen against the clay surface with a bit of acrylic paint or inks and lift it off to reveal a crisp transferred design. It’s a beautiful way to add detailed patterns, text, or decorative motifs to buttons without needing advanced sculpting skills. The result looks professional and can be done with relatively inexpensive materials.
What tools do I need to make polymer clay buttons?
The basics are pretty accessible! Polymer clay in your chosen colors. A pasta machine or rolling pin to get even clay thickness. Cookie cutters or circle punches for consistent button shapes. A straw or hole-punch tool for making the button holes. An oven for baking (a toaster oven dedicated to clay works great). Sandpaper in various grits for finishing. And for the silk screen technique specifically: a silk screen, acrylic paint or clay-compatible inks, and a squeegee or stiff card to apply the paint. Most of these are available at craft stores or online.
How do I make sure my handmade buttons are the right size for my project?
Measure the buttonholes in your pattern before making your buttons! The pattern should specify button size (usually in millimeters or inches). Cut your clay to that size plus a very small amount of wiggle room… the button needs to pass through the hole without stretching it. Also pay attention to button thickness… very thick buttons can create bulk where the garment buttons up. Test-fit your finished button in the buttonhole before sewing it on. If you’re making buttons for a future project, make a few extra in case of breakage or size discrepancies.
Can polymer clay buttons be washed?
Yes! Once properly baked, polymer clay is water-resistant and durable. Handwash is safest for garments with polymer clay buttons. For machine washable items, use a gentle cold cycle and air dry… the clay should hold up fine to this treatment if baked correctly. The key is fully curing the clay according to the package instructions… underbaked clay is brittle and more fragile. Also make sure your buttons are sewn on very securely before any washing, and consider removing buttons if putting a delicate item through the machine just to be safe.
Categories: Crochet, Dibble Dabble Inspiration, Giveaways, Knitting


This is great! Good instructions