Photo Tutorial-Making A Pompom Package Topper
 After spending hours completing your handmade gift for someone special you may want to add a little something special to the packaging as well. Today I am going to show you how to make a pompom topper for your next gift. This photo tutorial will walk you through each step to create you pompom package topper with your leftover yarn and your hands.
*This post contains affiliate links. By clicking one of these links and making a purchase a portion of that purchase will go to the blog. The price that you pay is not changed. Thank you for your continued support of the blog*
A friend of mine showed me this cute idea of using the leftover yarn from my project to make a pompom topper for my gifts. She was making baby blankets and wanted an easy way to wrap them up and was wrapping them with tissue paper. The next step was to come up with something for the top of the package to give it a finished look. Ribbon or a pre-made bow wouldn't cut it when the gift inside was carefully handmade. She decided to use the scrap yarn from the project to give the package a little something extra.

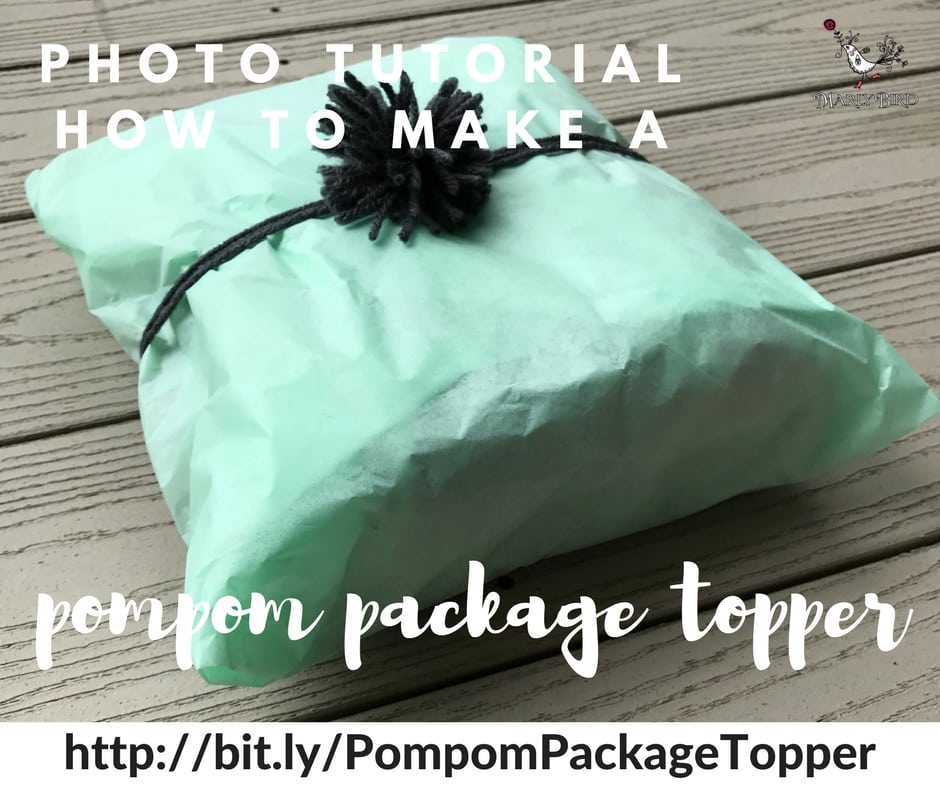
Pompom Package Topper Photo Tutorial:
To start off you will need to wrap your project in tissue paper or any wrapping paper of your choice. Your package could be square or rectangle or really any shape works for this topper. Once you have your project wrapped up you are ready to get started on the pompom package topper.
Making your pompom:
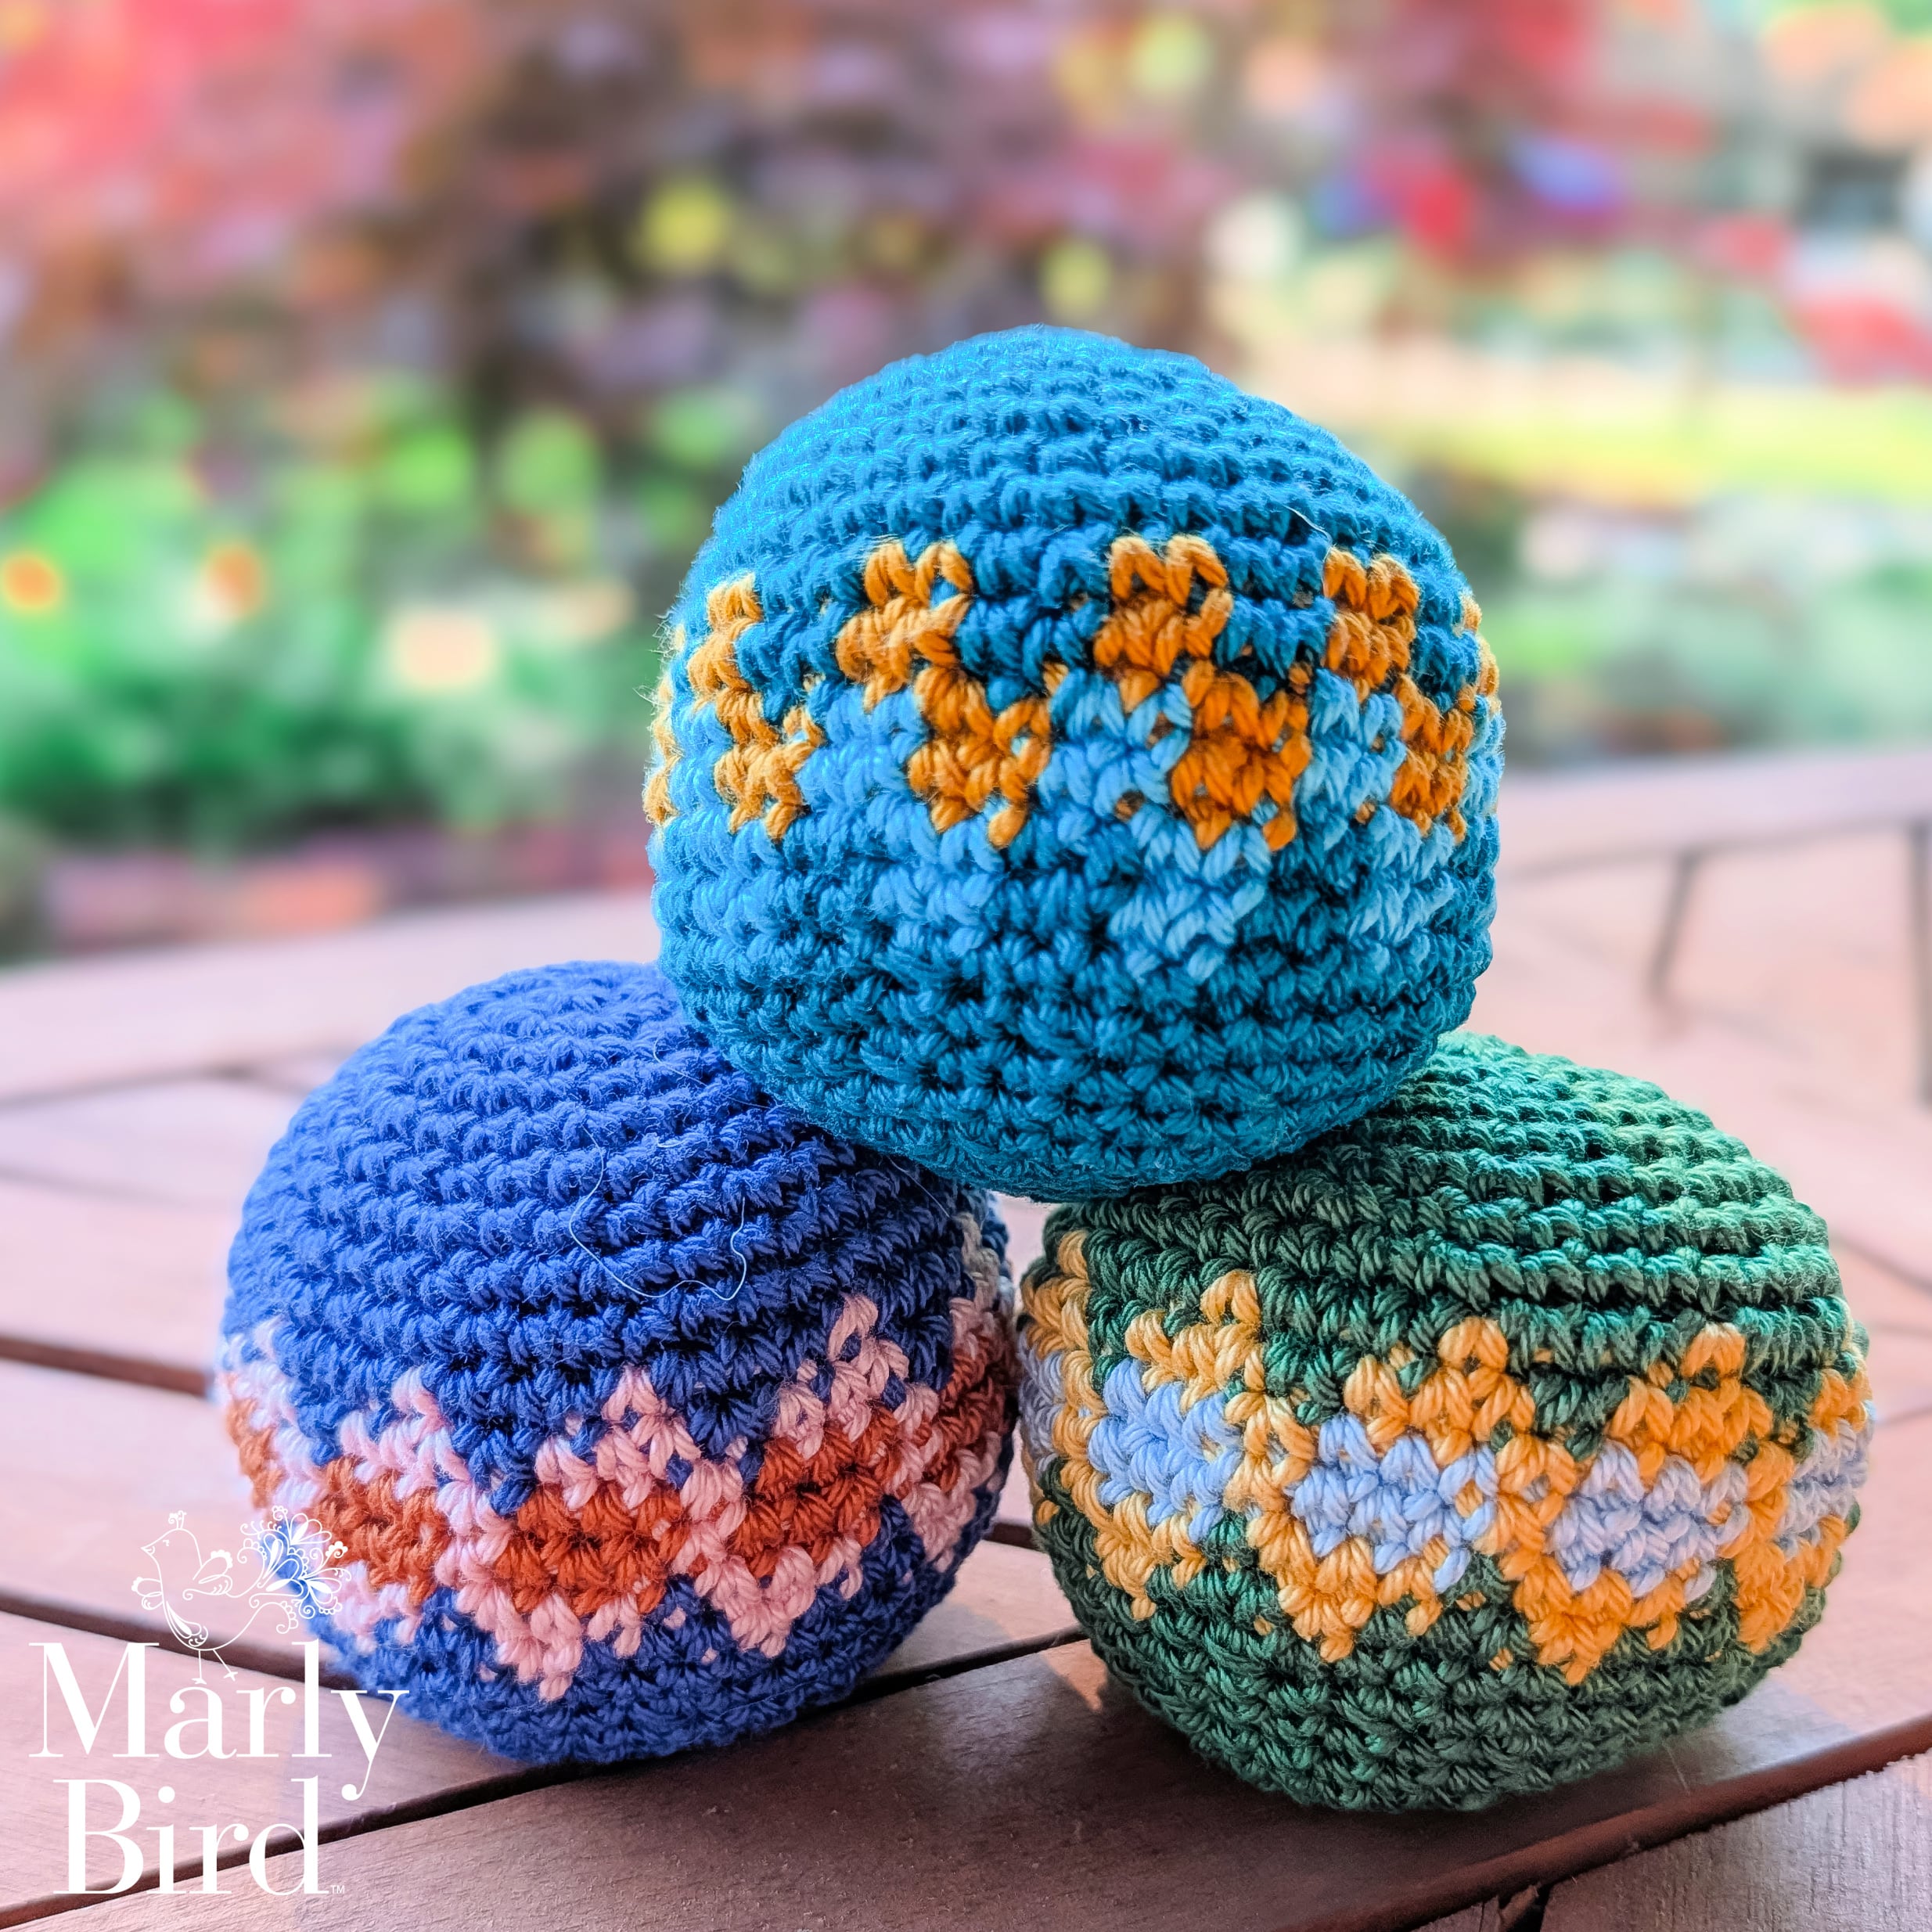
First select the yarn that you will use for your pompom package topper. In this tutorial I will be using Red Heart Super Saver which was used to make the baby blanket that is wrapped. Typically I use the left over yarn from the project that I just finished, like in this case. It is a great way to use up the extra yarn and tie the colors together to the package. When making a pompom there are many different ways to make it. For this tutorial I am going to use my hands as my pompom maker.
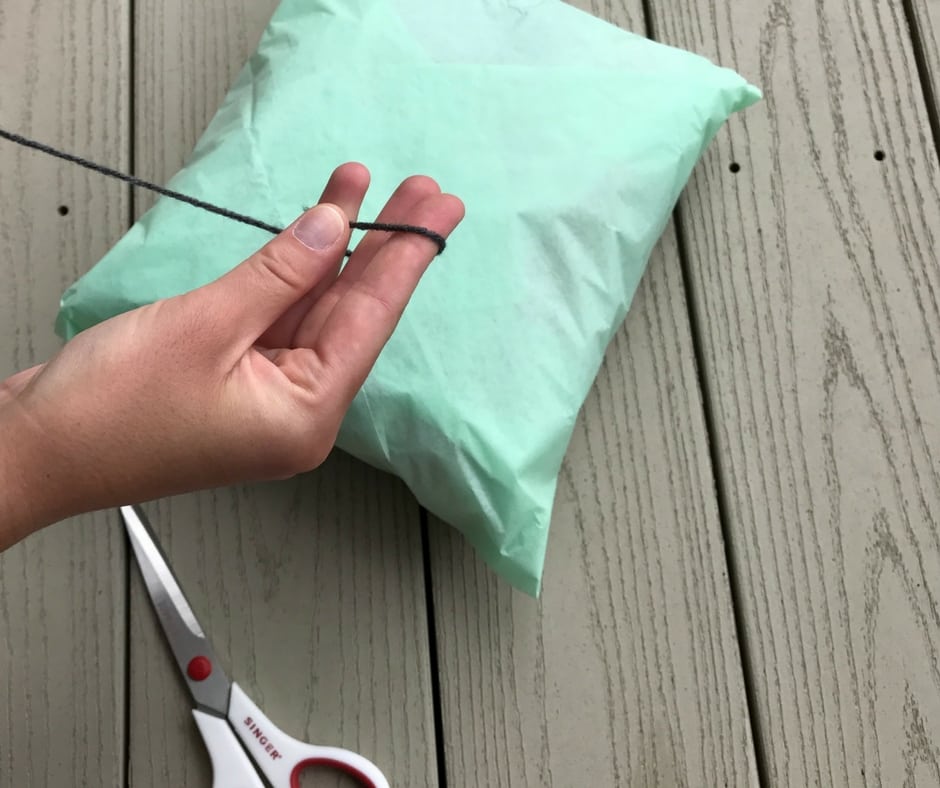
To start off I wrap the yarn around my fingers, as many times as I want. The more you wrap, the fuller your pompom will be. Typically I try to get around 20-30 wraps, but it isn't something that you need to get exact.

After you have done your wraps you will need to tie it off in the center to keep all the strands together. Cut a length of yarn that will go around your wraps and be long enough to tie a square knot.
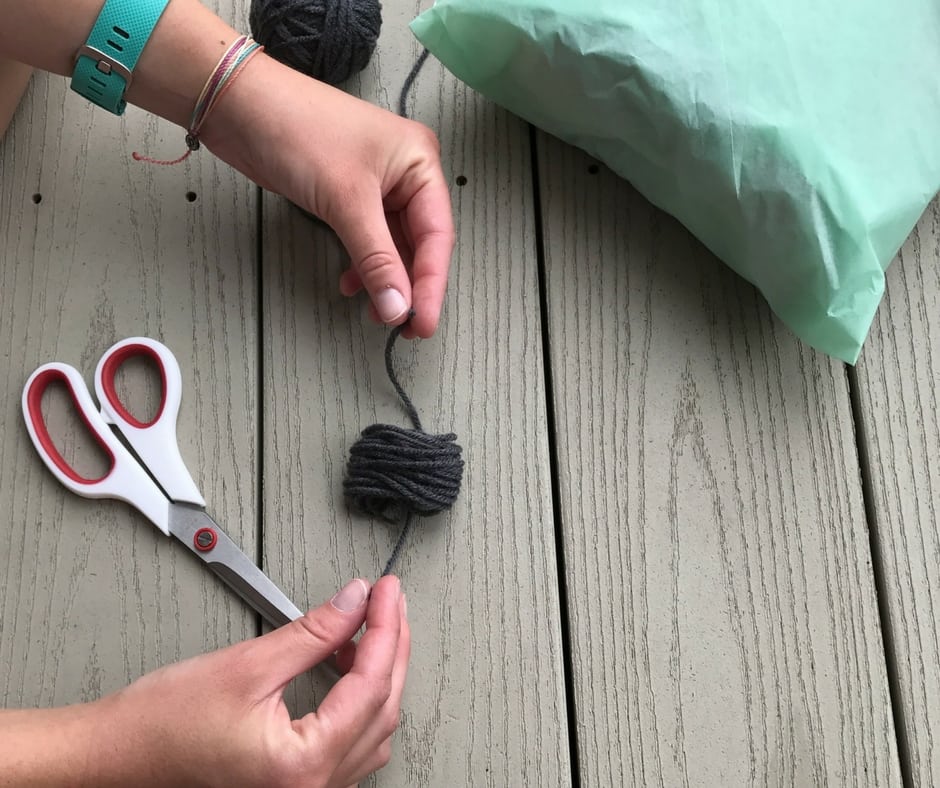
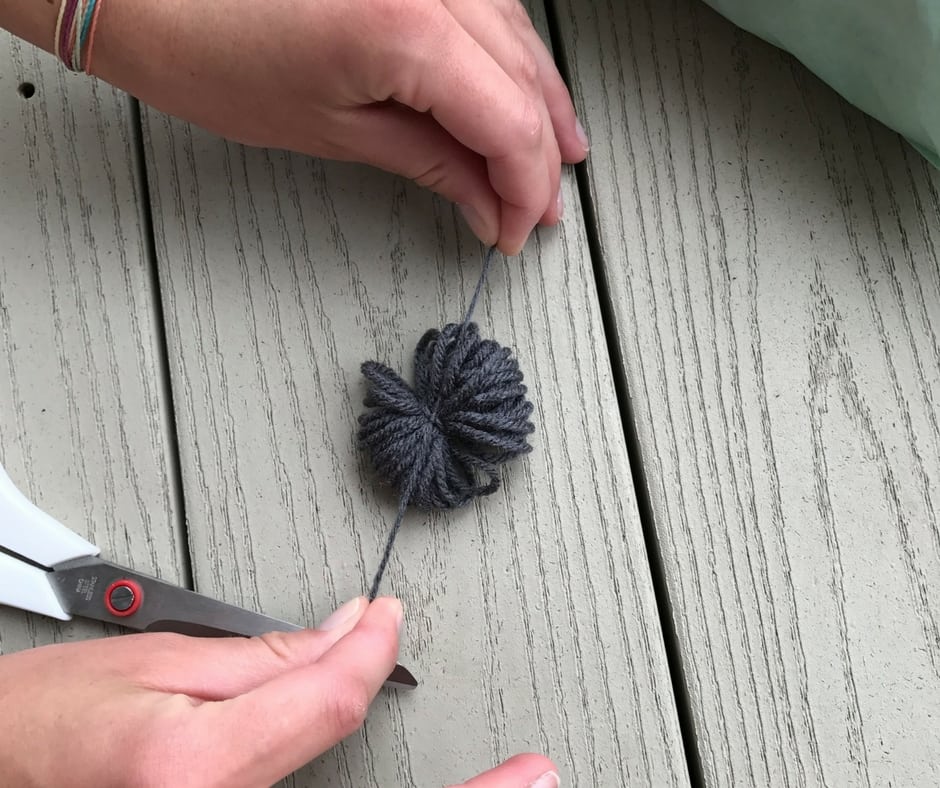
Once you secure the middle of the pompom it is time to cut the yarn and make it look like a pompom. Take your scissors and stick it through the loops that were made from the wraps and the center tie. Make sure you cut all of the loops. Don't worry if they aren't all the same length, you can clean that up once you have cut all of the loops.
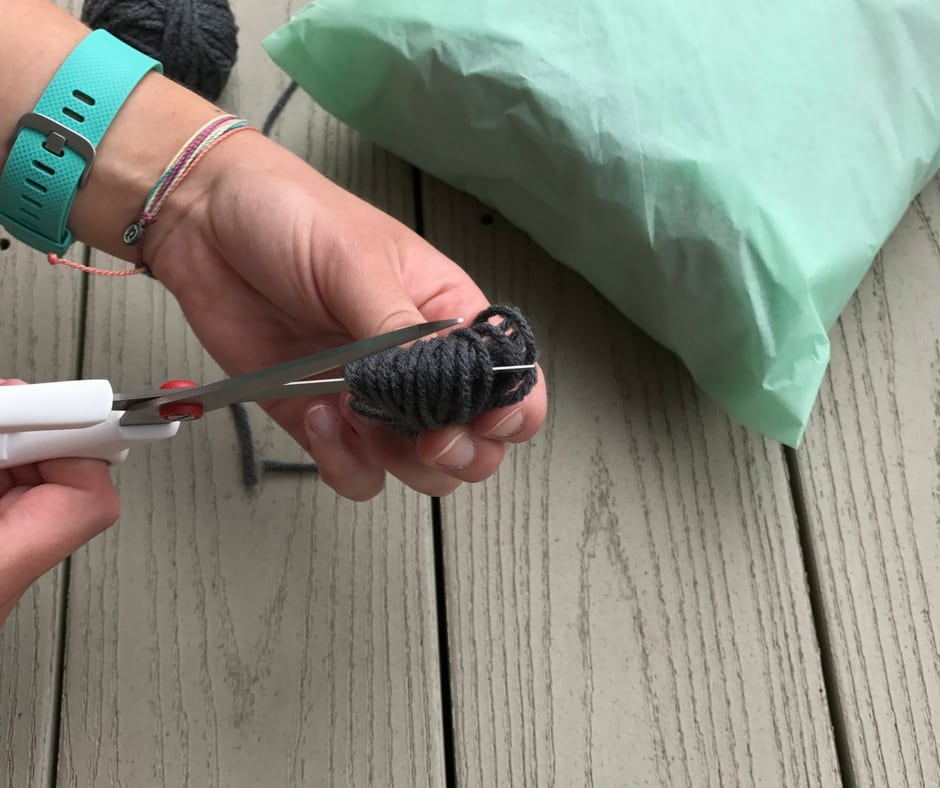
Guess what, you just made a pompom!!! Best of all you made it without having to purchase any new tools! Now we just have to attach it to the package.
Attaching your pompom:
Attaching the pompom to your package is quite simple. First I take the yarn that I used to make the pompom and wrap that around the package. Again, this is something that you can use your designer eye on to determine how many times you want to wrap the package. Once you have the package wrapped you will tie the yarn in a square knot and leave long tails.
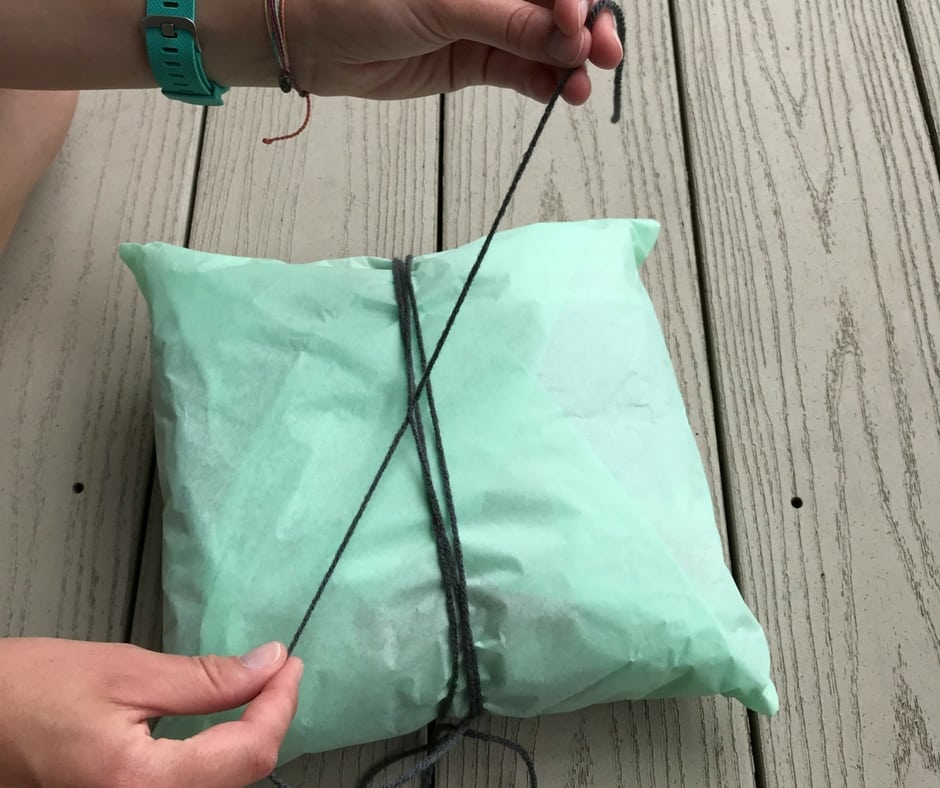
Using the tails that you left, you will use a square knot to attach the pompom to the package.
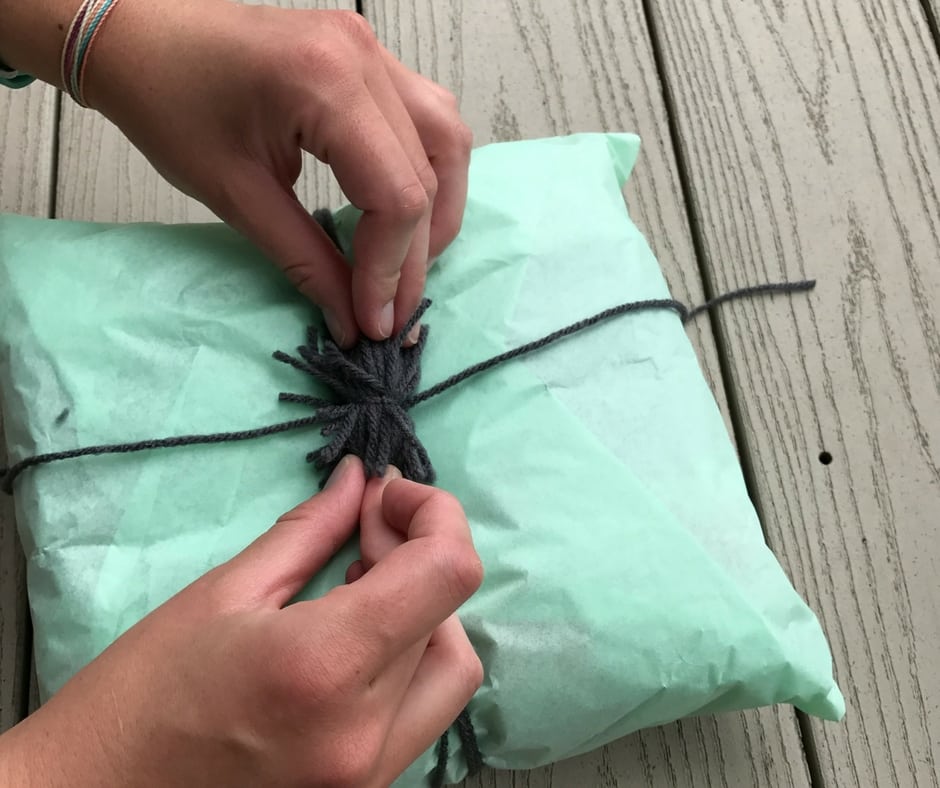

The last step is to trim the ends of your pompom until you like the look. Now you have a beautiful handmade present and a beautiful package to present.
Pompom Package Topper ideas:
I love using these pompom package toppers for my handmade items but they can also be used on any package. Try changing up the colors that you use or even combining colors together. Another great idea is to add two or more pompoms to the package.
Also on the Blog:
Frequently Asked Questions
Can I really make a pompom just using my hands?
Yes! Honestly… you don't need any special tools to make these cute pompom package toppers. Just your hands, some yarn, and a pair of scissors will do the trick!
How many times should I wrap the yarn around my fingers?
So here's the thing… you don't need to be super exact! I usually aim for around 20-30 wraps, but more wraps mean a fuller pompom. Just go with what looks good to you!
What kind of yarn works best for this project?
Honestly… using leftover yarn from your project is the best way to go! It's a great way to use up scraps and tie the colors of your gift together. I used Red Heart Super Saver in this tutorial.
What if my pompom isn't perfectly shaped after cutting?
Oh, don't you worry about that! It's totally normal for the strands not to be all the same length when you first cut them. You can just trim them up until you like the look… it's all part of the fun!
Can I use these pompoms on things other than gift packages?
Yes! While they're super cute on packages, you could totally use them on other things too. Think about adding them to a handmade bag, a crochet project, or even just as a fun little decoration!
Categories: Crochet, Knitting, Tips, Tricks, Techniques for Knitting and Crochet