How to Knit 2×2 Ribbing (Knitting Lessons for…
Welcome to Lesson 5 of BiCrafty Boot Camp: Knitting Lessons for Crocheters. This week, we're going to expand our skills and learn how to knit 2×2 ribbing. But guess what? You already know what you need to know in order to knit ribbing!
BiCrafty Boot Camp To Date
Before we get into this week's lesson, let's catch up on what we've done so far in BiCrafty Boot Camp:
- We learned how to cast on and knit stitch
- Then we learned how to knit garter stitch. We also learned to cast off. Furthermore, many of us made a dishcloth.
- After that, we learned how to purl. Furthermore, that meant we could learn stockinette stitch. And we made our first mug rug.
- Last week we learned how to change colors and bury ends. We made our second mug rug, a striped stockinette pattern.
Many people have asked where they can find the Marly Bird live videos for BiCrafty Boot Camp. They're on the Marly Bird YouTube channel. Be sure to subscribe and hit that like button.
You can also find all updated links, including the videos, as they become available by looking at the bottom of the master list in the main post here.
This Week's Lesson: How to Knit 2×2 Ribbing
This week we're going to learn how to knit 2×2 ribbing. In order to knit ribbing, you simply alternate knit stitches and purl stitches within the same row. You can make a variety of knit rib stitches. For example, if you knit then purl, knit then purl, all the way across the row then that's 1×1 knitting. As you can guess then, if you want to learn how to knit 2×2 ribbing, you'll be doing a knit two, purl two, knit two, purl two across the row. It's pretty straightforward.
Crocheter's Edge
Here are some of the things that you already know how to do as a crocheter that will help you learn how to knit 2×2 ribbing:
- You probably already understand how ribbing affects the fabric that you're creating. You get more stretch than if you simply work in the same stitch across a whole row over and over again.
- In crochet, you've probably alternated stitches within a row. Therefore, you can easily comprehend how to make different knit stitches within the same row. (In fact, you already did it if you made last week's mug rug pattern. You used stitch markers to mark off the different types of stitches, but you started the concept.)
- Have you ever alternated a front loop and back loop stitch across a row? Or front post / back post stitches (for example, to make basketweave crochet patterns)? Then you get the concept of working one stitch, then working what's essentially its opposite stitch, and alternating across the row. Since knits and purls are basically opposites of each other, it's a similar concept.
How to Knit 2×2 Ribbing
As you can guess at this point, knitting 2×2 ribbing simply means you'll knit two, then purl two, knit two, then purl two. In patterns, you'll see this as K2, P2. (We'll learn more about reading knitting patterns soon but there are your first abbreviations to get used to since you know your knits and purls now.)
A pattern will typically have a row repeat of 4. So you might cast on 20 or 24 or 40, for example. Then you would k2, p2 across Row 1 and k2, p2 again across Row 2 and repeat for all of your rows. Obviously, you work 4 stitches (k2, p2) so that's why you cast on the multiple of 4. Alternatively, you might see a cast on that's a multiple of 4 + 2. In that case, you'll end each row with an extra two knit stitches, giving your left and right sides the same look.
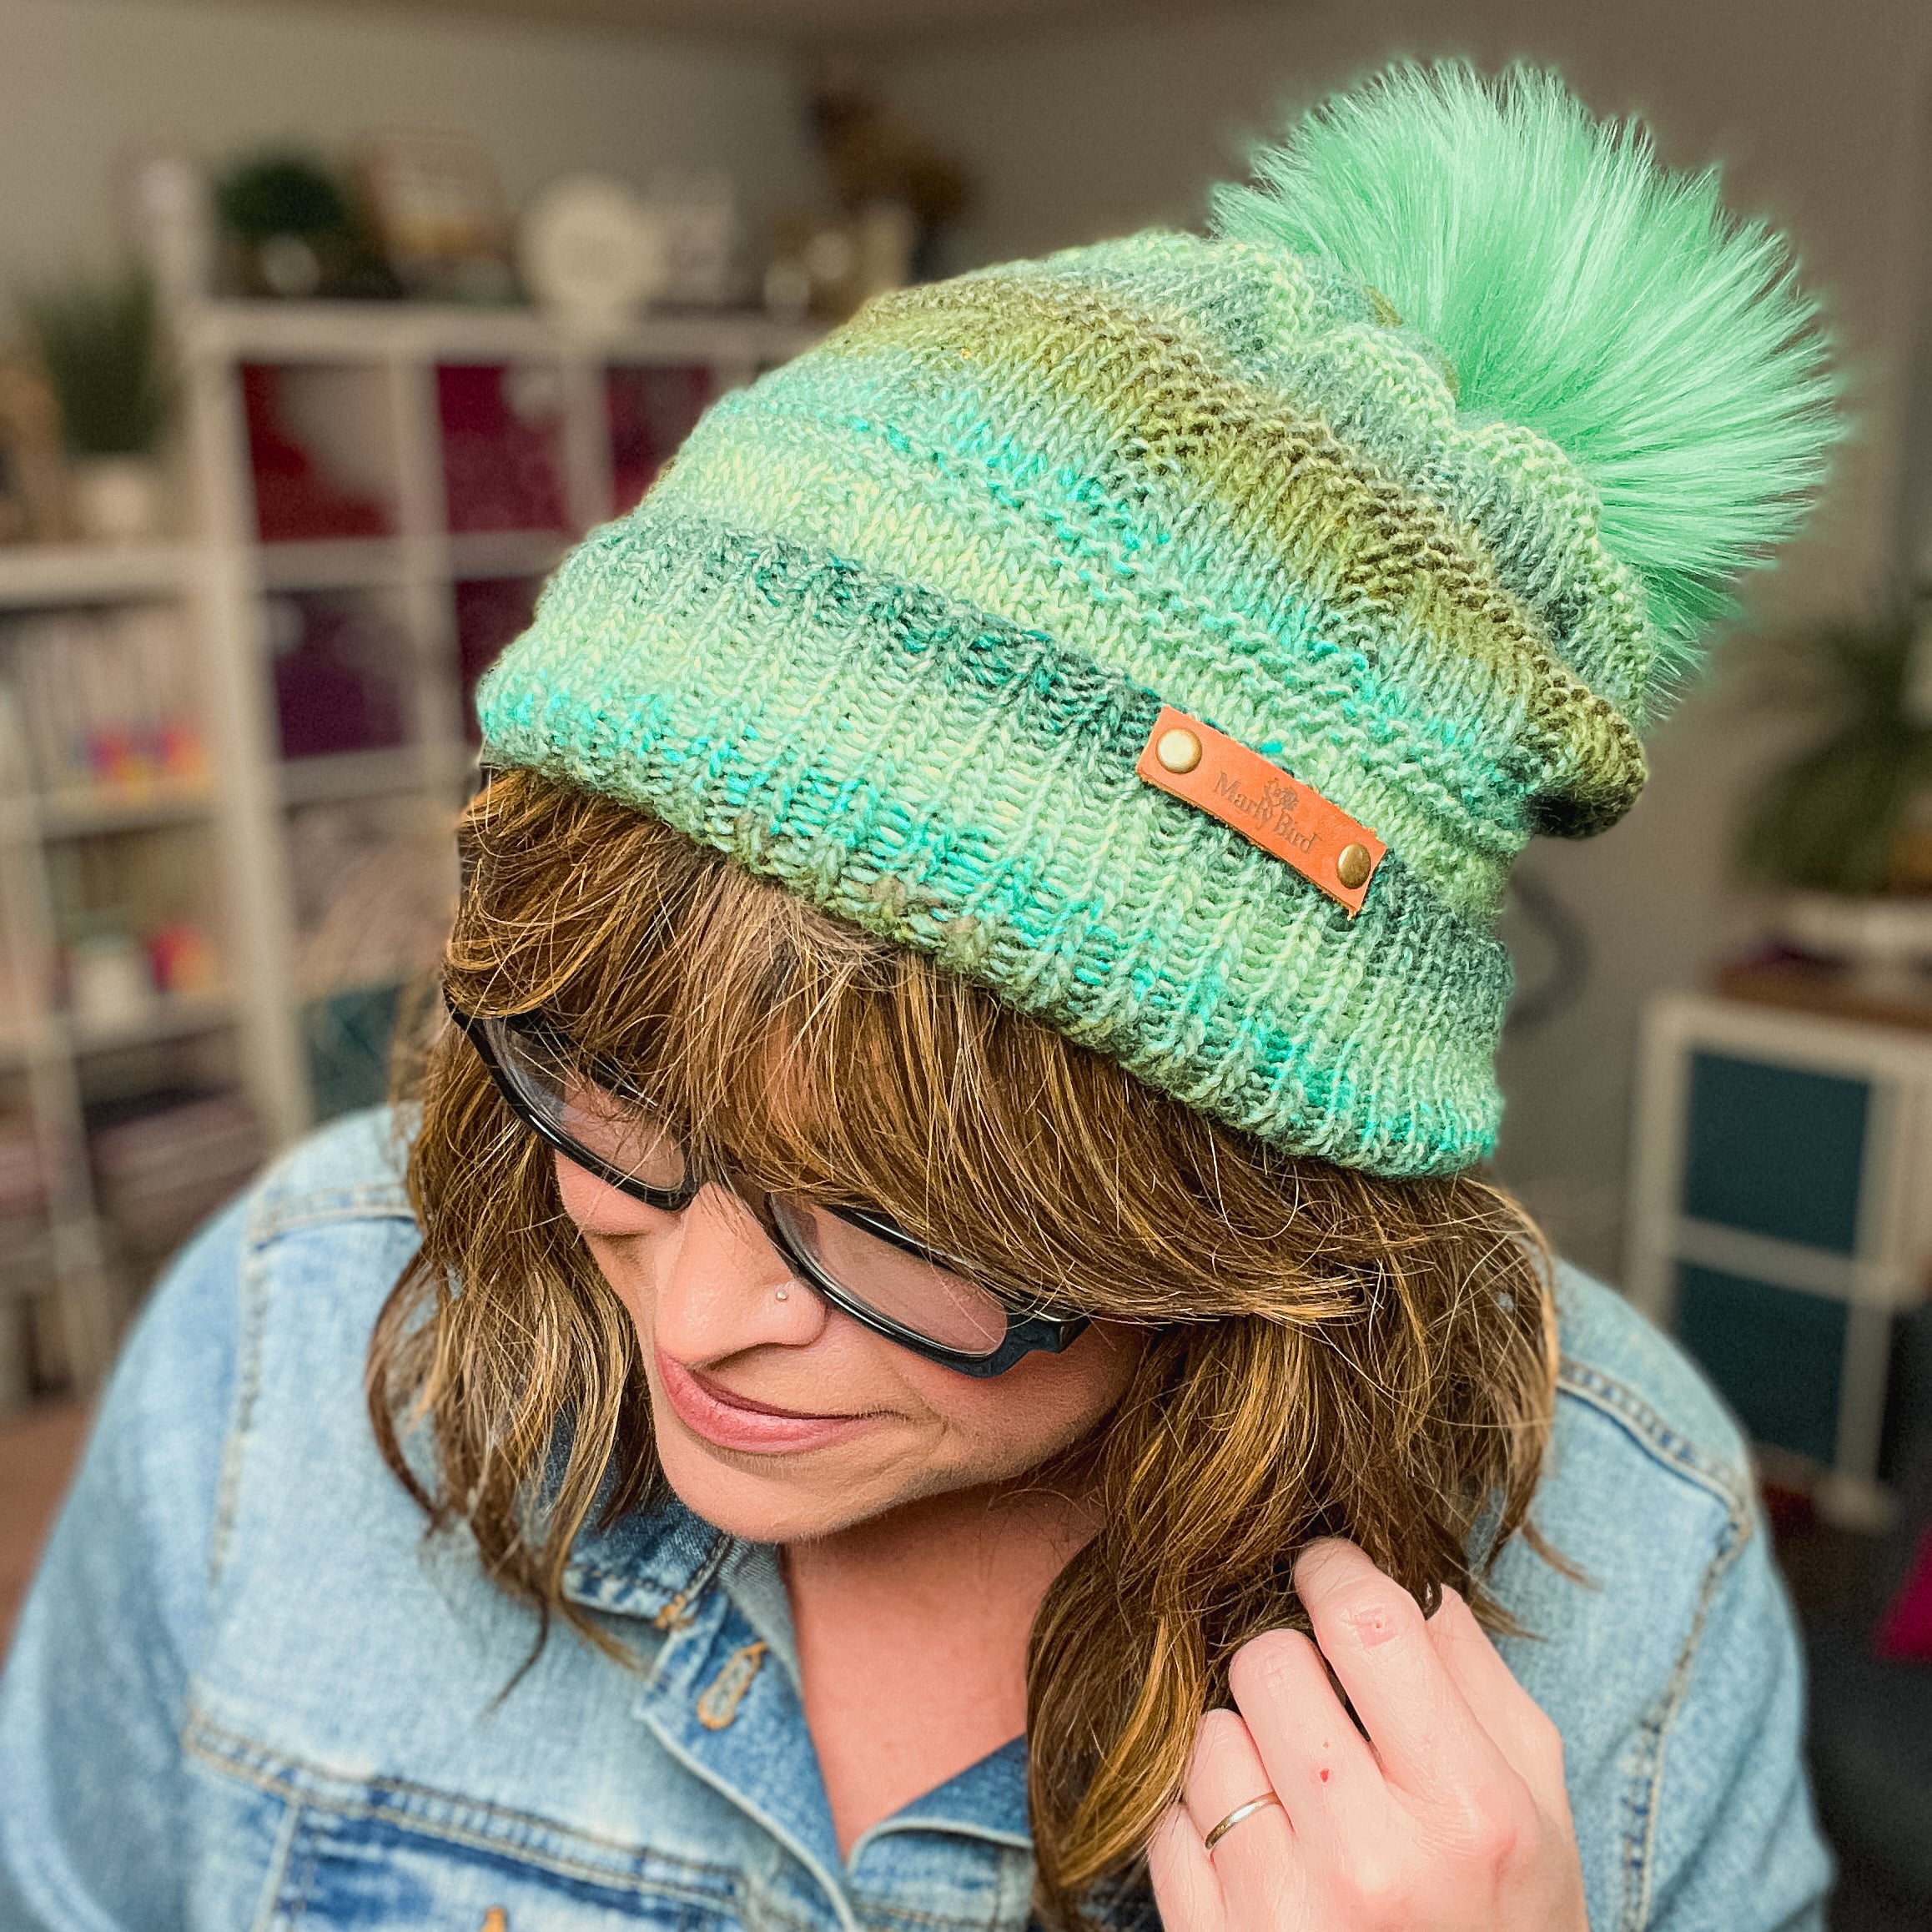
Knit 2×2 ribbing is frequently used for hat brims and sweater hems. That should give you a sense of how stretchy the fabric typically is.
Knitter's Tips for Crocheters
It's very common when you first learn how to knit 2×2 ribbing for your stitches to be a little bit too loose, particularly on the purl stitches. Here's an easy fix for that:
BiCrafty Boot Camp Coffee Cup Sleeve Pattern
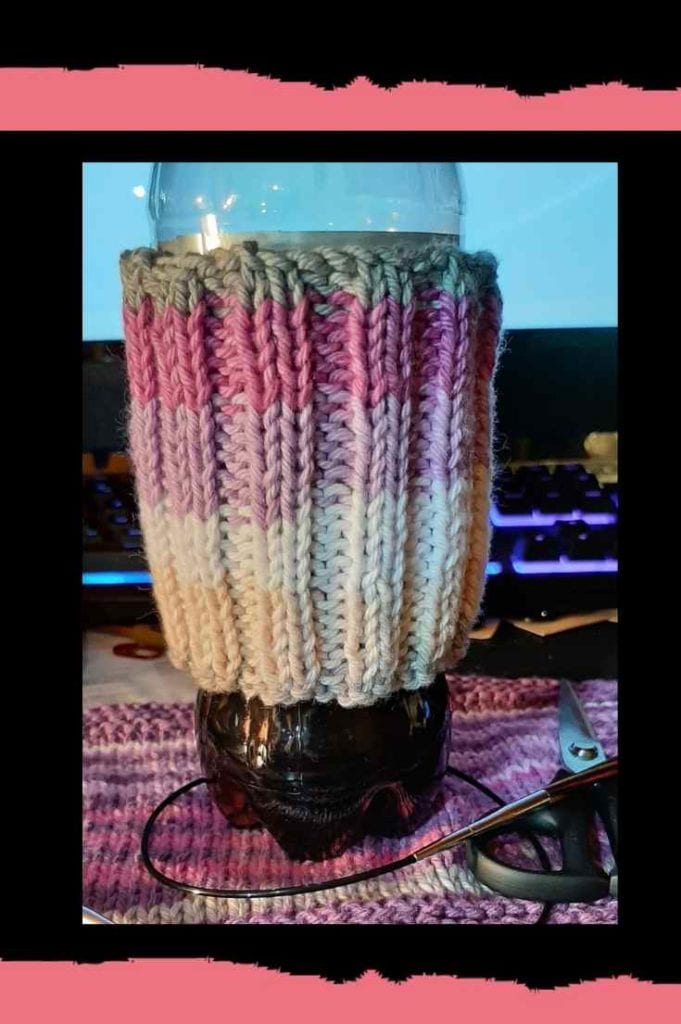
The great thing about ribbing is that it gives you an elastic stretchy fabric. Therefore, instead of a mug rug, we're going to make a coffee cup cozy sleeve.
Cast on 36 stitches. We are using long-tail cast on in the video this week (shown below), but use knit cast on if you prefer that.
Knit 2, Purl 2 across each row until you have the sleeve height that you want (~3 inches).
Bind off. In the video, we cover how to bind off in pattern. In a regular bind off, you knit the entire last row. When you bind off in pattern, you continue the pattern (in this case, k2 p2) on the binding off row.
Whipstitch the two short ends together, which you probably know how to do from crochet.
Here's this week's live video:
Additional Patterns and Video Tutorials You’re Ready For
At this stage of BiCrafty Boot Camp, you might want to watch these extra videos:
- Learn how to knit ribbed scarf, a video tutorial for a free scarf pattern that uses the k2, p2 ribbing
- How to Fix Common Knitting Mistakes. If you haven't watched this video yet then now is a good time.
And check out these knitting patterns:
- Rise and Shine Arm Warmers. These do have an increase, which we haven't covered yet. But for you ambitious now-knitters out there, you might be able to handle it if you do your research. You already know all the stitches – it's stockinette and the 2×2 you learned here.
- Beginner Knit Hat. Similarly, there's a bit of decreasing on this hat, which we'll learn in a few lessons. But if you're ready to do your research and jump ahead, it's otherwise just a k2 p2 pattern.
Frequently Asked Questions
What is 2×2 ribbing in knitting?
2×2 ribbing alternates two knit stitches and two purl stitches all the way around… K2, P2, K2, P2, repeat. The result is a fabric with wider, more pronounced ribs than 1×1 ribbing and excellent stretch. It's one of the most commonly used patterns for sweater hems, cuffs, and hat brims. The fabric folds at the rib transitions and snaps back beautifully after stretching. Once you can see the rib pattern building in your fabric, the K2/P2 sequence guides you visually without constant counting.
This is Lesson 5 for crocheters learning to knit… should I complete earlier lessons first?
Ideally yes! The BiCrafty Bootcamp knitting lessons are designed sequentially. By Lesson 5, you should already know the basic knit and purl stitches, working in the round, and the foundational techniques from earlier lessons. If you already have some knitting background and specifically want to learn 2×2 ribbing, this lesson can stand alone as a technique tutorial. But the full series is the most effective path for a crocheter building knitting skills from the ground up.
How is 2×2 ribbing different from 1×1 ribbing?
The main difference is the scale of the rib columns! 1×1 ribbing alternates individual knit and purl stitches, creating fine, dense ribbing. 2×2 ribbing alternates pairs, creating more pronounced, wider ribs with a bolder visual effect. 2×2 is slightly stretchier than 1×1 in many yarns because the wider columns have more capacity to expand and contract. 2×2 is also easier to read as you work… those pairs of knits and pairs of purls are visually obvious in the fabric, making it easier to stay on pattern.
What is 2×2 ribbing best used for?
Everything that needs a stretchy, polished edge! Sweater hems and cuffs. Hat brims. Sock cuffs. Necklines and collar edges. Waistbands. Any place in a garment where you want the fabric to grip and return to shape. 2×2 ribbing is the most commonly used ribbing for hat brims in the round… many popular hat patterns specify 2×2 ribbing for its combination of stretch, visual appeal, and ease of execution. If you learn one ribbing pattern, 2×2 is probably the most useful choice.
How many stitches do I need for 2×2 ribbing to work?
Your stitch count needs to be a multiple of 4 for 2×2 ribbing to work out evenly all the way around. If you're working flat, you can also start and end mid-repeat if you want the rib columns to mirror on each side. When working in the round (like for a hat), a multiple of 4 is essential for a clean, continuous rib that matches up when the round joins. If your pattern is designed for 2×2 ribbing, the cast-on count is already calculated correctly. If you're improvising, always cast on a multiple of 4.
Categories: BiCrafty Bootcamp Learn to Knit, Knitting