
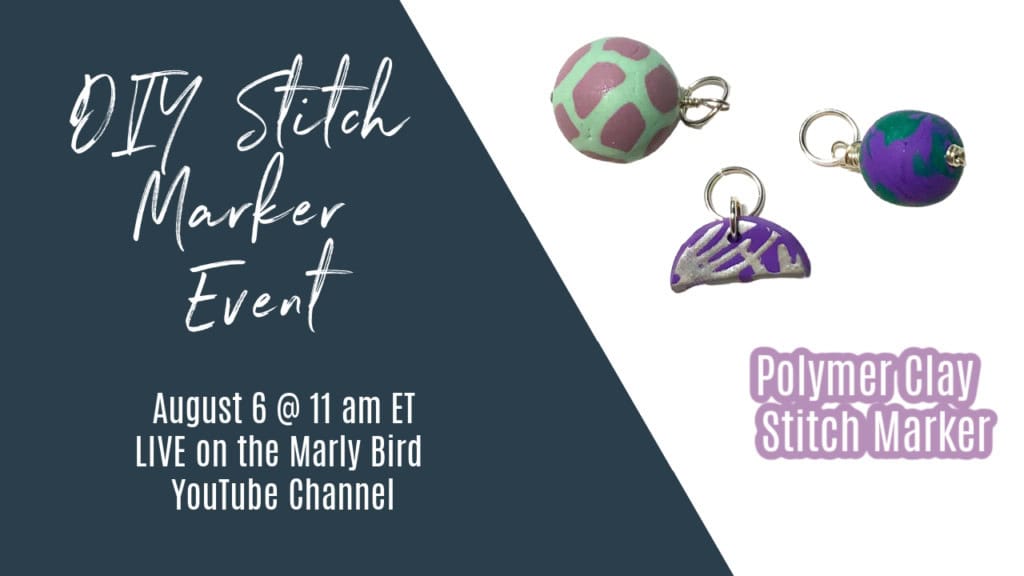
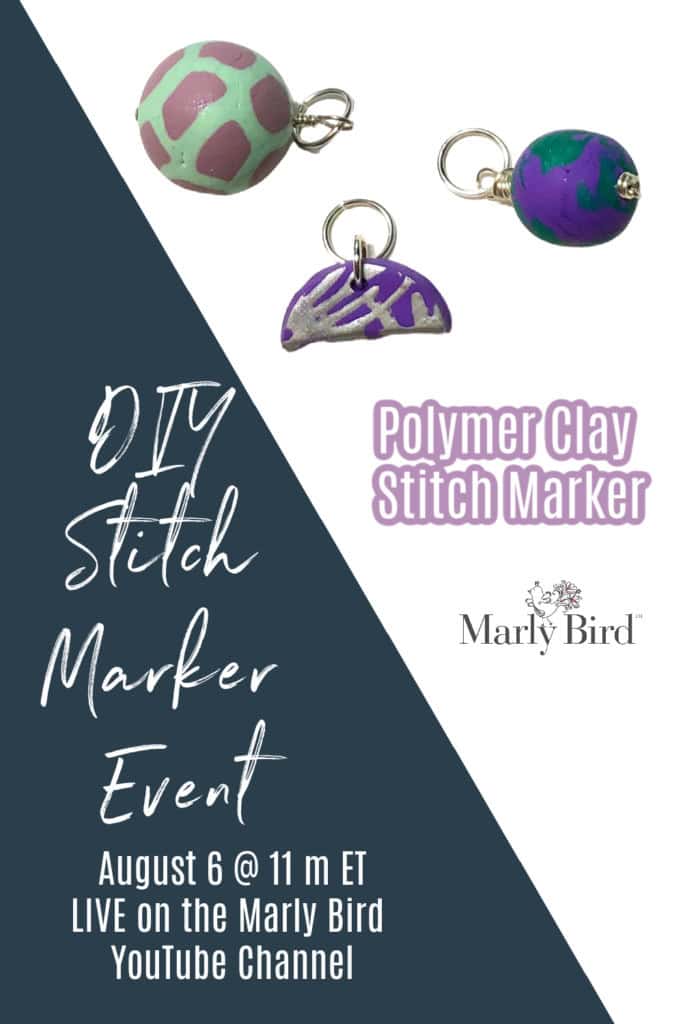
DIY Polymer Clay Stitch Markers
Polymer clay is a medium that has been around for every. Most kids use polymer clay for one project or another. Transform blocks of clay into beautiful beads that can be used in your next project as stitch markers. Learn some tips and tricks to make your own polymer clay stitch markers at home.
*THIS POST CONTAINS AFFILIATE LINKS. BY CLICKING ONE OF THESE LINKS AND MAKING A PURCHASE A SMALL PORTION COMES BACK TO THE BLOG. THE PRICE YOU PAY WILL NOT CHANGE. THANK YOU FOR YOUR SUPPORT OF THE BLOG.*
DIY Stitch Markers
Stitch markers are an essential too for all knitters and crocheters. They help us keep track of where we are in a pattern, special stitch sections of a pattern, stitch counts and more.
There are two types of stitch markers, locking and ring stitch markers. Typically, locking stitch markers are used for crochet but they can also be used for knitting, if their opening is large enough. Some locking stitch markers are similar to safety pins while others have lobster clasps to hook onto your project.
The biggest difference is a locking stitch marker is removable at any time, while a ring stitch marker needs to have stitch worked to the marker before it can be removed.
Materials
If you want to make a set of your own polymer clay stitch markers follow along with the video tutorial below and grab your materials from the list below to make your own!
- 2 Colors of Polymer Clay
- Jump Rings
- Head pin
- Chain Nose Pliers (or purchase a set of pliers)
- 18 gauge wire OR Bead Baking Rack
- Work Surface (OR Glass Tile OR wax paper and tape)
Share Your Makes
If you make one of these stitch markers, or any DIY stitch marker, please share with us in the Marly’s Minions Facebook group! We would love to see how you have been inspired by these tutorials.
LIVE Tutorial
When you watch the live tutorial don’t forget to comment and let us know if you would be interested in doing this event again next year. If you want to see more stitch marker styles would you also be interested in purchasing a kit? Let us know in the comments!
If you liked making these polymer clay Stitch Markers you might also like learning how to make your own polymer clay buttons! Check out that full tutorial on my website HERE: https://marlybird.com/polymer-clay-buttons-silk-screen-technique/
DIY Stitch Marker Event
Stitch markers are fun to collect and fun to make. Over the next 12 weekdays Katelyn will show you a different way to make stitch markers. From simple to more complicated you will find beautiful ways to make stitch markers and new techniques of crafts along the way.
Learn more about the event and sign up for email notifications on our announcement blog post here: https://marlybird.com/diy-stitch-marker-event/

GIVEAWAY
WINNER: Congratulations to AnneSATX!!! Please check your email as we have contacted you. Please respond to that email with your mailing information so that we can pass it along to get you your prize.
Sculpey is sponsoring a GIVEAWAY for my followers! All you need to do is comment on this blog post to be entered to win. Tell us in the comments something that you learned today. If you already knew it all tell us something that you would like to learn to do with polymer clay!
FINE PRINT: While we LOVE your comments on YouTube, Facebook, Twitter, IG, Ravelry and everywhere else we will only count the comments made on this blog post as entries. Please only one comment per person. We will email the winner directly so please make sure that you enter your email address correctly. You will have 48 hours from when the email is sent to claim your prize or we will pick a new winner.
Frequently Asked Questions
Can I really make my own stitch markers with polymer clay?
Honestly… yes! Polymer clay is such a fun medium to work with, and you can totally transform little blocks of it into beautiful beads for your next stitch markers. It’s a great way to add a personal touch to your knitting or crocheting projects!
What kind of tools will I need to make these?
So here’s the thing… you’ll need a few basic supplies like two colors of polymer clay, jump rings, a head pin, and some chain nose pliers. You might also want some 18 gauge wire or a bead baking rack, and a good work surface like a glass tile or wax paper.
Are there different types of stitch markers?
Yes! There are two main types: locking and ring stitch markers. Locking ones are super handy because you can remove them anytime, and they’re great for crochet but can work for knitting too if they’re big enough. Ring markers, on the other hand, you have to work a stitch over them to remove.
I’m new to polymer clay, is this hard to do?
Don’t worry! Polymer clay has been around forever, and most people have probably played with it at some point. The tutorial and the materials list make it pretty straightforward to get started, and it’s a fantastic way to dip your toes into working with clay.
Where can I show off my finished stitch markers?
Oh, you absolutely HAVE to share them in Marly’s Minions Facebook group! We all love seeing what everyone creates, and it’s the perfect place to get inspired by other makers and share your awesome DIY stitch markers.
Categories: Dibble Dabble Inspiration, YouTube Video Tutorial


I learned how you actually turn the polymer into nice round beads today!
I wonder just how many tools a girl can have? Love the polymer bead tutorial.
I learned there are so many excellent tools for working with polymer clay that I really NEED!
Lots of fun ways to use polymer clay
I learned how to make canes & turn them into a bead. I can’t wait to get more of the tools & get started on some polymer clay I had recently purchased to learn to work with!
I learned that there are some new products that make, making beads easier
I definitely learned about all the tools today and some better techniques.
Learned so much about this craft! It’s all new to me!
I have some very old polymer clay, does it ever go bad?Always interested in some new tools.
I learned I need polymer clay in my life!!!
I’ve never worked with polymer clay before but I wanna try the two color technique you did to get that cool looking bead! And all the cool tools!
I would love to try working with polymer clay, looks so fun!
I have never worked with clay, but now I really want to!! Thanks for the great tutorial!