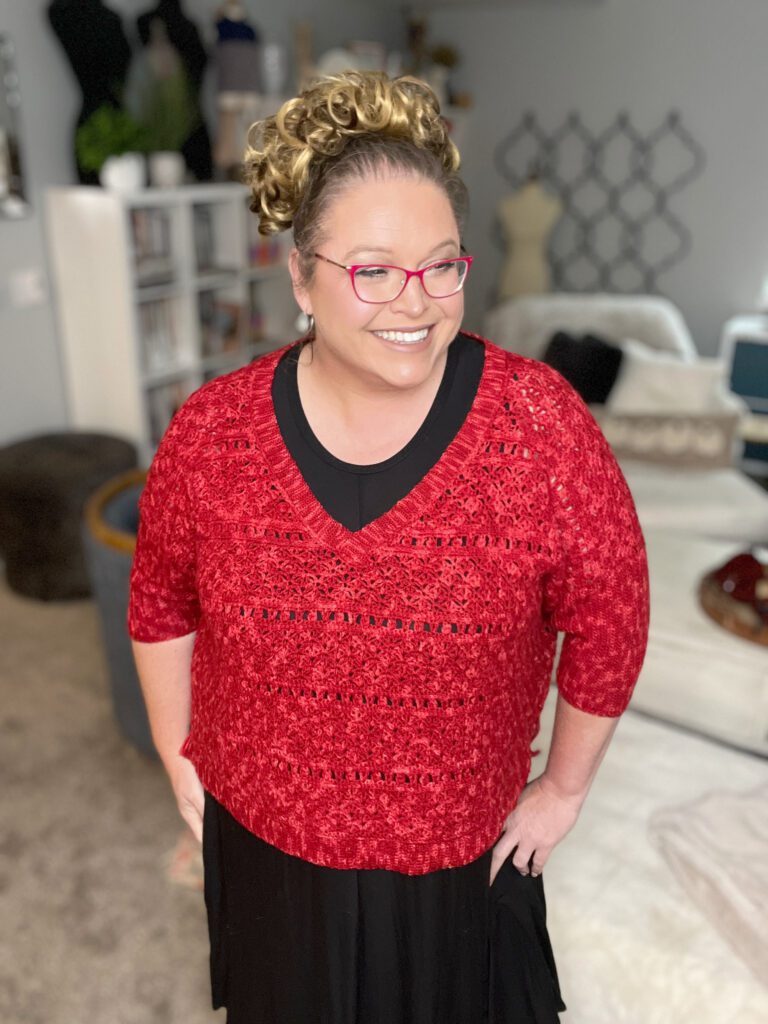
Crochet a Stylish Shrug for Any Season – Amaya Crochet Shrug Pattern
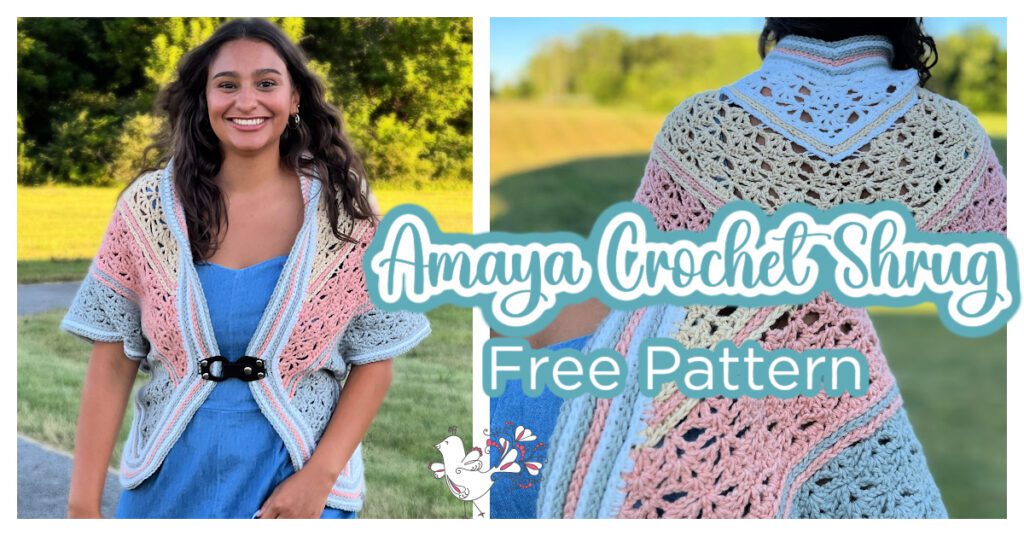
Welcome to the world of crochet shrugs, where style meets comfort! Whether you’re dressing up for a special occasion or just adding a layer for a chilly evening, a crochet shrug sweater is the perfect addition to any outfit. Today, we’ll explore everything from choosing the right yarn to perfecting the fit of your shrug, featuring our beloved Amaya Crochet Shrug pattern by Marly Bird and Robyn Chachula.
What is a Crochet Shrug Sweater?
A crochet shrug sweater is a versatile piece of clothing that combines the warmth of a sweater with the ease of a bolero or cardigan. Perfect for any season, these shrugs can be styled for a formal event or worn casually, making them a must-have in every crocheter’s wardrobe.
Choosing the Right Yarn for Your Shrug
The key to a successful crochet shrug is selecting the right yarn. For the Amaya Shrug, we recommend a blend like WeCrochet Heatherly Worsted, which offers durability and softness. When choosing yarn, consider the weight—lighter weights for spring and summer, heavier for fall and winter—to ensure your shrug is comfortable and suitable for its intended use.
Here are some alternative yarns that we think work great with this pattern
How to Choose the Perfect Size for Your Crochet Shrug
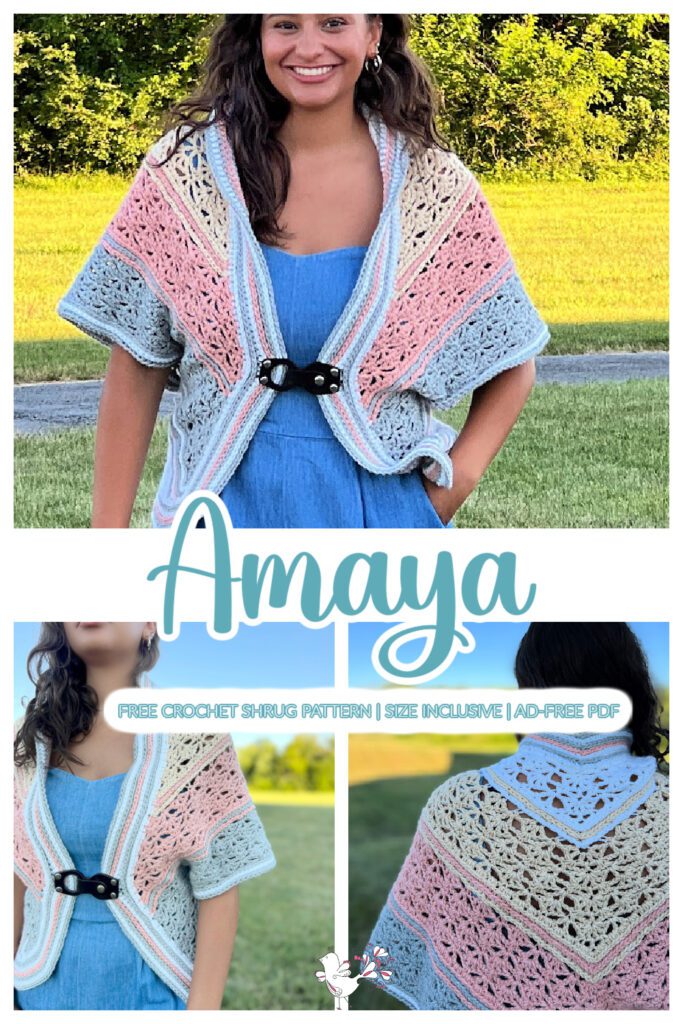
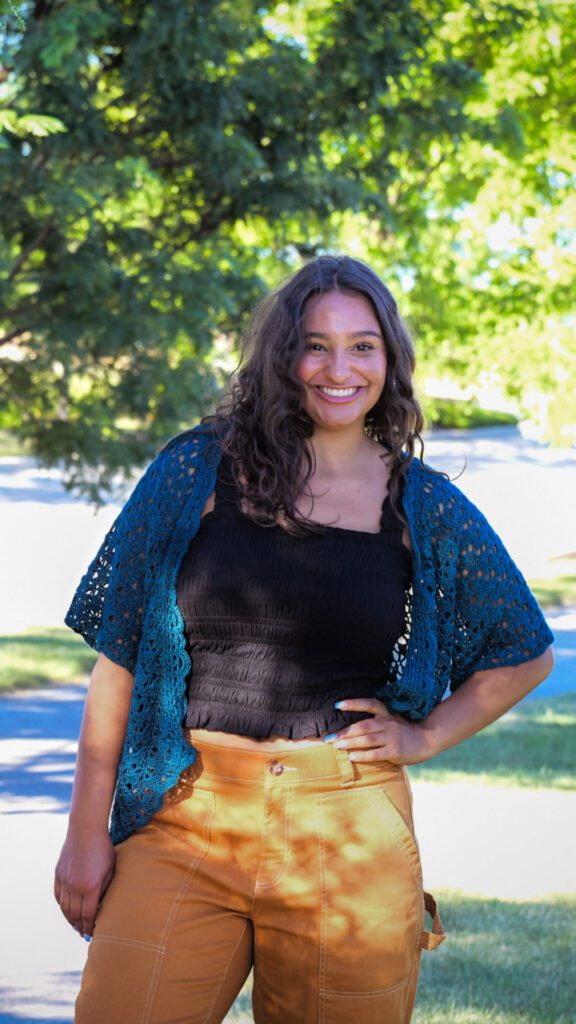
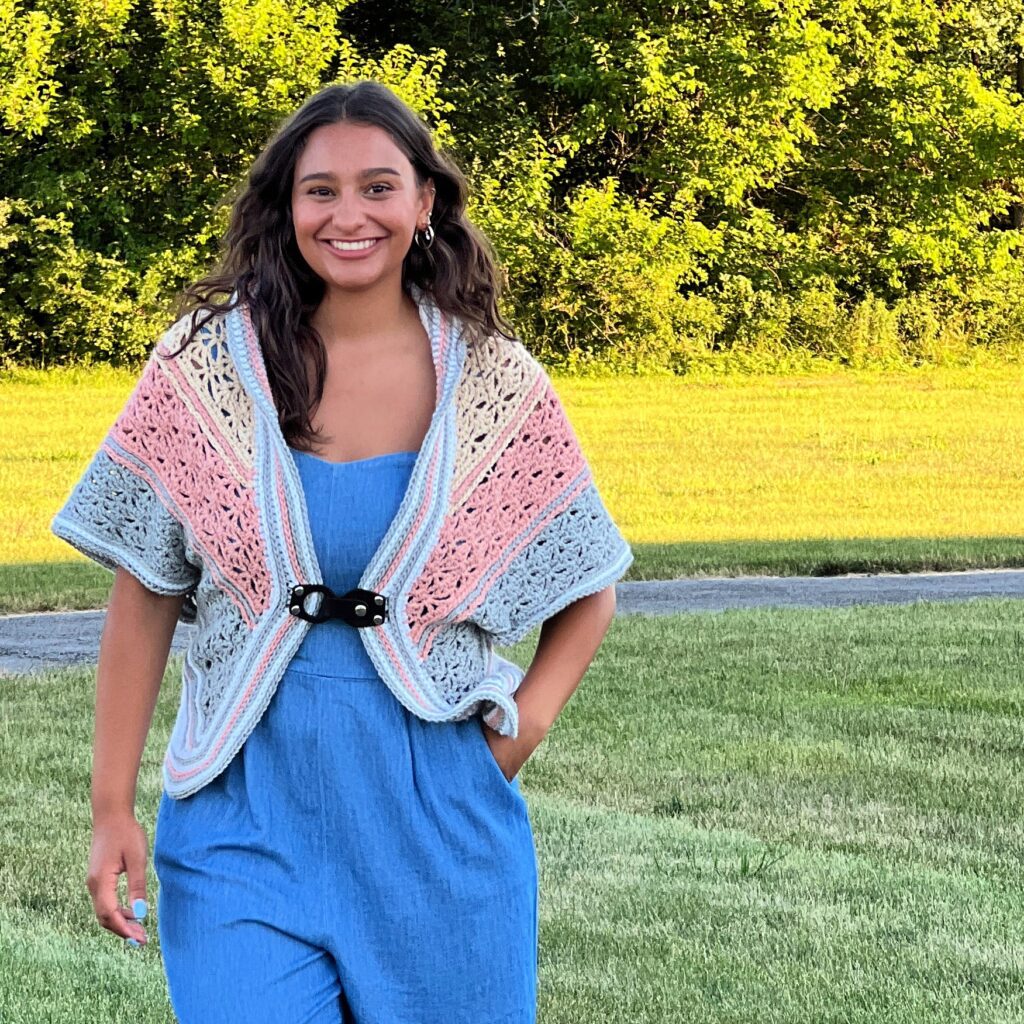
Choosing the right fit for your Amaya Crochet Shrug is wonderfully flexible, thanks to its unique construction. This design starts off as a shawl and is transformed into a shrug with the addition of side panels. This method allows you to decide on the final fit—whether you prefer a snug fit with a stylish closure like our model Taylor demonstrates, or a more relaxed, draped look as worn by Robyn. The sizes provided—S/M, L/XL, 2/3X, 4X—follow the standard guidelines set by the Craft Yarn Council, ensuring that they cater to a wide range of body types.
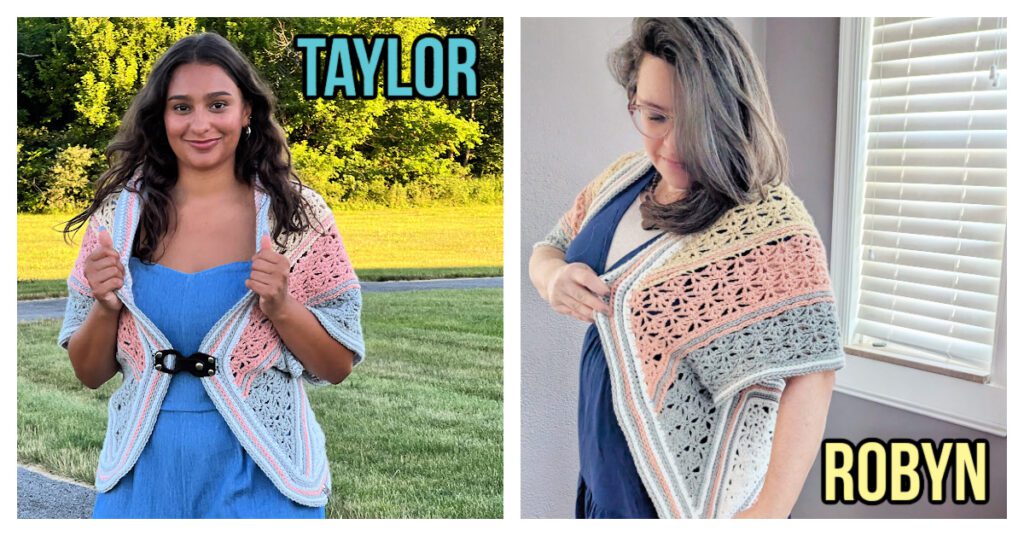
The construction of the Amaya Shrug isn’t typical; it doesn’t start with traditional measurements of bust and arms that you might expect. Instead, it evolves through the crafting process, which allows for adjustments tailored to your preference. You can enhance the fit by adding extra rounds of third loop half double crochet to the edging, giving it a more defined structure. This versatility ensures that the shrug not only fits well but also flatters, offering multiple sizing options that let you customize it to your personal style and comfort.
Video Tutorial for the Amaya Crochet Shrug
The Amaya Crochet Shrug, inspired by the intricate stitch pattern of the Miranda Crochet Cowl, expands on the design to create a more substantial garment. Both patterns feature the same detailed crochet stitch patterns, bringing continuity and a touch of elegance to your crochet projects.
To help you master these designs, video tutorials are provided, offering step-by-step guidance. These instructional videos are conveniently linked within the pattern itself, ensuring you have support at every stage of your crochet journey.
But if you are looking for videos specific to this pattern, I am sorry to say we do not have those. But we do have a facebook group that can offer a lot of extra help as needed.
Game Day Mystery Make-Along Crochet 2024
This shrug was a bonus pattern that was included in the wonderful Game Day Event of 2024. If you own that VIP Experience in your Marly Bird House, then you already have this pattern!
If you are interested in getting the Game Day VIP Experience 0f 2024, just click here!
Explore Other Popular Crochet Shrug Patterns
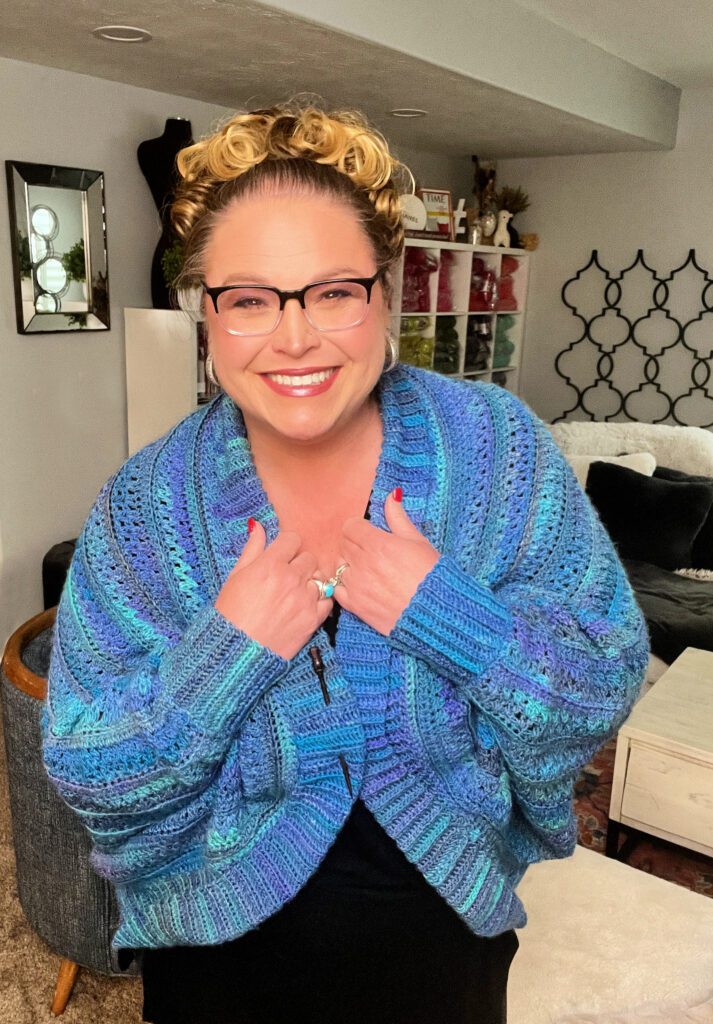
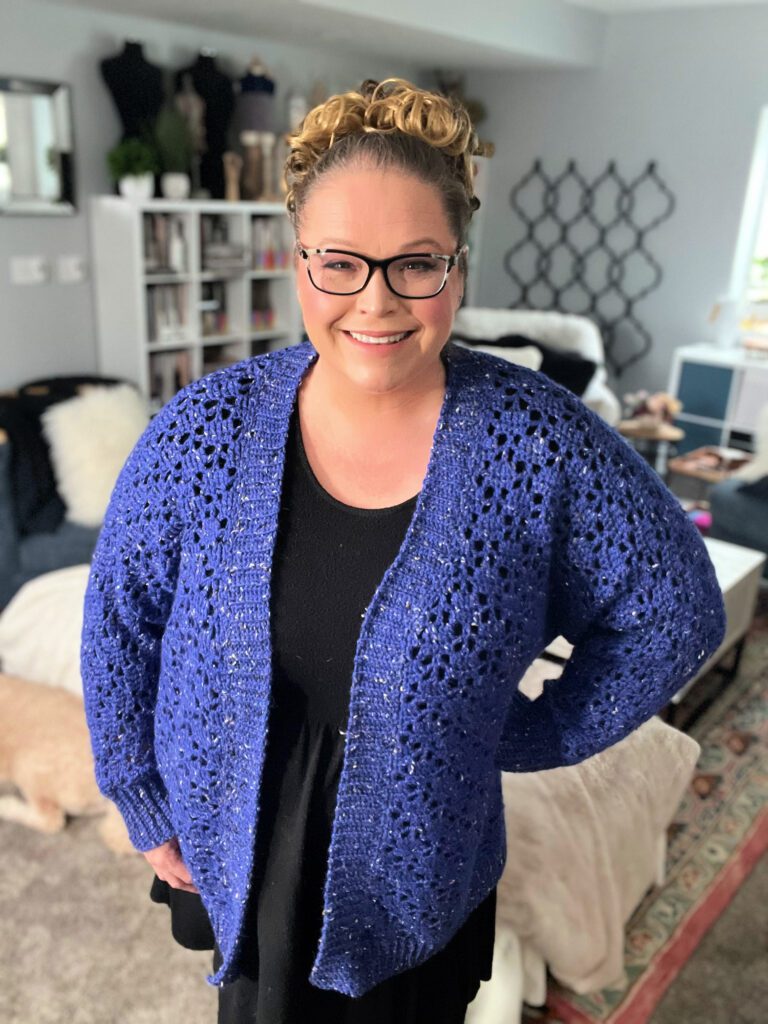
Once you’ve mastered the Amaya Shrug, explore other designs available on MarlyBird.com. From the elegant Oakley Crochet Shrug to the You Are Valued Crochet Cocoon Cardigan. We here at MarlyBird.com add innovative new designs released each season, there’s always something to keep your hooks busy.
Tips for Styling Your Crochet Shrug
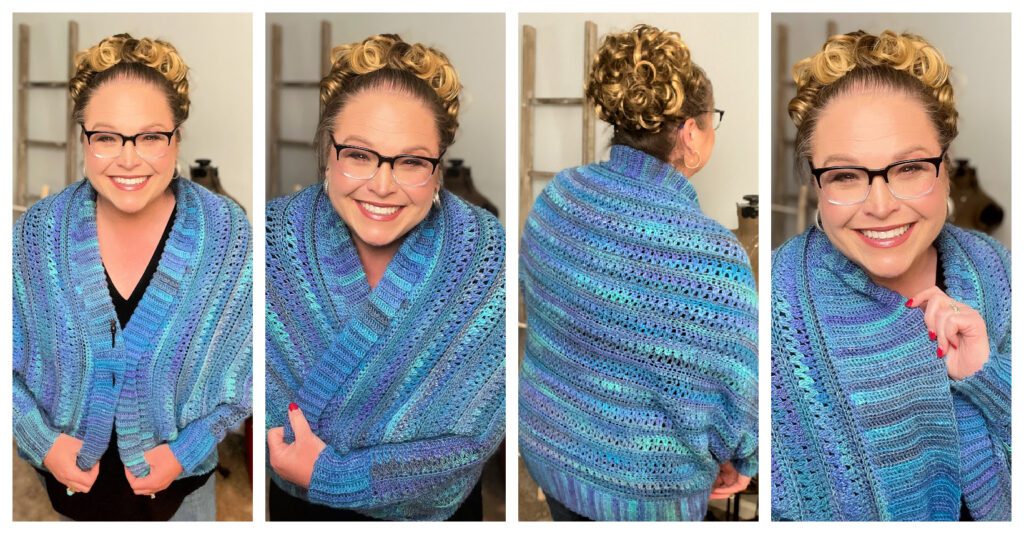
Crochet shrugs are incredibly versatile. Pair your Amaya Shrug with a summer dress for a touch of elegance, or wear it over a tee and jeans for a casual yet chic look. Experiment with colors and yarn textures to customize your shrug for any occasion.
Get the Ad-Free PDF

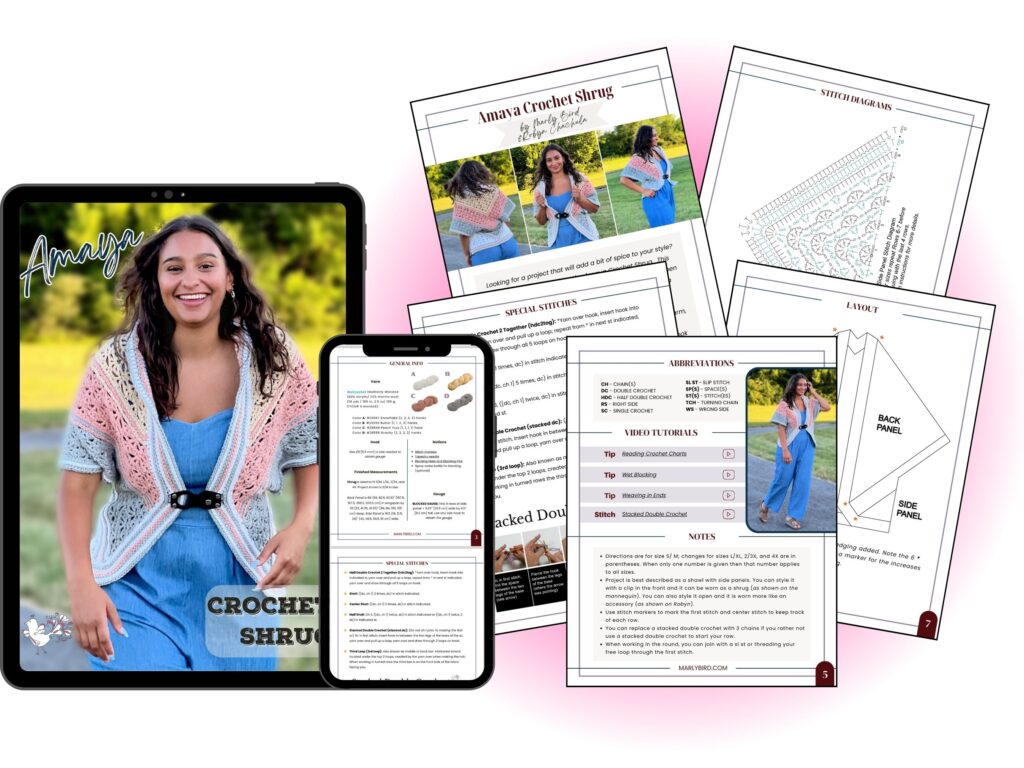
The PDF includes fully formatted pattern with written instructions, schematic, crochet stitch diagrams, full pattern charts for each size, and video tutorial links.
Where to get the Amaya Crochet Shrug Ad-Free PDF?
I’m thrilled to offer the Amaya Crochet Shrug pattern for free on MarlyBird.com. But I also understand the value of a seamless crafting experience. For those who’d like to immerse themselves in the project without distractions, an ad-free PDF version is available. This pdf ensures you have a clean, easy-to-follow format at your fingertips whenever inspiration strikes.
Plus, the stitch diagrams are only available in the Ad-Free PDF so there is certainly an added bonus. So, dive into the delightful world of crochet with the Amaya Crochet Shrug with everything you need in the PDF!
This project not only adds a stylish layer to your wardrobe but also helps you hone your crochet skills with its intriguing stitch patterns and construction techniques.
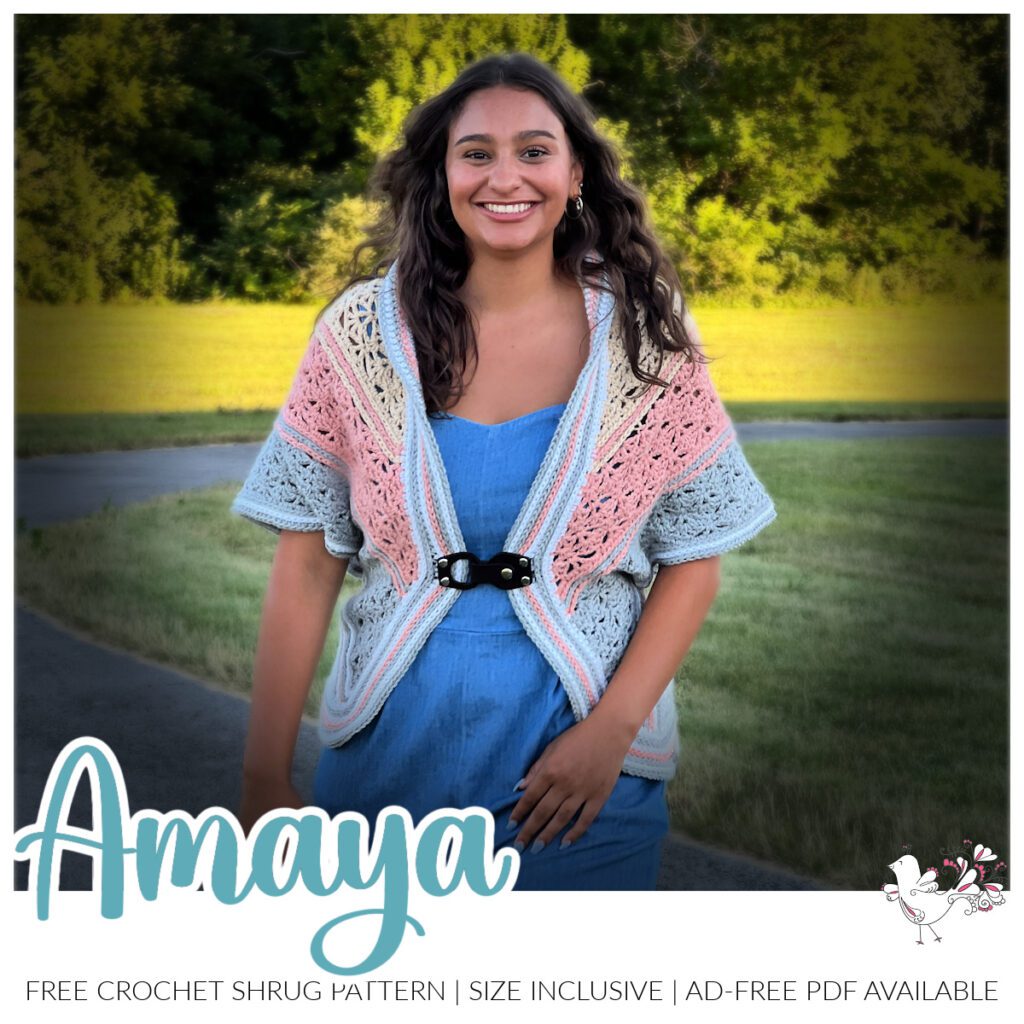
The Amaya Crochet Shrug Pattern
Designed by Marly Bird and Robyn Chachula
SKILL LEVEL
Intermediate
MEASUREMENTS
To Fit Size
S/M (L/XL, 2/3X, 4X)
Finished Measurements
Back Panel is 66 (66, 82.5, 82.5)” [167.5, 167.5, 209.5, 209.5 cm] in wingspan by 33 (33, 41.25, 41.25)” [84, 84, 105, 105 cm] deep. Side Panel is 16.5 (19, 21.5, 24)” [42, 48.5, 54.5, 61 cm] wide.
Gauge
First 6 rows of side panel = 9.25” [23.5 cm] wide by 4.5” [11.5 cm] tall BLOCKED; use any size hook to obtain the gauge.
MATERIALS
Yarn
WeCrochet, Heatherly Worsted (80% acrylic/ 20% merino wool, 218 yds / 199 m, 3.5 oz/ 100 g, CYCA# 4 worsted),
Color A: #29557 Snowflake (2, 2, 3, 3) hanks
Color B: #29550 Butter (1, 1, 2, 3) hanks
Color C: #29549 Peach Fuzz (1, 1, 1, 1) hank
Color D: #29556 Gravity (2, 2, 2, 2) hanks
Hook
Size I/9 [5.5 mm]
Notions
Tapestry needle, Stitch Markers
ABBREVIATIONS
Ch – Chain(s)
Dc – Double Crochet
Hdc – Half Double Crochet
RS – Right Side
Sc – Single Crochet
Sl st – Slip Stitch
Sp(s) – Space(s)
St(s) – Stitch(es)
Stacked Dc – Stacked Double Crochet
Tch – Turning Chain
WS – Wrong Side
SPECIAL STITCHES
⭐️ Stacked Double Crochet (Stacked Dc): (Do not ch 1 prior to making the first sc) Sc in first stitch, insert hook in between two legs of the base, yarn over and pull up a loop, yarn over and draw through 2 loops on hook.
⭐️ Third Loop: Middle bar located on wrong side of st under the top two loops (created by the yarn over)
⭐️ Half Double Crochet 2 Together (hdc2tog): *Yarn over hook, insert hook into indicated st, yarn over and pull up a loop; repeat from * in next st indicated, yarn over and draw through all 5 loops on hook.
SCHEMATICS
Schematic before seaming last side of side panel. Block to these measurements.
Layout of project after seamed and edging added. Note the 6 “*” (asterisks) that locate where to place a marker for the increases on your edging.
NOTES FOR AMAYA CROCHET SHRUG
- Directions are for size S/ M; changes for sizes L/XL, 2/3X, and 4X are in parentheses. When only one number is given then that number applies to all sizes.
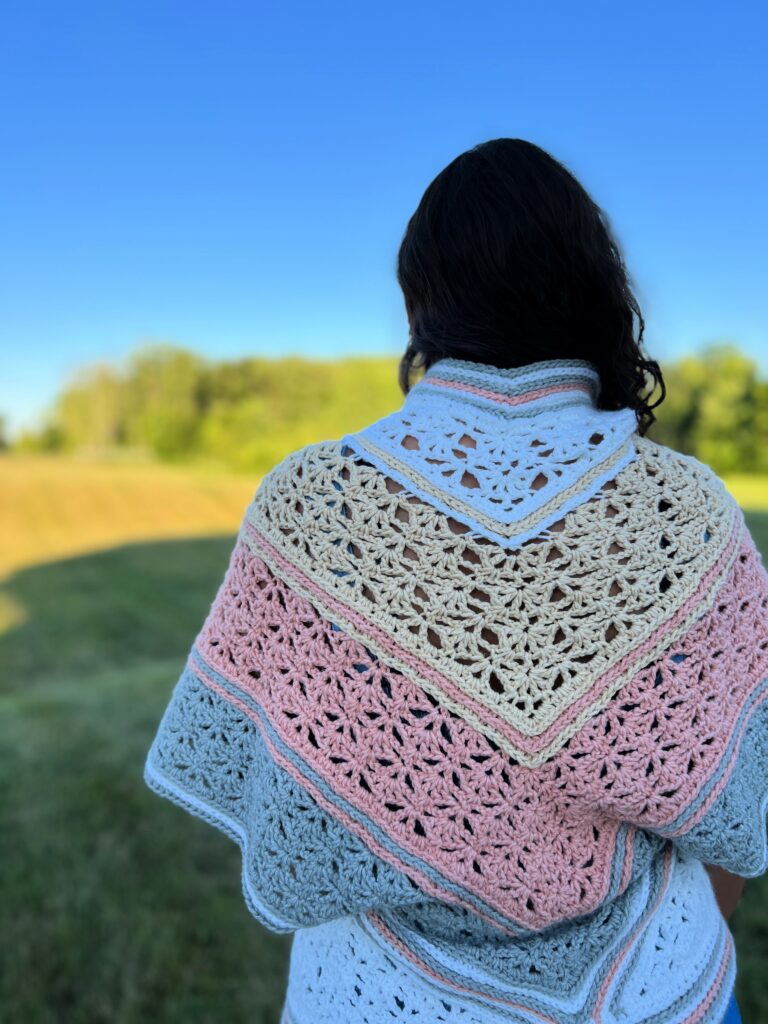
- Project is best described as a shawl with side panels. You can style it with a clip in the front and it can be worn as a shrug (as shown on the mannequin). You can also style it open and it is worn more like an accessory (as shown on Robyn).
- Use stitch markers to mark the first stitch and center stitch to keep track of each row.
- You can replace a stacked double crochet with 3 chains if you rather not use a stacked double crochet to start your row.
VIDEO TUTORIAL
- Stacked Double Crochet >> Click Here for Video Help <<
- Weave in Ends >> Click Here for Video Help <<
- Blocking >> Click Here for Video Help <<
- Game Day 2024 Miranda Shawl Start Video >> Click Here for Video Help <<

GROW
To Unlock Exclusive Subscriber Content click the Box below and join for free by simply adding your email and creating a password! If you are having troubles, clear your cache or reset your password or login to the Grow Publisher Portal.
>> Learn More About Grow Here <<
I’m thrilled to share this amazing pattern with you, many patterns on my blog are absolutely free! I kindly request that you don’t copy and paste or distribute this pattern. Prefer an ad-free experience? Buy a digital PDF pattern for a small fee from one of my online stores for a seamless crafting journey.
I appreciate your support and readership. You are the reason I can keep doing what I love and sharing it with others. So, thank you from the bottom of my yarn-loving heart! Disclosure: This post contains affiliate links, meaning I get a commission if you decide to make a purchase through my links at no cost to you.
AMAYA CROCHET SHRUG FREE PATTERN
SIDE PANELS — the Ad-Free PDF includes a stitch diagram for this panel
Make 2
With Color A (A, B, B), make an adjustable ring.
Row 1 (RS): Ch 3 (counts as a dc throughout), [dc in ring, ch 1] 3 times, 2 dc in ring, pull ring closed, turn- 6 dc + 3 ch-1 sps.
Row 2: Stacked dc in first dc, ch 2, (sc, ch 1, sc) in next ch-1 sp, ch 2, dc in next ch-1 sp, ch 2, (sc, ch 1, sc) in next ch-1 sp, ch 2, dc in top of tch, turn- 3 dc + 4 sc + 4 ch-2 sps + 2 ch-1 sps.
Row 3: Ch 3, ([dc, ch 1] twice, dc) in first st (half shell made), ch 1, skip ch-2 sp, sc in next ch-1 sp, ch 1, skip ch-2 sp, ([dc, ch 1] 5 times, dc) in next dc (center shell made), skip ch-2 sp, ch 1, sc in next ch-1 sp, ch 1, ([dc, ch 1] twice, 2 dc) in last st (half shell made), turn- 2 half shells + 1 center shell.
SEAMING
Lay back panel and side panel next to each other with right sides facing up as shown in the schematic. Back and side panels will be seamed together using a slip stitch that goes through the third loop of a stitch on the back panel and the third loop of the corresponding stitch on the side panel. Skip marked center stitch on the back panel. Join color B (B, C, C) with a sl st in the next st on the back panel and first stitch on the side panel working in their 3rd loops. Holding working yarn to the wrong side of the fabric, continuing slip stitching (inserting hook from the front to the back of your work) each stitch together in their third loop across the side panel. Repeat on the opposite side of the back panel and second side panel.
Turn work wrong side up. Fold back panel so beginning and end of the row meet the center. Fold side panel so that the beginning of the row meets the end of the row. Now the project looks like the layout and panels are right side up. Seam panels together using the same method as before.
EDGING
Place 6 markers at “*” as shown on layout. These will mark where you will place increases throughout the edging. There are 2 located at the back neck and 2 located on each side of the side and back panel join in the front the project.
Round 1: Join color A (A, B, B) to center of back neck (this is the center of the first row of the back panel), ch 1, *hdc evenly across to marker, 2 hdc at marker, place marker in 2nd hdc just made, hdc evenly across to next marker, 2 hdc at marker, place marker in 1st hdc just made; repeat from * around, hdc evenly across to beginning of round. Join to first st, change color to D (D, A, A).
Round 2: Ch 1, skip first st, *hdc in third loop of each hdc to marker, 2 hdc in third loop of marked st, place marker in 2nd hdc just made, hdc in third loop of each hdc to next marker, 2 hdc in third loop of marked st, place marker in 1st hdc just made; repeat from * around, hdc in third loop of each hdc to last 2 hdc, hdc2tog in third loop of last 2 hdc. Join to first st, change color to A (A, B, B).
Round 3: Repeat Round 2 change color to B (B, C, C) at end of round.
Round 4: Repeat Round 2 change color to D (D, A, A) at end of round.
Round 5: Repeat Round 2 change color to A (A, B, B) at end of round.
Round 6: Repeat Round 2 change color to D (D, A, A) at end of round.
Round 7: Ch 1, sc in third loop of each hdc around. Join to first st.
Fasten off, weave in ends.
Ready to start your crochet shrug? Grab your yarn and croche thook and follow the Amaya Crochet Shrug pattern today, and don’t forget to sign up for our newsletter for more patterns and crochet tips. Share your completed projects with us on social media—we love seeing your creations! #mmmdi #marlybird
If you love making crochet garments, you might also love these!
Categories: Crochet, Free Patterns, Marly Bird Premium Patterns, Our Free Patterns, Pattern, Uncategorized

