
Attached Knit I Cord || Perfect Knit Edging
The finishing of your knit project is just as important as the work you do throughout the project. You may have heard of the I cord bind off in knitting which is worked as you bind off your work. You can also get the I-cord look with an attached knit I cord. This will allow you to work that beautiful I cord finishing all the way around your project, applying it at the end, even along your sides. Learn how to work this technique in my video tutorial.

*This post contains affiliate links. By clicking on one of these links and making a purchase a portion will go to the blog. The price you pay will not change and the small commission I receive helps me to keep brining you free content and giveaways on the blog. Thank you for your continued support.*
Knit Border
Adding a border to your knit projects takes your edges from ragged to beautifully finished. The attached knit I cord is similar to the I cord you might have done before except that this time you will be picking up a stitch along the edge of your finished project and working a decrease to complete the process.
Working the attached knit I cord you can use a pair of circular needles or double pointed needles. It can also be done with straight needles if you transfer the needles from the right to the left instead of scooching them to the end of the needles as you do with the circular or double pointed ones.
NOTE: When working your corner you have two choices. You can attach your corner by working multiple stitches into the corner or you can do a detached corner by skipping the pick up and knit until you have passed the corner.

Tournament of Stitches
The pattern that you see in this tutorial is the Tournament of Stitches 2020 pattern. Our Tournament of Stitches event is a free mystery make-along for knitters and crocheters that takes place during March Madness each year.
In 2020 we made a knit (and crochet) mosaic scarf. This beautiful pattern teaches you ten different knit mosaic patterns and builds a beautiful scarf along the way. Finish your Tournament of Stitches, or other knit projects, with a great attached I cord edge making your project completely reversible.
Attached I Cord Video Tutorial
Tournament of Stitches
What I’m Wearing
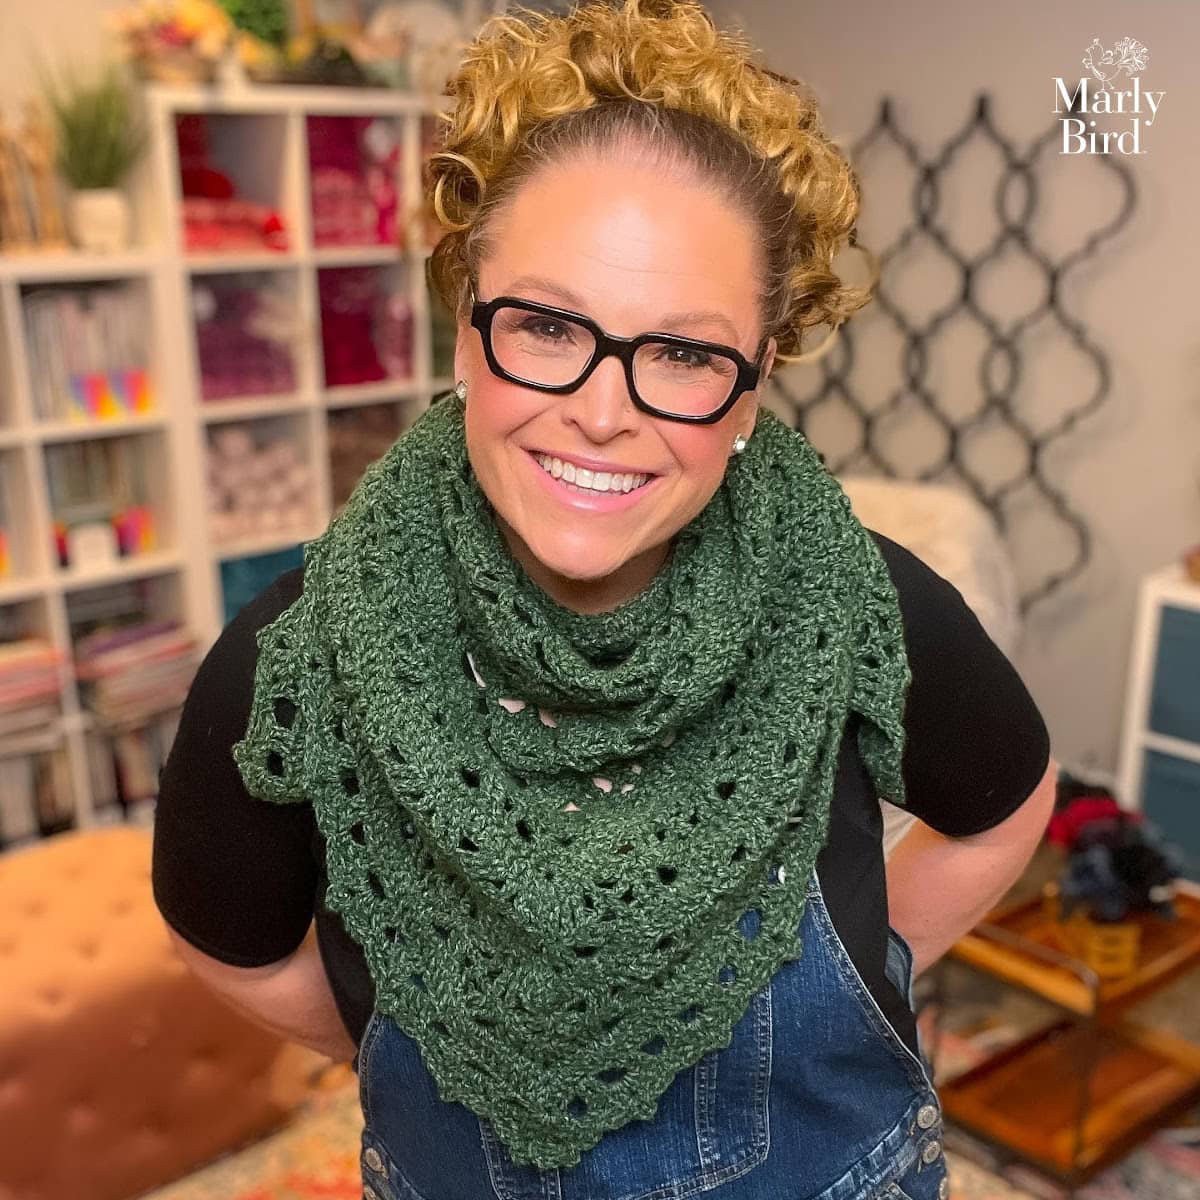
The shawl I am wearing is the Crazy Stripes Shawl. Get the free pattern here: https://marlybird.com/free-knitting-patterns/crazy-stripes-shawl/

Frequently Asked Questions
What is an attached i-cord edging in knitting?
An i-cord is a small, knitted tube created on a few stitches that creates a smooth, rounded cord. Attached i-cord is worked simultaneously as both the cord AND the edging… you pick up stitches along your project’s edge and work the i-cord while attaching it to those edge stitches as you go. The result is a beautiful, rope-like border that runs cleanly along necklines, armholes, cardigan fronts, and anywhere you want a polished, professional-looking edge without using a separate seaming step. It looks incredibly finished and intentional.
Why is attached i-cord considered a “perfect” edging?
Because of what it does! I-cord edging stabilizes edges that might otherwise curl or roll. It creates a defined, three-dimensional border that elevates the overall quality of a garment. The rounded, rope-like appearance is both decorative and functional… it looks like a deliberately designed element rather than just a finishing necessity. Necklines and cardigan fronts finished with i-cord have a polished, refined quality that even experienced knitters notice. Once you’ve tried i-cord edging, it’s hard to go back to a plain bind-off or simple crochet border.
Is attached i-cord edging difficult?
It’s intermediate… you need to be comfortable picking up stitches along an edge and doing a specific stitch sequence for each i-cord “step.” The technique involves picking up one stitch from the project edge, working back across the few i-cord stitches, then repeating. Each step moves the i-cord slightly along the edge while attaching it. The rhythm is a bit awkward at first but very satisfying once it clicks. Plan on a practice run on a swatch before applying it to a finished garment… you’ll be glad you did the first time the technique feels smooth.
Where is attached i-cord most commonly used?
Necklines of sweaters and cardigans… the i-cord creates a beautiful, finished collar edge that doesn’t require a separate collar piece. Cardigan button bands… a much more polished look than a ribbed band. Armhole edges of vests… clean and professional. Shawl edges… i-cord creates a beautiful border along the entire perimeter of a finished shawl. Sleeve edges. Any project where you want an edge that says “this was made thoughtfully and finished with care.”
Do I need any special tools for i-cord edging?
Just double-pointed needles (or two circular needles) in the same size you’re using for the project! The i-cord is worked back and forth on a small number of stitches (usually 3-4) without turning the work… you simply slide the stitches to the other end of the DPN and work them again. This is the distinctive “no-turn” technique that creates the tube structure of i-cord. No special tools required beyond what you’d already have for most projects, but having DPNs in the right size is essential.
Attached I Cord Tips for Flawless Edges
So you’re ready to try this technique… awesome! Let me share the things I’ve learned from finishing hundreds of projects with attached I cord.
Tension is Your Best Friend
Keep your tension consistent when you’re picking up and knitting. Loose tension here will make your edging look wobbly and unpolished. Pull that yarn firmly through after your decrease. You want your I cord to sit snug against your project without puckering… it’s all about that sweet spot.
Choose the Right Needle Size
I typically use needles one size smaller than my project yarn calls for when working attached I cord. This keeps the edge from flaring out. For fingering weight yarn on a size 2 project? Grab your size 1s. It makes a noticeable difference.
Perfect Projects for This Technique
- Blankets and afghans… it creates a durable, finished edge that lasts
- Scarves like the Crazy Stripes Shawl
- Shawlettes and wraps where reversibility matters
- Sweater necklines paired with proper bind off techniques
This finishing touch transforms your work from “handmade” to “professionally finished.” Trust me… it’s worth the extra time.


If I’m using I-cord to finish a neck, how do you make the end of the left side and the end of the right side of the neck look finished?
I like to use the kitchener stitch to join the ends.