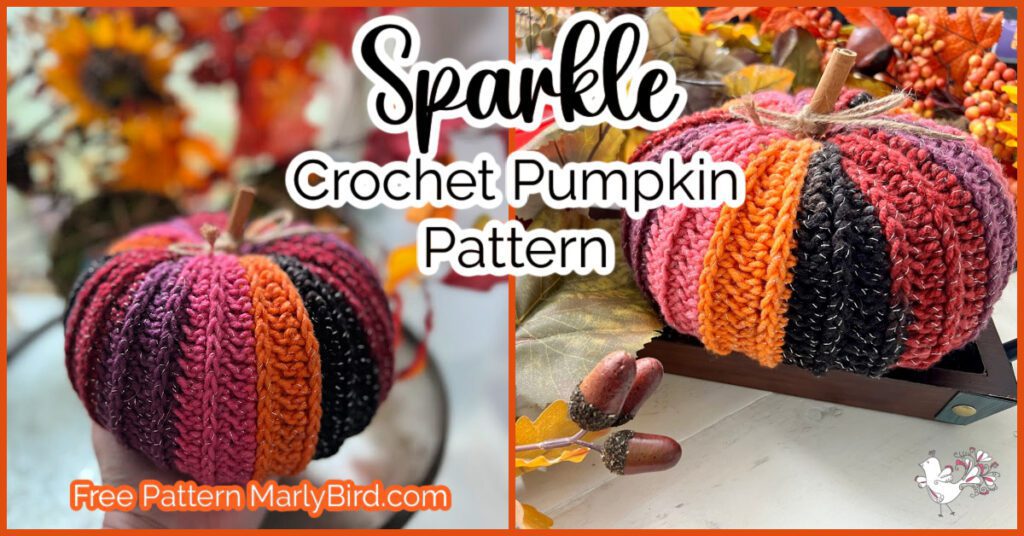
Sparkle Up Your Fall with This Irresistible Crochet Pumpkin Pattern!
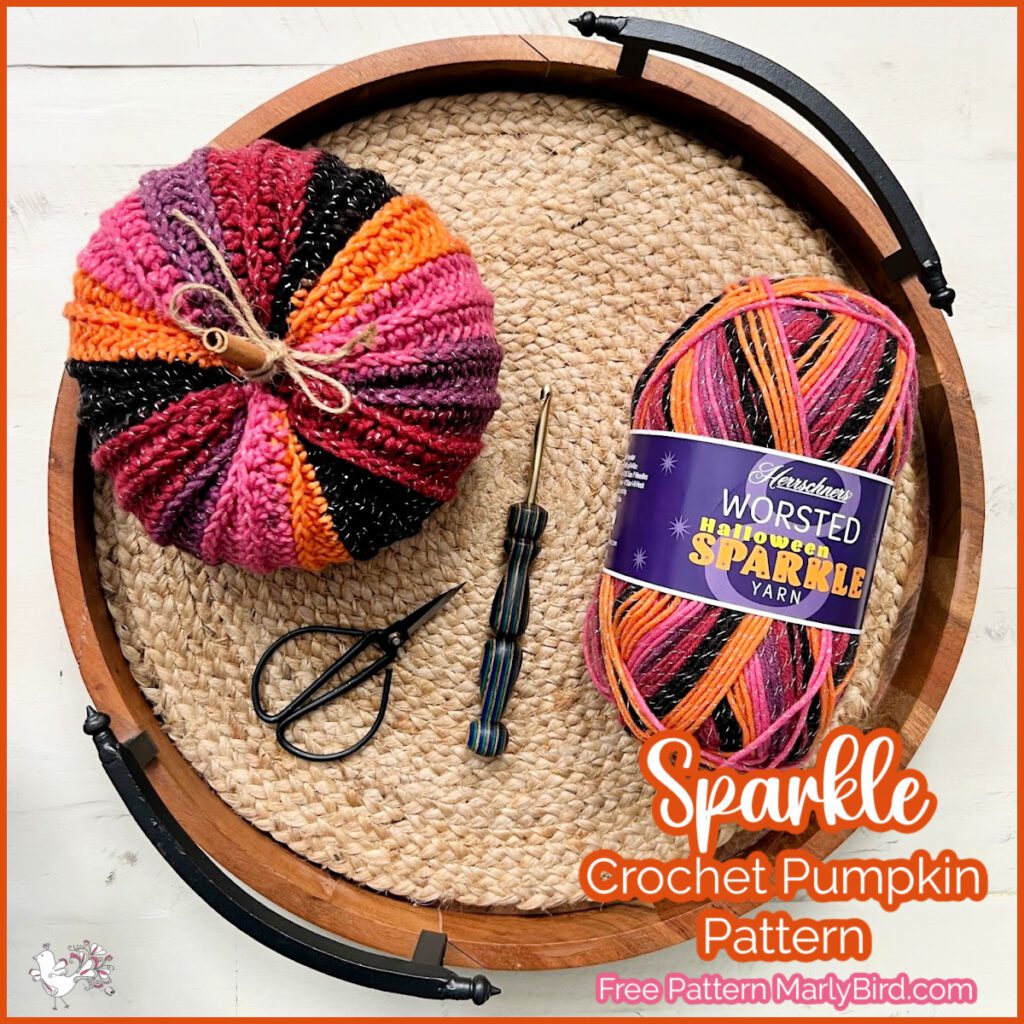
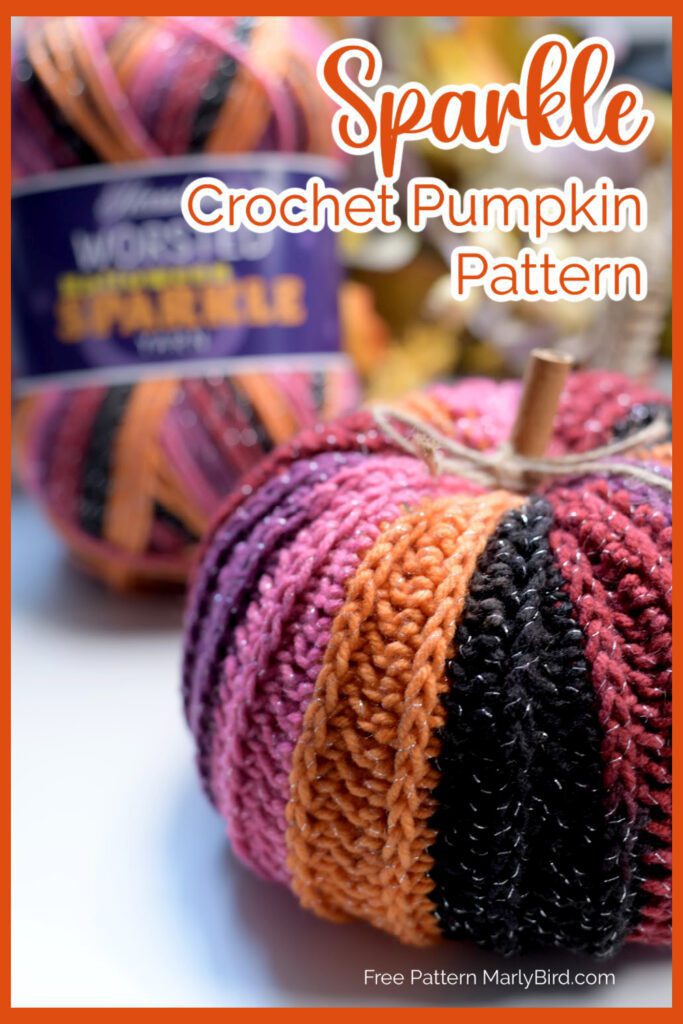
Hey there, fellow crafters! 🍁 As the leaves turn golden and the crisp autumn air settles in, it’s the perfect time to dive into some cozy crochet projects. Today, I’m beyond excited to share a charming FREE crochet pumpkin pattern that’s sure to add a touch of sparkle to your fall decor. Featuring the fabulous Herrschners Worsted Halloween Sparkle Yarn, this pumpkin is a true standout with its hint of metallic thread that glimmers with every stitch.
If you are a fan of holiday decor, you will love these patterns Crochet Holiday Barrett, Knit Pumpkin Patch, Crochet Mitten Garland, All Buttoned Up Wine Bottle Cozy, Crochet Mini Stocking Ornament or Gift Card Holder, and a variety of Christmas Stockings 1. Crochet 2. Knit 3. Knit and an entire course to design your own Merry Stitchmas (for crocheters AND knitters!)!
Affiliate Disclosure: This post contains affiliate links. If you click on one of these links and make a purchase, I may earn a small commission at no additional cost to you. This helps support the content and free patterns I provide here on MarlyBird.com. Thank you for your support—it means the world to me! 💖
Why Crochet Pumpkins Are Perfect for Fall Decor
Crochet pumpkins are the quintessential fall accessory. Not only do they bring a warm, handcrafted touch to your seasonal decorations, but they also make for delightful gifts or festive accents around your home. Their versatility allows you to play with colors, sizes, and textures, making them a favorite among crochet enthusiasts.
Creative Ways to Use Your Crochet Pumpkins
Once your pumpkins are complete, there are so many fun ways to use them! Place them on your mantel, use them as table centerpieces, or even gift them to friends and family. They make wonderful, festive additions to any fall decor.

How to Customize Your Crochet Pumpkin
Get creative with your pumpkins! Whether you want to use different colors or add unique embellishments, there’s no limit to how you can personalize your project. Try different yarn textures or add little fall-themed decorations to make each pumpkin your own.
✨ If you enjoy holiday smells, you can also add a little bit of scented oil or potpourri to the stuffing to have your pumpkin be a little aromatic.
Tips for Achieving the Perfect Pumpkin Shape
Creating a perfect pumpkin shape involves more than just following a pattern. Here are a few tips to ensure your pumpkin turns out just right:
- Stuff Evenly: Make sure to stuff your pumpkin evenly to avoid lumps and bumps.
- Adjust Shape: Use a yarn needle to adjust the shape as needed while you’re stuffing and closing.
- Finishing Touches: Adding a little jute twine or a cinnamon stick as a stem can give your pumpkin a rustic, charming look.

Common Mistakes to Avoid When Crocheting Pumpkins
Even the best of us make mistakes, so here are some common pitfalls to watch out for:
- Overstuffing: Too much stuffing can distort the shape of your pumpkin.
- Stitches Too Big: Using a hook that is too big for the yarn and making really loose stitches will cause your pumpkin fabric to have holes. Avoid this by using an appropriate sized hook.
- Skipping Rows: Be sure to create a fabric that is long enough to maintain the correct proportional shape or your crochet pumpkin.
Quick List of Materials Needed for Your Sparkle Crochet Pumpkin Project
To get started on this sparkling autumn delight, here’s what you’ll need:
- Yarn: Herrschners Worsted Halloween Sparkle Yarn – This yarn is perfect for adding a bit of sparkle to your pumpkin with its metallic thread.
- Crochet Hook: Size J/10 (6mm), or as recommended for your yarn.
- Fiberfill: For stuffing your pumpkin to give it that lovely plump shape.
- Tapestry Needle: For weaving in those ends and making your project look polished.
- Scissors: Essential for trimming yarn.
- Optional: Cinnamon stick, tine, and leaf embellishments.
Add This Sparkling Pumpkin to Your Ravelry Queue!
We’d love to see your beautiful crochet pumpkins come to life! If you enjoyed this pattern, please take a moment to favorite it and add it to your Ravelry queue. Favoriting helps others discover this charming project and lets us know you’re excited about it. Plus, adding it to your queue keeps it easily accessible for when you’re ready to dive into your next fall crochet project.


Step-by-Step Guide to Crocheting a Pumpkin – Free Crochet Pumpkin Pattern
SPARKLE CROCHET PUMPKIN
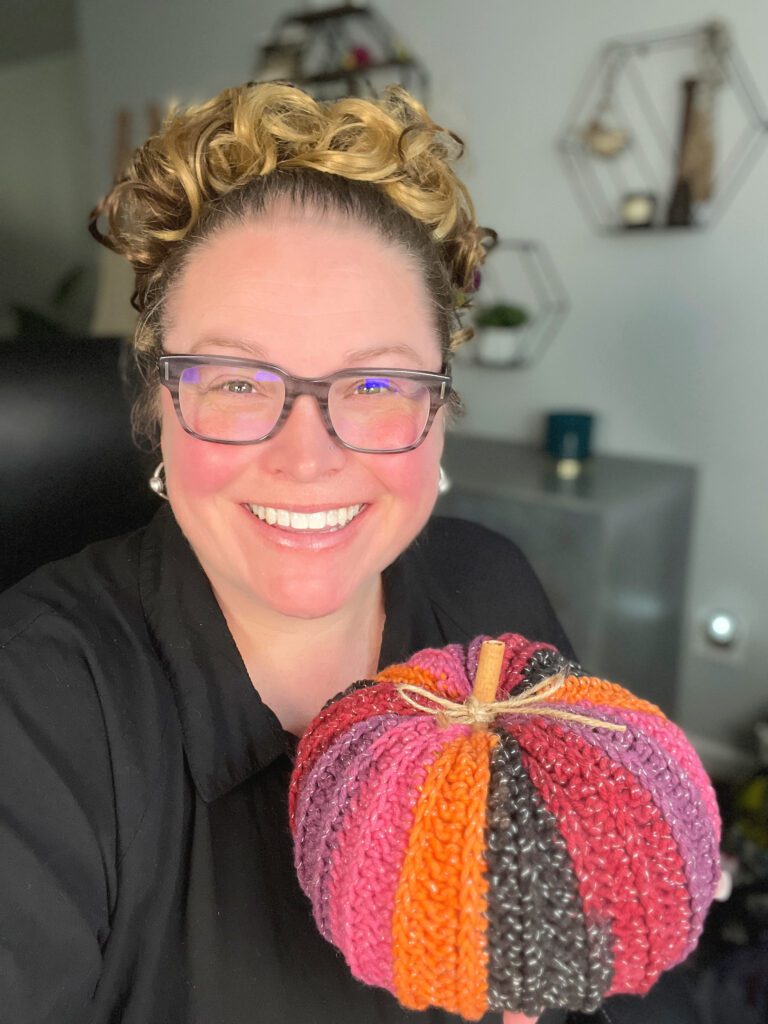
Designed by Marly Bird
SKILL LEVEL
Easy
MEASUREMENTS
Finished Measurements
Pumpkin is 10” [25.5 cm] wide by 24” [609.5 cm] long, before shaping into a pumpkin.
Gauge
12 hdc by 8 rows = 4” [10 cm] x 4” [10 cm]; use any size hook to obtain the gauge.
MATERIALS
Crochet Yarn
Herrschners, Worsted Halloween Sparkle Yarn ( 92% acrylic/8% polyester, 489 yd / 448m, 8 oz / 226g, CYCA# 4 worsted) : Sorcerer, 1 ball
Crochet Hook
Size J/10 [6.0 mm]
Notions
Tapestry needle, Fiber Fil Stuffing, Stitch Marker, Cinnamon Stick (optional), Twine (optional)
ABBREVIATIONS
Ch – Chain(s)
Hdc – Half Double Crochet
RS – Right Side
Sc – Single Crochet
Sl st – Slip Stitch
St(s) – Stitch(es)
WS – Wrong Side
SPECIAL STITCHES
⭐️Third Loop: Also known as middle or back bar. Horizontal strand located under the top 2 loops.. When working in turned rows the third loop is on the front side of the fabric facing you.
NOTES
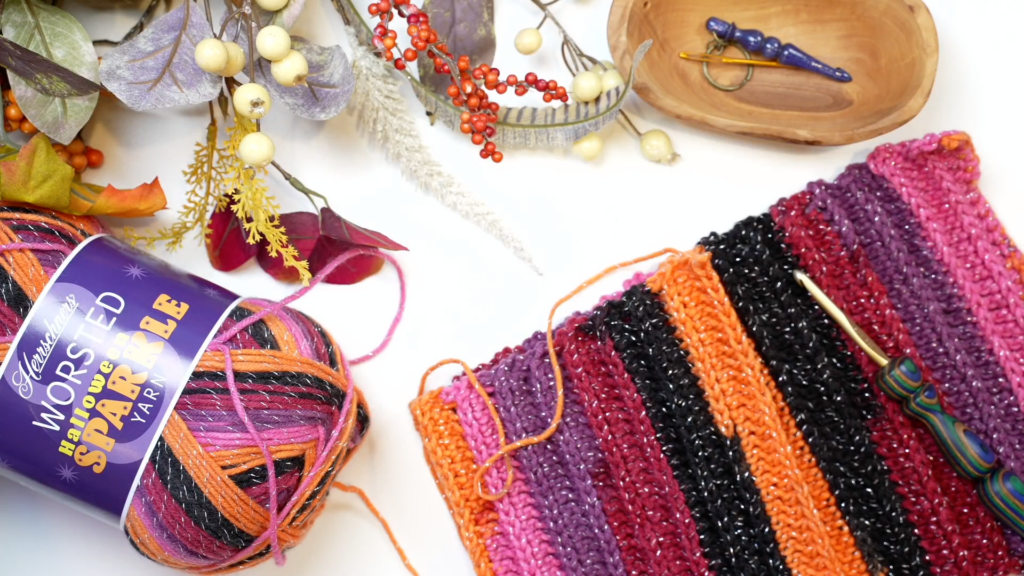
- The crochet pumpkin is crocheted flat then seamed together to form a pumpkin shape.
- Gauge is not critical for this project.
VIDEO TUTORIAL
- Sparkle Crochet Pumpkin >> Click Here for Video Help <<
GROW
To Unlock Exclusive Subscriber Content click the Box below and join for free by simply adding your email and creating a password! If you are having troubles, clear your cache or reset your password or login to the Grow Publisher Portal.
>> Learn More About Grow Here <<
I’m thrilled to share this amazing pattern with you, many patterns on my blog are absolutely free! I kindly request that you don’t copy and paste or distribute this pattern. Prefer an ad-free experience? Buy a digital PDF pattern for a small fee from one of my online stores for a seamless crafting journey.
I appreciate your support and readership. You are the reason I can keep doing what I love and sharing it with others. So, thank you from the bottom of my yarn-loving heart! Disclosure: This post contains affiliate links, meaning I get a commission if you decide to make a purchase through my links at no cost to you.
SPARKLE CROCHET PUMPKIN PATTERN
Chain 31.
Row 1 (WS): Sc in 2nd ch from hook and in each ch across, turn — 30 sc.
Row 2 (RS): Ch 2 (does not count as a st), hdc in each sc across, turn.
Row 3: Ch 2 (does not count as a st), hdc in the third loop of each hdc across, turn.
Repeat row 3 until project measures 24″ [609.5 cm] long or to desired length. End on a RS row, turn.
Joining Row: Fold project so beginning foundation chains and last row are touching, sl st in the third loop of the first st on the last row and the first ch on the foundation at the same time, *sl st in the third loop of the next st on the last row and next ch on the foundation at the same time; repeat from * across, fasten off with extra long tail for weaving.
FINISHING
Weave tail along the edge of the project through the row ends. Pull tail tightly to cinch edge together. Weave in end to reinforce cinched edge.
Turn project inside out to form bowl. Fill pumpkin with fiber fill to desired feel.
Using the tapestry needle weave another strand of yarn through the opposite end along the row ends. Pull tightly to cinch edge together. Weave in to reinforced cinched edge. Pull needle from the top to the bottom and the bottom to the top of the pumpkin to create a slight indent. Weave in ends to secure and fasten off.
Optional: Insert Cinnamon stick into center of pumpkin, tie twine around stitch and tie a bow .
How to Care for and Maintain Your Handmade Crochet Pumpkin
To keep your crochet pumpkin looking fresh:
- Store Carefully: Keep it in a dry place away from direct sunlight. I prefer to store my items in a sealed plastic bin. And, a little tip, I add a dryer sheet or two to the bin to keep it smelling nice.
- Spot Clean: If needed, spot clean gently to maintain its sparkle!
FAQs About Crochet Pumpkin Patterns
You have questions; we have answers!
What type of yarn is best for making crochet pumpkins?
- Answer: For crochet pumpkins, worsted weight yarn is a great choice. You can use cotton for a sturdier texture or acrylic for a softer finish. Adding a metallic thread or sparkle yarn can give your pumpkin a festive touch.
How do I choose the right hook size for my crochet pumpkin?
- Answer: The hook size should match the yarn weight you’re using. Check the yarn label for recommended hook sizes, and adjust if you want a tighter or looser fabric. For worsted weight yarn, a hook size ranging from H-8 (5 mm) to J-10 (6 mm) typically works well.
How can I make my crochet pumpkin more realistic?
- Answer: To enhance realism, use a yarn with a bit of texture or shine, add ribbing for pumpkin ridges, and consider using a combination of colors for depth. Embellishing with a cinnamon stick or a green leaf can also add a natural touch.
What is the best way to stuff my crochet pumpkin?
- Answer: Use fiberfill or polyester stuffing to give your pumpkin a plump shape. Be sure to stuff it evenly and firmly but not too tightly to maintain a natural, rounded appearance.
How can I prevent my pumpkin from losing its shape?
- Answer: Ensure you stuff your pumpkin evenly and secure the top and bottom openings tightly. You can also use a bit of fabric stiffener if needed to help it keep its shape.
Can I use my crochet pumpkin outdoors?
- Answer: Crochet pumpkins are best suited for indoor decor. If you want to use them outdoors, consider treating them with a water-resistant spray or using acrylic yarn that can withstand some exposure to the elements.
How do I care for my crochet pumpkin decor?
- Answer: Keep your pumpkin in a dry, cool place away from direct sunlight. If it gets dirty, gently spot clean with a damp cloth. Avoid machine washing, as it may distort the shape and texture.
What can I do if my pumpkin pattern looks uneven or lumpy?
- Answer: If your pumpkin looks uneven, check your stuffing and adjust as needed. You can also use a yarn needle to adjust the shape and smooth out any lumps. Blocking the pumpkin can also help it maintain a more uniform shape.
How can I add embellishments to my crochet pumpkin?
- Answer: You can sew on or crochet additional elements like leaves, vines, or a stem. Use different yarn colors or textures to add contrast and detail. Small decorations like beads or buttons can also enhance the look.
Can I adjust the size of my crochet pumpkin?
- Answer: Yes! To make a larger or smaller pumpkin, adjust the yarn weight, hook size, or the number of rounds in the pattern. Make sure to maintain the same shaping techniques to keep the proportions consistent.
What are some creative ways to use crochet pumpkins for holiday decor?
- Answer: Crochet pumpkins can be used in a variety of ways, such as table centerpieces, mantel decorations, or part of a fall-themed wreath. They also make great gifts or can be used in festive displays around your home.
Time to Make Your Own Crochet Pumpkin
I hope you’re as excited as I am to crochet this dazzling pumpkin! It’s a wonderful way to celebrate the season and add a personal touch to your home decor. Don’t forget to share your finished pumpkins with us—use #mmmdi or #MarlyBird to show off your creations!
Here are some more Holiday Decor Patterns for you to enjoy.
Make sure to subscribe to our blog for more fun and festive crochet projects!
Happy crocheting, everyone!
Marly Bird (Your BiCrafty Bestie) 🎃✨
Categories: Crochet, Free Patterns, Our Free Patterns, Pattern, Uncategorized